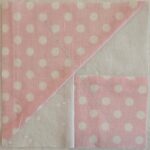
I received a few more blocks in the mail from Friend Julie the other day. I need to get back to making some more. I have four cards from which to make blocks.
I think now that I have some small bags out of my system, I’ll be able to get back to this project.
I would not be writing this post or showing you the art, if it weren’t for my friend Cyndi. She told me about this exhibition, she dropped off my quilt and also did some work for the hanging mechanism. I am not sure what I would do without her.
The Women’s View exhibit is installed in the County Center & Courthouse to celebrate Women’s History Month. This is the 18th year. I have never been before, but everything lined up really well. I took the day off work for an extra Sew Day and Cyndi and I left early to go to the artists reception.
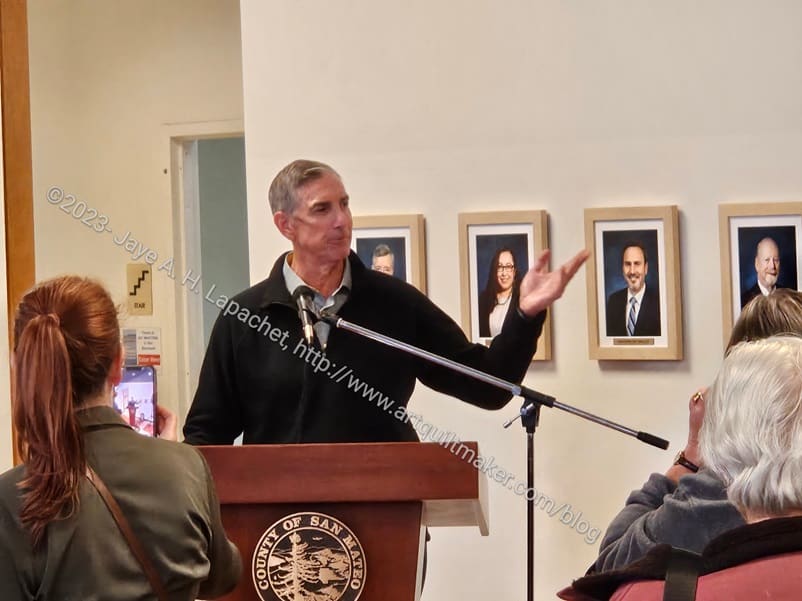
Mike Callagi, County Executive
We arrived and only had a short chance to look around before there were presentations.
Mike Callagy, the County Executive gave the opening remarks. He was very complimentary about the quality of the art that was entered. He was also down to earth and funny.
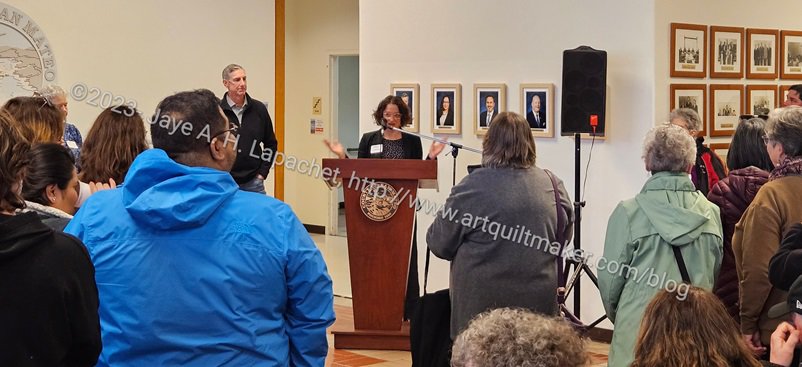
Aimee Shapiro, Arts Commission
Aimee Shapiro followed him. She is brand new. She has had her job on the Arts Commission for 3 weeks! She thanked a lot of people who helped and also announced the winners, of which I was one! Yes, I won one of the Honorable Mention awards.
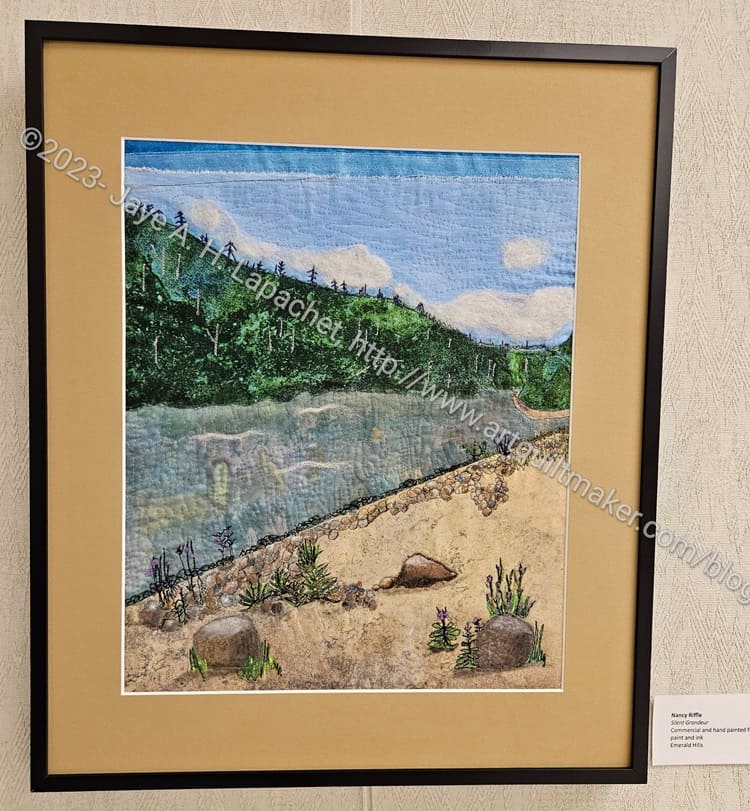
Nancy Riffle, Silent Grandeur
I think Women’s Work 1 fit into the theme, but I was super pleased that my QUILT (women’s work) got honorable mention up against paintings. I was further pleased that Nancy won honorable mention as well. Her piece was a scene from her trip to the Yukon and beautifully done. It was not only stitched, but she painted some of the motifs and embroidered bits as well. It is lovely.
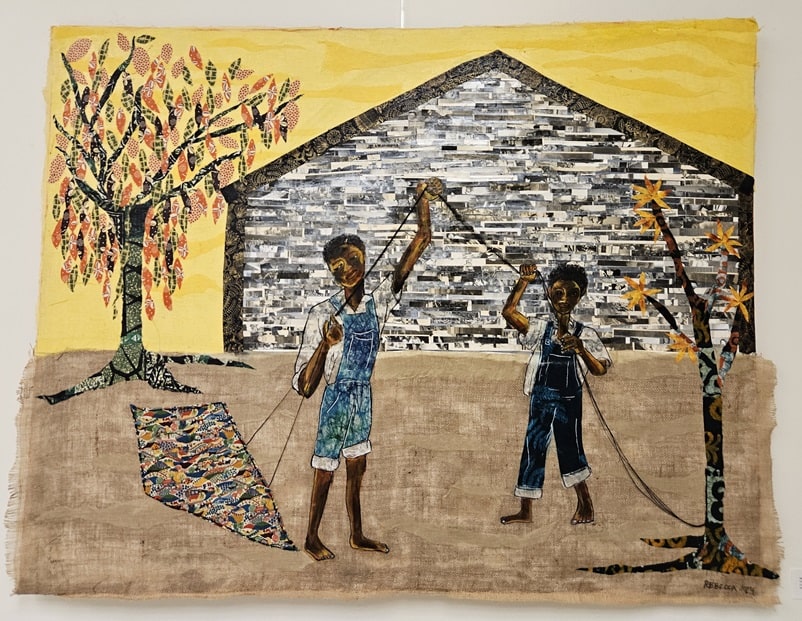
Rebecca Archer, Mother to Son: don’t let them steal your sunshine
Some of the other pieces were wonderful. I saw Rebecca Archer’s piece soon after I arrived and I really like it. It is multimedia as well. She used fabric and paper along with paint.
The inside of the house is mostly strips of paper while the leaves on the tree are fabric. I don’t know how she decided, but the overall design is very cohesive. The imagery doesn’t look like she just added motifs or used materials just to do it. Rebecca won first place. I took this photo before we heard the results.
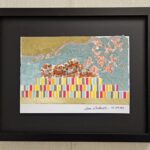
Dana Dillworth, Emerging from Repose: Eve of Eves
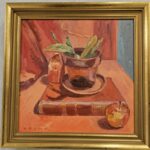
Andrea Kosmo, the Old Stem
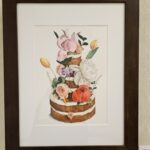
Savitha Viswanathan, From Lucie, NY
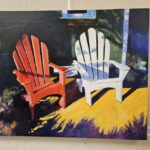
Linda Maki, Red and White Chairs
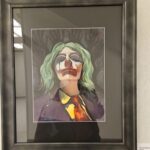
Echo Lake Wodarczyk, Madness
Some other interesting images are above. I like Dana’s piece because of the washi tape she used. The Old Stem is interesting because it is a still life all in one color – or mostly one color with its compliment. I am a sucker for cake and dessert imagery, so Savitha’s piece is very appealing, especially since she added flowers. Linda’s chair remind me of wanting an Adirondack chair when the YM was a baby so I could sit with him in the backyard. I admire Echo’s technique and the way she used watercolor. Also, she won Third place and I wanted to get all the winners, but missed second place and the other two honorable mentions.
It was exciting, but I was exhausted by the end of the day and almost didn’t cook dinner.
We were talking, at Sew Day, about all the work that military wives do when their husbands get new assignments and I might have inspiration for the next quilt in the Women’s Work series. I have never been in that life, so the idea might be too presumptuous for me to make. We’ll see.
The San Mateo County Women’s View exhibit has a Gallery Guide that includes all of the artist statements. I am so pleased that I am a part of this exhibit and am thinking I will enter Who Am I? in next year’s exhibit.
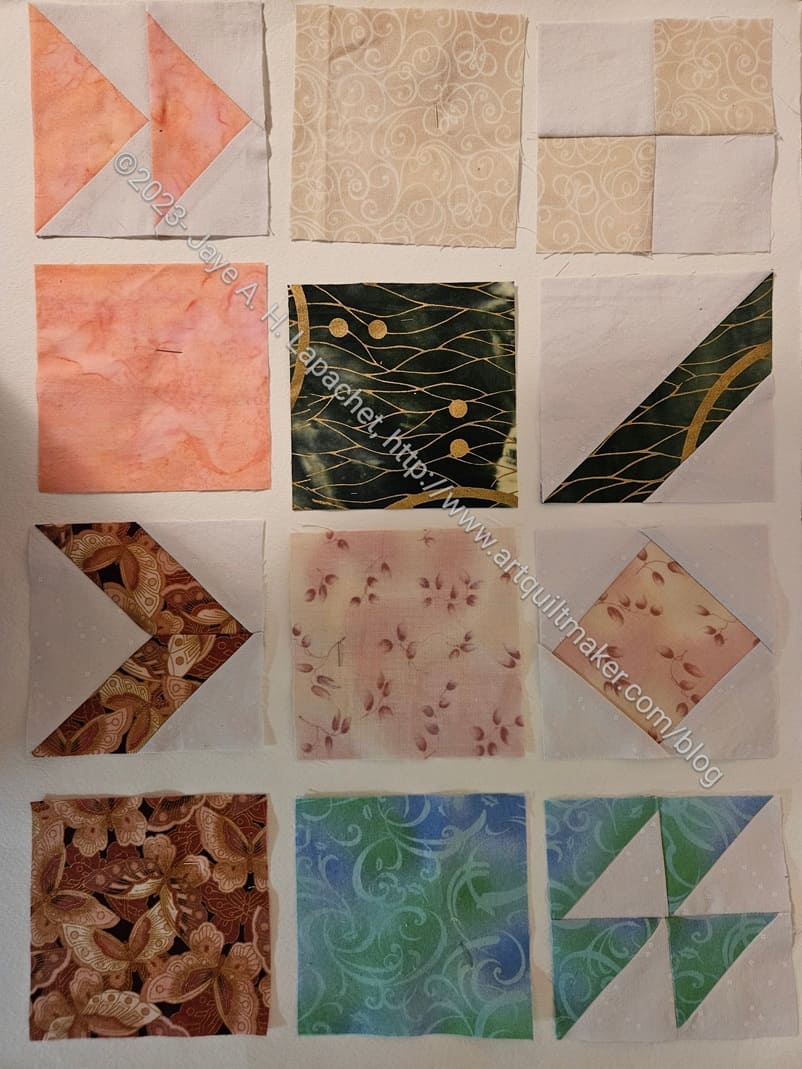
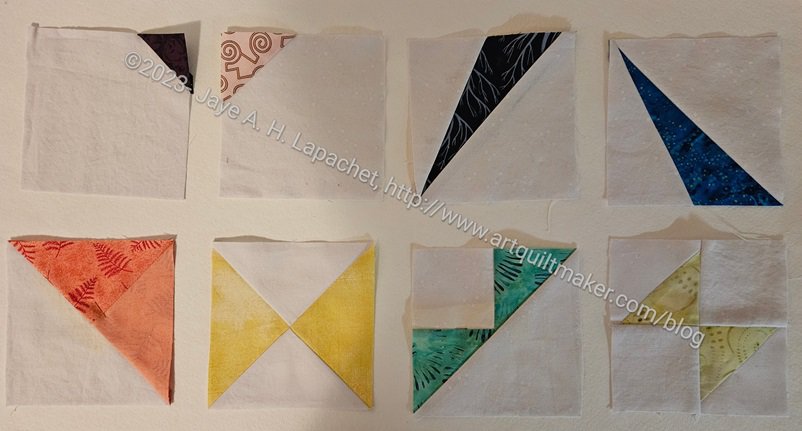
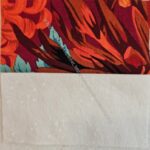
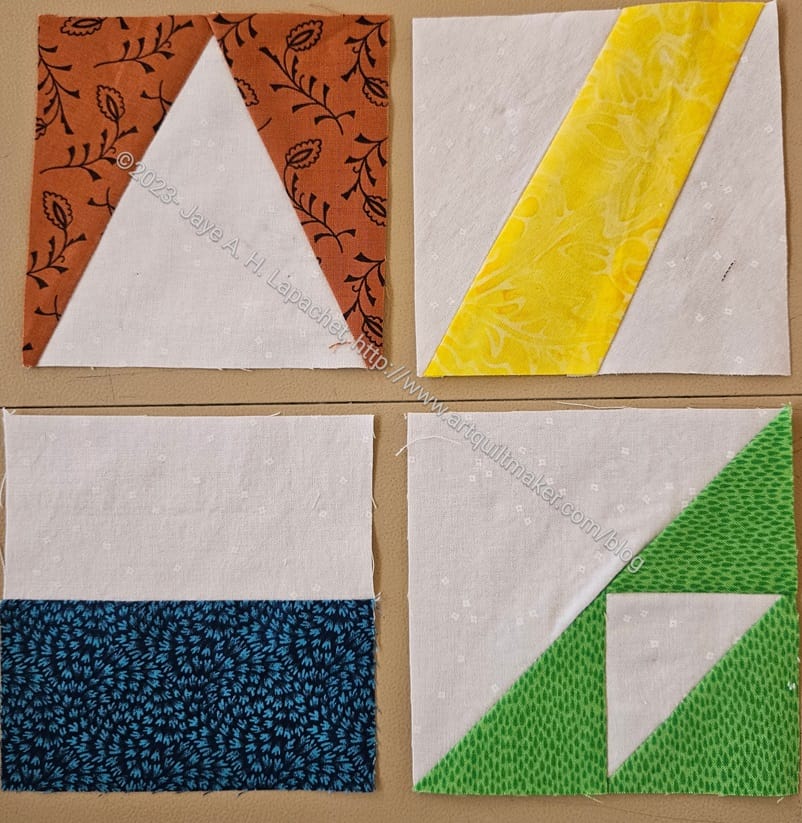
I spent most of the Sunday of MLK weekend working on the latest batch of Pantone blocks. I dug into some old fabric to find good matches.
Pantone: Storm Corner
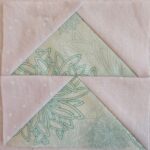
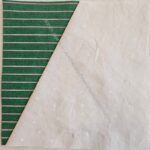
Pantone: Flying Geese
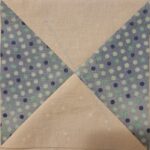
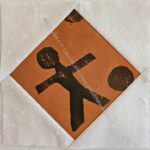
Pantone: Trickies or QST
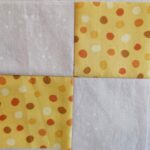
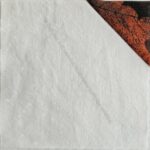
Pantone: 4 Patch
Pantone: Rectangles
Pantone: One Peaky Right
Pantone: Center Diamond
Pantone: Corner Gone
Pantone has a lot of browns and I am digging deep to find anything that looks close to the colors on the postcards. I found some brown fabrics I had forgotten I had. The exercise is making me think about shades and tones that are missing from my fabric palette.
Today is the day where we give the officers their gifts.
Carrie, Sue and I spent last Saturday at The Granary, a local quilt store that has a great restaurant nearby.
We bought gift cards for the officers and spent time, in between eating, looking at quilt supplies and wrapping the gifts. It was another fun time with Carrie and Sue.
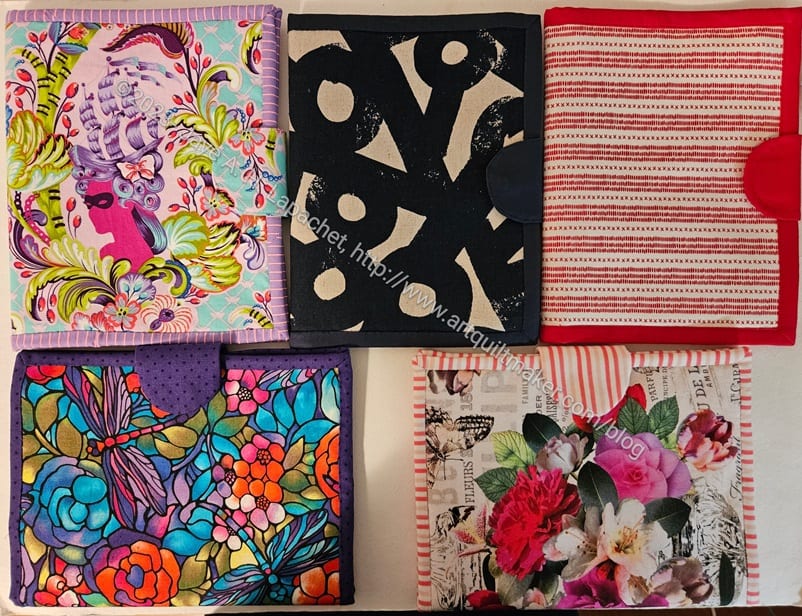
We planned to make the Enigma Bag (Sew Sweetness, Minikins Season 4) together back in November, but life happened, so we didn’t get to it until last week.
I have to admit that the Enigma Bag might be my new Hackney Bag – that is a bag I make for gifts for various people. I like it a lot. I especially like the diagonal zipper and how it opens flat. I haven’t given them to enough people to have feedback.
Sewing with Cyndi
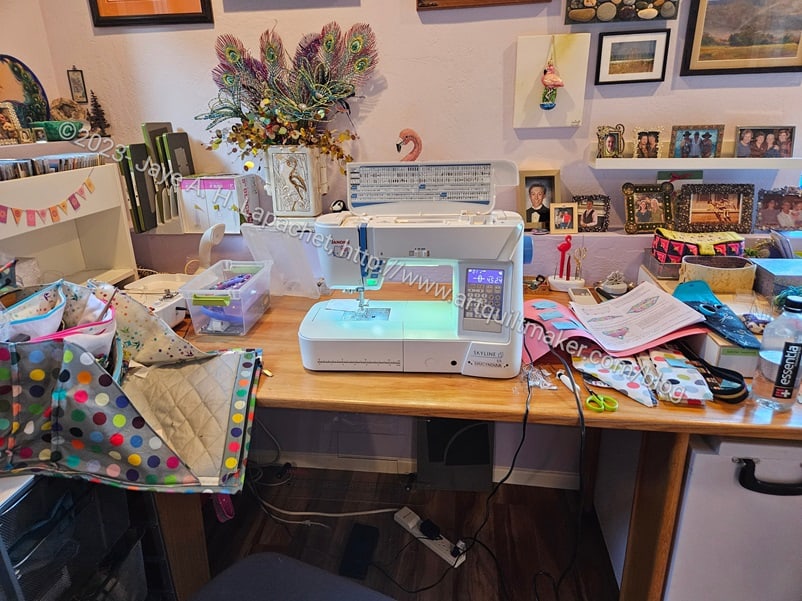
I didn’t feel like lugging my machine along, so Cyndi kindly let me use her machine. She has a Janome Skyline and I have to say that it was really nice to use for sewing. The bobbin loading was amazing. I might need to look into getting a new machine. That’s a story for another day.
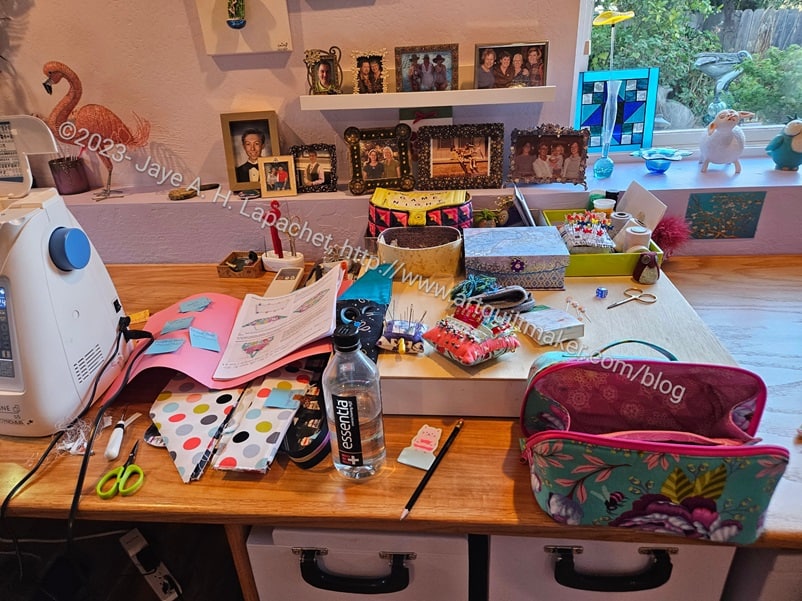
As you can see, I moved in quite completely. My pattern and pieces are on the right and my go bag is on the left.
Sewing with Cyndi – spread to the right
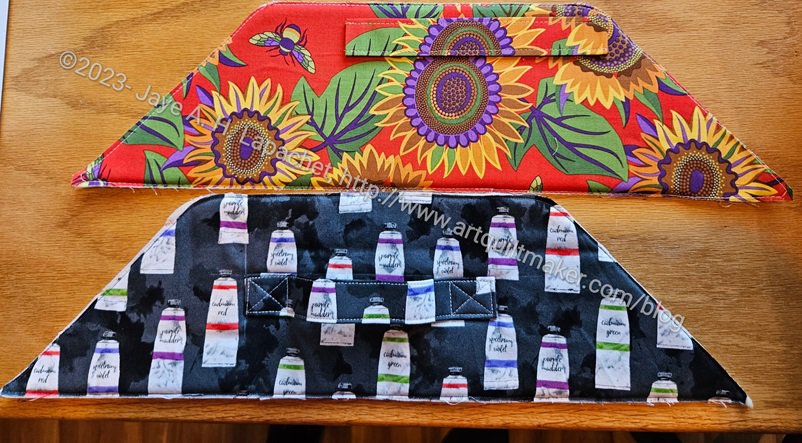
I had done all the cutting and prep for my bag, so I worked on cutting out the Goldenrod book cover, which I decided to make at the last minute, while Cyndi finished her prep. I started a bit before and was able to get to the point in the pattern where I installed the main zipper. I wasn’t happy with it, though and stopped, because I needed to contemplate the zipper in the overall scheme of making the bag.
It was a great day and I enjoyed sewing with someone else very much.
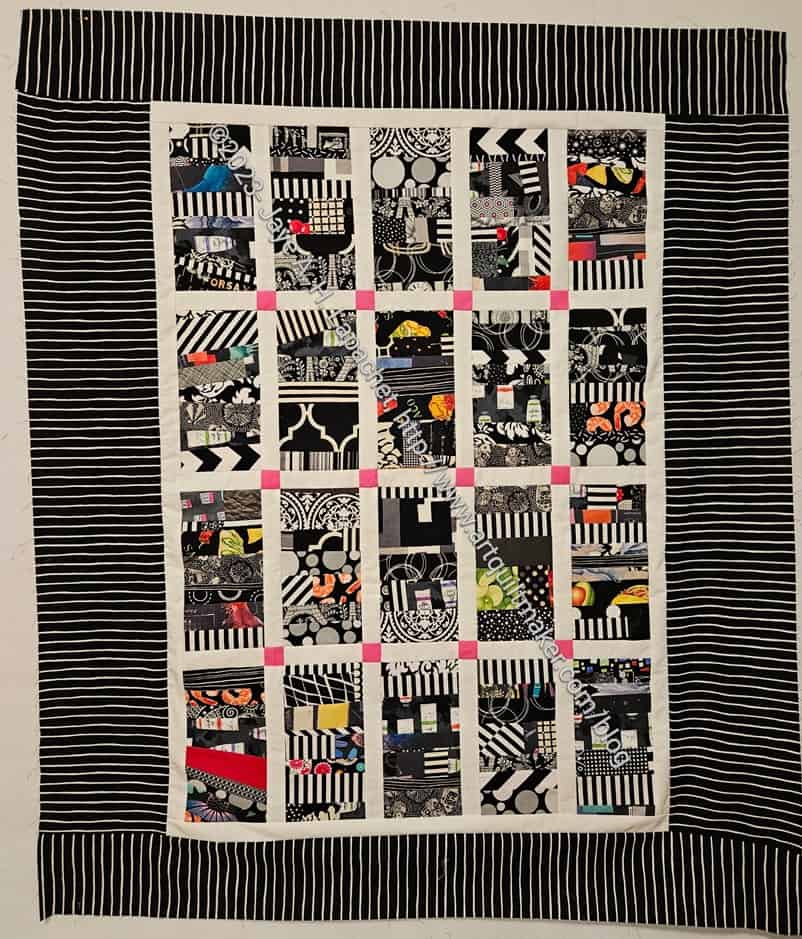
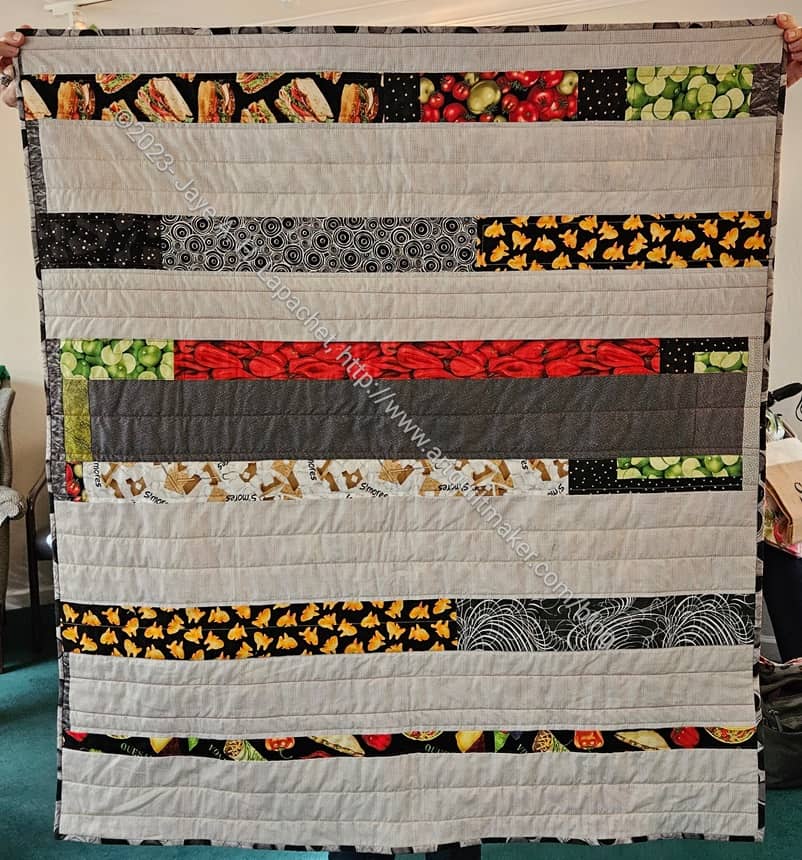
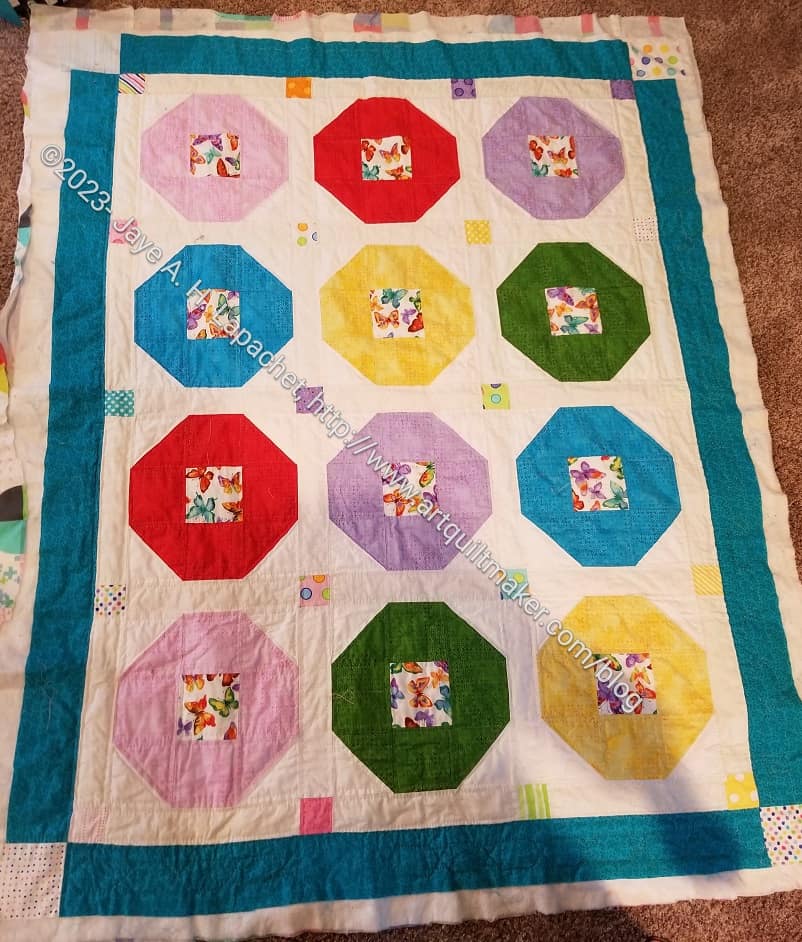
This quilt was returned to the guild’s community quilts project at last month’s meeting by Lee Ann. She named it ‘Leftovers’ after I told her the story of the three food quilts and how I make the Ends quilts.
I am really pleased that a number of my quilt tops have been finished recently.
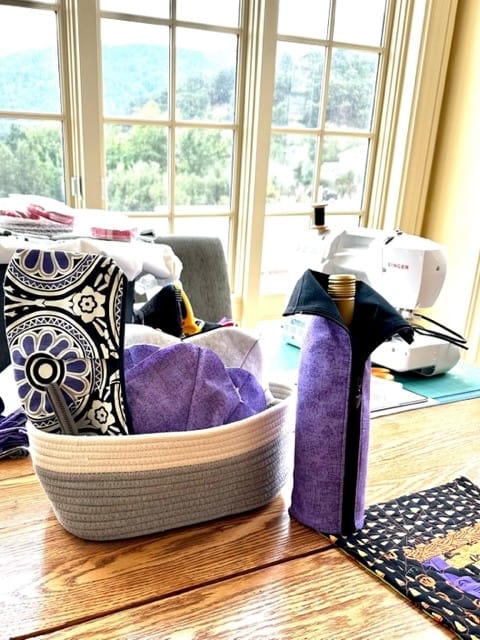
Carrie is having fun making door prize collections.
BAM Picnic themed Door Prize
This one has a picnic theme, which I think is very clever. She is using some contributions from other team members, such as an interesting pouch that Tim made. The basket is from Amazon**, but there free patterns* for rope baskets, too. They are a good project for using up fabric scraps.
*N.B. I haven’t tried this pattern so your mileage may vary.
**N. B. : Obviously, you should shop at local quilt shops and small businesses. However, if you are too busy or can’t find what you need there, I use Amazon affiliate links and may be paid for your purchase of an item when you click on an item’s link in my post. There is no additional cost to you for clicking or purchasing items I recommend. I appreciate your clicks and purchases as it helps support this blog.
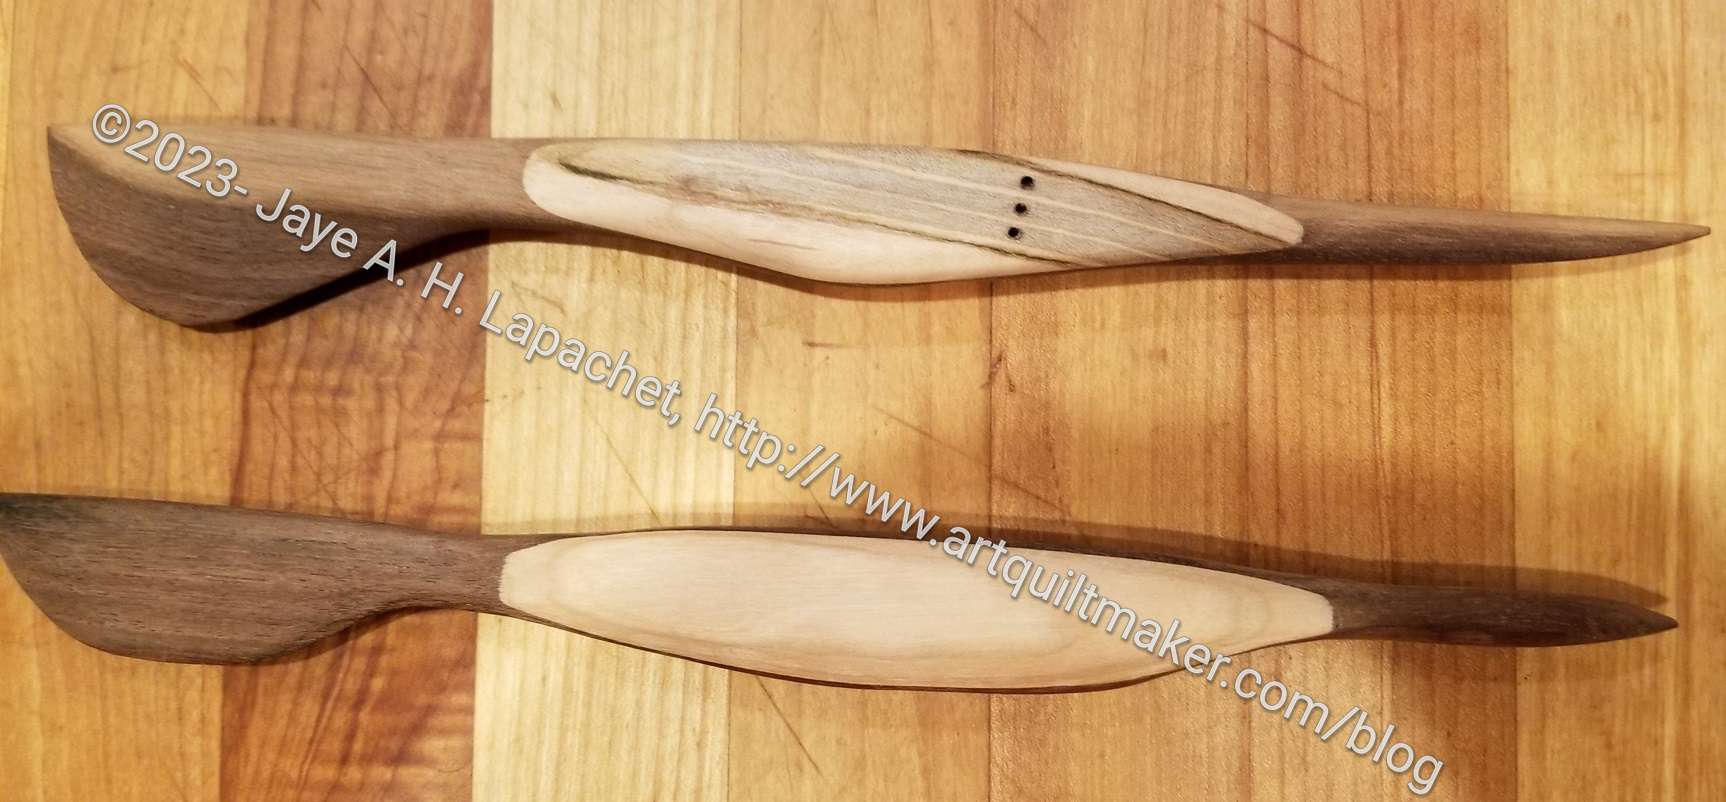
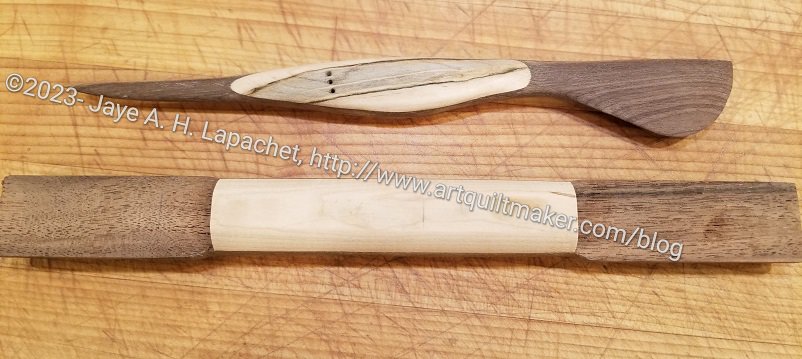
On my way home from Portland, we, again, stopped at our friends in Ashland. In addition to visiting, we were able to see how the turning tool came out. Mike did a great job. It isn’t exactly like my tool from Modern American Vintage (top), but I think it will be useful for Mary’s bagmaking. Like me when I am trying a new quiltmaking technique, Mike says he wants to try again. The tool didn’t come out exactly how he expected. As mentioned before, he isn’t going to compete with MAV, but making a couple to get it right seems reasonable.
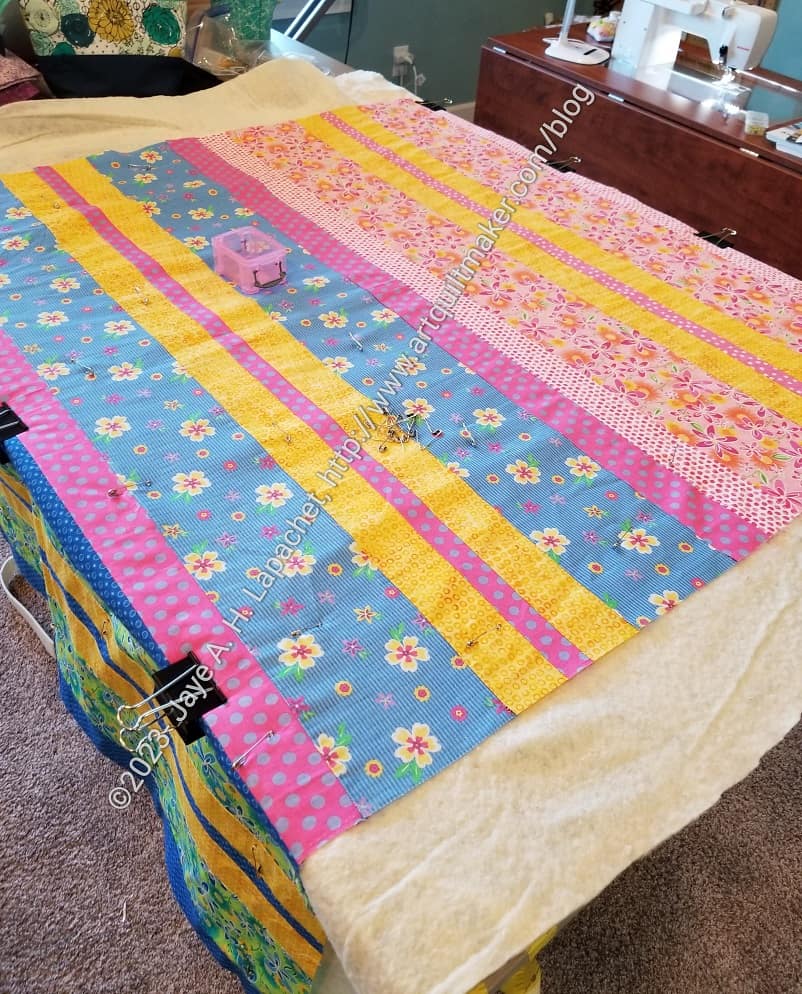
While I was visiting Mary, she finished piecing a donation quilt and then basted it. This quilt is in the same style as my Ends quilt series, which thrilled me.
The fabrics are from Me and My Sister Designs. I don’t know how old they are, so it is possible you won’t be able to find the fabrics in shops. She picked them up at the guild meeting. This is such a cheerful quilt.
I took my Mom to Portland for her birthday last week. We spent a day in Ashland sewing with a friend. Mom worked on her hand quilting project, which is almost done.
She works on this at Craft Night. Isn’t it cheerful?
I have touted the fabulousness of the Modern American Vintage tools. Since I was sewing with Mary, I brought my travel tool bag. In it was my fabulous turning tool. This was partially because I keep it in my travel bag, but I also wanted to show Mary.
Making a turning tool
We had a long talk about it, then we showed it to Mary’s husband, who has a wonderful wood shop and is a great woodworker (carpenter?). He immediately said to just buy from Modern American Vintage (which you should do!), that he couldn’t make it as well or as inexpensively as MAV. As the day wore on, he got more intrigued with the idea of the tool. By the end of the day he had started to try making one of the tools.
This is the same as deciding you want to try and make a certain complicated bag or a difficult quilt block. I loaned him the tool so we’ll see what he comes up with.
I couldn’t go to Sew Day, because I was driving my mom to Portland. Instead we had a Sew Day with Mary M on the way and that was a great substitute for the guild Sew Day I missed.
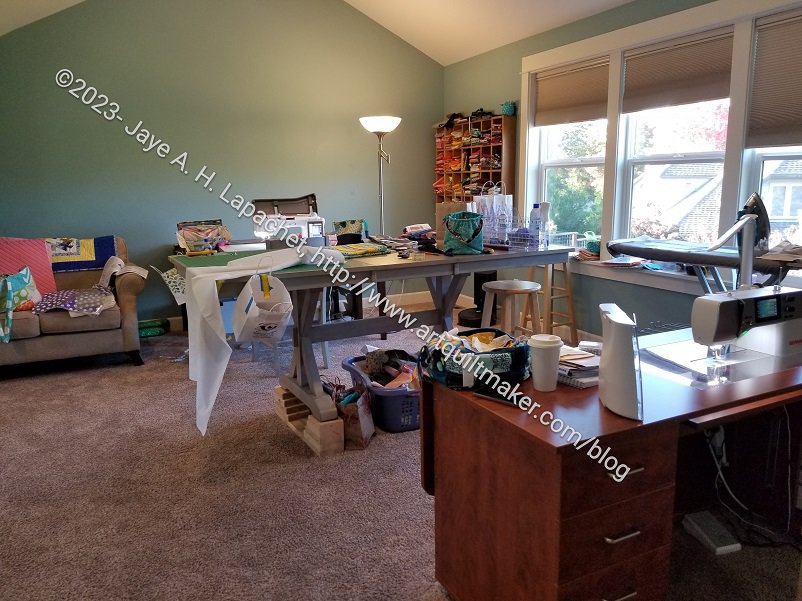
Mary M’s workroom
She has a large and fabulous workroom. We both sewed there and Mom worked on her hand project with no issues and we didn’t trip over each other.
This is only half the room. To my left is a small office area where Mom sat near the window to hand quilt.
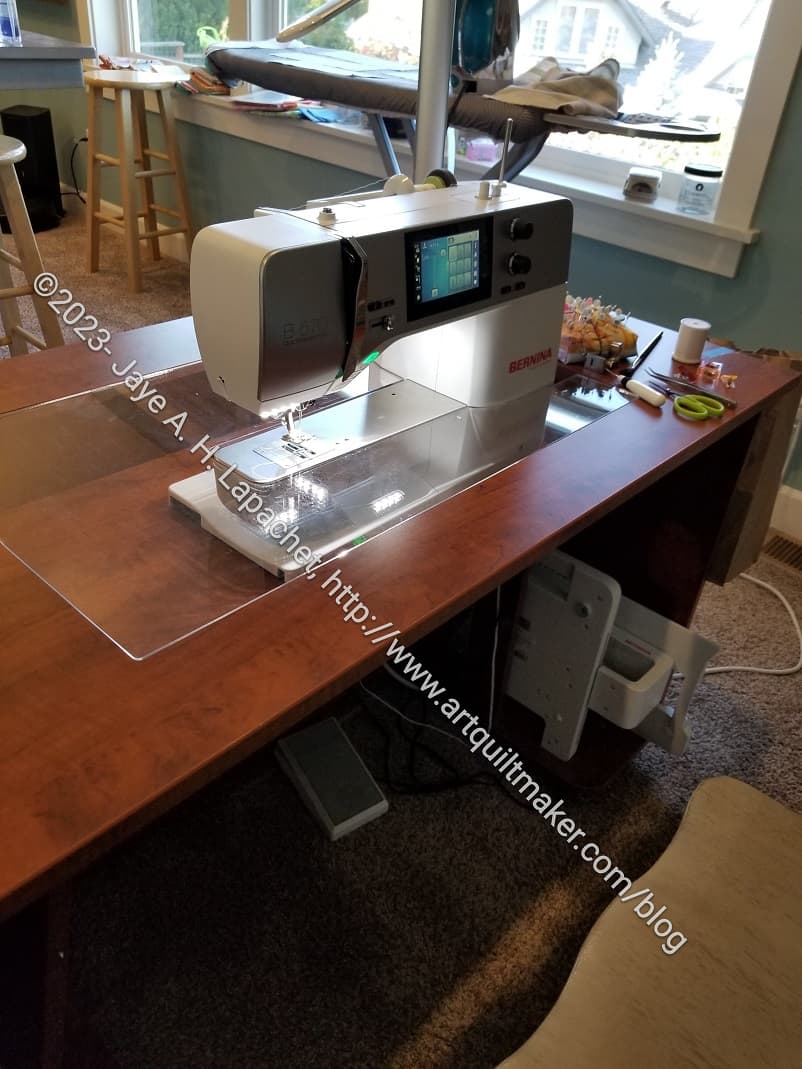
Bernina 570
You can see that she has two very nice machine, a Bernina 570 and a Crescendo by Baby Lock.
Berninas were out of favor, sort of, for awhile, but I know 3 people who have purchased one in the past year or so. Mary bought this machine, the embroidery module and the table from a friend who decided to go back to baking. She was still getting used to it when I was there.
Mary’s Crescendo
I sewed on her Crescendo. I never tried a Baby Lock before, but really liked the machine. I was quilting some parts for bags and the machine helped me speed through the work.
I have seen the ad on the YouTube video I watch for the invisible join tutorial. This is a very helpful video on how to join the ends of binding that you may have missed when I posted it the first time.
I used the automatic cutting feature, which I have never used before, the laser and the button for foot up and down. All of these features worked together to make quilting some bag parts much more palatable. It is also fun to try a different machine.