One of the things I learned from testing new sewing machines was about the dual feed feet. I am in love with the HP2 foot available on the Janome M8 Continental and the Elna 792 Pro Ex. I came home from my session the other day and investigate the dual feed on my current machine.
While it probably comes as no surprise to you, I was a little surprised. Not a lot, because I do encounter the dual feed mechanism periodically.
I went through the manual and came across some notes I made about needle position, so I must have used it before. I tried it out on one of the Enigmas on which I am working. The overall theory worked well, but the width of the foot was kind of a problem.
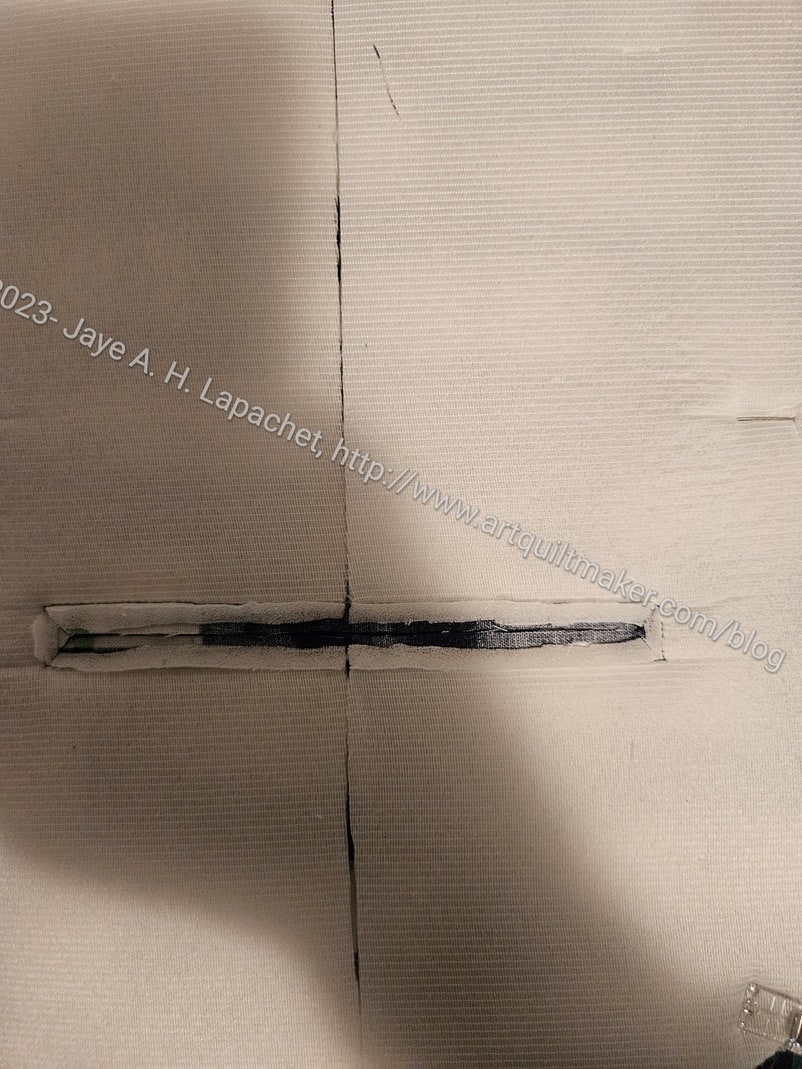
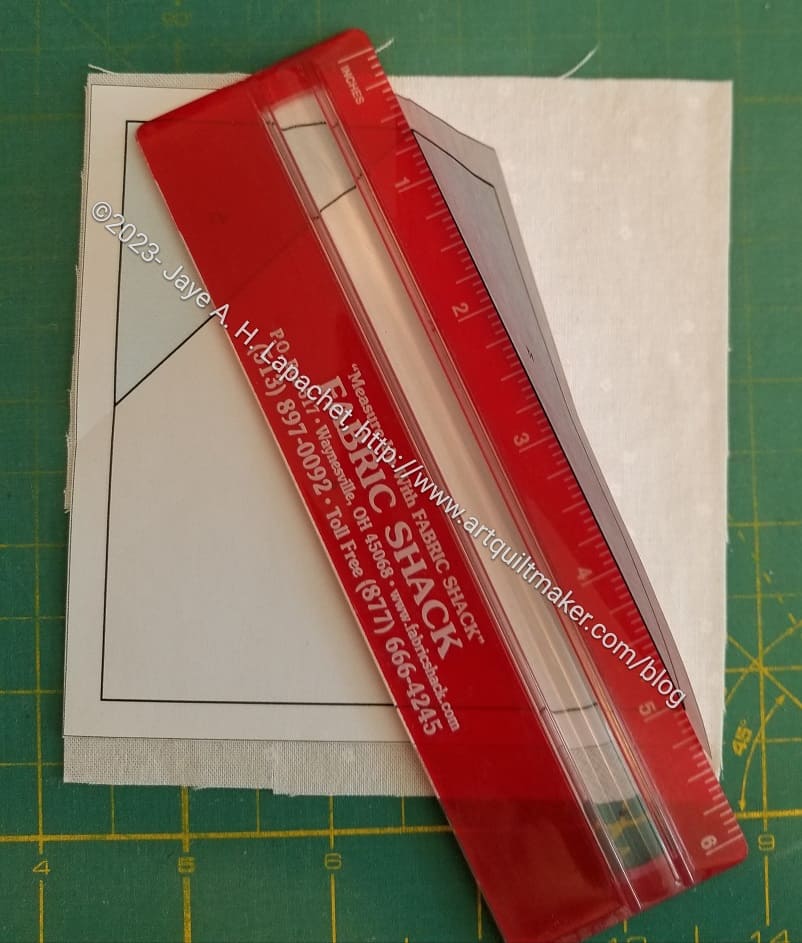
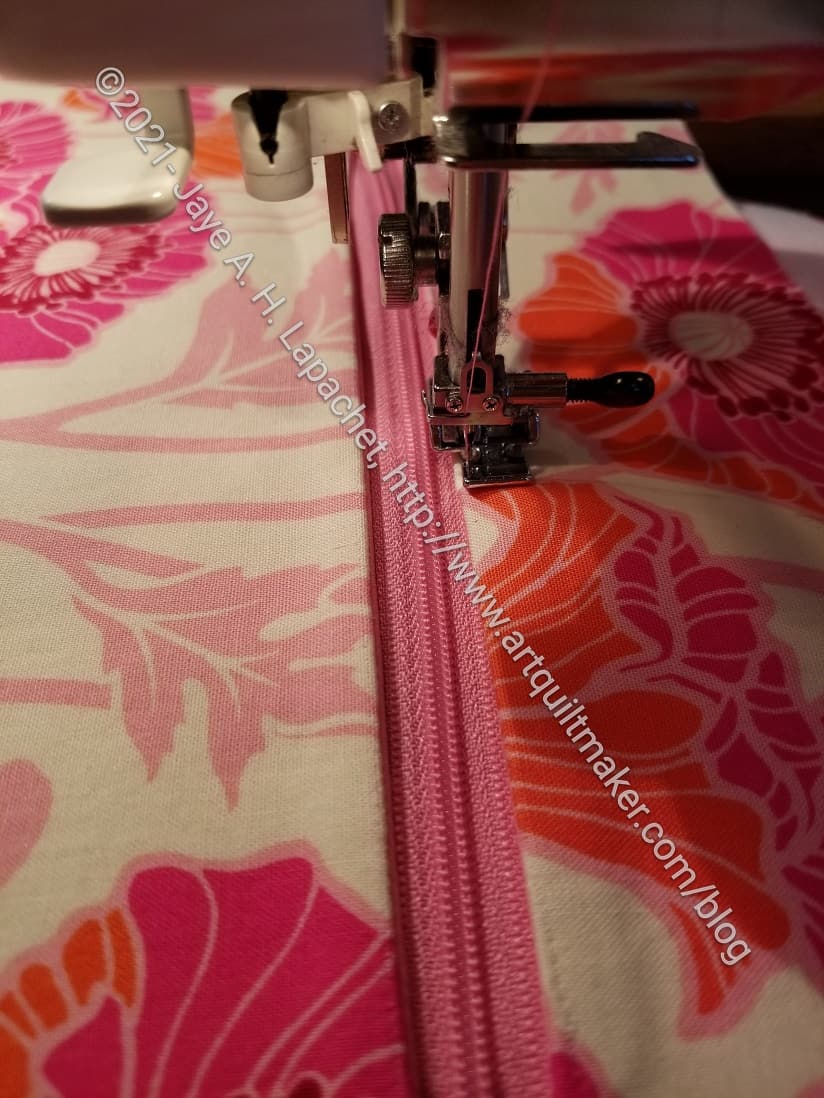
Also, the foot you see is, presumably, the quarter inch dual feed foot. I had to adjust the needle position because it doesn’t make a quarter inch seam out of the gate. It is possible it is a 5/8ths inch foot or something else, but my recollection is that I bought a 1/4 inch Acufeed/dual feed foot at some point.
Anyway, I tried it out to replicate what I experienced on my testing session and I could sort of do it. The HP2 foot, a feature of the Elna 792.. and the Janome M8 is narrower and that works better for me on the Enigma bags.
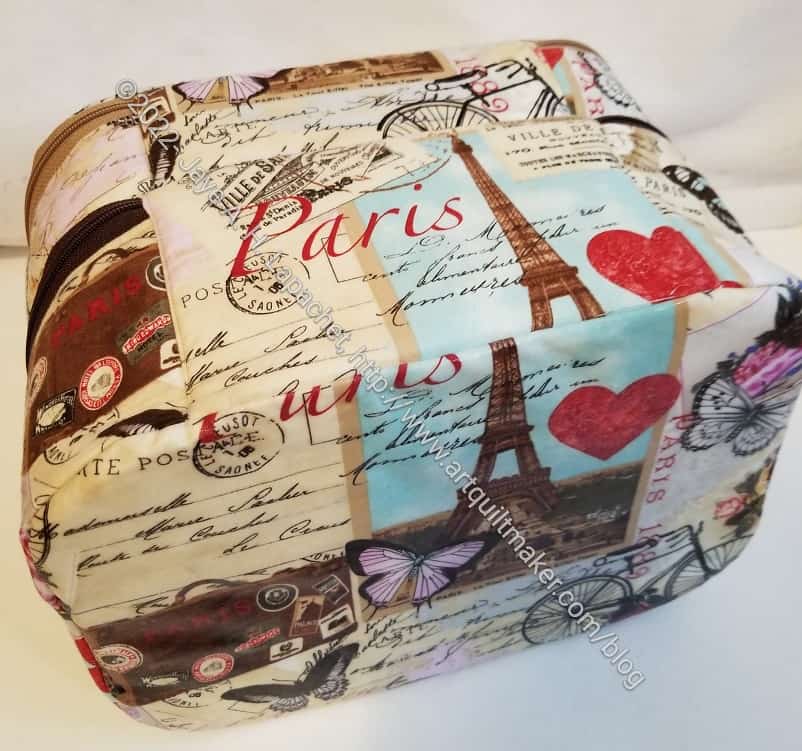
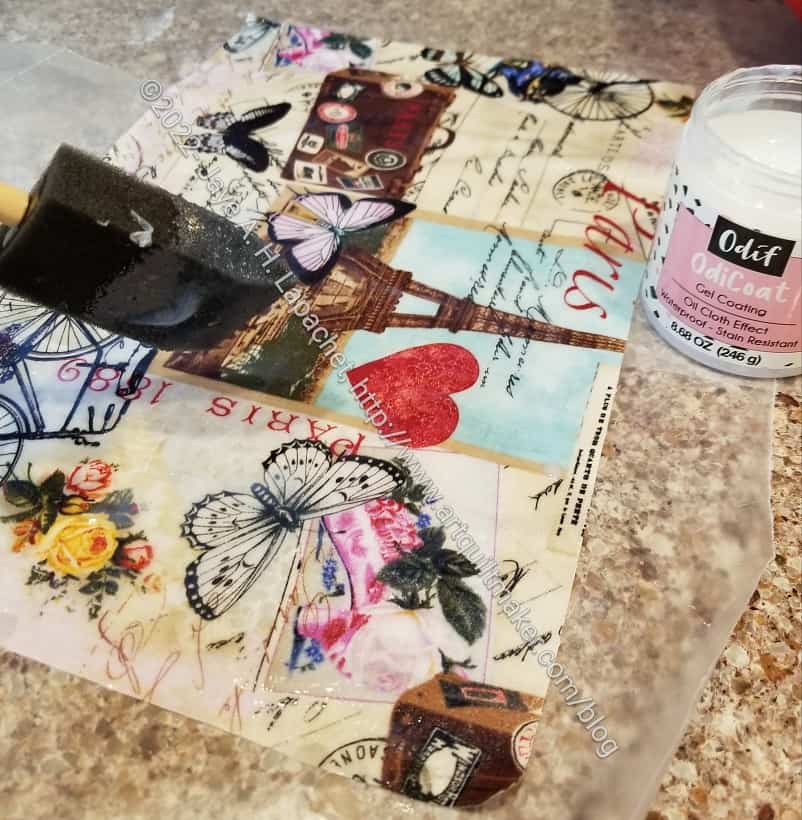
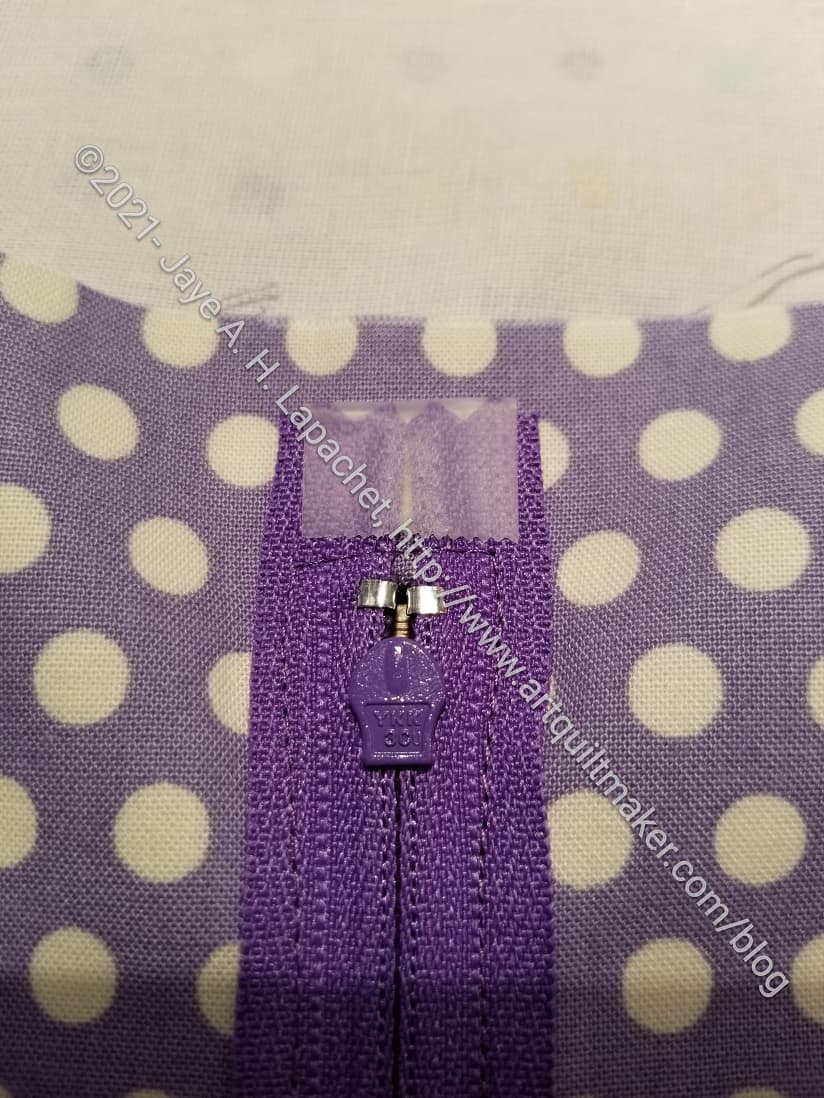
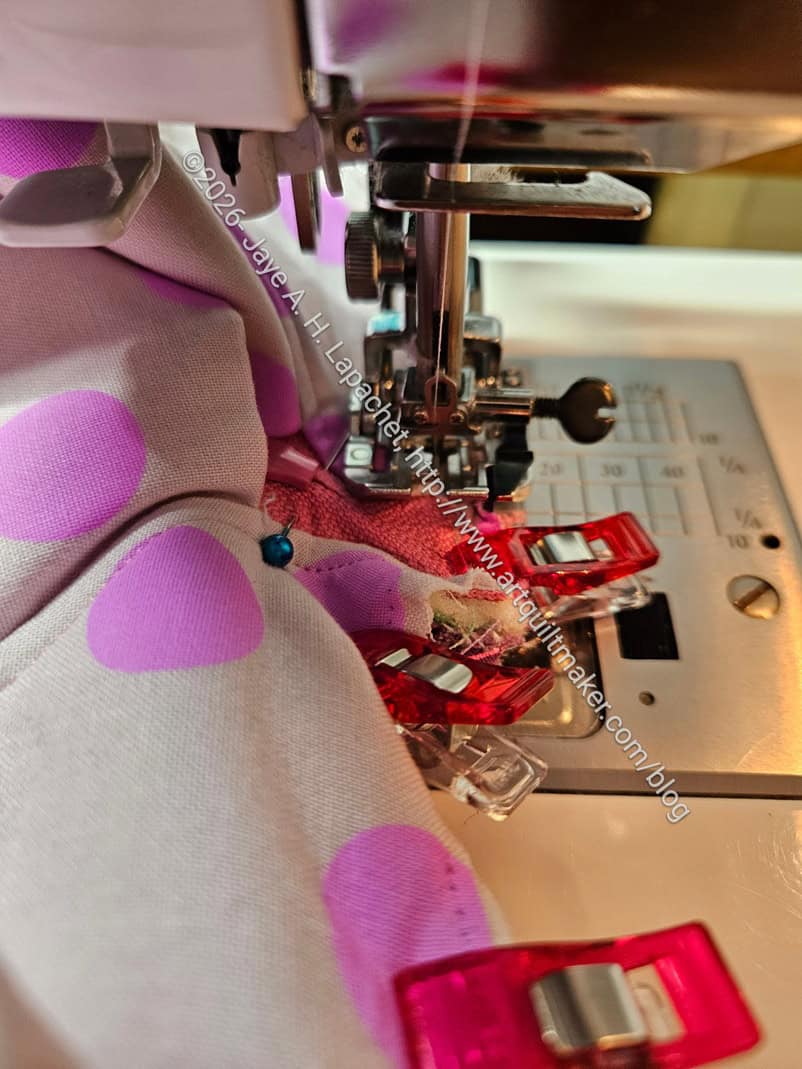
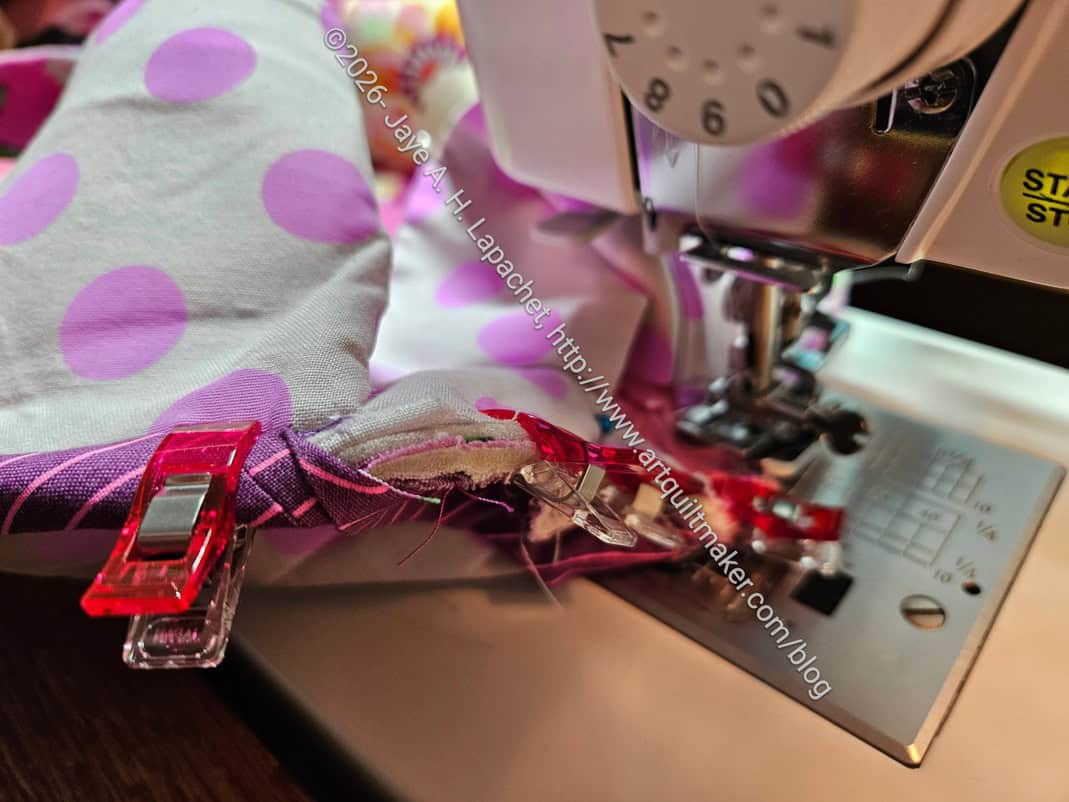
The thickness is really a challenge and on this particular bag, attaching the side panels to the bottom in the zipper area makes for some additional grey hairs. You can see on the photo above that I worked with the current foot to make it work. I think the issue was that I could not find a button or feature that would engage the dual feed. Perhaps the 6600 doesn’t have one?
I might try to use the dual feed to quilt (shock! horror!) the 1-2-3 Mosaic table runner.