An accurate 1/4 inch seam allowance on your sewing machine (hand work is different) is imperative for most quilt projects. Still some quiltmakers struggle. Below are some tips and, even further below, are some resources.
Supplies:
- sewing machine
- your usual thread
- Seam guide or quarter inch foot
- fabric
- Ruler
- Optional: blue painter’s tape or masking tape
Mostly, I will provide tips and tricks. You can watch the videos below to set up and test your machine to sew an accurate quarter inch seam.
First, decide if you care. If you don’t care, move on with your life. I am not saying that flippantly. We are all busy and if sewing an accurate 1/4 inch seam allowance is something you don’t care about, then go sew something.
Second, be prepared to play around. You’ll have to do some testing. Think of it as playtime.
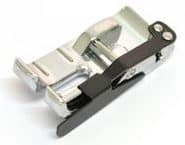
Third, you will need some kind of seam guide. A foot included with your sewing machine (or available for purchase separately) is an option.
I use the Janome quarter inch foot and interchange the same foot with both of my machines. I have 2-3 of them, but any one of them works on both of my machines. When I had a Singer, I stacked up layers of tape to make a ‘stop’ or wall at the quarter inch mark.
Dritz has a magnetic seam guide*. I used one of these and found that, when it stayed in place, it worked.
For Juki machines, Jen Carlton Bailly recommends, a “T” gauge*. This screws into the needle plate somehow. I have seen this in use, but have not used it myself.
These are a few of the many, many products available. Check around with your friends and ask your machine dealer what they recommend.
Try different methods to see what works for you.

Tip #1: If you use a seam guide, use the seam guide
It is easy to allow your attention to wander away from what you are doing. If you are using a seam guide, keep the fabric right next to the guide.
I don’t find this difficult, though I did notice the YM not attending to his project and the fabric zooming off to the left nowhere near the seam guide.
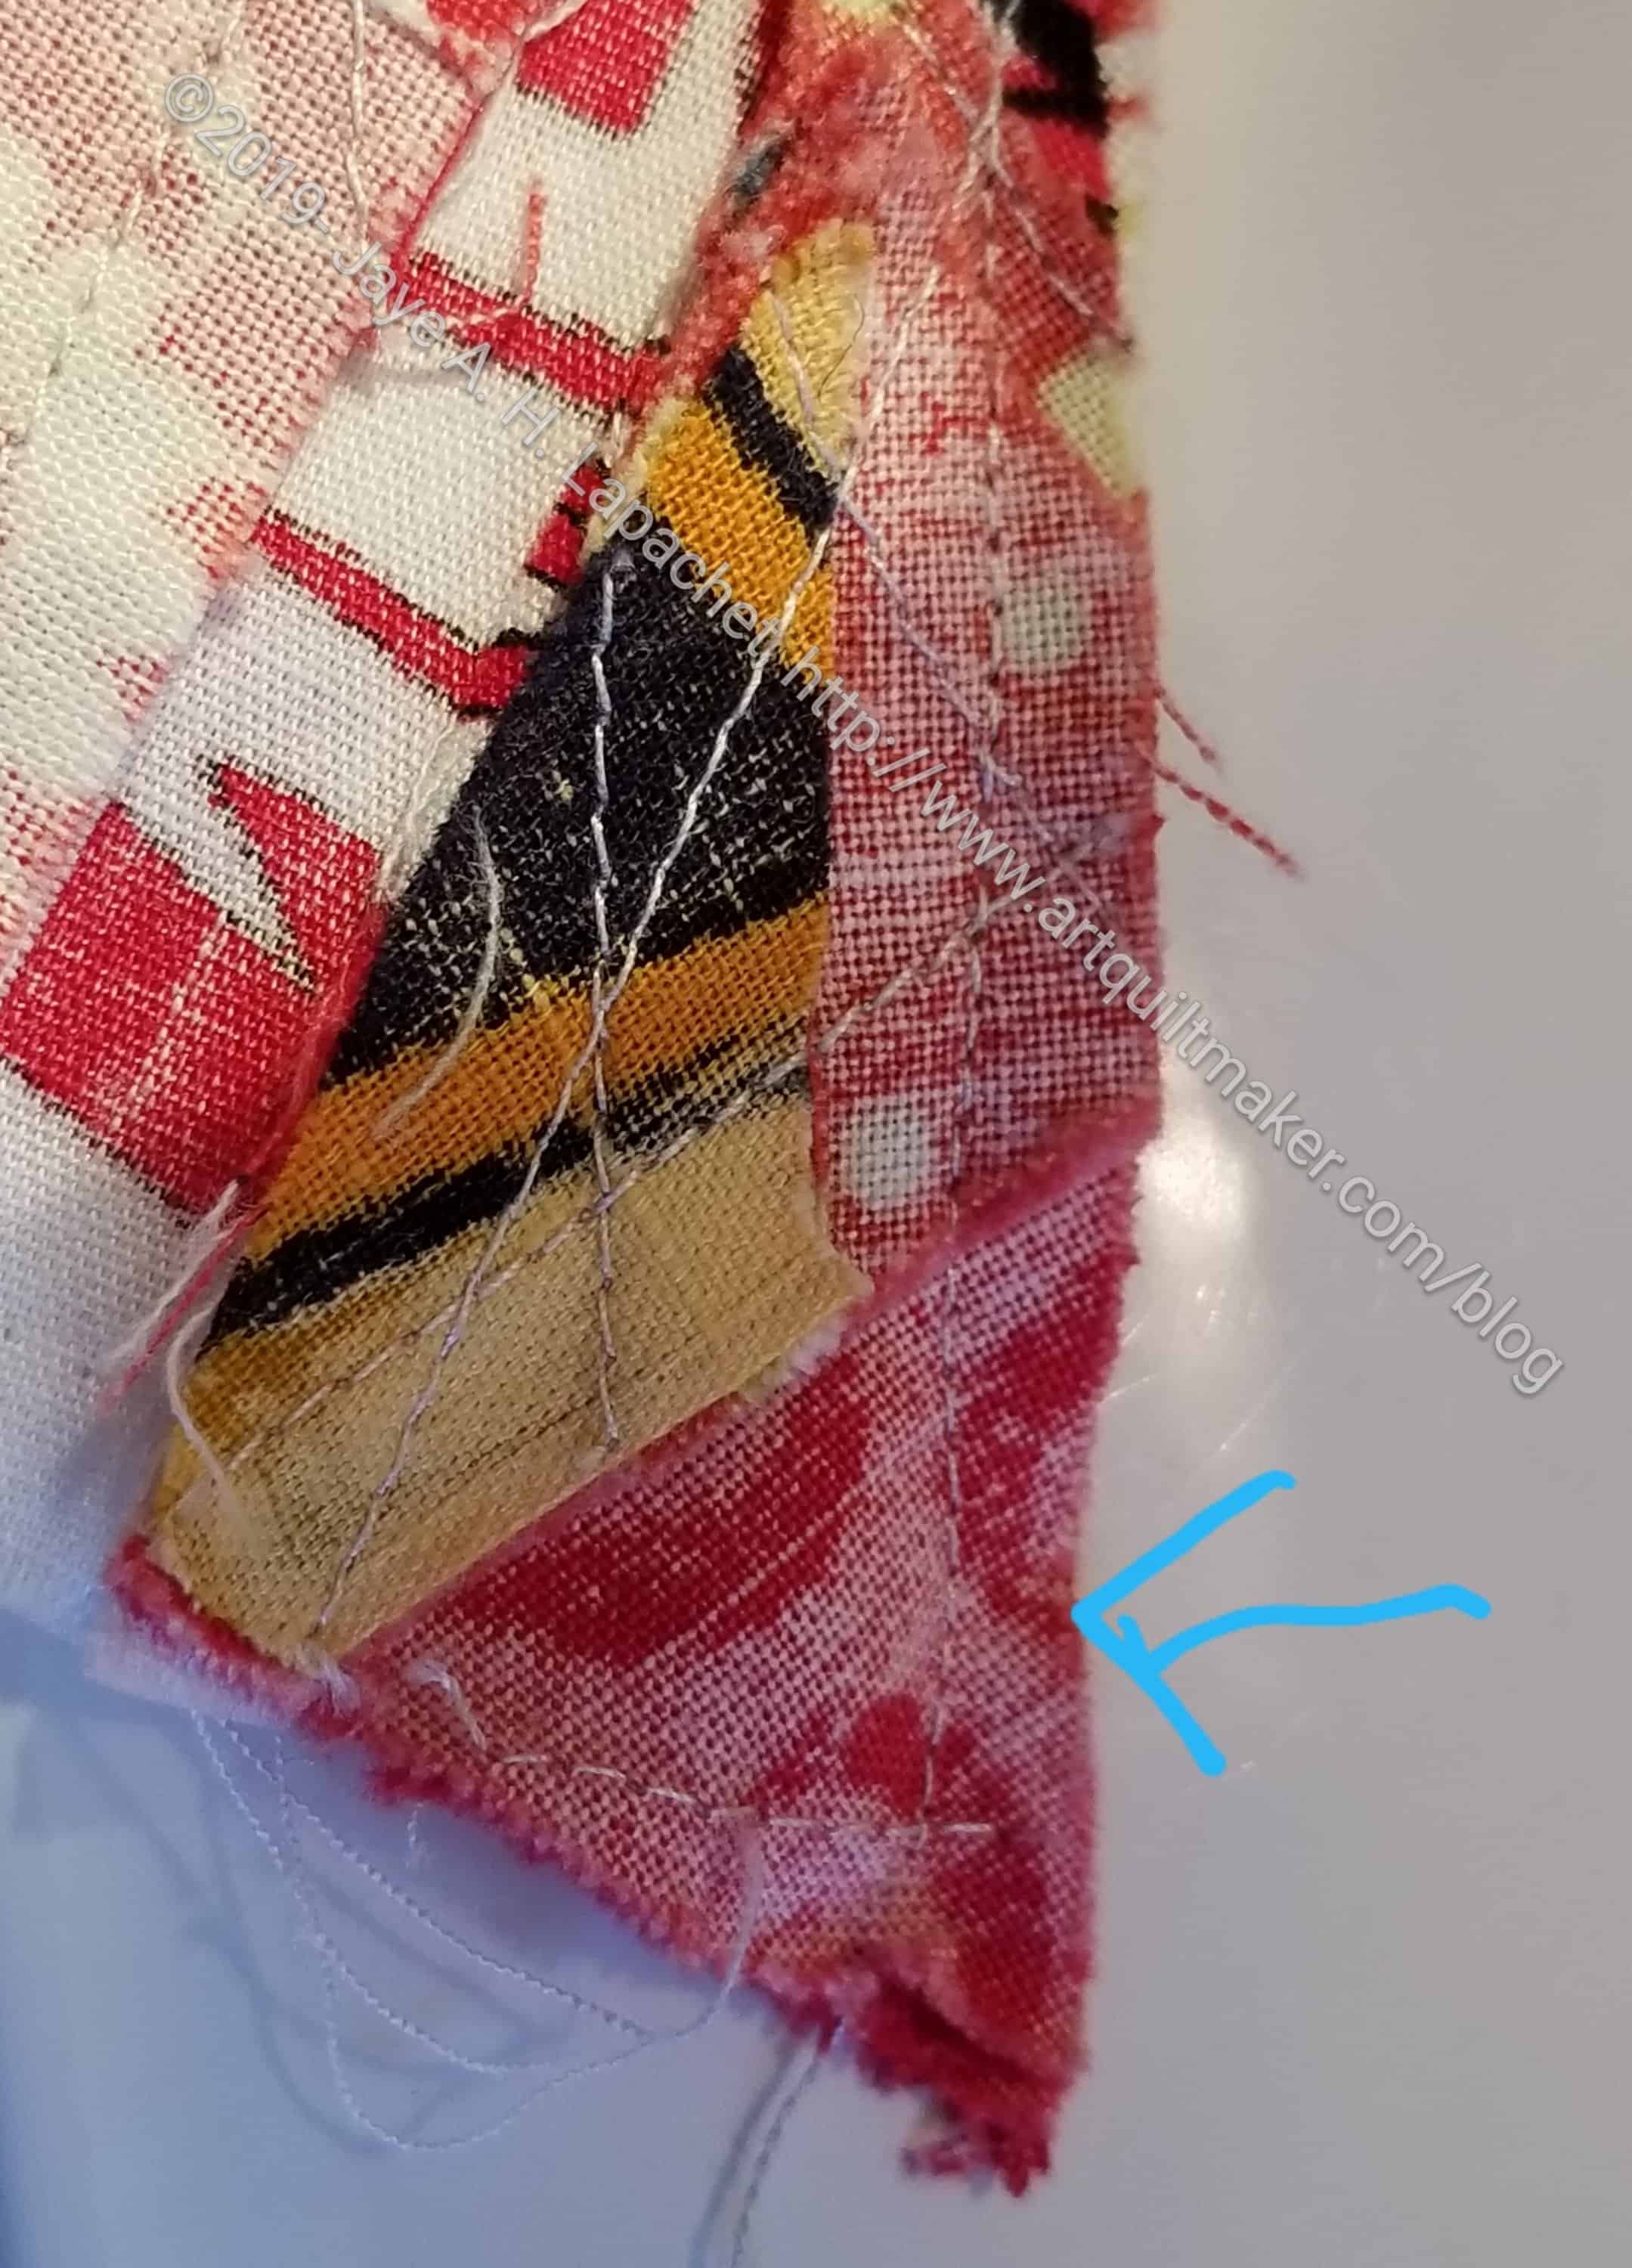
Tip #2: Improv piecing is a problem
In general improv piecing is not a problem, but if you are attempting to go through many layers AND sticking to a quarter inch seam allowance, it is difficult. I ran into this when sewing the Red Strip Donation Top #2.
You can see the seam line wanders in the photo (left). When I am sewing tiny pieces together, the layers add up. This is what happens to me using my machine when I am trying to go through too many layers. This can also happen with blocks when a lot of layers come together in the center of a block.
Tip #3: Press open to reduce bulk
I don’t believe in pressing my seams open as a general rule. However, if you have a lot of bulk that is interfering with your seam allowance, pressing open can help. Have a reason to press open separate from “that’s what modern quiltmakers do.” I also press my seams open on the backs of quilts to reduce the bulk, which is the problem with accurate seam allowance and problems with longarm quilting. If you press open, you need to backstitch every seam that will not be crossed by another. That means that every improv quilt I make gets a line of stitching around the outside of the quilt. Every quilt without a border also gets a line of stitching around the outside. If you don’t, seams can unravel. On the edges both open seams and closed seams can unravel.
Tip #4: Machine markings
The measurement markings on your needle plate can help you keep your seam allowance accurate. While not a panacea, it is another aid when you are struggling to keep your piecing straight.
Tip #5: Adjust your needle
Many machine default to a 3/8ths or 5/8ths inch seam. Even pretty basic machines allow the maker to move the needle. If your machine has this feature, it is an easy way to get an accurate quarter inch seam. You just have to remember to do it when you turn on the machine!
Go through the process of testing your machine for an accurate quarter inch seam. Once you have it and have your system for sewing the accurate quarter inch seam, your patchwork will be better.
Tip #6: Use thin thread
Thread takes up space in the seam. If you are off my just a bit, then use thinner thread, like Aurifil 50 wt. Bottomline is a thin thread as well.
Resources:
- All People Quilt: video on accurate quarter inch seam
- Connecting Threads, by Deborah Norwood: How to Sew an Accurate 1/4″ Seam Allowance
- Crafty Gemini: 3 Tips for Sewing 1/4″ Seam Allowance
- Quiltville/Bonnie Hunter: Making a Seam Guide
- Quiltville/Bonnie Hunter: Scant Quarter Inch
*I use affiliate links and may be paid for your purchase of an item you click on. There is no additional cost to you for clicking or purchasing items I recommend. I appreciate your clicks and purchases as it helps support this blog.
Great tips! Years ago I bought a Little Foot 1/4″ presser foot, probably because it was cheaper than the Janome one. And it worked very well for a long time, until it didn’t. It was made all out of plastic, and I think it must have worn down, because it was no longer giving me a 1/4″ seam. I bought the Janome one and I’m back to being accurate (when I’m paying attention of course). My point is, don’t get frustrated and give up when something that’s always worked stops working.
Jaye, this was really good. I have a number of feet and I was not sure that any of them is/was accurate. Bonnie Hunter’s suggestion to drop the feed so you can really measure was good. I cannot adjust my needle like Crafty Gemini suggested. I experimented and my scant 1/4″ foot is much better than the 1/4″ foot for my Pfaff. Thanks.