If any project required attention to process, this one did.
My friend has been talking with me about helping her make a bag. I have been putting it off because of work and other things. Since I have a break from a lot of responsibilities, I felt it was time to get the bag made.
I had hoped that I could convince my friend to use a pattern, but she was certain she wanted to copy the bag she took traveling. I am a good bagmaker, but beyond cobbling together some basic tote bags or modifying patterns, like the Petrillo hack I created, I have not had a lot of experience creating new patterns. I was concerned about the pitfalls I wouldn’t even know I was facing.
We met a few weeks ago and I was able to get a better idea of what she was thinking. That meeting and seeing the bag allowed me to think about the bag and process before we met the other day. I had a basic plan and figured that I would work things out as I went along.

The worst part was getting started. The best part was that my friend didn’t have many preconceived notions about how the bag would look. We kind of muddled along and resolved issues as they came up.
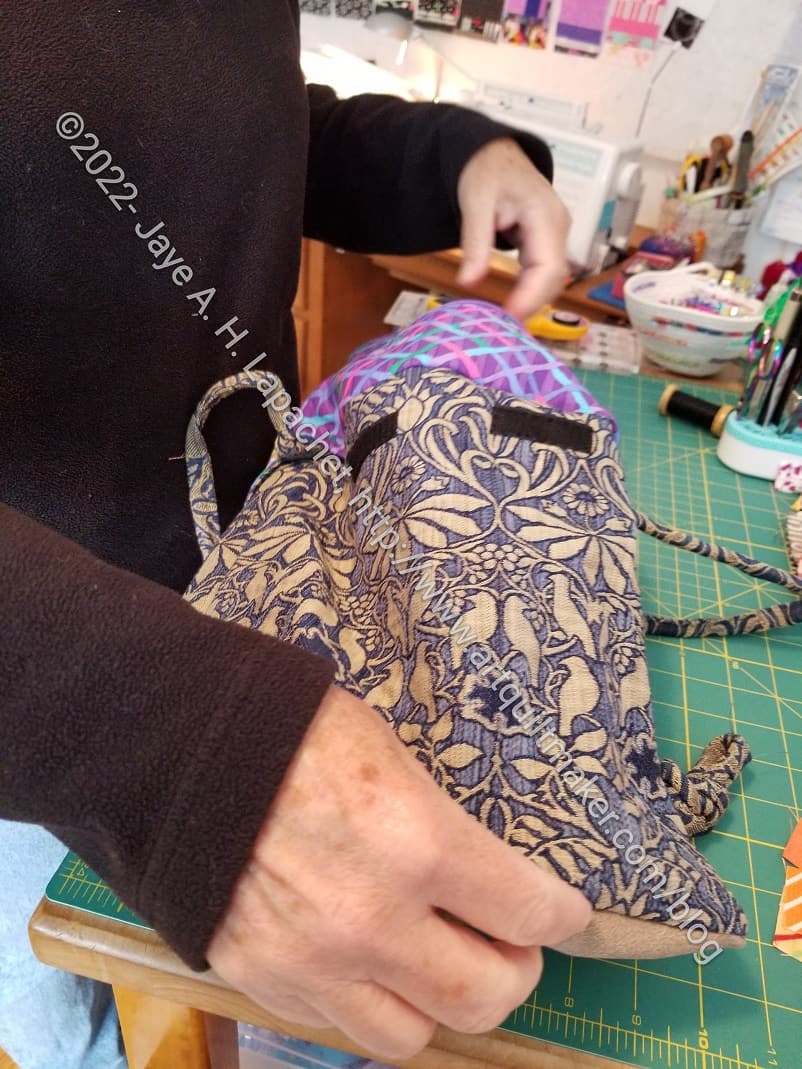
The first issue was the fabric. She has a limited piece of upholstery fabric that was leftover from recovering her living room chairs. I have done a few things with heavier fabric, but I can’t think of a project I have done with upholstery fabric, including a pencil roll, but this project was different in that I would have to deal with layers of upholstery fabric. I tried to minimize it, but wasn’t always able to.
Next was the bottom. My friend wanted to use a thin piece of leather (maybe suede) for the bottom. This made sense, especially since she wanted to use it for travel. My Microtex** needle was not happy. Shockingly, I had a leather needle**. I have never used these before, but did on the bag bottom and it worked.
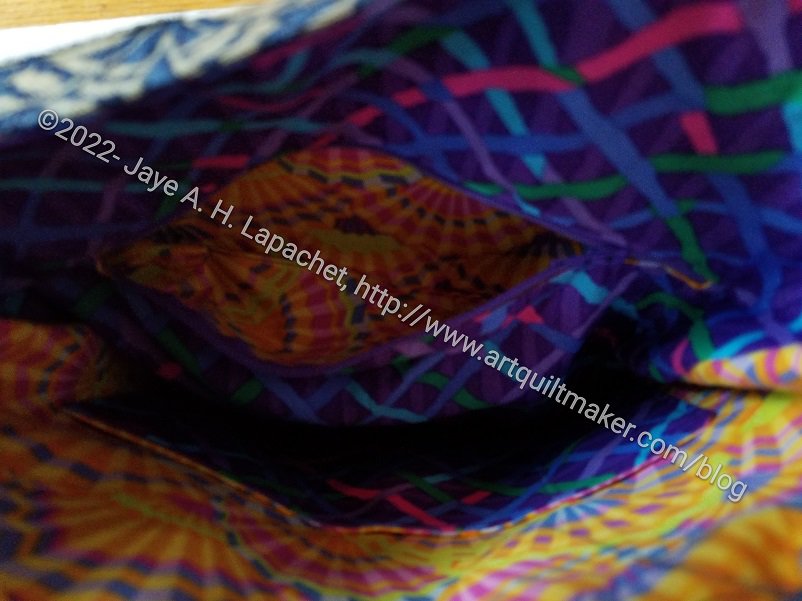
The lining was fairly straightforward. I knew what I wanted to do, which included adding an internal zipper pocket that I could use to turn the bag right side out.That worked perfectly, though I had to look up a couple of references to make sure what I had in my mind would work.
The turning of the bag is very satisfying, so I had my friend do it. It was her bag, after all and I thought she would get a kick out of the experience. She did.
I used my friend as studio assistant. I asked her to mark the lines for the zipper pocket, press seams open and sew on Velcro. These are all tasks I didn’t want to do. She did a lot of pressing and marking while I did most of the sewing. I also wanted her to be involved and since she had not sewed since junior high, I preferred to do the sewing. It is my machine after all.
When we got to the handles, she brought out the idea of using rope (like clothesline weight rope) for the handles. I wouldn’t normally do that and really didn’t have a clue how to do it. After searching the web, I came up with a great tutorial that expanded my skills. The result was what my friend wanted, too.
I used the Cotton Candy pouch pattern to remind me how to put the outside of the bag together with the lining.
I used the Petrillo bag pattern to make and install the flap.
I used the The Complete Bag Making Masterclass : A comprehensive guide to modern bag making techniques** by Mrs. H for some information on attaching the straps.
I used the RsIsland Crafts video on turning a bag through the internal zipper pocket to remind myself how to do that.
I used the Seaman’s Mom corded handles tutorial to make the handles.
I am pleased with how the bag came out, though it is certainly not perfect and it is not a bag I would use. My friend was happy and that is all that counts.
**Obviously, you should shop at a local quilt shop. However, I use affiliate links and may be paid for your purchase of an item when you click on an item’s link in my post. There is no additional cost to you for clicking or purchasing items I recommend. I appreciate your clicks and purchases as it helps support this blog.
Thanks so much for these links. I will watch the one on putting the closing seam in the interior pocket until I understand it!
Thanks so much for reading! It never seems like it will work, but it always does. Try it with a small pouch first and you will see. Let me know if you want to talk it through via zoom.