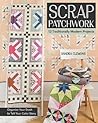
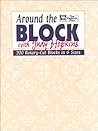
 Around the Block with Judy Hopkins: 200 Rotary-Cut Blocks in 6 Sizes by Judy Hopkins
Around the Block is a 1994 book and one of my favorites. It allows my imagination to fly.
This book is a block dictionary not a project book. The directions for making blocks come in 6 different sizes. There are also worksheets for various settings (pg.133-134), but no specific projects as more contemporary books include. Readers will have to think when using this book. It provides blocks as inspiration. The evolution of this format is The New Quick & Easy Block Tool, which I reviewed a year ago.
The text starts with a very short introduction (pg.3) that is firmly based in the pre-MQG time frame. Judy Hopkins writes “my fondness for traditional patterns goes hand in hand with an unwavering commitment to quick, contemporary cutting techniques.” (pg.3) This is the first book I remember supporting rotary cutting techniques. My first quilt class used templates and scissors so this book gave me hope that I could complete projects faster than once every five years.
The introduction explains what a revelation this book was when the author writes “while there are numerous comprehensive block books on the market, many of them are reference books, geared towards pattern identification – tantalizing collections of possibilities that are out of reach of the quilter who is unwilling, or unable, to do the calculations necessary to translate small line drawings into usable quick-cut blocks.” (pg.3) I have a few of those such as Maggie Malone’s 1001 Patchwork Designs**. Hopkins describes this book as “…different. Designed for the quilter who loves both old patterns and modern rotary cutting techniques, it provides clear, complete rotary-cutting instructions in the multiple sizes…” (pg.3). She was very forward thinking when she wrote this as we now see many quilt patterns using classic block patterns all of which have rotary cutting instructions even when they are oversized or slightly different than the classic block. The introduction is very clear about what the book is and is not.
The next section is called ‘Using the Block Patterns’ (pg.4-6). The section explains how the book is laid out and how to use the charts. One useful piece of information included is that the underlying block structure/grid is identified (pg.4). If readers never use the cutting instructions, this piece of information is useful for understanding other patterns and how to combine blocks to make a successful quilt. The block sizes range from 4″ or 6″ to 12″ or 14″.
The explanation in this section uses one block chart as an example. The author methodically works through each section of the chart (pg.4-5) to explain how to use it to make a block in the size you want. The illustration and information of each chart makes the blocks really easy to cut and sew for visual learners.
Variations are included in each chart. It makes me think this was one of the foundation books, or pre-cursor books to the MQG movement.
‘Rotary Cutting Individual Pieces’ (pg.6) provides a brief description of rotary cutting.
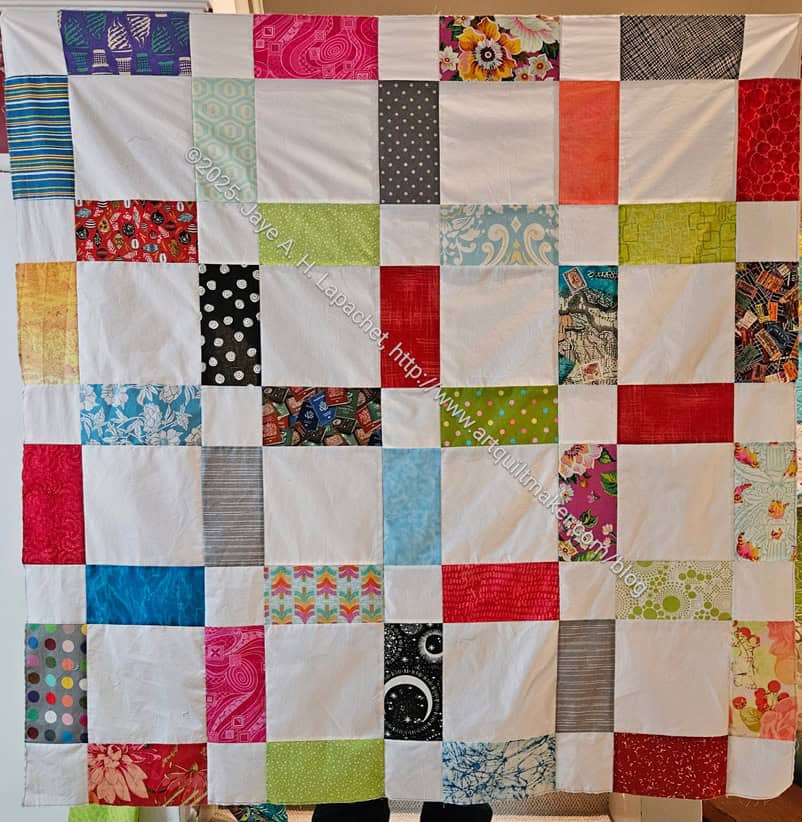
‘Planning Your Quilt’ (pg.7-8) starts with “you almost certainly will want to use these patterns to make quilts, not just blocks” (pg.7), which may or may not be true. I have done block exchanges where the blocks were just an exercise in color and never amounted to a quilt or other project. Block exchanges can be a great way to do a fun activity with a friend. The author gives recommendations on how to design a quilt with blocks.
This section talks about settings, calculating yardage, quilt plans and provides a list of standard quilt sizes. Judy talks about using the charts to make multiple identical blocks. Of course, we now have tools such as Electric Quilt and Adobe Illustrator which allow quiltmakers to design quilts, calculate yardage and change colors or fabrics easily. The section also refers to several books that may be helpful in various steps of the quiltmaking process. I like this, because it means that the author acknowledges that the book is not a complete guide to quiltmaking.
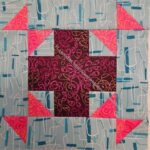
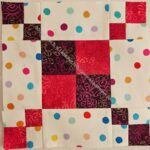
The ‘Gallery of Blocks’ (pg.9-28) displays all of the blocks, for which directions are provided, in color. The colors used are all solids and not to my taste, mostly. It is, however, nice to have them in color to give the reader a different view of how the blocks might look. The name and page number for the cutting chart is included with each illustration.
‘Block Patterns’ (pg.29-128) follow. Each page has two patterns/ charts of block instructions and includes about six sizes. The sizes vary based on the block’s grid structure, there are always a combination of small, medium and large blocks. Looking at the blocks in this section always makes me see something different. I love this section as it really gives me the information I need to make a block without a lot of extraneous words. The visual element of the charts is super helpful.
The last part of the book is ‘Assembling Your Quilt’ (pg.129-134). The section includes information on squaring up blocks, straight and on-point sets, sashing, borders, mitering corners and finishing. The ‘Finishing Your Quilt’ section (pg.132) refers readers to other books, as mentioned above, with more comprehensive information on the topic. I approve!
There is also a ‘Block Index’ (pg.135) and a bibliography (pg.136).
This is a great book for anyone who likes to make quilt blocks. Although it is an older book, it is super useful. I highly recommend it to anyone who wants to make blocks or practice cutting and piecing.
Nota bene: This book is out of print, but has been been reprinted with v.2 and v.3 in a book called 501 Rotary-Cut Quilt Blocks. You can also get a used copy. Look for it in used book stores. It is a very worthwhile purchase. I would have a hard time living without this book.
**N. B. : Obviously, you should shop at local quilt shops and small businesses. However, if you are too busy or can’t find what you need there, I use Amazon affiliate links and may be paid for your purchase of an item when you click on an item’s link in my post. There is no additional cost to you for clicking or purchasing items I recommend. I appreciate your clicks and purchases as it helps support this website.