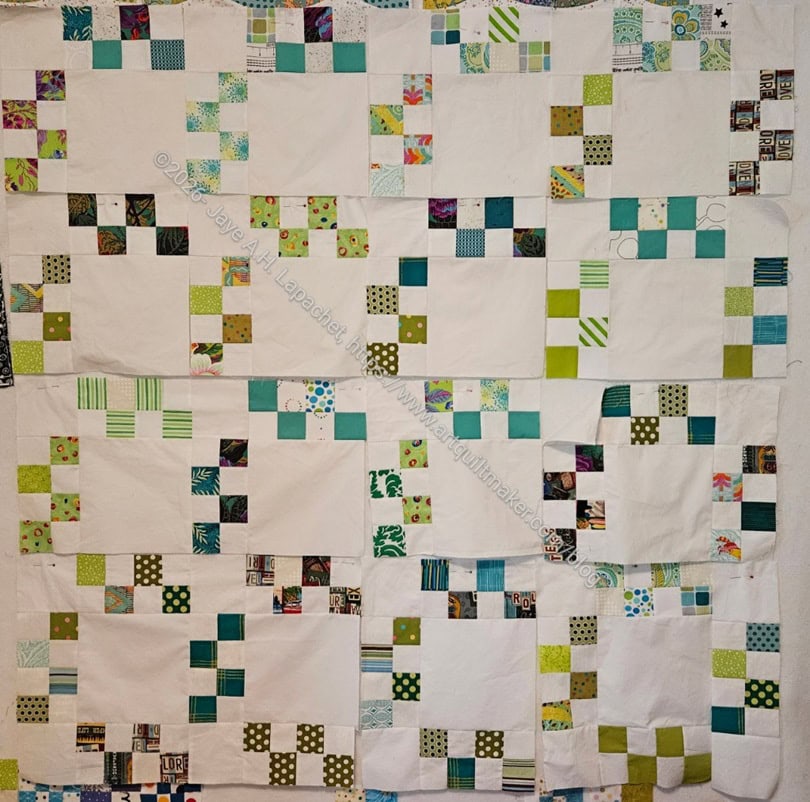
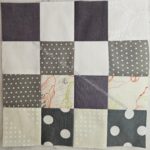
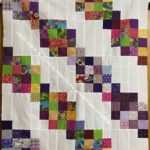
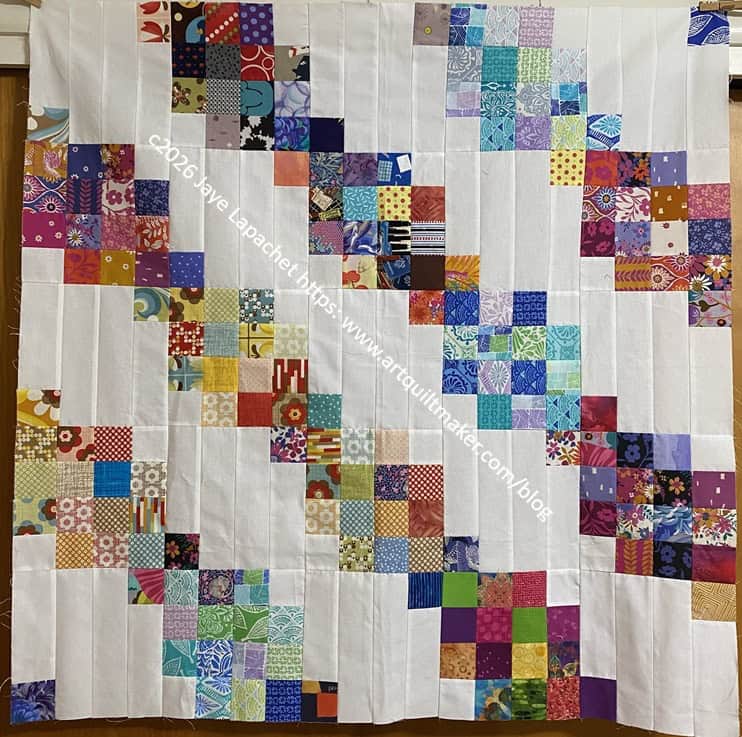
I have been collecting various blocks using 2.5 inch squares for forthcoming donation quilts. I finally had enough of the green half 16 patch blocks to make another Sidewalk quilt.
I started putting the blocks together in chunks on my small design wall, but couldn’t look at the whole thing until Cool Four Patch Fun was off the large design wall. I did a fair job spreading dark and light greens across the quilt. I don’t think this will take me very long to put together. I might have it done for the next meeting.
There is a lot of white in this quilt design. I think I need to try one where the large center blocks are a different color. White isn’t great for a donation quilt and I am sure I can find enough of whatever color to make a good looking quilt.
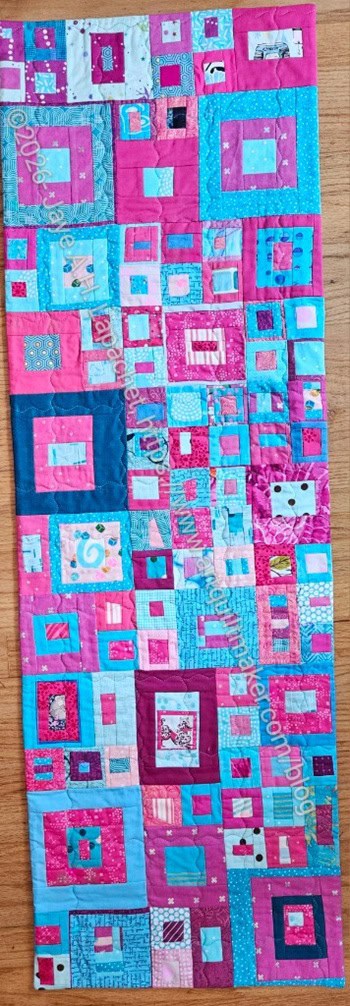
The 1-2-3 Mosaic table runner is finished. This is a project I worked on myself from start to finish. No longarming this time.
Amazing, right?
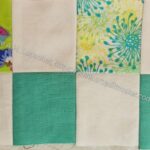
I quilted the small piece using a wave stitch, as shown, on my new machine. I have wanted that stitch for a long time and really like it. I need to ask some questions of the dealer, but it worked fine the first time out.
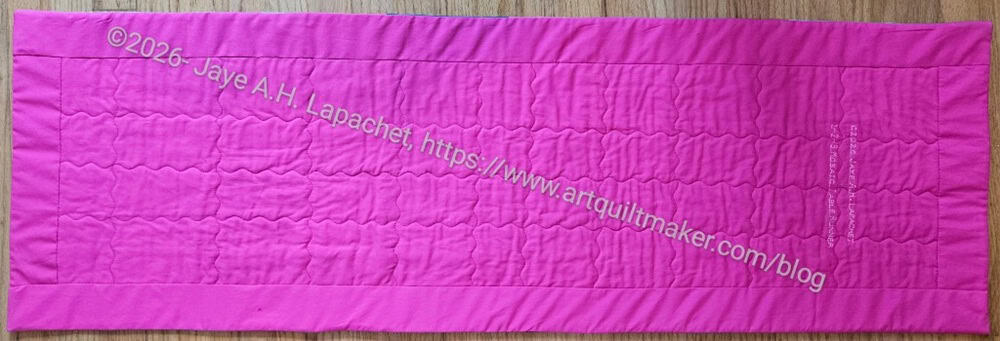
1-2-3 Mosaic back completed
The back shows the quilting really well. It is simple, but I am pleased.
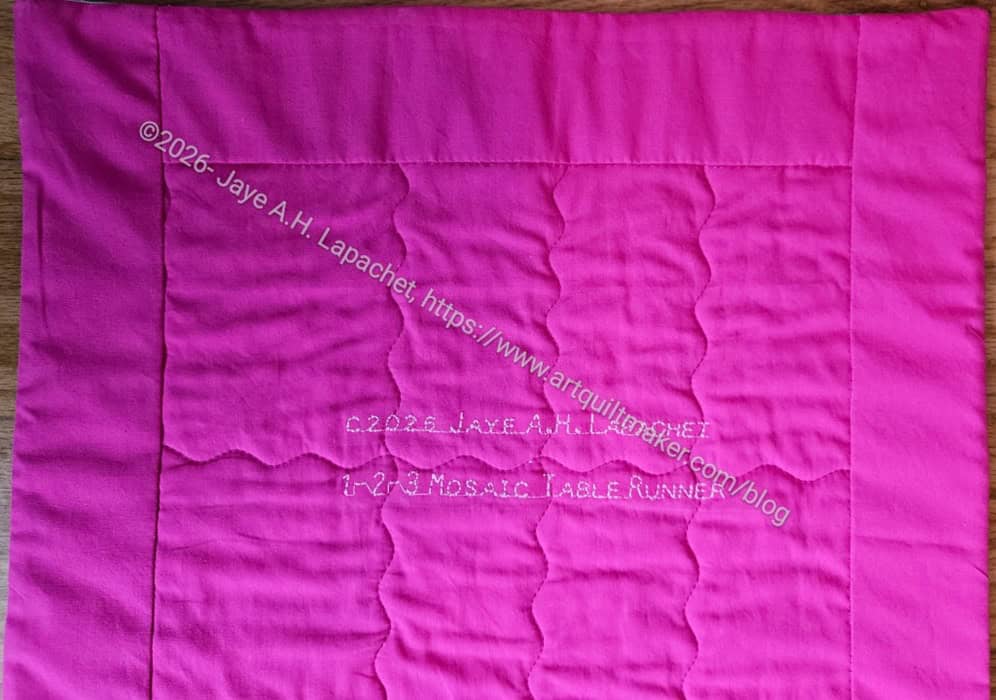
1-2-3 Mosaic back completed – label
I also used the stitch lettering to make a simple label.
All in all, finishing it myself made it a very quick project. It is sitting on my buffet now.
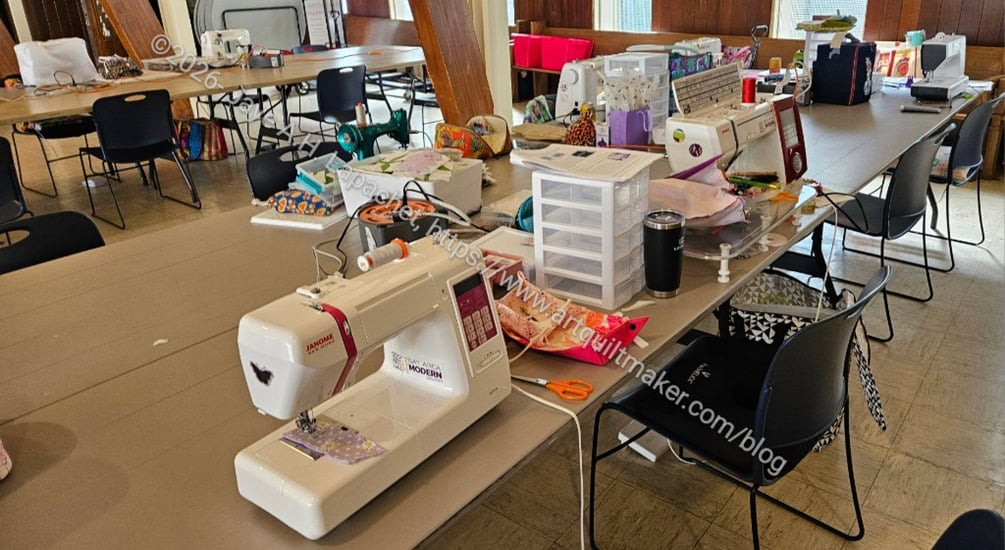
We had a fun Super Sew Day over the July Fourth holiday. We held it on Friday and Saturday so it was double the fun.
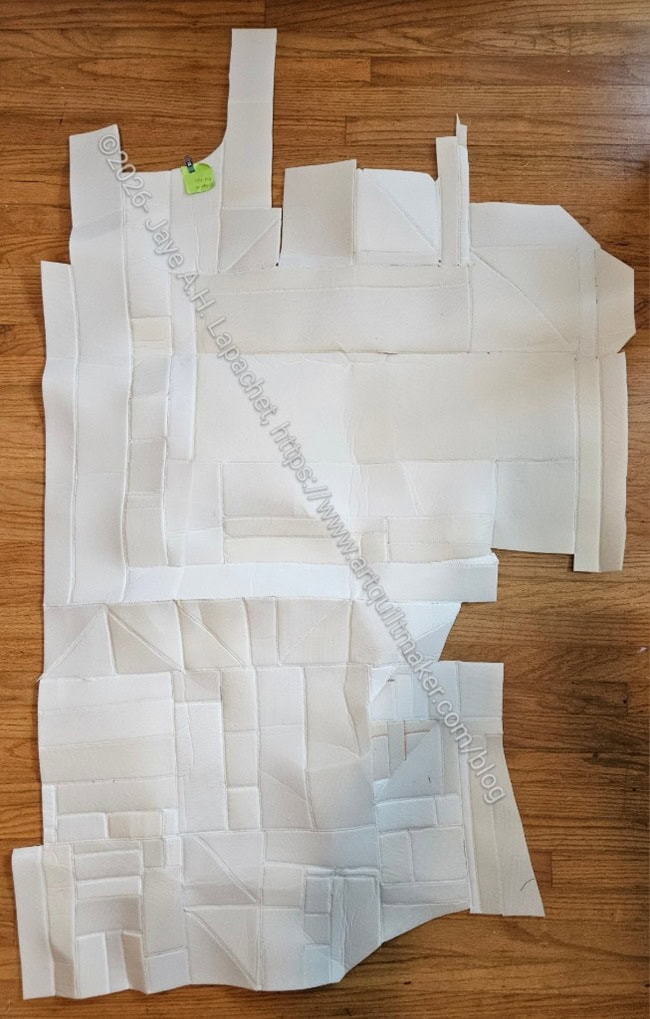
I went with a bag of small pieces of Soft and Stable that had been annoying me. My goal was to make them into larger usable pieces, Frankenfoam. I used Frankenfoam in the Palomino Pouch project and didn’t get any reports of problems. I cover the outside with some SF101/ProFuse to smooth out the bumps a little. I think for small projects, or those with a lot of seams, Frankenfoam works well.
Frankenfoam 1/2
I started out sewing like sized pieces together. By the end of Friday, I was less careful about ‘wasting’ foam. I ended up with two pieces about 4 feet tall and 2 feet wide. I estimate I got the approximate size of one package of ByAnnie Soft & Stable. It was a good project to do when people were asking me a million questions. It was easy to stop and start without losing my place or having to figure out the directions again.
I really could have done more, but I decided I didn’t need an absolutely square piece to use it.
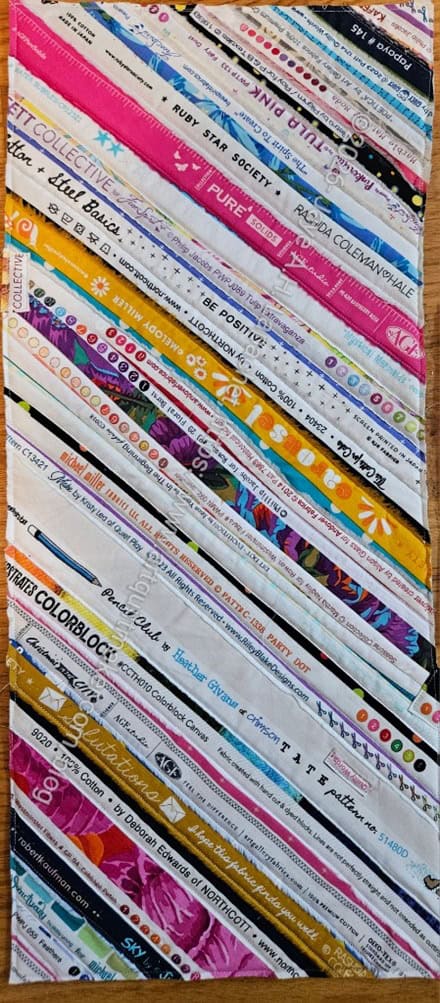
Mindalin Tool Roll exterior
As a result, on Saturday, I cut up one of those pieces and make the exterior of the Mindalin tool roll. This pattern can be found in Make Modern issue 70. The pattern calls for foundation pieced blocks to make the outside, but I decided to use selvedges to make the exterior. It looks really cool, IMO.
The last thing I made with selvedges was the Sleeping Bag pouch. I want to make another one, but haven’t gotten to it yet. I seem to have a never ending supply of selvedges, so I wasn’t worried about using up the ones I had collected.
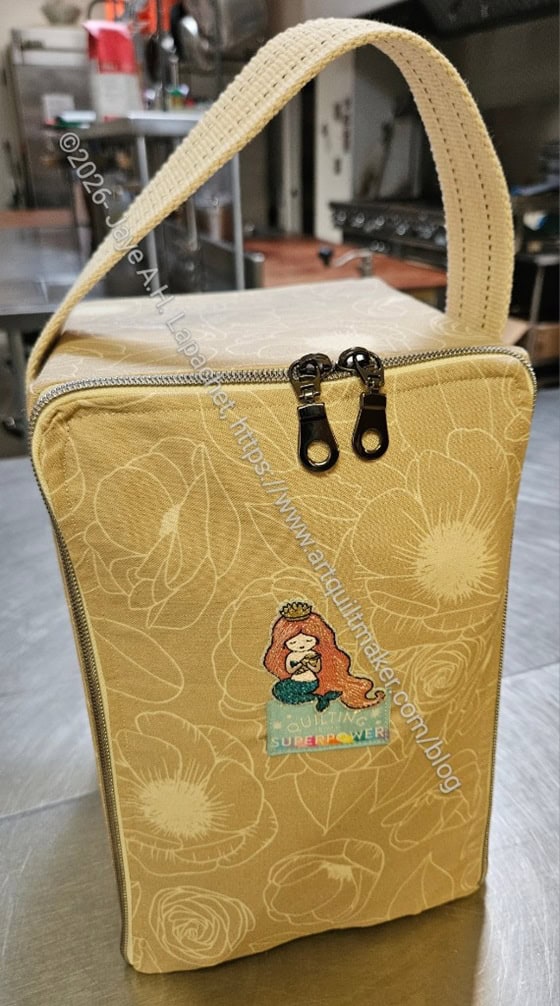
Christine’s EBTMT
A lot of people were making the Everything But the Machine Tote. The guild may have a sew-a-long for this bag as it is very useful. It has drawers inside to hold your travel sewing supplies.
The front provides a great way to showcase a special patch, embroidery or fussy cutting.
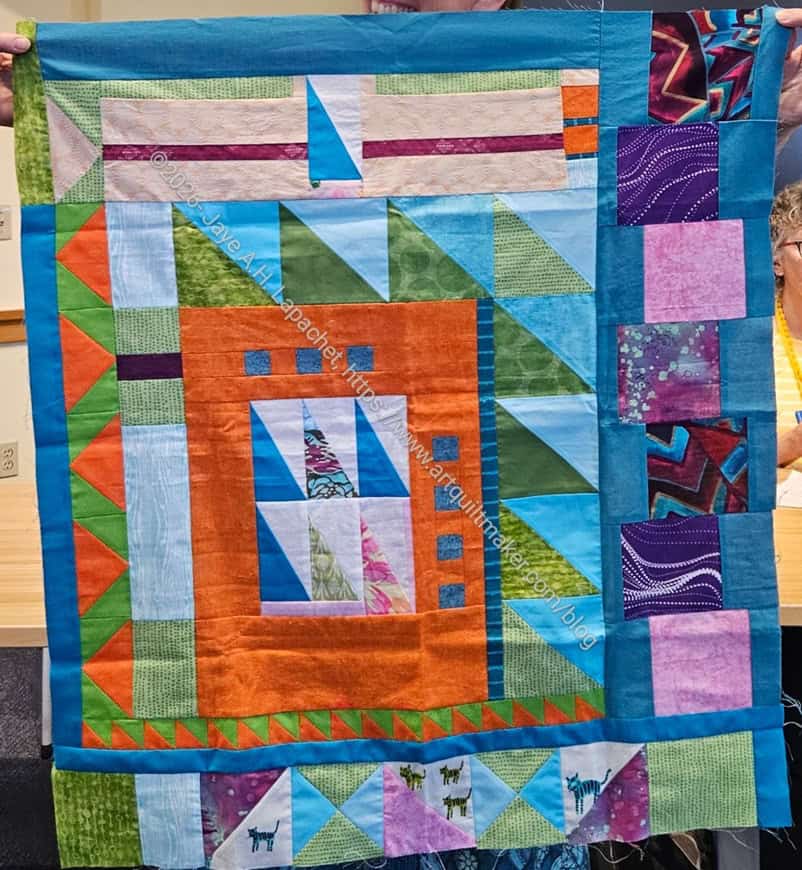
Sheesh! I haven’t posted about this since April. Well, it is a little bigger! In fact, I finished the top last weekend.
I probably should make it a little longer, but I don’t want to. I am done with this process for the moment. I might quilt it with straight lines myself – a gentle curved line that is one of the decorative stitches on my new machine.
People brought both Creative Play packets to the guild meeting on Saturday. It was so great to see them! People have done great work to them.
I was also very excited that they were in different states. One has turned into a round robin with people mostly adding borders. Not everyone is adding a complete, four sided border, but, as you can see, there are a lot of borders.
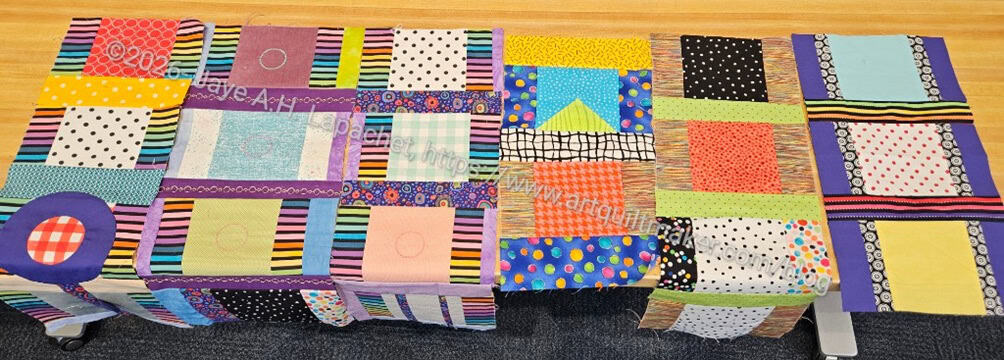
February Creative Play
The other is not sewn together completely. Chunks are sewn together which provides a lot of opportunity for creativity. There is also plenty of fabric left.
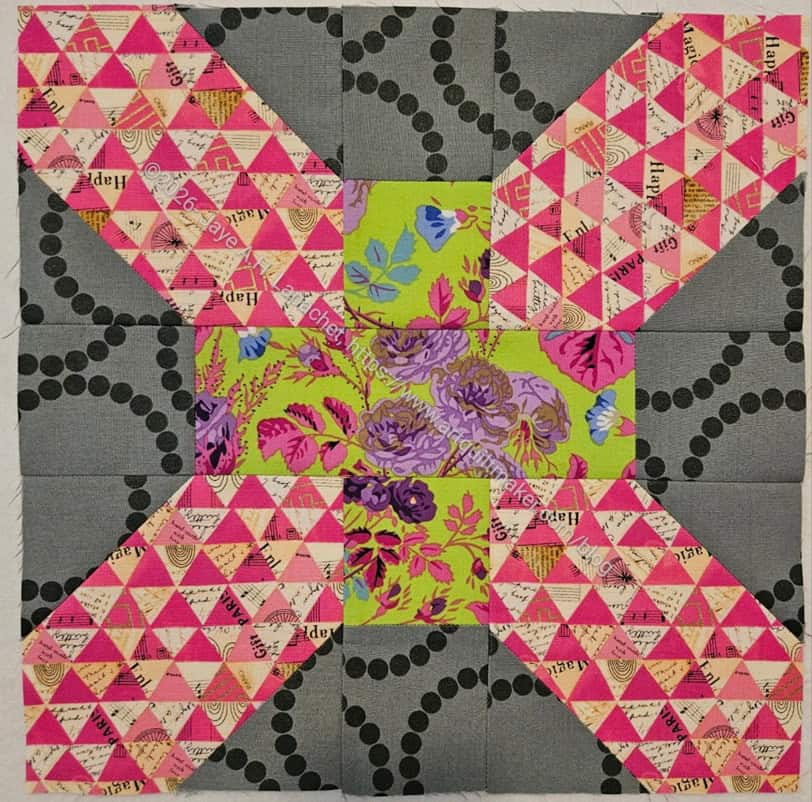
I finished the second of the May/June blocks the night before they were due. I try to make them before or as soon as we announce them, but I didn’t this time. As a result, I almost didn’t make the deadline.
In addition, I ended up remaking the X Plus/Lozenge block. Now I have two of them. I’ll use the first one on the back. I don’t want to make it into something else, because the piecing is less than stellar, but it will look fine on the back of the quilt.
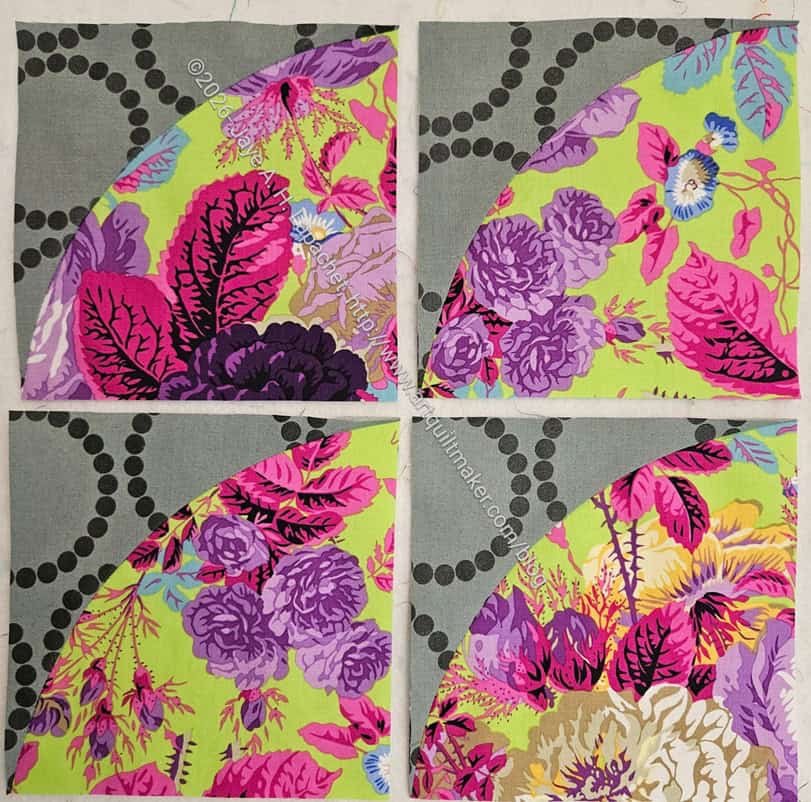
BAM BOM Drunkard’s Path
I made the Drunkard’s Path/ Quarter Squares right away. I was in the frame of mind with Chaos with a Twist, so took the opportunity to make a few more in my BAM BOM fabrics.
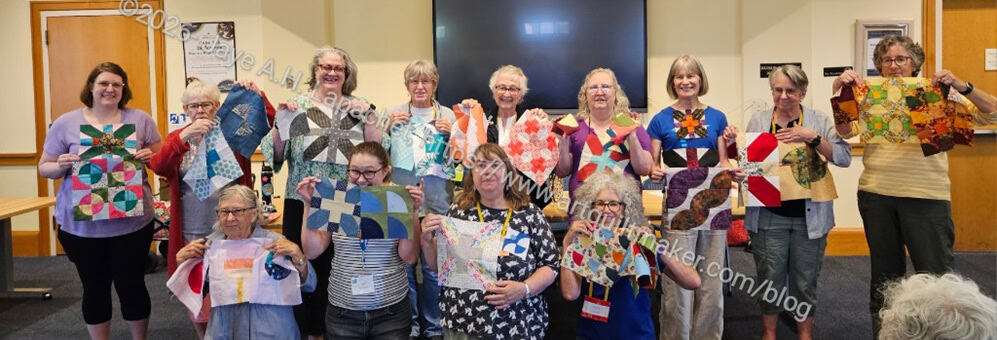
May/June BAM BOM Participants
A lot of people are participating, which made me really happy! There were some fantastic blocks shown.
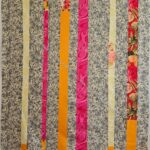
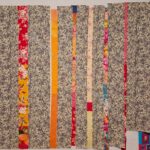
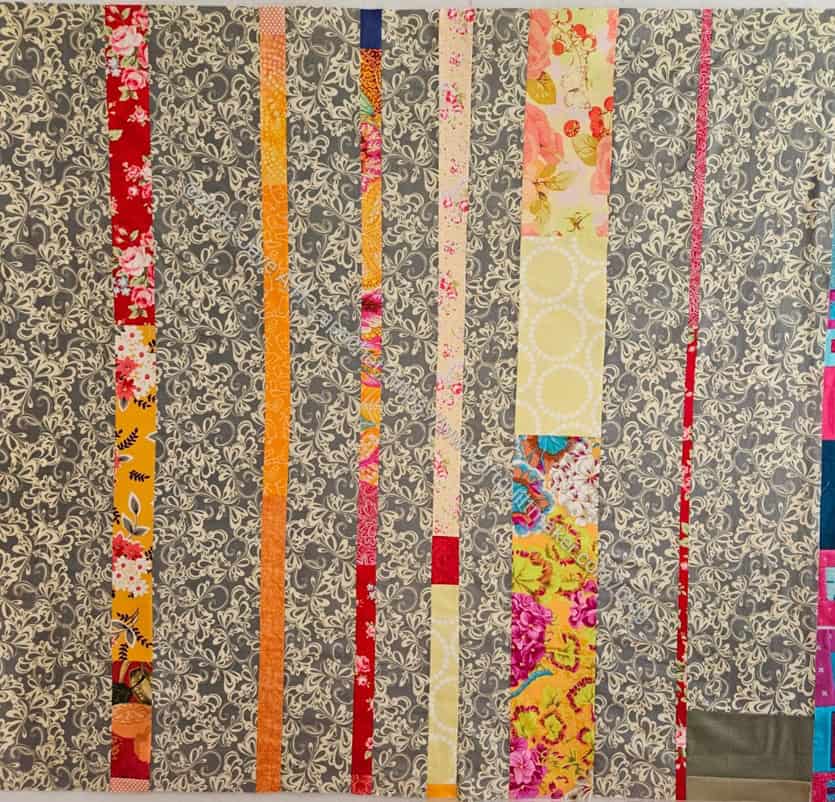
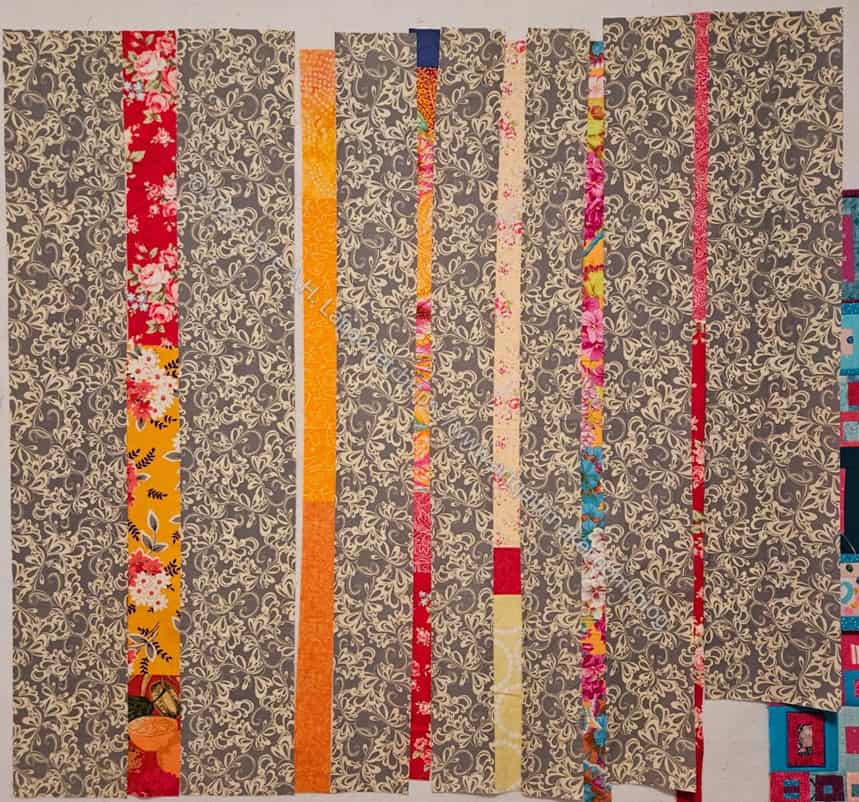
I finished Ends n.25 a few weeks ago. I just handed it in and made time to post about it.
The background doesn’t provide the required contrast to make the oranges and yellows stand out. They don’t, however, blend together either.
This is a great example of what is fun about making donation quilts. I can play around with fabric combinations that I wouldn’t otherwise consider for my own work. I guess making backing is a little of the same.
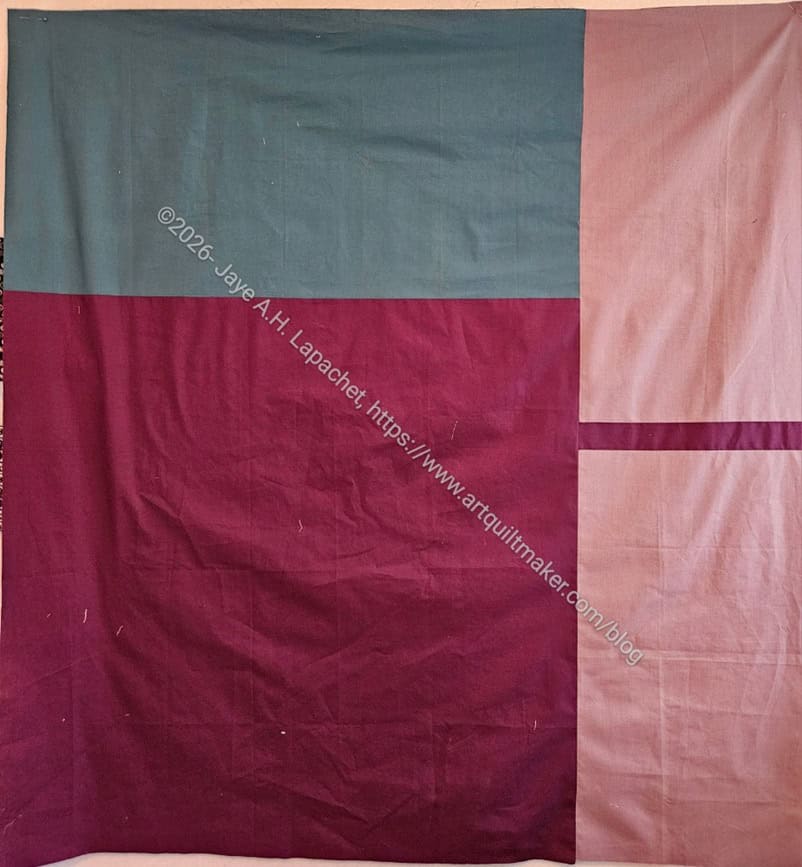
Ends n.24 back
The back, like the back for Ends n.24, uses some old solids that have been around since the dark ages.
Almost as soon as I finished Ends n.24, I started Ends n.25 using the same background fabric. I got the background fabric for free somewhere and never used it, so here we are.
You can see that there is a shortage on the bottom right so I’ll have to add something in there.
I am still working through the edges of the back of Orange You Glad, which make up the color in this quilt. I have a few other red and orange edges that I added in, some still hanging around from the back of the Lobster table runner.
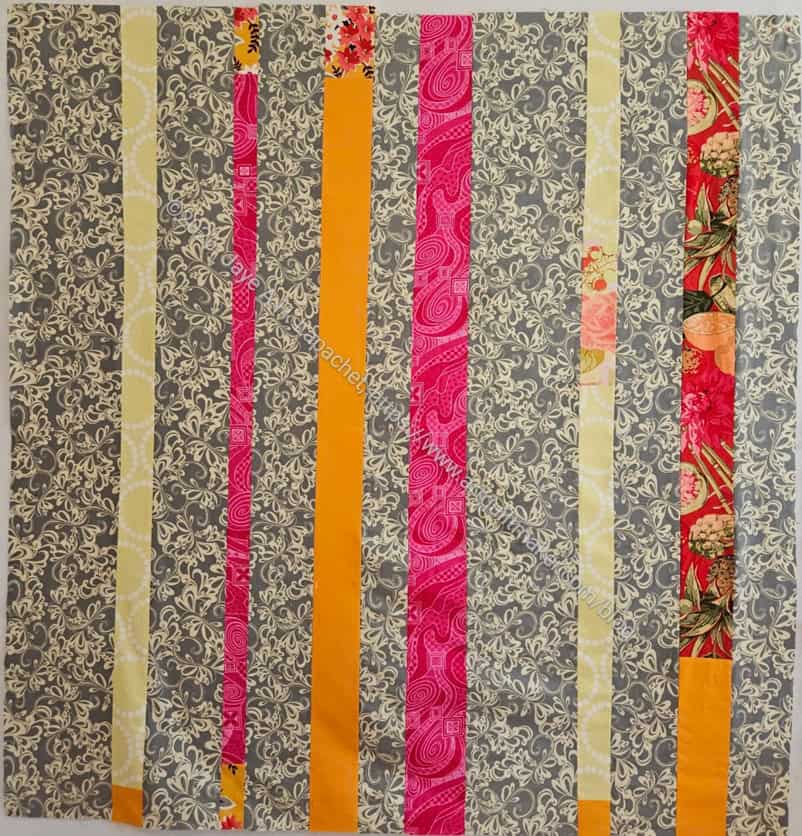
I finished Ends n.24 pretty quickly, but have just had a chance to post about it now.
The edges I used are on the older side, including Orange You Glad, and were waiting for a new home and/or a new life.
Ends n.24 back
The fabrics for the back were even older. I used some solids from a bin of solids. Some of them I think I used in Mary Mashuta’s Pushed Neutrals class about a million years ago.
I have been trying to fit the making of another donation top into my flurry of sewing. I feel like I have been doing so much. I have to acknowledge that some of the problem is design wall space. I finally started a top after taking the Warm Four Patch Fun off the design wall.
Welcome Ends n.24. Can you believe I have made 23.5 of these quilts? Yes, I have made that many over 9 years. It is kind of astounding, but also makes perfect sense. I keep producing quilts and Colleen sends the edges back. Thus I have the edges of bunches of quilts and if I don’t do something with them, they would just pile up.
Don’t worry. I am not going to tell you about every single one of these I make. I am still in the experimental phase so you get to hear about some of my musings.
Like the Snap Trays, I am experimenting a bit with various parts of how to make this. In this version, I used batting as the interfacing instead of SF101. It works well, but the bag feels a bit floopier, which I think is interesting, though maybe not preferable. It works, but SF101 or, maybe, DecorBond might be better. I haven’t tried DecorBond yet.
I am using fabrics similar to those I used for the Snap Trays. I have a bin of Sorbet fabrics I was using for the Block-a-Long a million years ago. There is a lot of fabric in that bin, so even using some for these bags will leave plenty for me to pick up the Block-a-Long project again. They have a Mary Engelbreit-ish look to them.
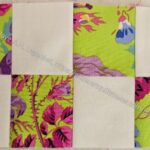
I sewed a chunk of the 1-2-3 Mosaic table runner together. I think it looks great.
I wasn’t 100% convinced that the project was going to work out when I saw it on the design wall. After sewing this bit together, I am much more optimistic.
I think it looks a lot better sewn together.
I sewed it in between sewing all the other things on which I am working, but it still went together pretty fast. I’ll know soon if I need more blocks.
I am glad I didn’t make it wider as it will be the right width for the buffet when I put a facing on it.
After I did some Pre-Sew Day work, we were able to put together a total of two quilt tops in addition to the larger top that the rest of the group put together. I am much better at working on my own. I was pleased that Sue and Lee Ann joined me without me having to say anything.
Lee Ann was kind enough to take the blocks for this one home and put the quilt together.
Sew Day donation top
The blocks I made also became a quilt top very quickly, thanks to Lee Ann. The blocks are 8 inches by 8 inches, so the quilt ended up being about 40 in. x 40 inches, which is about the size I like to hand in.
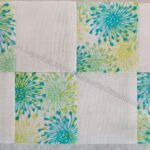
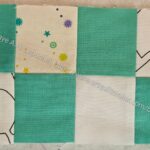
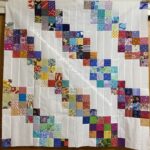
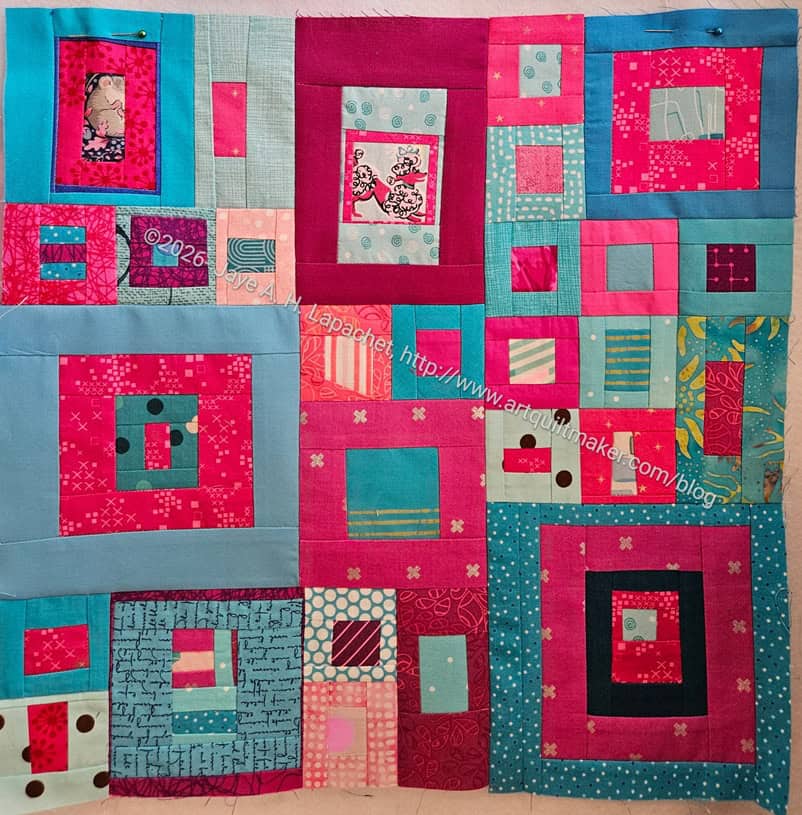
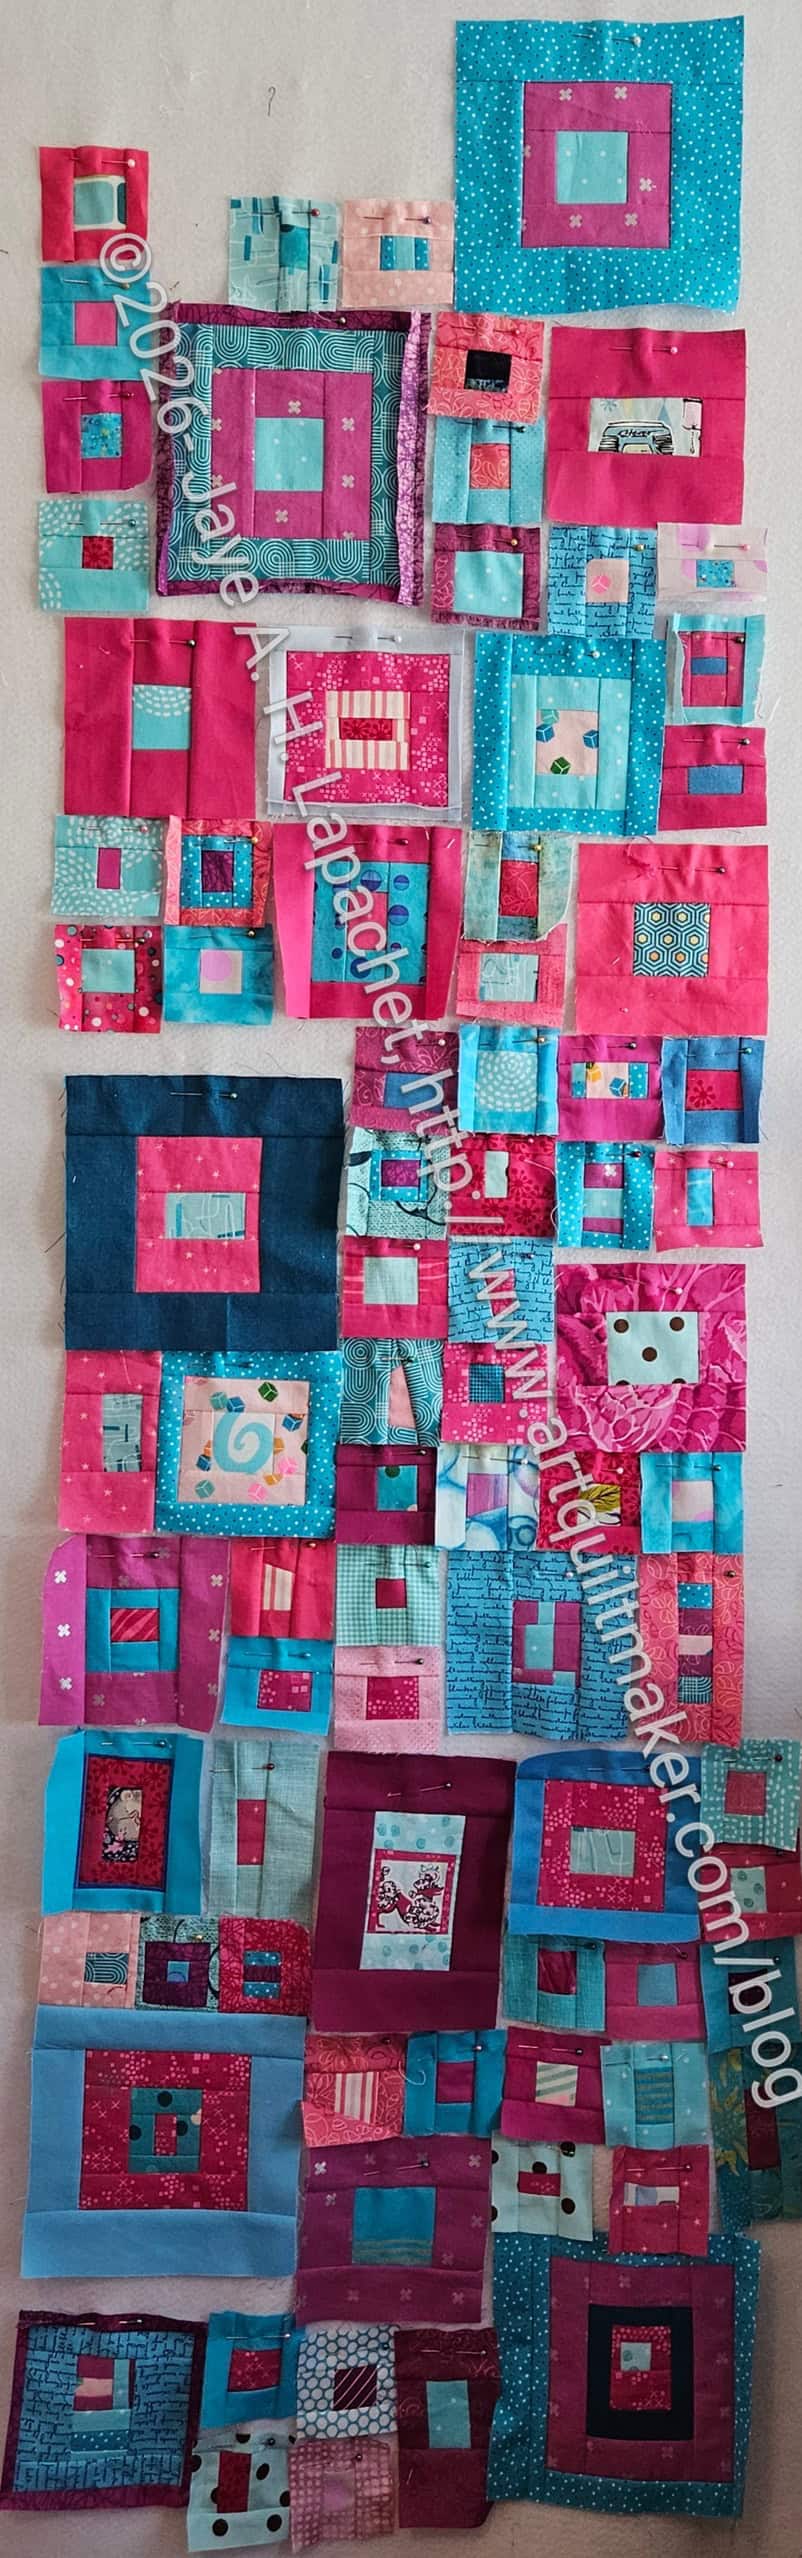
I spent the other day prepping about 20 blocks for the 1-2-3 Mosaic table runner. I want to get this off the design wall and it won’t happen magically.
I felt like I needed some additional blue blocks so I concentrated on those. Not all of the 20 came out the correct size so some went back on the board waiting for another round of fabric. I made enough of them to feel like I am nearing the finish line.
I spent some time rearranging the layout. I am happier with how it looks and will soon start putting some chunks together. The bottom looks darker than it is because the ironing board is shadowing the bottom corner of the design wall.
I have made the photo really large so you can see it more clearly.
I know there will still be some rearranging as I begin to sew, but I think I am pretty much ready to sew some chunks together. It will at least tell me what other blocks I need to make.
1-2-3 Mosaic blocks organized
As an aside, I finally made the travel board and am using it for this project. I cut up pieces, laid them out in order and then was able to sew them in an assembly line fashion. I haven’t figured out where to store this board, but while it is in use, it is very handy.