I am surprised I haven’t talked about this project since last November! I have been working on it steadily and have made good progress. I usually just work on it in the evenings after dinner. I meant to use it as a project for when I didn’t have a quilt project on which to work. What has really happened is I haven’t been working on La Passicaglia. I really need to work on that project, but for now, I am enjoying the needlepoint.
At this time I need to roll the canvas up so I can access more of the bottom, but what happens is I find small holes – one stitch or so – that I didn’t stitch. It turns out that I have to wait until an area is filled sometimes before I can finish, because I can’t see the color. I have to look carefully at the rows and make sure there are no holes. When there are, I fill them, then try and use that strand of color before moving to the next color and filling in more holes. There really aren’t that many. It is an interesting process, though. Very different from quiltmaking.
I am making good progress on my needlepoint project. It’s only been a month, but I feel like I am flying through it.
The frame is very large, so it isn’t very portable. I just work on it in the evenings when I don’t have a quilt project on which to work. There is a learning curve, so it isn’t boring.
On my most recent trip to Portland, I bought this painting from the artist with whom we stay. Leah Kohlenberg is a working artist who also teaches. I fell in love with this painting and just decided to buy it. I have never done that before and it was a novel experience.
I finally started the needlepoint kit I bought awhile ago. I am not quite completely organized, but I wanted to get started.
I am just working on the blue for the moment, so I didn’t have to change yarn a lot and could get used to the routine. I discussed needlepoint with Mary C at the Sew Day the other day. She brought her needlepoint project to work on, so I could see what she was doing. I learned how to make my back neater and hopefully save yarn, so I won’t run out. My grandmother’s voice saying the back should be as neat as the front has been rocketing around my head as I work on this project.
Needlepoint in process – detail
It is a bit repetitive, but I decided to ignore that. I can’t say much about that since I have organized all of the threads yet. I need to do that before I leave for Portland in a few days as I want to bring this with me as my hand project. As I make progress, I want to change colors to fill in areas that are slowly being surrounded by the blue background.
Yes, La Passacaglia is a hand project, but I might take a different tack on that project.
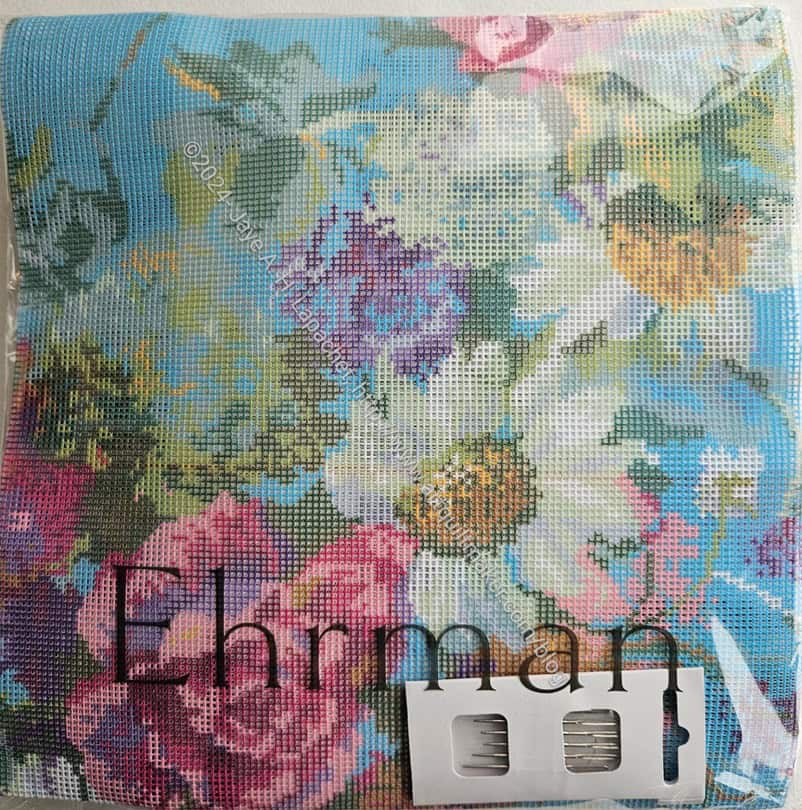
I am not sure what I was thinking several months ago when I started looking at needlepoint kits. Yes, you read that right NEEDLEPOINT. I found a cushion cover design I really liked, mostly because of the turquoise background.
I didn’t buy it right away. I actually waited several months, but kept going back to it and looking it. I finally bought it last week. I haven’t started it yet as I want to finish a knitted scarf on which I am working.
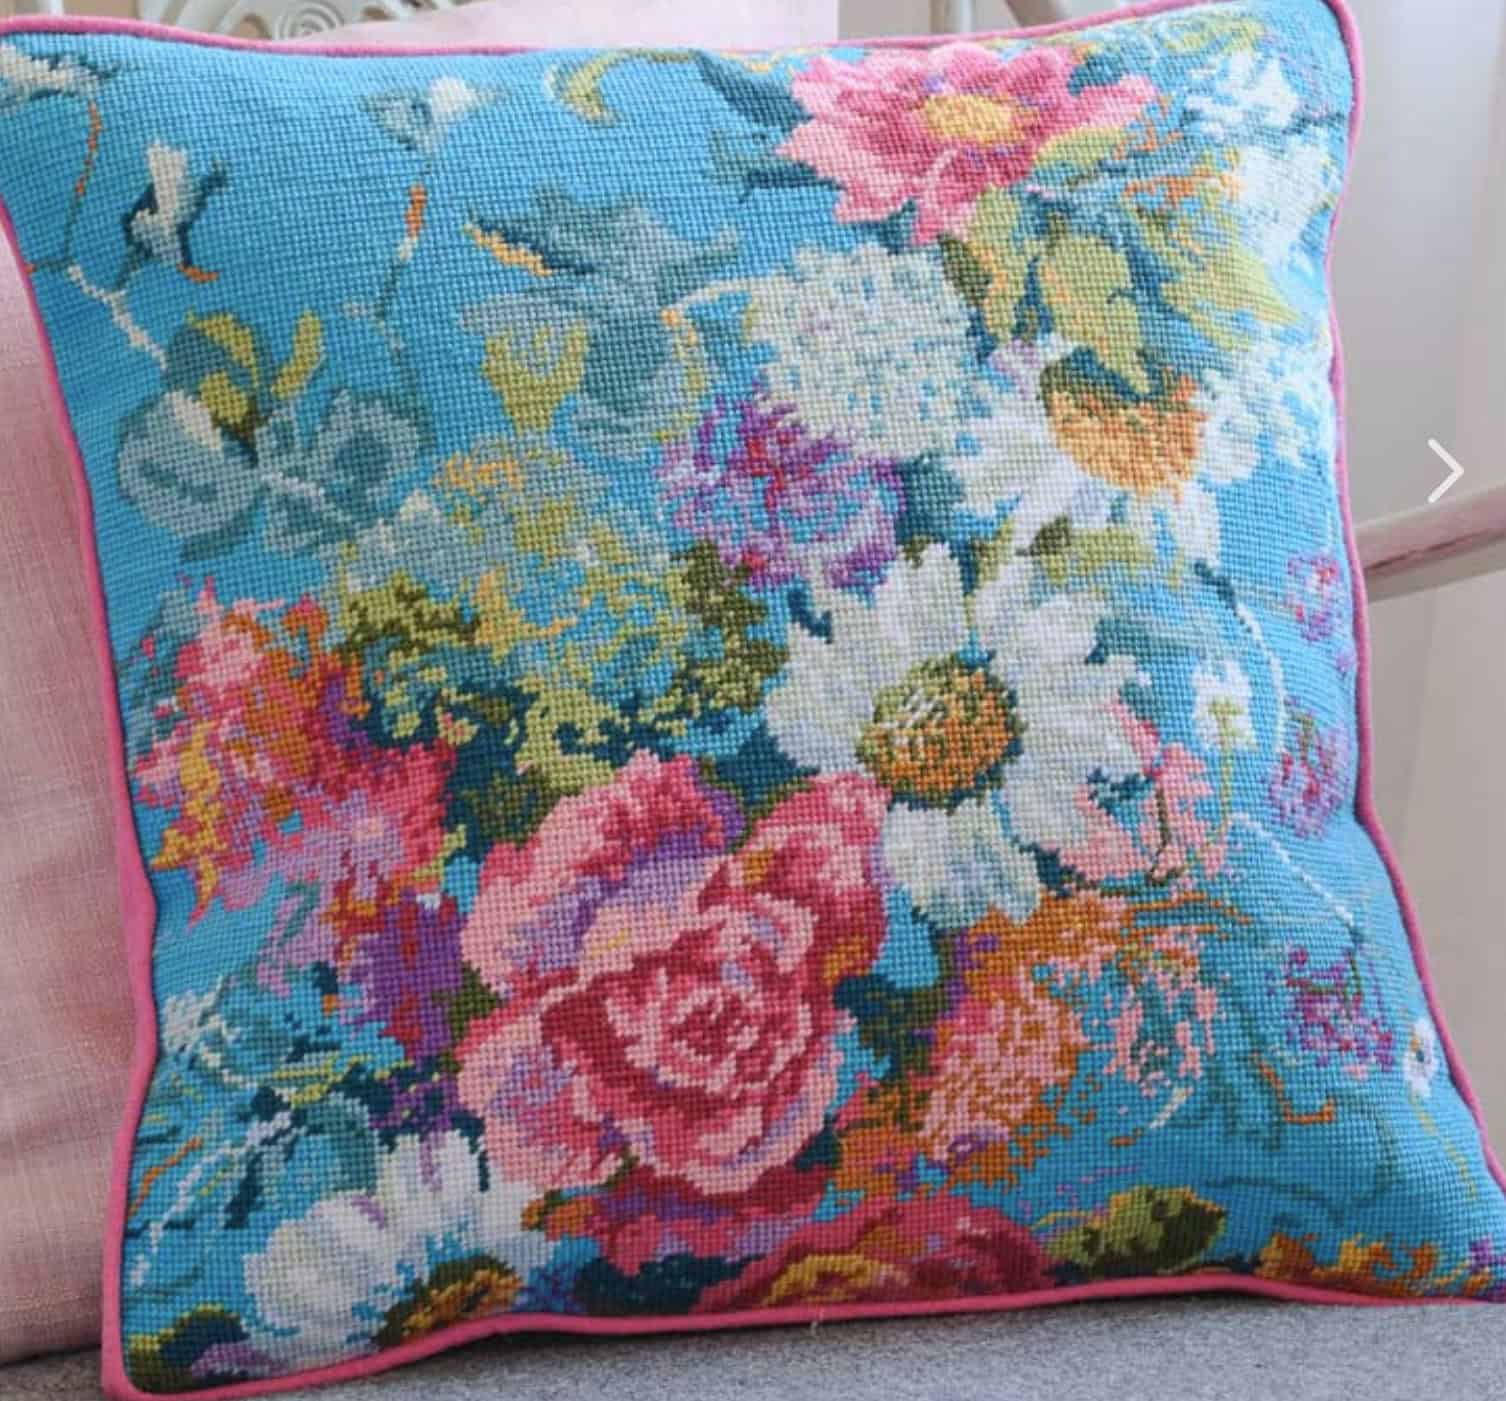
Love my Garden Needlepoint project
I think I have to re-learn how to needlepoint as I have very little idea of what to do to follow the pattern. I am sure YouTube has something.
The kit came with the pattern painted (or printed) on canvas. It also came with a lot of yarn. With cross stitch, I would make a card with holes and labeled with the numbers of the yarn. I would loop the yarns through the holes and have everything well organized. I don’t know if I should do that as I don’t have a chart that tells me which colors go where. I just have the canvas. I think I need to get some advice from someone who does needlepoint.
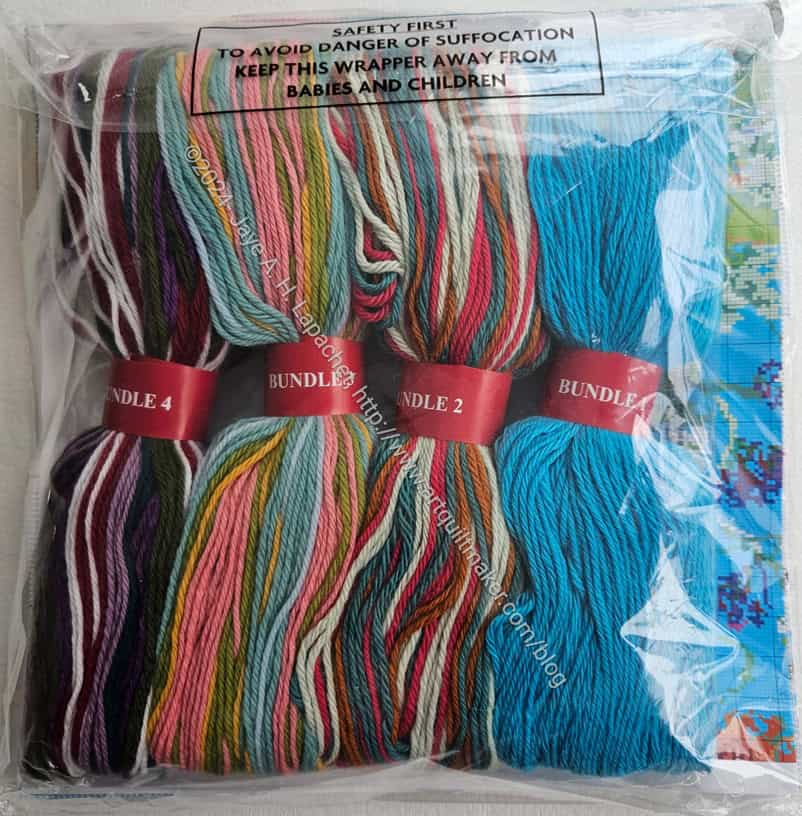
Love for my Garden Cushion kit – back
I have all of the yarn. It is all separated into these little bundles.
Cross your fingers for me. I’ll let you know when I start it.
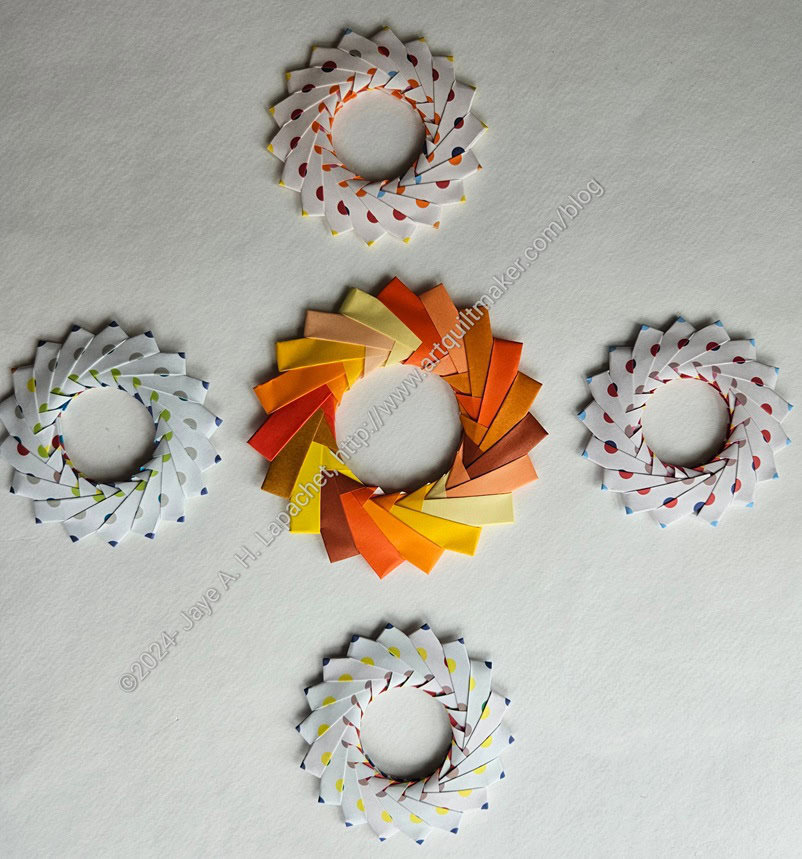
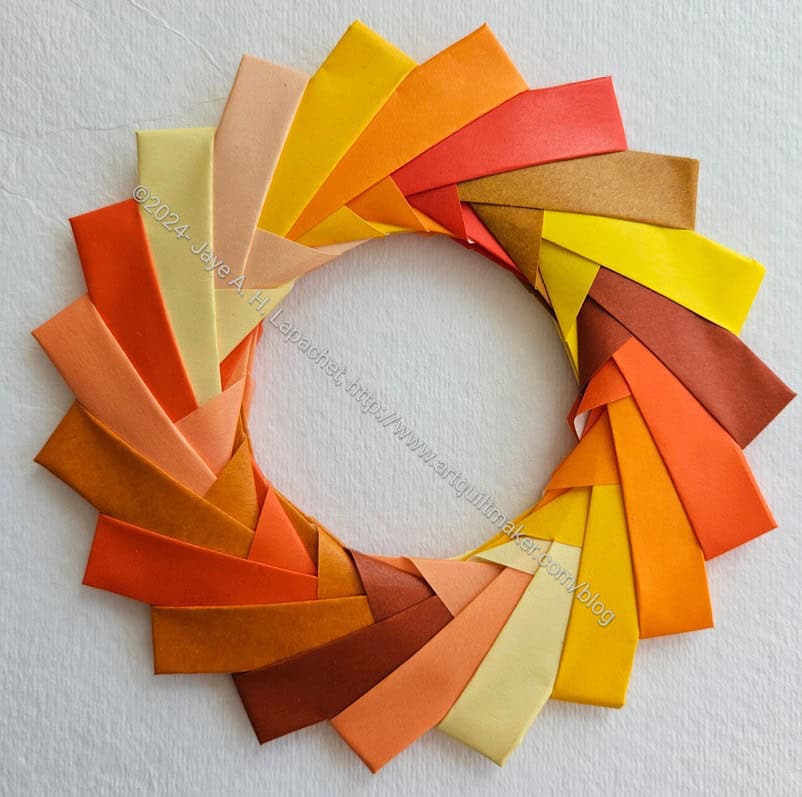
I enjoyed folding the Thanksgiving Mette Ring I talked about a couple of weeks ago, so I made some more with a pack of paper I had purchased….sometime. I might as well use it, right?
I am planning on an installation(?) for the Fair, so I need a few more of these. I am working on a larger one with some larger paper and we will have to see how I can connect these.
The other thing is that I am a little sick of these and may want to make another kind of paper wreath. We’ll see.
I still haven’t glued the Mette Ring together. I wanted to see how it looked with all the legs. I like the way it looks, but it also shows that I am a little out of practice. I didn’t use the bone folder as much as I should have. I am working on another Mette Ring and am using the bone folder this time. We’ll see how the two look in comparison.
My work spends a week every year giving back to the community. We raise money, work on projects and do a walk around campus to help those in the community. The company has provided over 180,000 volunteer hours in the last ten years. I was excited to be able to participate in three events this year.
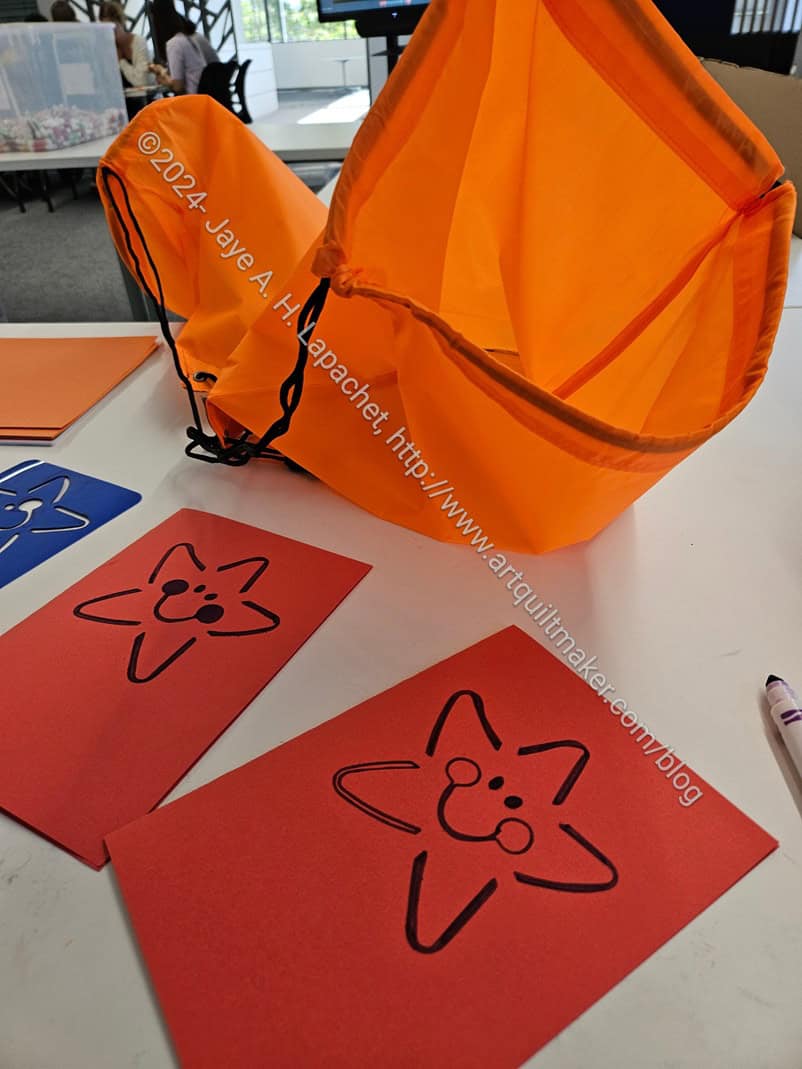
Hygiene Kits
One thing I did was put together hygiene kits. You get a bag and you fill it with soap, shampoo, hand sanitizer, toothbrushes, etc. That is the easy part. The hard part is what to write in a card that will sound supportive and non-judgemental. I spent most of that hour working on the two cards. Filling the two bags took me about 5 minutes.
I used some construction paper to make the card and then I traced a stencil of the star as a start to the card. I added some additional decorations to try and make it look nicer.
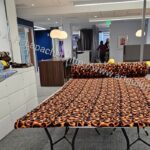
Fleece for ‘No Sew Blankets’
Fleece for ‘No Sew Blankets’
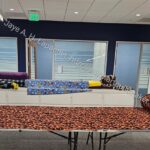
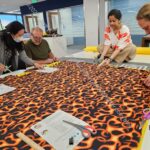
Tying ‘No Sew Blankets’
The other project was ‘No Sew Blankets’. I really wanted to sew them, but I was a good girl and followed the directions. We had fun. I wasn’t with a group for this project so I was assigned to help another department and we worked together really well. We were able to finish two 96 in x 55 in blankets that will be donated to Bay Area Cancer Connections. BACC helps women with breast and ovarian cancer. I know how to make these blankets now so I can see making a few on my own, perhaps in a smaller size.
All of the activities were coordinated by Hands On Bay Area, an organization that connects organizations that need help with companies and organizations that want to help.
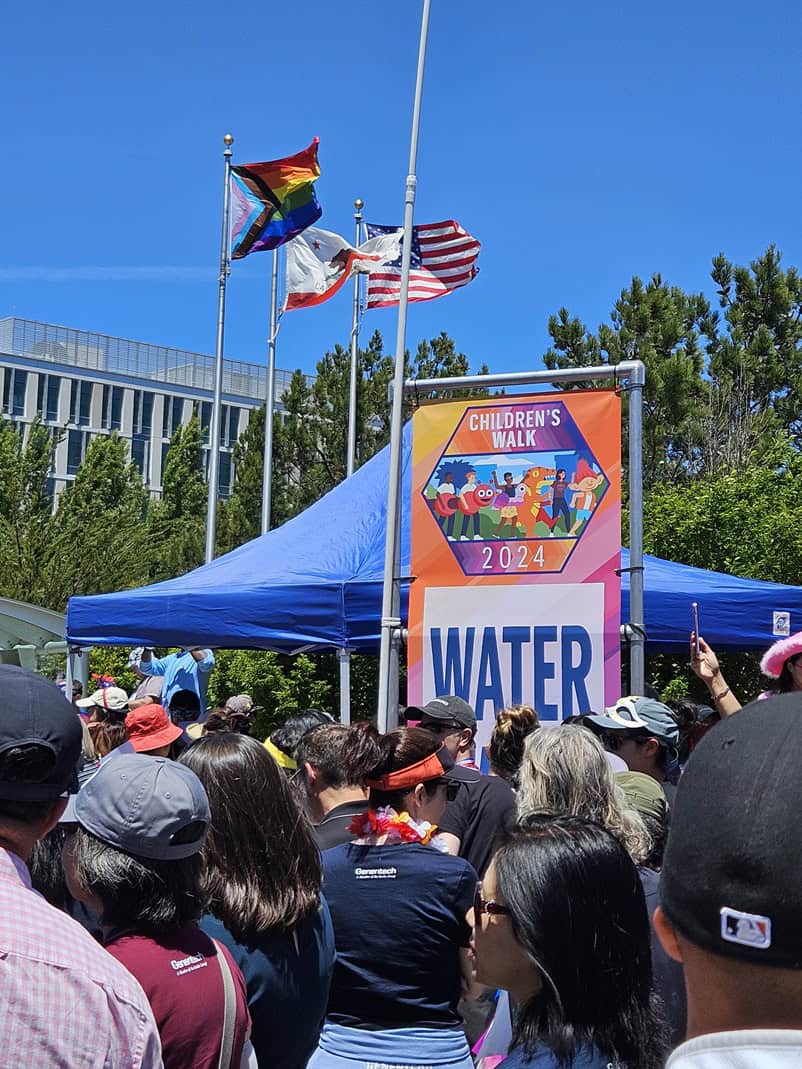
Children’s Walk
For the first time I walked with everyone on the Children’s Walk. It was kind of slow because there were so many people, but I was with a group so we just chatted while we sauntered.
It was a beautiful day in the neighborhood, so a good day for walking. I was glad to be able to help.
Back in February, I offered to host a shower for my niece and this past weekend was the day. We played some games and ate some food. My niece has been living on her own for awhile so she didn’t want gifts. Instead I collected recipes into a binder from all of the guests. I added about 5 recipes and still want to add more. I really just want to transfer all of my knowledge to her.
Shower prize ribbons
For the guests, I made favors as shown a few days ago. I also made prize ribbons, which was fun. I had a ton of ribbon left from the spool I bought for the favors so I thought it was a good idea.
I had an outline of what a prize ribbon should look like and went from there with glue, ribbon and some of the printed ribbon Carrie gave me. These go with little packages of of soap and a handmade notebook as the prize. My niece was happy with them, which made me happy.
I went to Sew Day the other day with only one quiltmaking project on which to work. My main project was to put together party favors for my niece’s bridal shower, which I am hosting today,
I bought hand cream**, shower steamers**, ribbon** and bags** and realized I didn’t have time during the week to put them together. I remembered that I had Sew Day coming up and decided that would be my project.
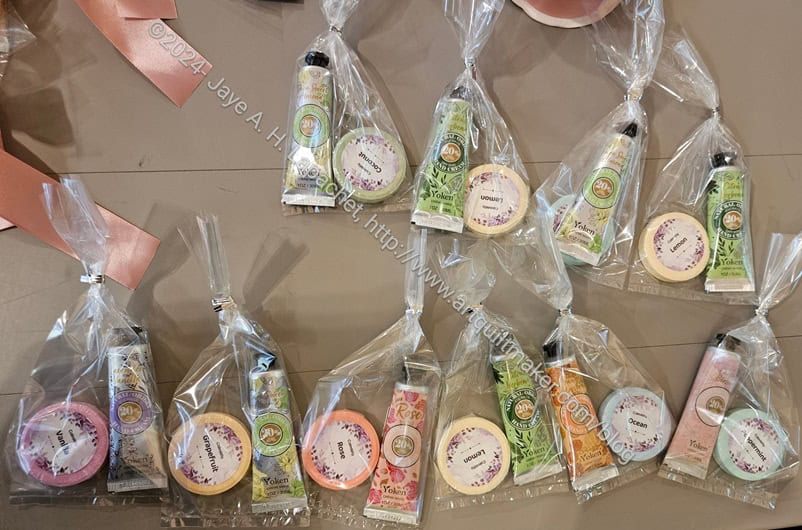
M’s party favors
It was great to lay out all the bags and then match up a hand cream with a shower steamer. I was able to see everything I had and work through putting everything together without being interrupted by having to move everything or go to work.
The brands were different so it wasn’t just matching up the colors of the packaging. I thought about the different scents and tried to match them up where I could.
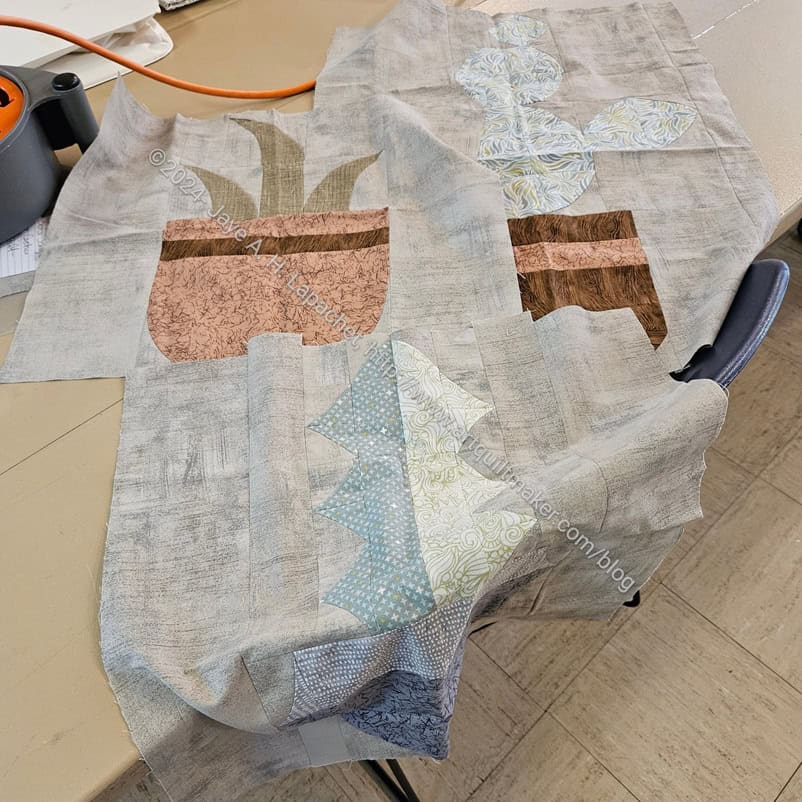
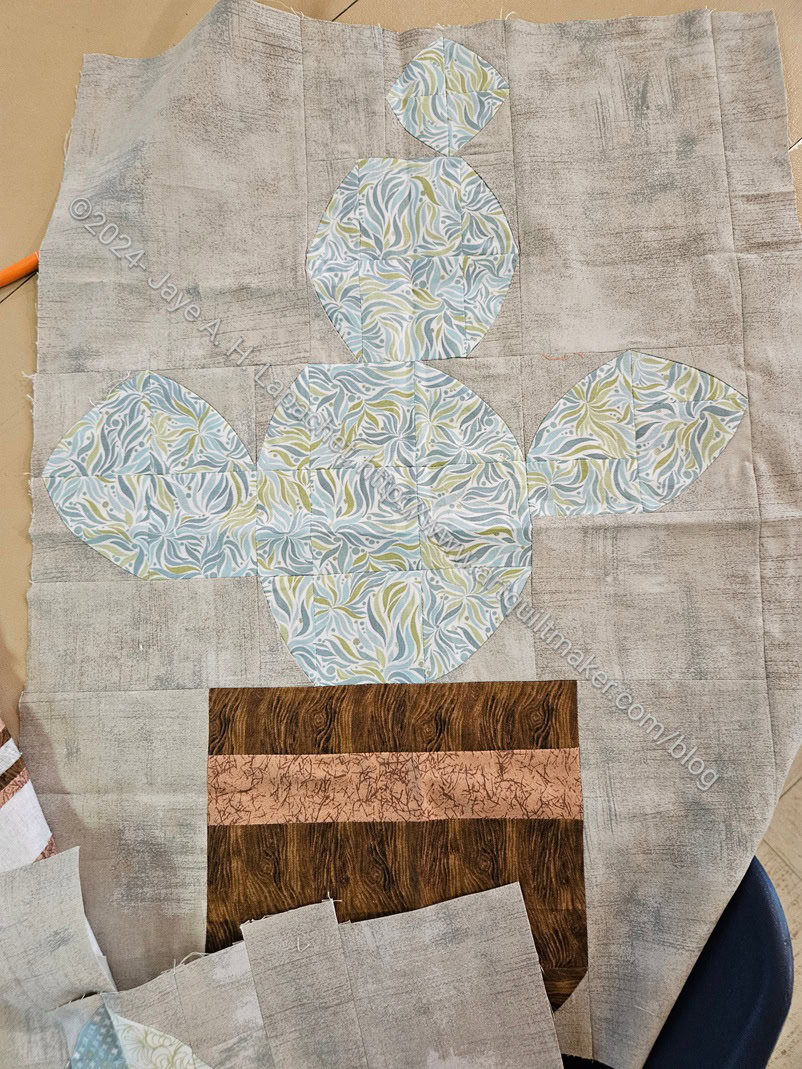
Amy’s Cactus blocks
I did so some quiltmaking work. As I said the other day, I cut out some of the Sotak Handmade Little Pyramid Pouches. While doing that cutting, Amy was across from me working on her Cactus quilt**. This will be a gift for someone she works with.
It is a really complicated pattern with a lot of pieces. She was able to finish one of the blocks at the Retreat. I noticed today that she now has 3 blocks. You can see how large they are.
Amy’s Cactus block
Her colors are really subtle. I find it hard to tell the difference between the background and foreground on this block with the round leaves. I can definitely see the foreground on the background, but there isn’t a lot of contrast.
This is a Sew Kind of Wonderful pattern, which Amy enjoys. She is the one who led the class in making Metro Twist. Unlike Metro Twist, this pattern requires the Wonder Curve Ruler**. The Wonder Curve ruler creates different curves.
Amy’s Cactus block
Her final block so far looks like an Aloe plant to me. I can’t wait to see what the rest of the quilt looks like.
I spent a little time just talking with MaryC and Gerre after I was done with my cutting project and the party favors. That was OK. Pretty soon I am going to have to start sewing the various projects I have cut out. 😉
**N. B. : Obviously, you should shop at local quilt shops and small businesses. However, if you are too busy or can’t find what you need there, I use Amazon affiliate links and may be paid for your purchase of an item when you click on an item’s link in my post. There is no additional cost to you for clicking or purchasing items I recommend. I appreciate your clicks and purchases as it helps support this blog.
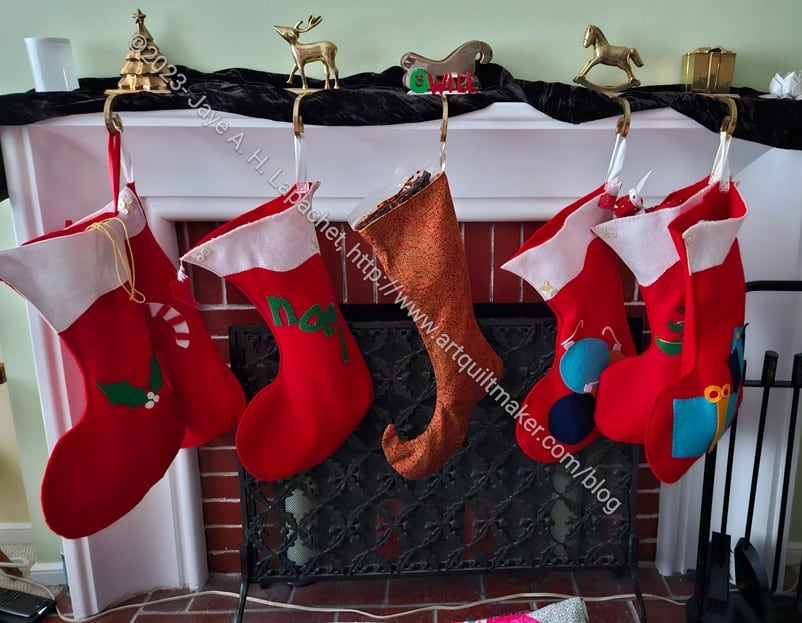
Our holiday celebrations were a bit topsy turvy this year as the normal hosts, SIL#4 and BIL#4, of our family Christmas Eve party were out of town. As a result, I invited my niece, their oldest daughter and her fiance over for Christmas morning.
This was great as they are delightful guests, but I didn’t have enough stockings. I have enough for the three of us, my parental units and one spare for random visitors. Now I have two spares.
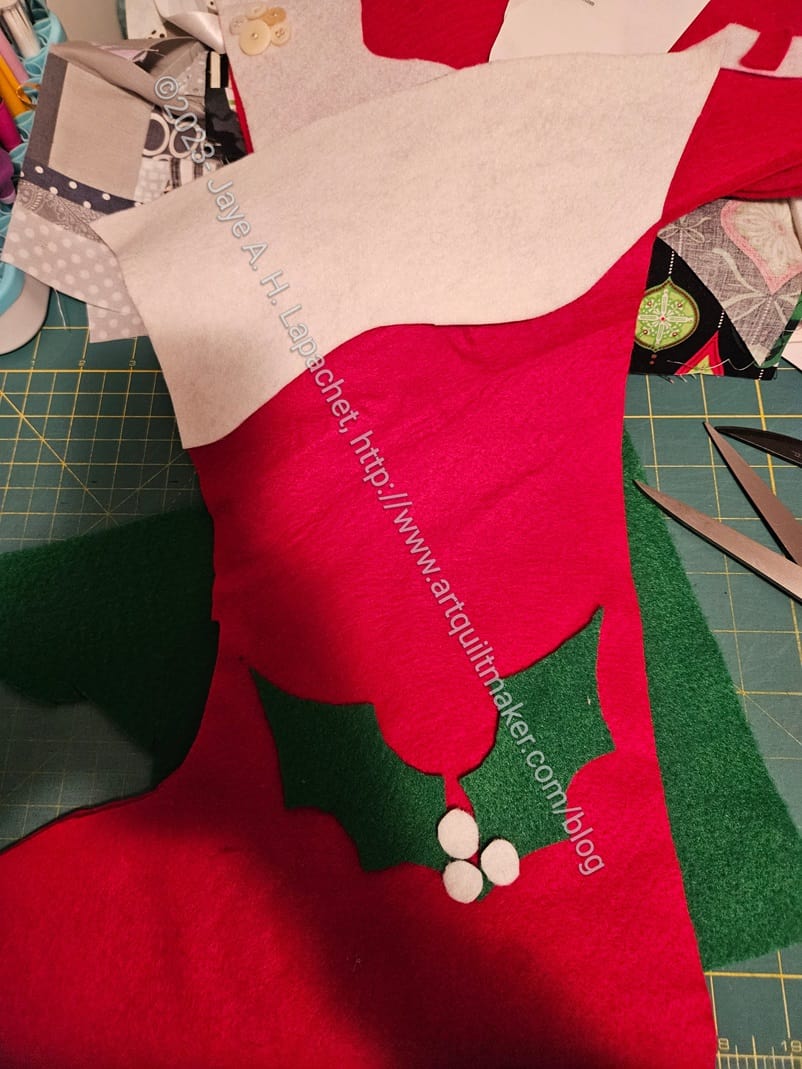
Stocking cut and in process
I had a lot to do over the past few weeks and was busy as work. Though this project was on my mind, I didn’t start making it until Christmas Eve. I put the YM in charge of the dinner and went off to make a stocking.
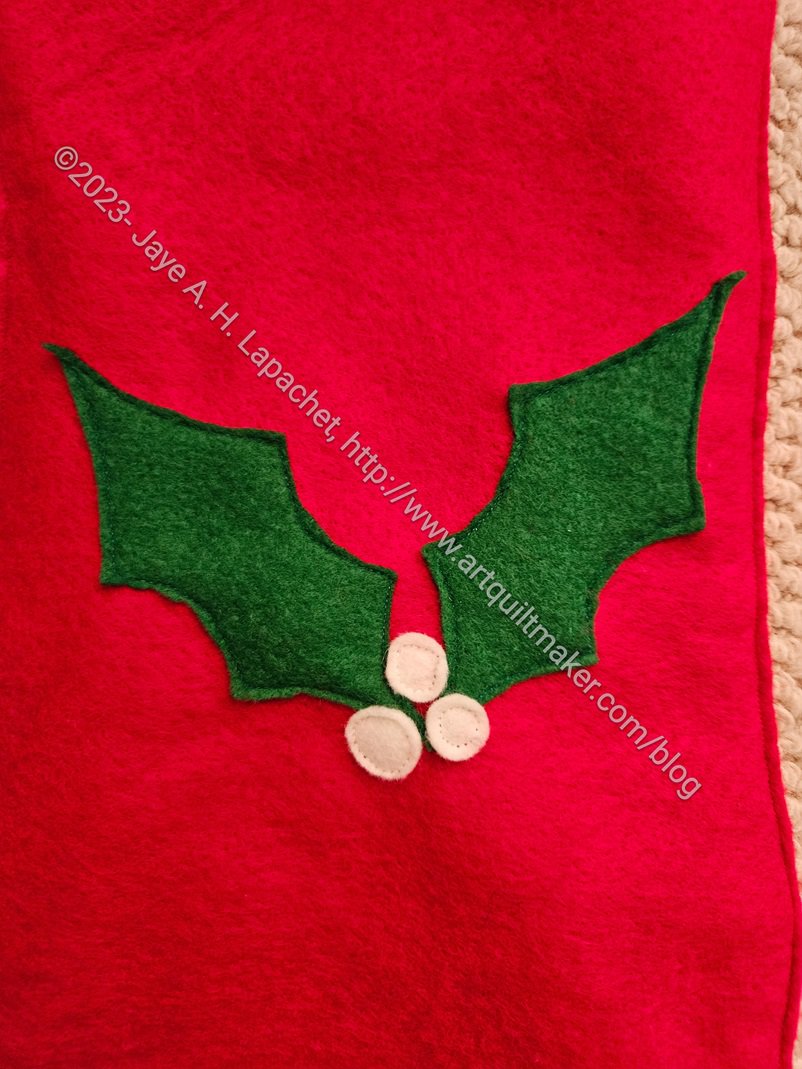
I found some line art I wanted to use, then I traced one of the stockings, made the motif and sewed the whole thing together. It has been several years since I made stockings, but this one went together pretty well and looked good when finished. My soon-to-be nephew was pleased to be included.
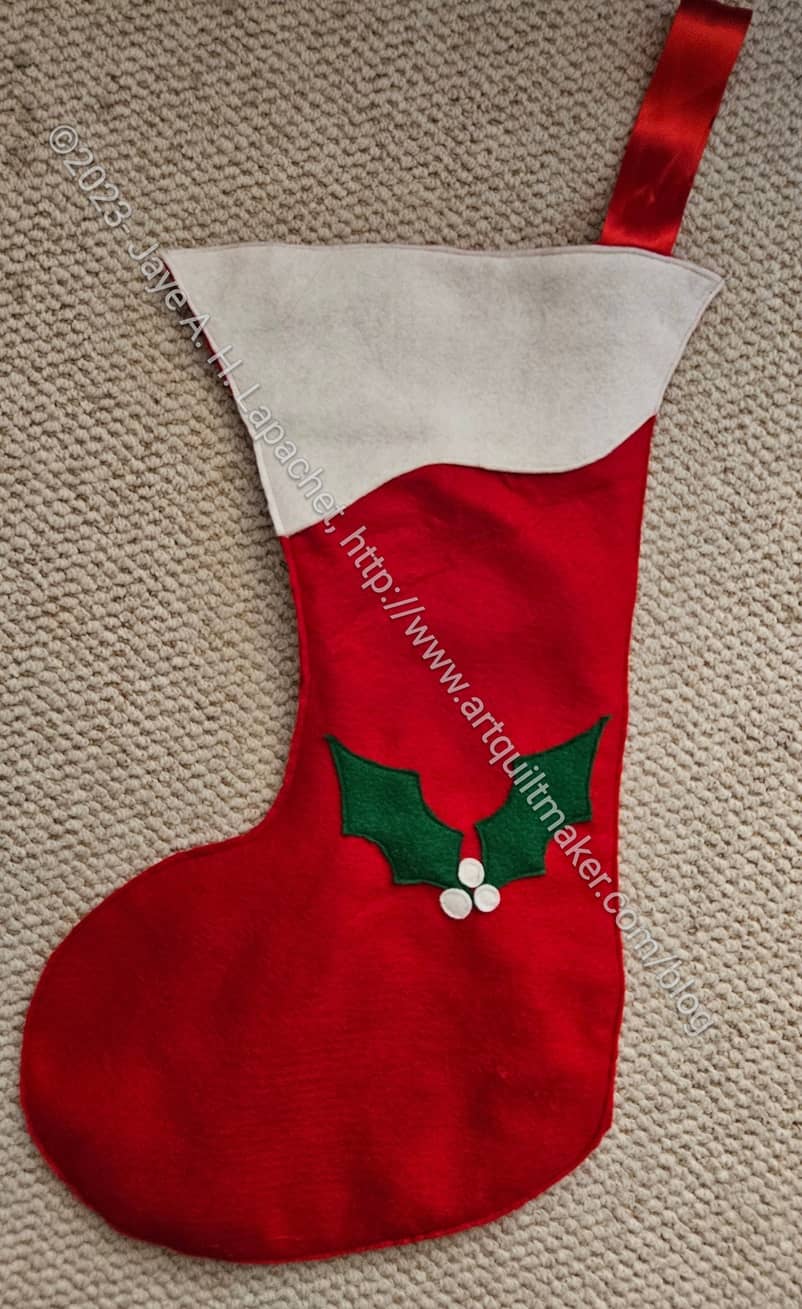
Finished Stocking
I am pleased with the way the stocking came out. I spent, maybe an hour, on the whole project. The ‘pattern’ is relatively simple. I use felt because I don’t have to worry about raw edges, but you could make one quilted and appliqued as well..
I really want to work on embellishing the stockings in general. I may start on that this evening. I plan to put a spine on the holly, but we’ll see when. I try to do a little every year, but don’t always get to it before we put the Christmas decorations way.
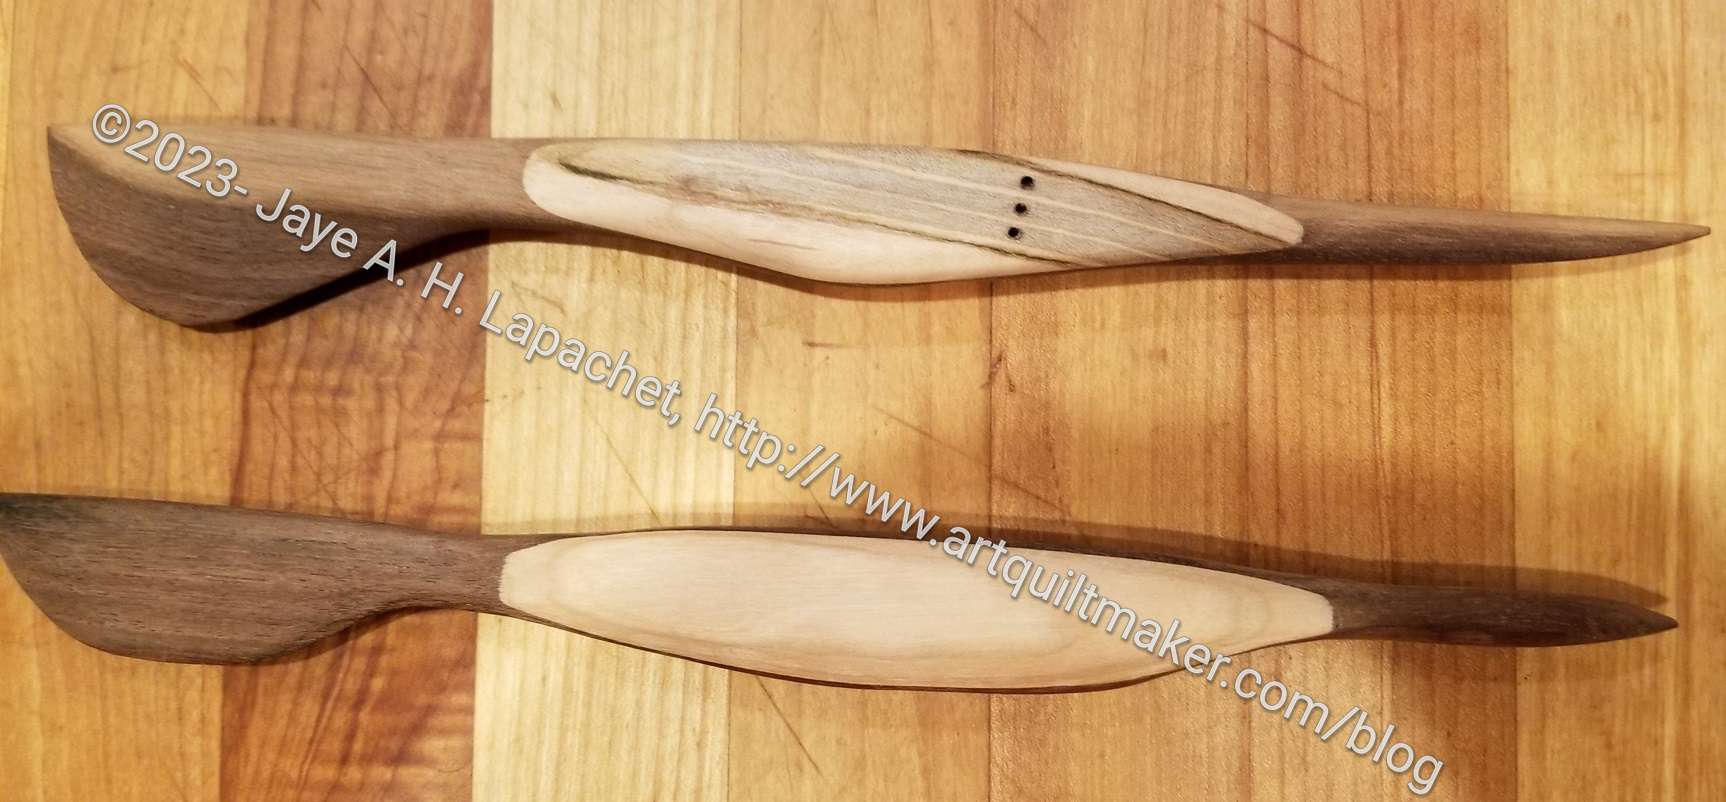
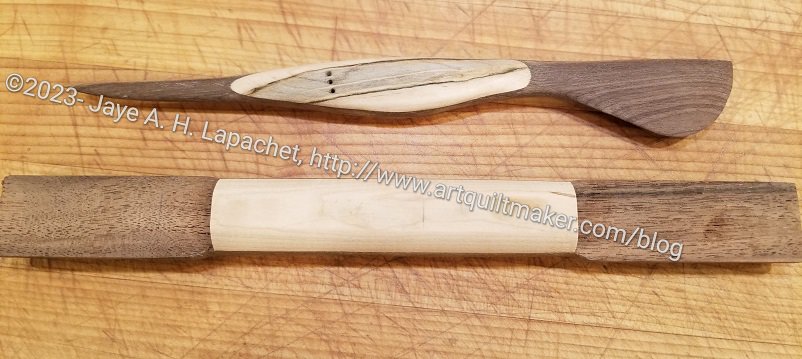
On my way home from Portland, we, again, stopped at our friends in Ashland. In addition to visiting, we were able to see how the turning tool came out. Mike did a great job. It isn’t exactly like my tool from Modern American Vintage (top), but I think it will be useful for Mary’s bagmaking. Like me when I am trying a new quiltmaking technique, Mike says he wants to try again. The tool didn’t come out exactly how he expected. As mentioned before, he isn’t going to compete with MAV, but making a couple to get it right seems reasonable.
I have touted the fabulousness of the Modern American Vintage tools. Since I was sewing with Mary, I brought my travel tool bag. In it was my fabulous turning tool. This was partially because I keep it in my travel bag, but I also wanted to show Mary.
Making a turning tool
We had a long talk about it, then we showed it to Mary’s husband, who has a wonderful wood shop and is a great woodworker (carpenter?). He immediately said to just buy from Modern American Vintage (which you should do!), that he couldn’t make it as well or as inexpensively as MAV. As the day wore on, he got more intrigued with the idea of the tool. By the end of the day he had started to try making one of the tools.
This is the same as deciding you want to try and make a certain complicated bag or a difficult quilt block. I loaned him the tool so we’ll see what he comes up with.
Because our family is growing, I thought I might need more Thanksgiving napkins for Thanksgiving. I bought some new embroidery designs for my SIL, though I think they were too big.
The turkey on the platter is, I think, a test embroidery. I am pretty sure we didn’t use that one before. I didn’t buy white napkins either. I think the design is amusing now.
Fortunately, I didn’t need them in November, so this project could be shoved off until her Christmas projects were done. I went over during Craft Night the other night and started work.
SIL #2 sat me down in front of her computer and I selected colors for some of the designs. She is pretty well organized and had recorded the thread colors. I was able to select from that group so the napkins will all, pretty much, match.
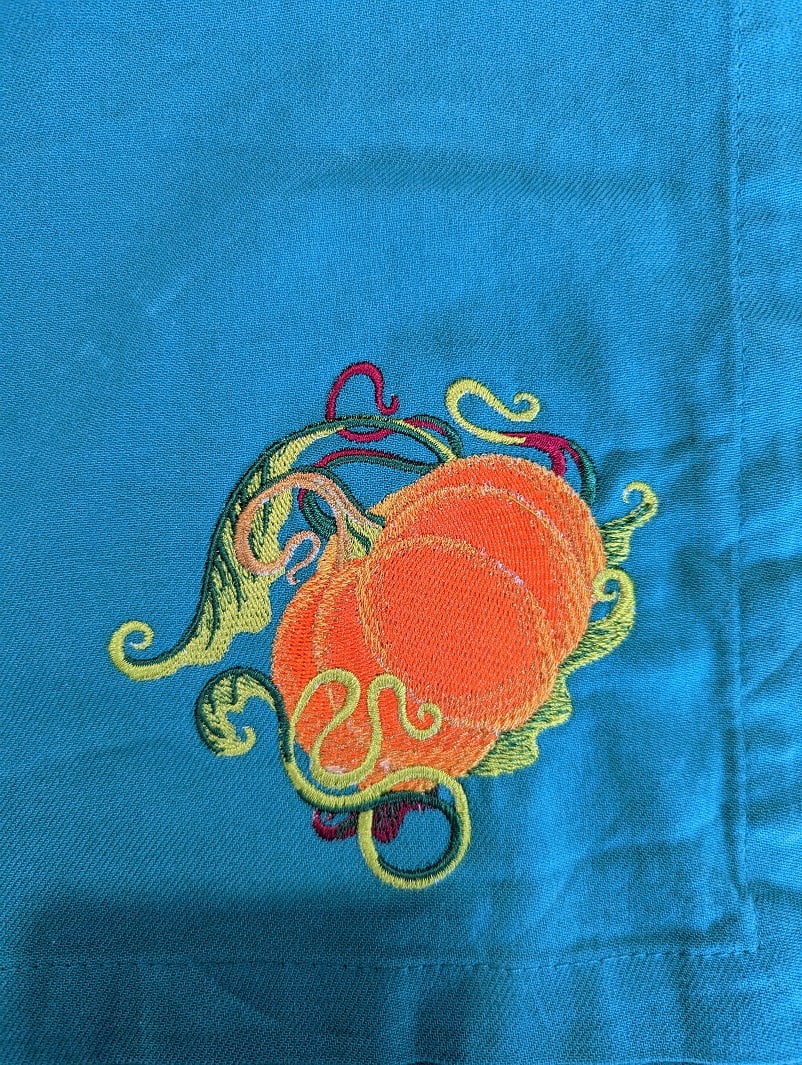
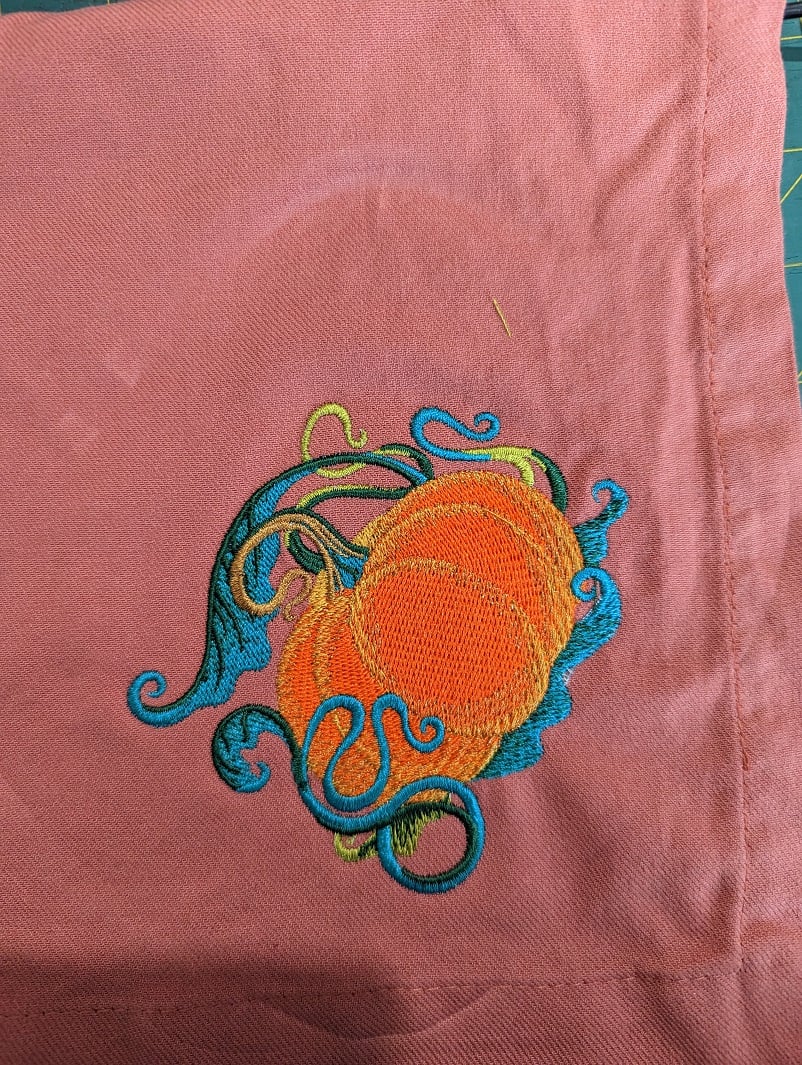
Pumpkin on blue napkin
She always has to reduce the number of colors, because she doesn’t like to switch threads once the machine has started. I think her machine can handle 6 threads at a time. I always forget to look at the number of colors and inevitably buy a design with 25 colors!
I really like that pumpkin motif and I worked to make it really pretty. I think it looks great on the blue napkin.
Blue pumpkin on mauve napkin
I started changing colors so they didn’t have the issues that bugged me. There were some black threads that looked too dark to me. It may be that the shading was removed, because of the limited colors. Regardless, I am thinking about greys and, maybe, even some browns to soften up the hard blacks.
On the mauve (dusty rose??) napkin, the blue really shows up. I used that blue thread, which I really like, only on this one. It would have been lost on the blue.
Choosing embroidery threads is hard work. I’ll go back when we have Craft Night again and choose some more.
Saturday was Craft Day. The weather did not cooperate, though Friday was beautiful with no wind just a light breeze. I was hoping for beautiful weather for once just so I can say that my town is not always foggy. Oh well.
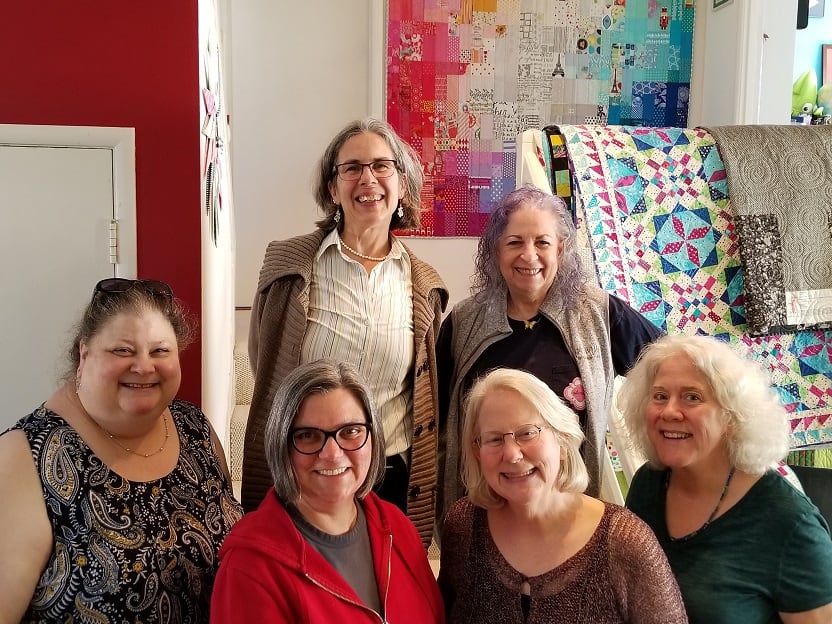
Craft Day Attendees 2022
Regularly my sorority alumnae group gets together for fun events. During the pandemic we did them on Zoom. Teaching people to bake pies on Zoom was one of the great events.
I often do not host, but I was willing to host Craft Day as it was pretty easy and I did not have to dress up.
Also, I wanted to get started on a knitting project and needed some help. Knitting is good for meetings where I do not have to present and I have two four hours training sessions this week and I need a knitting project.
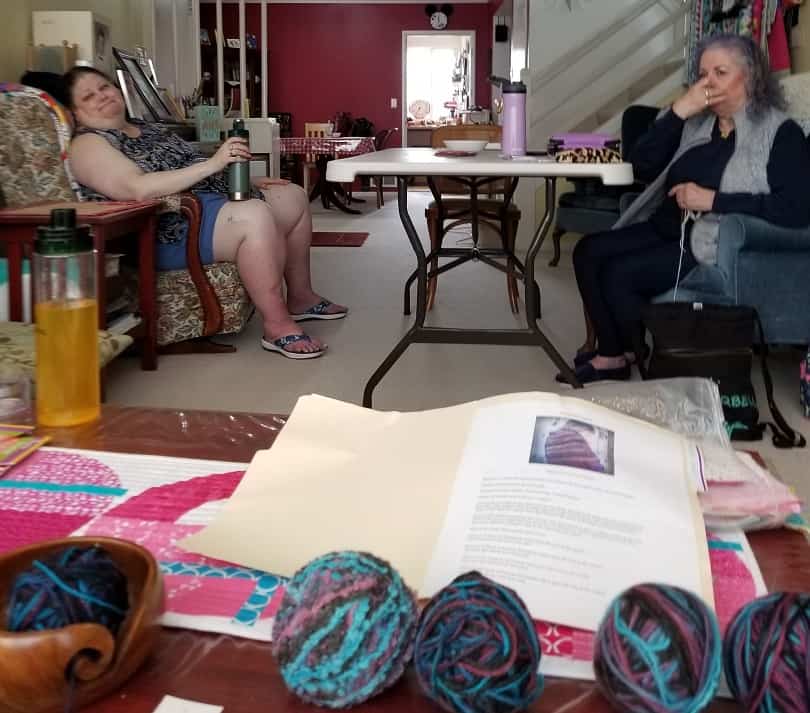
Craft Day: spinning and knitting
A lot of knitting went on on Craft Day. My SIL was knitting along with 2 others. Juliette was spinning, which is related to knitting, but not knitting. She will knit the yarn she was spinning at some point in the future.
Juliette has a very quiet portable spinning wheel. It wasn’t the big wooden machine like in Sleeping Beauty, but it got the job done. I really enjoyed watching her spin. As I knitted, it was soothing to see.
Craft Day
I was more prepared than I thought. All of my yarn was in balls. I did a gauge swatch, which help my SIL help me know what I needed to do next.
Of course, there was plenty of food. Terri made a nice fruit salad and Beth brought salami and cheese. I made coffee cake and banana bread. There was plenty of both leftover.
All in all it was a good time and not too taxing. My knitting project is started, so I am ready for my meetings. I also got to reconnect with friends I hadn’t seen in awhile.