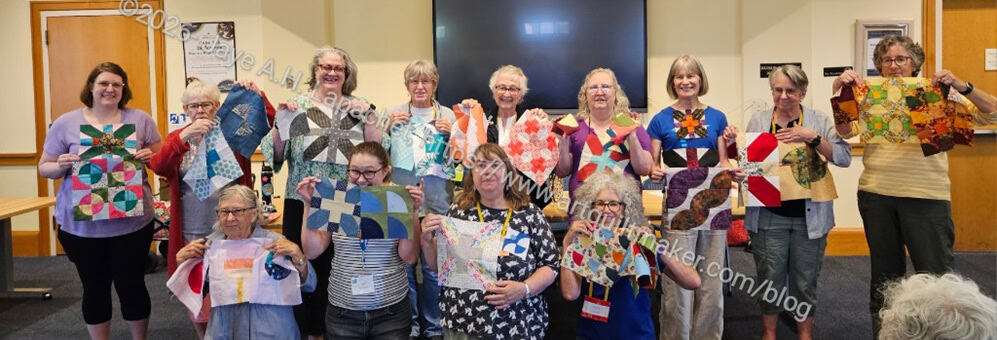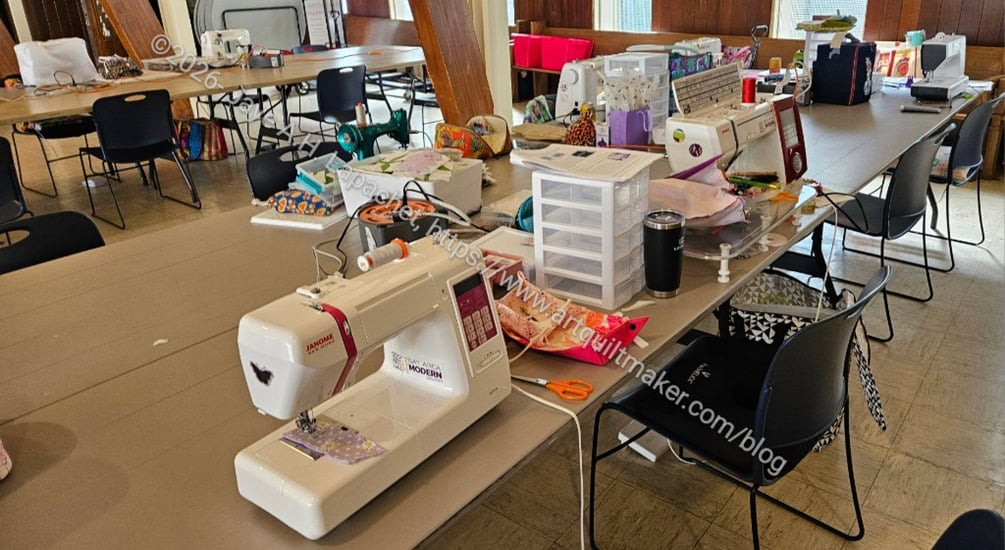
We had a fun Super Sew Day over the July Fourth holiday. We held it on Friday and Saturday so it was double the fun.
I went with a bag of small pieces of Soft and Stable that had been annoying me. My goal was to make them into larger usable pieces, Frankenfoam. I used Frankenfoam in the Palomino Pouch project and didn’t get any reports of problems. I cover the outside with some SF101/ProFuse to smooth out the bumps a little. I think for small projects, or those with a lot of seams, Frankenfoam works well.
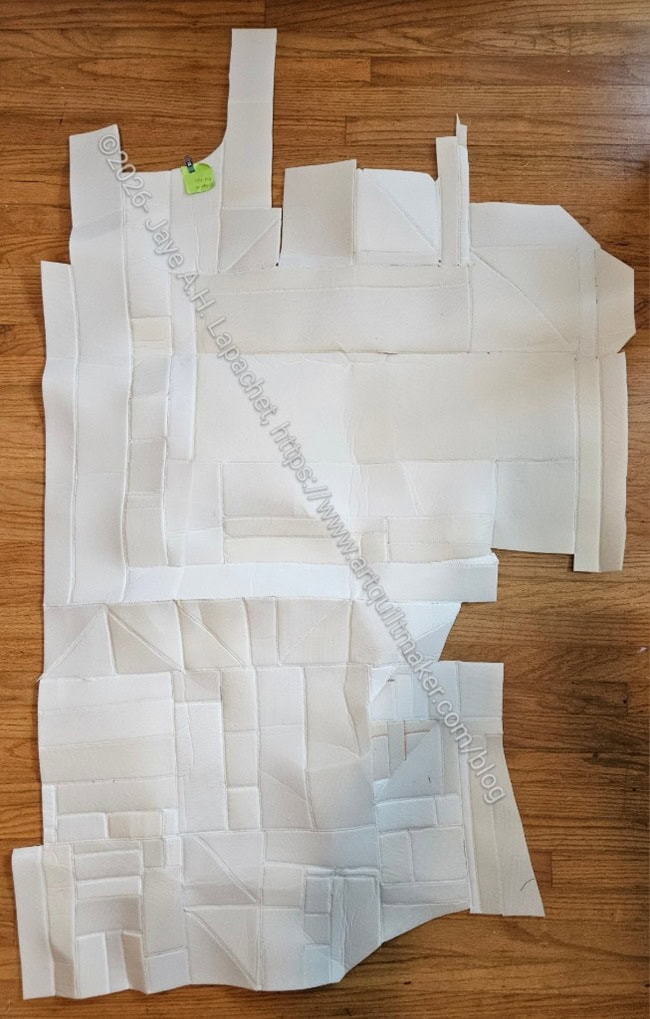
I started out sewing like sized pieces together. By the end of Friday, I was less careful about ‘wasting’ foam. I ended up with two pieces about 4 feet tall and 2 feet wide. I estimate I got the approximate size of one package of ByAnnie Soft & Stable. It was a good project to do when people were asking me a million questions. It was easy to stop and start without losing my place or having to figure out the directions again.
I really could have done more, but I decided I didn’t need an absolutely square piece to use it.
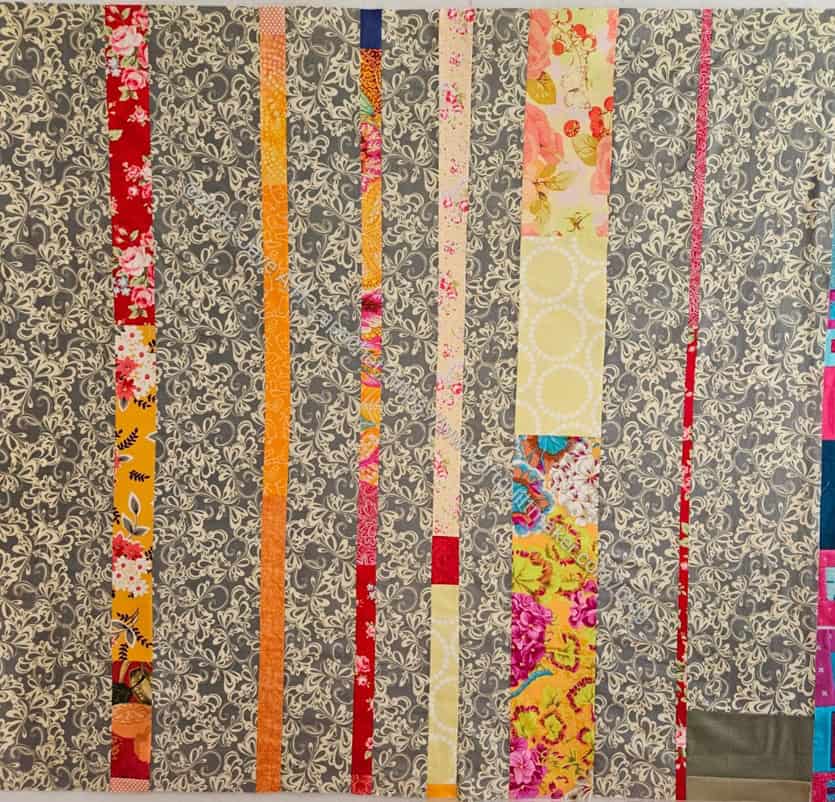
As a result, on Saturday, I cut up one of those pieces and make the exterior of the Mindalin tool roll. This pattern can be found in Make Modern issue 70. The pattern calls for foundation pieced blocks to make the outside, but I decided to use selvedges to make the exterior. It looks really cool, IMO.
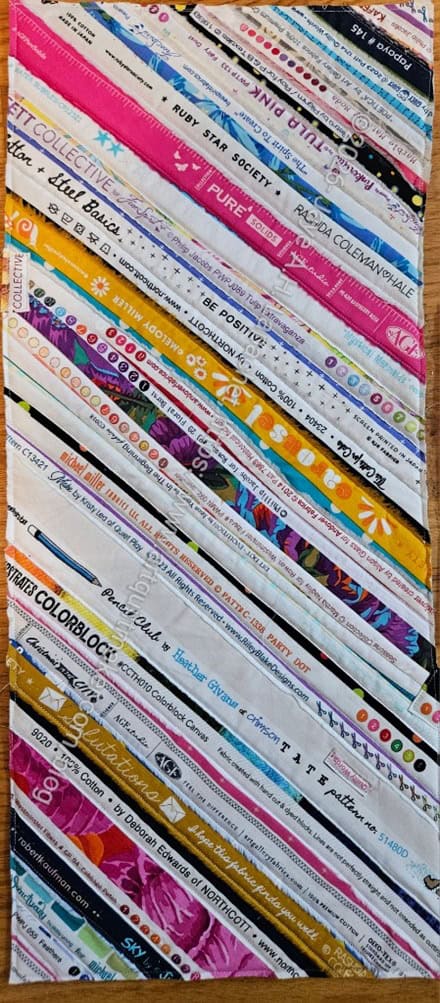
The last thing I made with selvedges was the Sleeping Bag pouch. I want to make another one, but haven’t gotten to it yet. I seem to have a never ending supply of selvedges, so I wasn’t worried about using up the ones I had collected.
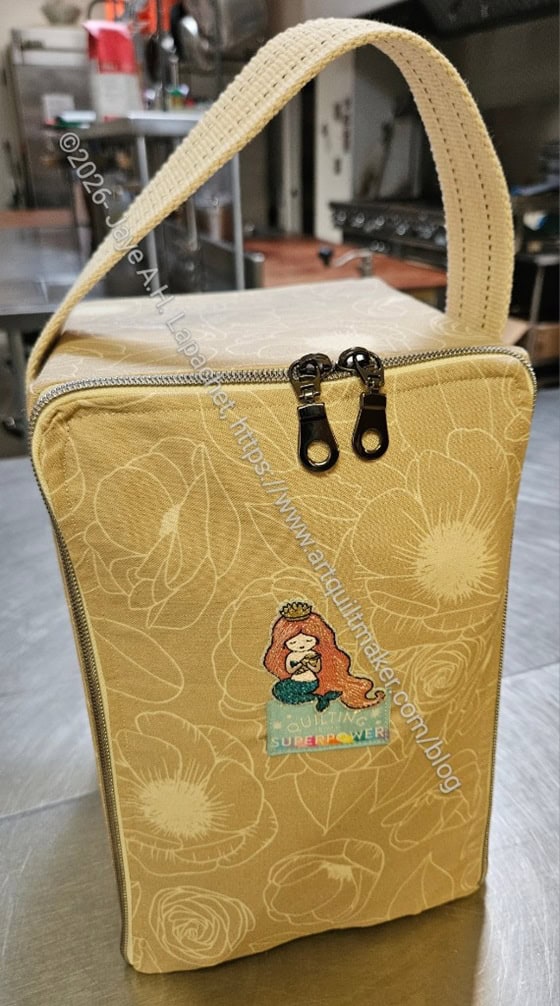
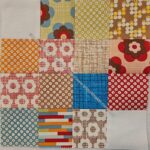
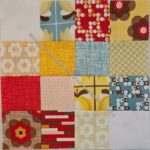
A lot of people were making the Everything But the Machine Tote. The guild may have a sew-a-long for this bag as it is very useful. It has drawers inside to hold your travel sewing supplies.
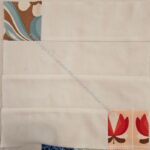
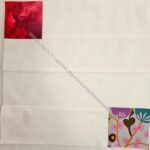
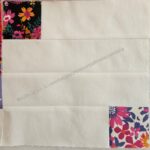
The front provides a great way to showcase a special patch, embroidery or fussy cutting.
Christine made hers all in one day.