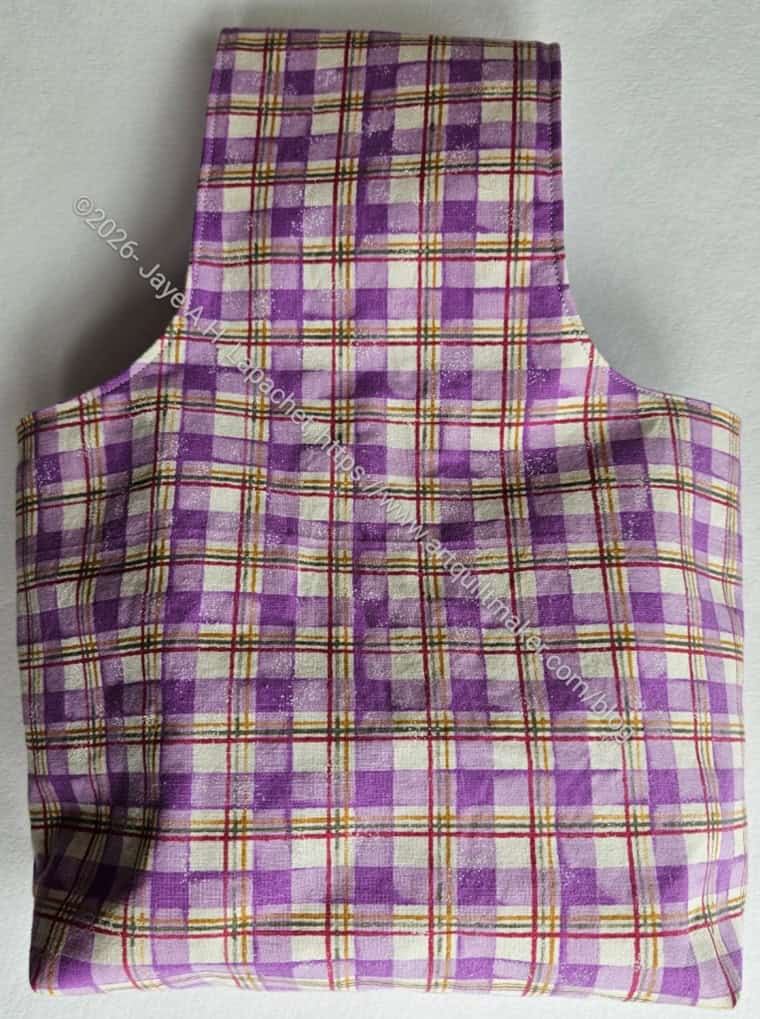
I came home from Sew Day the other day and made another Mini One Handle Tote. It has been awhile since I have made one, but it has been on my mind to make another, so I did. It really didn’t take me very long even though I had to search through everything to find the project folder. I still haven’t found it, but I had the tutorial, which made it easy. The worst part was that I had to make another handle template and I don’t like it as well. I think I need to adjust it a little, but it worked out fine in general.
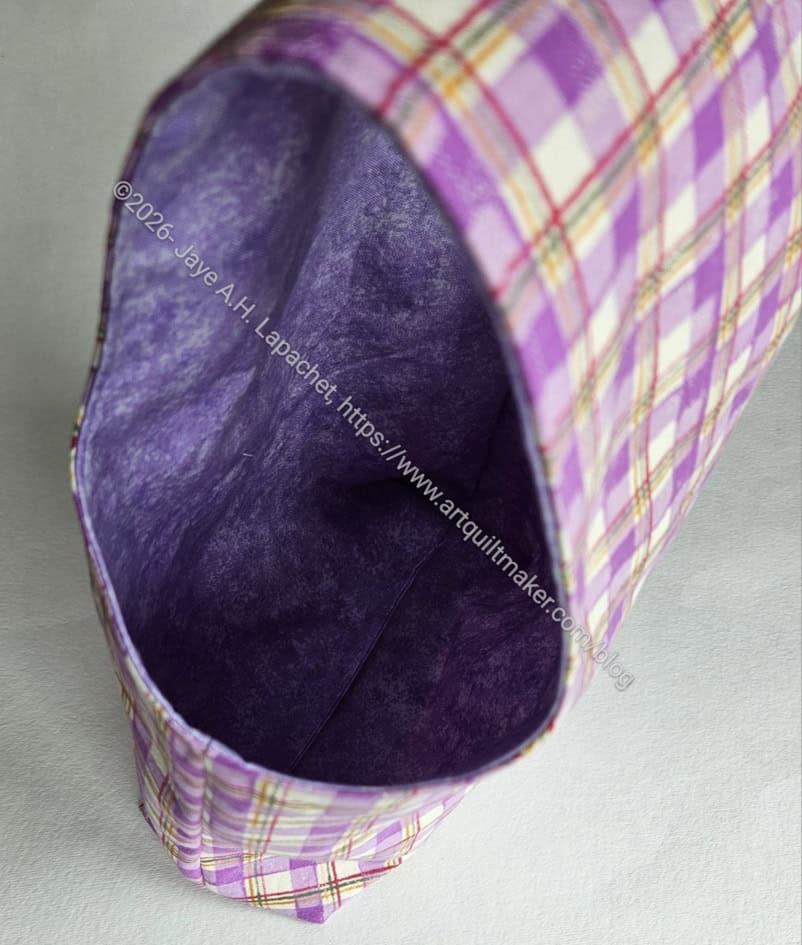
Mini One Handle Tote #4
I haven’t tried a pocket yet, but I think I will on the next one. Fingers crossed I can figure that out.
I do want to make more. It would be great to find my original template. I am wondering if I didn’t make a project folder for this tote?
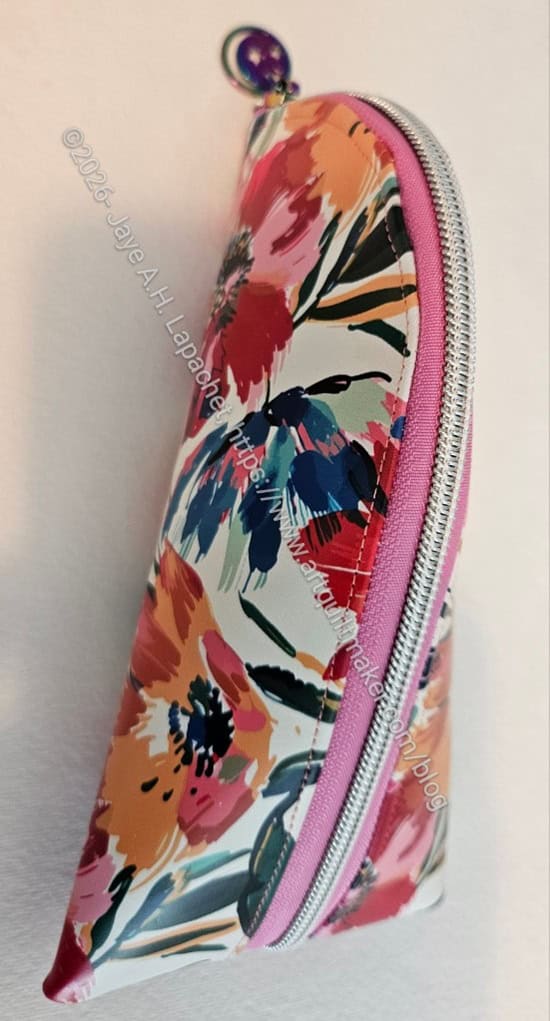
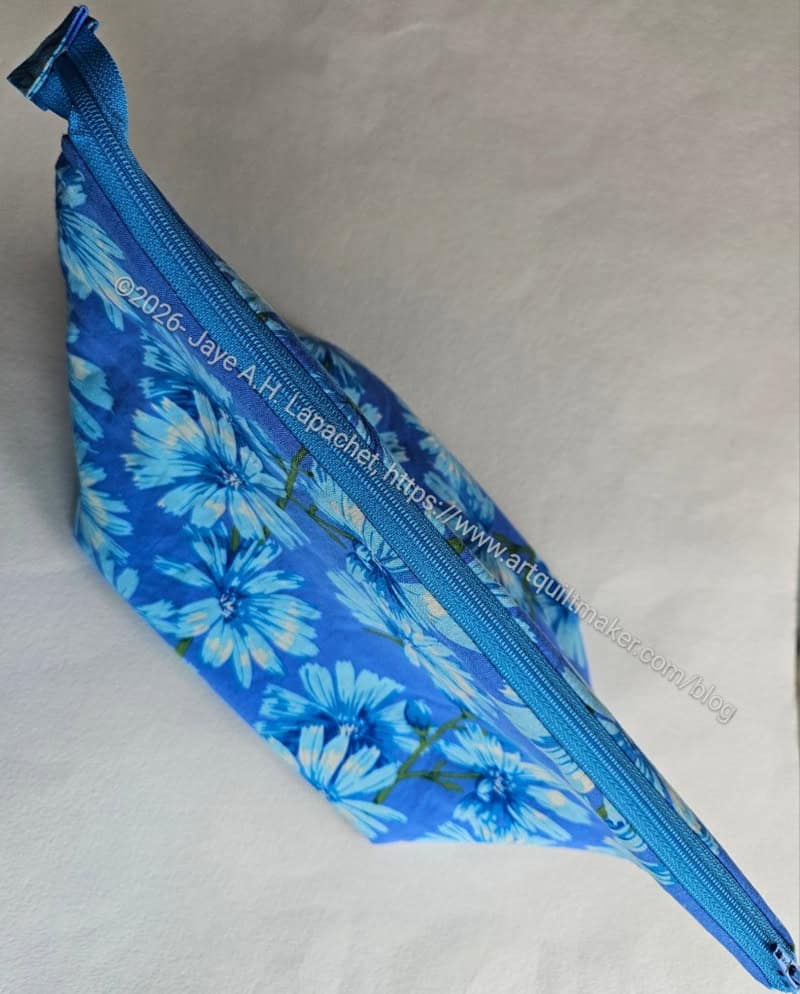
I originally bought the Hippie Specs case pattern because I wanted to try making a clear vinyl eyeglass case. I know it wouldn’t be super secure in terms of protecting the glasses. Still, I had the image in my mind and wanted to try it.
I came across the roll of flowery vinyl when I was putting away a new roll of lavender vinyl that I bought to make a Pandora Allure. I talked to my niece about it and she said she loves that flowery vinyl, so I decided to make her a glasses case that matches her pencil pouch.
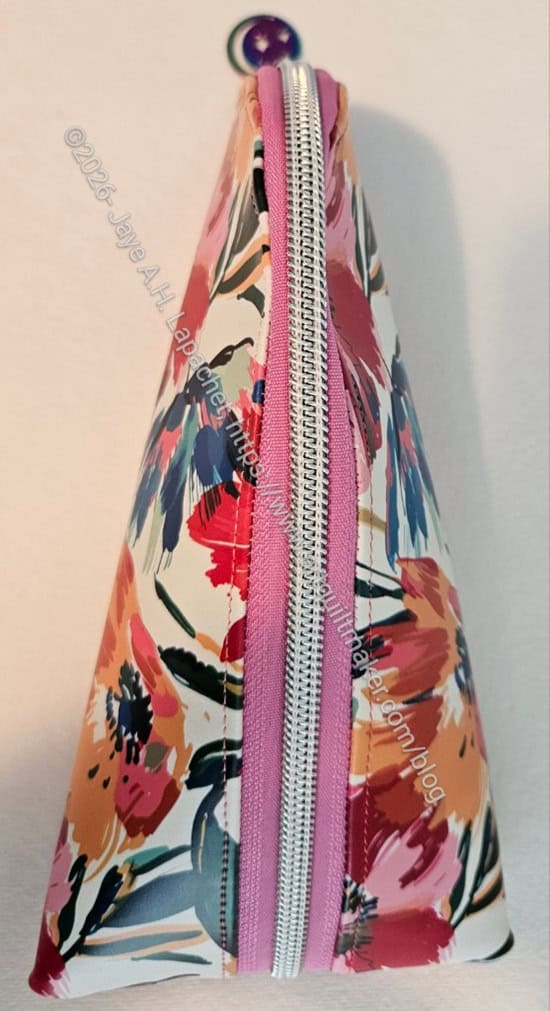
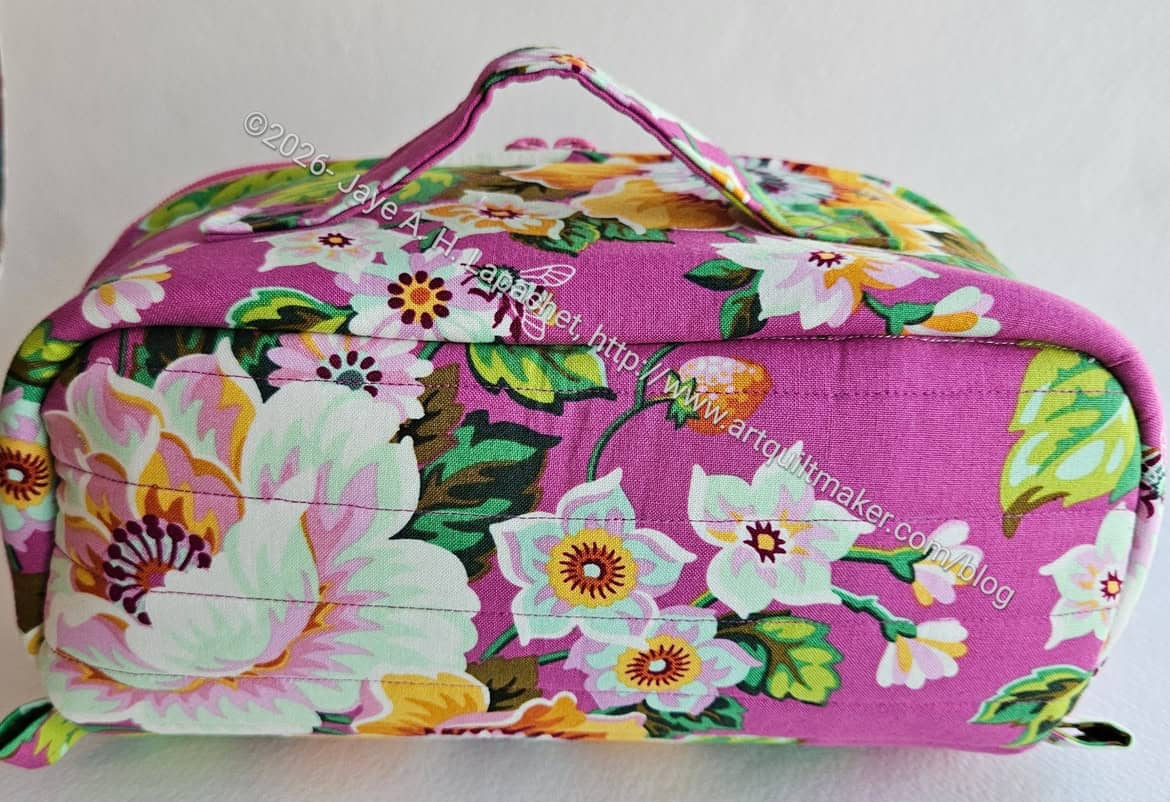
Hippie Specs in flowery vinyl-top
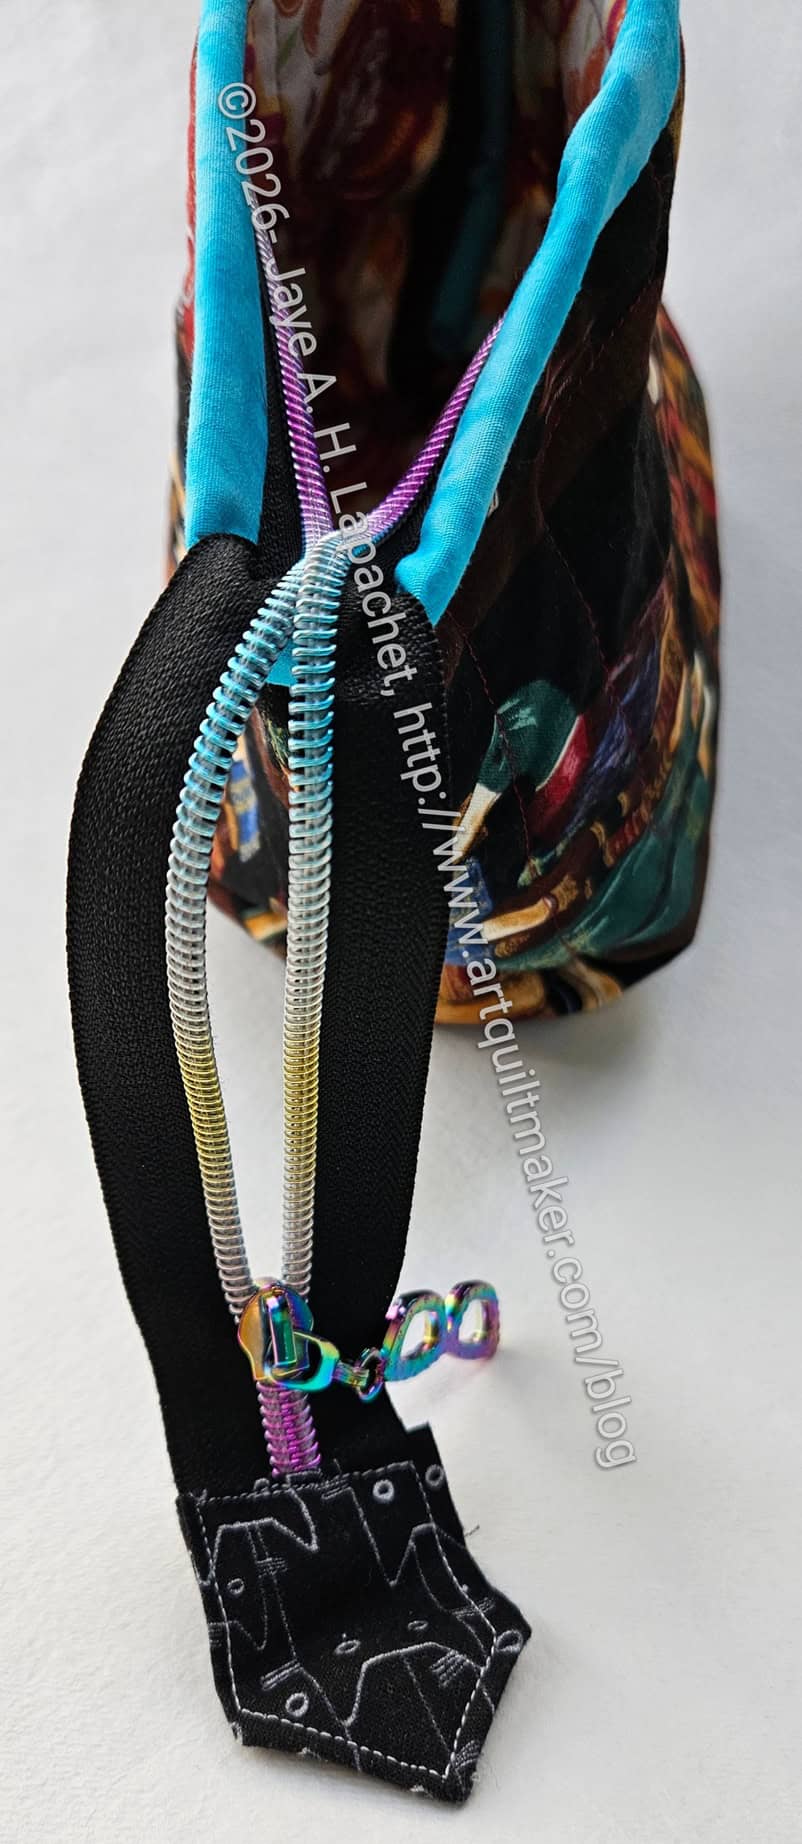
As you can see, the pouch didn’t quite come out as intended. 😉 It is different, more three dimensional than the others. I sewed the seam bottom wrong. Still, maybe it can be used as a glasses case or some other kind of pouch?
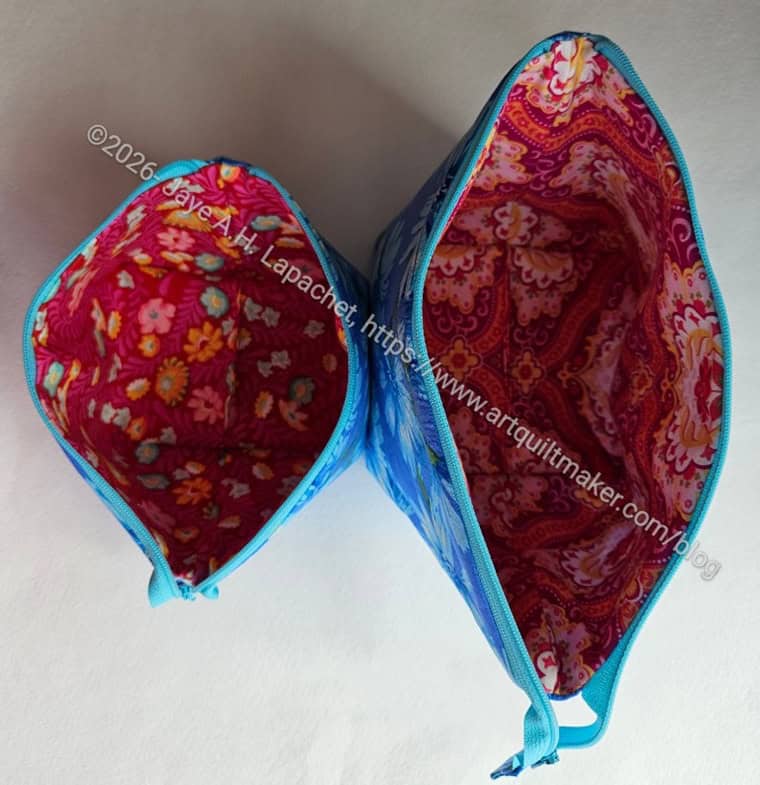
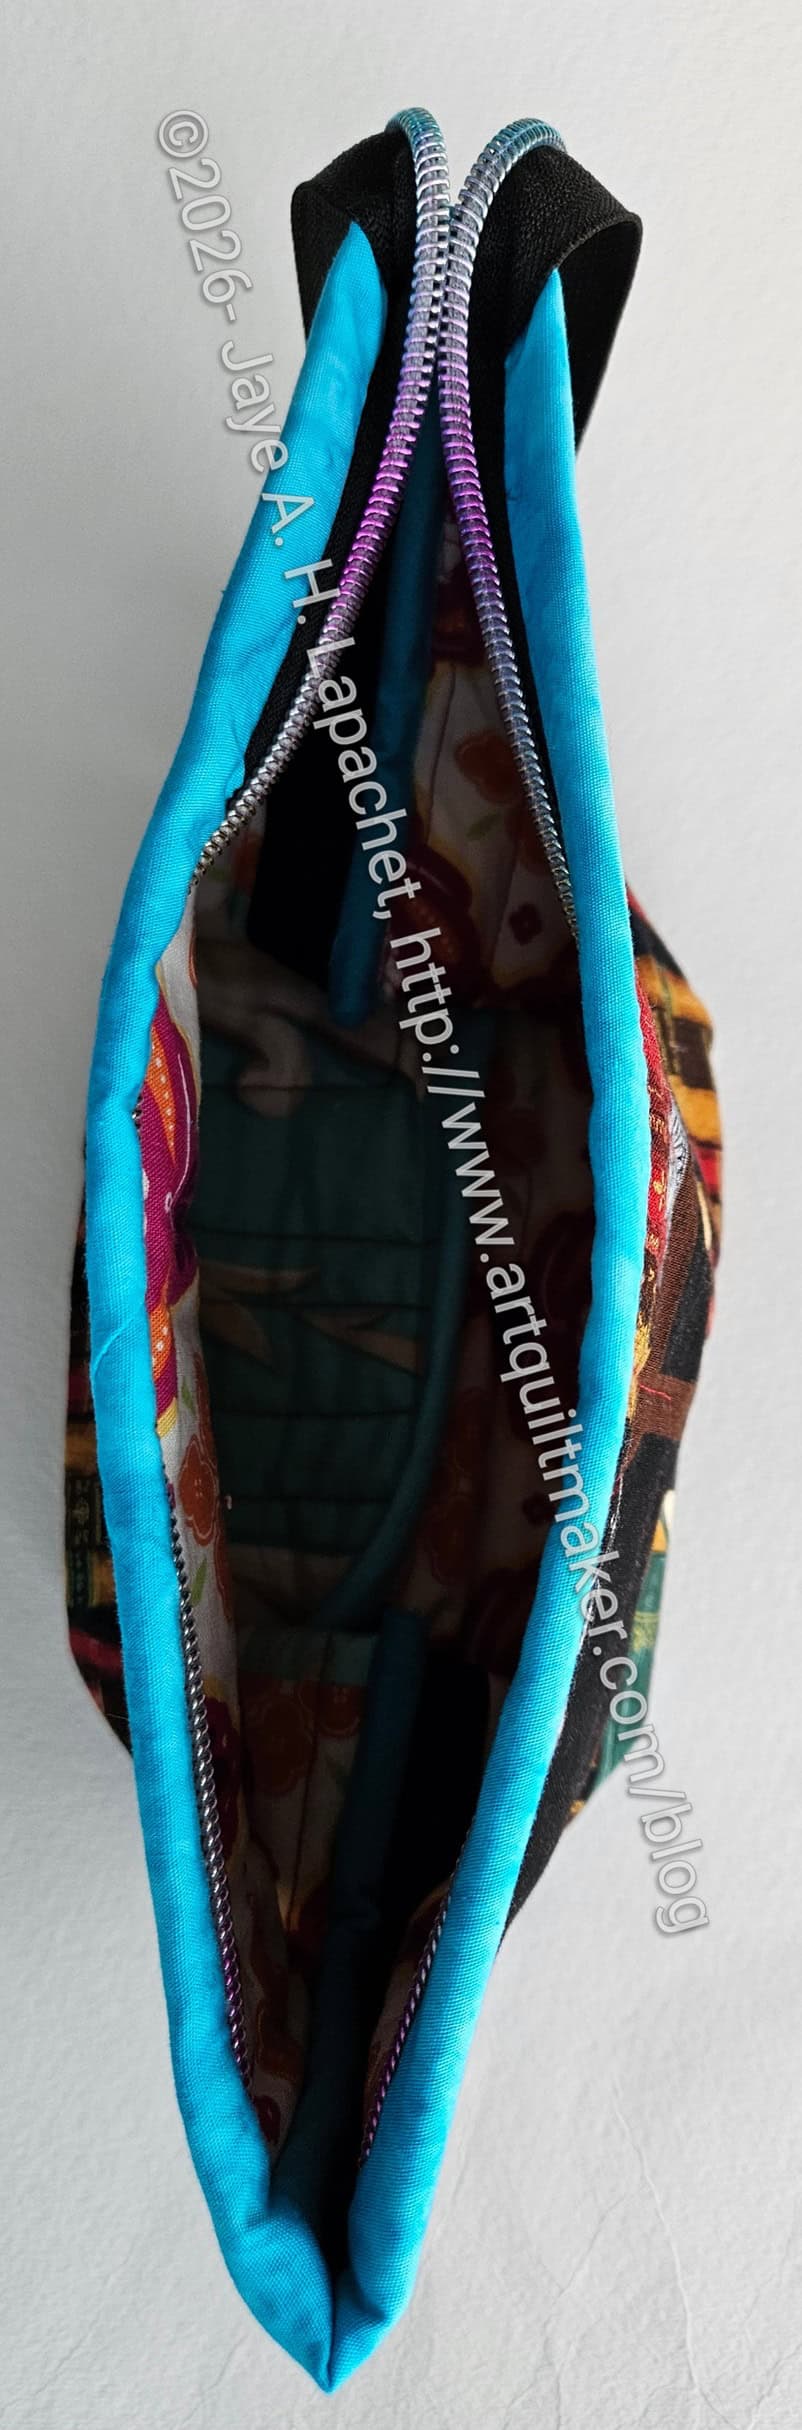
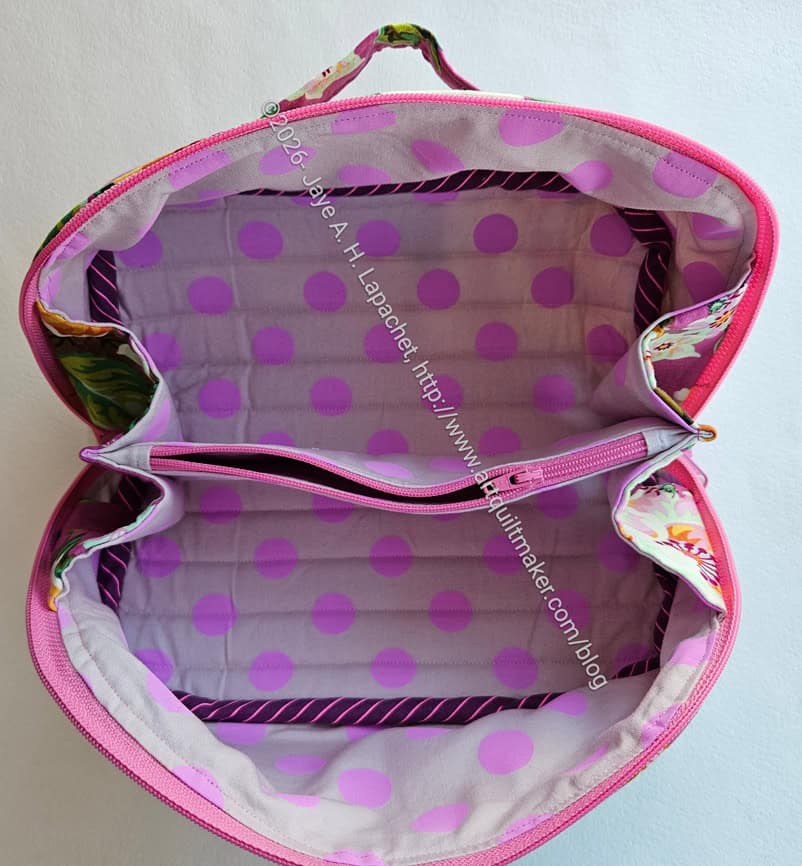
One of the things I wanted to test was how the inside would look if I didn’t include a lining. I am a little bit of crazy person about not having the zipper tape show. I swallowed that need and went for it.
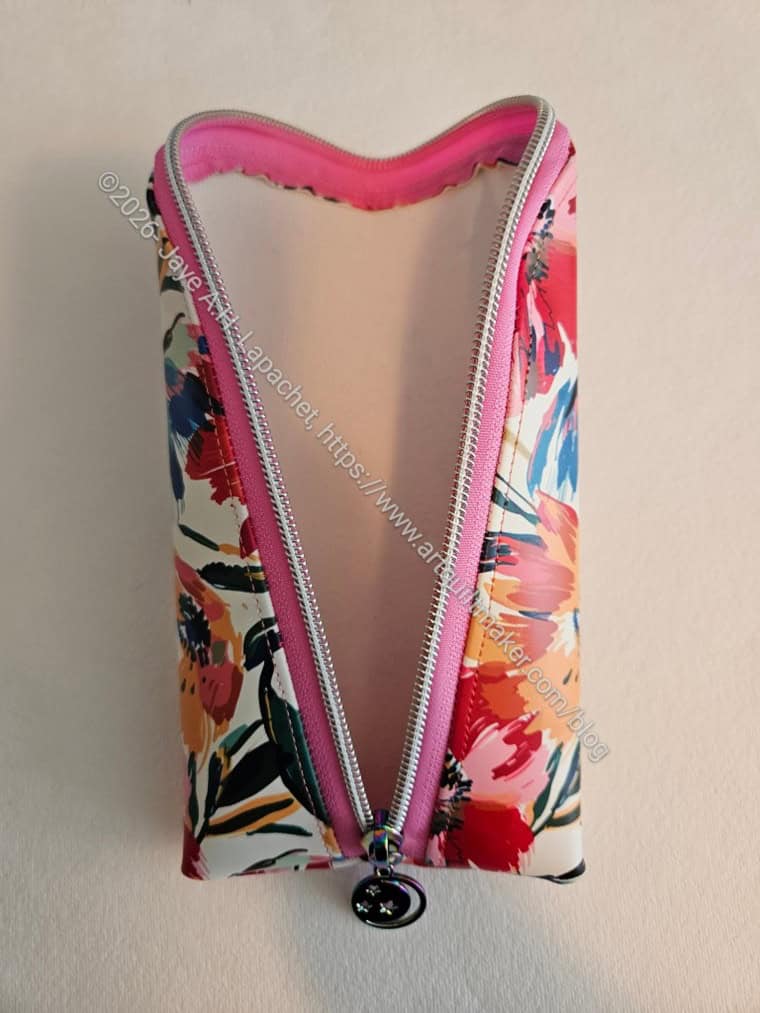
Hippie Specs in flowery vinyl-open
I’d prefer to have the zipper tape covered, but the inside doesn’t look too bad. I sewed really carefully when doing the top stitching. The top stitching looks pretty good. I also bound the inside bottom using foldover elastic.
I am going to try making another one sewn as the pattern shows. I have plenty of the flowery vinyl and no plans to use it for anything else.
I am not celebrating the Fourth of July this year.
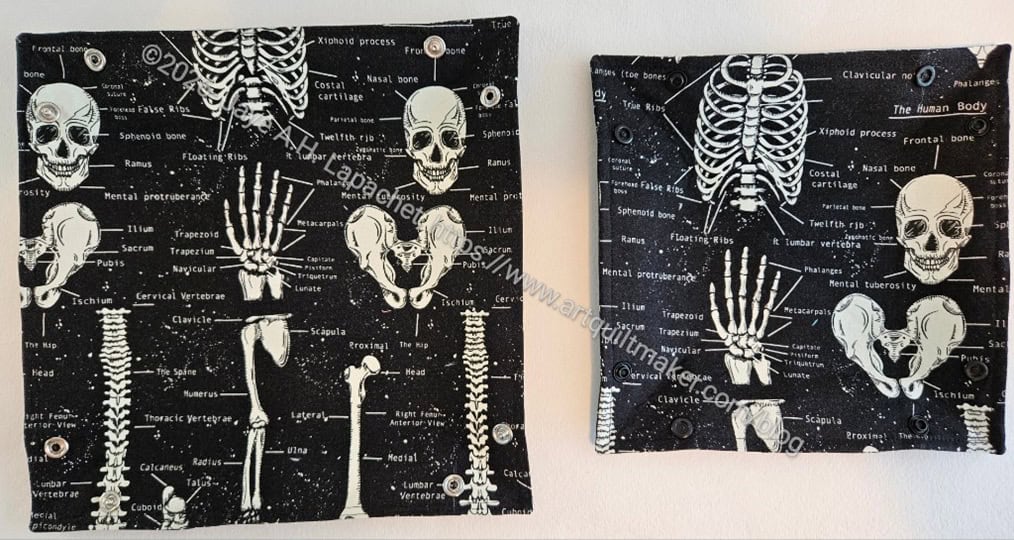
Megan’s Bone Snap Trays
I did make my friend Megan some Snap Trays. More bones.
As you can see I made two different sizes. this time I was testing out the KamSnaps vs Snap Setter.
The smaller tray has KamSnaps installed to make it into a tray whereas I used the Snap Setter to install snaps in the larger tray. I think that the Snap Setter company is going out of business and I wonder if I will be able to buy replacement snaps. I searched on Amazon, but wasn’t sure what I was looking at.
She is going to test to see how sturdy the different closures are.
I took a little time to make a couple of eyeglass cases using the Sew Hungry Hippie Hippie Specs pattern. Yes, I am branching out a bit from Sew Sweetness!
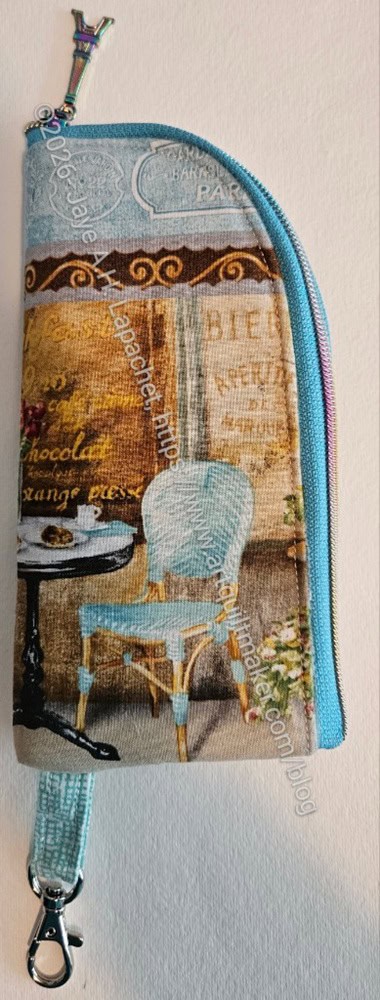
This one will be clipped into the Pandora Charisma and sent off to my sister for her birthday. This is definitely above and beyond, but the piece of fabric was just the right size and I have been wanting to try out this pattern.
Paris Hippie Specs Eyeglasses Case
Paris Hippie Specs Eyeglasses Case-open
I made her something else out this fabric- the Falabella Pouches a few years ago. This eyeglasses case will not be able to be used in conjunction with the pouches, but the fabric will match and a glasses case is useful.
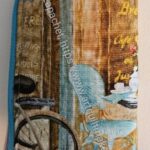
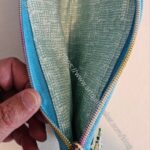
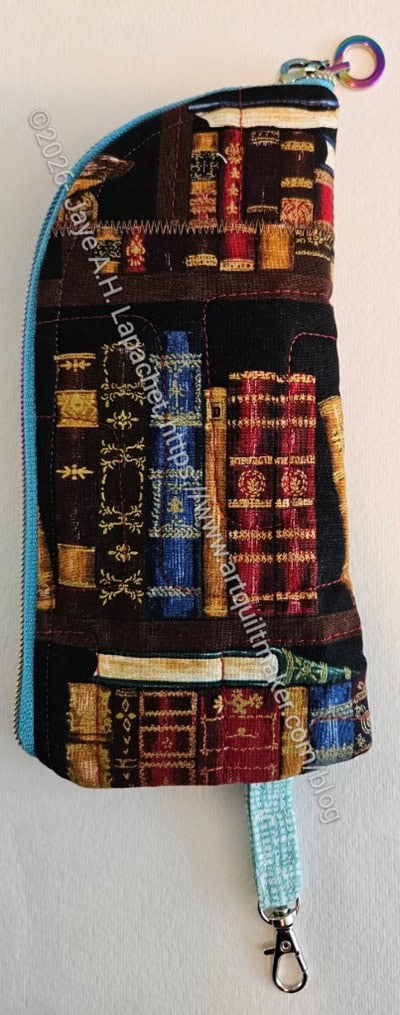
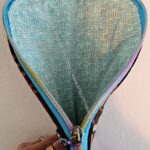
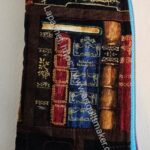
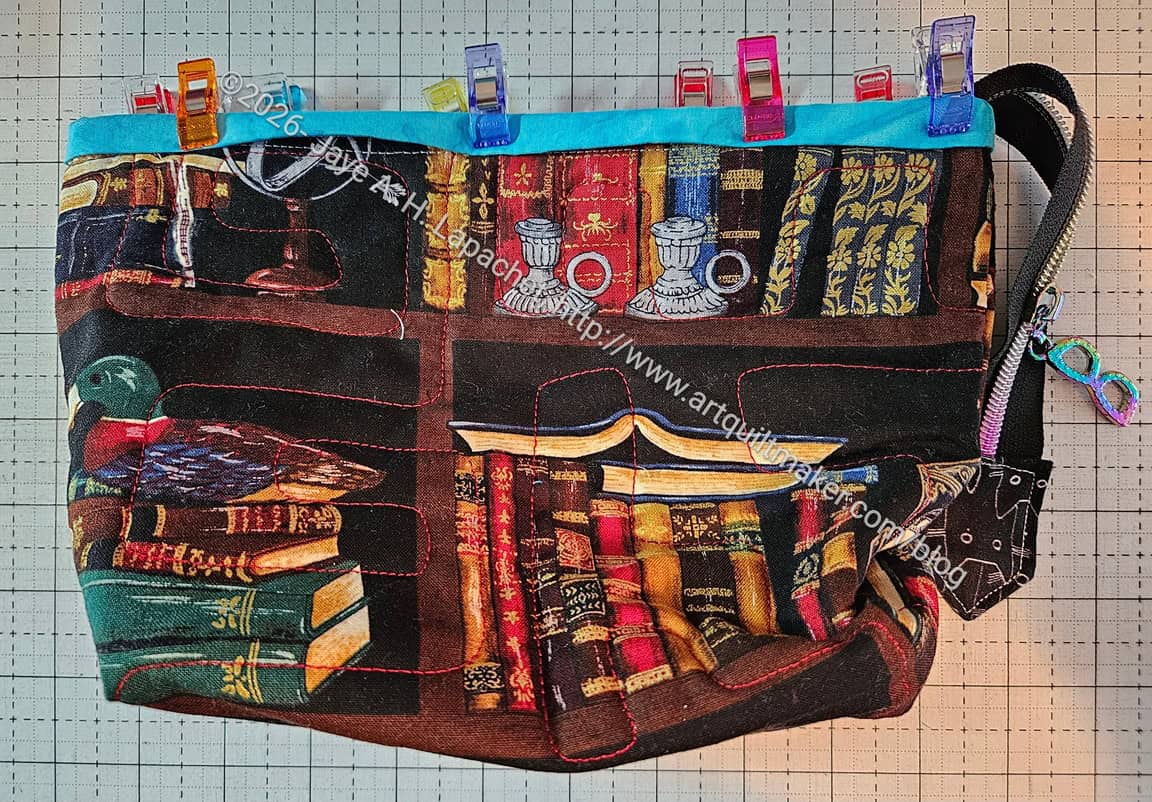
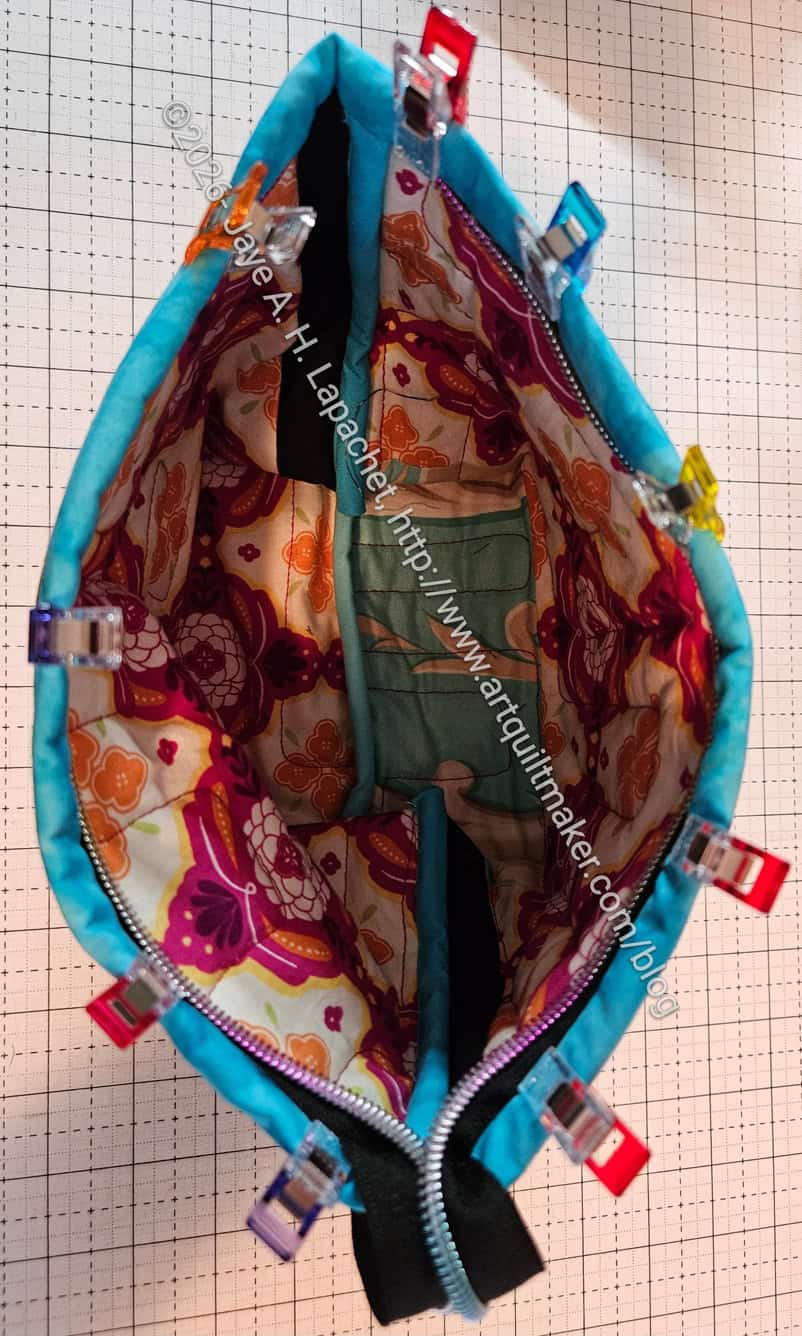
Books Hippie Specs Eyeglasses Case
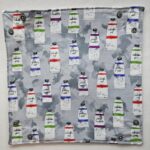
I also made one of from some of the last remnants of the table leaf covers.
This fabric was already quilted, which I think made the pouch look better when finished. This isn’t a large piece and after some recent quilting on the new machine, I might be able to manage it. I would need to look at the tutorial again to see what Natalie did about the zipper in relation to the quilting.
Books Hippie Specs Eyeglasses Case
Books Hippie Specs Eyeglasses Case
I ended up adding another lining on top of the quilted lining to get this done, which is why I need to check out the video again. I used the same lining as the Paris Hippie Specs Eyeglasses Case. I was just lazy.
I want to make one of these out of vinyl. We’ll see how that works. I have to do some different stuff on the inside.
I love seeing bags I have made in use and not staged for my benefit.
This was the case with the Cosquilla I made for my SIL#4 for Christmas last year. We visited them for dinner one evening and I saw the bag on a side table when I went to stash my handbag.
This also reminded me that I need to make sure I do a good job when I sew bags. They need to not fall apart as people will actually used them.
I struggled with the curve on this bag and am curious to see how the new machine will handle the curve.
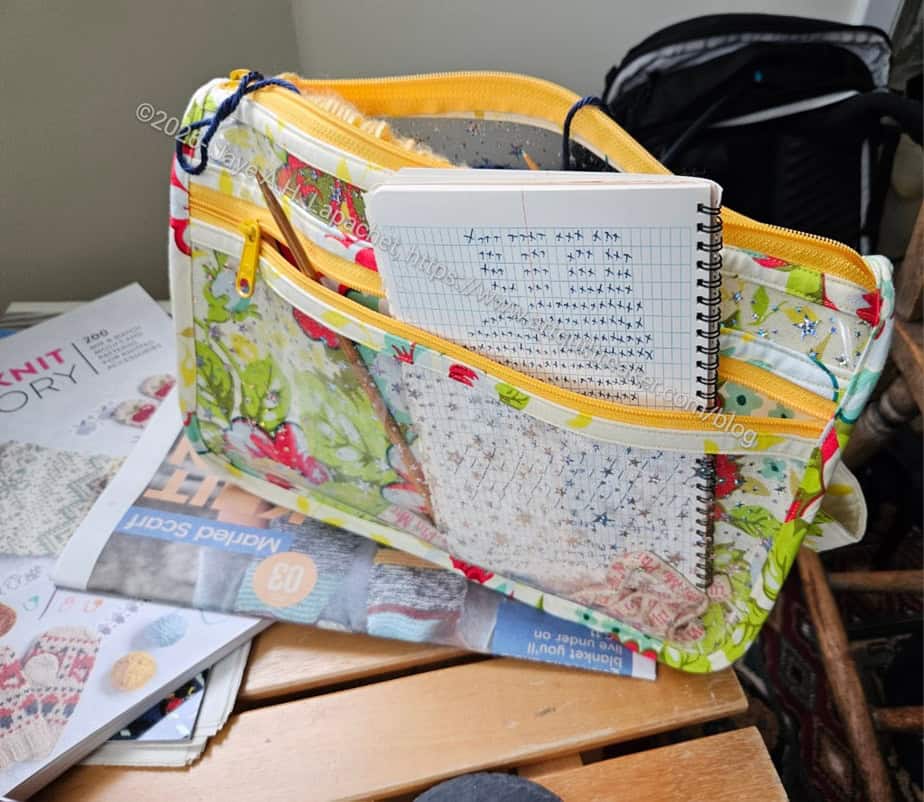
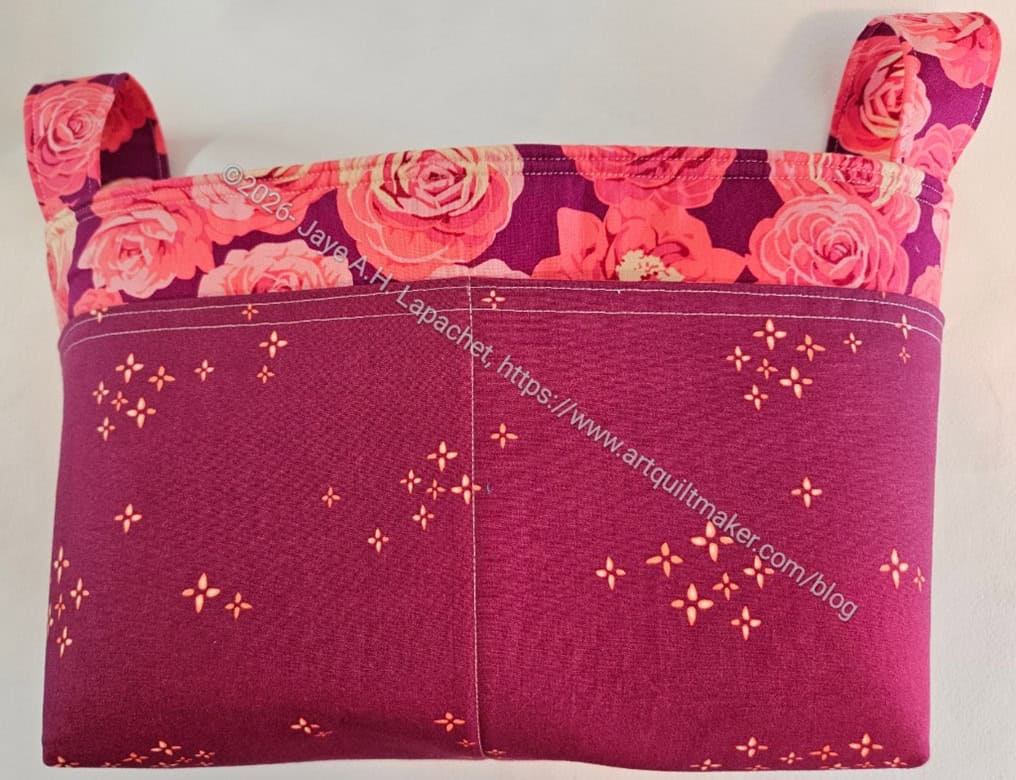
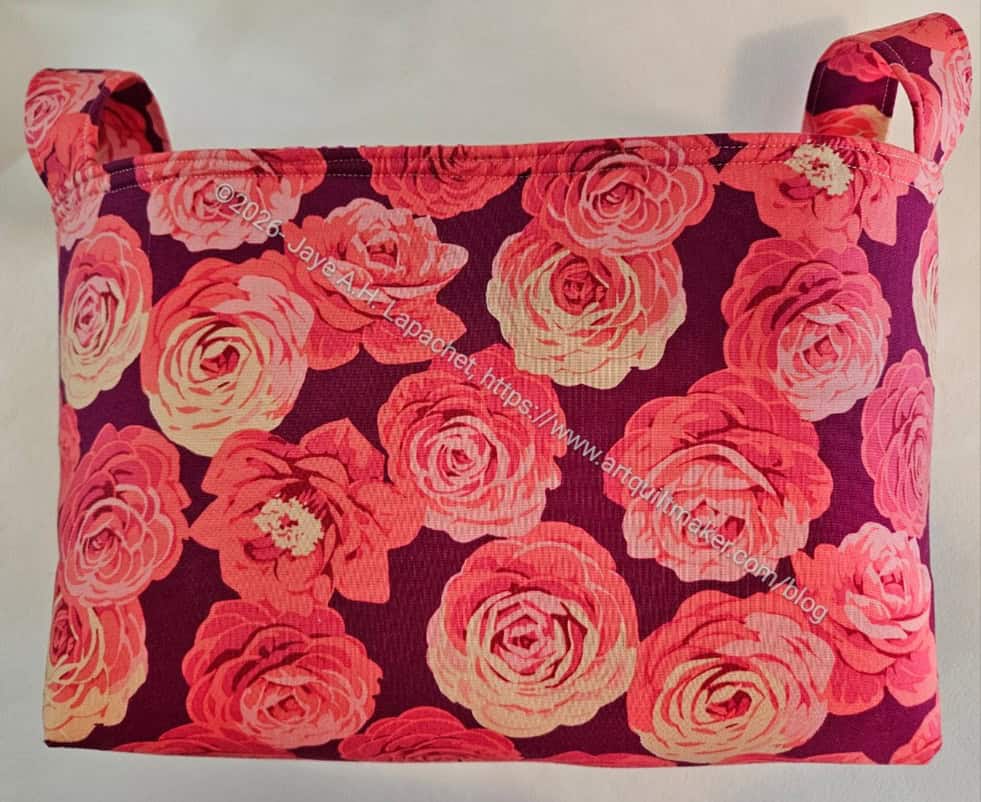
Mary and I talked about this pattern when I visited her. She had the pattern it was on her list to make. I saw it at Picking Daisies, as mentioned, and decided to buy it. Noodlehead patterns are pretty good and I was interested to see how the divided lining was created.
Continuing with the Picking Daisies theme, I used the roses fabric I bought during my visit. The front pocket fabric is an Alison Glass, I think. It was in my fabric closet.
Divided Basket – back
I was surprised at how large this basket is. I did look at the dimensions, but I can never visualize them until I see the actual bag made. It would be good temporary storage for a bag project.
I thought, after I made it that I could place a pocket on the back as well for even more storage.
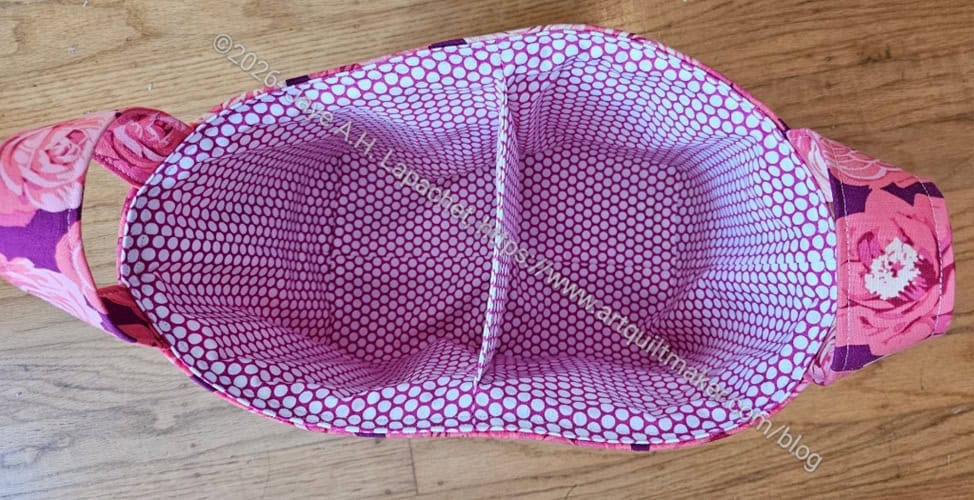
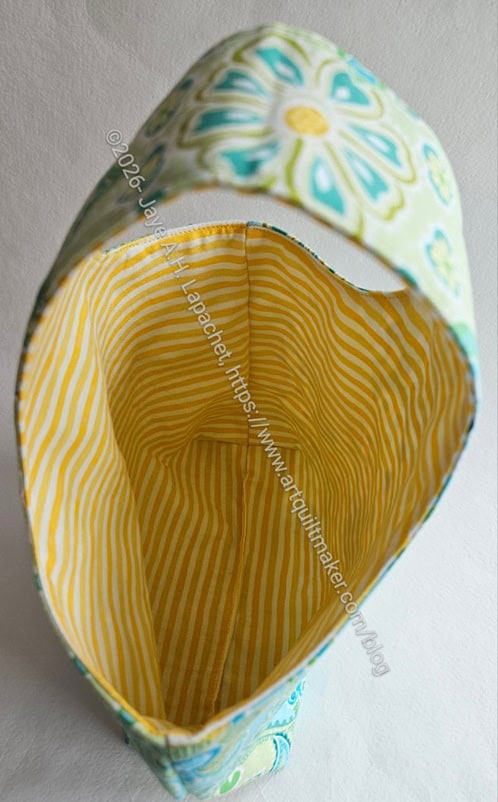
Divided Basket – interior
I was pleased to learn the technique for a divider.
I sewed the whole thing together, then realized I really should have anchored the lining, so I took the basket apart and anchored the lining. I was much happier after I did that.
I sent the basket off to its new home and hope the recipient likes it.
I spent some time making some Open Wide pouches for the wife of a friend of my Mom’s. He drove Mom and stepdad to an appointment on his wife’s birthday. I thought a couple of pouches would show appreciation.
I used the new Martha Negley fabric I bought at Picking Daisies a few weeks ago.
Large Open Wide for Mom’s friend
The one thing I did was delve into math again. The pattern tells you to line up the corners, sew and then cut off the excess. I get better results by cutting out a box and then lining up the edges. DH reminded me of the Pythagorean theorem (!!!!). It is one of those with a lot of letters that made me crazy as an eighth grader. More detail on that later.
Small, medium Open Wide pouches-open
Needless to say, I used this theorem and my calculator to figure out a box size for these pouches. Closed they look a little weird, but open they look ok. The open wide aspect is so useful.
I’ll have to work on figuring out the best size to make these look ok.
Large Open Wide- open
I have to say that exercise was interesting. I showed DH how a pouch goes together every step during the process and he was really interested. I think he thought the practical use of the Pythagorean theorem was fascinating. I have to say that learning the practical use of one of those stupid math concepts was a revelation.
The other thing I noticed was a lot of similarities in the construction of this pouch and the Retreat Pouch, also free, from Emmaline.
I promise not to show every single one of these that I make. I am just so tickled that the directions from an IG video actually work!
The aspect I worked on in this version was making sure the lining wasn’t saggy baggy.
Bag sewn
I am pretty pleased with the way it came out. I veered to a 3/8 inch seam allowance when I sewed the lining part of the bag together and used a 1/4 inch seam allowance for the exterior. This all happens before the bag is turned right side out. The picture of the inside of the bag shows the different seam allowances! (enlarge the photo). The trick is to veer smoothly. Don’t abruptly change the seam allowance, though it might not matter if one stopped, then restarted. I think veering is better, though. I may have to try the stopping and starting.
I am thinking about adding a pocket. I’ll have to think about how that would work.
As mentioned, I decided to make this bag instead of the Aneela Hooey bag when visiting Mary.
Zip It Up #1
I got quite a lot done, but I had enough fabric to sew this one and one other. I had gathered enough of the selected fabrics to make three Book and Tool Folios. I had enough of some, but not all to make the second Zip It Up. I want the recipients to enjoy the fabrics. I found that I needed two full half yards to make the case body. Though I had enough fabric to start the third one, I decided I would make one and, assuming all went well, make the second two in assembly line fashion.
I looked at Mary’s version and chose to make this bag with two vinyl pockets instead of a mesh pocket and a vinyl pocket. I thought they were more useful for non-sewing activities than one mesh pocket and one vinyl pocket.
I cut the first vinyl pieces out wrong, so those will become the new windows for future I Spy pouches. I am glad I brought a brand new roll of glitter vinyl. Mary has a lifetime supply of clear vinyl, which was a good backup in case I ran out.
I made good progress despite the need to quilt the fabric. 🙁 As I progressed on the project, I decided I wanted to cover the top of the vinyl pockets below the zipper with ribbon, so I brought the pieces home. Since I was ready to assemble the bag, I needed to stop, add the ribbon and then proceed. Another project to finish at home. Sigh.
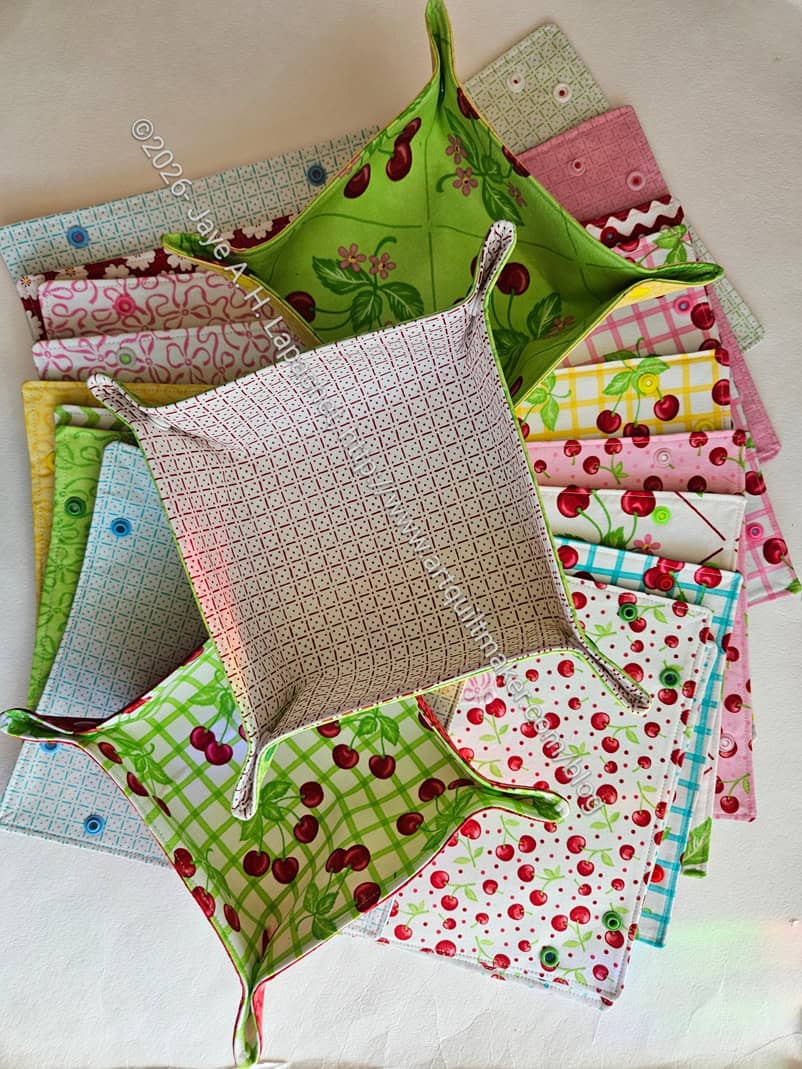
In the course of making all the snap trays, I decided to make one for Mom. She is sewing in a very small space and I thought it would help keep her organized.
I used the fabric from the robe Mary and I made her. It goes with her other gifts, too.
Mom’s Snap Tray – bottom
I used some of the new painting fabric I bought for future gifts. Normally I would use this fabric for the interior, but I wanted her to be able to see the paint tubes.
It is interesting how these snap trays show only one fabric unless you turn the piece over. Barring some complicated piecing, there is not way to have a little of interior fabric peek through.
Mom’s Snap Tray exterior
Mom’s Snap Tray interior
Mom also has a lot of bags she is not using, so I wanted to make sure I made her something she could use right away.
Don’t worry. I am not going to tell you about every single one of these I make. I am still in the experimental phase so you get to hear about some of my musings.
Like the Snap Trays, I am experimenting a bit with various parts of how to make this. In this version, I used batting as the interfacing instead of SF101. It works well, but the bag feels a bit floopier, which I think is interesting, though maybe not preferable. It works, but SF101 or, maybe, DecorBond might be better. I haven’t tried DecorBond yet.
I am using fabrics similar to those I used for the Snap Trays. I have a bin of Sorbet fabrics I was using for the Block-a-Long a million years ago. There is a lot of fabric in that bin, so even using some for these bags will leave plenty for me to pick up the Block-a-Long project again. They have a Mary Engelbreit-ish look to them.
I finished the Book Pouch with only a little bit of fiddling. It has already arrived at its new home. I received a lot of nice compliments.
As mentioned, I used the Bristol Pouch pattern by Center Street Quilts as a guide. I am pleased that I was able to use more of the quilted book fabric. There is less of it for me to move around my workroom.
Book Pouch -open
I didn’t focus much on the other fabrics. The lining was the mish mash I used on the table leaf covers. I pulled from scraps and bits I had laying around to finish the pouch.
I didn’t just grab anything; I tried to find a binding that looked cheerful, but also went with the other fabrics. Brown and turquoise go together so I chose a turquoise binding.
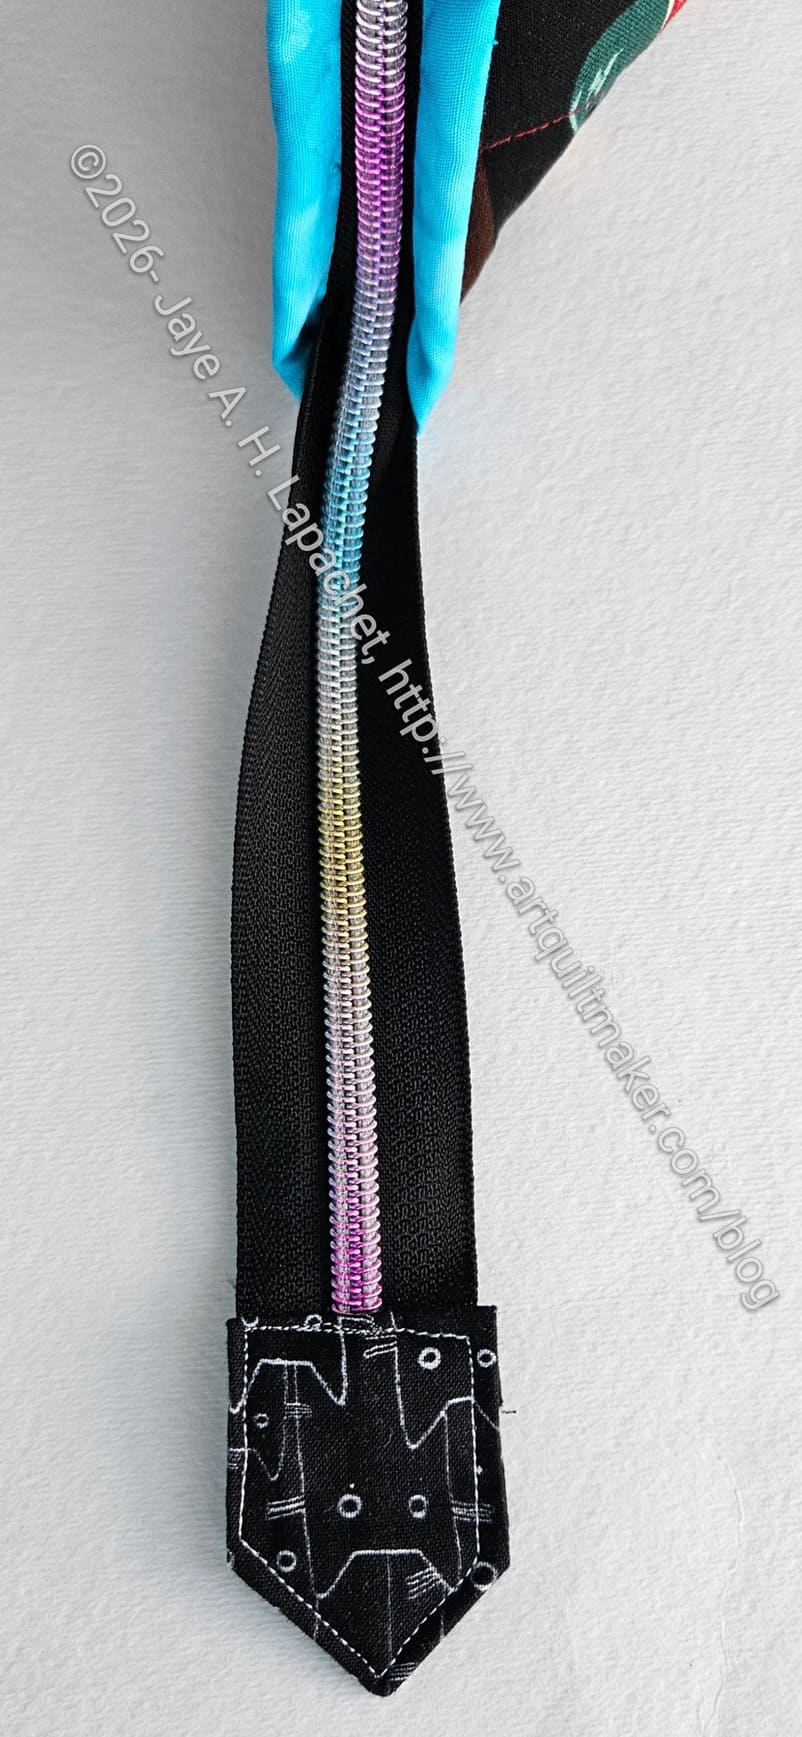
Zipper tab
The zipper was also a leftover. The tail is a bit long, but still works. I was pleased that the zipper tab technique I found on Instagram worked pretty well. I had to practice a little trial and error, but it worked in the end.
I find out interesting things on Instagram, but some of the videos are too quick and they are hard to follow. This test worked out.
I found a fun zipper pull in the shape of a pair of glasses that I added.
I finished and sent off this latest Enigma to friend who helped me with a project. It matches the Multi-Pocket Organizer that I gave to her last year.
Nykky’s Rose Enigma-top, open
Like the Green Enigma, I struggled with this Enigma. Many things went wrong and I felt like this project took longer than it should have. Still, I think it turned out well and I am pleased I was able to send it off.
The Tula Pink dots look so great on the inside. This line had some challenging colorways, but the pinky-purple is a favorite of mine.
It also lightens up the inside so it easy to find things.
Nykky’s Rose Enigma-back
I fussy cut various parts a little bit so the roses would be highlighted on the back.
The rose pink of the background looks very cheerful. The shapes and shading of the flowers are nice as well.
Nykky’s Enigma-riveted
This is one of the bags that I riveted. Riveting the handles adds to the strength of the bag.
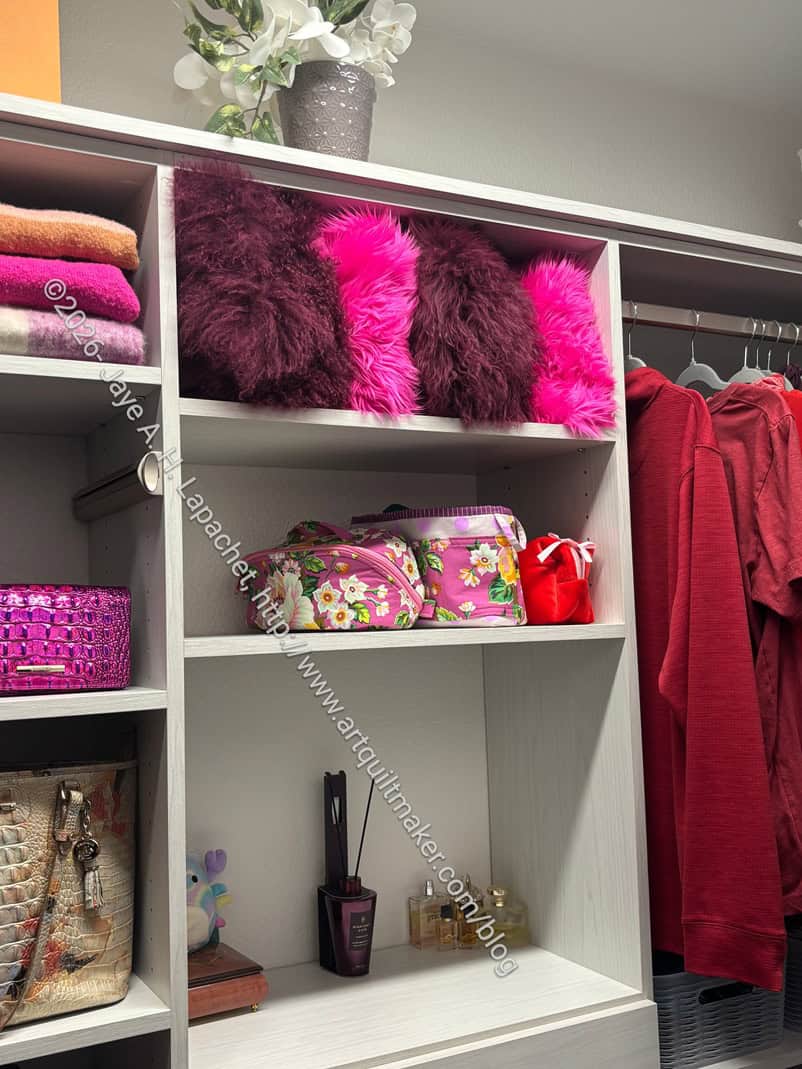
My friend sent me a picture of her closet, which she recently had redone. In it I can see the bags I have made her on the shelf.
Nykky’s closet
The next Enigmas will be finished on the Elna, so hopefully, I won’t have as many problems.
I spent a fun mini-Sew Day at SueS’ house finishing the Snap Trays. The only step I had left was to set the snaps. It is a tedious task. I was much happier doing it in the company of other people who could entertain me.
I am a little concerned the snaps won’t stand up to hard wear. I tried really hard to set the snaps firmly, but we shall see.
As I may have mentioned, I used a layer cake, which produced about 20 snap trays. I still want to make a rectangular version for my Quiltmaking Go Bag.
A reminder popped up for the birthday of a librarian friend of mine. I still have some leftover bits of quilted book fabric from when I made covers for the leaves of our dining room table. On the spur of the moment and despite all the other projects I have going on, I decided to make her a pouch. After some thought, I decided to use the Bristol pouch pattern from Center Street Quilts.
Book pouch in progress
I used the pattern as a guide rather than following the exact directions since I didn’t have the exact pieces or sizes. This would never stand the test of an experienced bagmaker and it isn’t a terrible pouch, but for a non-sewing person, it is ok.
Book Pouch – zipper tab technique
I used it as a bit of a test for a couple of techniques. One was the zipper tab, which is a technique that IG has been shoving at me through their “you really should follow this” algorithm. I was pleased with how it came out, though I had to rip and watch the video a few times and I think I have to measure the size of the future zipper tab more exactly next time. The video (reel) doesn’t have sizes.
I also used a bit of a larger zipper (#5) that was extra rather than a dress zipper. It is a pretty zipper with rainbow teeth and looks good.
Book Pouch top
The Center Street patterns usually include binding inside seams and this pattern is no different. I found them to be really thick and probably should have tried to cut away some of the batting in the seam allowance.