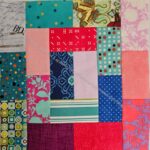
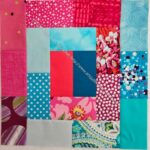
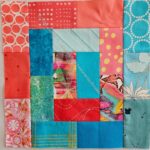
I finally got some of the Cool Four Patch Fun blocks up on the design wall. I found I needed to finish the 1-2-3 Mosaic table runner before I could put the rest up, so I started working on that.
At the moment all of the block pairs are done and I am just waiting for design wall space to do a little rearranging and then sew the top together.
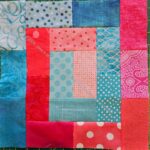
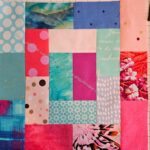
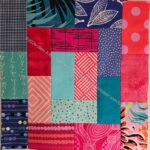
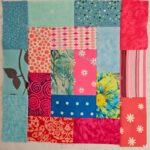
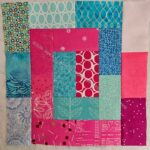
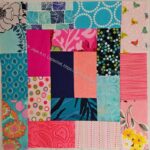
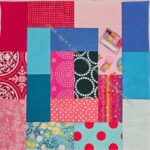
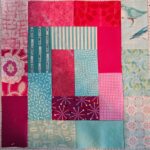
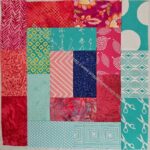
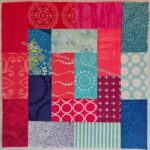
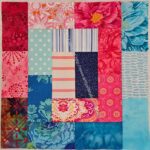
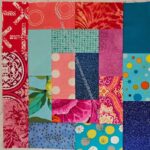
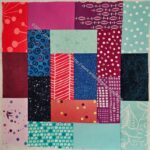
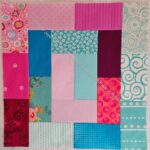
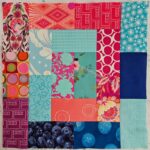
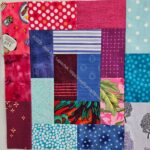
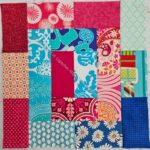
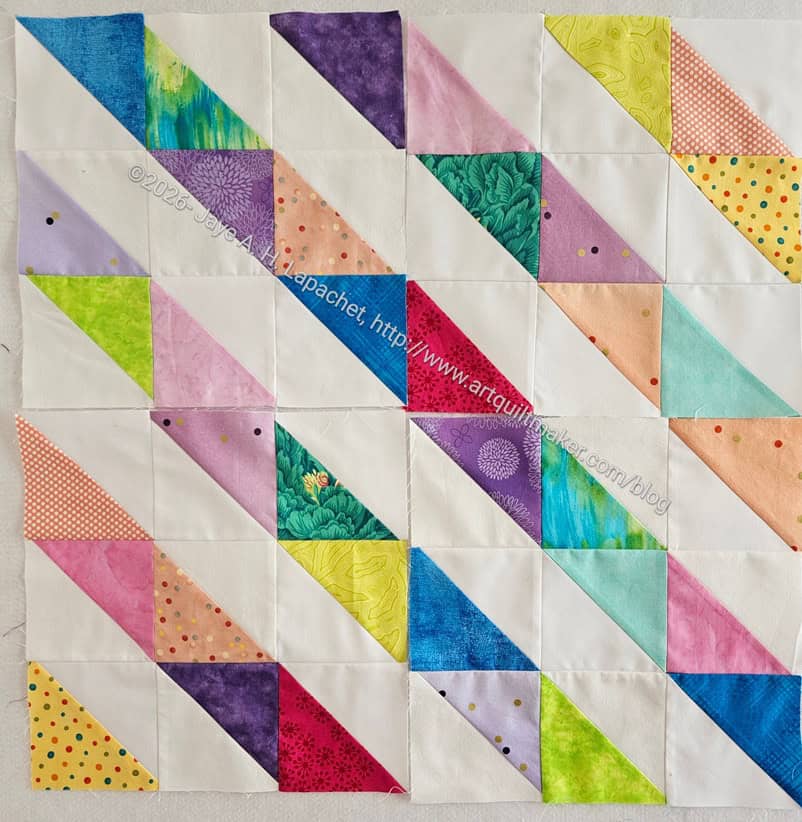
I am continuing to make potato chip blocks as I am determined to use up all the rectangles I cut. I ran out of pink rectangles, but still have tons of the blues, so I am cutting more pinks as I go along.
Potato Chip block #27
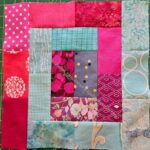
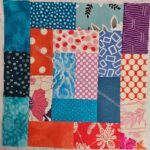
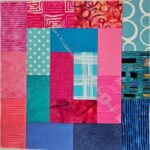
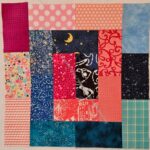
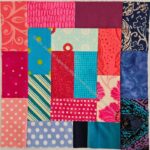
Potato Chip block #28
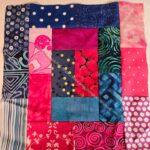
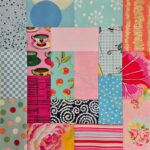
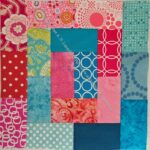
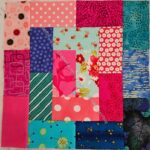
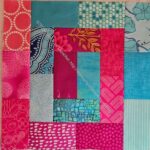
Potato Chip block #29
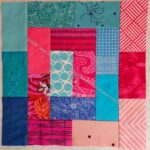
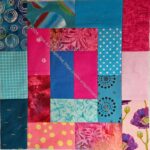
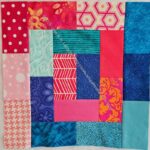
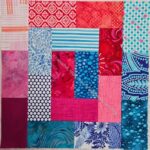
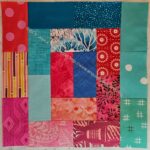
Potato Chip block #30
Potato Chip block #31
Potato Chip block #32
Potato Chip block #33
Potato Chip block #34
Potato Chip block #35
Potato Chip block #36
Potato Chip block #37
Potato Chip block #38
Potato Chip block #39
Potato Chip block #40
Potato Chip block #41
I am thinking of making some blocks with just blues. I have to think about how to make the design show up.
I finished the second of the May/June blocks the night before they were due. I try to make them before or as soon as we announce them, but I didn’t this time. As a result, I almost didn’t make the deadline.
In addition, I ended up remaking the X Plus/Lozenge block. Now I have two of them. I’ll use the first one on the back. I don’t want to make it into something else, because the piecing is less than stellar, but it will look fine on the back of the quilt.
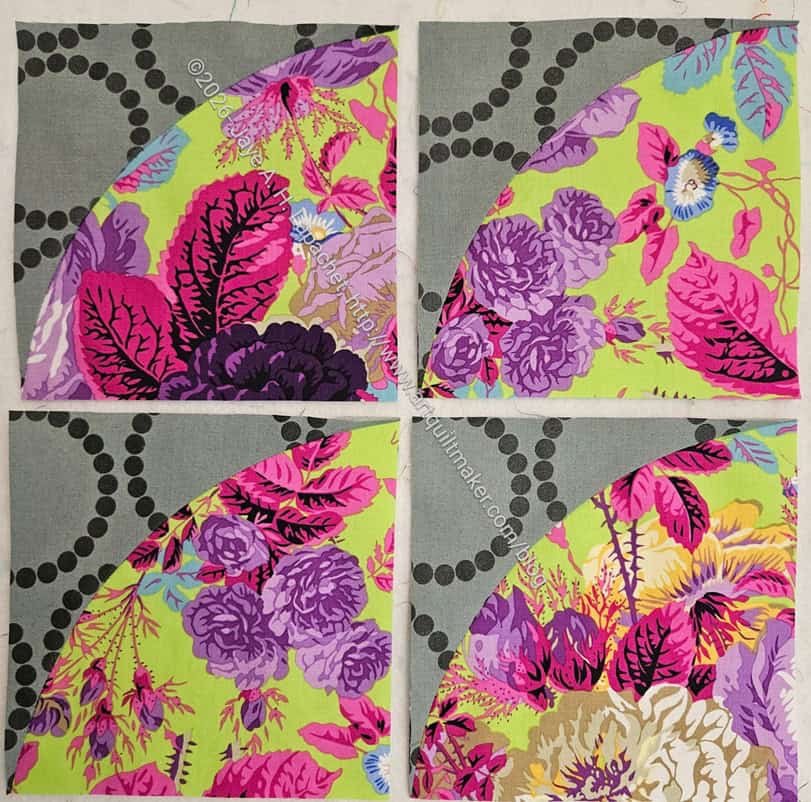
BAM BOM Drunkard’s Path
I made the Drunkard’s Path/ Quarter Squares right away. I was in the frame of mind with Chaos with a Twist, so took the opportunity to make a few more in my BAM BOM fabrics.
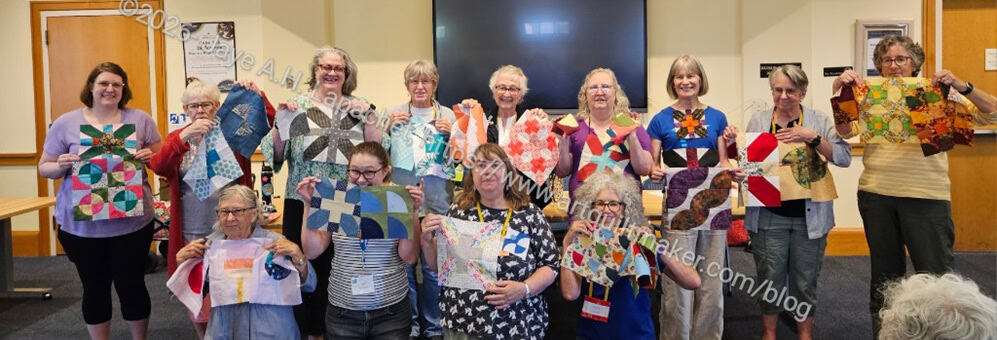
May/June BAM BOM Participants
A lot of people are participating, which made me really happy! There were some fantastic blocks shown.
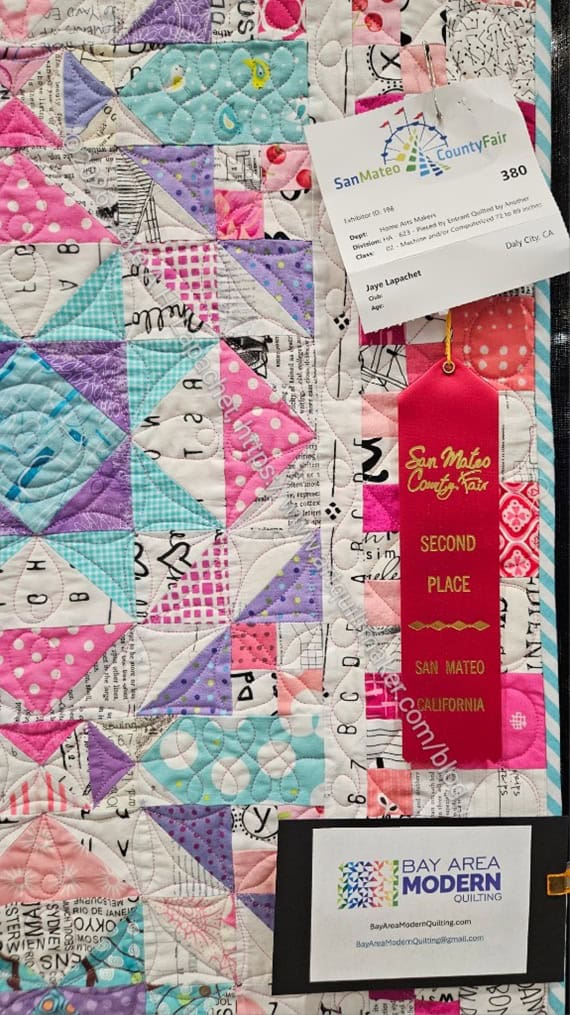
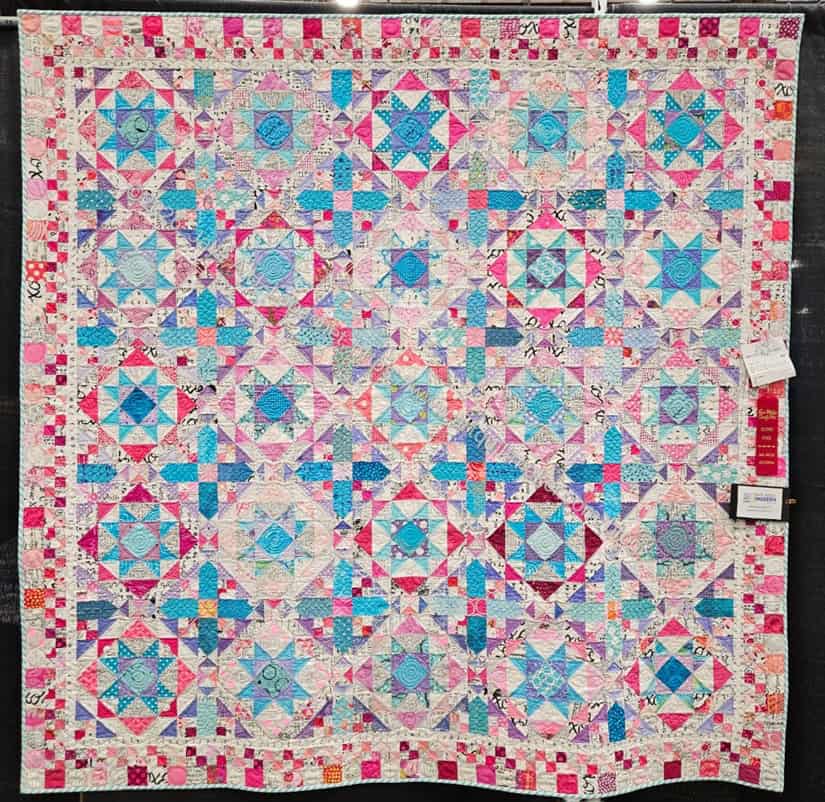
I finished Old Town a few months ago, but never posted about it. I think my quilt holders have been busy or out of town. After winning Second place at the Fair, I realized it and knew I needed to get it done.
Old Town with Ribbon
Old Town is finished! Yay! LOL!
Old Town is the 2024 Bonnie Hunter Mystery Quilt. I played along and sewed many of the blocks together at the BAM Retreat, then finished it up at home.
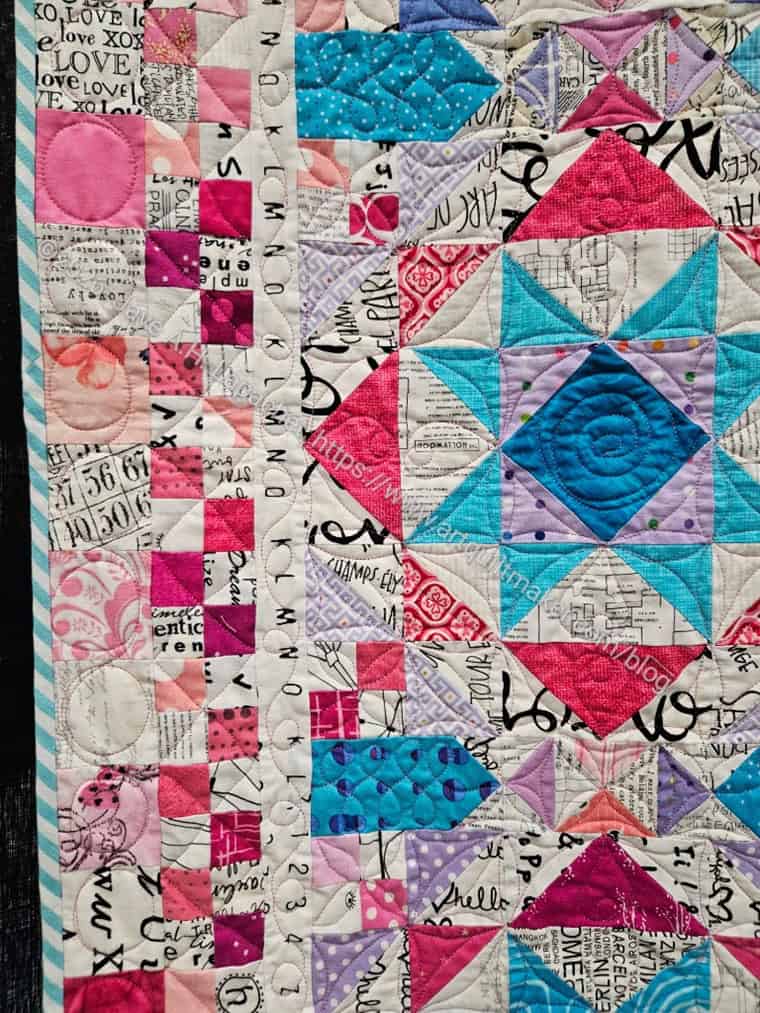
Old Town detail
Colleen quilted it for me and here we are. I was really pleased to get second place since the category in which I entered it (quilted by another) is packed. This was a much easier quilt to quilt than Patchwork Palooza since once I decided how to quilt a block, I just had Colleen quilt all the blocks the same.
It is a little large, so my quilt holder had a tough time. I hope to remember to get some guild members to help me get a better photo.
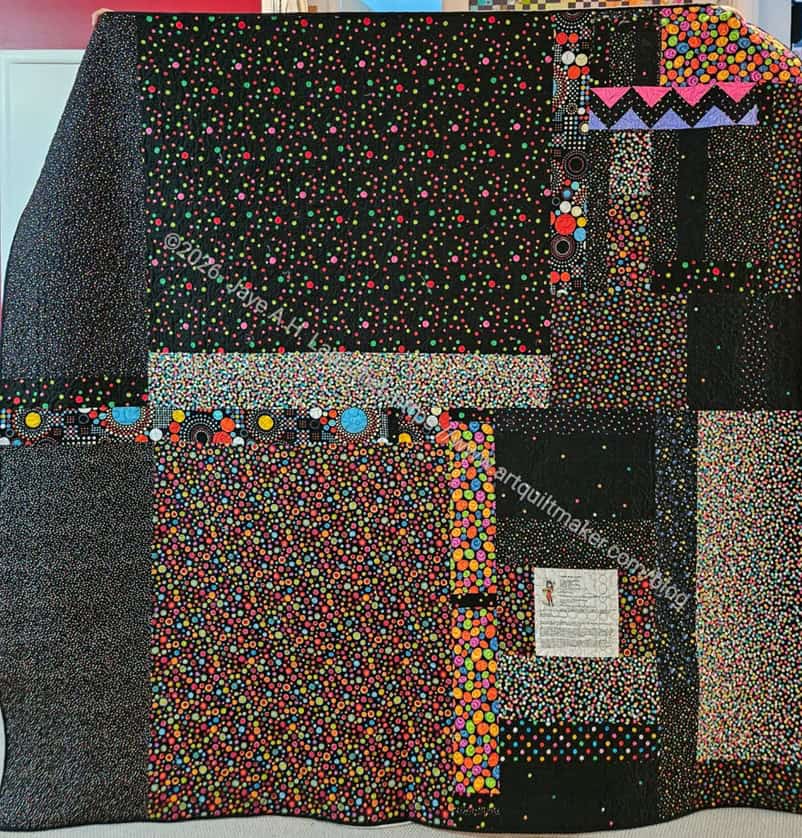
Lupine back – finished
The poor quilt has been languishing between travel and other more urgent projects. In the middle of all the chaos I finally was able to sew the binding down.
In record time, Lupine is back and ready to bind. I took the quilt to her in mid-March. Colleen did a great job quilting it. I am pleased.
I’ll be glad to get this off my list. I have enough time to enter it in the Fair, but I am limited to two quilts quilted by another, so I’ll have to wait until next year. 🙁
The only thing I have left to do is bind it. I started the other day, but have to actually sit down to bind and I haven’t had a chance. I also need to get DH to hold it up so I can take a photo.
I made more Potato Chip blocks during the last few weeks. They are leaders and enders and go quickly.
Potato Chip block #5
Potato Chip block #6
Potato Chip block #7
Potato Chip block #8
Potato Chip block #9
Potato Chip block #10
Potato Chip block #11
Potato Chip block #12
Potato Chip block #13
Potato Chip block #14
Potato Chip block #15
Potato Chip block #16
Potato Chip block #17
Potato Chip block #18
Potato Chip block #19
Potato Chip block #20
Potato Chip block #21
Potato Chip block #22
Potato Chip block #23
Potato Chip block #24
Potato Chip block #25
Potato Chip block #26
I was thinking about how big I would make the quilt. I think I will use up the rectangles I have made by making blocks, then I’ll see what to do with them. I don’t want to make a king sized quilt. I may have cut fewer than I think or, maybe, sewn into blocks, they make fewer blocks than I think they will.
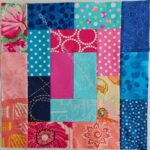
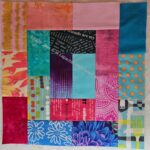
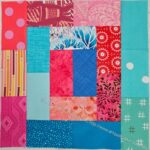
I finished the Pacifica Quilter’s Club Lucky Blocks last week. It took me longer than I thought, but I am pleased to be contributing to another good cause.
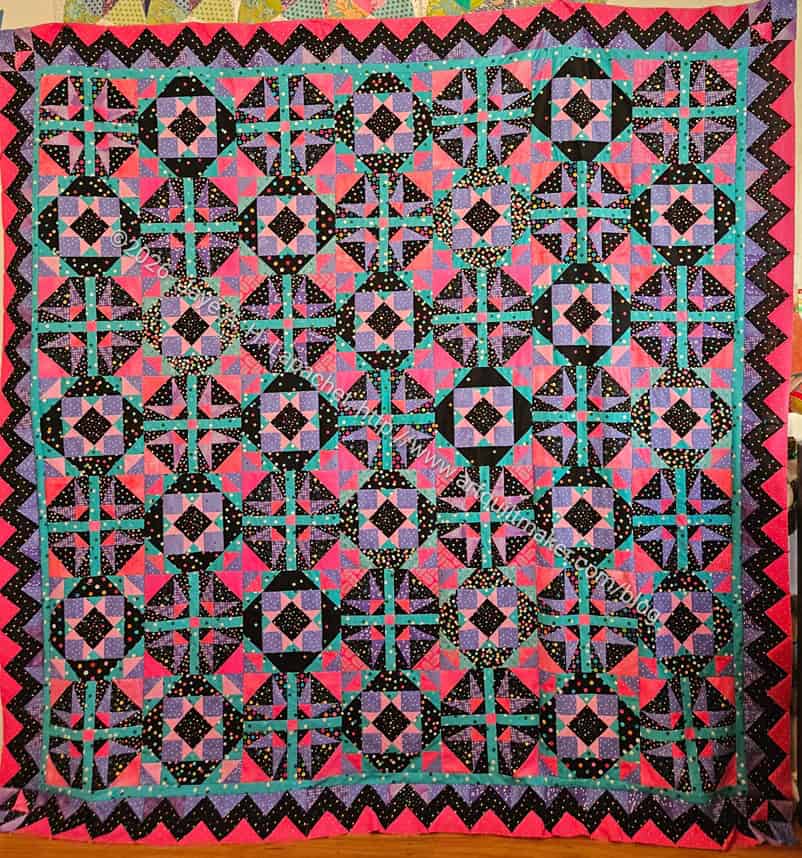
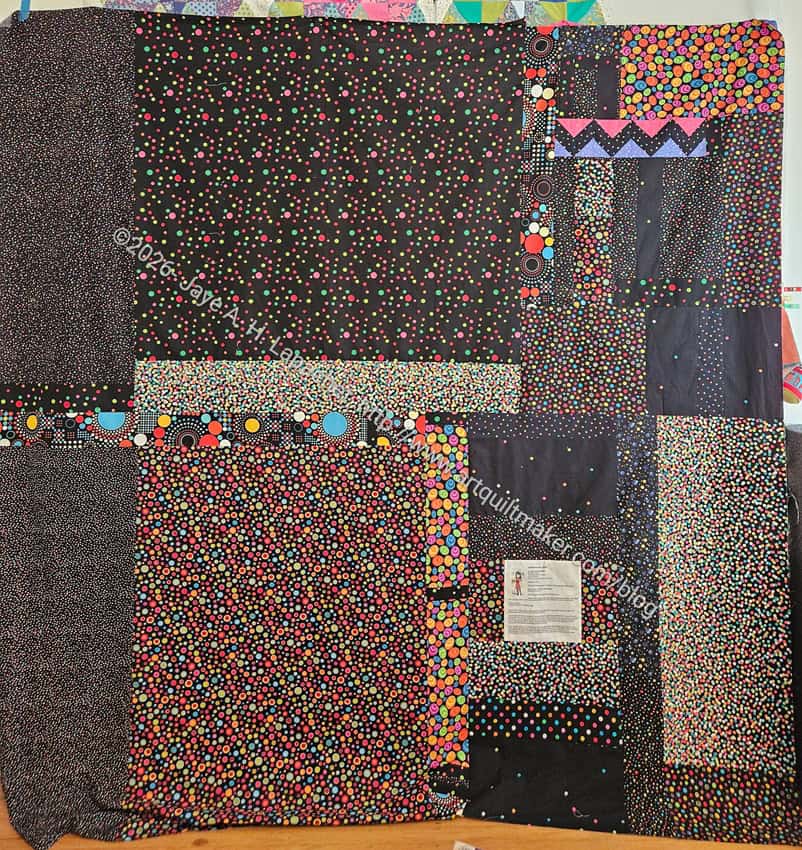
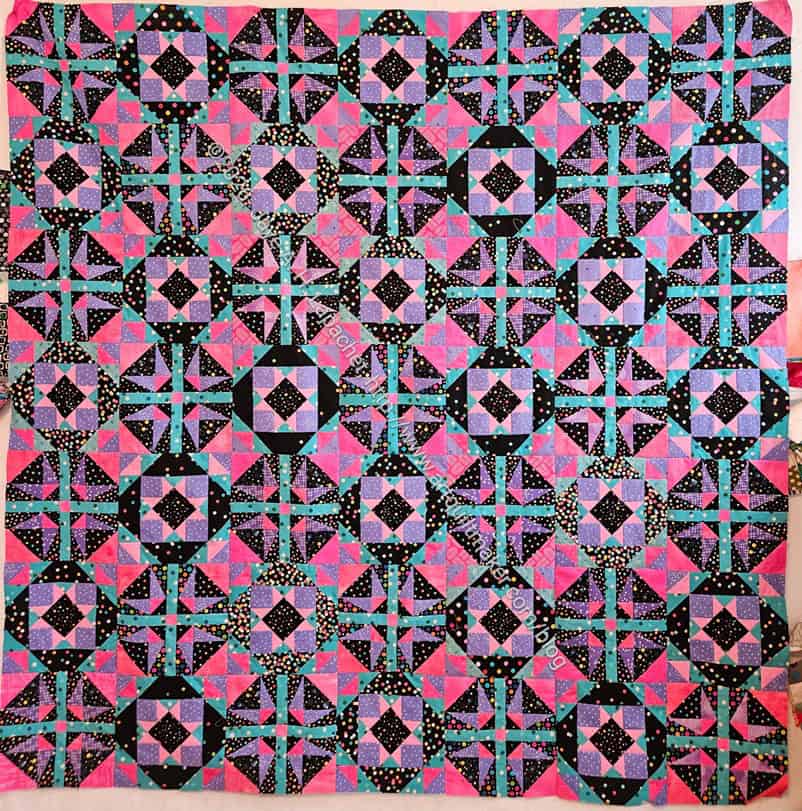
Lupine is ready to go to Colleen for quilting. Not a great photo, but the quilt is large and doesn’t fit well on my design wall.
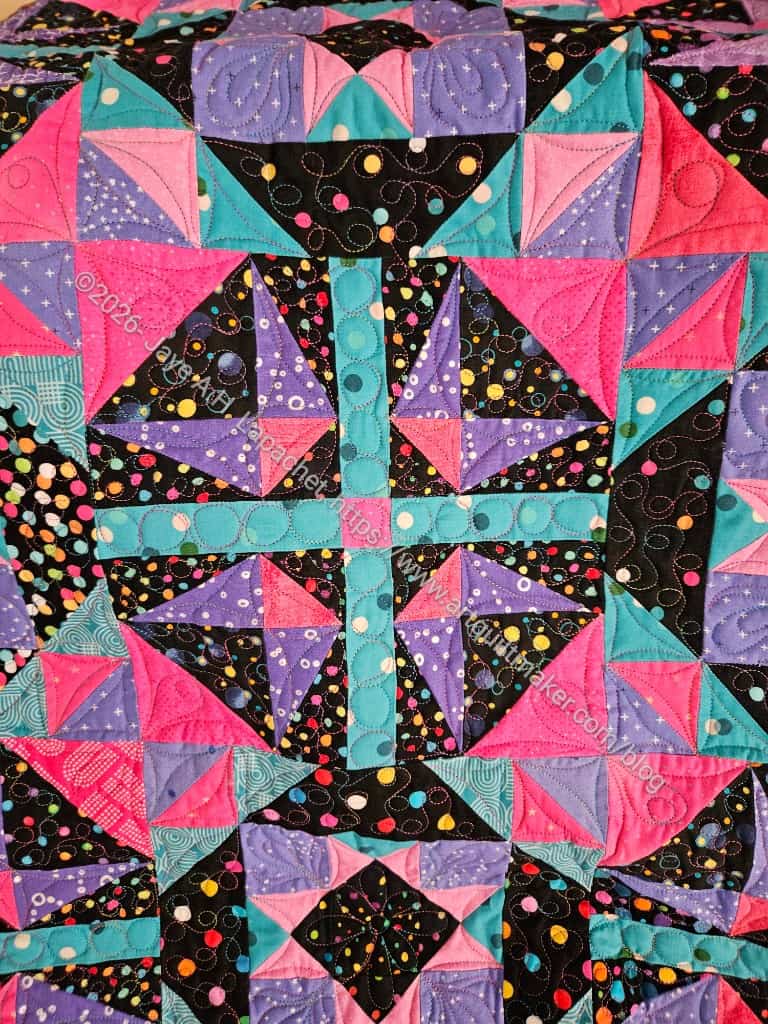
I am really pleased with how it came out. It is a but pink and purple, but doesn’t scream ‘little girl’ to me. I think the black really helps give it a good over all feel.
In addition, black can be depressing. It did make my workroom a little dark, but overall the pink, purple and Carousel blue keep the black from creating a look that is too depressing.
Lupine back finished
I also finished the back. Mom said it looked a little brown, but I definitely used colored dots on black for the most part. One of the prints, a large-ish piece, middle bottom, does have dots that have more brown in them than I would normally use.
This project used up most of my dots on black fabrics.
I am waiting for a black solid in order to make the binding. I was going to use a pink that matched the border (AGF Cherry Lipgloss), but Lil Sissy pointed out that a black (AGF Caviar) would contain the piece. I think she is right.
This block (for Month 3) took me a long time and I had some detours along the way. Finally, I finished it.
I am not 100% happy with it. I would have liked to use the grey Pearl Bracelets, but I didn’t have enough.
Using the white Pearl Bracelets as the background introduces another color of background into the piece and I had hoped to avoid using white for the blocks. Since I have not used white in any of the other blocks I have to figure out how to make it work.
First step: go see if I can find more grey Pearl Bracelets. Doubtful, but you never know.
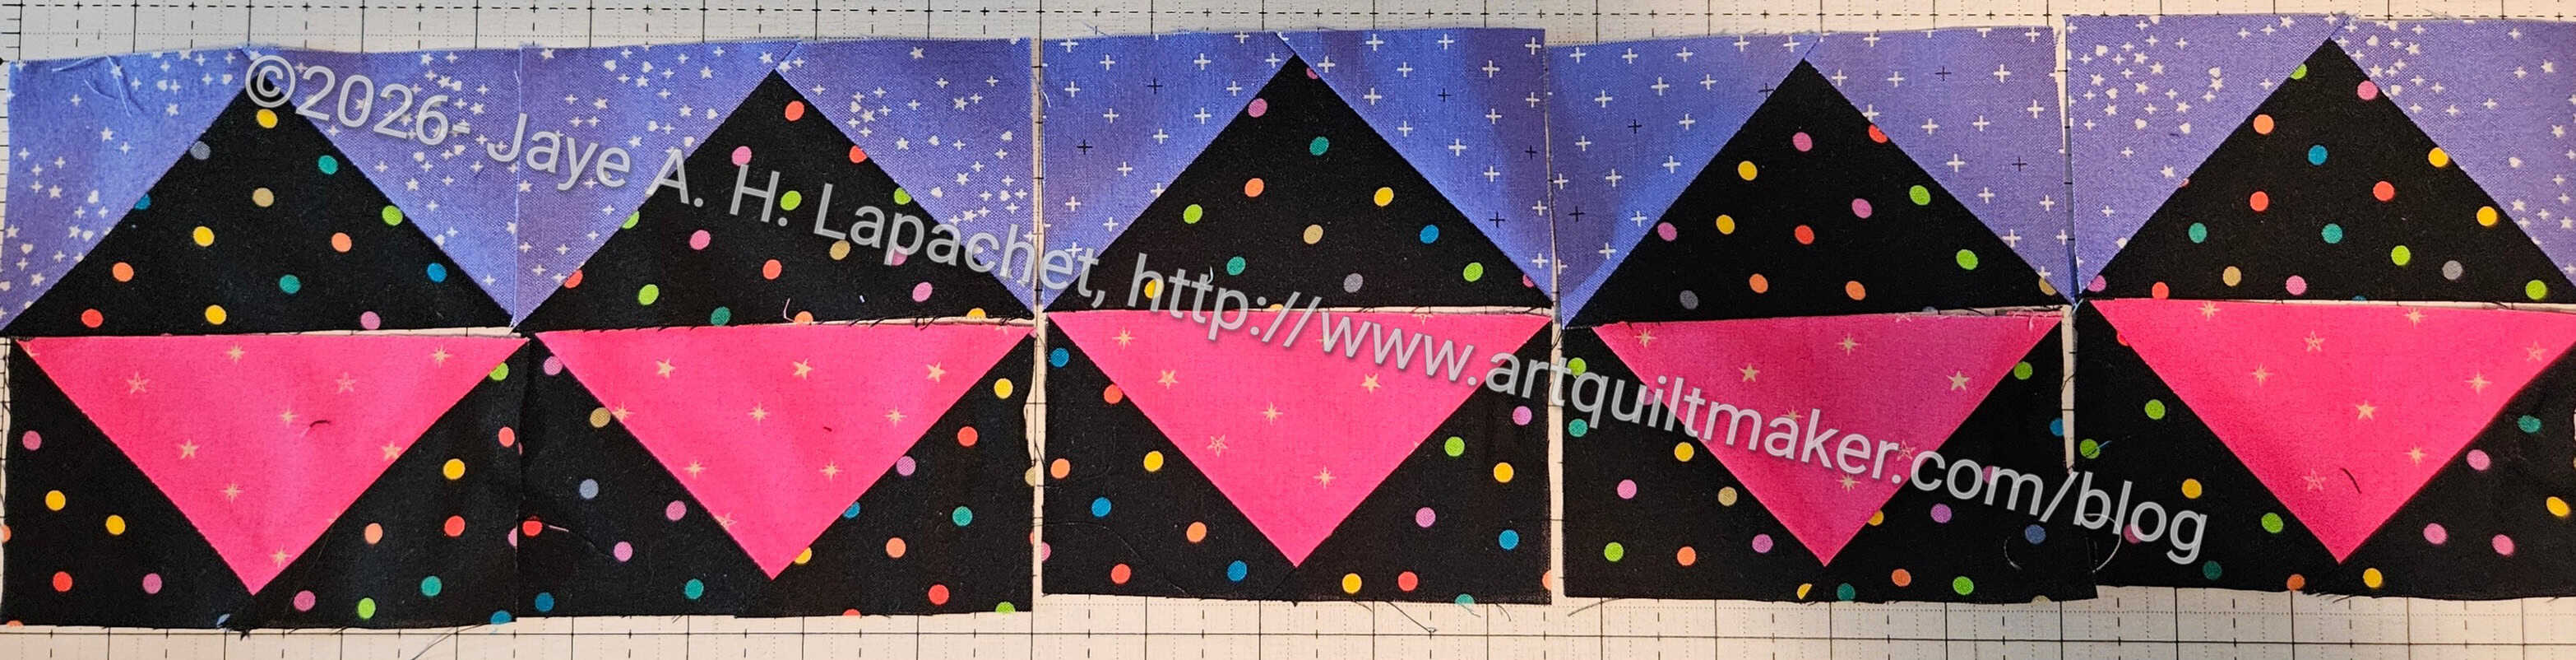
The directions were to assemble two Flying Geese so it looks like the above. The look was ok, but didn’t grab my attention.
Option 2:
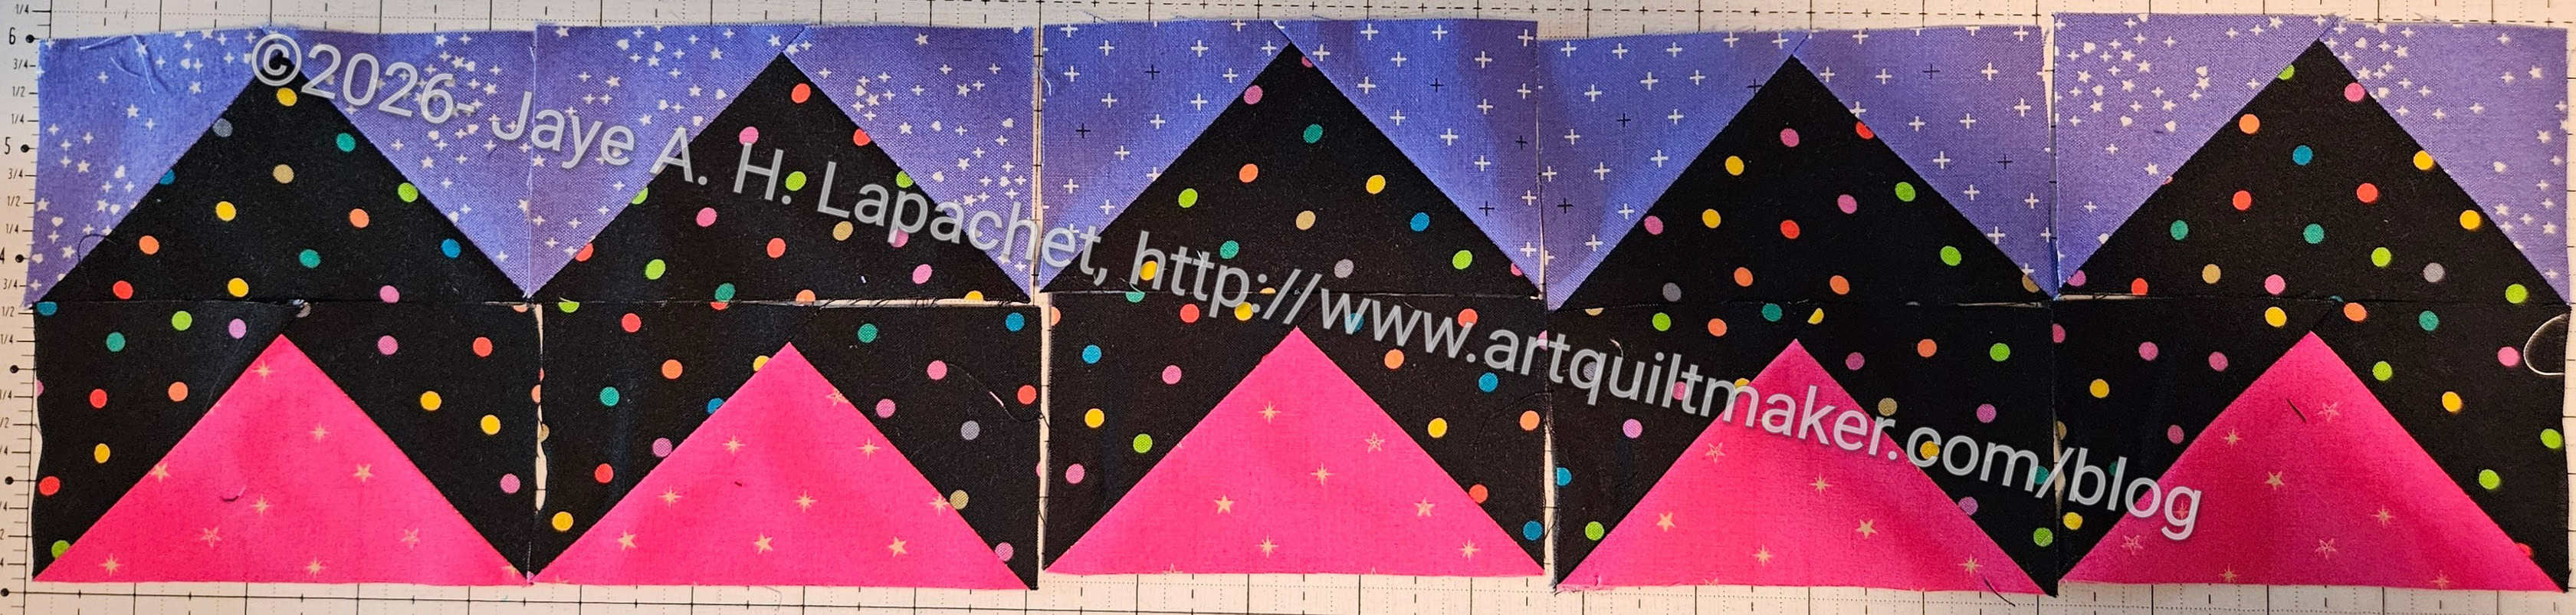
Zigzag Lupine border
I saw a zigzag border that someone made and tried that with my fabrics. This option looked more cohesive to me.
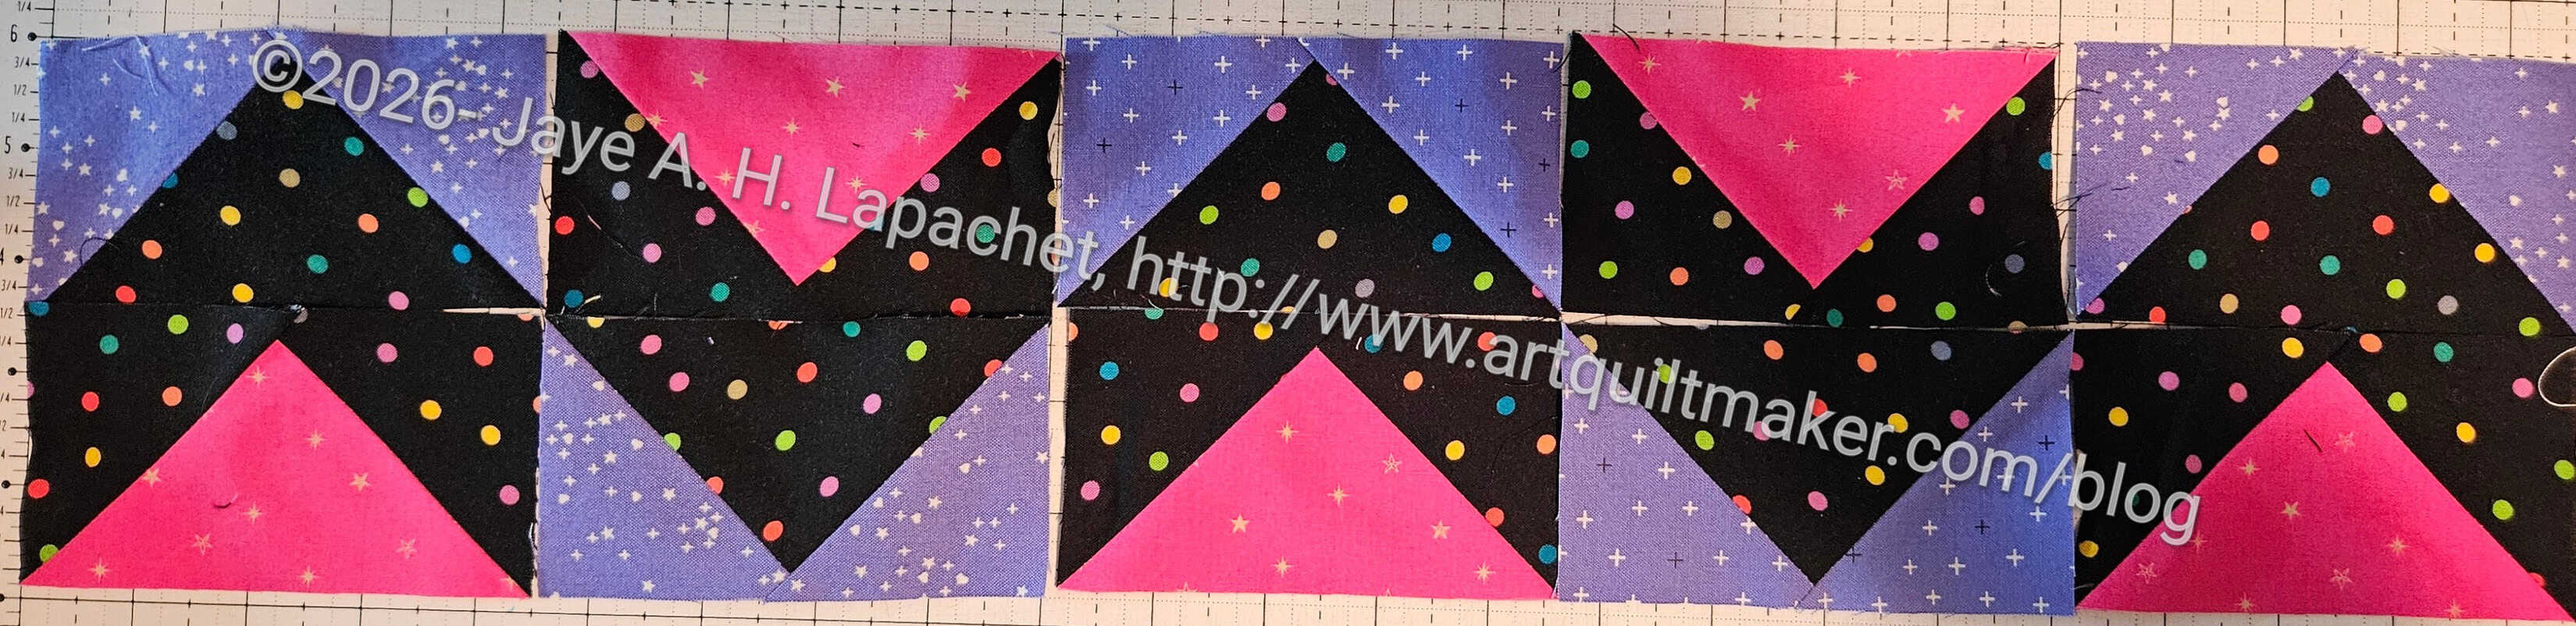
Option 3:
Alternating chevrons Lupine border
Just to see if another configuration would be better, I tried alternating chevrons. This wasn’t terrible and created a lot of movement, but I thought it was a little confusing for the viewer.
I went for option 2 and started sewing long rows of Flying Geese together.
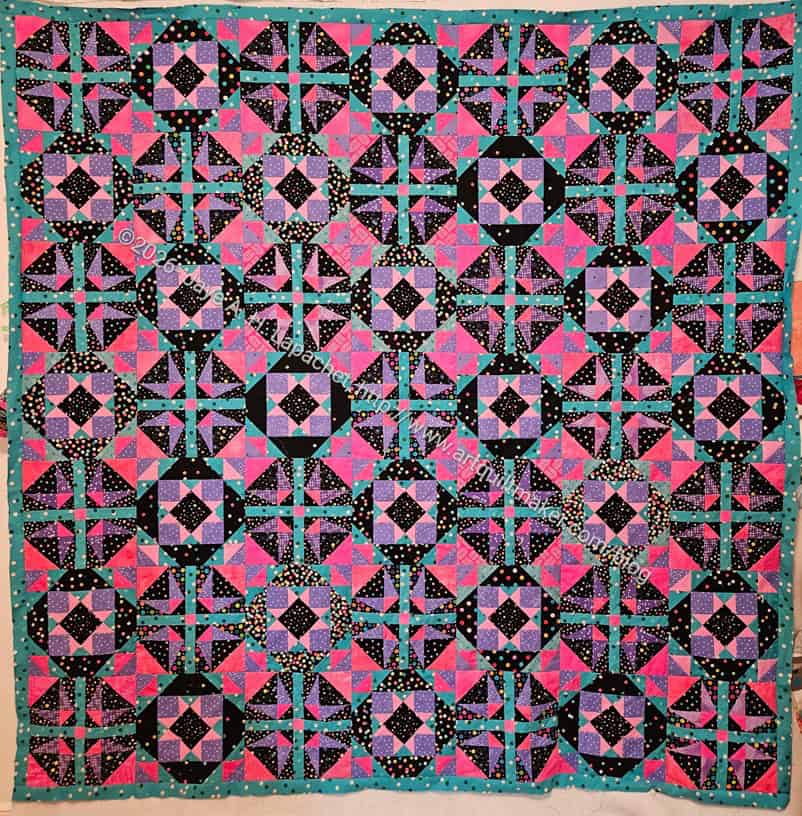
I had to stop chunking when I realized I had to fix a couple of block mistakes in Lupine. I fixed those quickly and got back to chunking, which is easier than putting a quilt together in rows, but still tedious. It seemed to take me forever. Finally, I got all of the blocks together! Yay!
I was worried about the density of the dots in some of the black background, but looking at the quilt in the photo, I think it looks ok. I can see a couple of places where the dots are really dense, but the background pieces don’t make the blocks look wrong.
Lupine with spacer border
After the blocks were together I put the spacer border on. Also, tedious, but necessary.
I really like that Melody Miller Carousel blue. I am glad I bought more of it so I have enough for the borders.
Now I am on to the Flying Geese border.
I noticed that Bonnie has taken down the directions on her blog for this quilt. I almost had a heart attack when I clicked on the link to look at the border directions and it was broken. Fortunately, I had saved the PDFs.
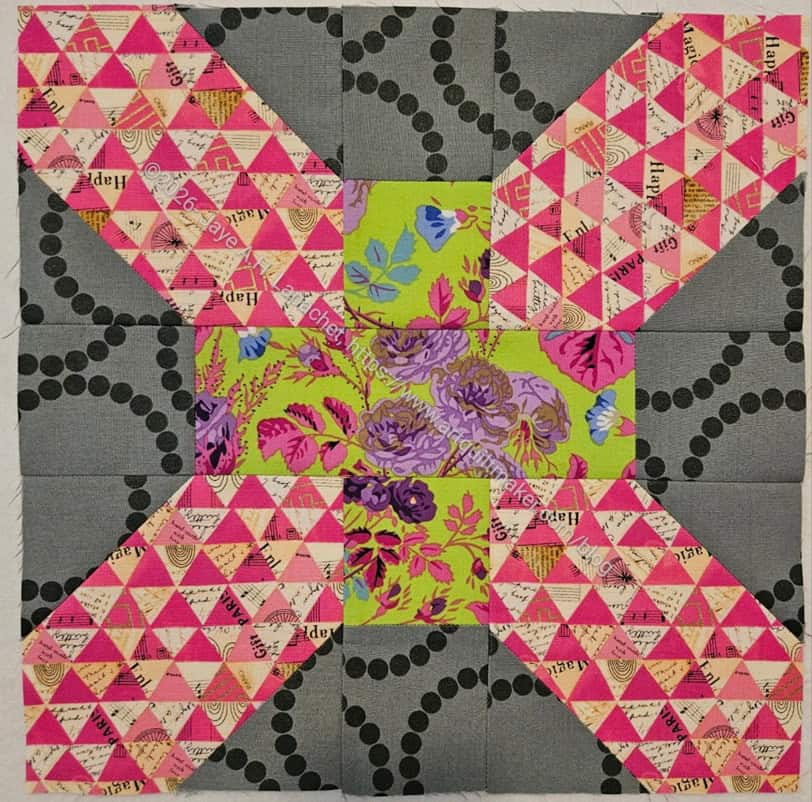
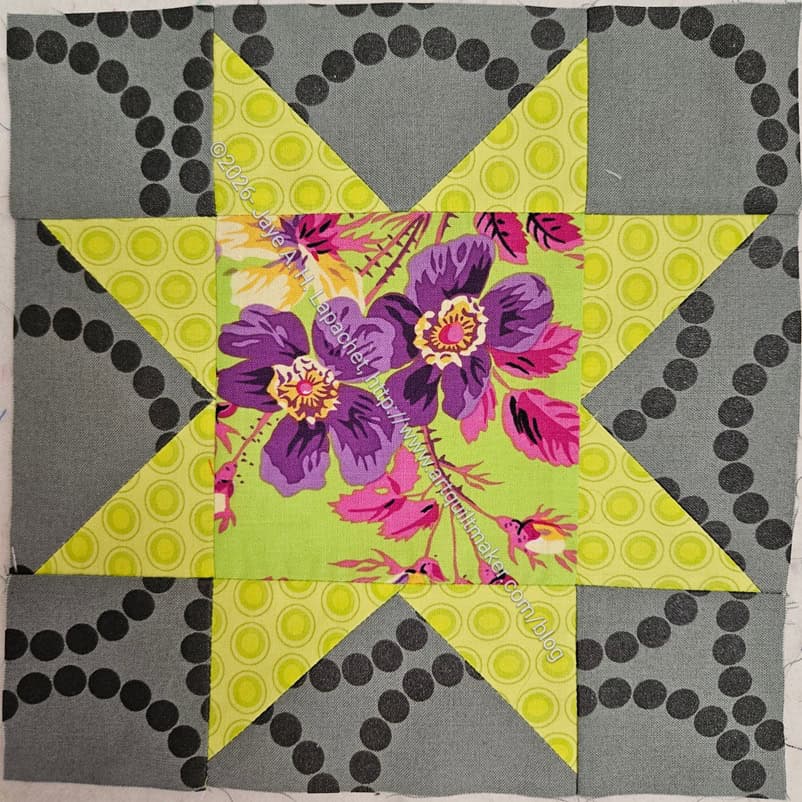
The next block in the series, which was announced yesterday is the Sawtooth Star. It is one of my favorite blocks, because it is incredibly versatile.
I am kind of just going with the flow when I make these blocks. I am using fabrics as the mood strikes. I’d love to use that grey Pearl Bracelets as my background, but I don’t have enough of it. I’ll have to do something about that as that is an old fabric and there is little chance I will find more. I’ll look in my fabric closet and see if I can find some. The yardage I have with my project materials came from Rhonda’s stash.
It’s a dreary day here as I write this. We are waiting for rain which seems poised to pour down any minute, but hasn’t gotten around to it yet. This means that my workroom is a little dark and grey. It makes me really happy that the life-sucking beige is gone.
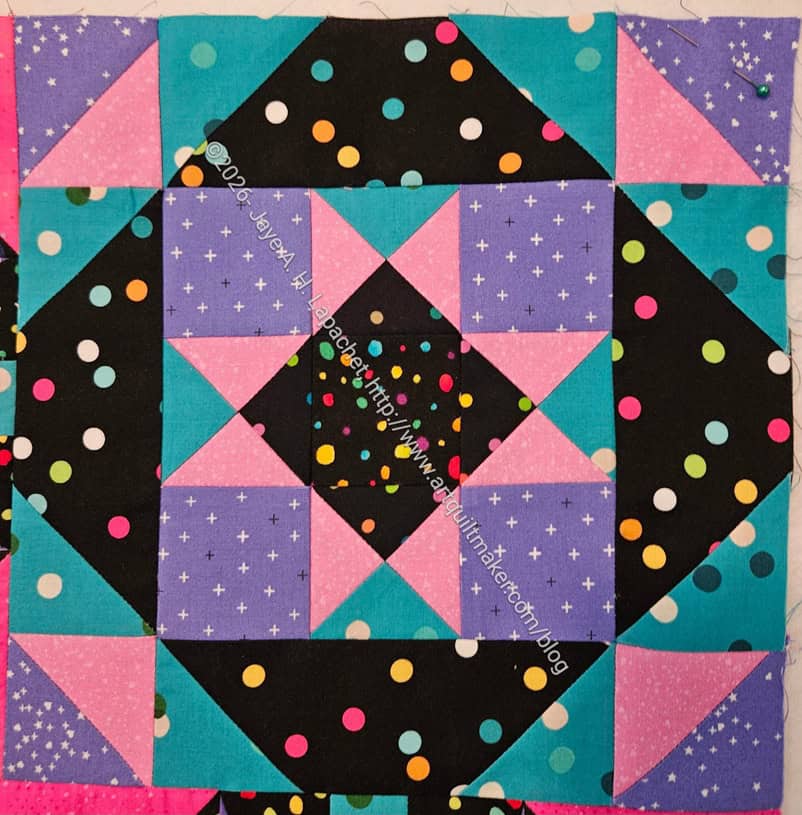
Fixed Lupine block
I ripped them out while I watched TV one night and then re-sewed at them at a Sew Day I had with SueS, Lee Ann and SueG. I spent a bit of time over a couple of days doing random quilt tasks and this was one of them.
Now I am ready to continue chunking the center of the quilt.