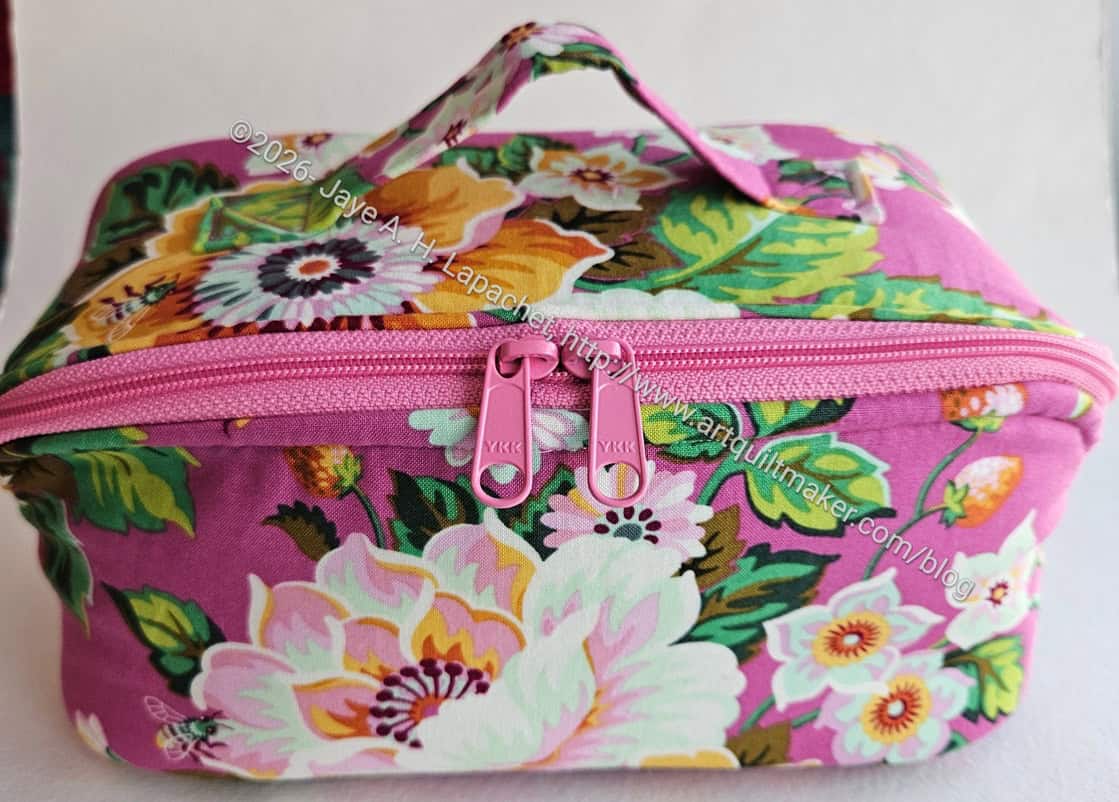
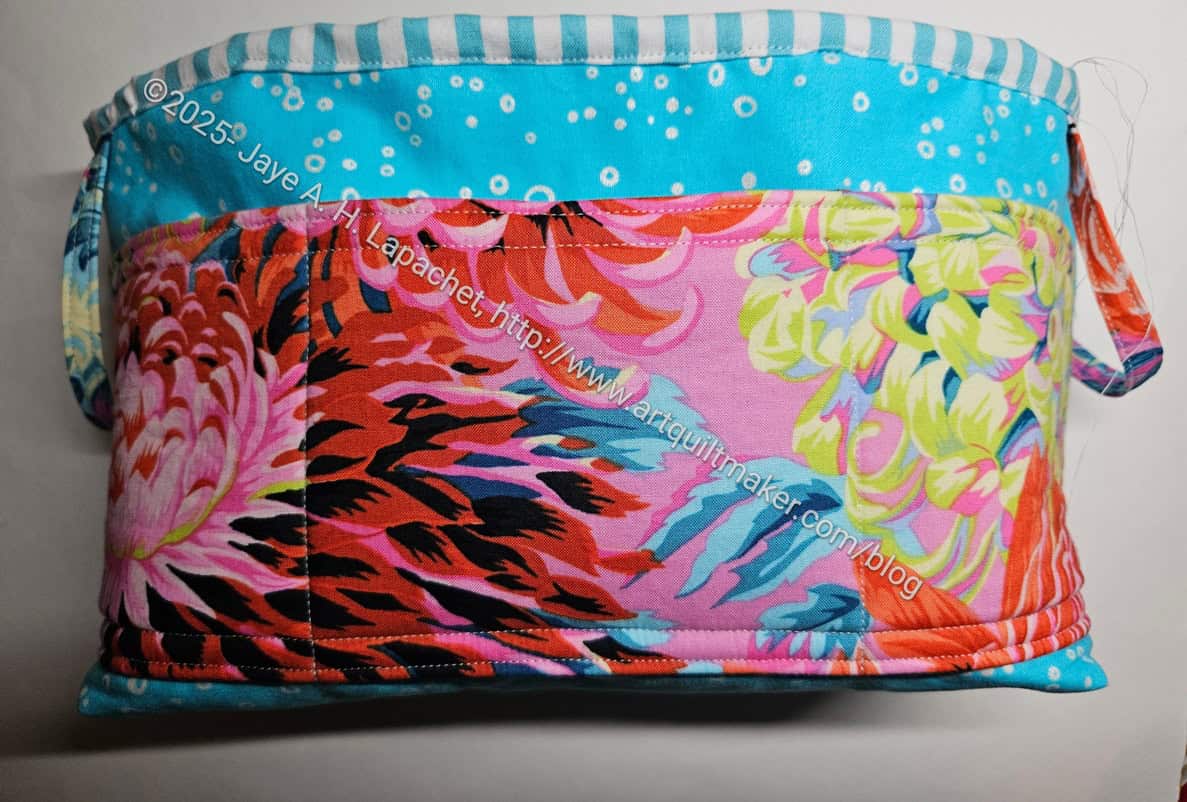
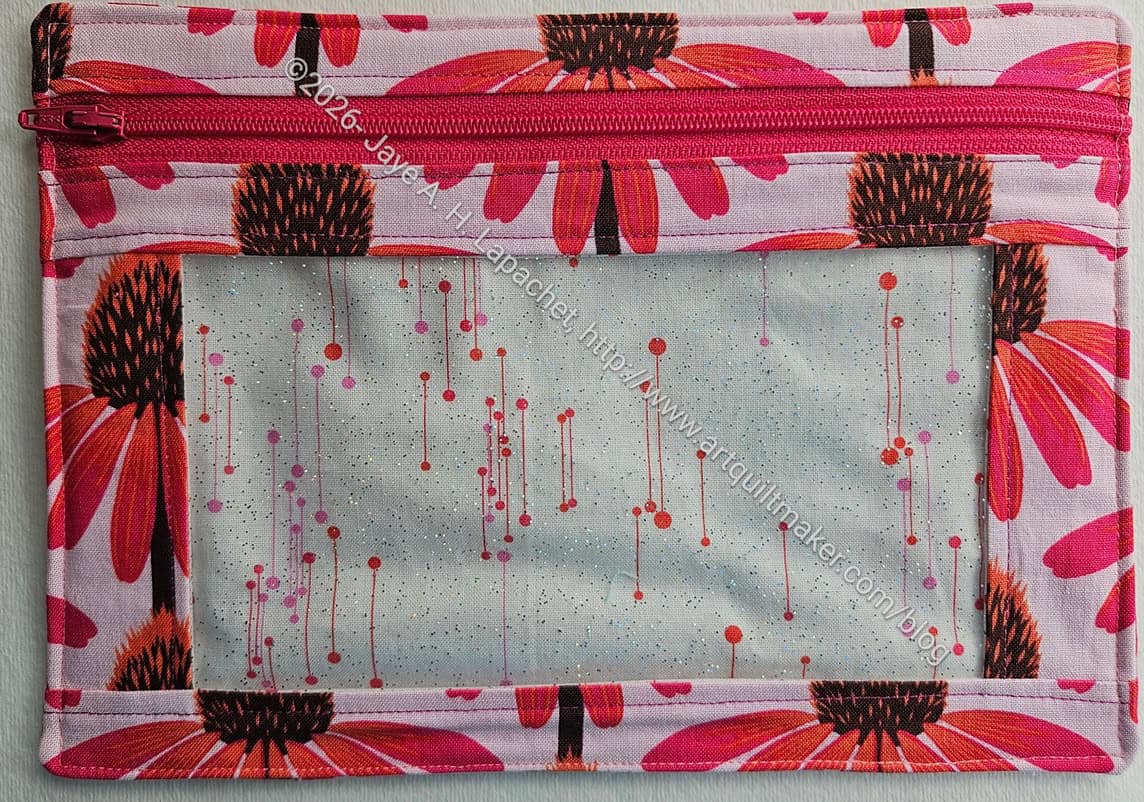
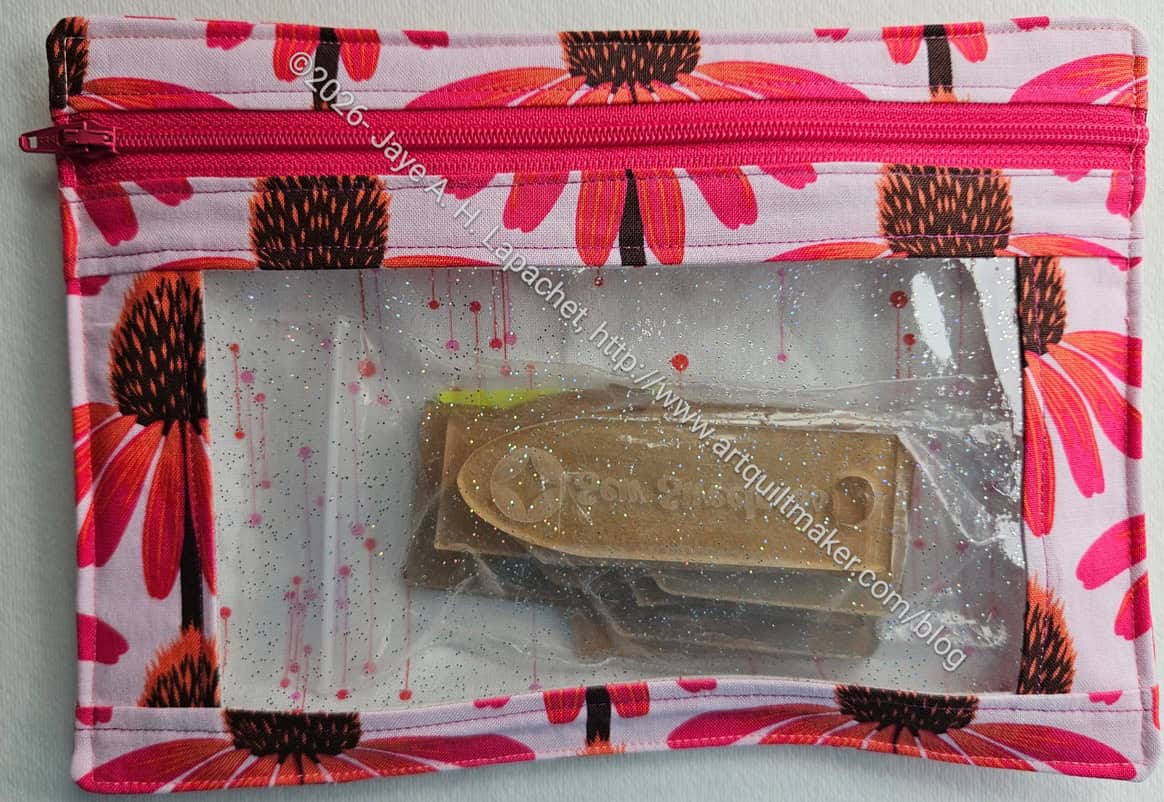
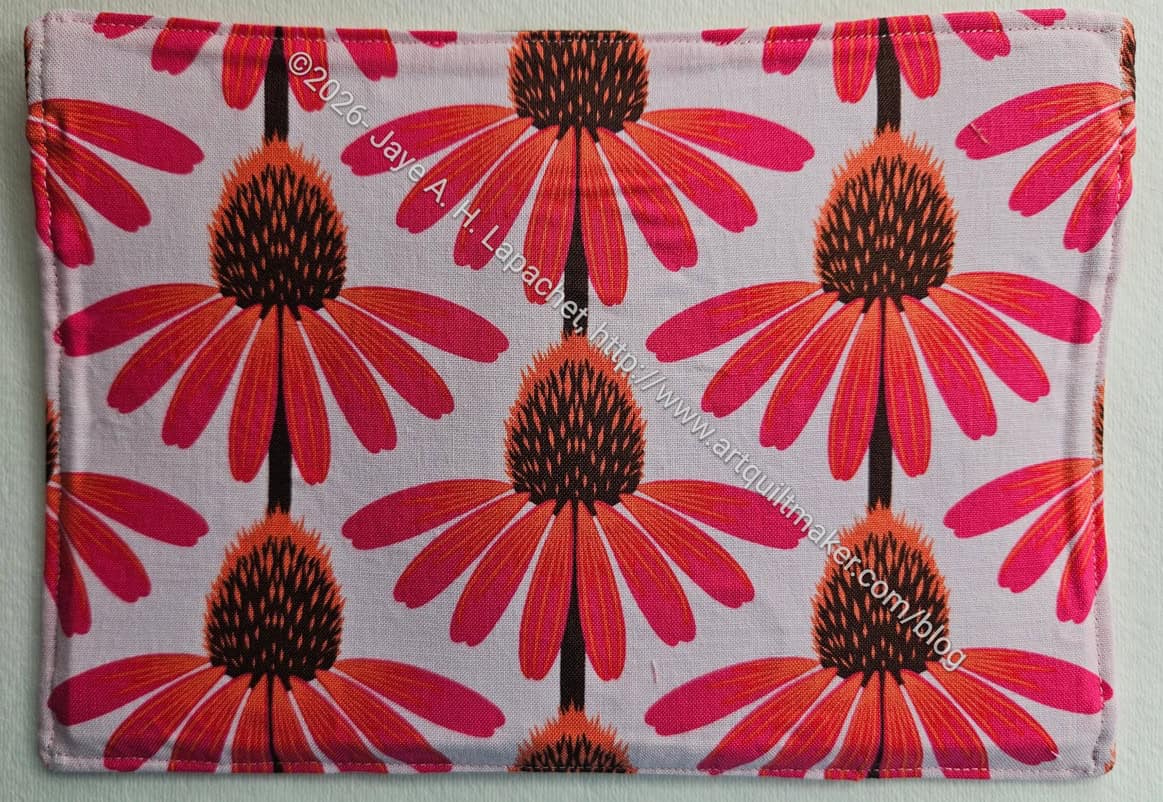
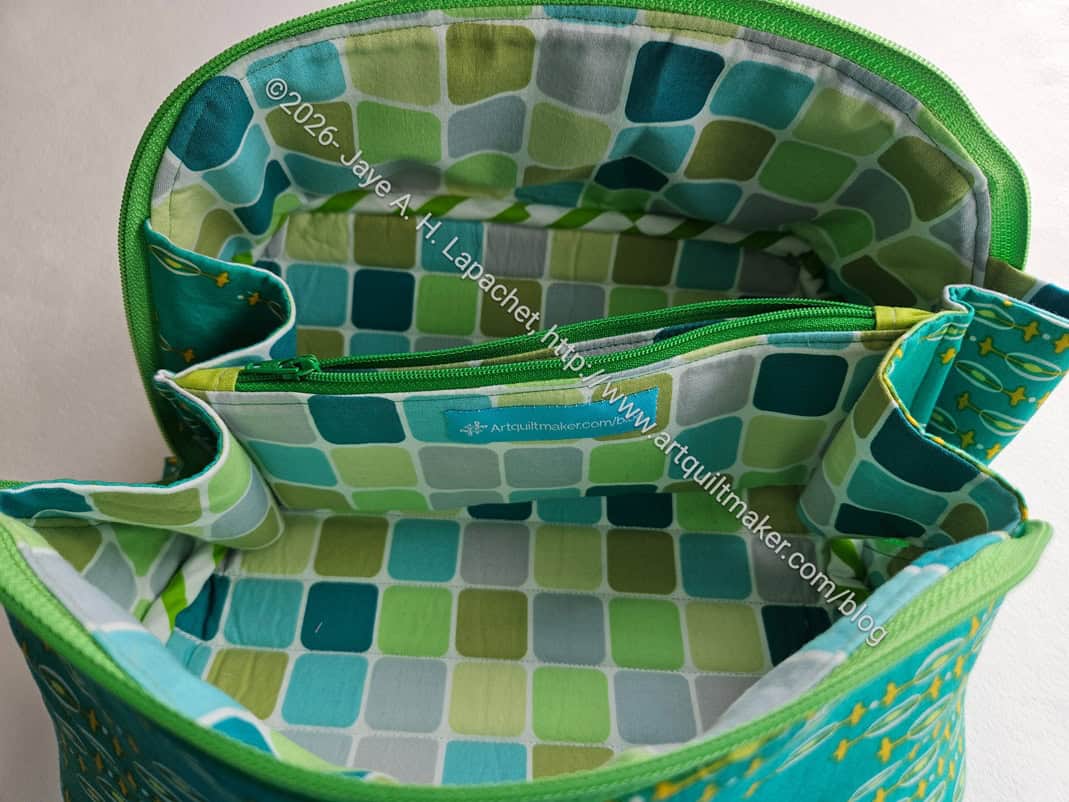
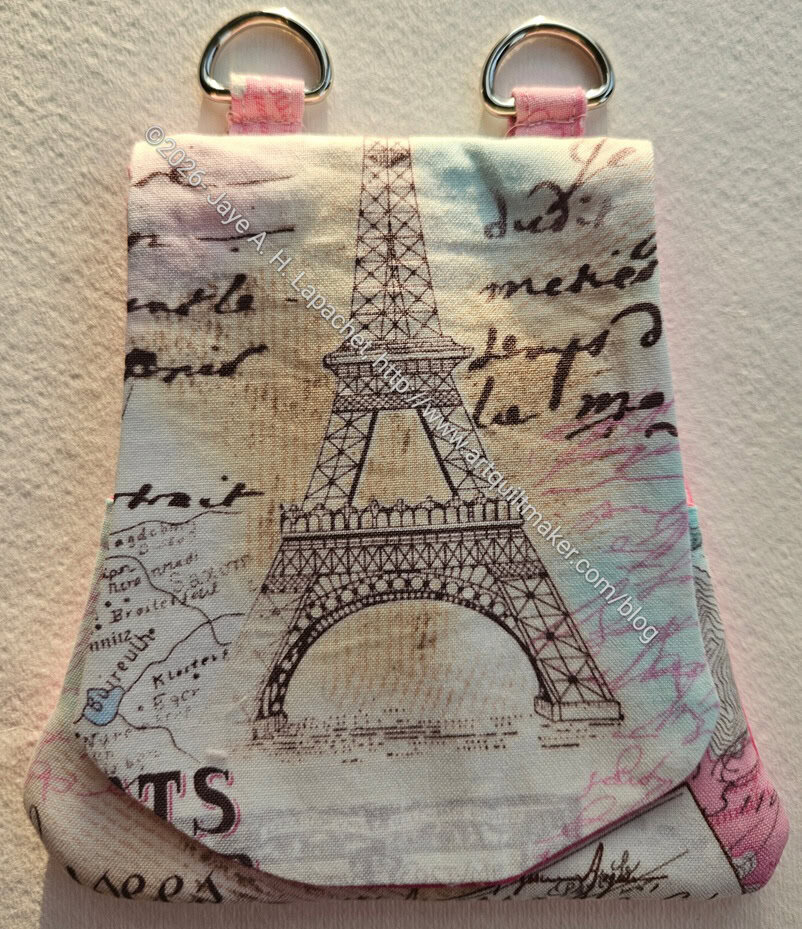
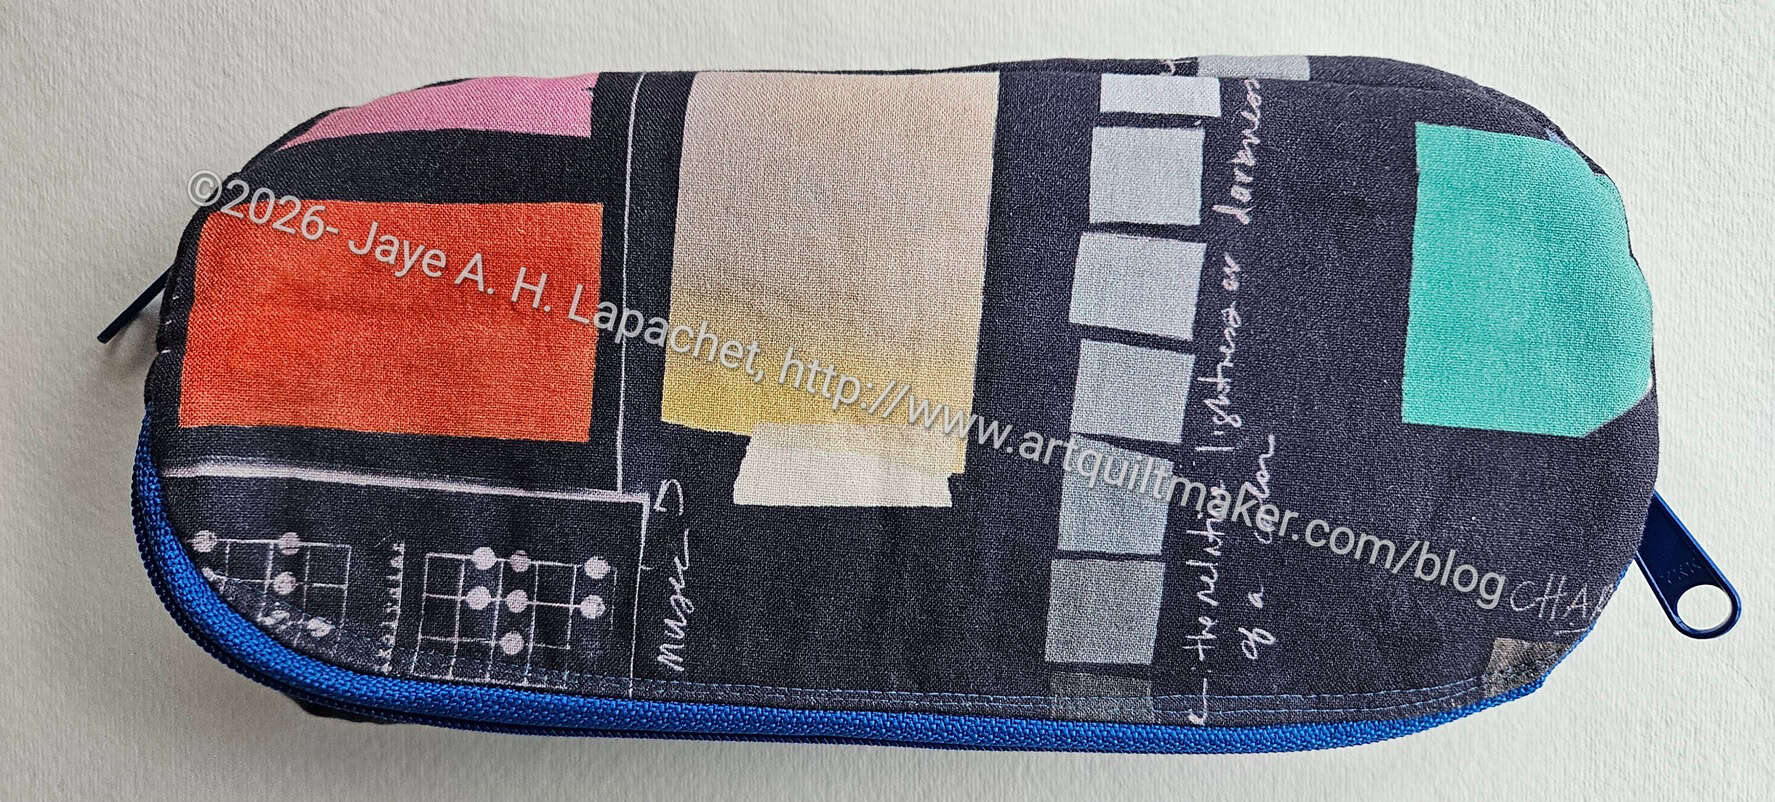
Open Wide pouches by Noodlehead make great gifts. As mentioned previously, they are easy to make, but complex enough to be interesting. Also, the pattern is free.

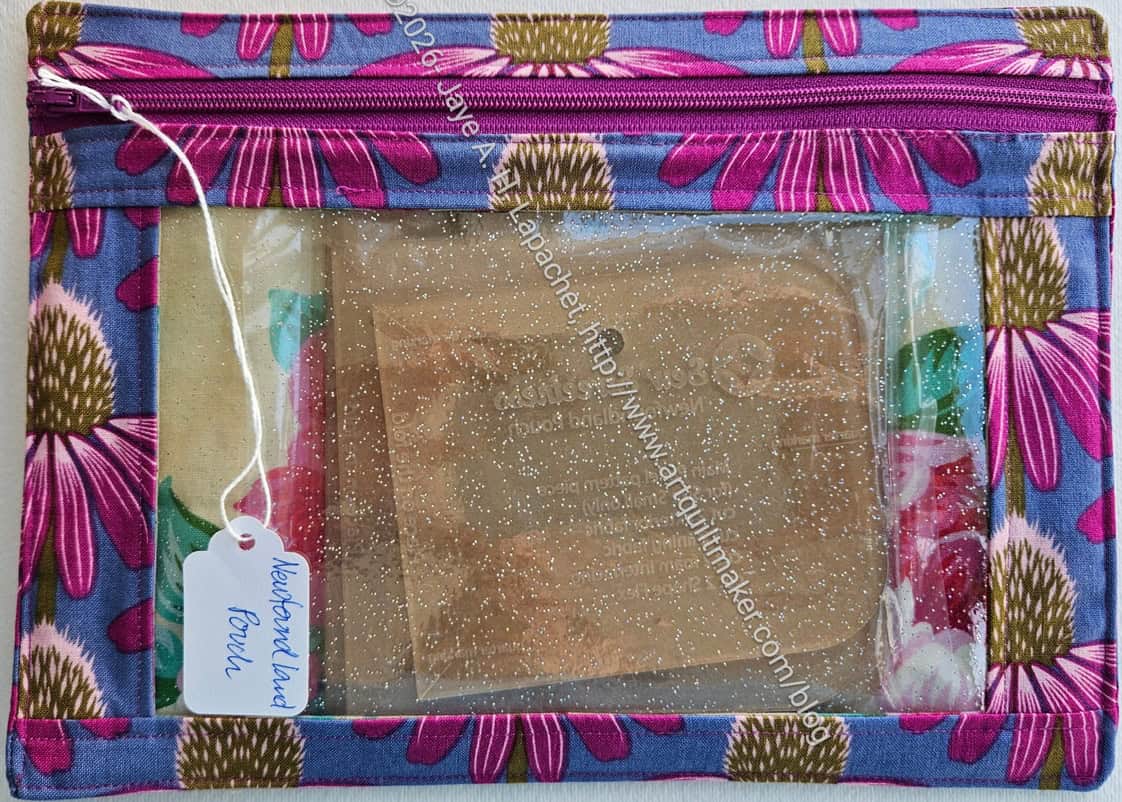
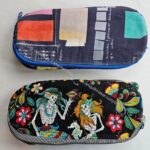
I spent some time making some Open Wide pouches for the wife of a friend of my Mom’s. He drove Mom and stepdad to an appointment on his wife’s birthday. I thought a couple of pouches would show appreciation.
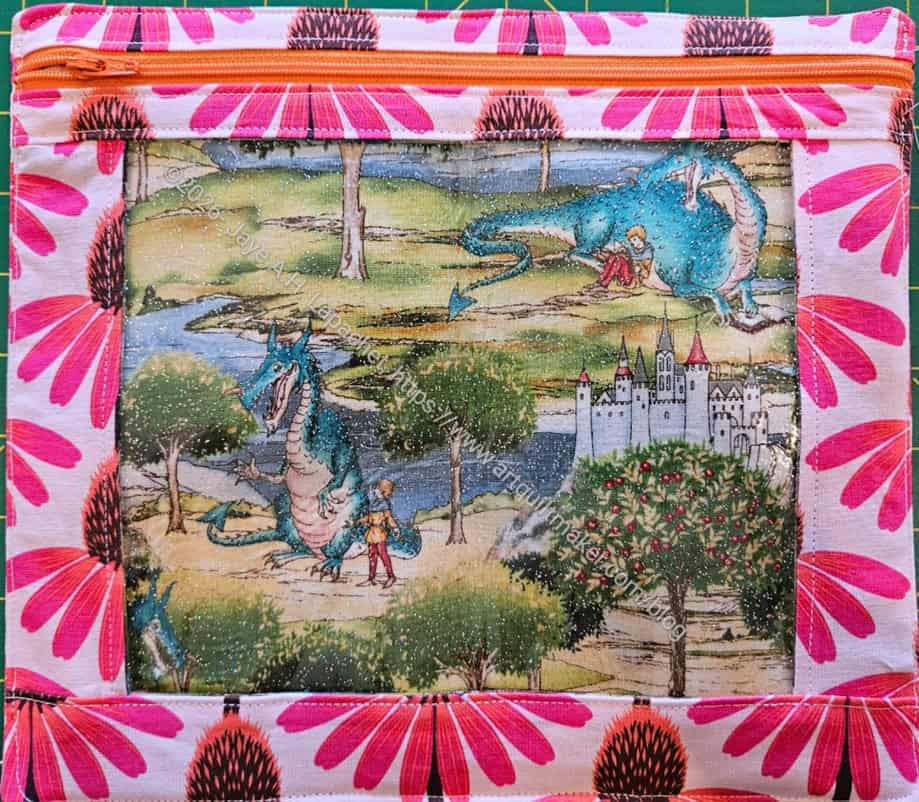
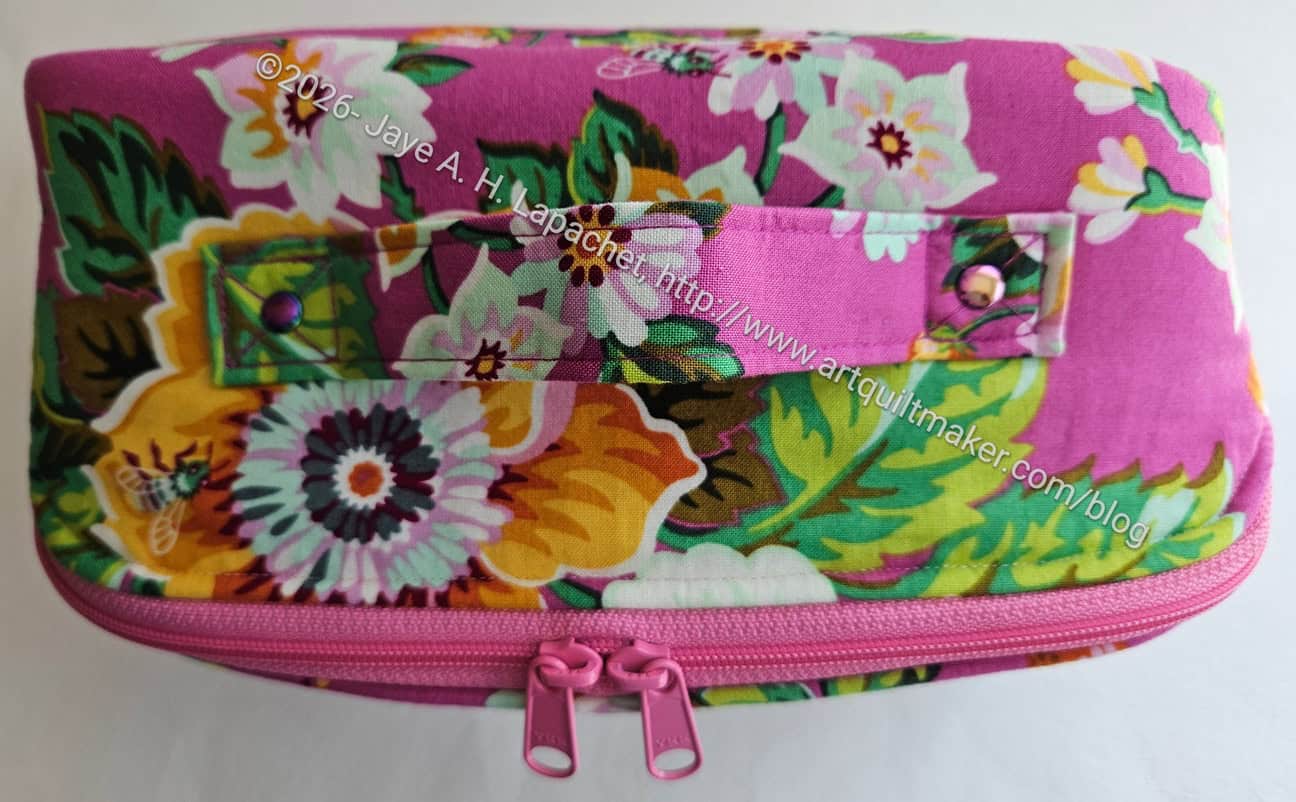
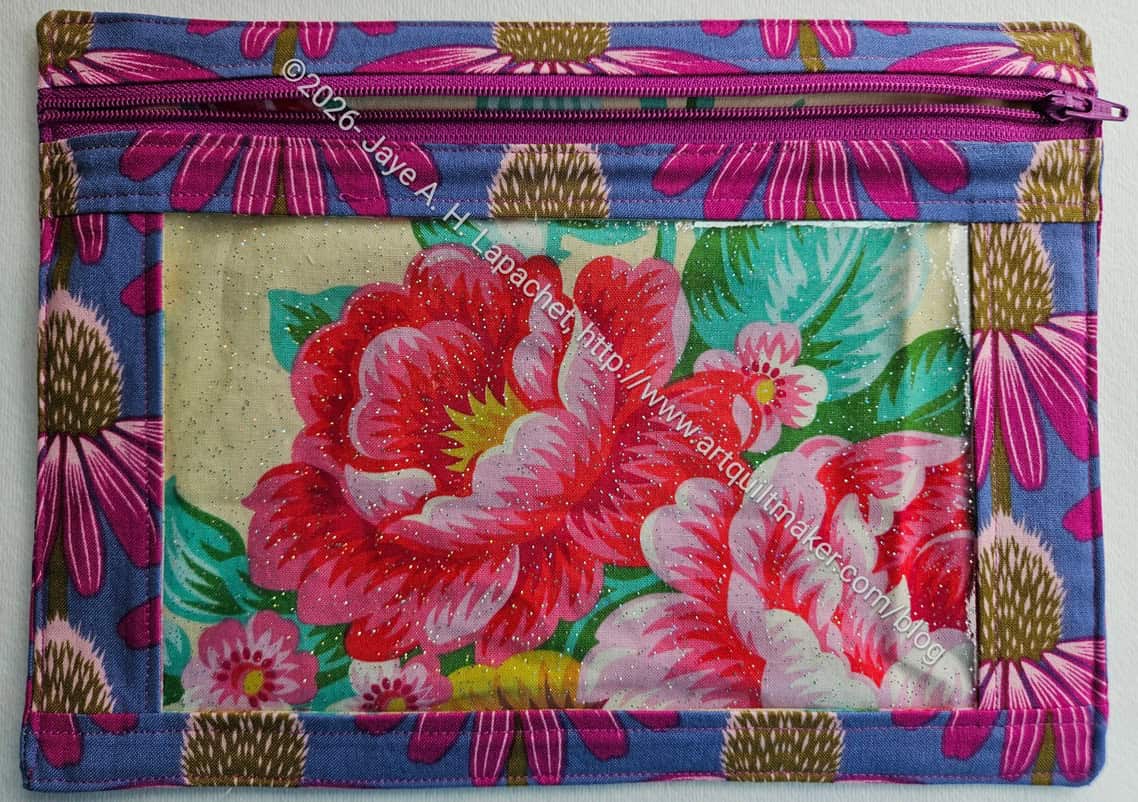
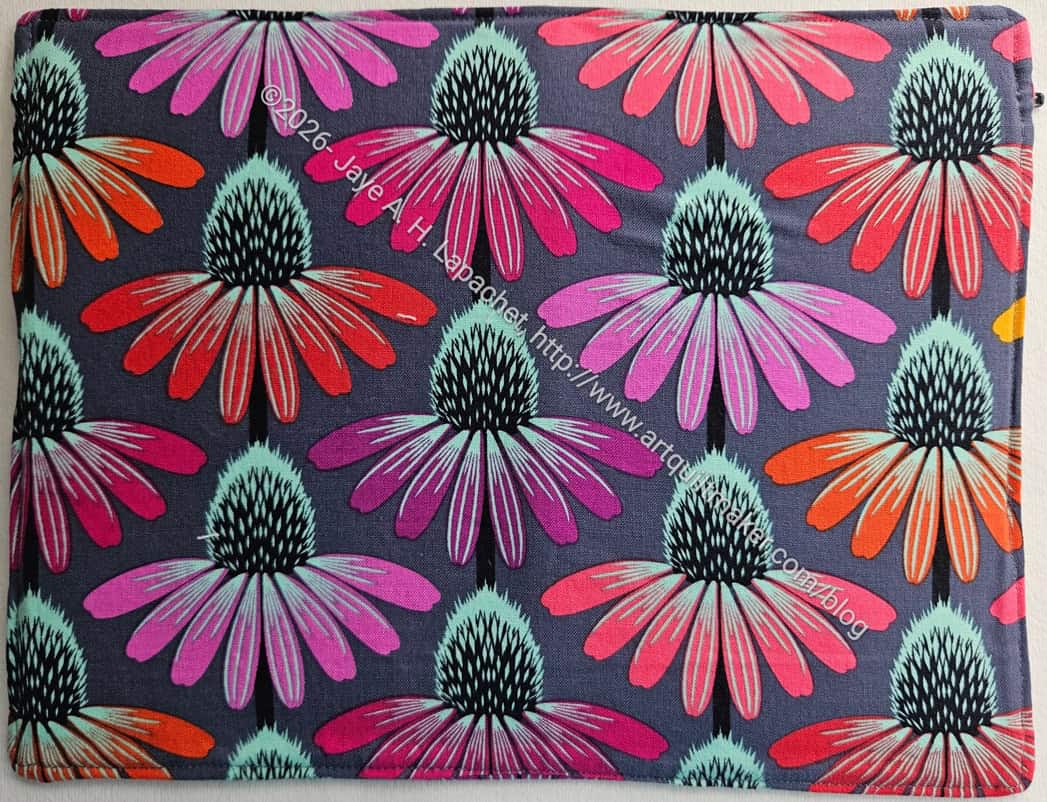
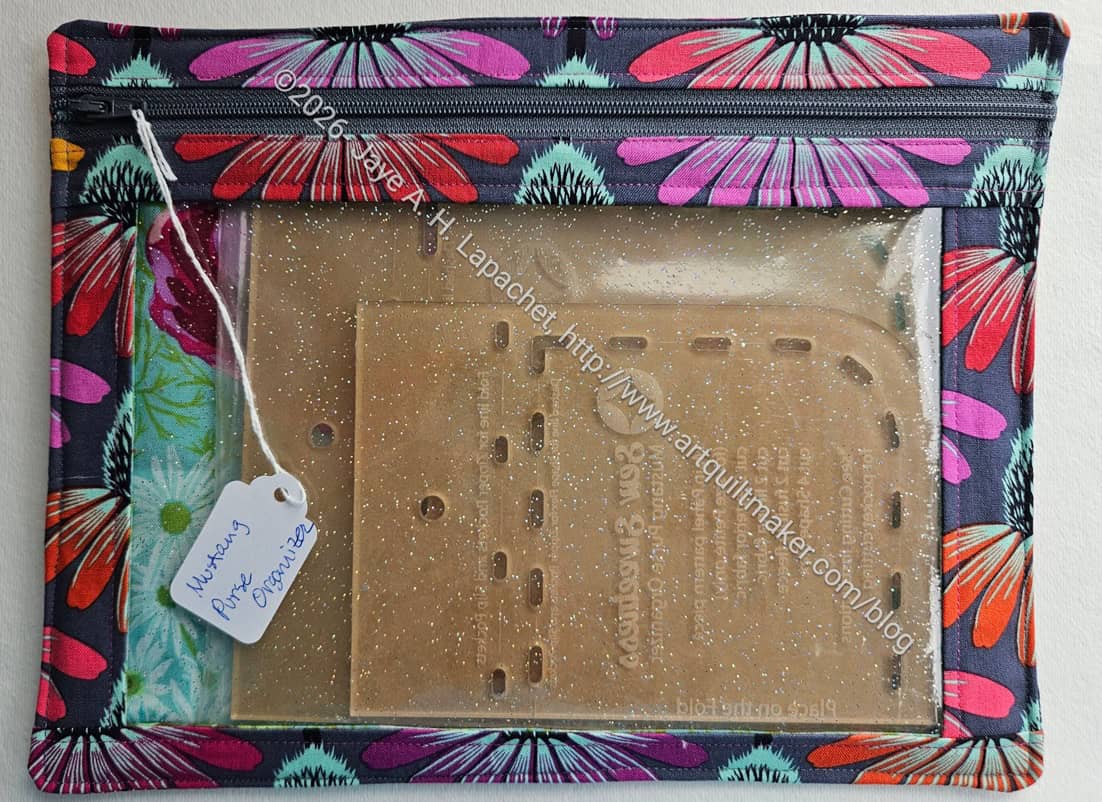
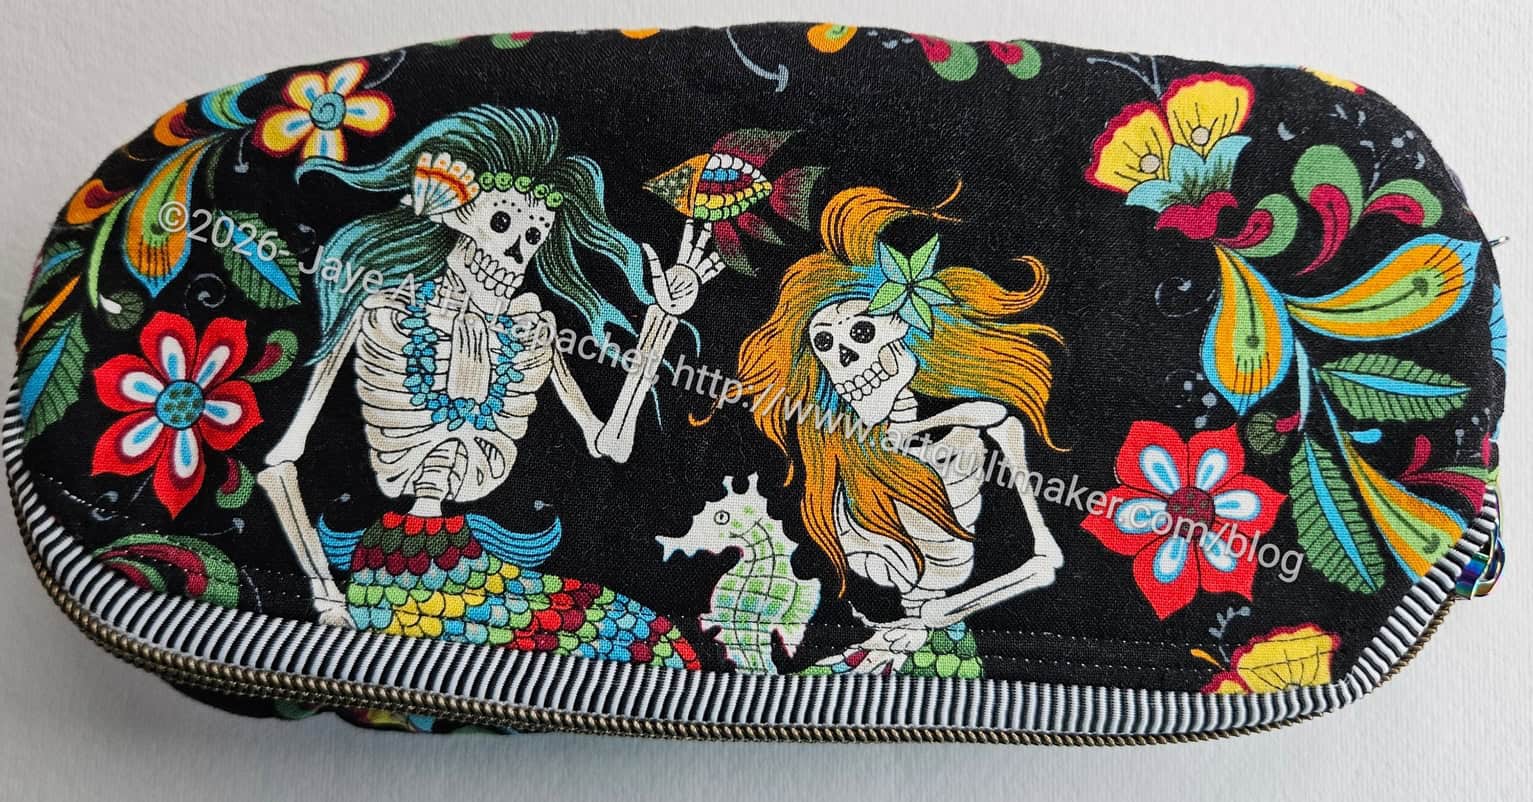
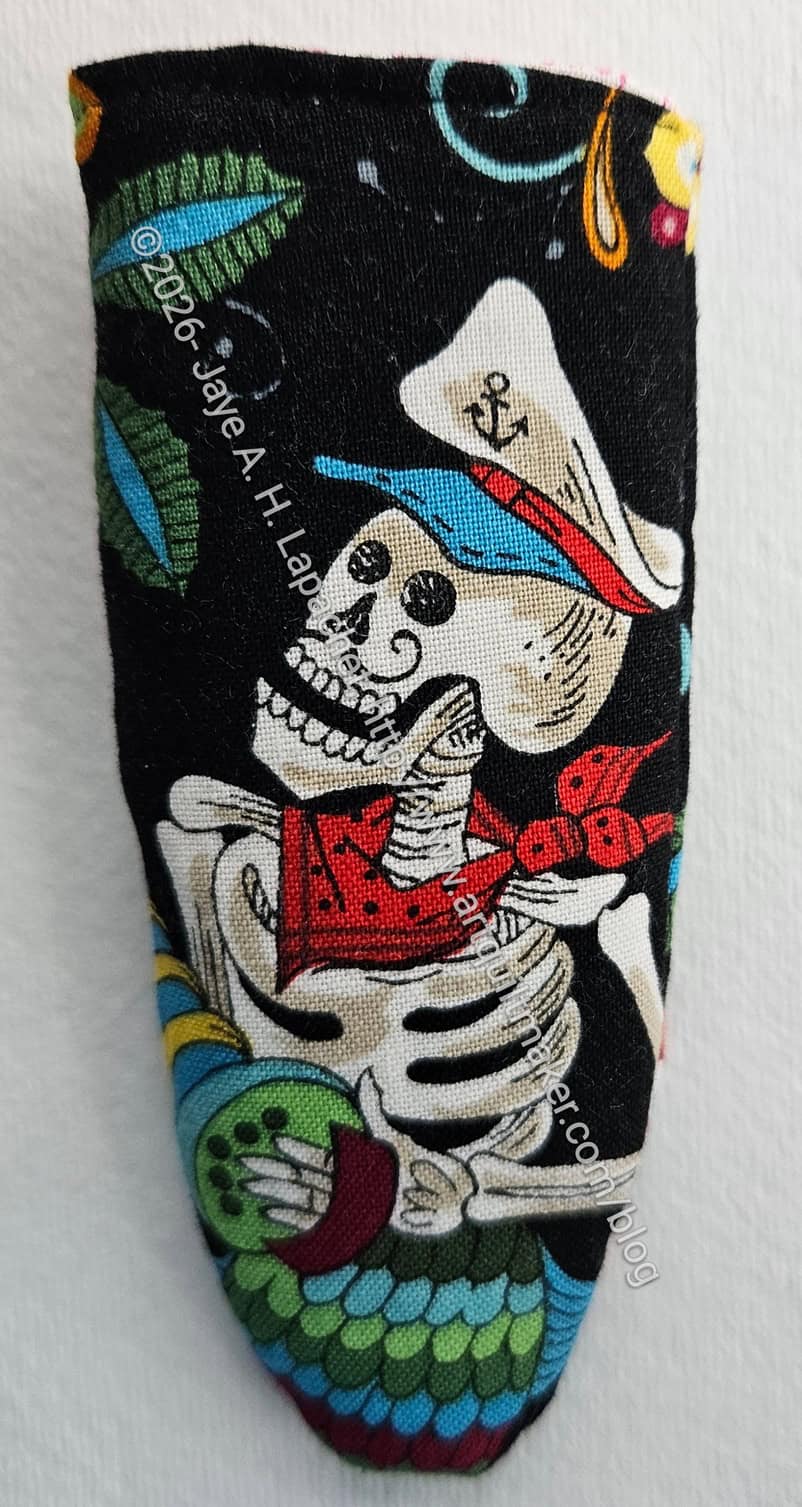
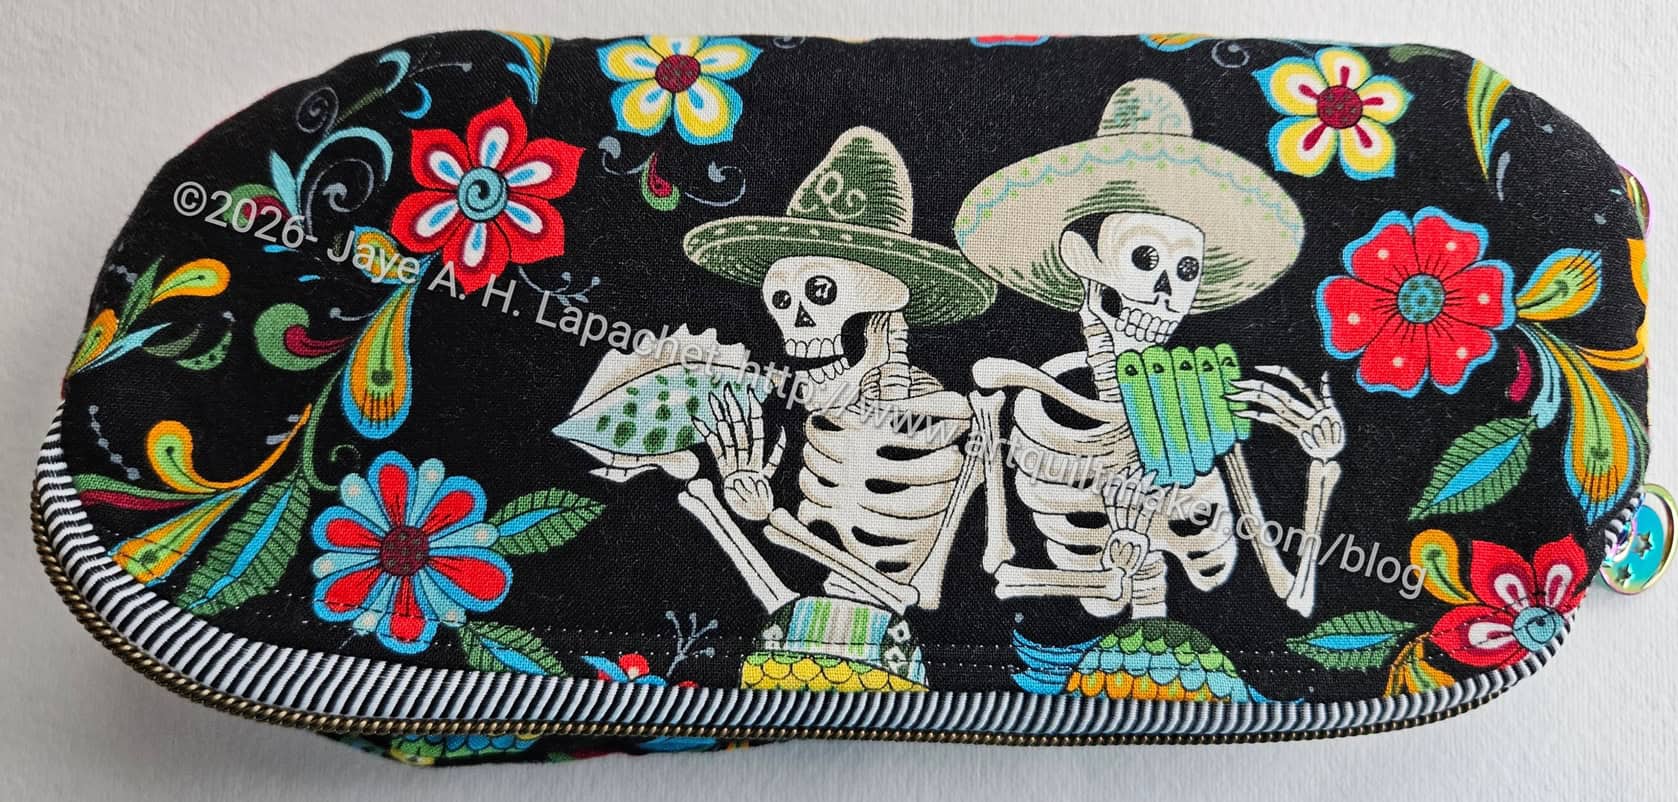
I used the new Martha Negley fabric I bought at Picking Daisies a few weeks ago.
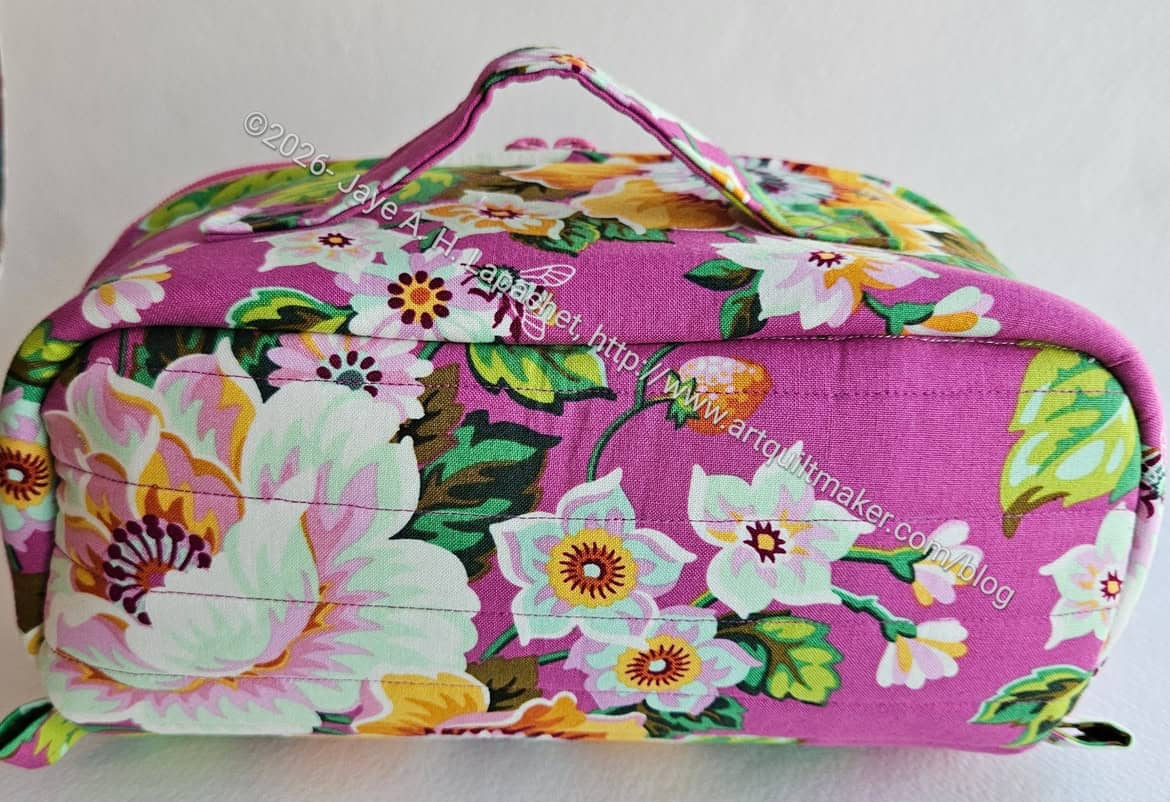
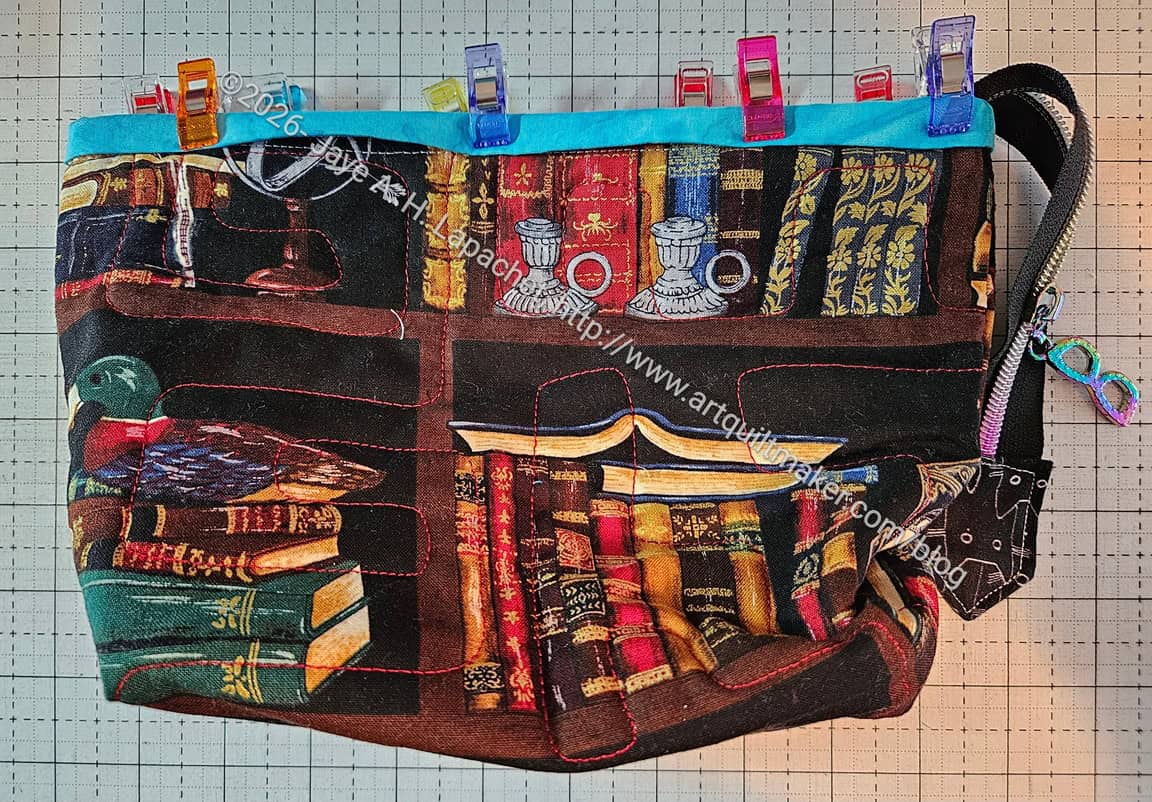
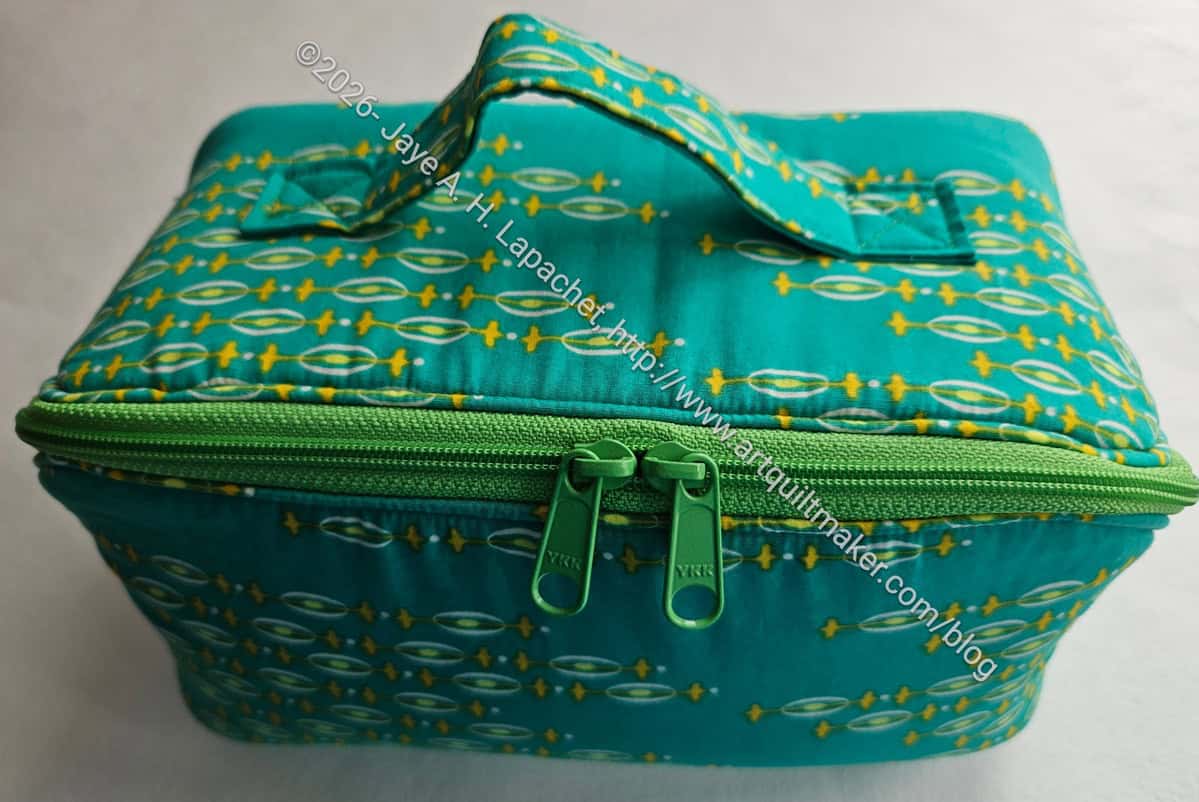
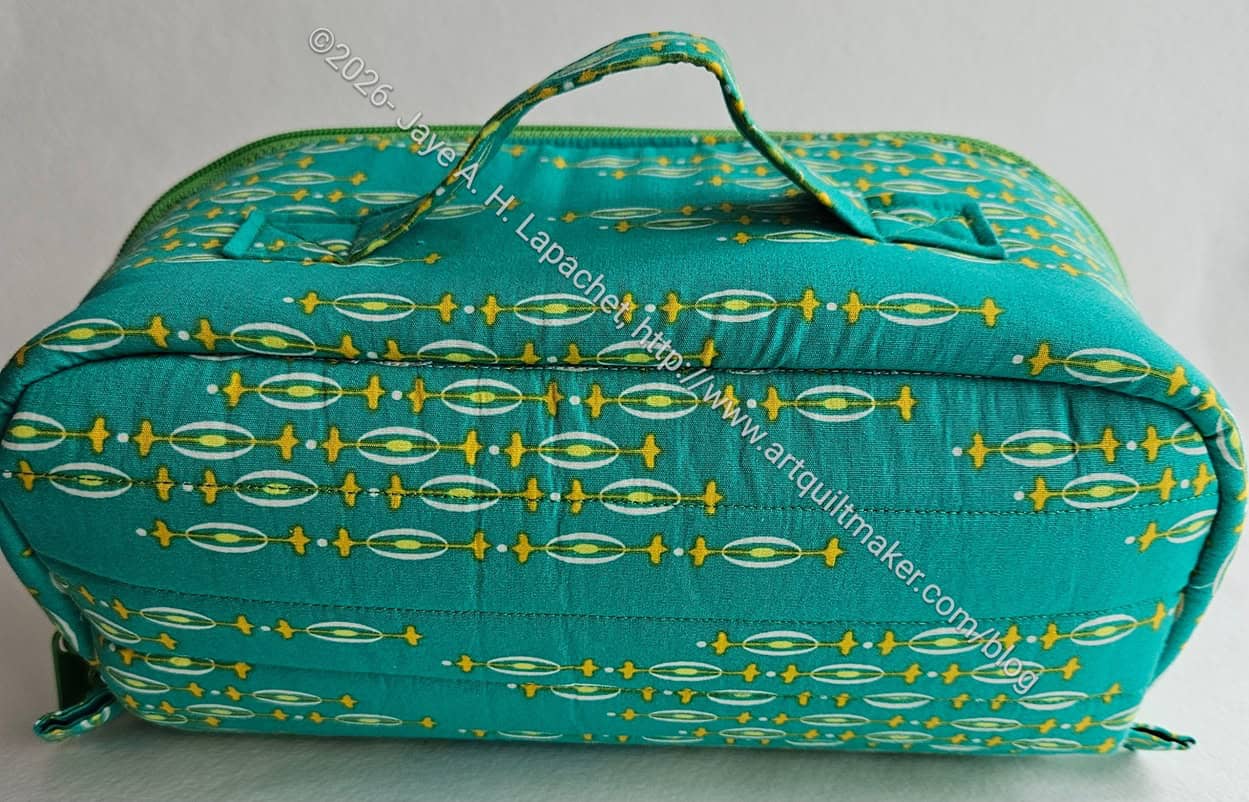
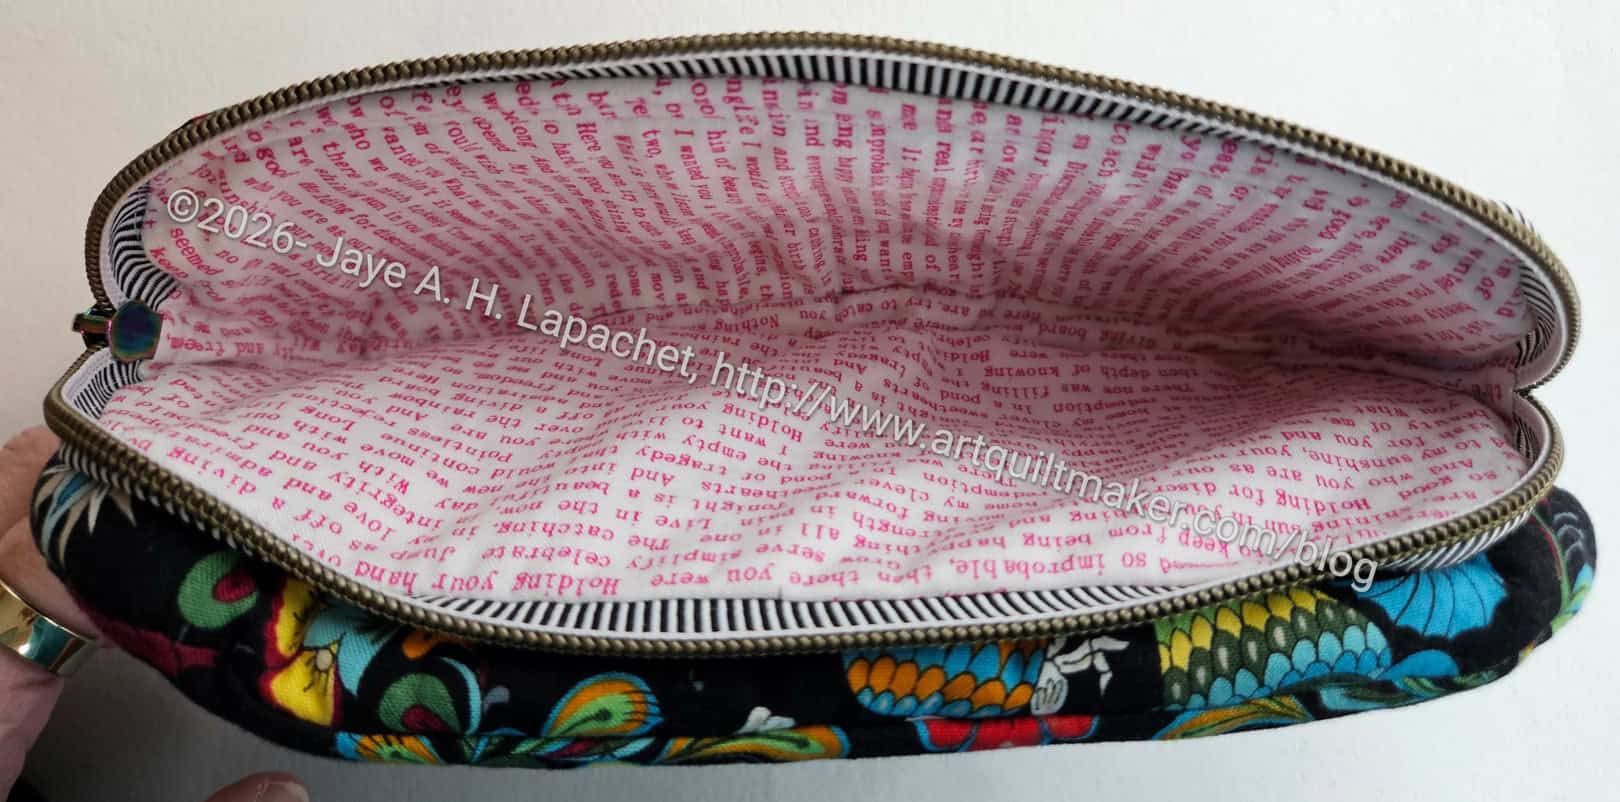
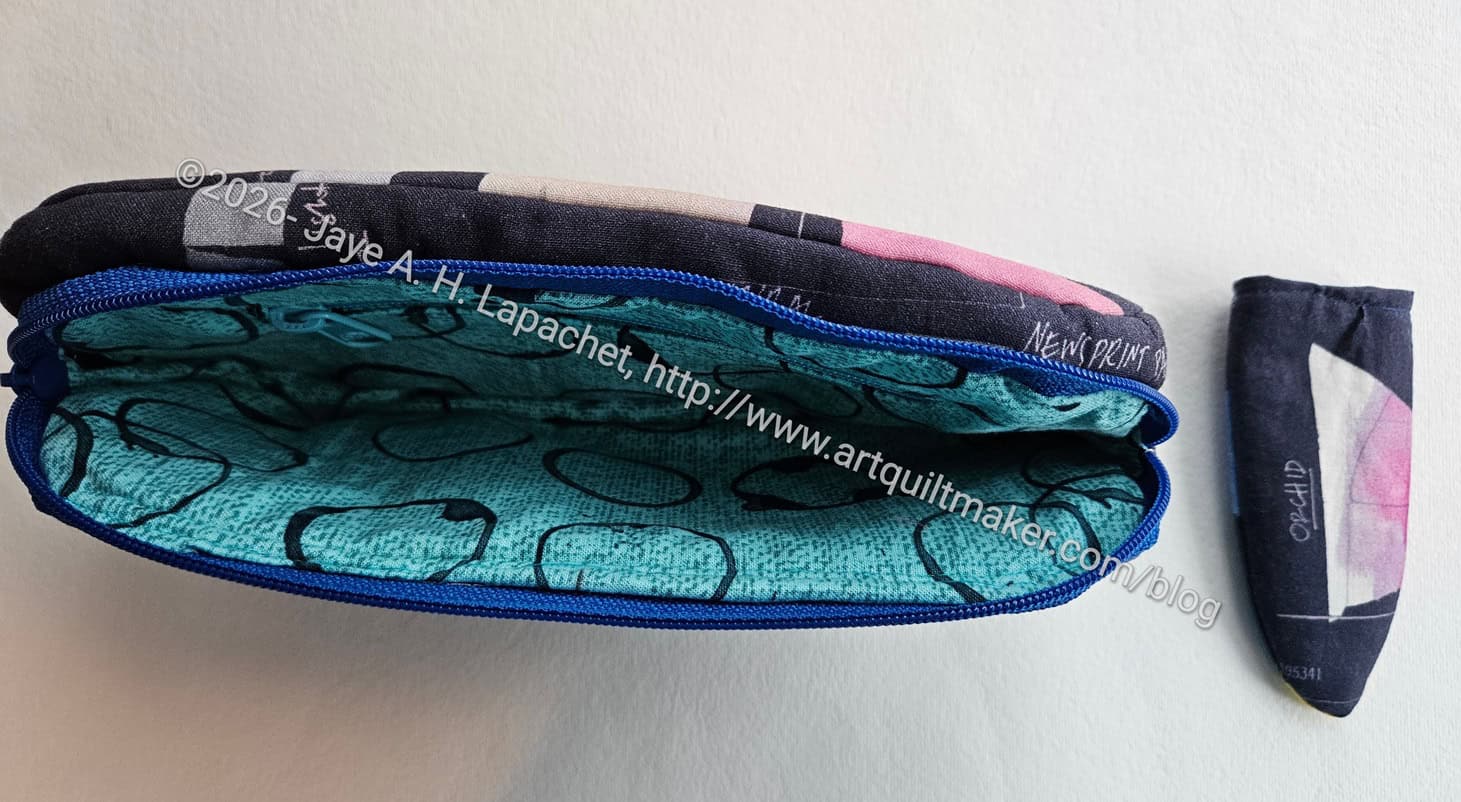
The one thing I did was delve into math again. The pattern tells you to line up the corners, sew and then cut off the excess. I get better results by cutting out a box and then lining up the edges. DH reminded me of the Pythagorean theorem (!!!!). It is one of those with a lot of letters that made me crazy as an eighth grader. More detail on that later.
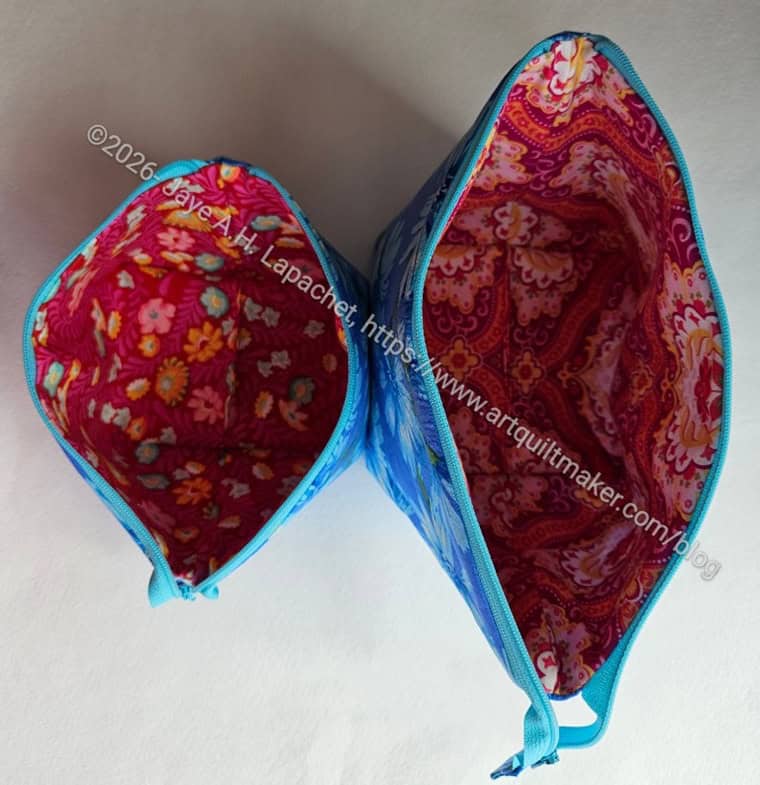
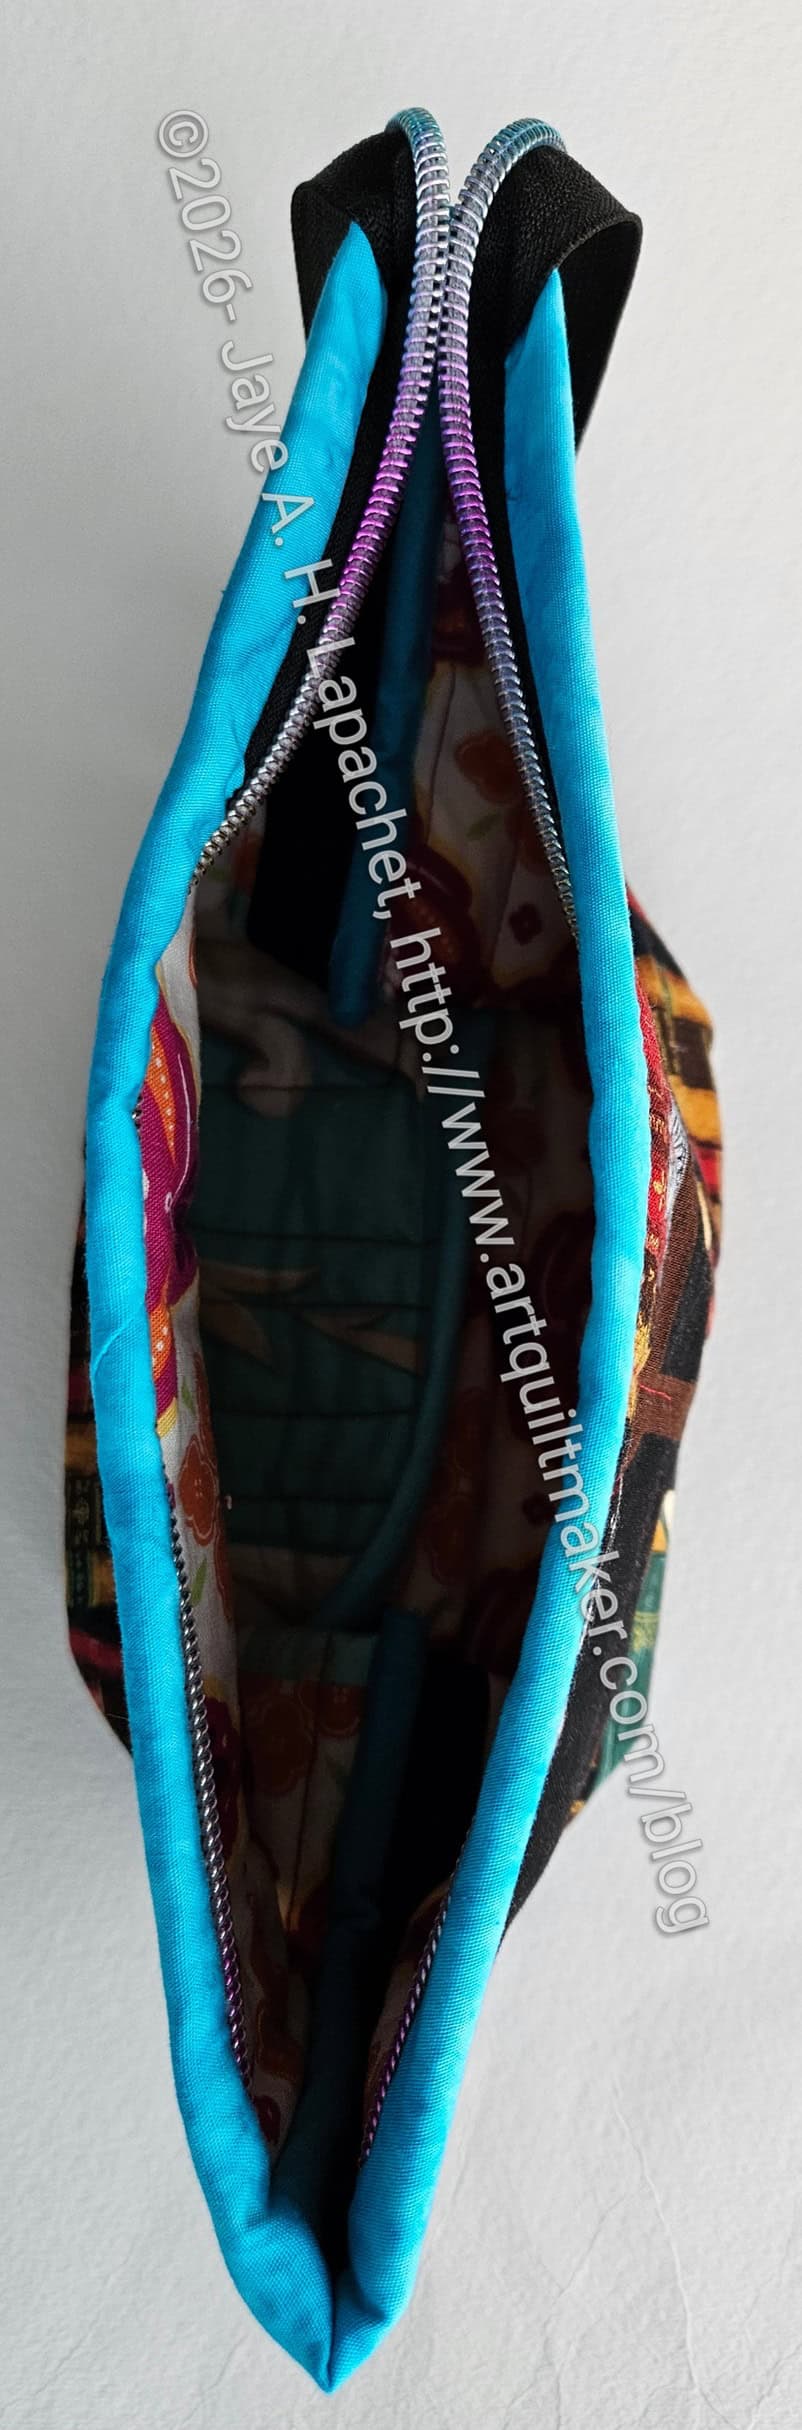
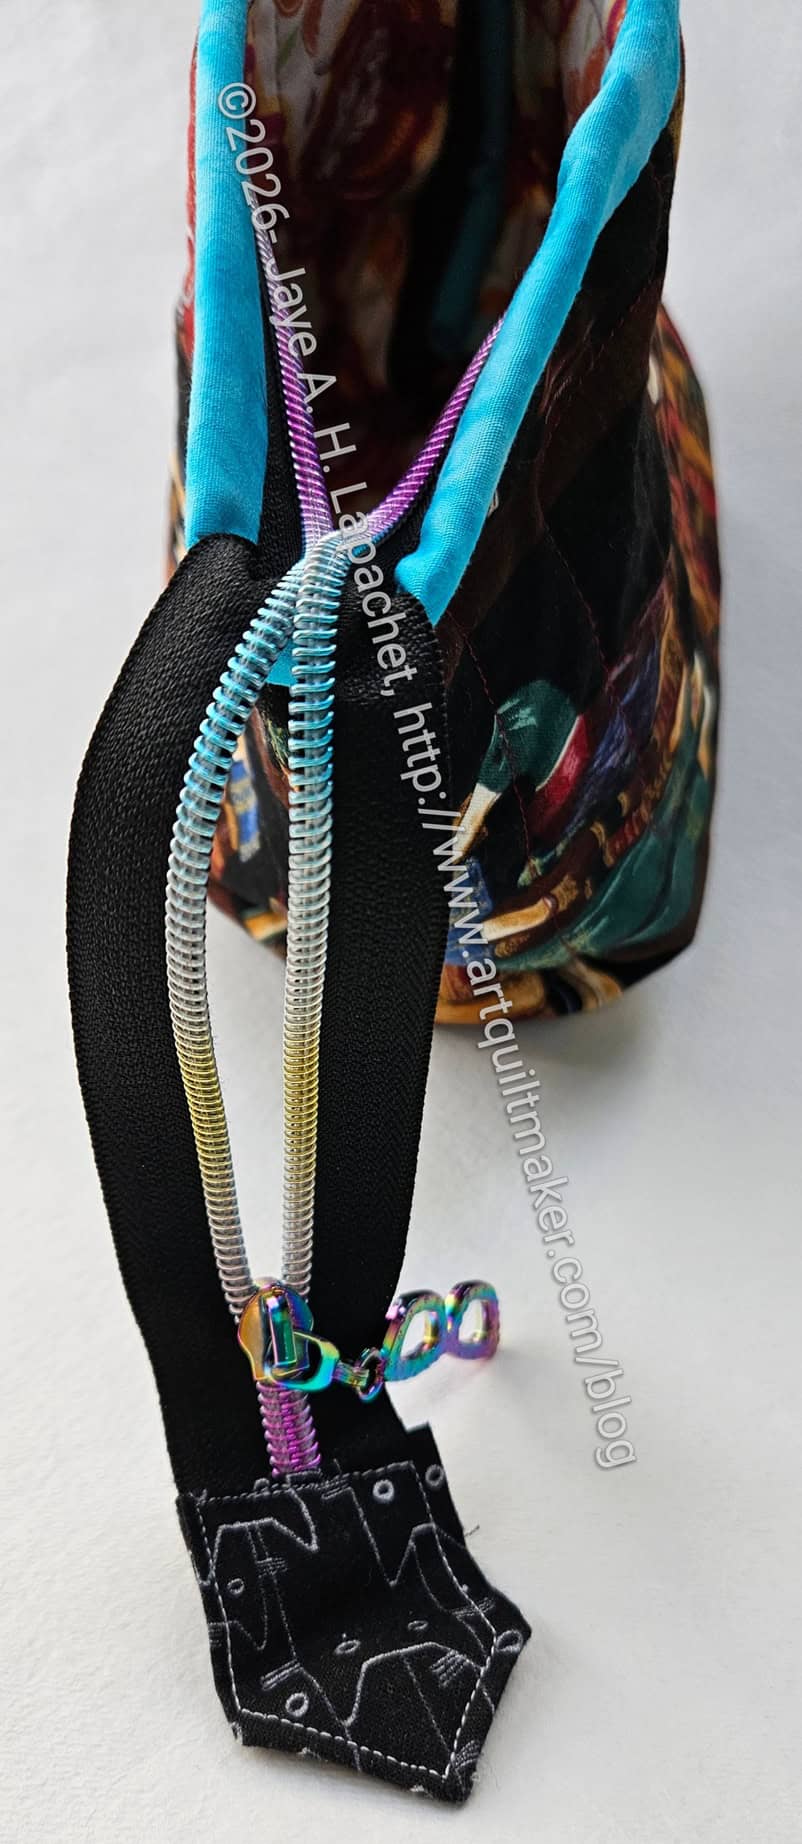
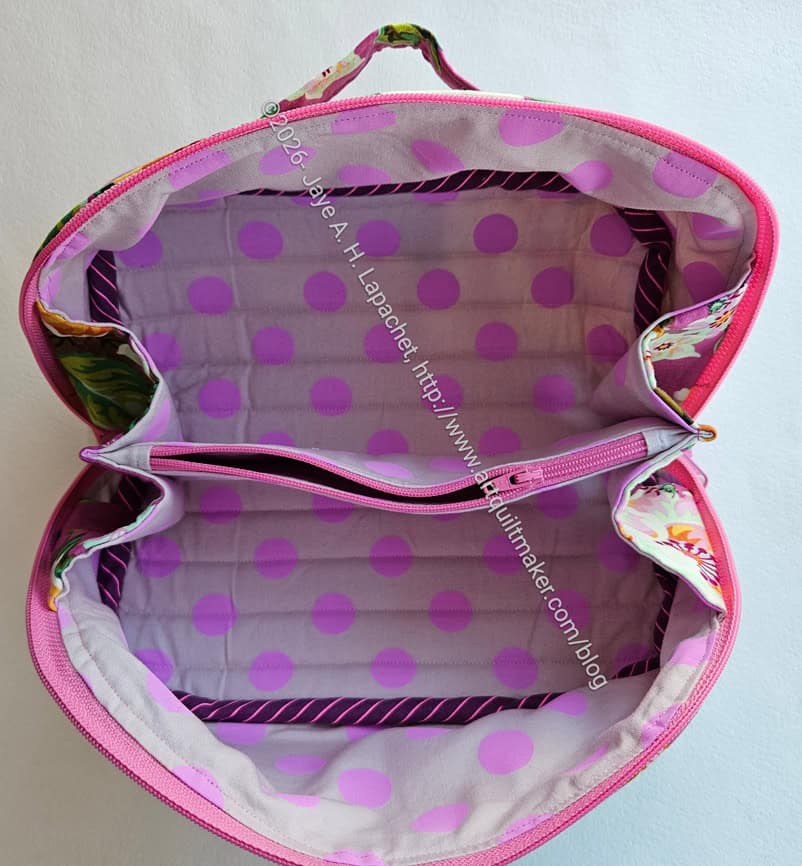
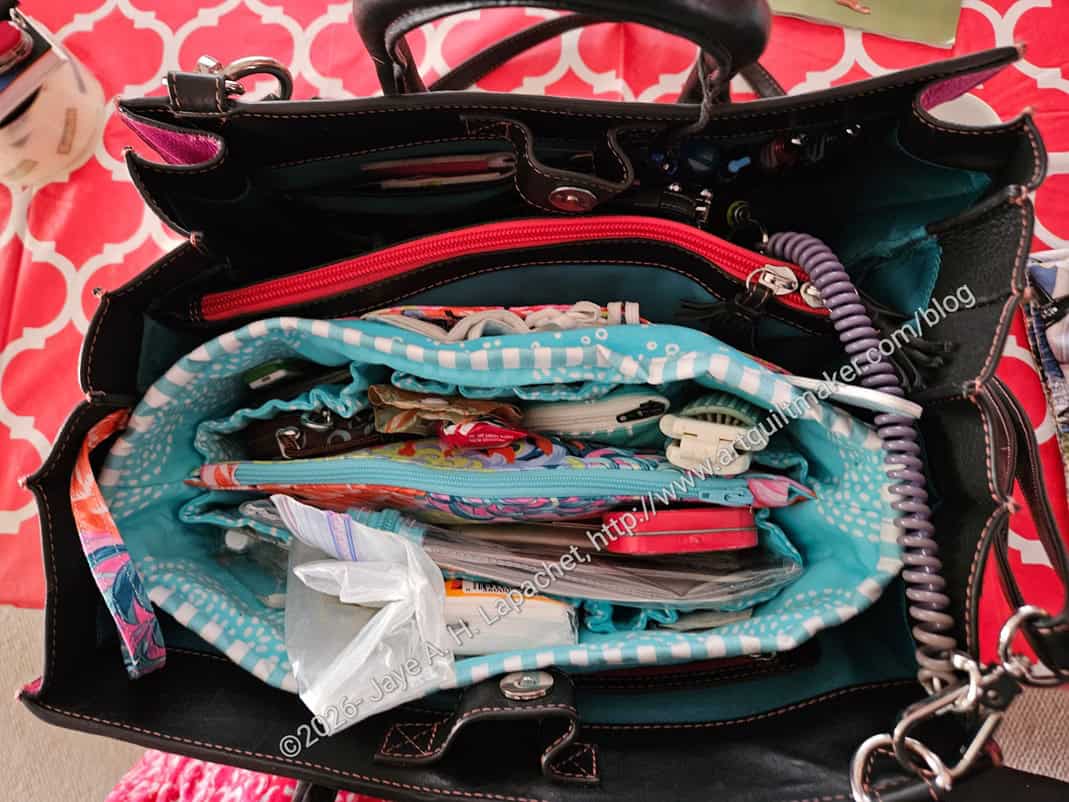
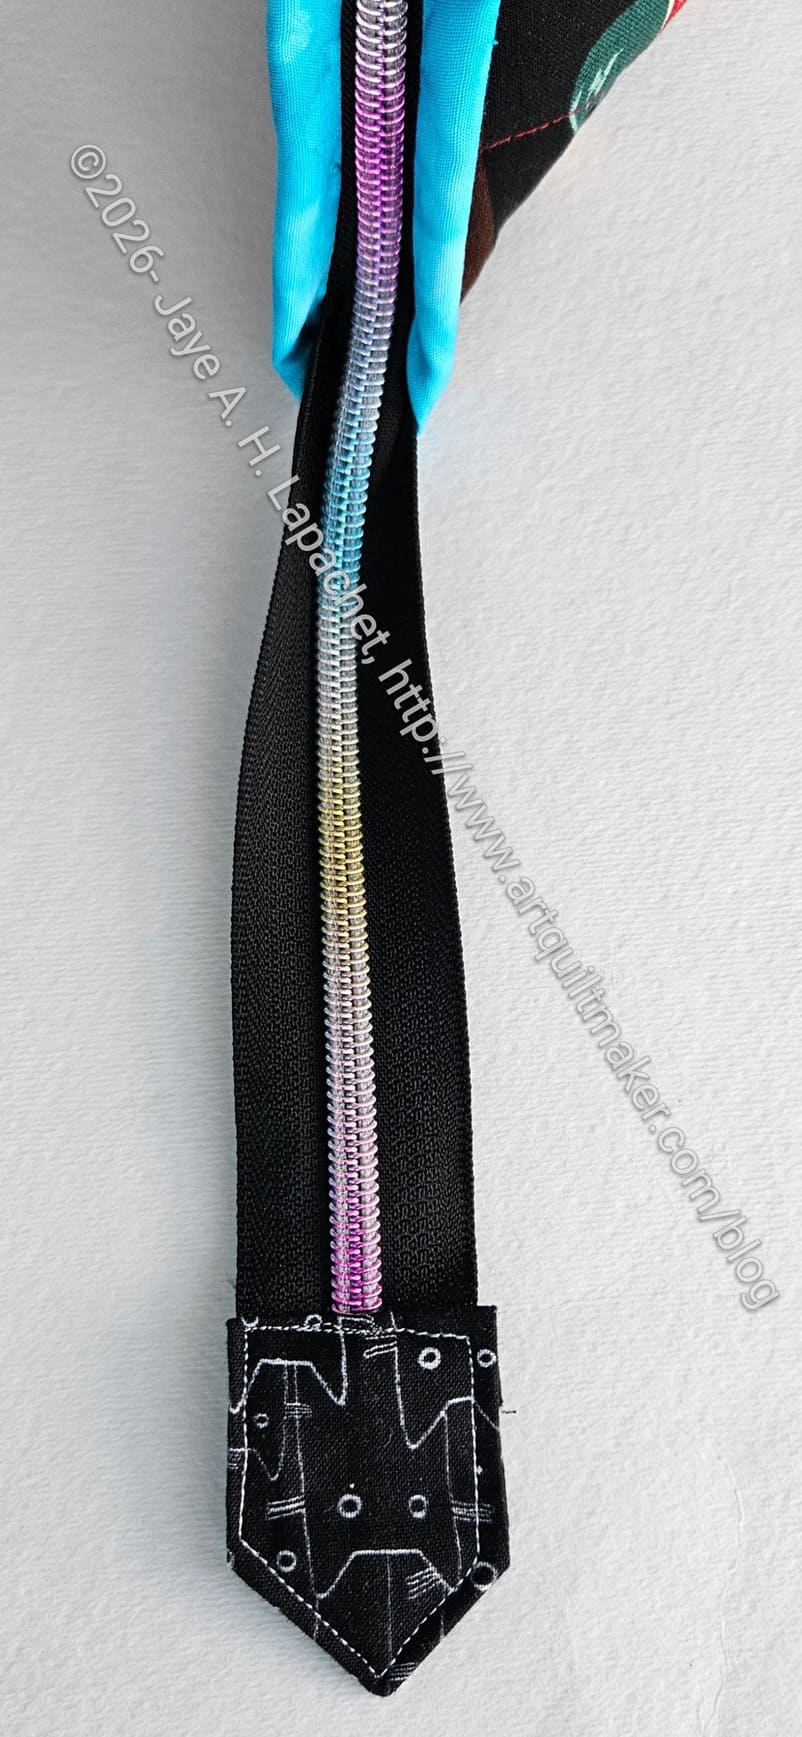
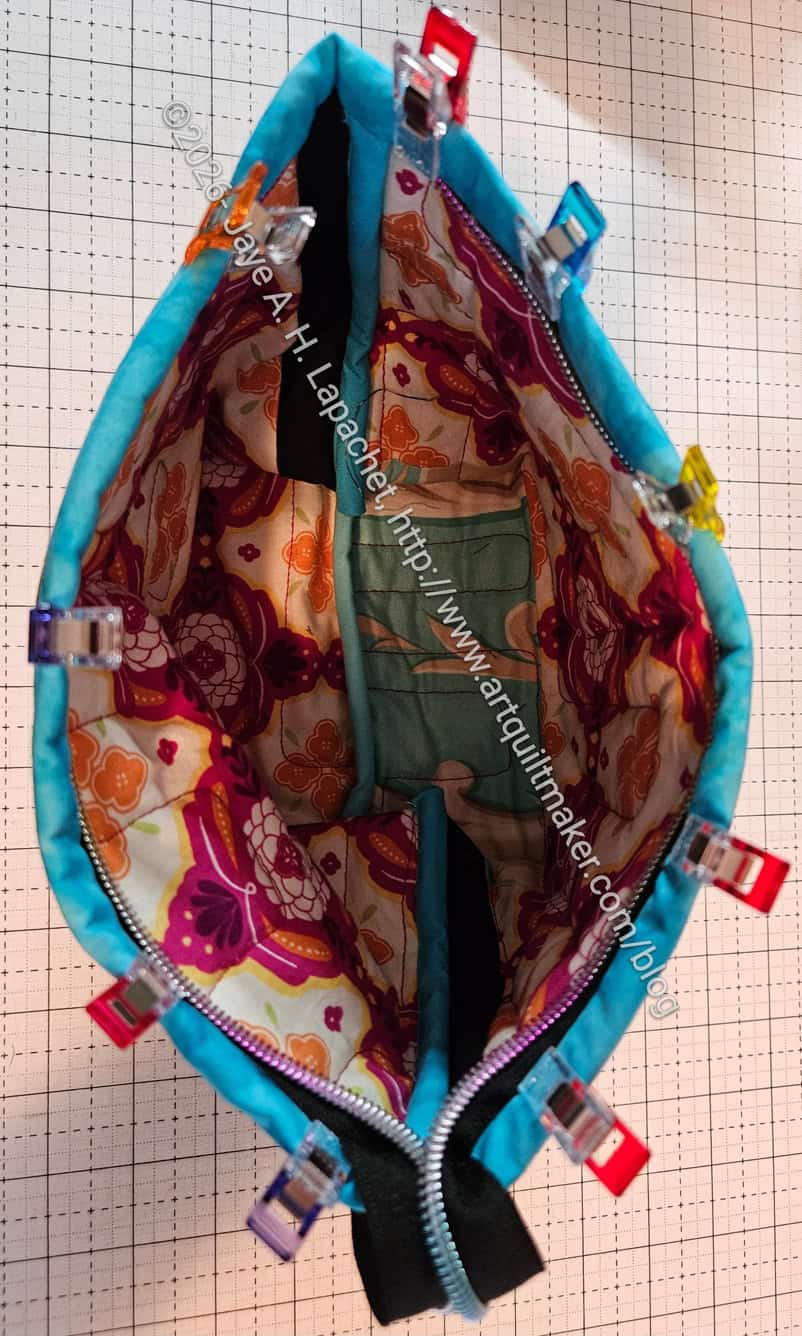
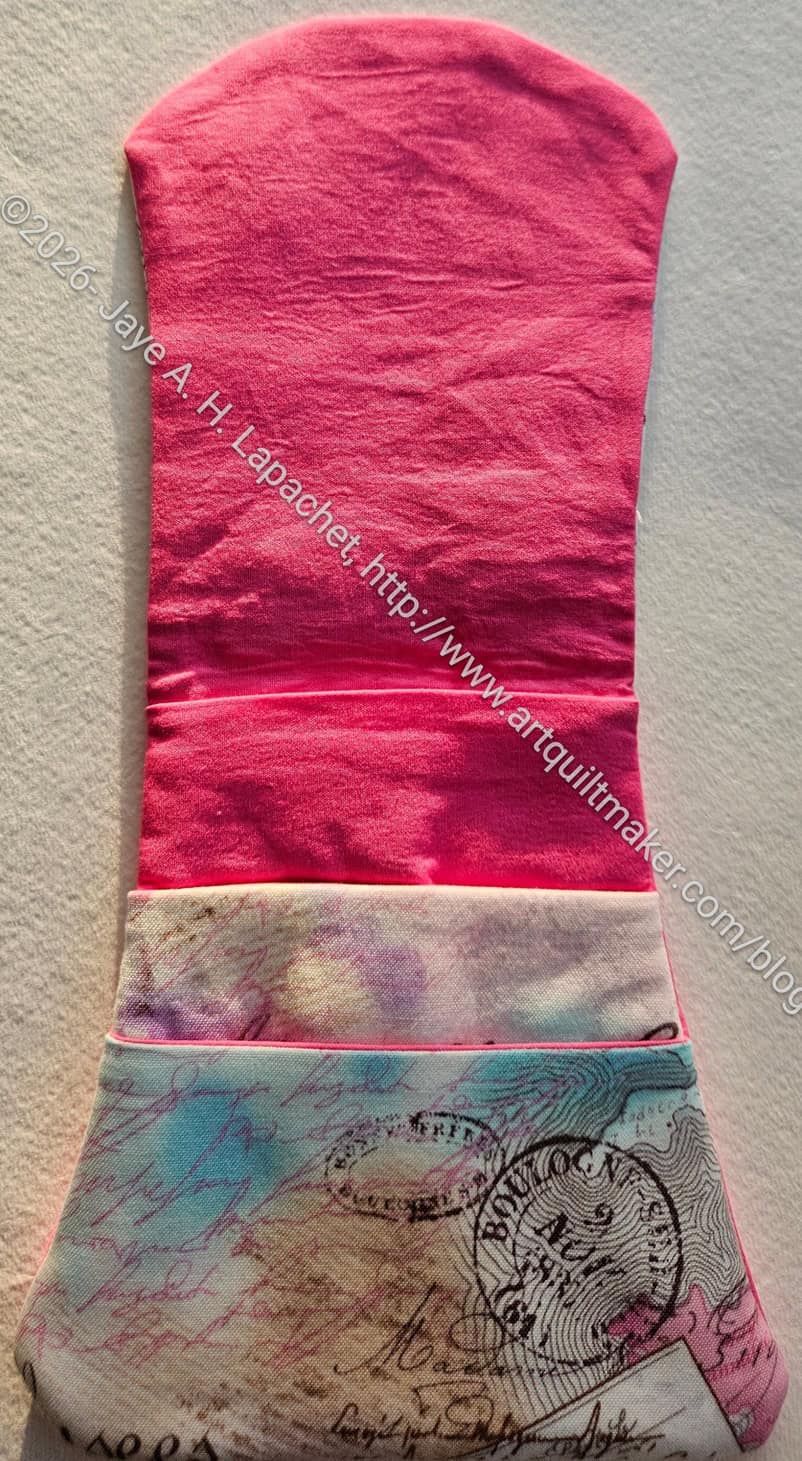
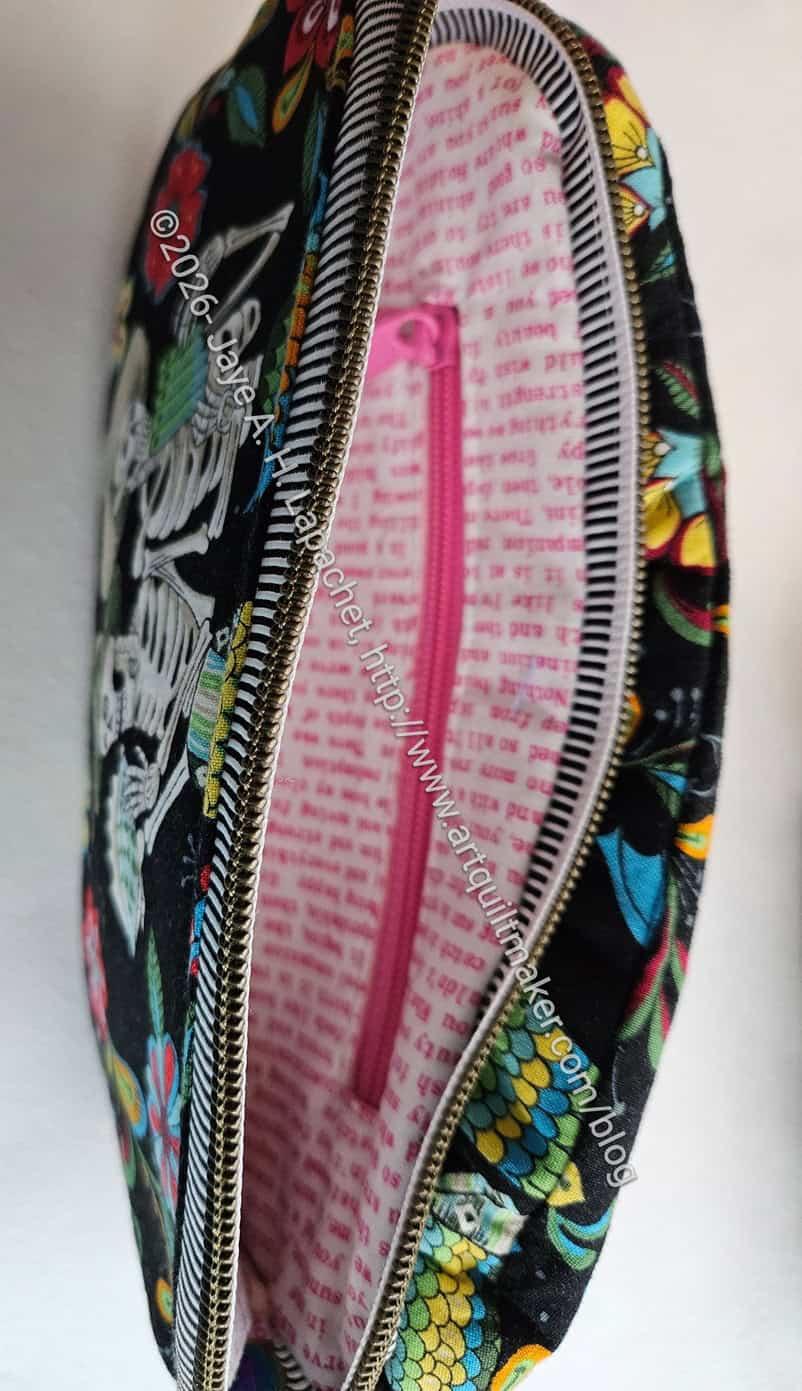
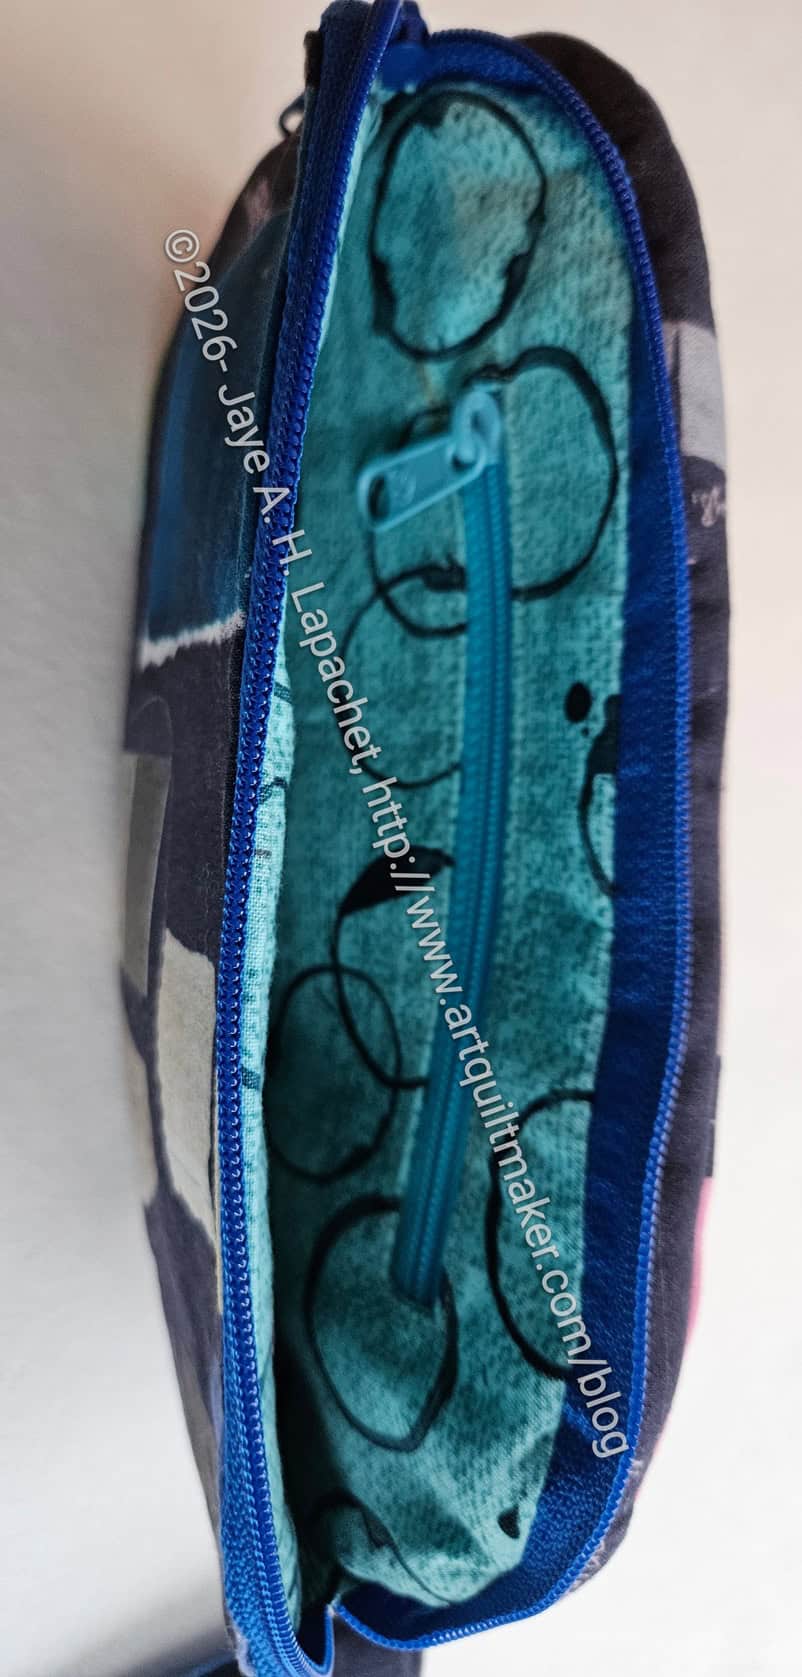
Needless to say, I used this theorem and my calculator to figure out a box size for these pouches. Closed they look a little weird, but open they look ok. The open wide aspect is so useful.
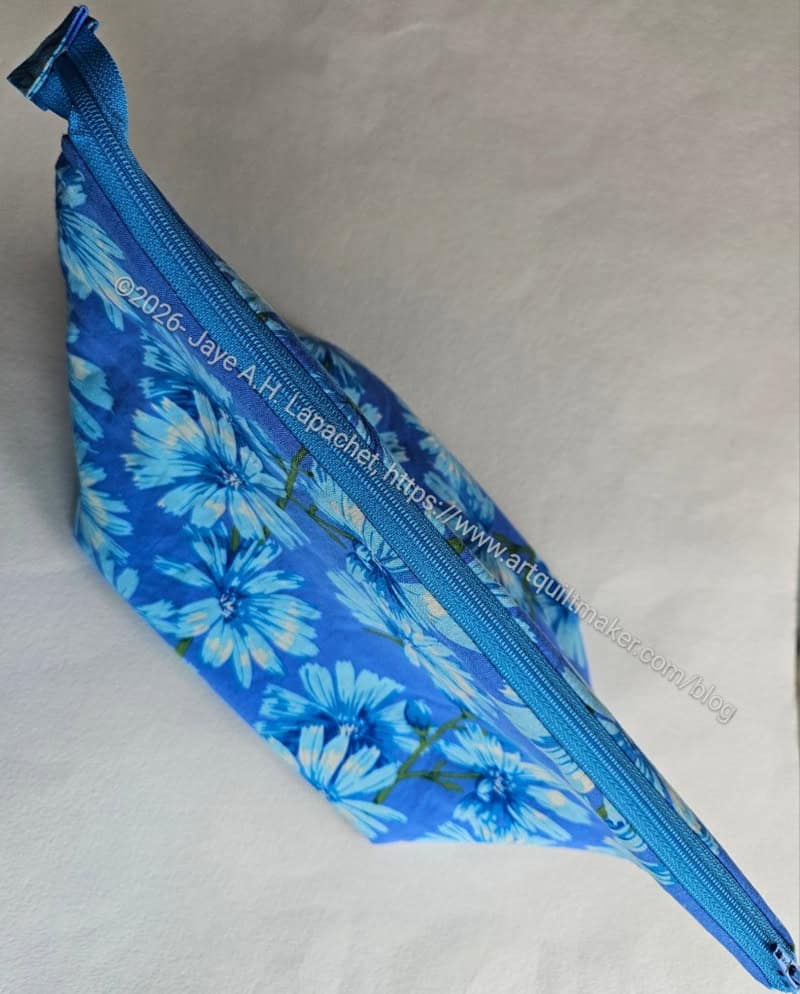
I’ll have to work on figuring out the best size to make these look ok.

I have to say that exercise was interesting. I showed DH how a pouch goes together every step during the process and he was really interested. I think he thought the practical use of the Pythagorean theorem was fascinating. I have to say that learning the practical use of one of those stupid math concepts was a revelation.
The other thing I noticed was a lot of similarities in the construction of this pouch and the Retreat Pouch, also free, from Emmaline.