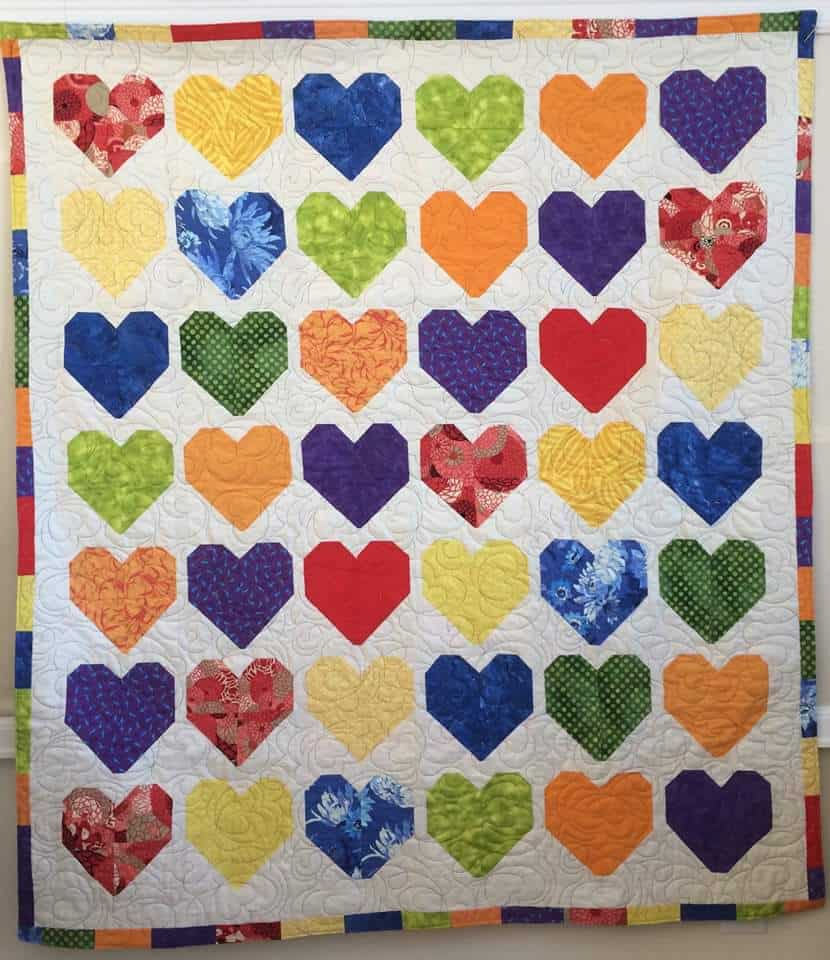
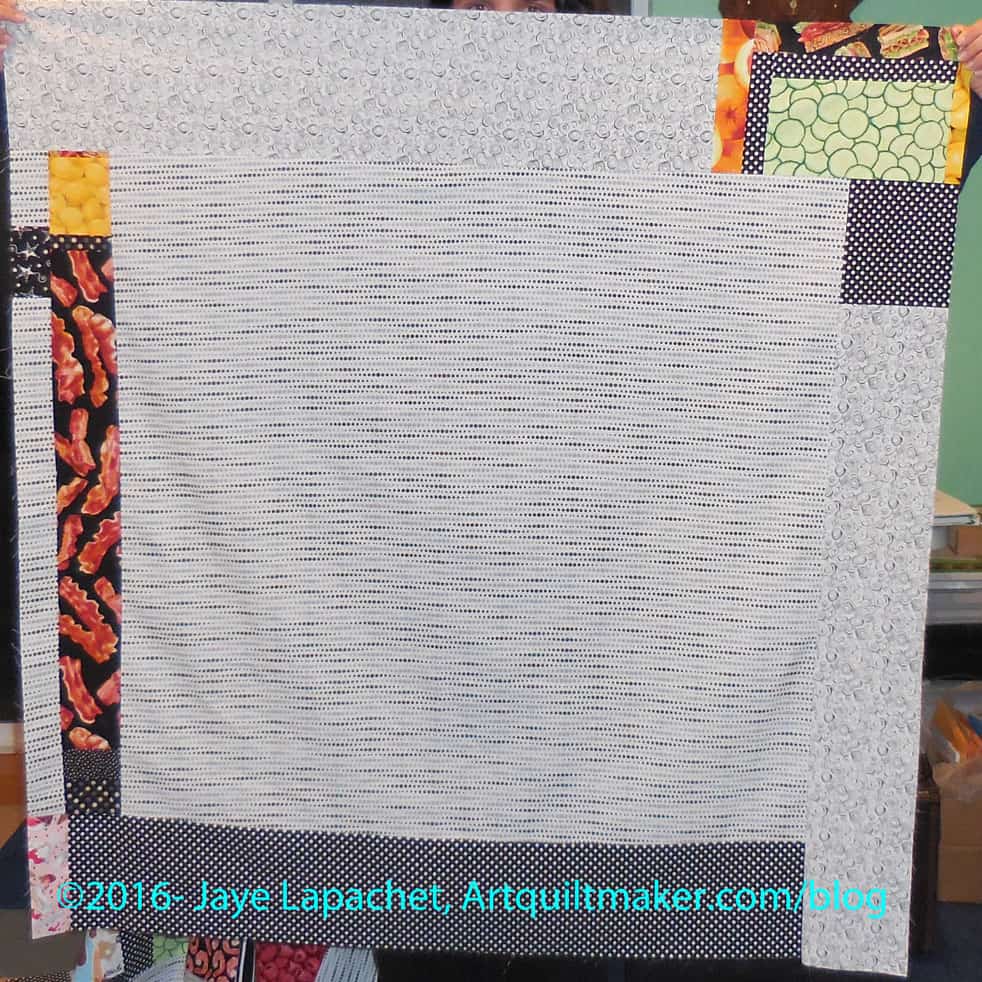
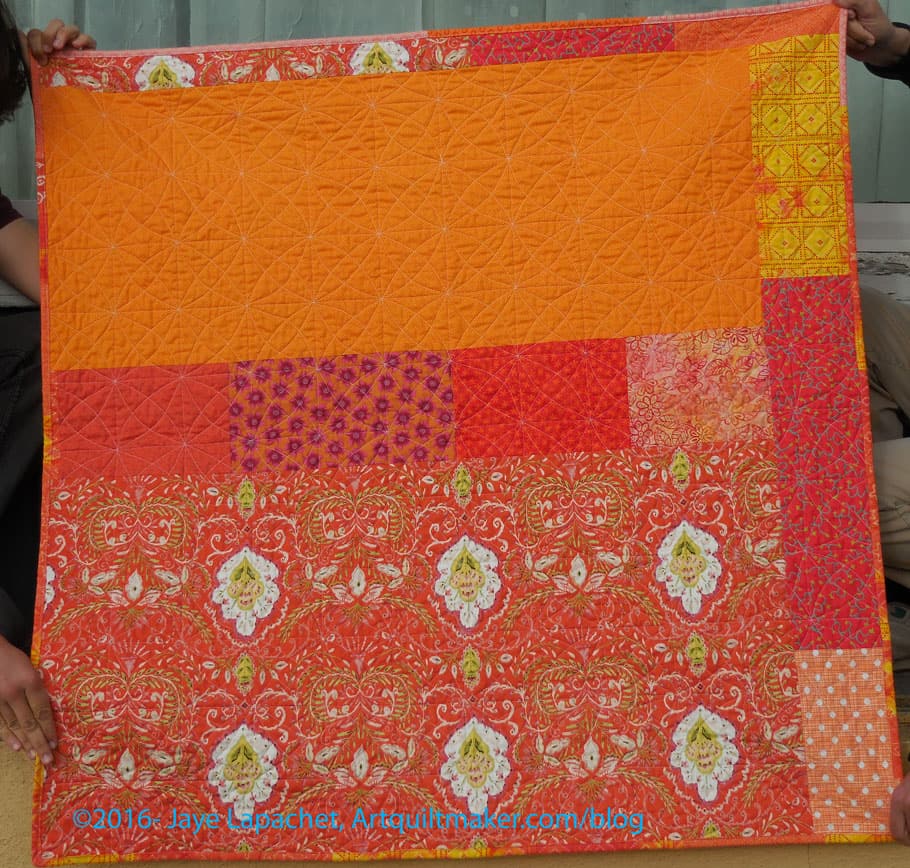
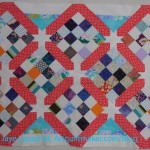
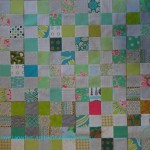
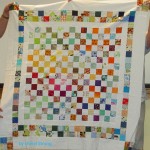
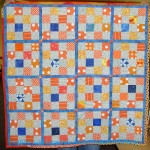
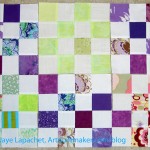
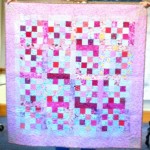
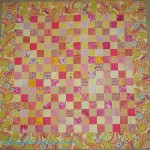
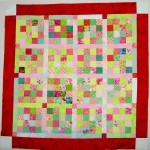
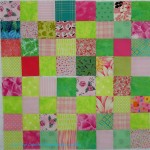
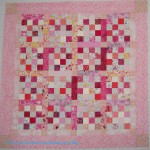
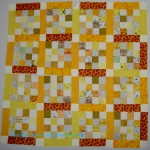
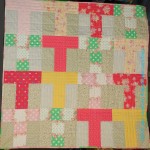
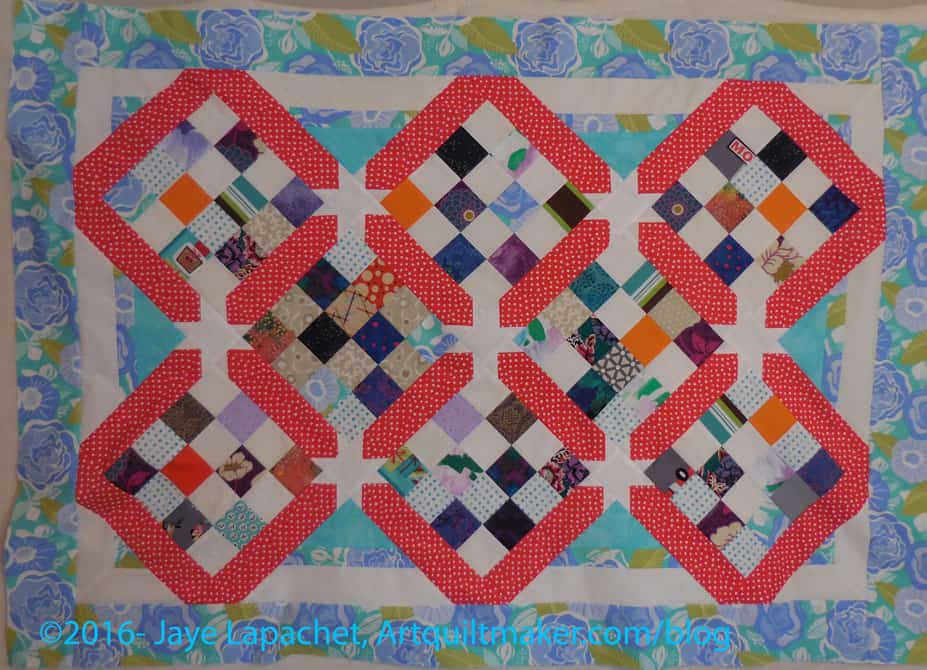
Yay for Bron who made this happy Orlando Pulse quilt! I love the scrappy binding.
This is another one that will be sent off to the Orlando Modern Quilt Guild for the families of victims, survivors and first responders of the Pulse nightclub shooting.
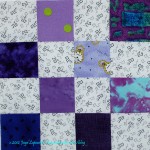
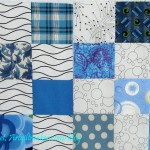
The BAMQG meeting was last Saturday. Mike and Jaime brought the Pulse tops we all worked, and they sewed together, on at the last meeting. I was thrilled to see them. Both Jaime and Mike are very talented quiltmakers and they did a great job, quickly, with blocks contributed by members.
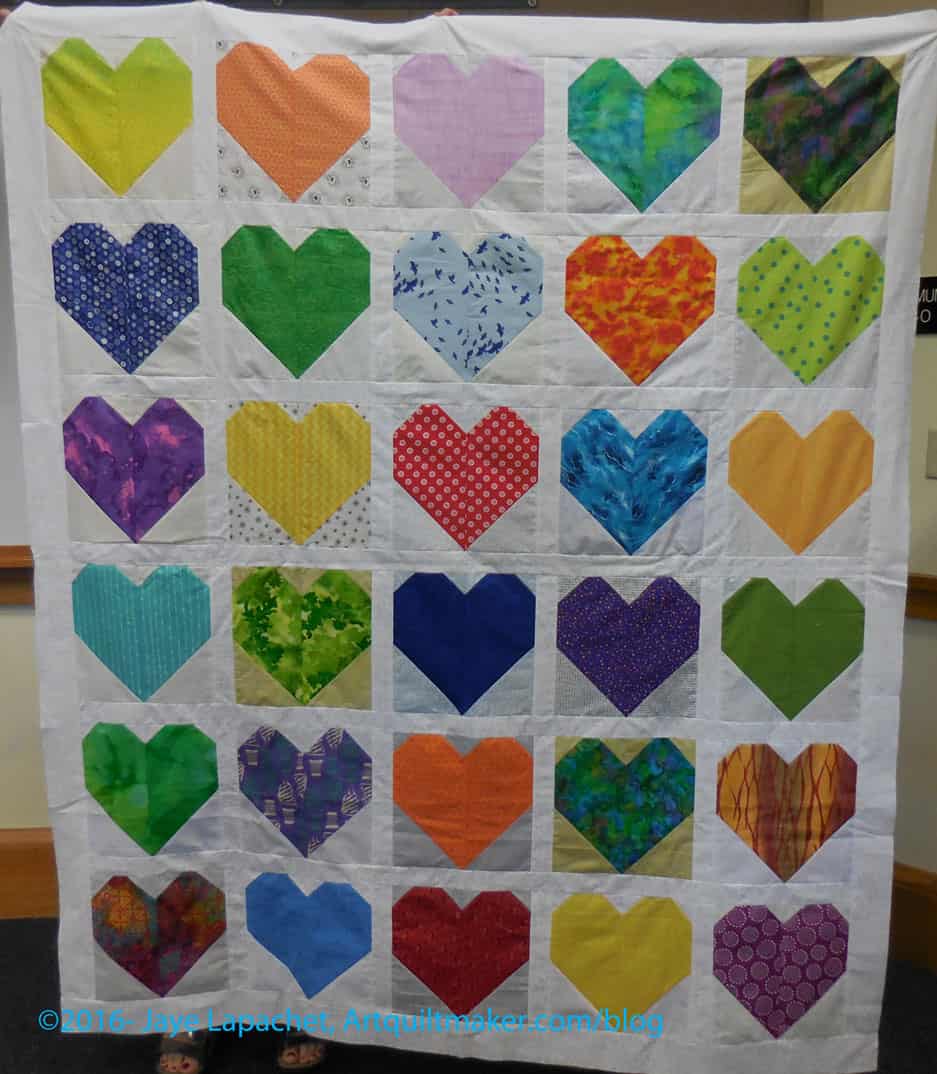
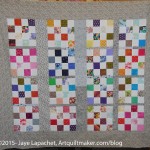
BAMQG Pulse Quilt by Jaime
Jaime created a simple setting with a bit of sashing between the blocks. The sashing sets off the colors and fabrics of the blocks, which was a great idea. It is also looks very bright. A couple of my blocks are towards the bottom. Angela is going to quilt this quilt.
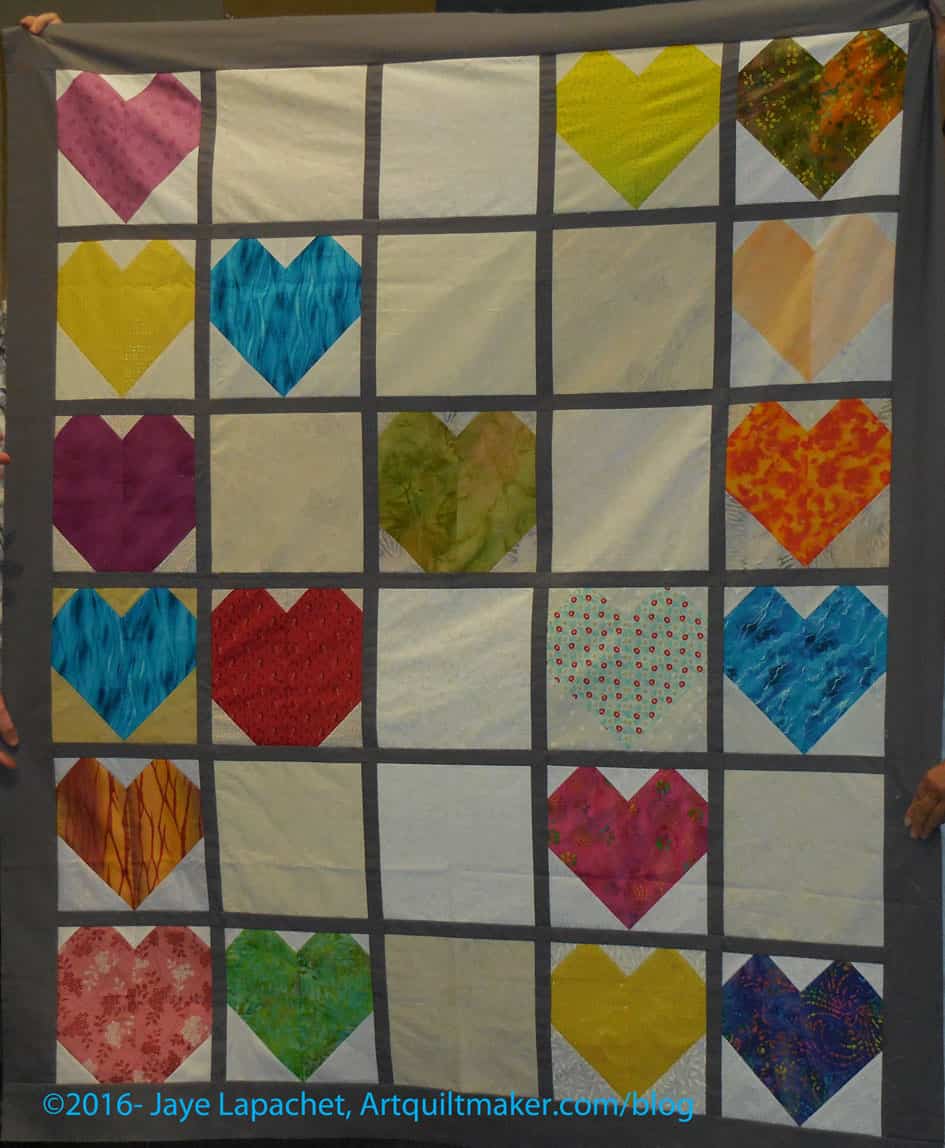
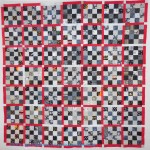
BAMQG Pulse Quilt by Mike
Mike infused some additional meaning into his design, which made me tear up. He left some blank spaces to remind us of those killed in the shooting. Great idea, but sad he had to think of it. Mike has a longarm and will quilt his quilt and send it off. I think a couple of my blocks made it into this quilt as well.
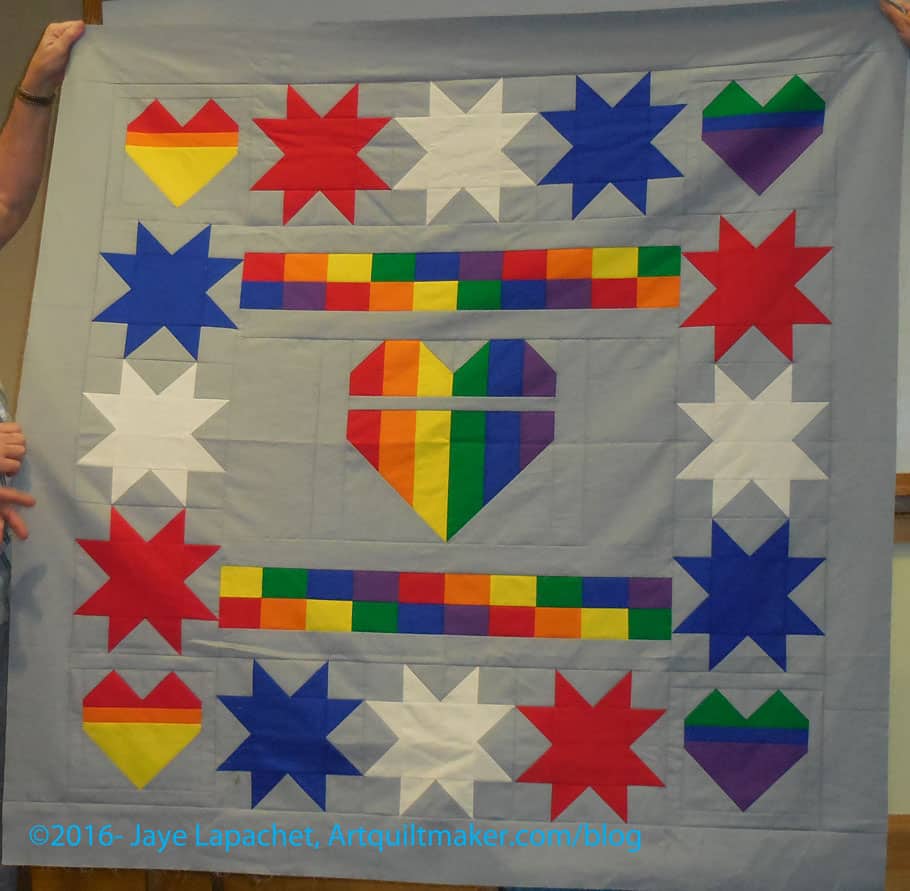
Pulse Quilt Wallhanging by Mike
Finally, Mike made a quilt for himself and his partner. This commemorates the losses, but also the contribution of the first responders. I really appreciate Mike remembering them. I am not sure I think beyond them just going in and doing their job, but I can’t believe they are not affected.
The Orlando Modern Quilt Guild is posting blocks and quilts they have received. There are a great variety of really interesting designs. The guild also posted a lot of information about the efforts in the minutes of their July meeting. I was pleased to hear they already have 48 finished quilts and 600 blocks. their process for distributing received blocks is genius. The information also gives readers an idea of how you can still help.
Kathy M, quilt writer for ChicagoNow, writes about and shows the process of making her Pulse Quilt. I love the design.
I worked on a donation food quilt over the weekend. I decided, though it wasn’t a conscious decision, that I would try and use up the rest of my food fabrics and put that chapter behind me. Three food quilts is enough.
I think I also did it because I have been longing to provide another donation top and back to BAMQG.
Thus, I worked on the donation food quilt over the weekend. By Sunday night, I had a top, a back and a Frankenbatting.
I sewed it in kind of an Improv manner, but it is structured improv. I tried to use the pieces that I had and not do too much fiddly piecing.
Food Donation Quilt back
I may have enough pieces for another version when I get the Food Quilt #3 back. I think the back is large enough to provide at least a base for another donation quilt.
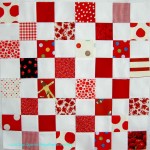
I now have 12 red blocks, which I thought was the end of what I needed to make a top. I actually need at least 16, so I still have some sewing to do before I can make a top. That means I also have to cut more red squares as I am getting bored of the ones I have.
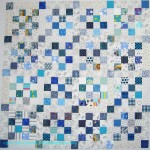
I have a few blue blocks, which I really like. They are cheerful. I have been tossing them into my BAM bag, but I may keep them and make a top from them as well. We’ll see.
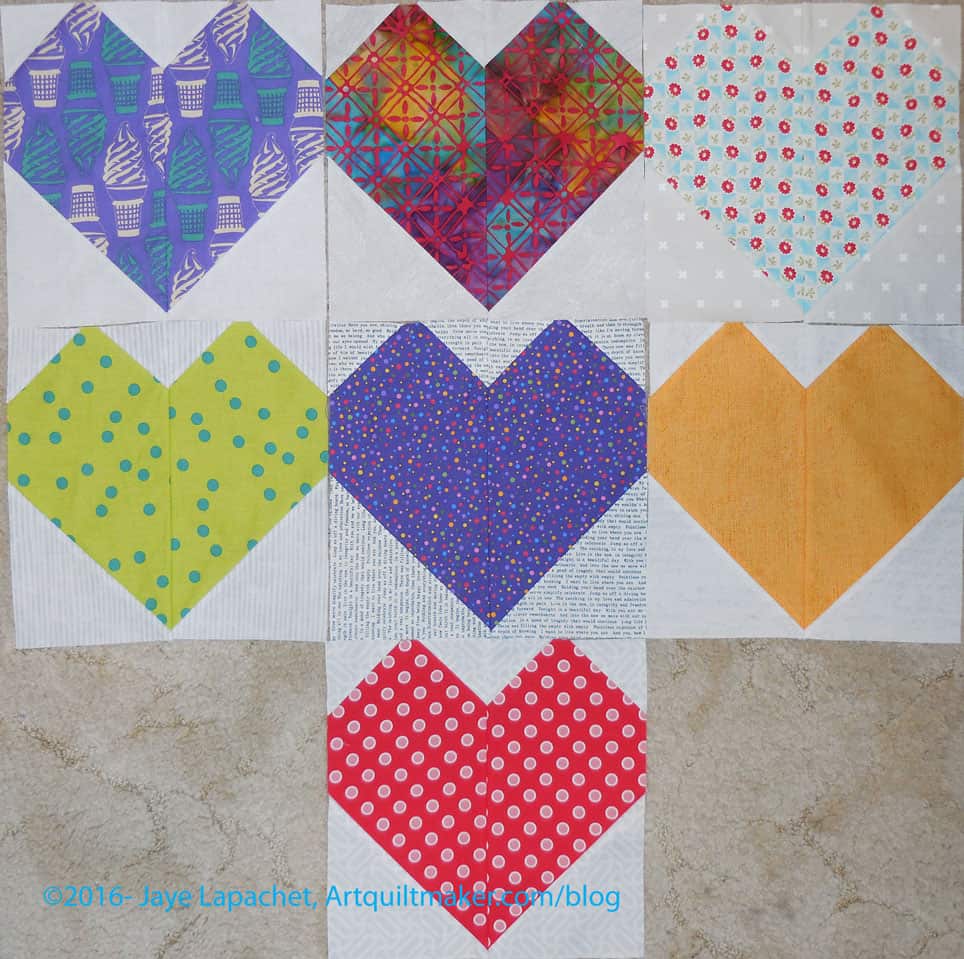
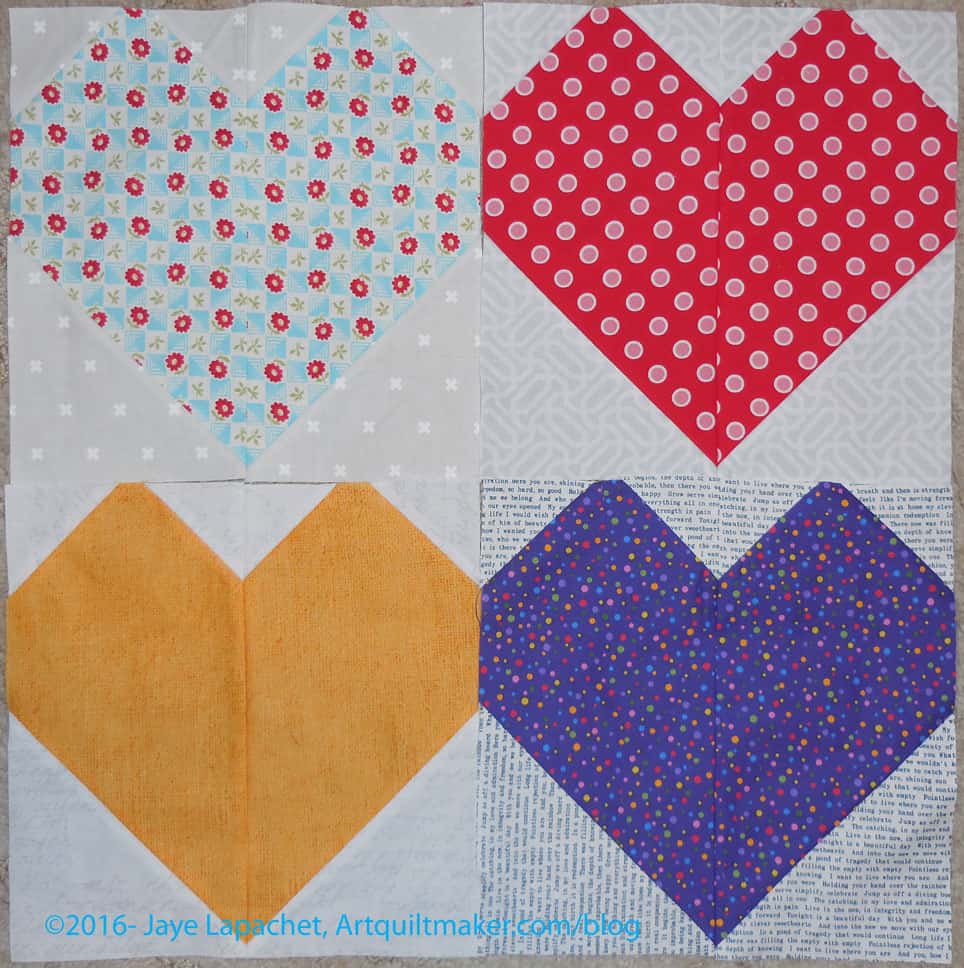
Thursday and Friday, in between everything else, I worked on Heart Blocks. They are being made en mass to help the Orlando Modern Quilt Guild make quilts for the victims and families of those massacred in Orlando last week.
Orlando Heart Blocks – first batch
I am trying to use my best fabrics and make them as cheerful as possible. I also started out with the orange and went to the purple, thinking that blocks in these colors might be in short supply. I could make the whole rainbow range, as I saw someone else do on IG, but I don’t know that I want to do that. I hope to make some more orange ones, regardless. We’ll see what happens.
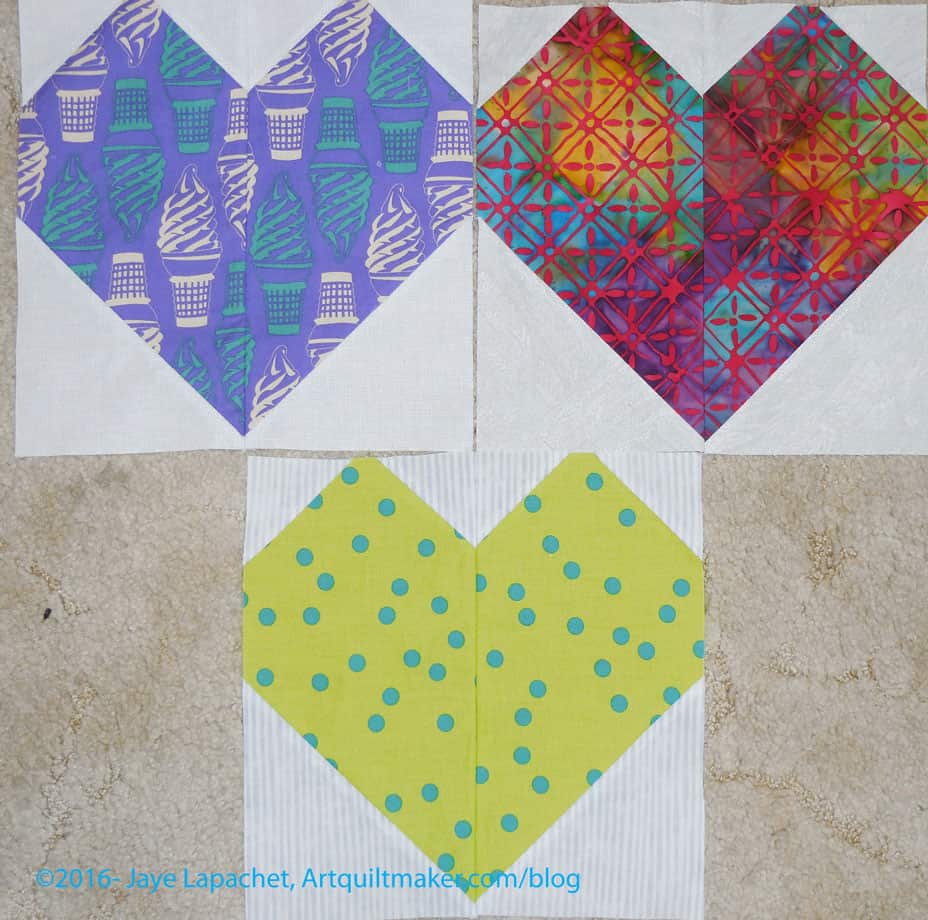
Second set of heart blocks
I found it easier to cut a bunch of backgrounds and foregrounds and sew them all at once, though I didn’t do that every time. The four blocks above are the first 4 I made and the 3 in the second photo are the ones I made Friday and finished on Saturday morning before the meeting.
I was pretty excited about the purple soft serve fabric. I really hope that fabric will make someone smile and will bring back good memories of the Boardwalk or the Fair. It made me smile.
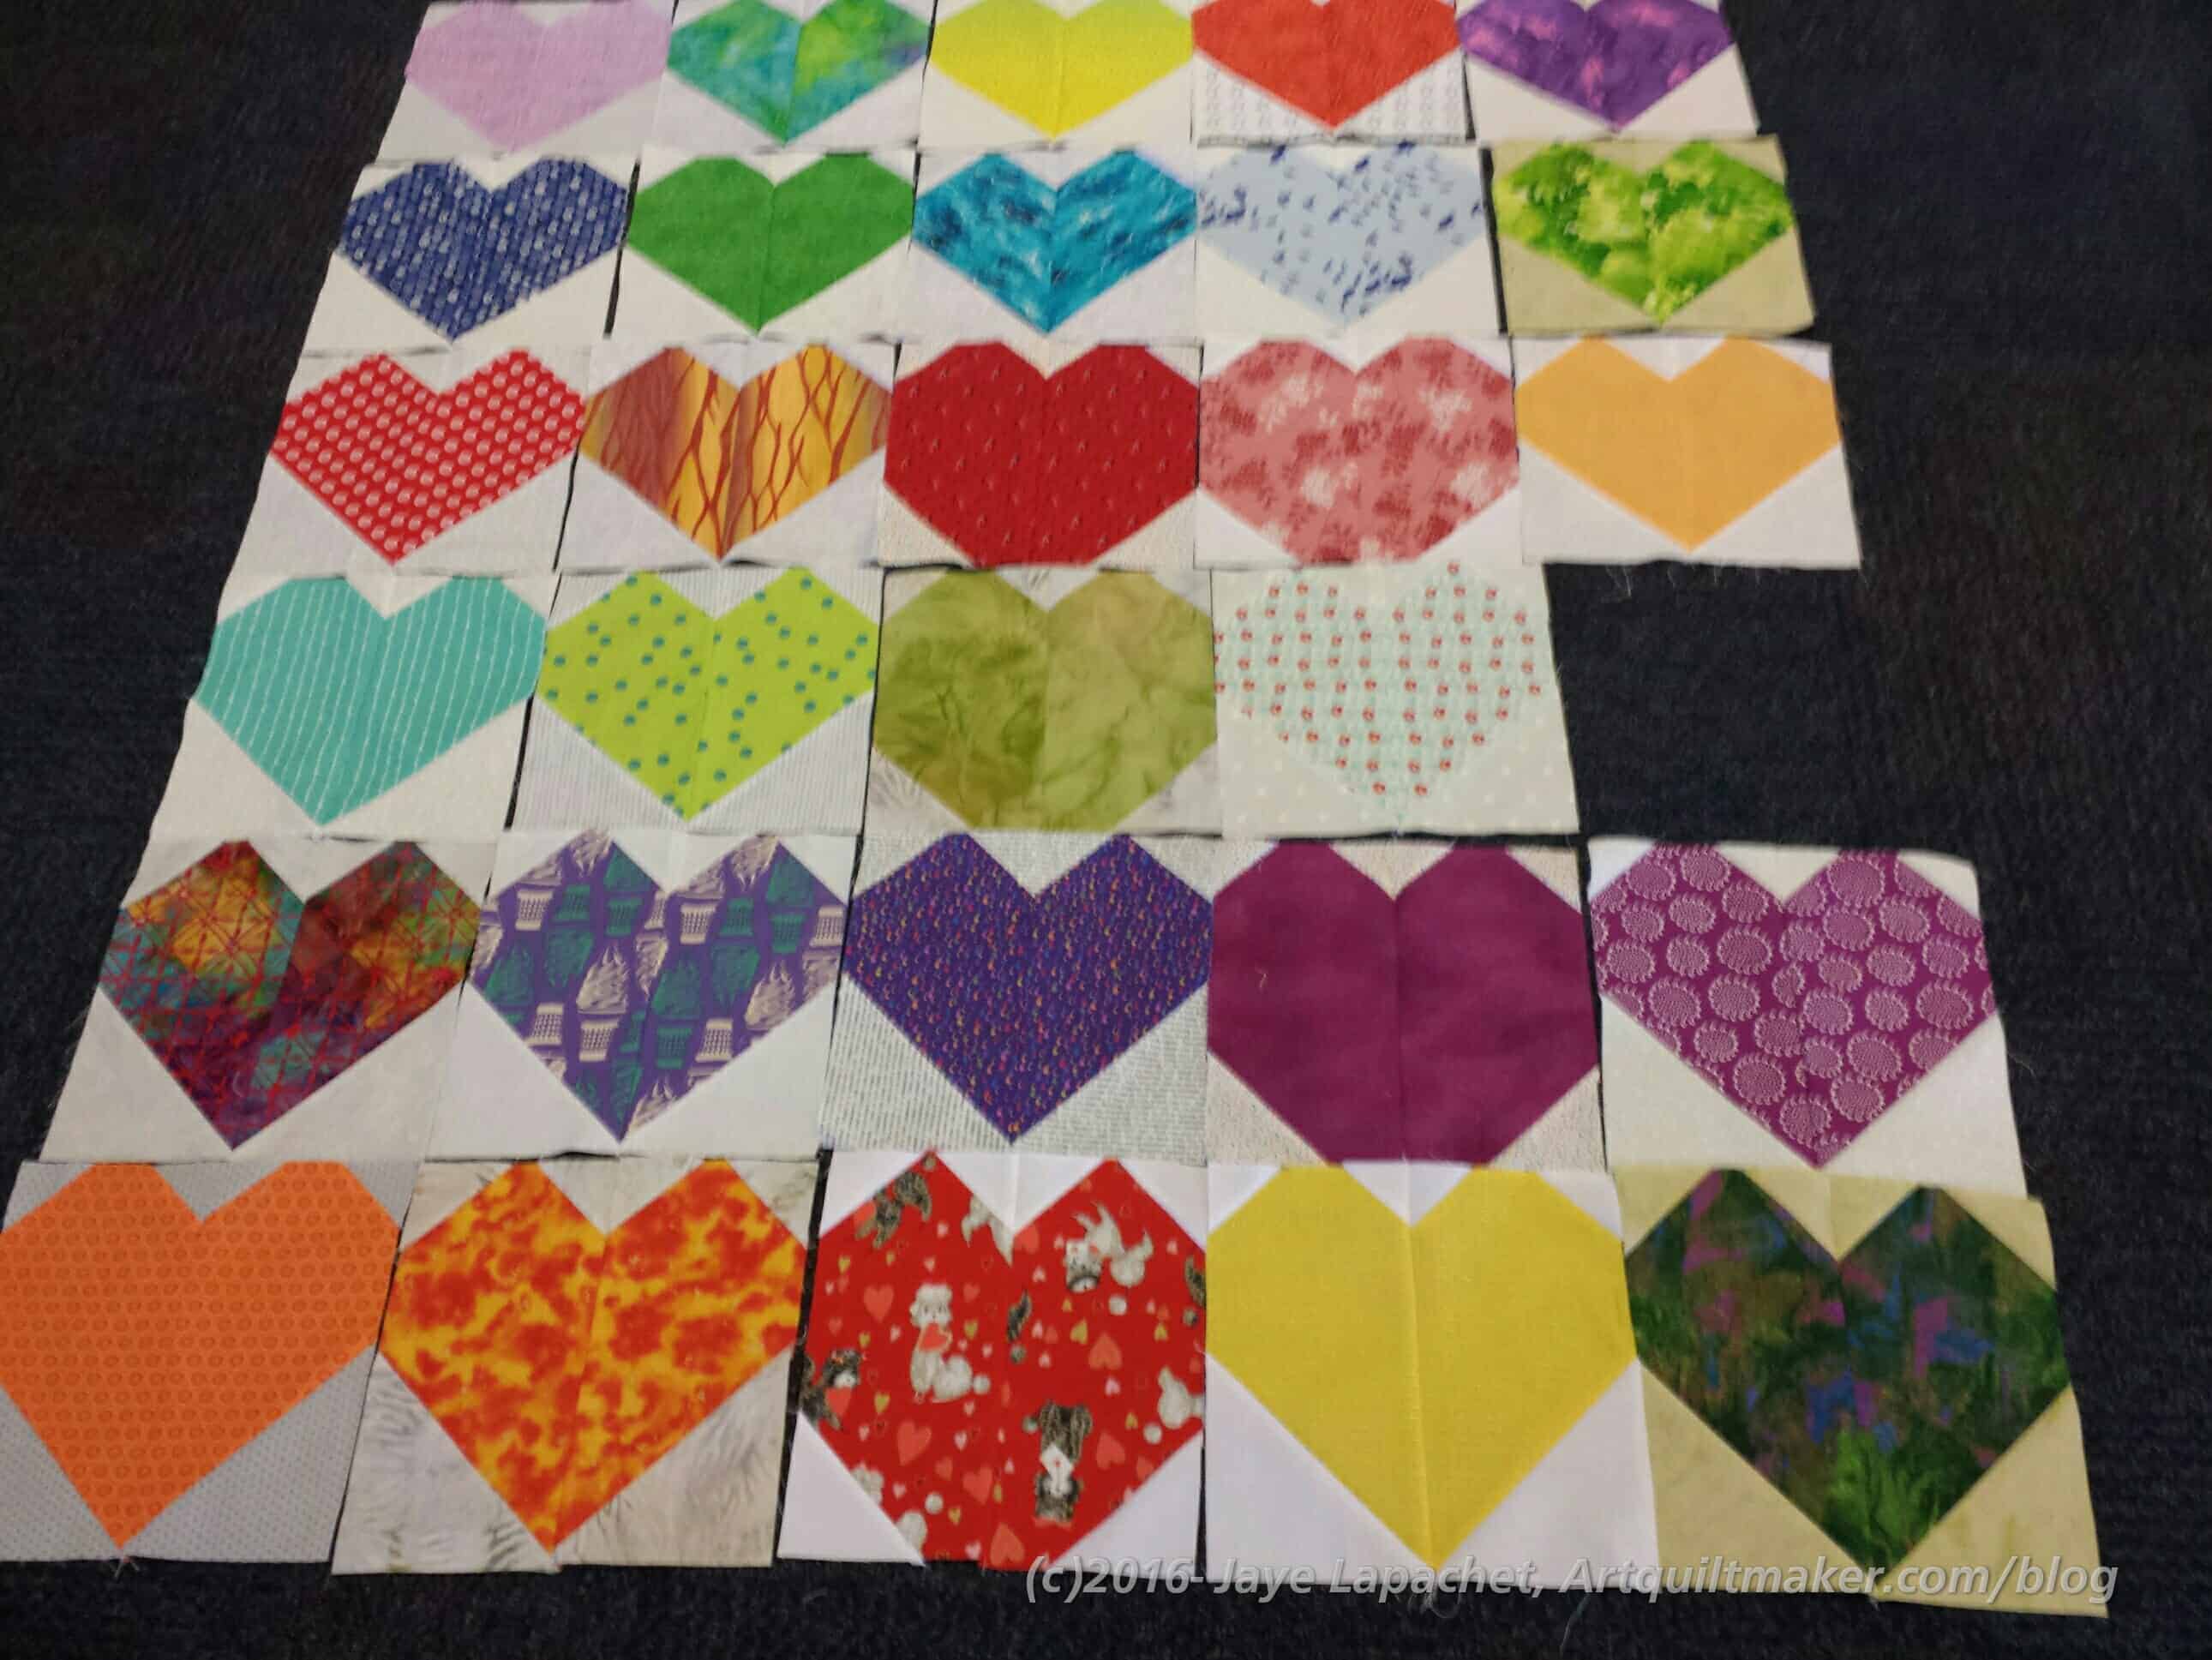
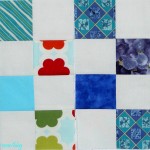
BAM Hearts for Orlando blocks
On Saturday I attended the BAM meeting. After the meeting, which was GREAT, BTW, a number of us stayed and made blocks for Hearts for Orlando quilts. We made 41 blocks, which is enough for 1 1/4 quilts. You can see that there are some differences in the blocks. There were some differences in cutting so I looked up the pattern and found that I was cutting the small background squares, used for the top, wrong. 🙁 Those small background squares are supposed to be 2″ not 2.5″. We kept all of the different types of hearts. It will add interest to the quilt. I wasn’t the only one who made a mistake and everyone was really generous.
Valerie, a Twitter pal, made enough heart blocks for a whole quilt.
Contribute and Make Your Own
All I can think about is that this could have happened to one of my family or friends or work colleagues. None of us are immune. In true quiltmaker fashion the Orlando Modern Quilt Guild has started a block and quilt drive to create quilts for the victims and families of the slain. They are collecting quilts and blocks.
Overview:
Pattern: Cluck Cluck Sew Hearts
Size: 10?x 10?
Colors: varying rainbow of prints with low volume background
Send quilt to Orlando MQG (check blog for address)
Send money, blocks and quilts to: Alissa Lapinsky c/o A List Hair Salon, 106 South Woodland Blvd, Suite B, DeLand, FL 32720
Timeframe: Quilts by August 15; blocks by July 15
Send this form with your submission.
The idea is to make heart blocks in bright, rainbow colors to represent everyone affected (including YOU), and obviously represent the love we are sending them. Use the tutorial from Cluck Cluck Sew to make 10? blocks in rainbow of bright colors, with a low volume background. The quilts should be no smaller than 5 blocks wide and 6 blocks long (30 blocks). You’re more than welcome to make them larger, they’d like to keep them at the very least lap sized.
A lot of questions were brought up in the comments on the original Orlando MQG post. This is a big project and they are working through the details as those details come up. Be patient. Most of the answers have been posted a few days ago, including what you can send (quilts, blocks, batting, money, binding strips, etc). Also keep an eye on that blog for more information. I am sure your patience will be appreciated.
Contact Julie at the Intrepid Thread for more options. If you have any other questions, please email alissalapinsky [at] gmail [dot] com. She is the president of the Orlando MQG and coordinating this effort.
Do something! Help in some small way- whatever works for you. Even $1 will help buy batting and pay for postage.
In between sewing the top and back of FOTY 2015 together, I made a few more donation blocks. Not a lot, but my pile of reds is growing and the other random colored blocks are going straight into the back to to take to the next BAMQG meeting.
As soon as I make enough of the red, I will make a specific top and back from those. I might use the Cutting Corners ruler again and I might now. We’ll see.
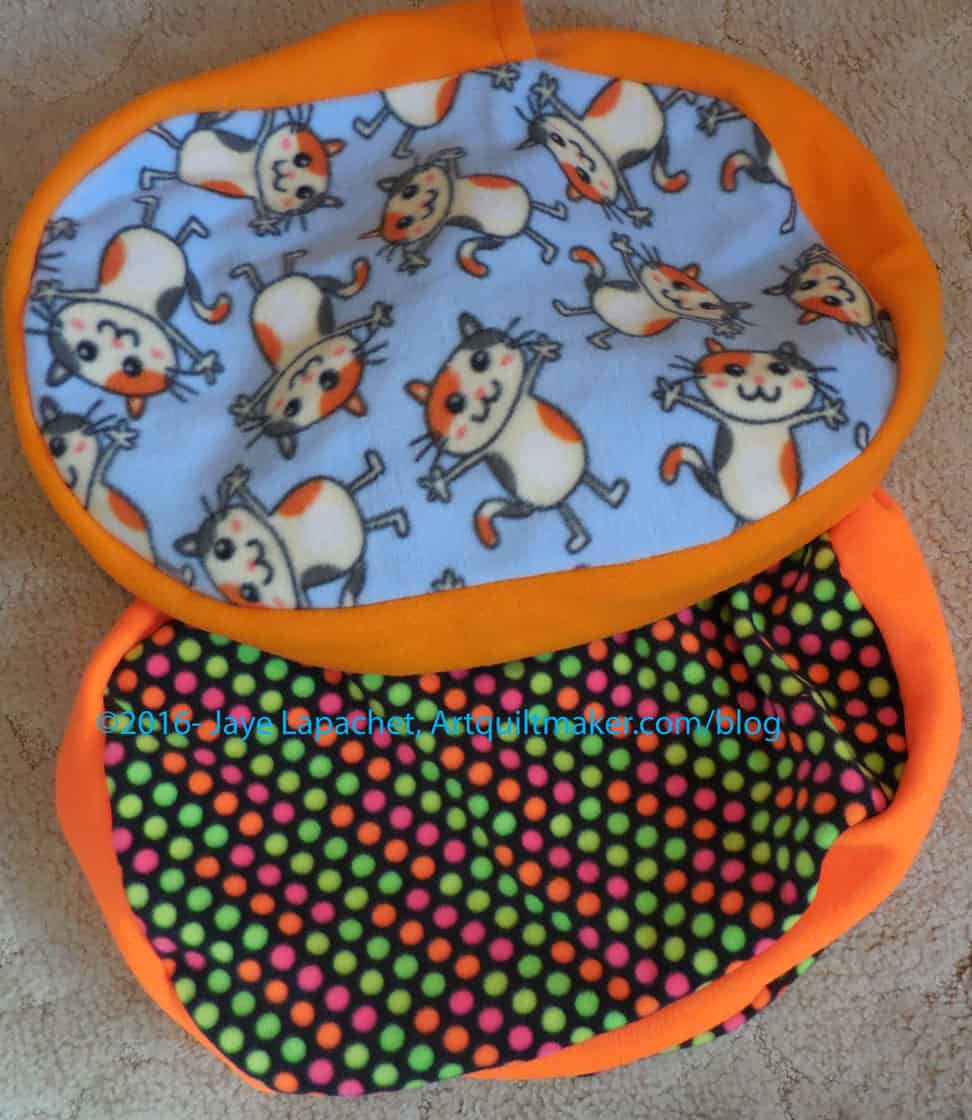
I have had some cat bed fabric waiting to be sewn since the BAMQG April meeting. I finally did it over the weekend, mostly to get the fabric out of my way. My horizontal surfaces are looking kind of full right at the moment.
I didn’t really realize how cute the top fabric was until I laid them down to take a picture. Don’t those cats look happy?
I get to count these as finishes, but I don’t get credit for the fabric since Amanda gave it to me. Oh well.
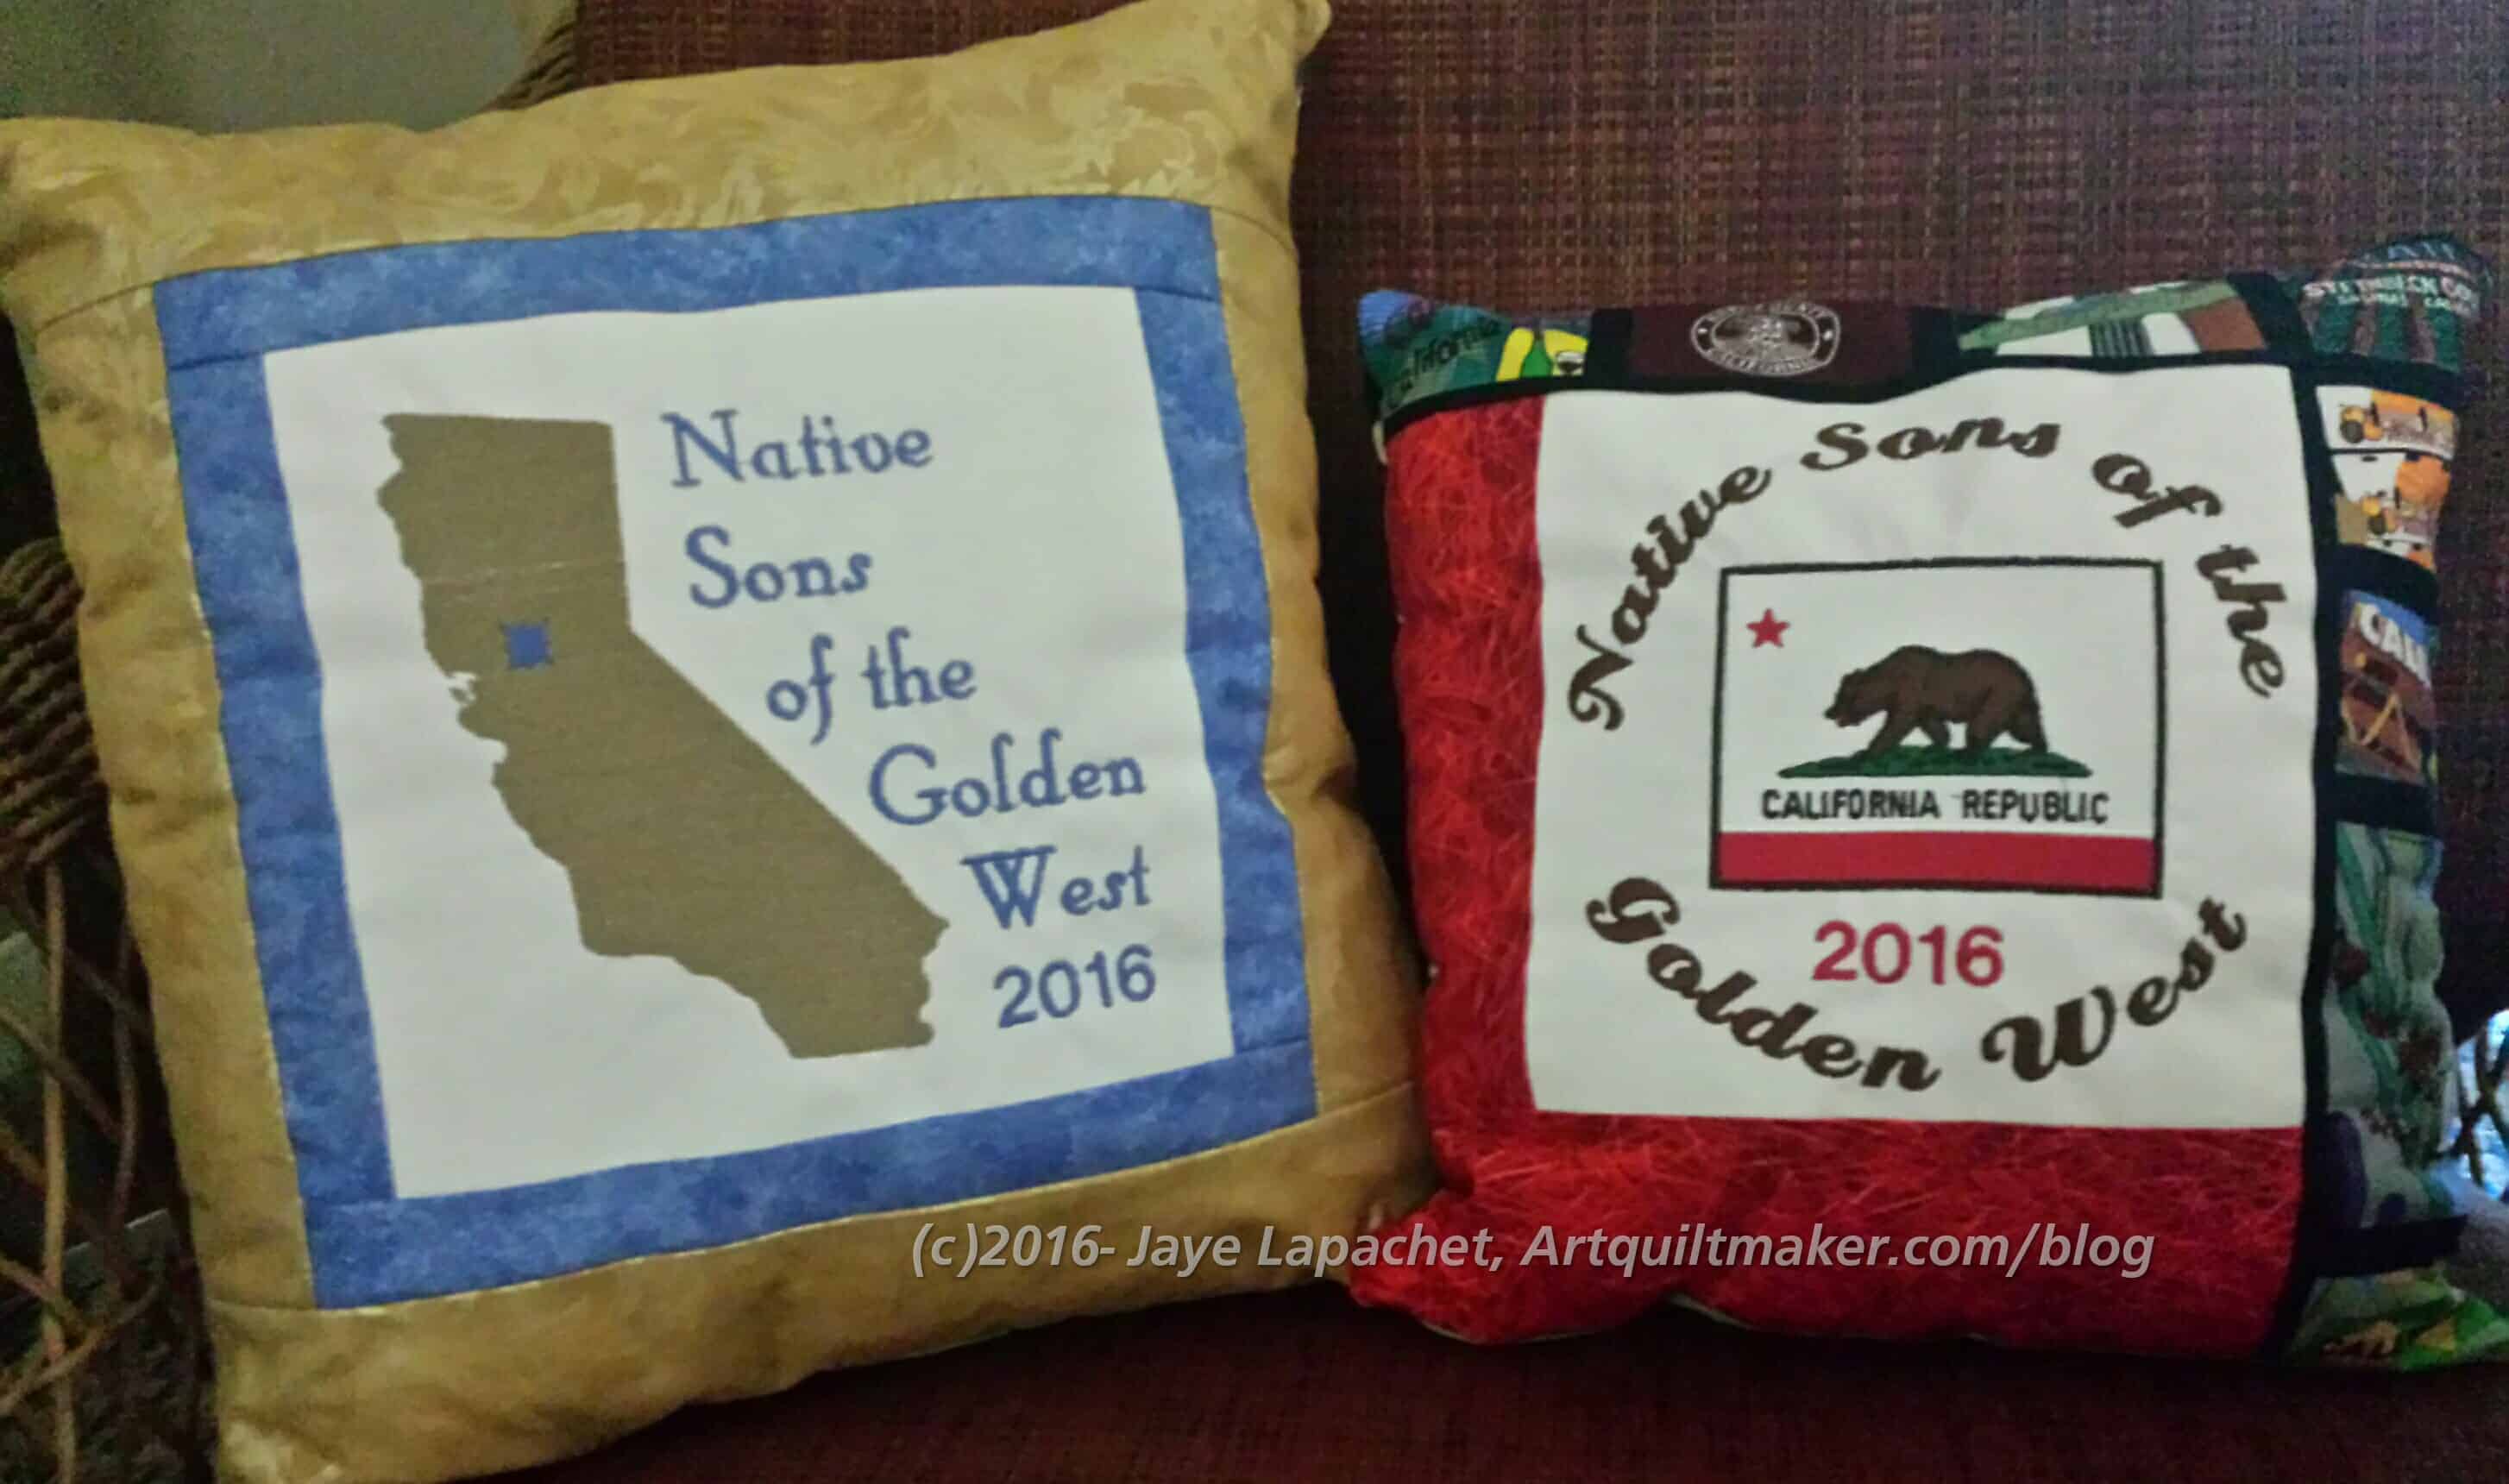
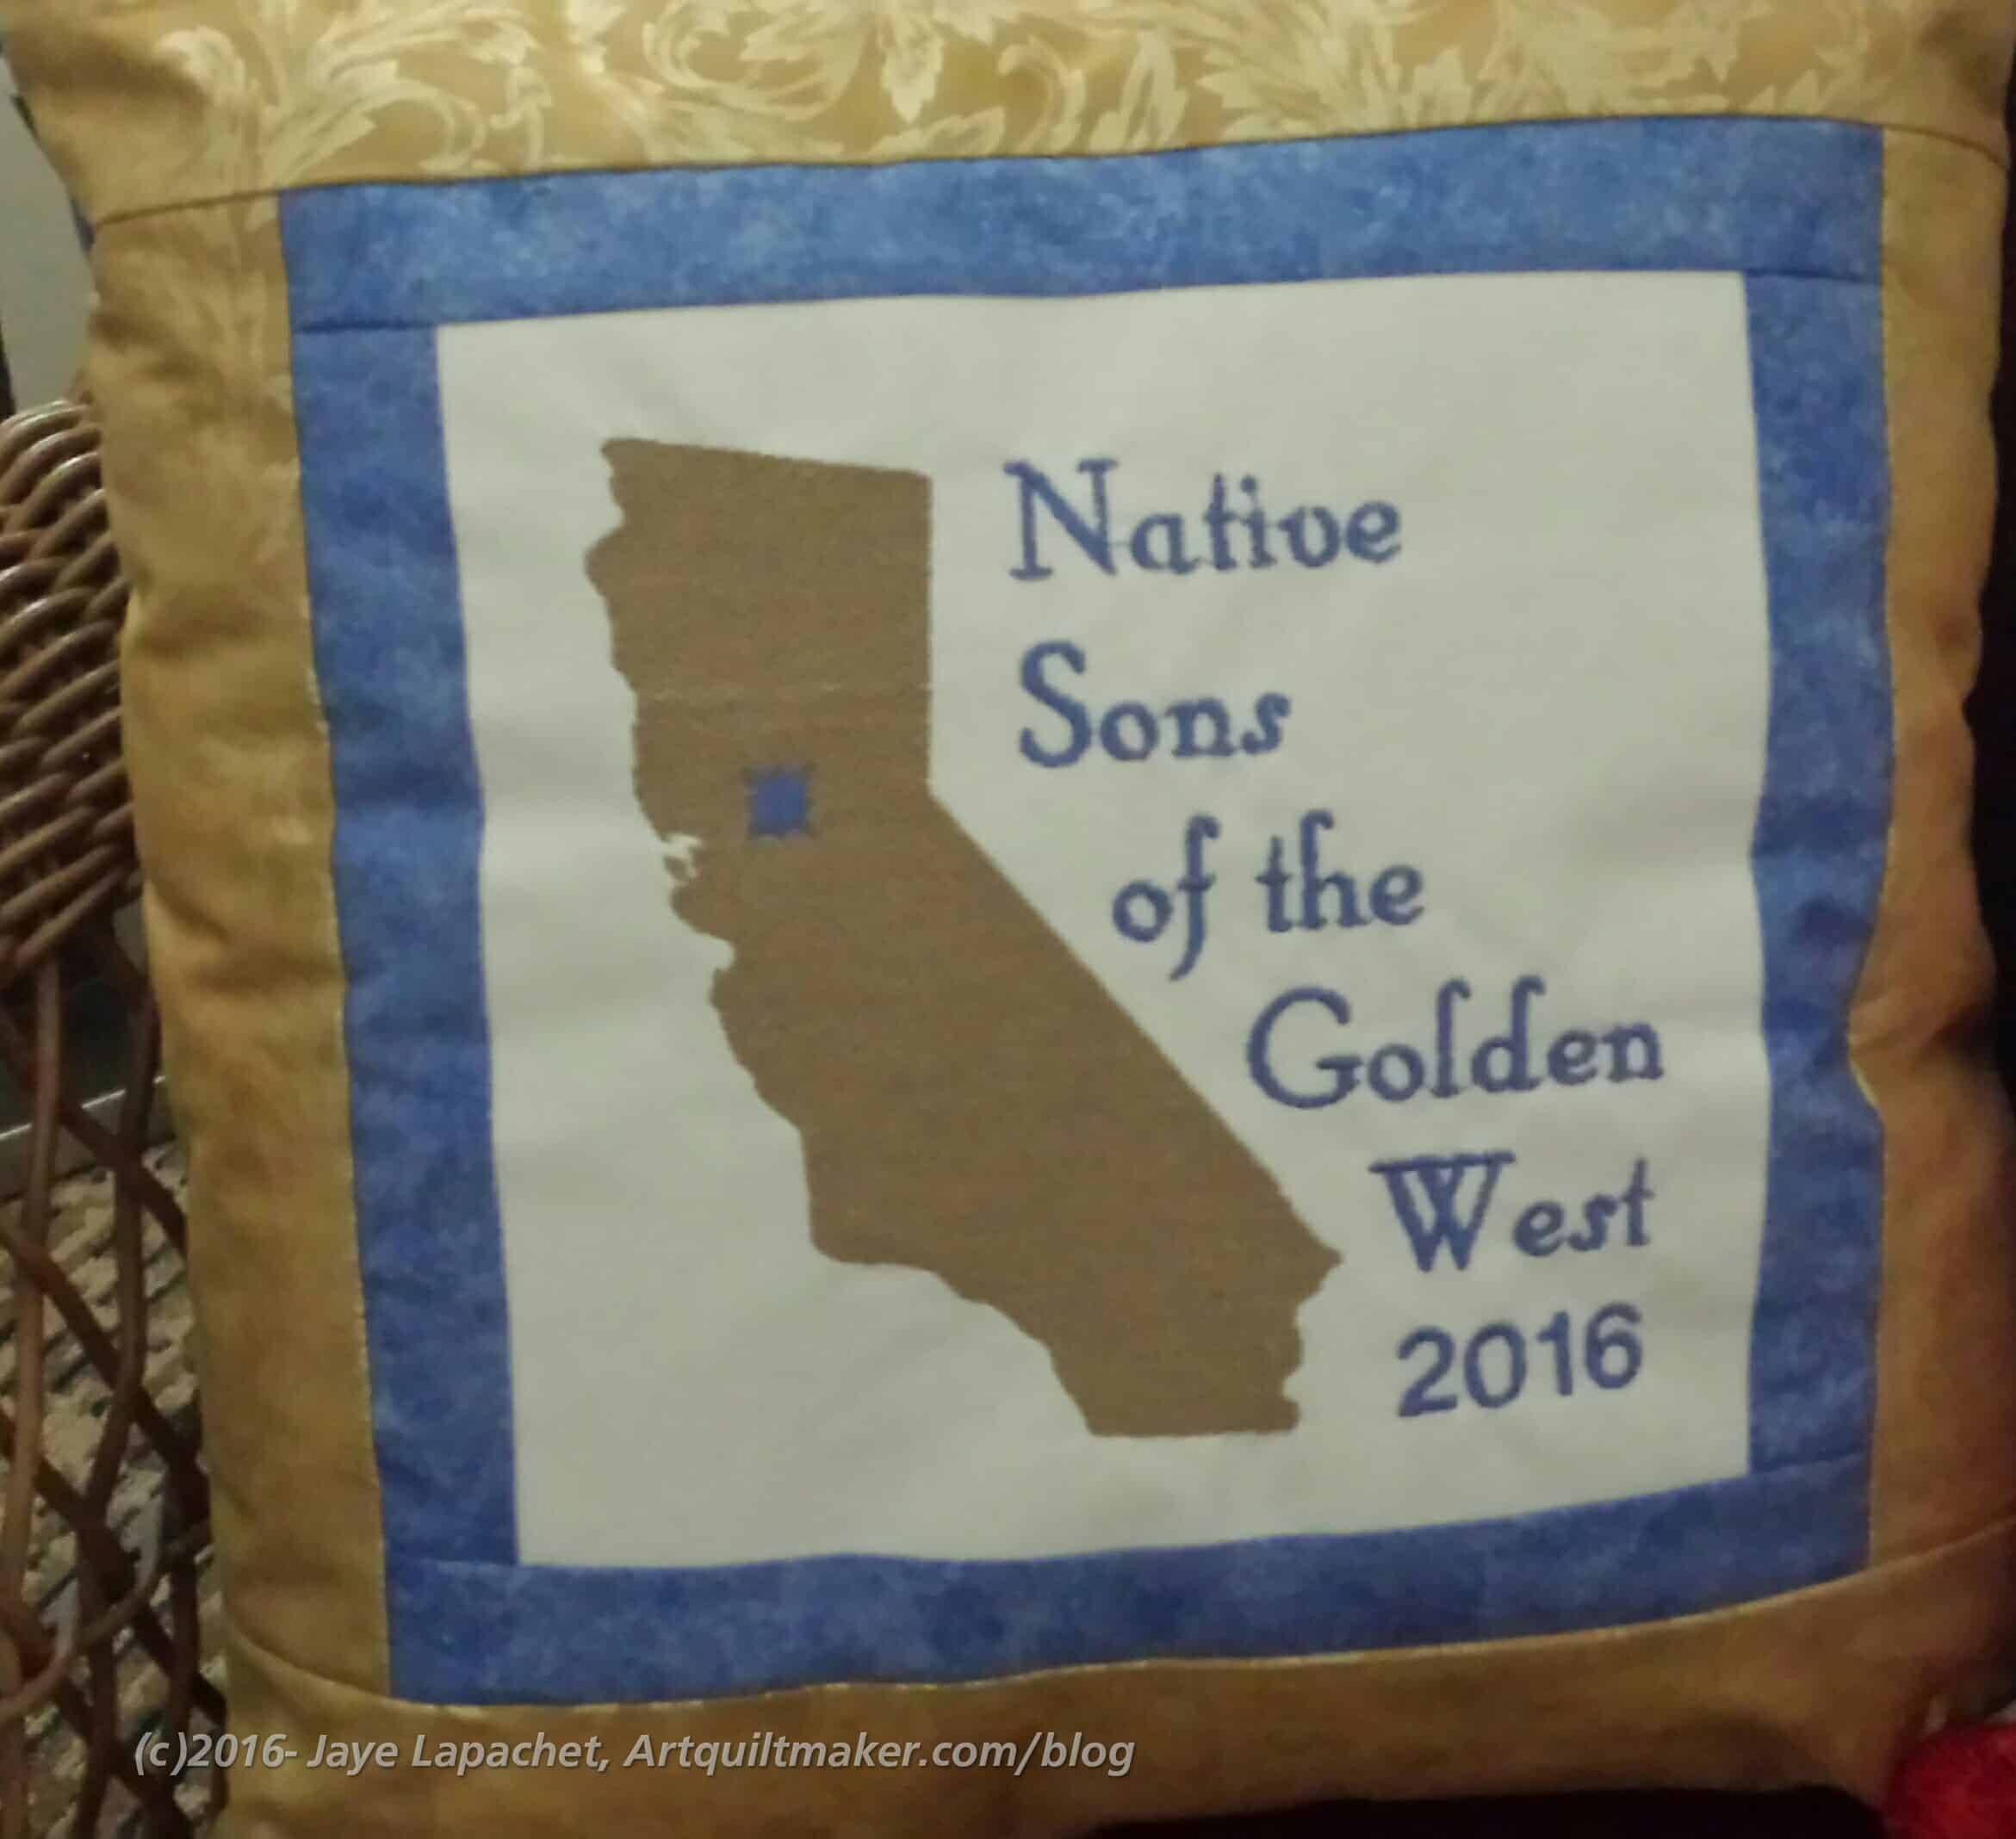
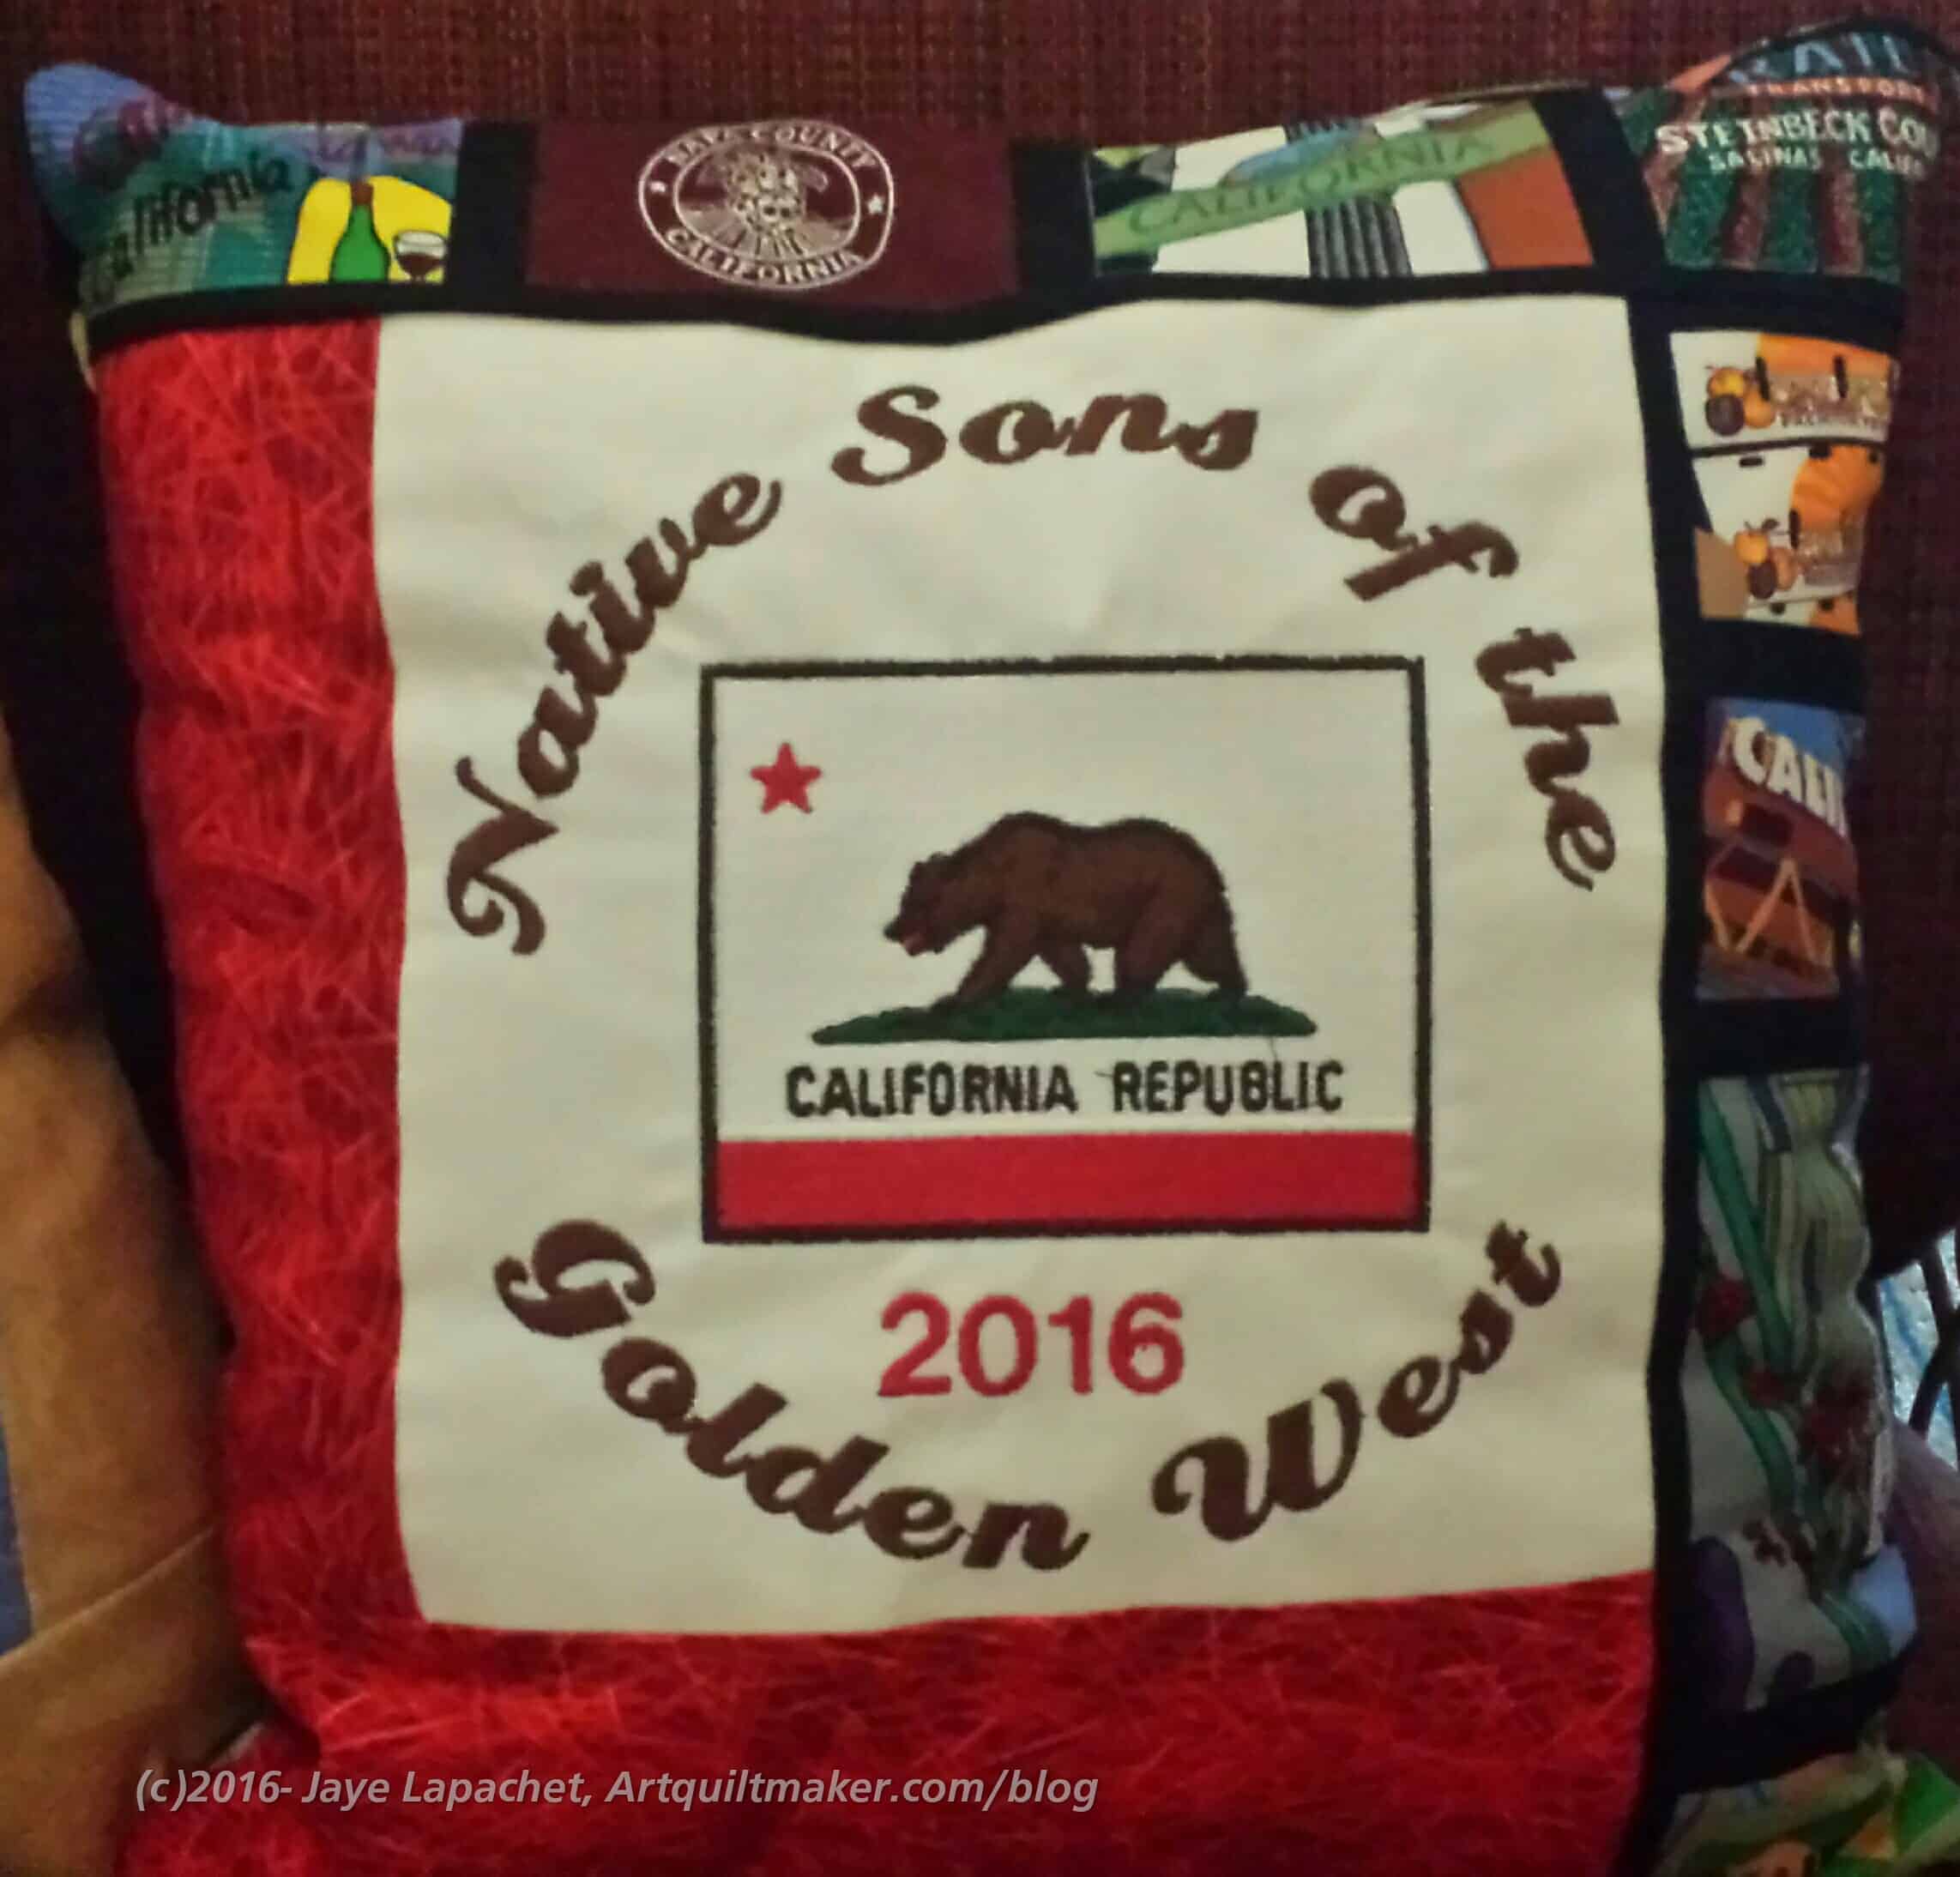
We skipped last year, but are back in the saddle this year with more pillows.
NSGW 2016 Grand Parlor Fancy Pillow
I have to admit that SIL2 did most of the work. I did a little cutting, supplied some fabric, then, was out of time. I had so much to do to get ready for Grand Parlor. I couldn’t get this done. SIL2 stepped in and did the rest. The pillow above looks REALLY elegant. The gold fabric isn’t too showy. It will go well in a really decorated living room.
NSGW 2016 Grand Parlor California Fabric Pillow
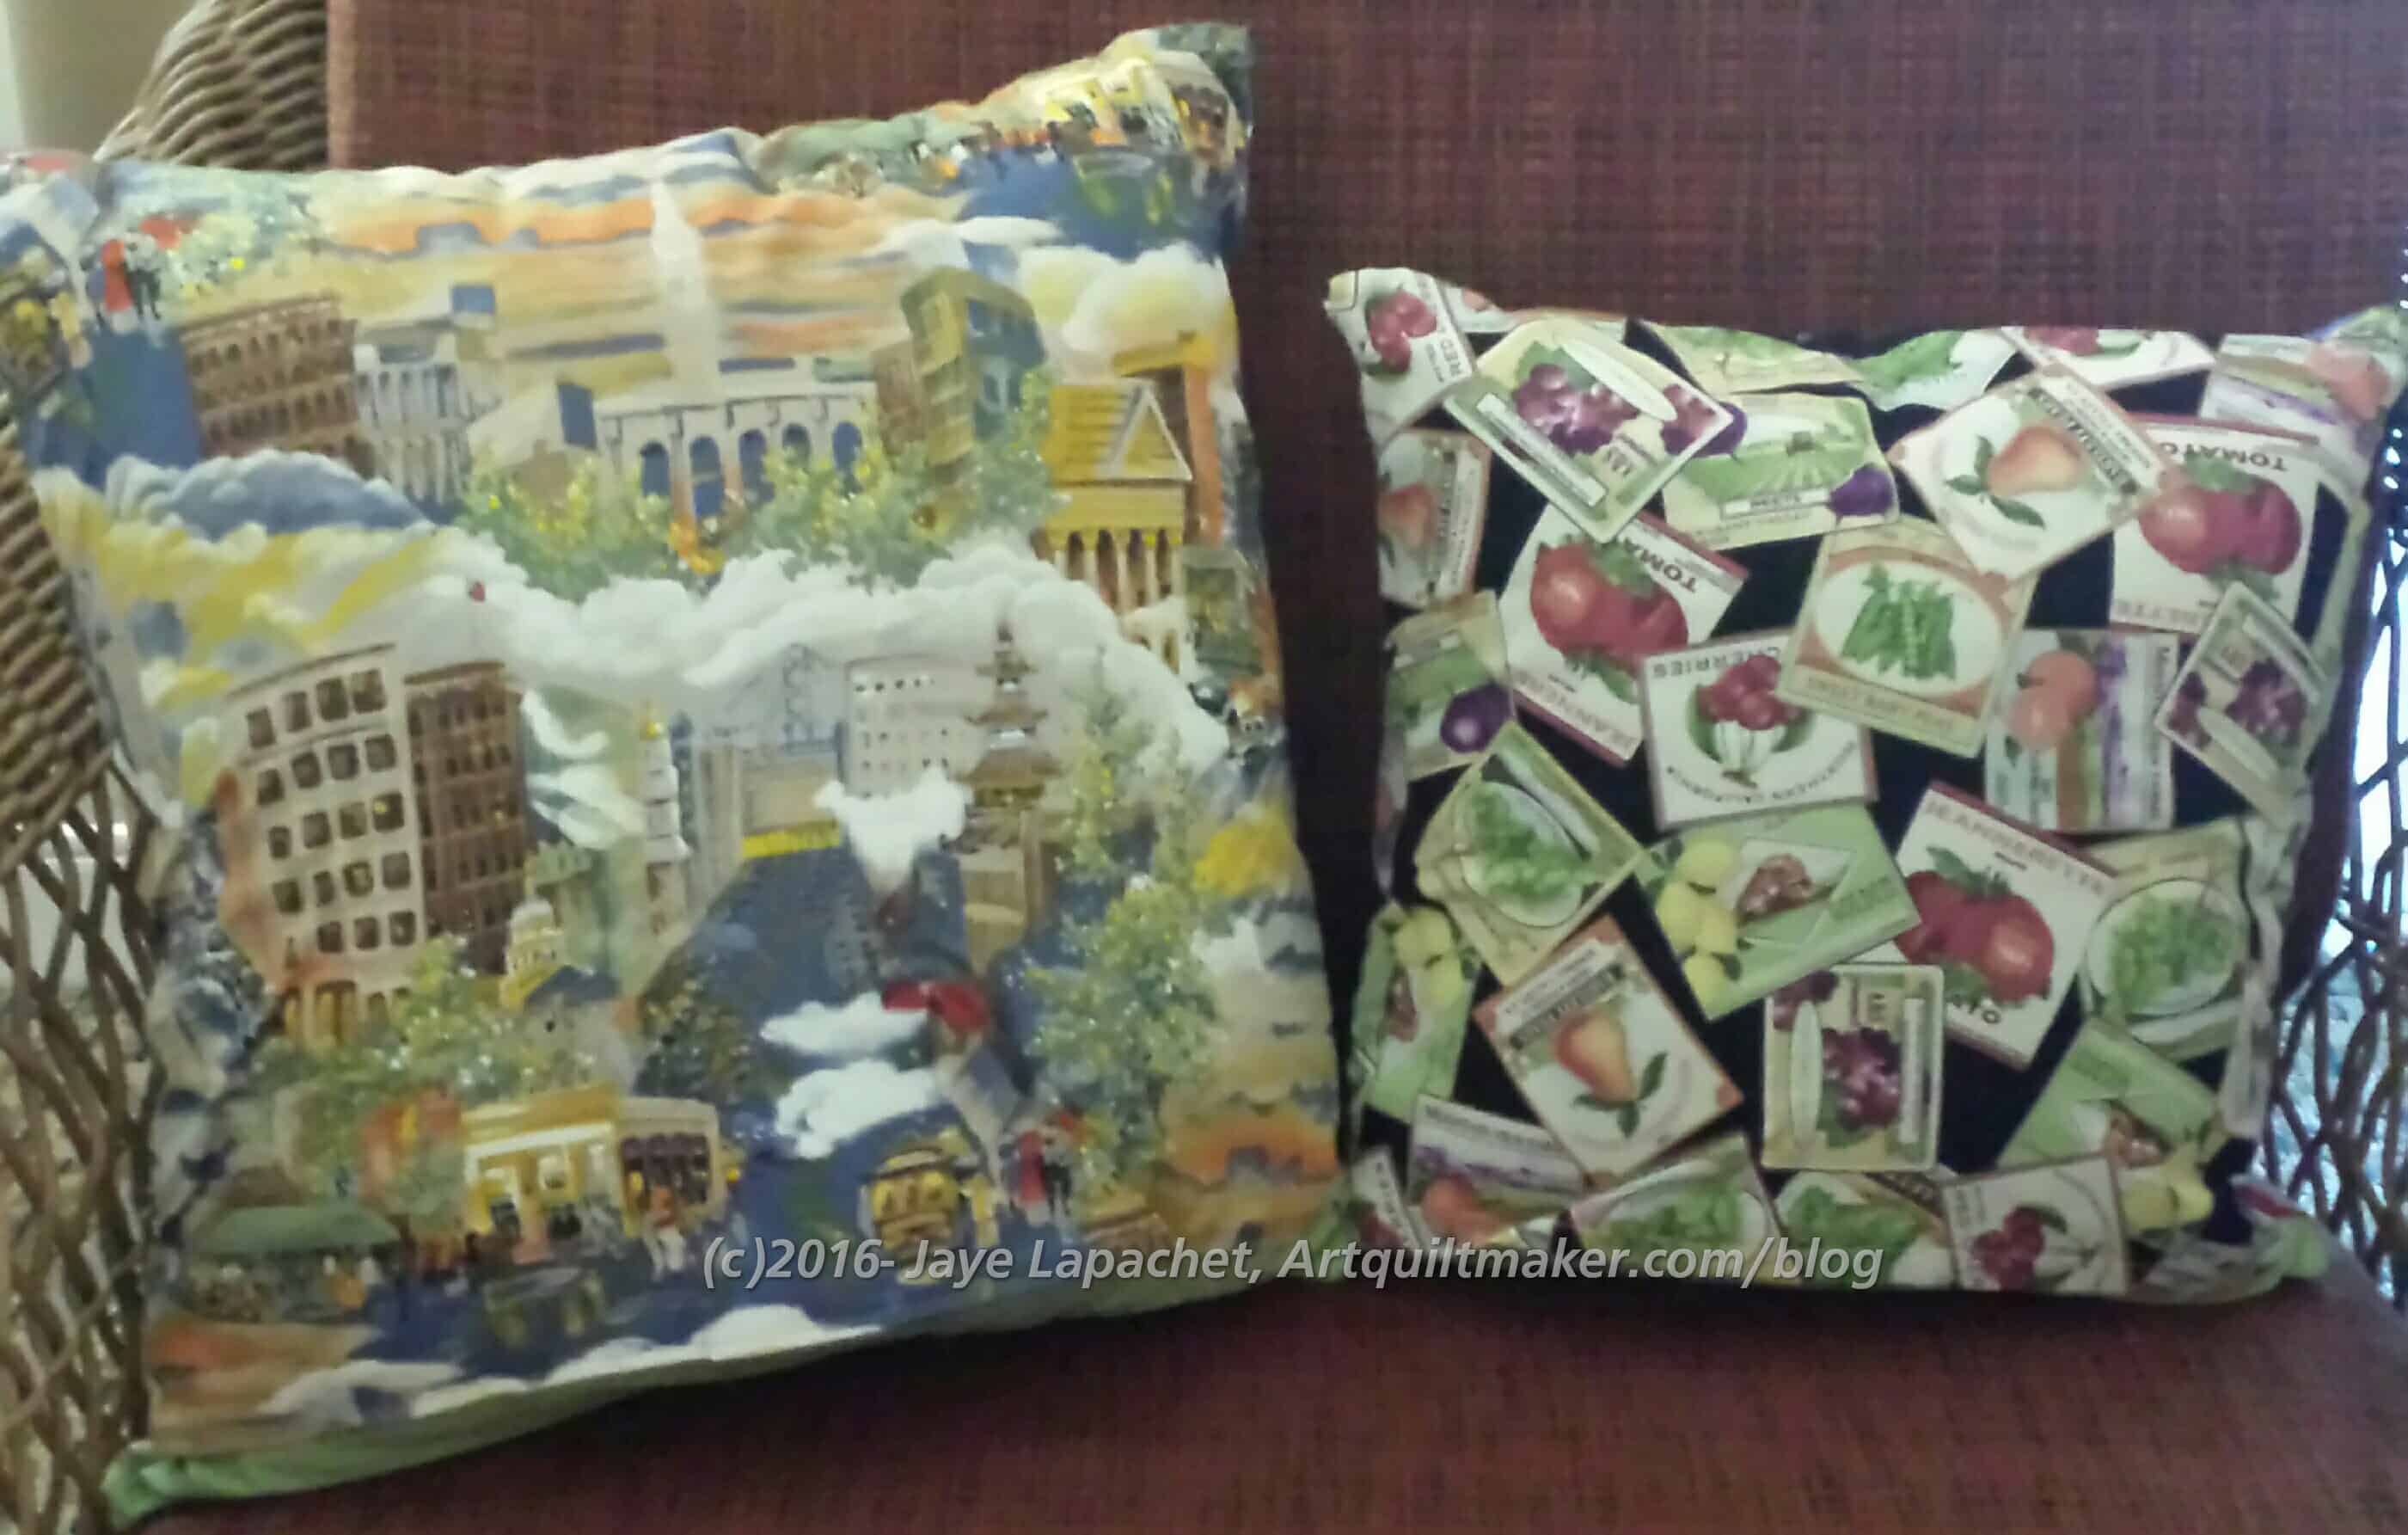
This year we decided to put years on them so they would be more special — limited editions. We used leftover fabric from the shirts we made for DH and BIL3.
NSGW Grand Parlor 2016 Pillows – backs
As in previous years, these pillows will be raffled off to raise money to support kids needing surgery for craniofacial anomalies. You can make a donation to the Cleft Palate Foundation directly (tax deductible) without being at Grand Parlor. Sorry, no pillows for a straight donation.
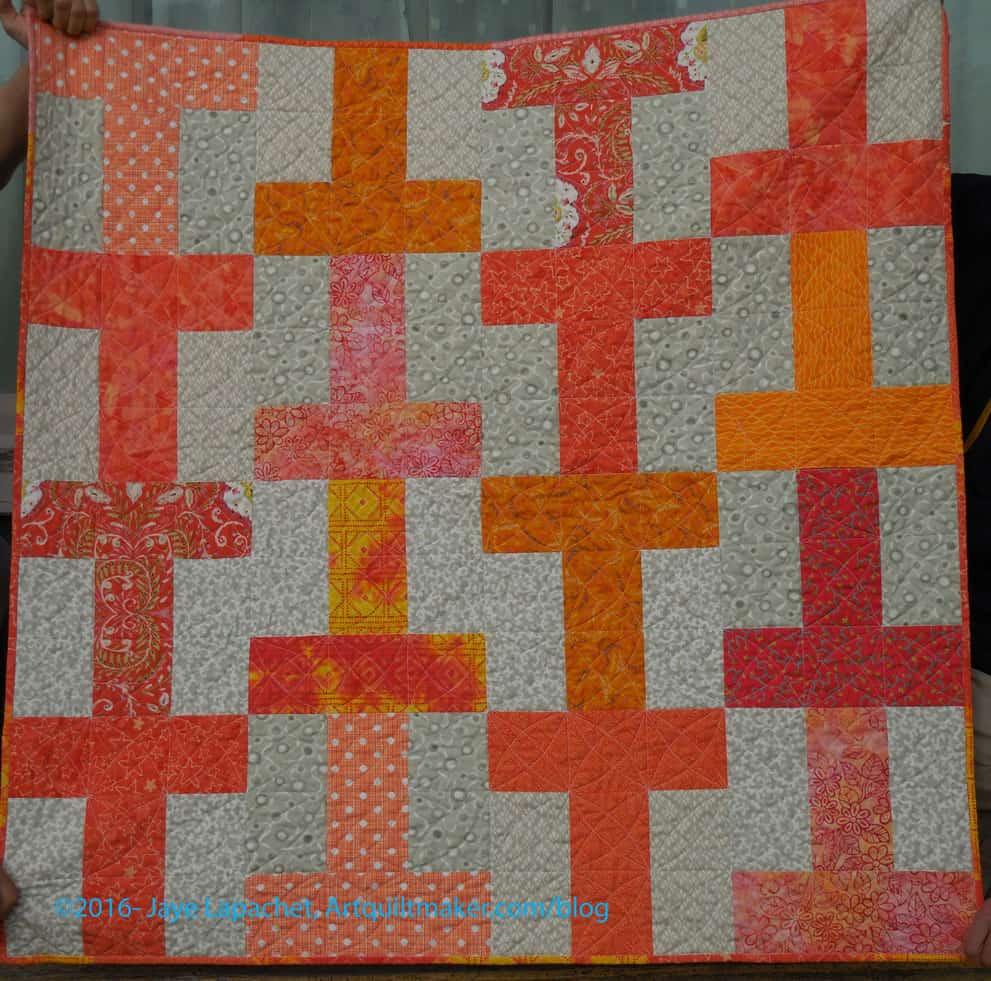
This is the quilt that Gerre and I worked on at her house a few months ago.
She finished it and brought it to Sew Day. I couldn’t believe that she finished quilting it so quickly! I was thrilled. Not just that it was finished, but also that we had another donation quilt to help give someone some comfort.
The oranges worked out really well and while we are working on the circle quilt, I am excited to cut for another T quilt. I am thinking of digging into those green bins and thinning out some of those fabrics. I also saw my nephew’s Wonky 9 Patch quilt over the weekend and think that blue would look great with the orange Ts as well.
I finally made it to a Sew Day at the new BAMQG location.
Gerre emailed me while I was in Portland and asked if I was going. I thought ‘why not?’ and Gerre was willing to sew with me again. Even though the YM is home and lounging around, he is old enough to be alone and didn’t want to come with. Why would he? He would be bored.
It was fantastic! I was thrilled to be there and thrilled to be sewing. Gerre brought the Orange T quilt and it is finished. I have to take some photos and then I will post a finished photo.
Simply Moderne
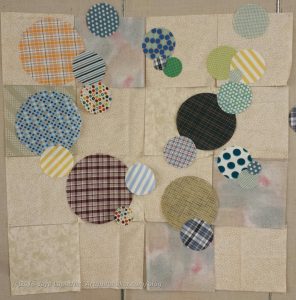
We had a great time sewing and chatting and working on our quilt. We had decided to work on a circle quilt as a donation quilt. We got the inspiration from Simply Moderne magazine. I was attracted by the cover and bought an older issue at QuiltCon.
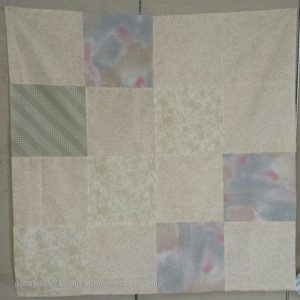
Pushed Neutral Background
We started out by cutting the background pieces in the Pushed Neutral technique I learned from Mary Mashuta 1,000 years ago.
I brought the neutrals and Gerre brought the foreground fabrics, though we didn’t know it would end up that way.
We had talked about using greens, so I brought my green bins along with my beige and brown bin (which thankfully is almost empty). We pulled out the last of my light and tolerable beiges and cut them into 10″ squares and put this together as a background.
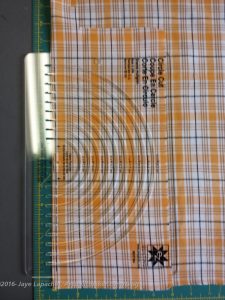
Circle cutting ruler in use!
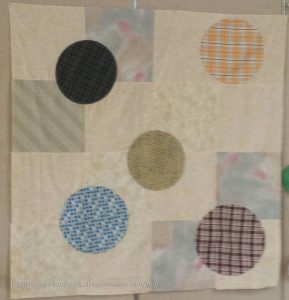
Gerre then showed me some plaids she had and we decided to use the plaids instead of greens and make a boy quilt. We cut circles using both the Go cutter than Pati brought (with her circle template!) and my newish circle cutting ruler.
I wielded the circle ruler while Gerre took over the Accuquilt Go! I only had my normal 45mm rotary cutter and I think it would have worked better with a smaller cutter. I only have one of those and it was at home, so I did the best I could. I may need a new blade after cutting the circles.
We decided not to have a lot of large circles, because the size of our quilt was smaller than the example we saw in the magazine and we didn’t want the entire surface to be covered.
Circles on background
After putting the background together we laid out the circles on the background. I didn’t take a picture of that stage so you have to be satisfied with the photo on the right.
We decided we had to do the quilt in layers so that we could sew around a whole circle and not have to stop and start.
We didn’t bring fusible so we glued the first layer of circles down on the background, pressed it and then Gerre sewed.
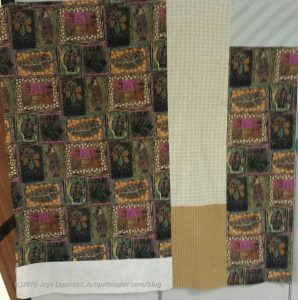
Circle donation quilt back
While she sewed, I worked on the pieced background.
The fish and leaf fabric is OLD! The selvedge says “Sykel Enterprises 1993.” I don’t even know if Sykel exists anymore. It is certainly no Moda or Kaufman. I am sure TFQ could tell me where I bought it. 😉
It was in the brown bin and good for a boy quilt. I also had about a yard, which was a great start. It was in two pieces, so I added the strip in the middle. We also cut off a strip so we could see about applique’ing some of the motifs somewhere on the quilt. The center plaids are a couple Gerre brought.
First layer circles sewed
We were able to sew the first layer down. These were the largest circles.
We don’t intend to necessarily go from largest to smallest, but we wanted to start with the largest.
So far, it doesn’t look like much, but the next layer (no photo) looks better.
As mentioned in yesterday’s FOTY post, I need leaders and enders. Donation patches inevitably end up doing the job. I made a bunch and have an idea for a red and white donation quilt. I don’t have all the details in my head yet, but I am working on blocks using red fabrics to go with the plain whites.
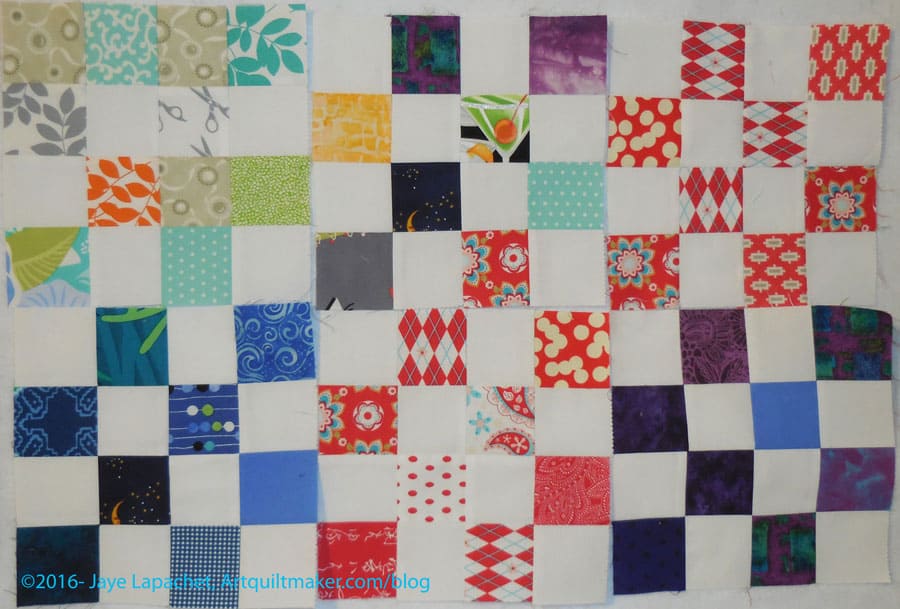
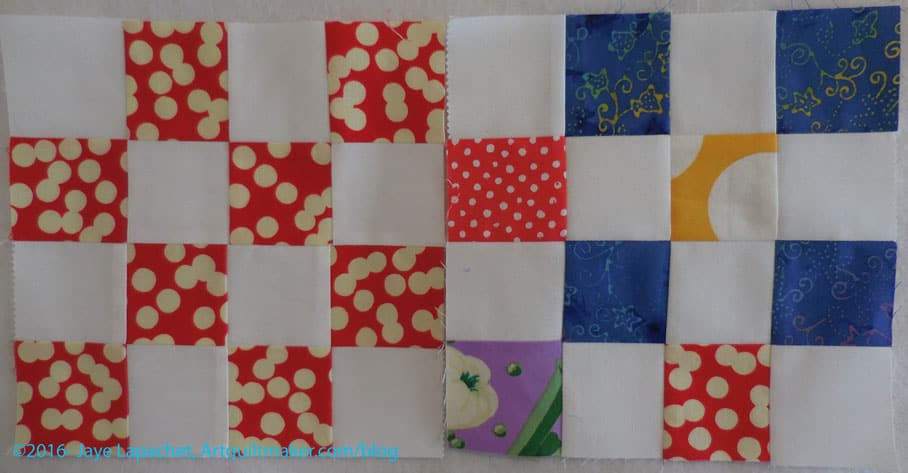
Donation Blocks – April 2016
I don’t have an unlimited selection of red 2.5″ squares cut, so I am also making donation blocks using other colors. I will donate those blocks to the Charity Girls and they can do something with them unless I have enough blue and green blocks and enough time to make a second donation top. We will see.
It was fun to make the donation blocks. I am playing with the arrangement of colors and different fabrics. The recipients may not know but I have fun and I hope the quilt absorbs my joy.
The layout of FOTY 2015 is satisfying in some ways – it is great to see the piece emerge from a pile of patches. It is not satisfying in that no piecing gets done. I am trying to take Mark Lipinski‘s Slow Stitching to heart and enjoy the layout process.
Donation blocks – late April 2016
I am only sort of successful. I want to see blocks emerge from scraps of fabric! In between moving patches around FOTY 2015, I sewed more donation blocks.
As you can see I am sort of making monochromatic blocks. Of course, to say monochromatic is a big stretch of the imagination, especially for the green on in the upper left hand corner, but I am trying out the idea. I really would like to put together an all red version of a donation quilt. At this point, I don’t have enough red squares, but I can always cut more.
Whether this concept will go anywhere, I don’t know. I am going to keep making blocks and we will see.
I know I must be boring you to tears with these donation blocks. Still I have more.
I think it is interesting to put the fabrics together in different ways. I also like the idea of using a bunch of the same fabrics and then combining those blocks with blocks in the same colors. For example, taking that red and white block, making other red and white blocks and combining them all into a top.
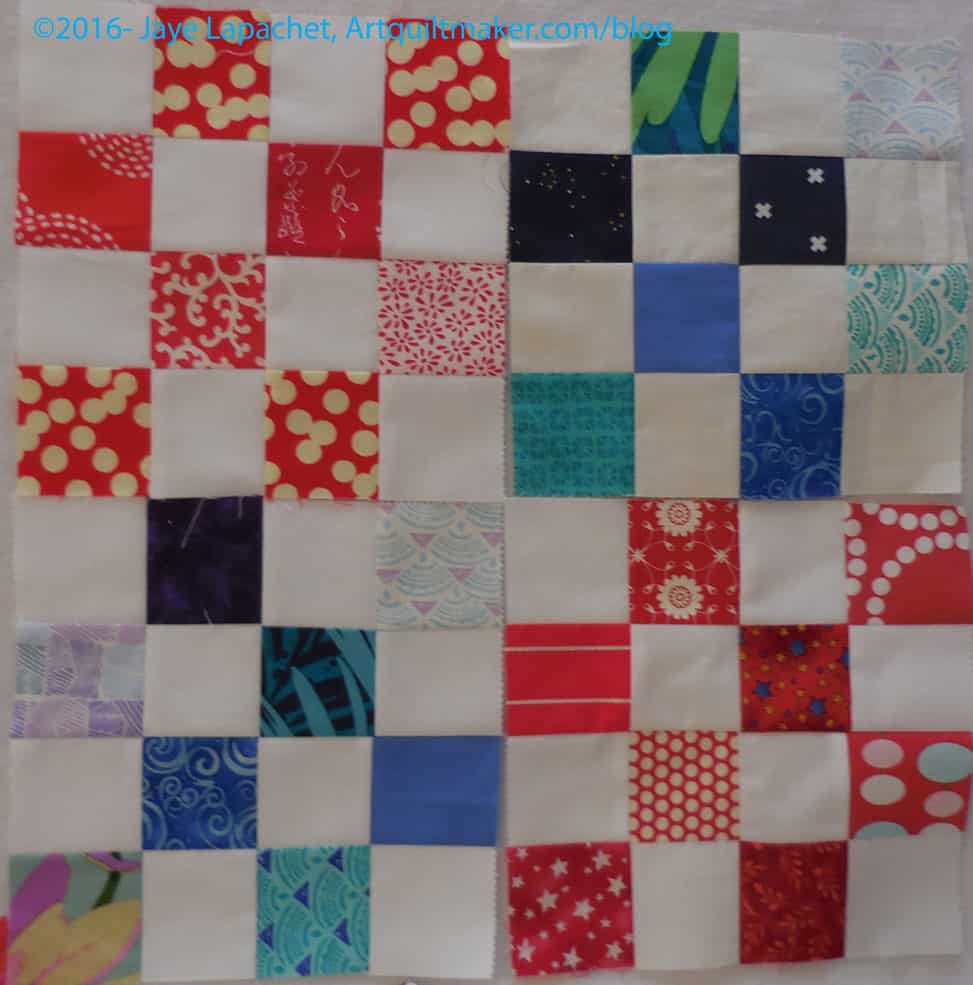
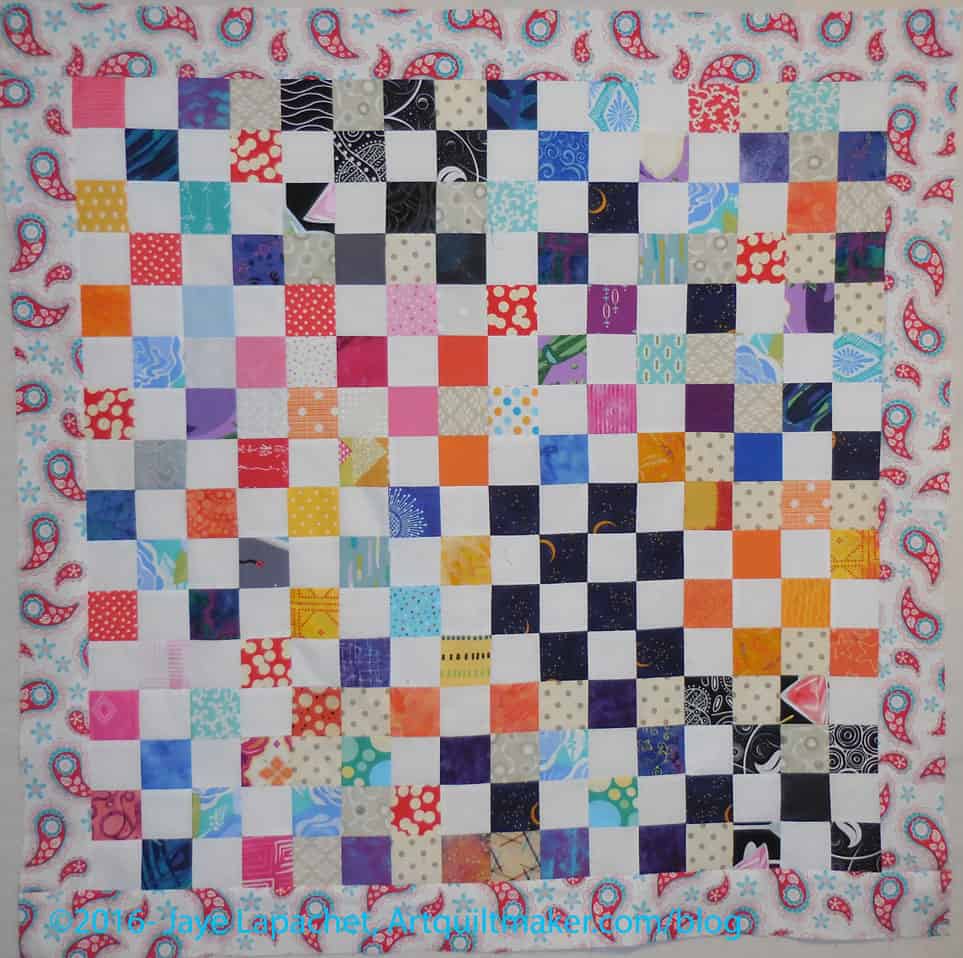
I put the blocks together (as leaders and enders) that I talked about last week into a top. The center is made up from the simple postage stamp/16 patch blocks. As you know I have been working on them for the last few weeks.
The border is from the Sugar & Spice collection from a few years ago by Amanda Herring of the Quilted Fish. I bought that line and even though it was fine fabric in nice colors, I decided it wasn’t really my style. It made a great addition to this quilt, though.
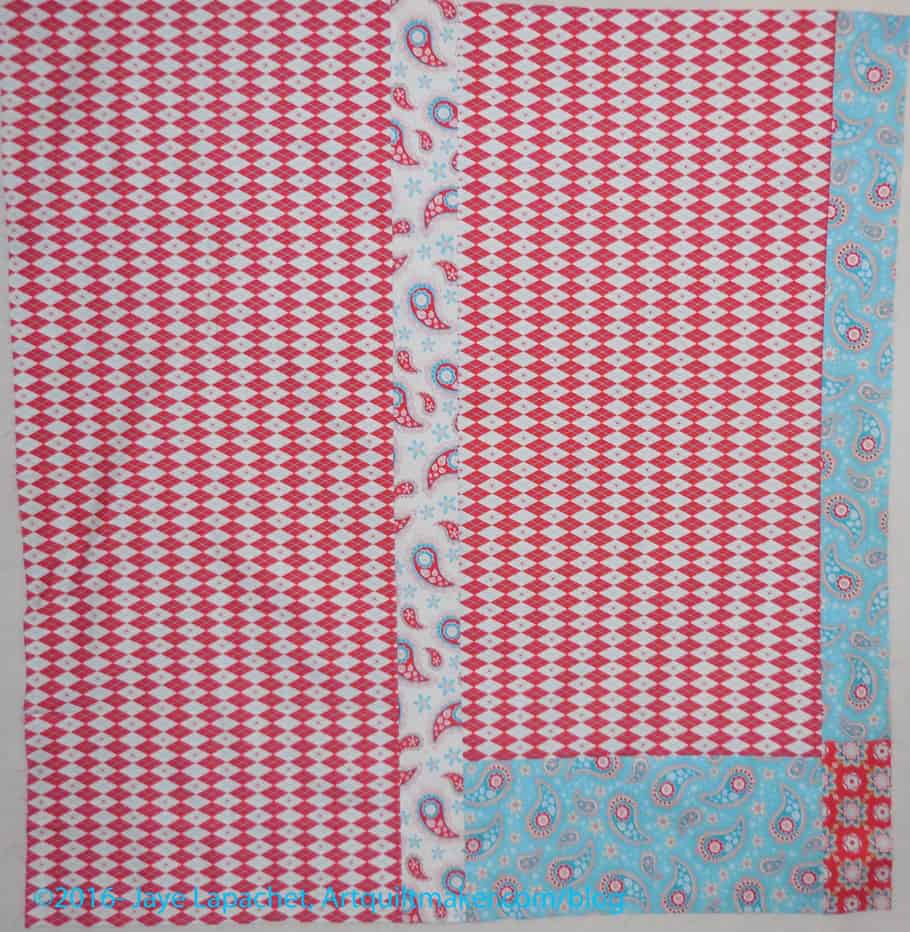
Sugar & Spice back
I saw the group of fabrics in my fabric closet and decided to use the plaid for the back. I needed a bit more to make the back larger, which was when I was inspired to use some of the fabric on the top’s border.
Someone asked in a comment how I select patterns for a donation quilt. This is an interesting question and I am so glad the commentor asked. I never thought of the topic and it is a great one!
The biggest issue to consider for me is what kind of sewing I want to do. I have to judge my mood and my interest level. After that there are a couple of things I think about when selecting a pattern.
First, I have some go-to patterns. I use these patterns over and over. At least I am still using them. Even though I have made several tops using the patterns, I am still interested. One is a 16 patch, which is a basic, easy block that the guild always encourages.
Charity blocks – April 2016
FOTY-made Donation Blocks
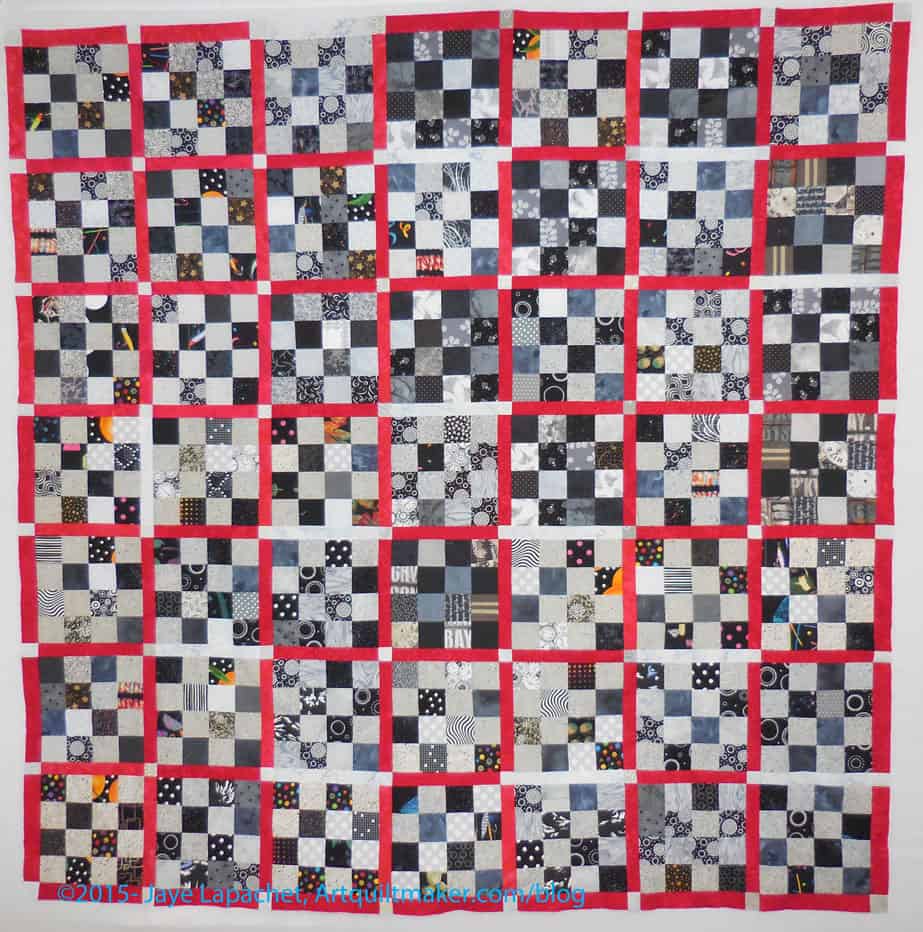
Black & Grey Donation Top Complete
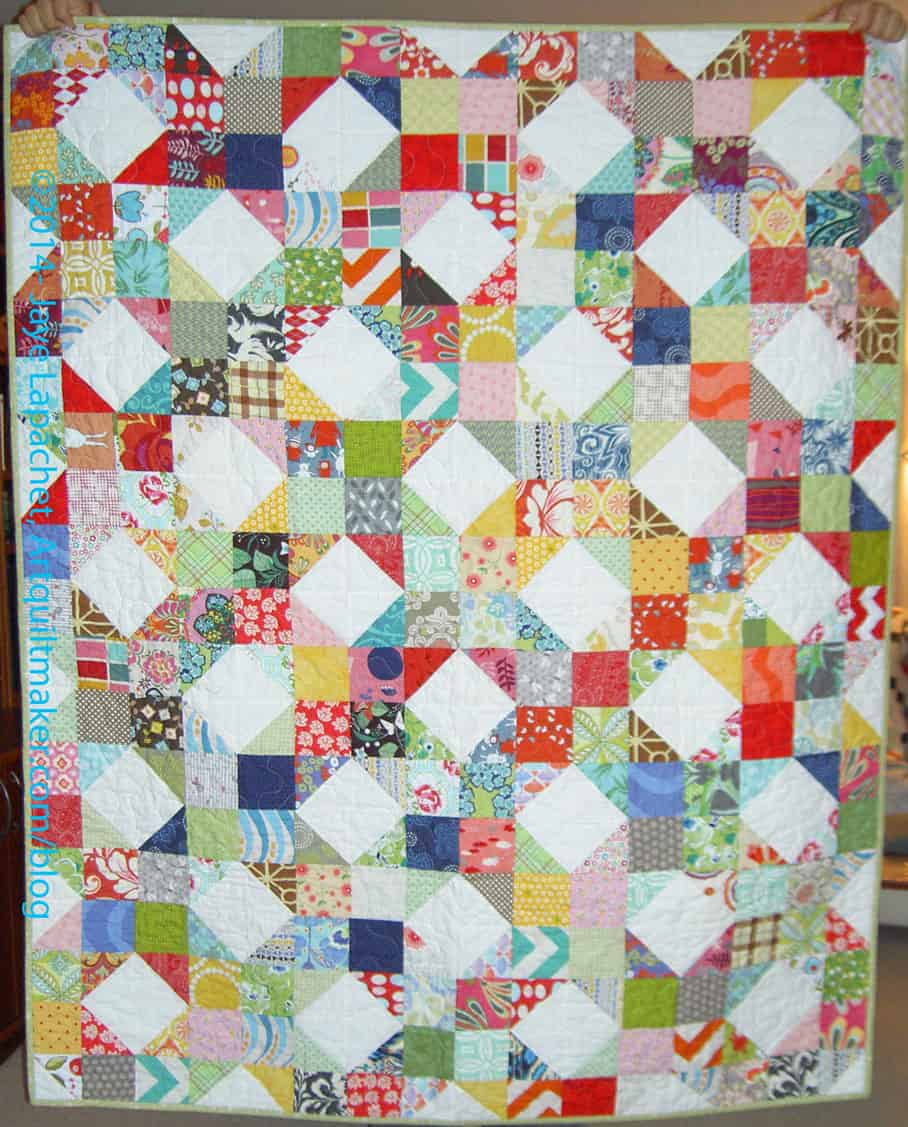
Multi-color Donation Quilt- April
Cheryl’s Donation Quilt
Orange & Grey donation quilt
Donation Blocks – June 2014
Pink Donation Quilt
Yellow & Pink Donation Top
Pink & Green Donation top
4 Pink & Green Donation blocks
Pink Donation Top #2
Yellow Donation Top – no borders
Blue Donation Quilt
February Donation Blocks
Good Fortune Donation block
Donation Blocks – My Scraps
Purple Donation block
Scrappy B&W Donation Block
This is a good pattern for all levels of quiltmakers and can be made from pre-cuts. You need 8- 2.5″ foreground squares and 8-2.5″ background squares to make the block. 16 blocks with no sashing make the quilt size we donate to the NICU at Stanford. It works very well with the leaders and enders technique.
There is also a lot of opportunity for creativity and variety. The photos above show quilt tops as well as blocks. There are a couple from the guild that I did not make. Sometimes I have a lot of fabric in the same colors (just finished a quilt), so I’ll cut up the leftovers into a usable size and make a set of blocks in those colors and put it together into a donation top.
I also will just pick random squares in a variety of colors and put them together into a block. I always want to be working on a leaders and enders project as it makes my productivity so much more.
I am also cutting 1-2 2.5″ squares from each fabric I was and press so I have a variety of squares to use as donation block leaders and enders all the time.
These blocks can be set together in a variety of ways as well: sashing, no sashing, on point, straight set, etc. If I make scrappy blocks, I sometimes have a hard time finding a suitable sashing color, so I might use scrappy sashing.
Sometimes I add borders, sometimes I don’t. I don’t think I have begun to explore all the possibilities for setting the 16 patch blocks.
Flower Sugar Donation Top
Orange Donation Top
Pink T Donation Quilt
Green T Donation Quilt
Second, the T Quilt Pattern is another go to pattern that I keep returning to. Peggy, one of the Charity Girls gave us this pattern at a Charity Sew Day. It is easy and it makes a good break from the 16 patches. Again there are quite a few options for variety that can be employed with this pattern. I do think the T design discourages sashing (what would be the point?), but scrappiness works very well.
Cutting Corners Donation Top
Third, as with the Cutting Corners Ruler, trying something new is a good opportunity to make a smaller piece until I feel comfortable or know I want to commit to a larger piece. The Cutting Corners donation top is one of those tops. I wanted to try out the ruler and making a donation top was a good option.
Fourth, very occasionally I will have orphan blocks. If they don’t get used for journal covers, they are donated to the Charity Girls to make into donation quilts or I will make them into donation tops. Most often, I just want them out of my hair.
Black & Grey Donation Top Complete
Fifth, rote sewing. Sometimes I need a project that allows my mind to wander into non-quilt territory. The Black & Grey Teenaged Boy Donation quilt was a good example of just sewing something that required few decisions.
BAMQG Mystery Quilt
Sixth, tops or blocks sometimes don’t quite work out. I don’t mean they are ugly or unusable. I meant that they didn’t work out for *ME* for some reason. These pieces can be any fabric, any pattern, any design, any layout. Anything. As I said in the blog post, I like the fabrics in the quilt above. I also like the pattern, but together they didn’t work for me.
Seventh, fabric that didn’t work out. A lot of times I will use fabric to make a donation quilt that I don’t want to use for my own quilts. This doesn’t mean it is crappy or fabric. It might mean that it isn’t my style anymore or the color is just off enough to make it not fit with other fabric choices. It could also mean that I bought a lot of it, because I loved it, used it a lot and suddenly didn’t love it anymore.
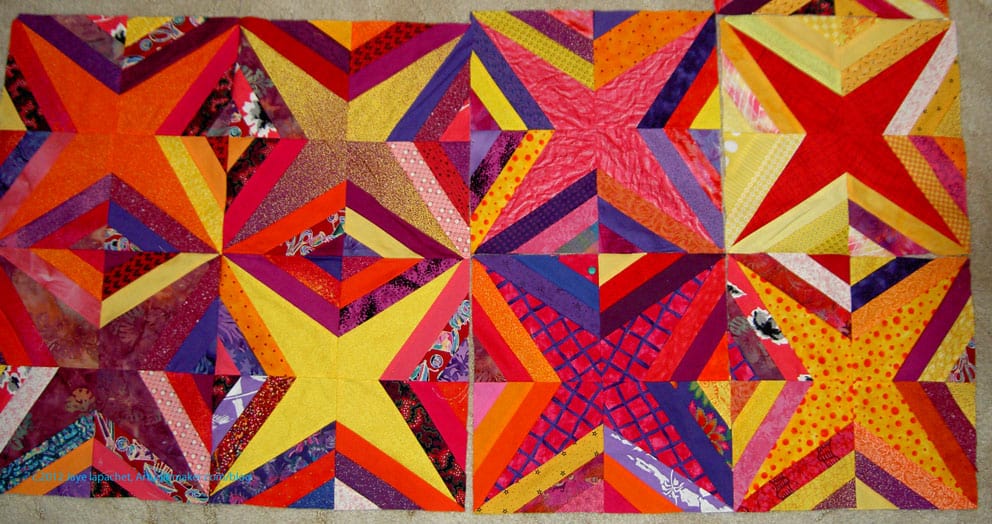
Star Donation Quilt
Eighth, periodically the Charity girls will come up with a block of the quarter (or of the month). For a time they will collect blocks in that design and then the group will make a series of quilts in that design. The Star donation top (above) is a great example. I put the blocks together and made the back. I didn’t make the blocks. Although, it has been awhile, I am still inspired to make more of these blocks and put them together in another quilt.
Ninth, too many scraps is a good reason to make donation blocks. They can be mosaic pieced like the journal covers, trimmed to size and then put together in an appropriate size and layout. They can be made into Sawtooth Star blocks or other blocks with a large center. The microscopic scraps I use for journal covers would take too long to sew together into blocks.This works better for donation tops with larger scraps.
I also cut larger or smaller squares into usable sizes and shapes, depending on what I have, and make a top from those. If I use smaller sized pieces, such as a 2″ square, I try make a whole top or enough blocks for someone else to make into a whole top. I try not to leave the Charity Girls in the lurch by making just one block, though I have known Peggy to run with one block and come up with a great top.
Also, if one of my scrap bins (I sort them by color) is overflowing I will cut a bunch of squares or other shape and make some blocks or a top.
Stars & Stripes blocks
Tenth, sometimes I will start a project with great enthusiasm. This often happens with class projects. At some point (too late to abandon) I will lose interest or realize I don’t like the results. It is a good opportunity to turn it into a donation quilt.
It could be that the fabrics are just fine and the technique makes me cringe. The above Stars & Stripes blocks were made using paper piecing. Not my favorite.
I was kind of surprised at the different ways I choose patterns to make donation quilts.
I do my best to use patterns I like and try very hard not to make ugly donation quilts. The beneficiaries of these quilts don’t care about matching points or perfect layouts. I am sure they are looking at the pretty fabrics and softness of the object they have been given. Everyone deserves some beauty in their life.