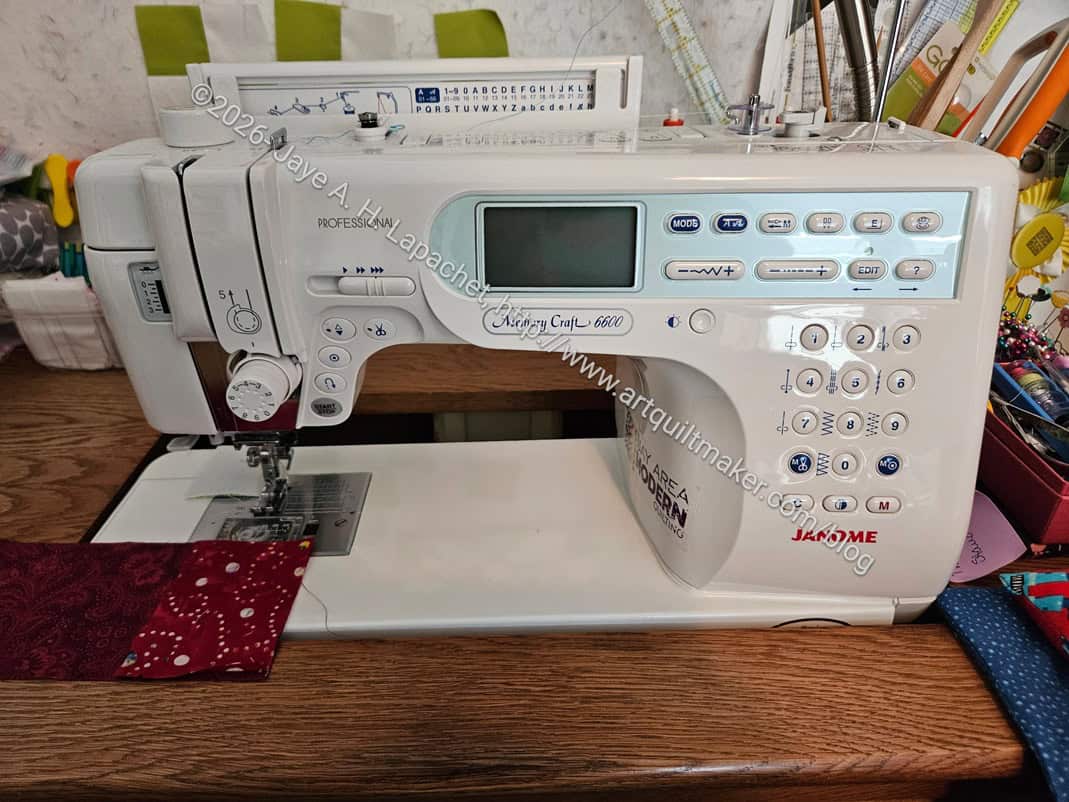
I have a new sewing machine.It has been about 10 years since I got a new machine and that one was new to me, not brand new. In reading over the post, I realized that I am still seeking a machine that will go through a lot of layers. At that time, it was the Boxcar Tote that was giving me fits. This time it was the Pandora Charisma. It has been 30 years since I bought a new machine. Will this be my last machine? I hope so, but with electronics, you never know.
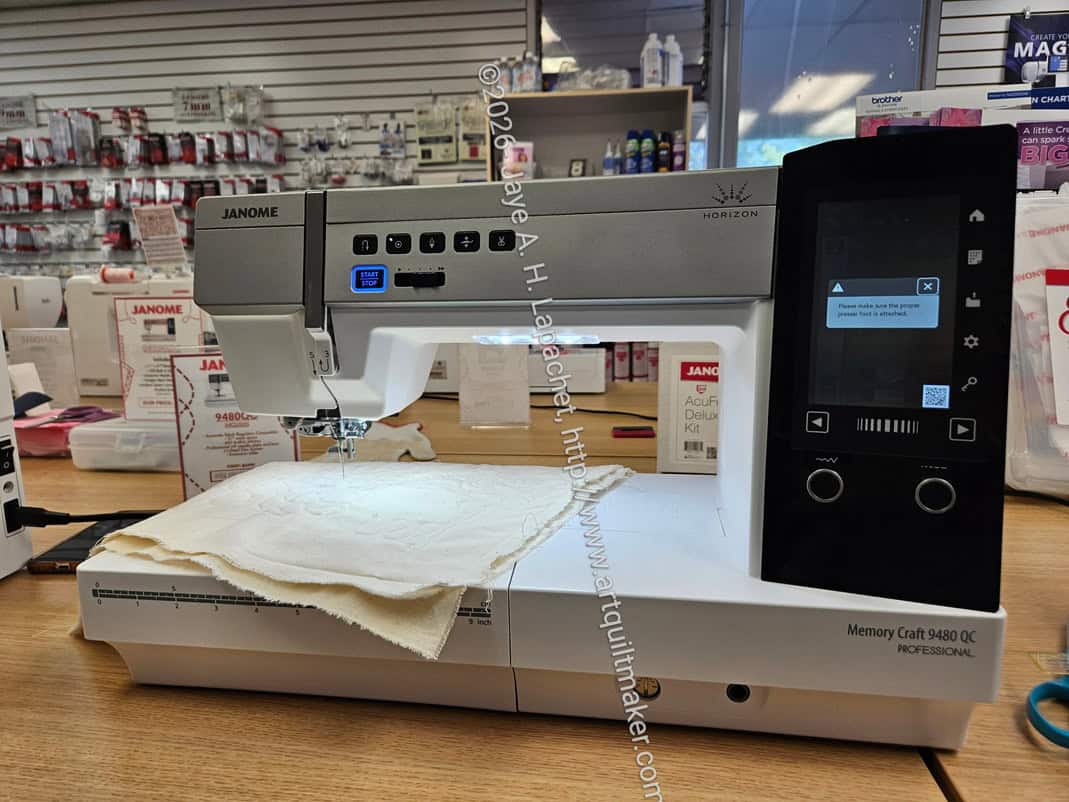
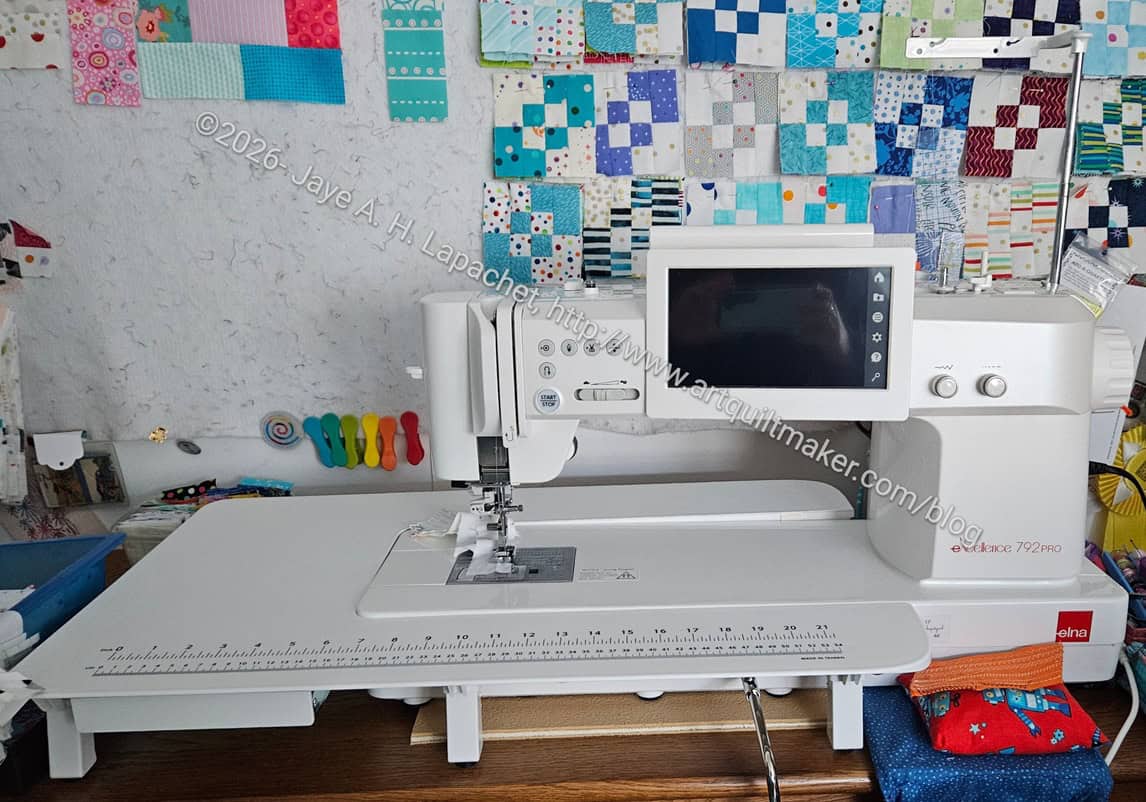
This is the Elna 792 Pro ex. I am assured that it is the same exact machine as the Janome M8, but with a lower cost. I like brand names, but couldn’t justify the added cost. Also, the Elna is white rather than grey and I am trying to keep my workroom to a limited color palette.
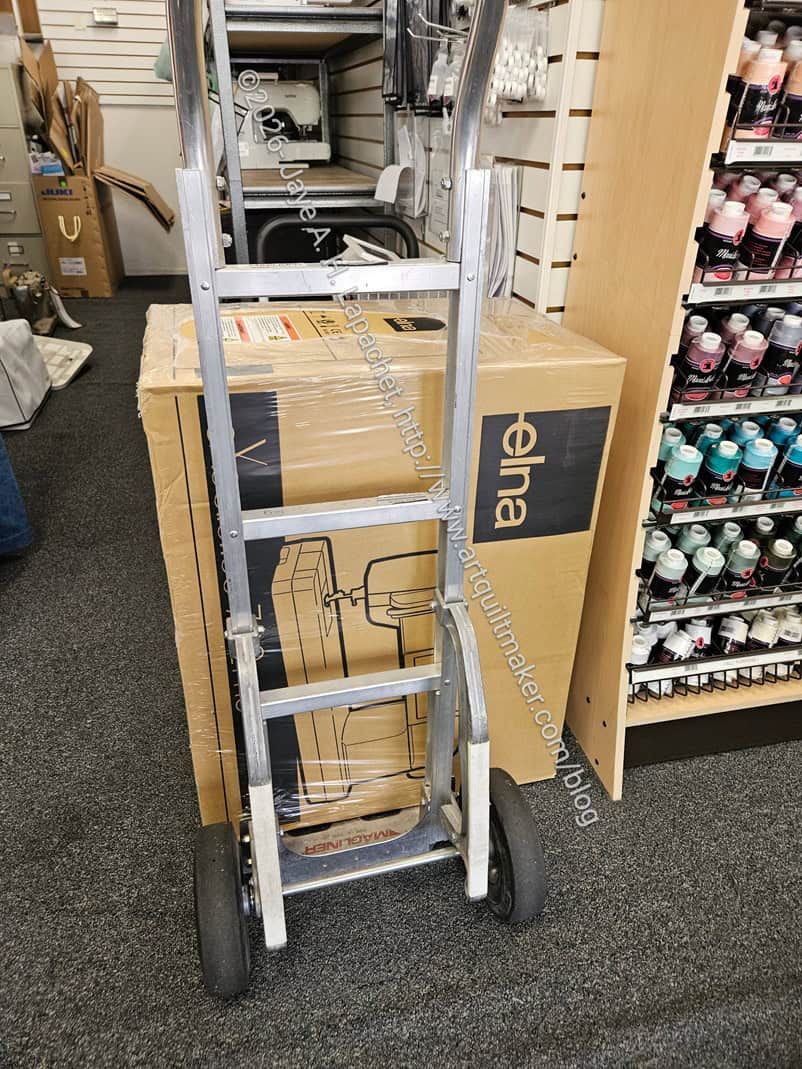
I was a little shocked when they brought the machine to the register on its side! The machine was well packed, so it was no problem.
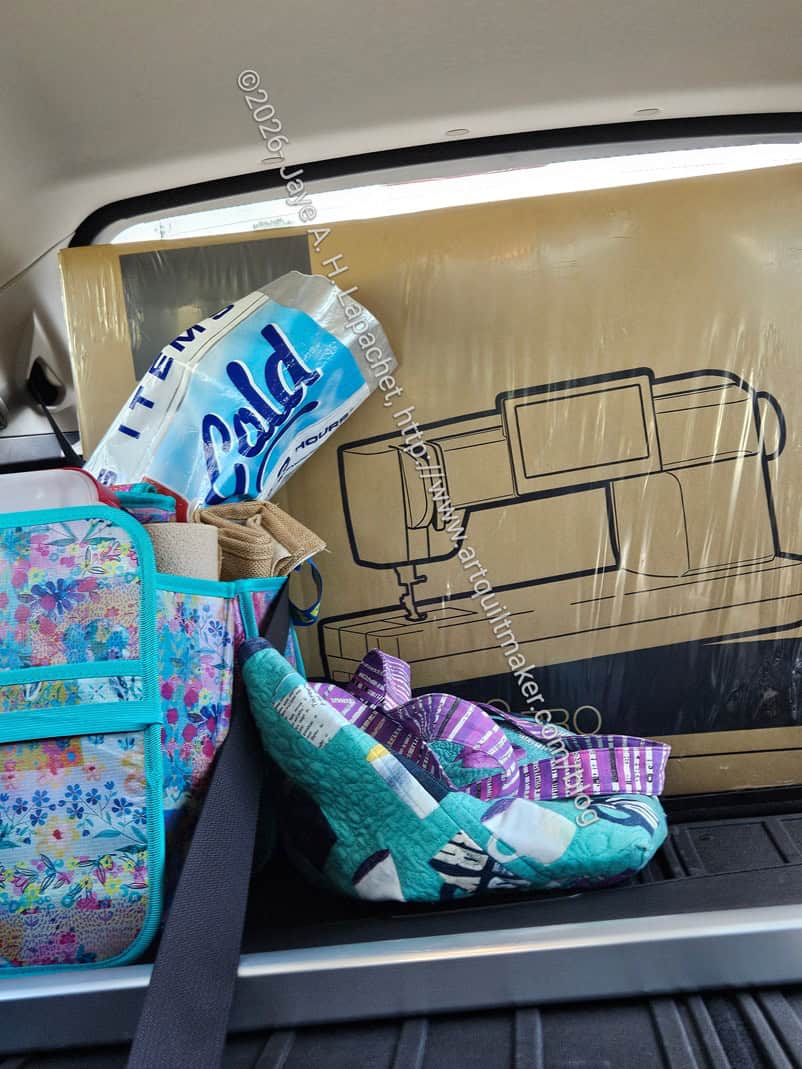
The people at The Sewing Machine Shop put the Elna in the car for me. I had to rearrange everything, which makes me anxious. I knew it was temporary. I couldn’t see out of the back window very well driving home and that also provoked a lot of anxiety.
I set aside a day last week to get to know it and because of other things going on in my life, I sewed, but didn’t work through the manual trying all the new features. That is still on the agenda.
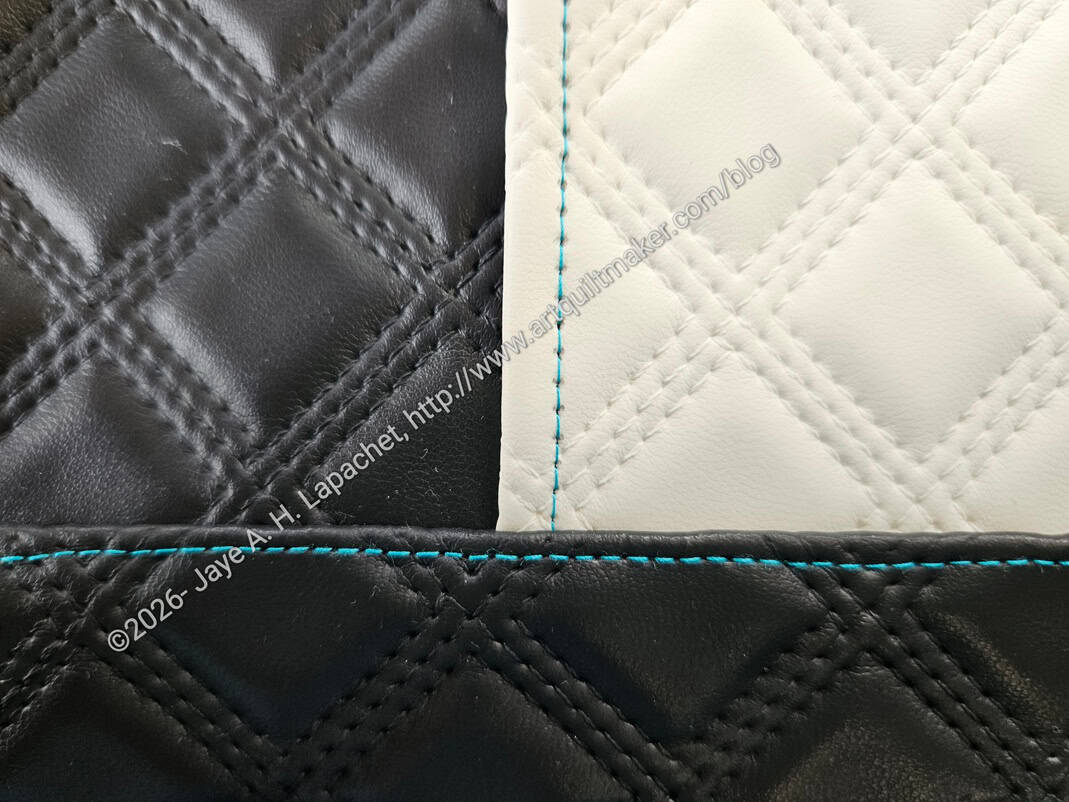
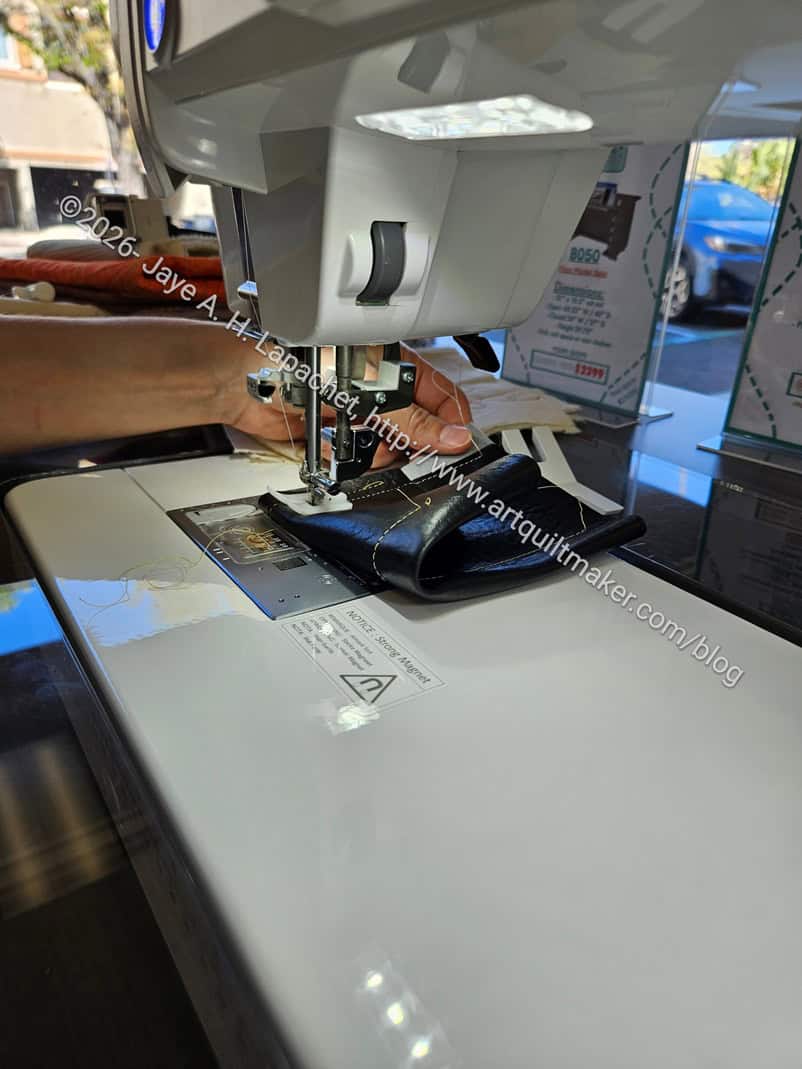
Part of the reason I bought a new sewing machine, as mentioned, was because of Sewfisticated and the Pandora Charisma. I was chasing the machine that will go through thick layers without a reduction in stitch quality without buying an industrial machine. I might do that when I win the lottery and rent a warehouse workspace. The test stitching I did ticked the boxes. I was surprised and pleased when I read the Sewing Machine Shop newsletter recently, which said “The design of 792 Pro takes a different approach. It’s built on a flatbed, all-metal frame— more like what you’d find in an industrial machine. … Inside, it uses a brushless servo motor, which is the type of motor often found in industrial setups. In real terms, that means:
• More consistent power through thick fabrics
• Smoother operation
• Less wear over time
You don’t feel like you’re “pushing” the machine. It’s equipped with a motor and frame built to handle fabrics of all types.”
The way I read this was I got the closest machine to an industrial without buying an industrial machine. Yay! I don’t want an industrial machine, because I zigzag and use decorative stitches. I also don’t really want to collect machines, as I have mentioned numerous times.
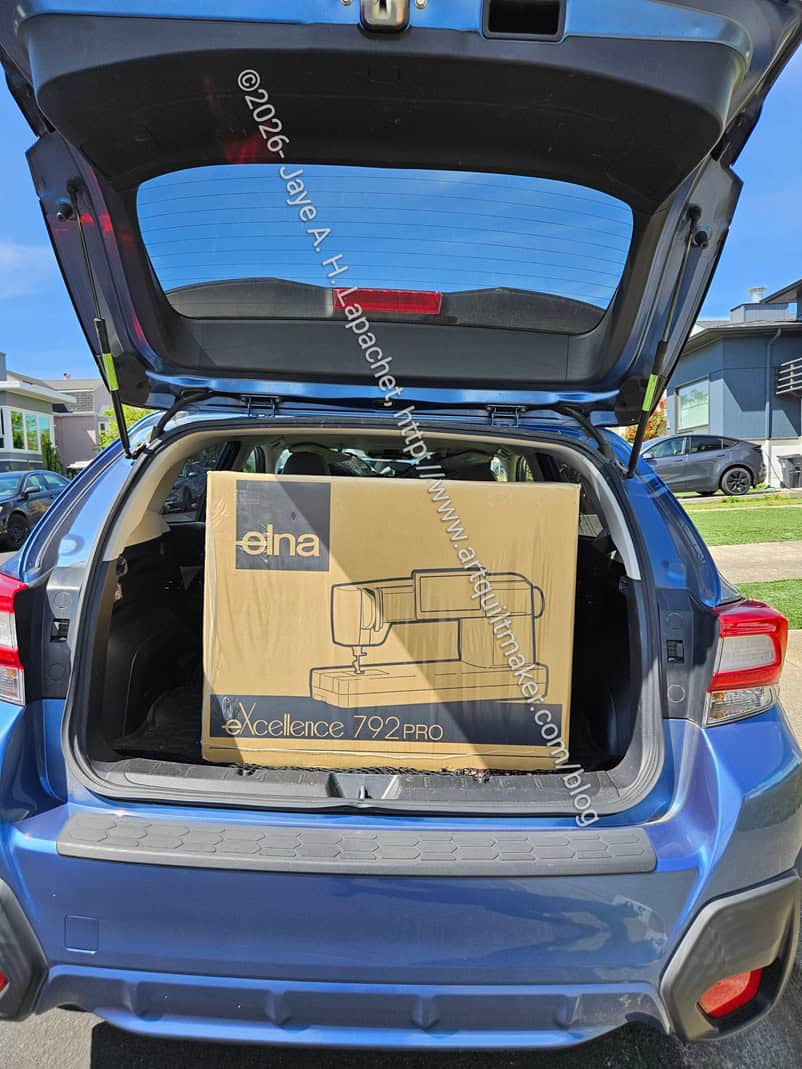
This is a big machine so it won’t be coming with me to Sew Day. I had to put the seats down in order to fit the machine in the box in my small SUV. The only reason I have had to do that in the past is because of quiltmaking – traveling with sewing machines, going on retreat and, now, buying a machine.
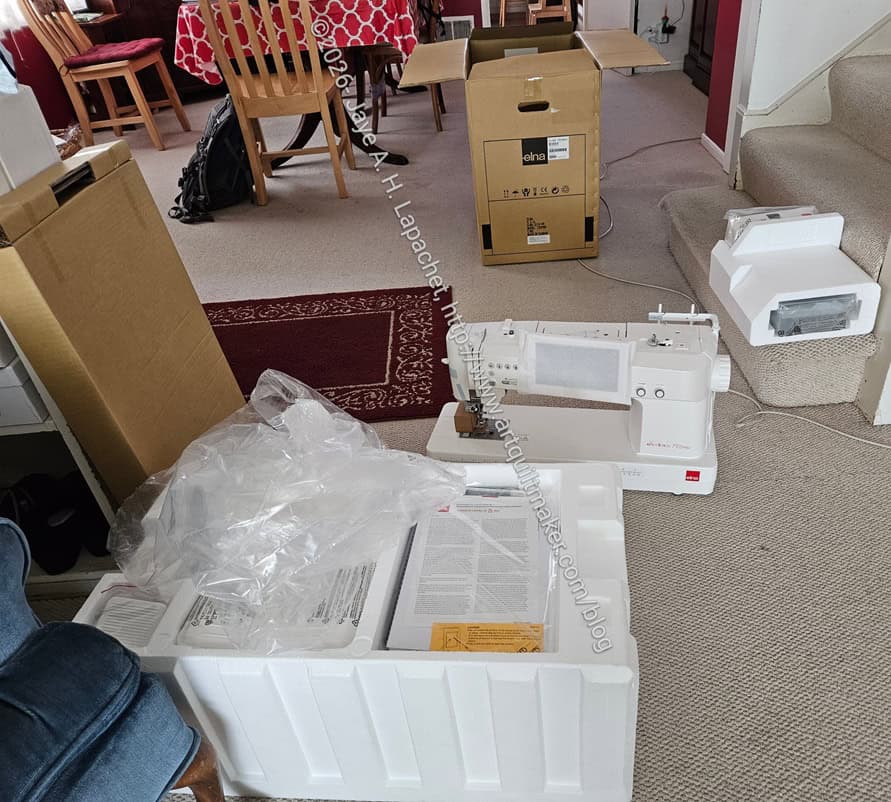
I had to take the machine out of the box in my front yard, because the box was too big for me to get out of the car on my own. It is a heavy machine and I could barely carry it up the stairs and into the house.
I went through everything that came in the box to make sure all the pieces and parts were included. That was kind of fun. There are soooo many feet! I have a lot to learn.
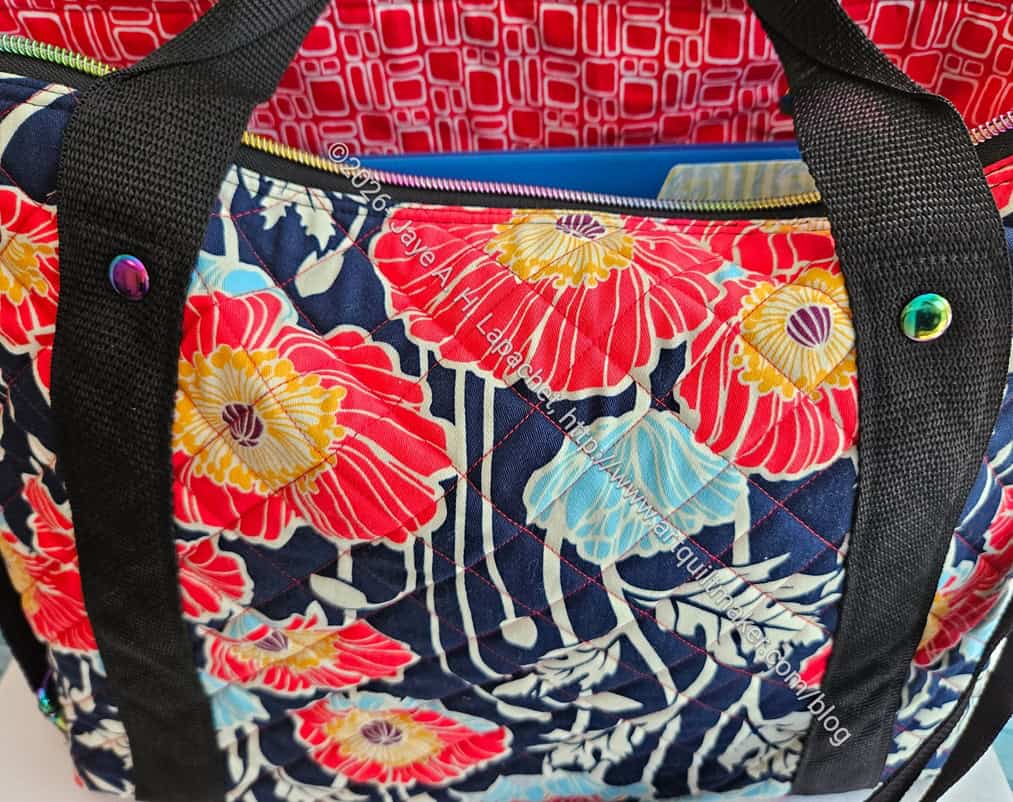
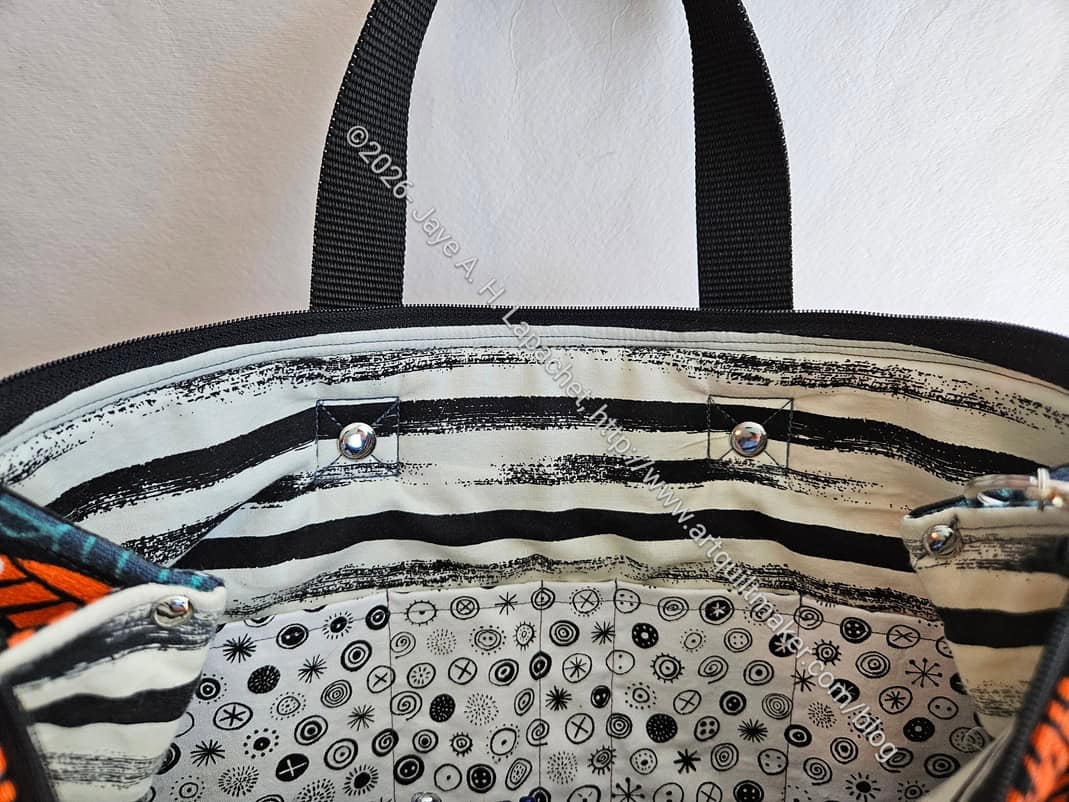
I have another Enigma cut out and I want to learn to use the HP2 foot on my own, without The Sewing Machine Shop hand holding, in order to finish it. I am going to read the manual and see how far I get. This is a slim foot similar to what I see when Sara shows how to make bags in her videos, but has a dual feed feature that squishes and holds the layers of a bag together. I tried it out and may never take it off the machine – as soon as I take the time to learn to use it.
Some of the weird substrates I have been using were purchased from Sewfisticated. Sewfisticated is pushing me to make more difficult and sophisticated bags. And there are a couple of their bags that I want to make using those substrates. I hope this machine will help me do that. I am already feeling ready to make the Pandora Allure. Maybe another gift for Lil Sissy?