I am in a Catch-22 sort of situation. I can’t sew because my work room has been taken apart to install the new sewing table. However, I feel down that my workroom is torn apart and can’t seem to get it together enough to put the table together.
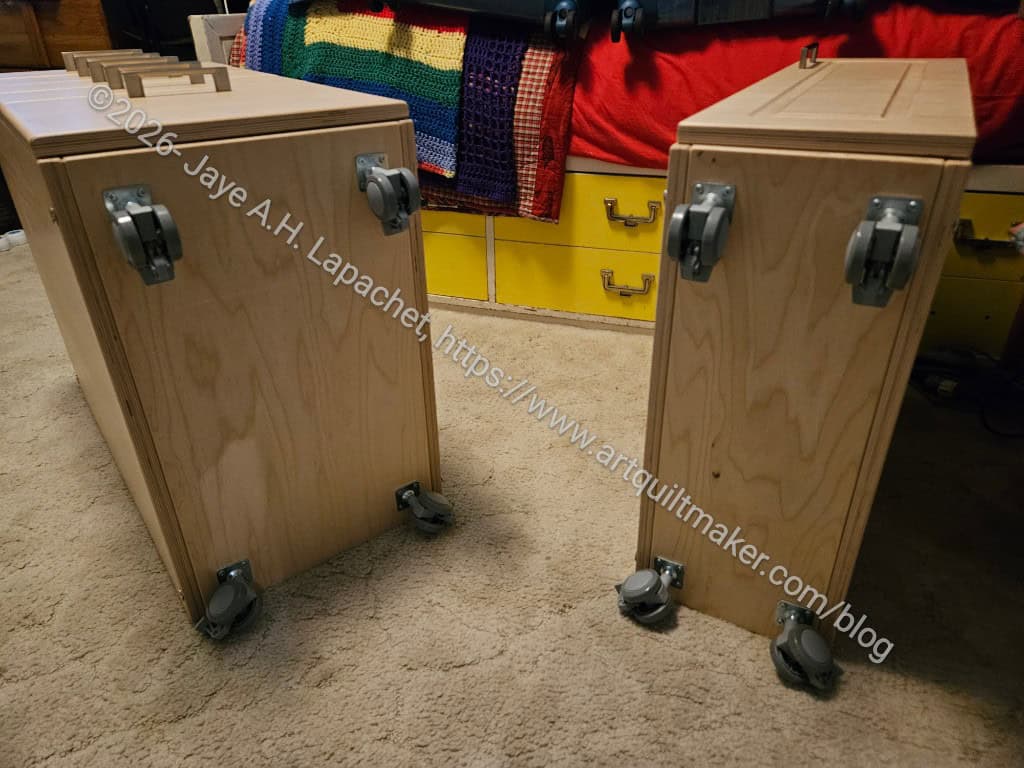
Casters added
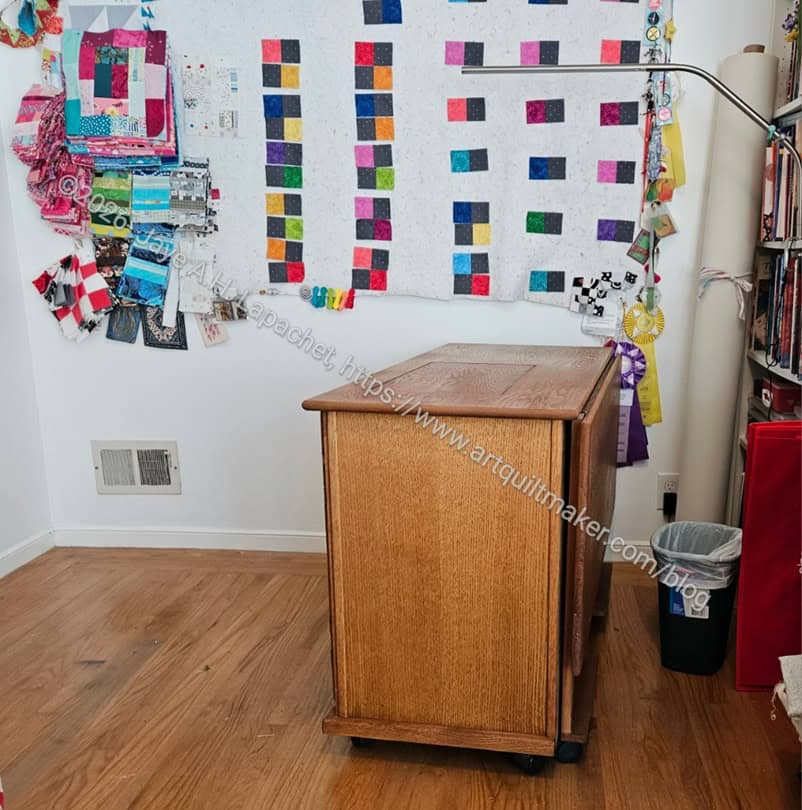
I have done some work. First, I screwed the casters to the bottom of the cabinets.
This was not an easy task as the cabinets are heavy and hard to maneuver.
DH didn’t like how the screws sat, but he was not available for the manual labor, and there didn’t seem to be anything he could have done differently.
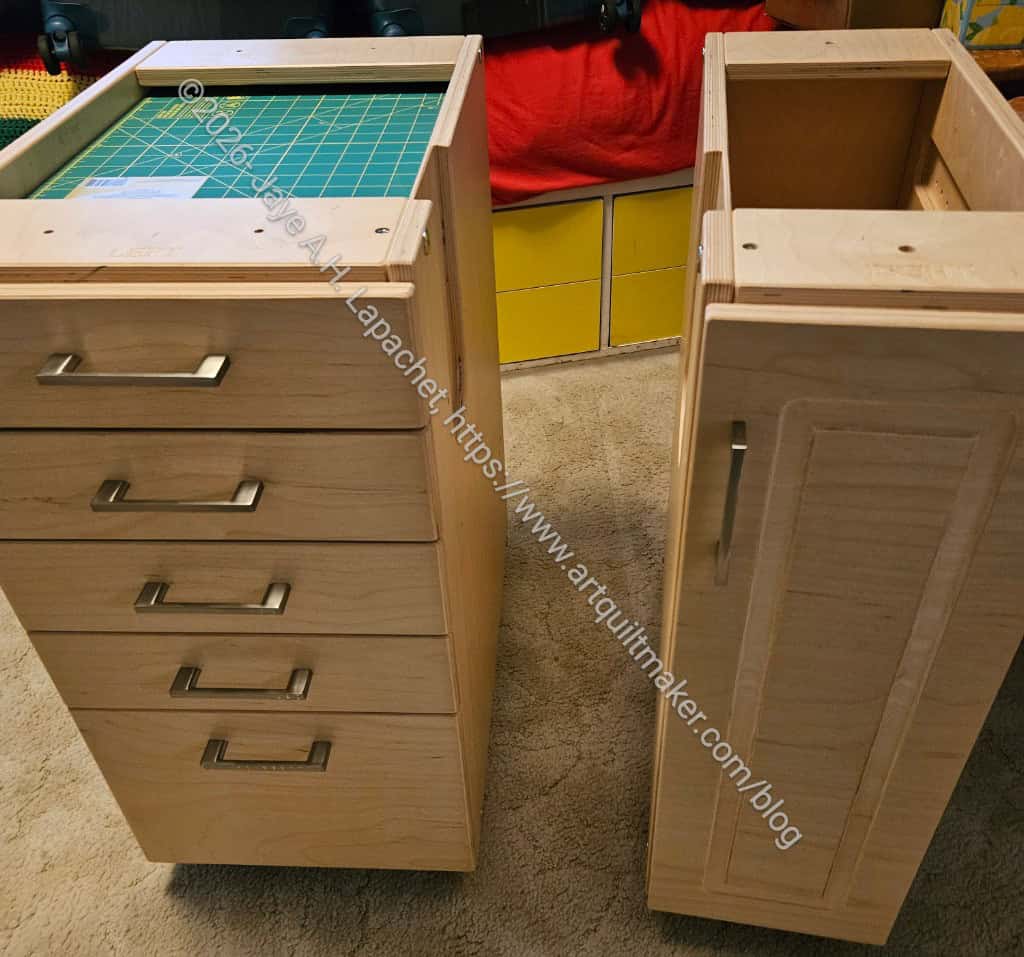
Sewing table cabinets. The cabinets for the sides are ready for the next step.
I really like the light wood on this table. I think it will lighten up the dark corner where my sewing machine sits.
The left cabinet also has a lot of drawers. I might have a whole separate drawer for my chocolate!!! LOL!
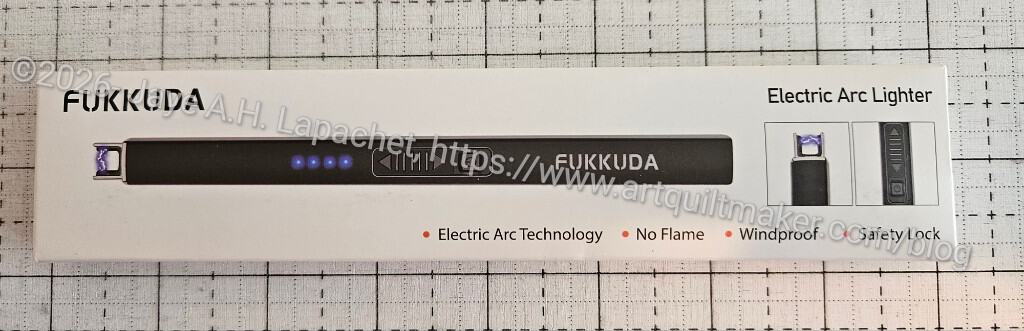
True confession time. I am scared of lighters. I also can’t make them work. I never smoked, so it wasn’t a problem. Until bagmaking.
There are times when using a lighter to seal certain edges, like webbing is really helpful. MaryC suggests it all the time. I have tried different things like glue and they are ok, but not the same.
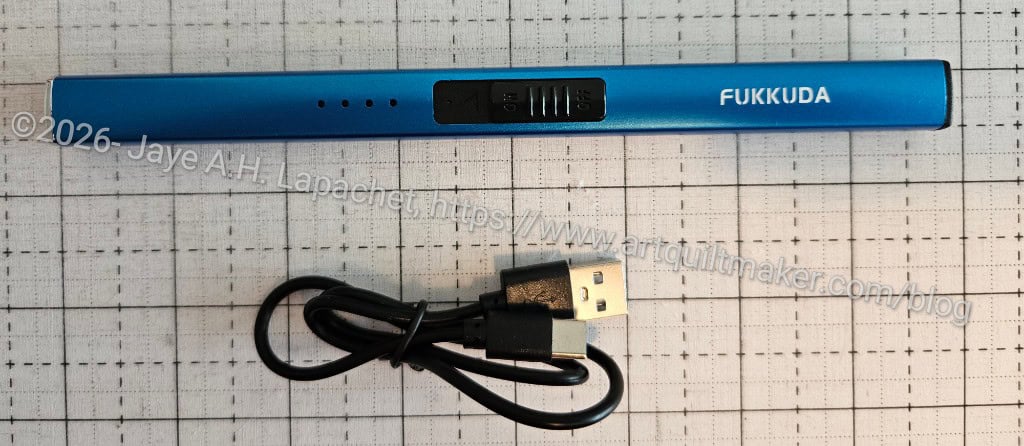
First, I don’t have to try and operate one of those rolly things on a lighter. The tool has an on/off switch and button you press to make the arc heat up. The product description says “plasma flameless arc technology, which has various features such as energy concentration, smoke-free, odorless and windproof, ensures this lighter to be used normally under any weather.”
Second, it recharges. I know it is another thing to recharge, but at least I am dealing with refilling an oil reservoir. The product description says “No need to refill the lighter ever! Built-in large capacity battery, and power indicator lights to remind you when it should be charged. The portable USB cable can connect to power source such as computers, power bank and etc.”
Third, it does not stay lit all the time. Even if I am pressing the ‘light’ button, it will turn off unless something is actually being lighted or burned. The product description says “7s Auto Off: The electric arc will automatically turn off after 7 seconds per use. Double safety switch: The power button is under the safety switch, avoiding accidental touches of the ignition button when you put it in your pocket or bag.”
Now I am able to seal the edges of webbing without lighting a candle and trying to do it from there.
**Obviously, you should shop at local quilt shops and small businesses, as I did. However, if you are too busy, don’t have a local shop nearby or can’t find what you need, I use Amazon affiliate links. I may be paid for your purchase of an item when you click on an item’s link in my post. There is no additional cost to you for clicking or purchasing items I recommend. I don’t link to items I don’t like. I appreciate your clicks and purchases as it helps support this website.
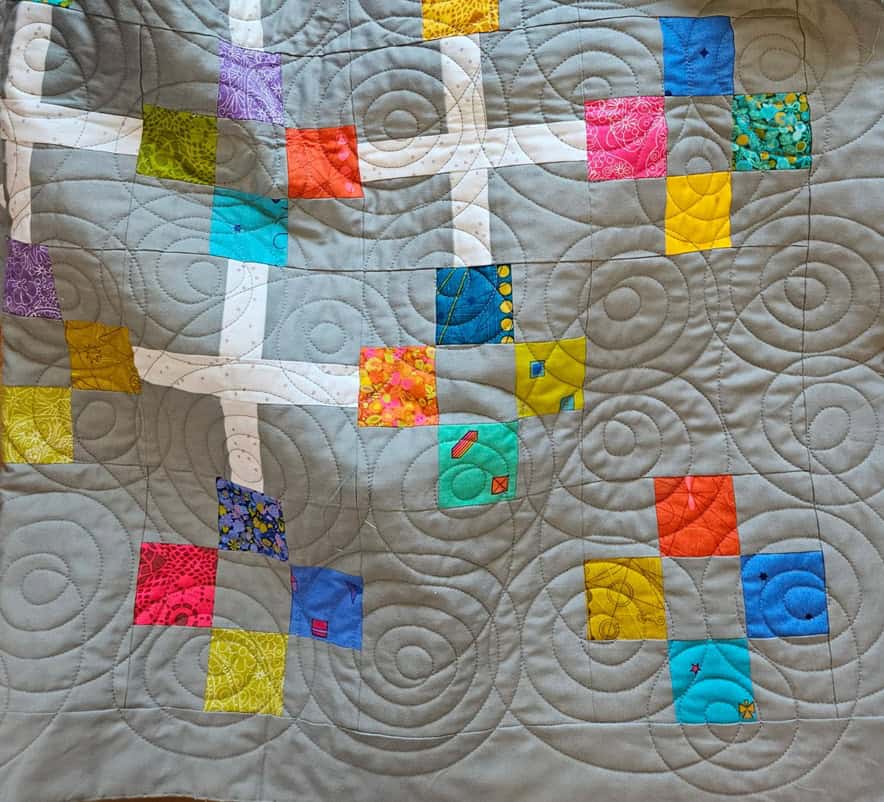
The other day I decided it was a good day to cut for the Morning Glory quilt. This has been sort of cut for awhile, but not really started. I think this was because I didn’t have a reason to make it. Now I do. There will be another wedding in the family. The family new member will get a quilt.
I don’t always wait to start projects until I have a reason, but this quilt is so easy that it is more about the fabrics and colors than the piecing challenge. I just felt like waiting, or I had no incentive to get going.
Cyndi’s Morning Glory
It started with a picture that Cyndi sent me or maybe she showed me the quilt? I don’t remember now. She made this quilt from a pattern in a book called Just Two Charm Packs** and it really appealed to me.
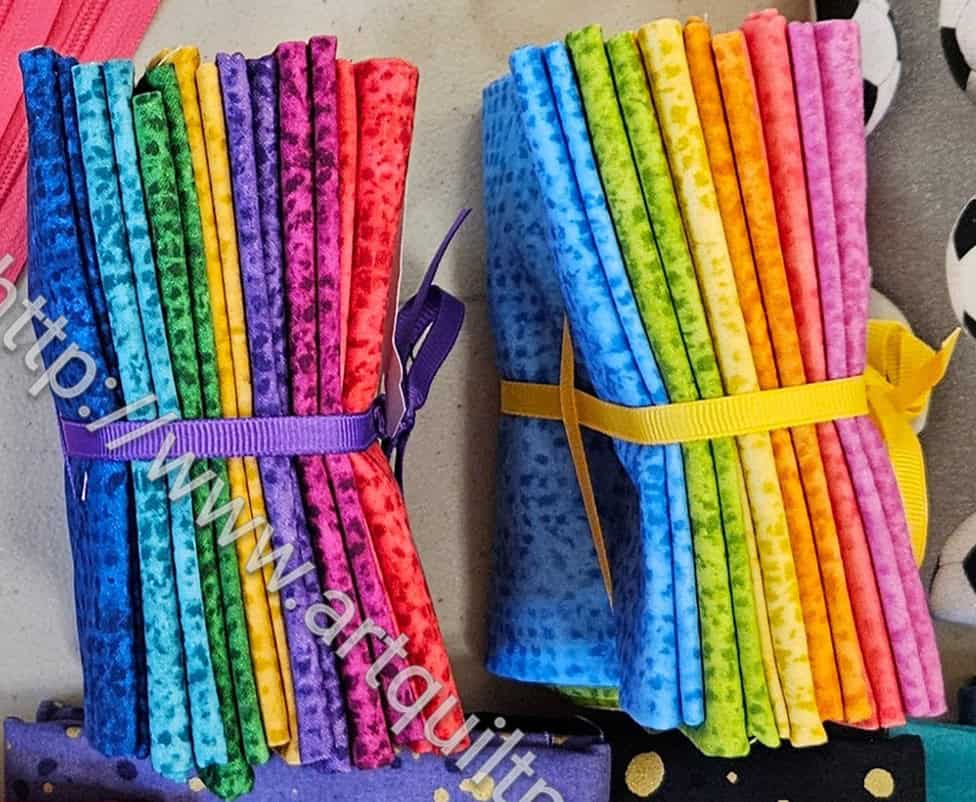
Family Threads FQ packs
I bought a couple of fat quarter packs in 2025 and that set me on the path. I am a sucker for a rainbow FQ pack. I thought they would be good to use with this pattern, so I cut them up right away and then stopped work on the project.
I thought a lot about what to use for the crosses. I didn’t want to use white, for some reason, and ended up cutting the same lavender grunge that I used for another project. I had just enough leftover for the crosses.
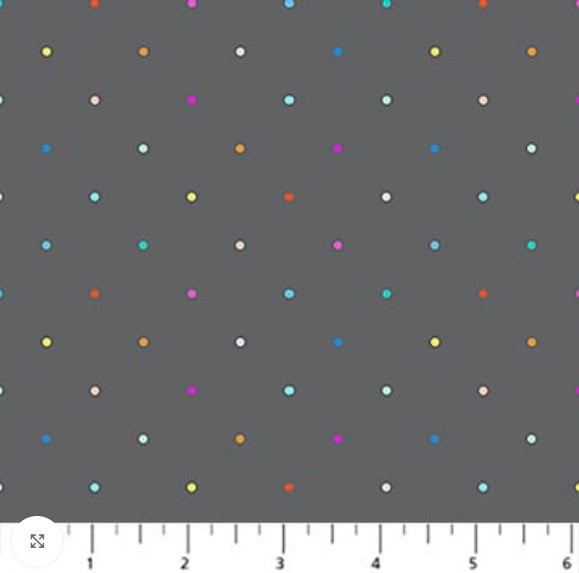
Dewfall 92091-95 Ditsy Dots Gray Multi Ghazal Razavi
The background is a darker grey than Cyndi used. It is Dewfall by Ghazal Razavi (#92091). Her fabrics are showing up quite a bit in my quilts lately. I used some of her Dovetail line in the Patchwork Palooza quilt.
The method of putting the quilt together isn’t too my taste, but I am ok with this being a quick project.
**Obviously, you should shop at local quilt shops and small businesses, as I did. However, if you are too busy, don’t have a local shop nearby or can’t find what you need, I use Amazon affiliate links. I may be paid for your purchase of an item when you click on an item’s link in my post. There is no additional cost to you for clicking or purchasing items I recommend. I don’t link to items I don’t like. I appreciate your clicks and purchases as it helps support this website.
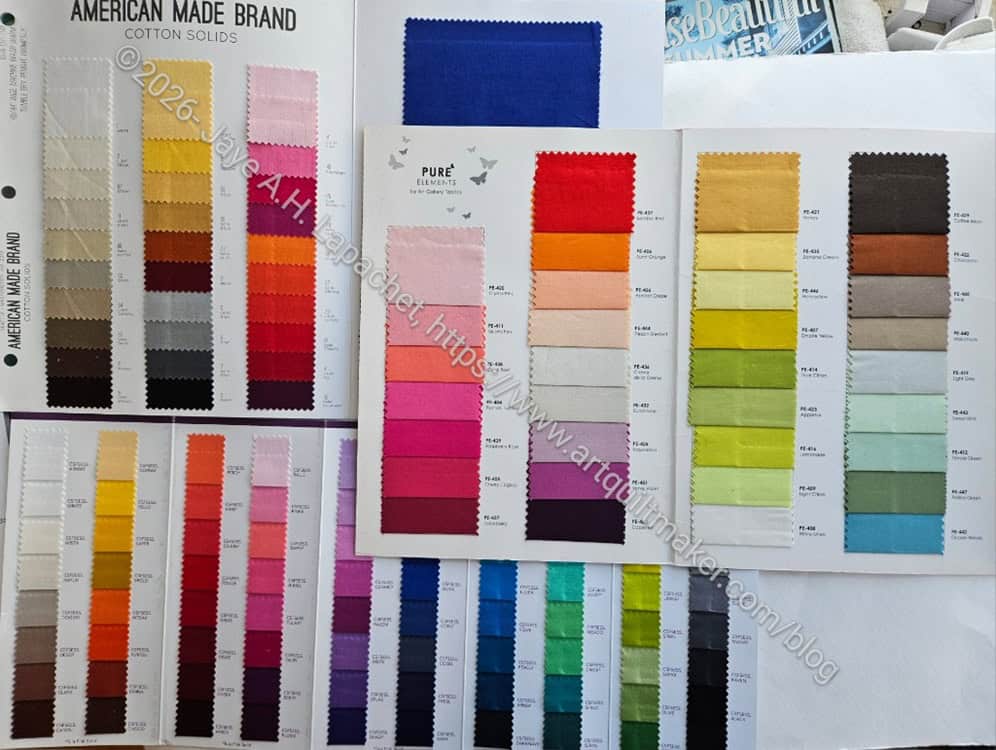
After taking a class back in the dark ages from Lorraine Torrence, always tell myself to ‘make visual decisions visually’. It is so easy for me to see a fabric in a shop and ‘think’ it will go with my project. Not having the project with me means I can’t know for sure, but I am often confident that my color sense is good and I have the perfect fabric.
Then I am wrong.
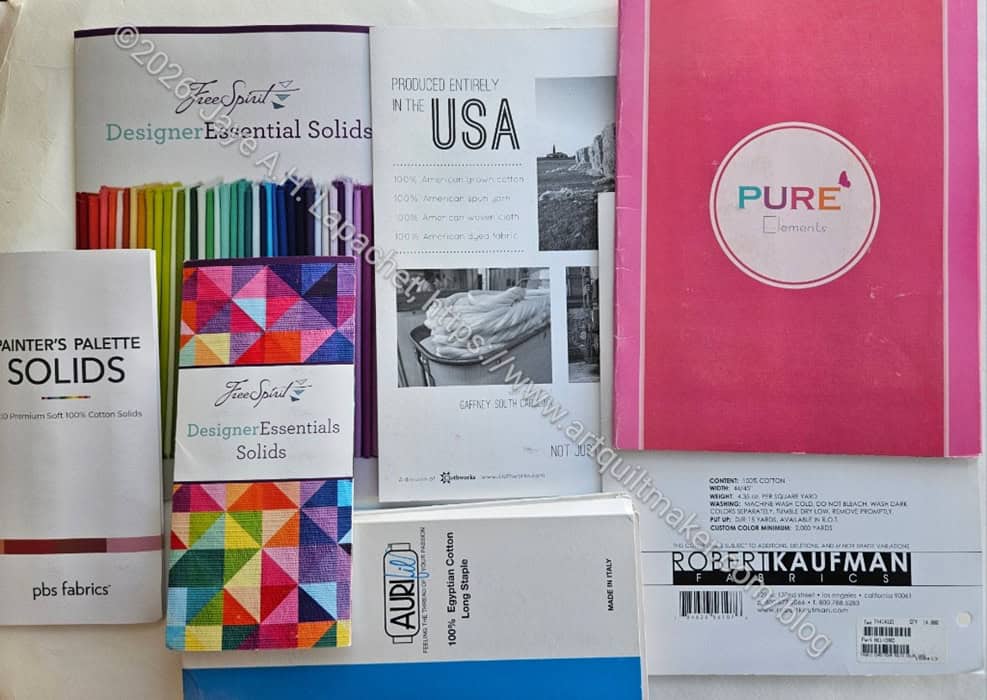
My color cards – 2026
This is where color cards come in. I don’t usually have my color cards with me in shops, so they don’t solve all of my problems. However, they definitely help with online shopping for solids.
I like to pull out my color cards when thinking about getting a new solid or needing some solids for a project and comparing my fabrics with potential options. It is also a great way to match solids or find the correct name for a solid of which you need more.
My open color cards – 2026
Color cards are also like mini pieces of art. I always want all the fabrics when I open them up.
The bad part is that color cards do get superseded by new versions as fabric manufacturers add colors. While I was researching, I found that Clothworks has increased the number of colors available in their American Made Brands line, thus requiring a new color card to take advantage of all of the options. The same is true for the AGF Pure Solids. I put these on my wishlist. 😉
Having the color cards available has prevented me from spending more money than I need to and also from selecting the wrong color. They can be on the pricey side, which is why I was pleasantly surprised at the excellent prices on the Michael Miller color cards.
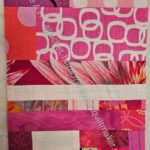
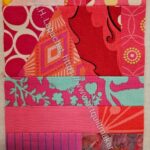
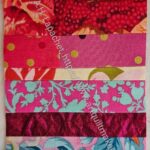
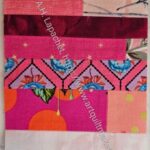
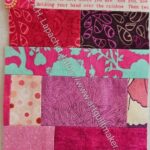
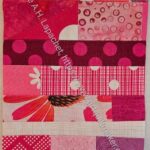
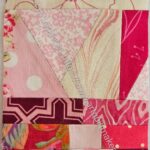
While I can see that I am slowly emptying my pink scrap bin, I find it harder the more empty it gets.
I am past the point where I can add a strip and have the block grow quickly. I have to put smaller pieces together to make larger strips and chunks before I get a large enough piece to cut a block. It is a little tedious to sew small bits together. I keep reminding myself that this is my choice.
I have over 60 of these strip and chunk blocks and would like to get to 80 so I can make two donation quilts and really clean out this scrap bin. I could start on one; I just have to cut some blacks.
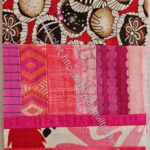
I am trying to avoid making another improv scrap quilt so this is what I get. I am also putting larger chunks together to make the exterior of a needle roll (needle case?) for a holiday swap.
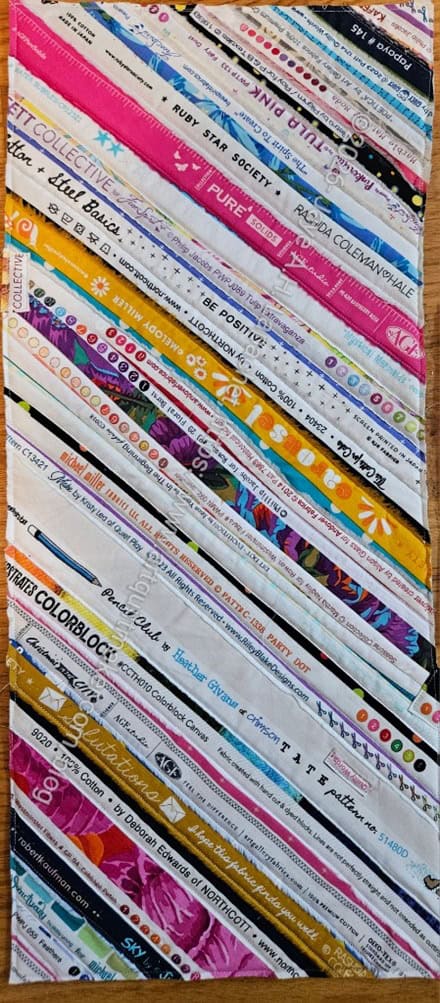
The exterior of the Mindalin tool roll has been sitting and waiting for me to get to it since Sew Day a month or so ago.
As mentioned, the pattern calls for foundation pieced blocks to make the outside, but I decided to use selvedges to make the exterior. I have a lot of them, even after this effort. It looks really cool, IMO.
Recently, I decided to dig out this project and work on it. I thought it would be a pretty easy finish. Low hanging fruit, you know.
I was soooo wrong. I felt like everything that could go wrong did go wrong.
First, the pattern is written in a way that is hard for me to understand. Now, I can’t complain too much, because I don’t have any suggestions.
Second, I couldn’t get the flap template to print the right size. I wasn’t 100% sure what the right size was, because it didn’t say in the pattern. I would put that in the pattern for sure. I did email Make Modern and they got back tome right away with a separate flap template. It was still too small, so I ended up drawing a flap of my own. Normally, I don’t have any problem printing templates. I do it all the time for Sew Sweetness patterns and even did it using MS Edge (because of the PDF permissions) for my Pandora Charisma pattern. No matter what I did, it didn’t work with this project.
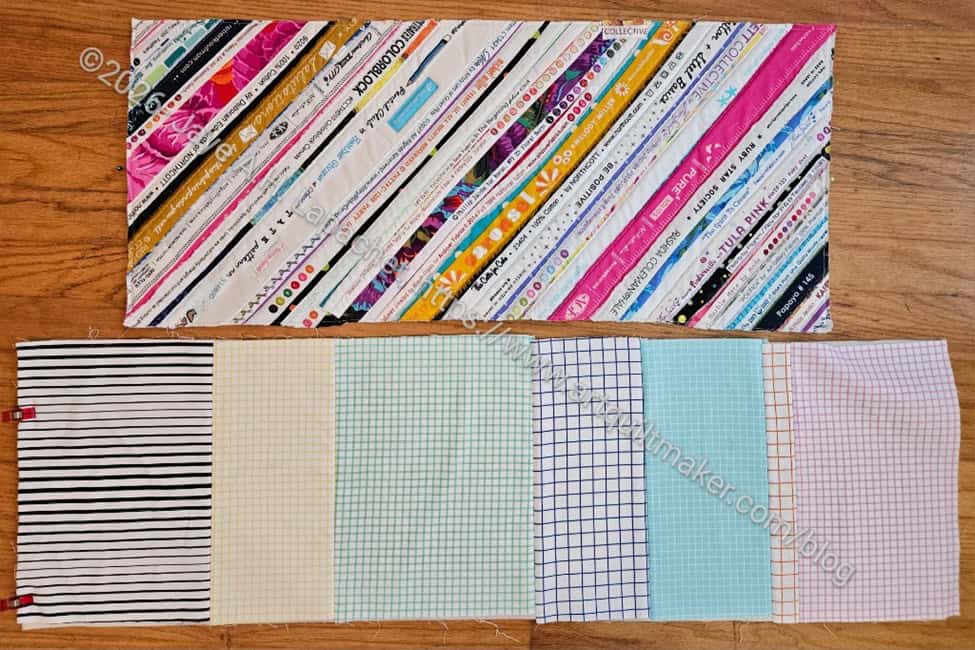
Mindalin interior and exterior
I was able to make the interior, but when I compared the interior with the exterior, they were not the same sizes. Sigh.
I am not sure what happened. All I can think is that somehow I got distracted at Sew Day and miscut. That panel looks good, so I’ll use it for something else, but I am really disappointed in how this project is progressing.
The parts of my new sewing table are now stacked in the YM’s room with parts of my workroom that had to be moved so I can put the new sewing table together in place.
DH was strong enough to haul them upstairs, which was a relief, otherwise we would have had to call in the nephews to help. If I had been alone, it would have been the nephews for me.
Old sewing table stranded
My old sewing table is still upstairs. It is also heavy and I cannot bring it downstairs alone.
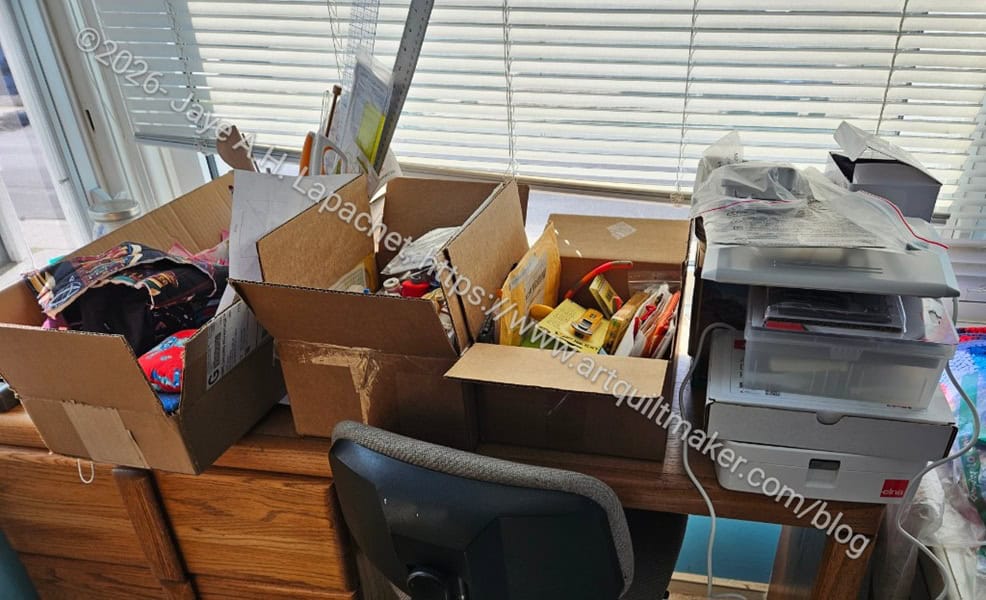
I spent yesterday unloading the contents into boxes and moving them downstairs. I want the table to be ready to be moved when the time comes. I also cleaned it. I vacuumed all the surfaces and then went over the whole table with wood cleaner. It hasn’t been this clean since I got it!
Sad and lonely sewing machine
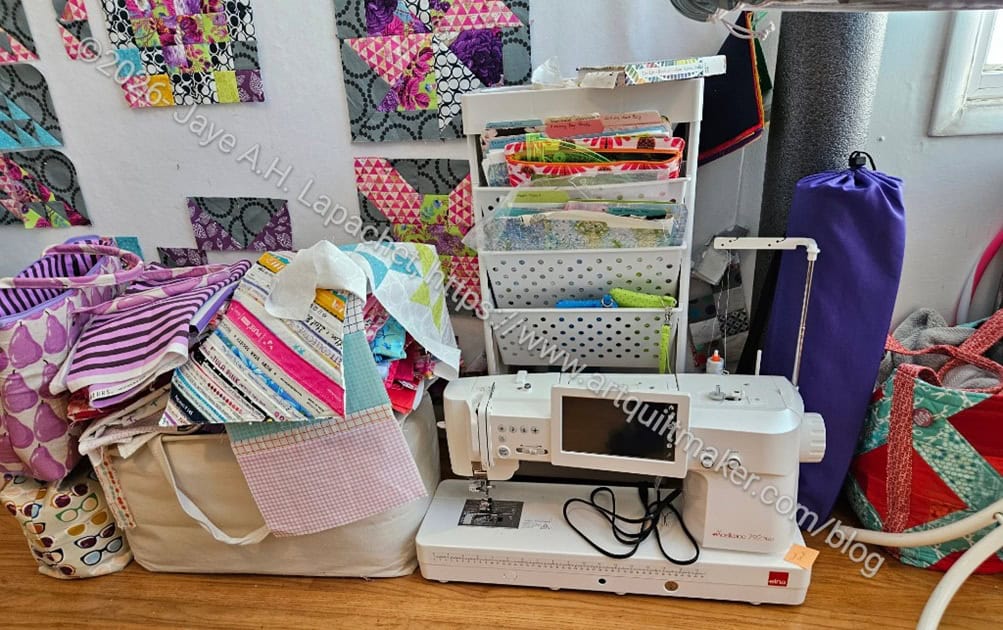
My sewing machine is still upstairs. I feel at loose ends when I cannot sew on demand. I could go and work on La Passacaglia, but I have been reading through the directions for the sewing table and starting to put it together. I’ll need a helper, though, at some point.
Drawer contents in transit
I took the opportunity to clear out items I wouldn’t need or haven’t used in awhile when I boxed up the drawers of my old sewing table. The guild meeting was cancelled, so I couldn’t put them on the free table, but next time.
I was surprised at how much stuff fit in or on my sewing table.
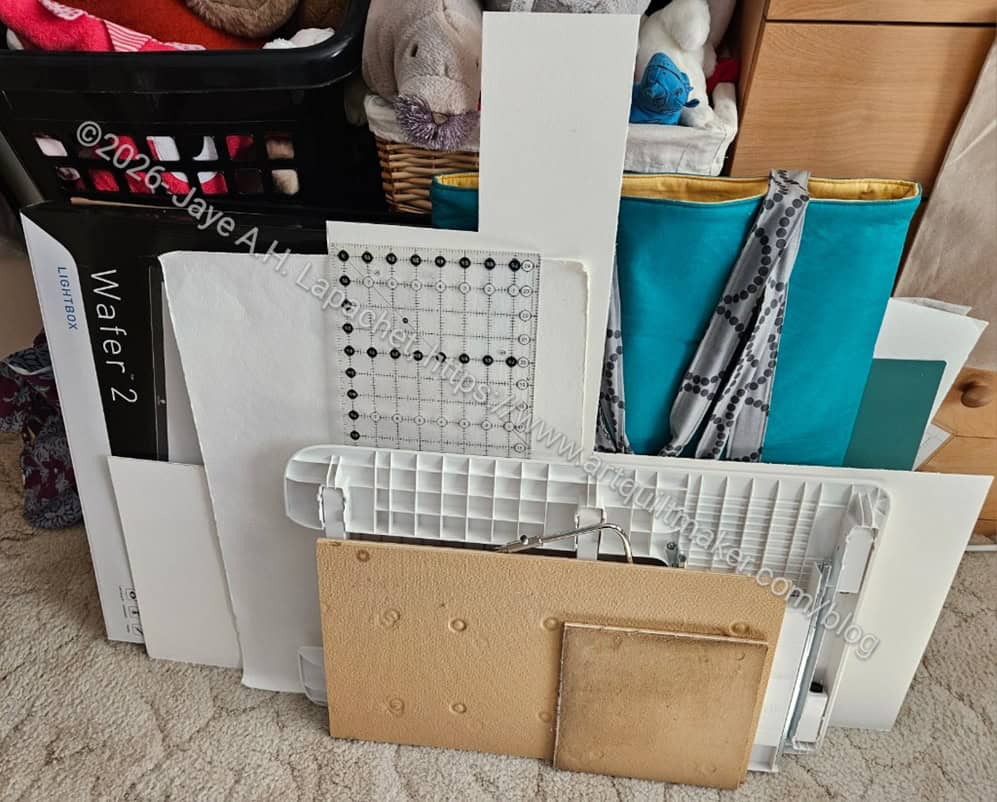
Tall tools and supplies
One thing I am gaining, in addition to a space for the larger machine, is a tall side cupboard, where my tall-ish tools and supplies will live.
These were always just leaned up against the side of the old table. I am looking forward to having everything more organized.
In the meantime, everything is everywhere. I can’t use the machine and my workroom is a mess.
When we had the Oxbow Sew Day at SueS’ house she talked quite a bit about the different methods of attaching the strap holders. I didn’t do any thing about it for the first Oxbow, but I decided to try to acknowledge the sense of her thoughts in this Oxbow.
Oxbow: Playing with the strap holders
I tried to figure out how to add a strap holder that looks good when sewn down and provides added strength for the weight of a full Oxbow. I mentioned this when I started the Oxbow. I was convinced that I could create a support system that would look good and wouldn’t just be the result of my machine being able to sew through many layers.
I did not succeed.
Oxbow test strap holder
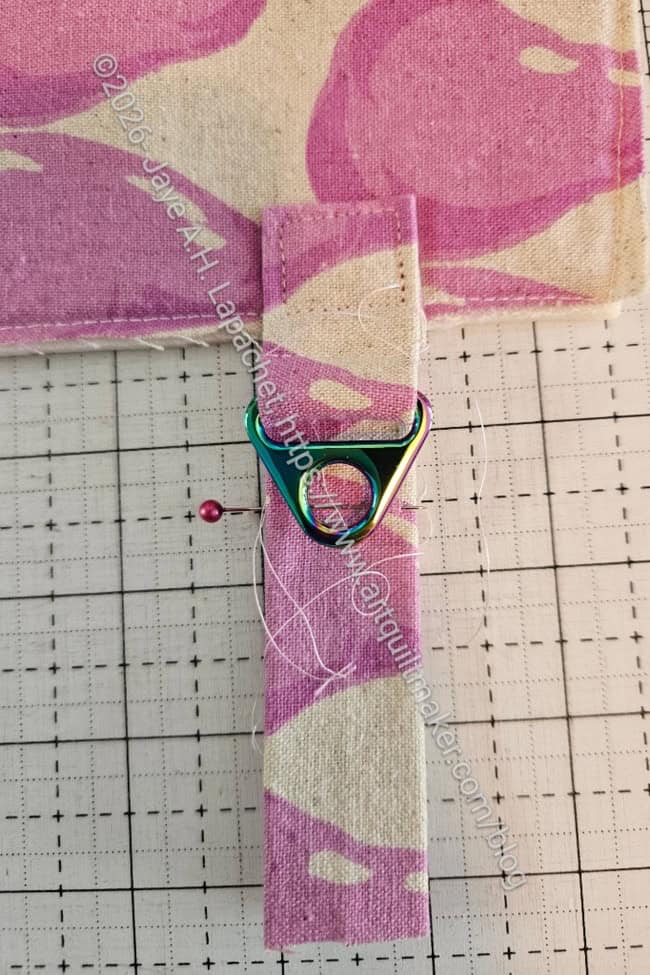
After assembling the front and back Main panels, I sewed a more robust strap holder to the front of the Main Panels.
At this point I was hopeful and pretty convinced I could make my idea work. The strap holder piece sewn to the Main Panel is folded so the raw edge, like the one at the bottom of the photo, is underneath the strap holder. I wanted to wrap it around the back to minimize raw edges on the front and provide more support for the triangle.
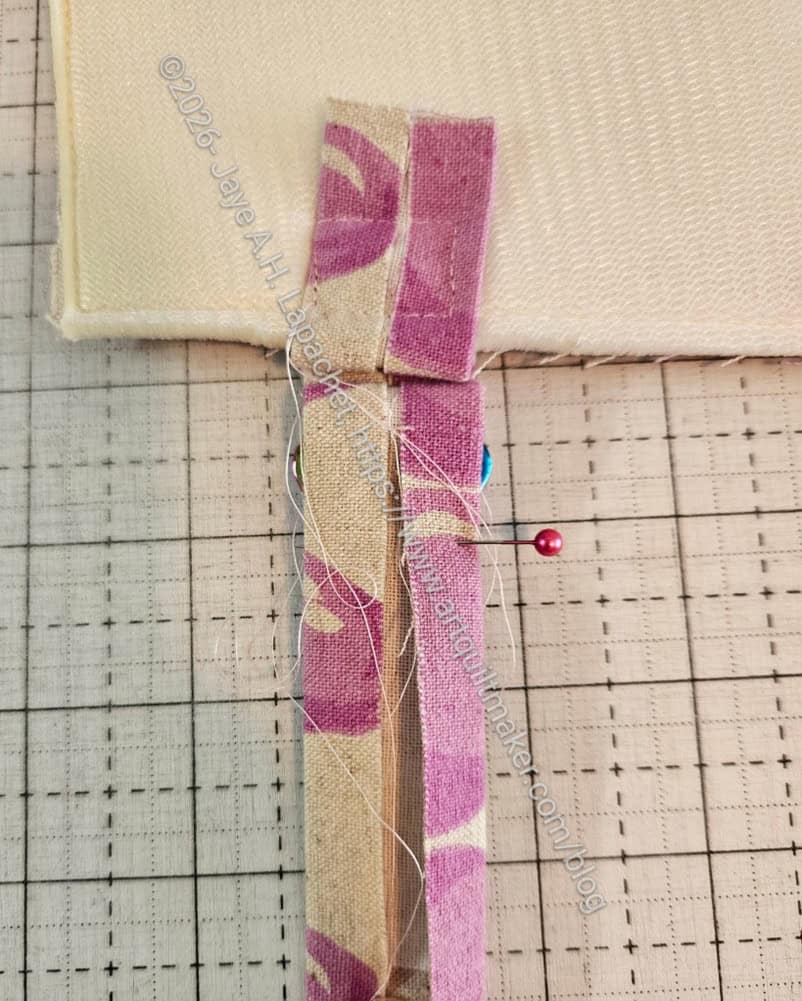
Oxbow test strap holder – back
This part worked okay, except for the wonkiness of my sewing on the back. I could have lived with that, or redone it.
The problem came when I tried to put the Main Panels together. I couldn’t figure out how to do the same stitching for the strap holder on the back Main Panel while trying to keep the Main Panels together, but out of the way and not hit a piece of hardware with my needle. I didn’t have enough hands.
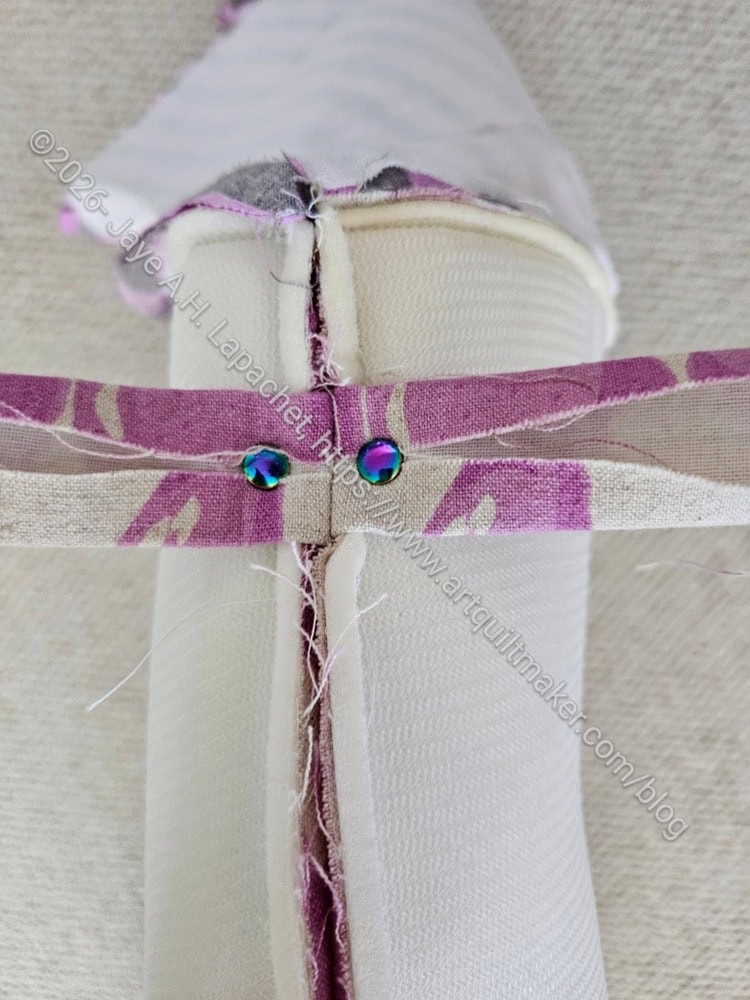
Oxbow strap holder riveted
As you can see, I ripped out the wonky stitching and redid it. I gave up trying to put the whole complex idea together after quite a bit of trying and riveted the strap holder. Was that a cop out? I don’t think so.
I do understand why pattern writing, especially for bags, is so hard. I am struggling to explain to you what I was trying to do!
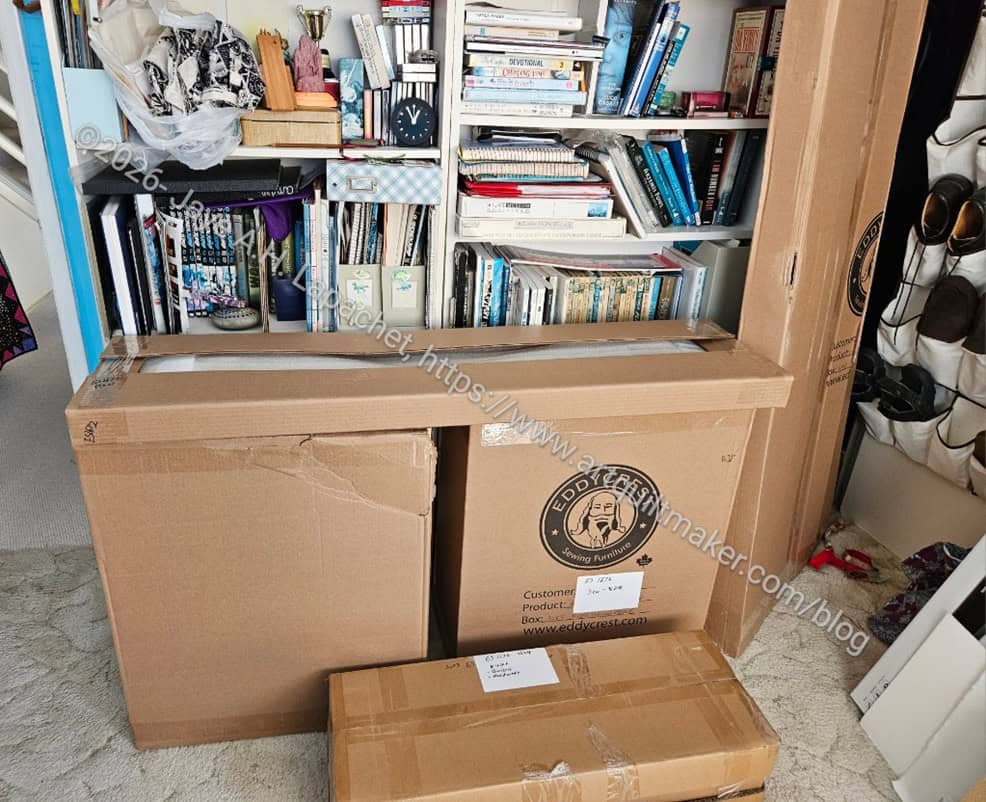
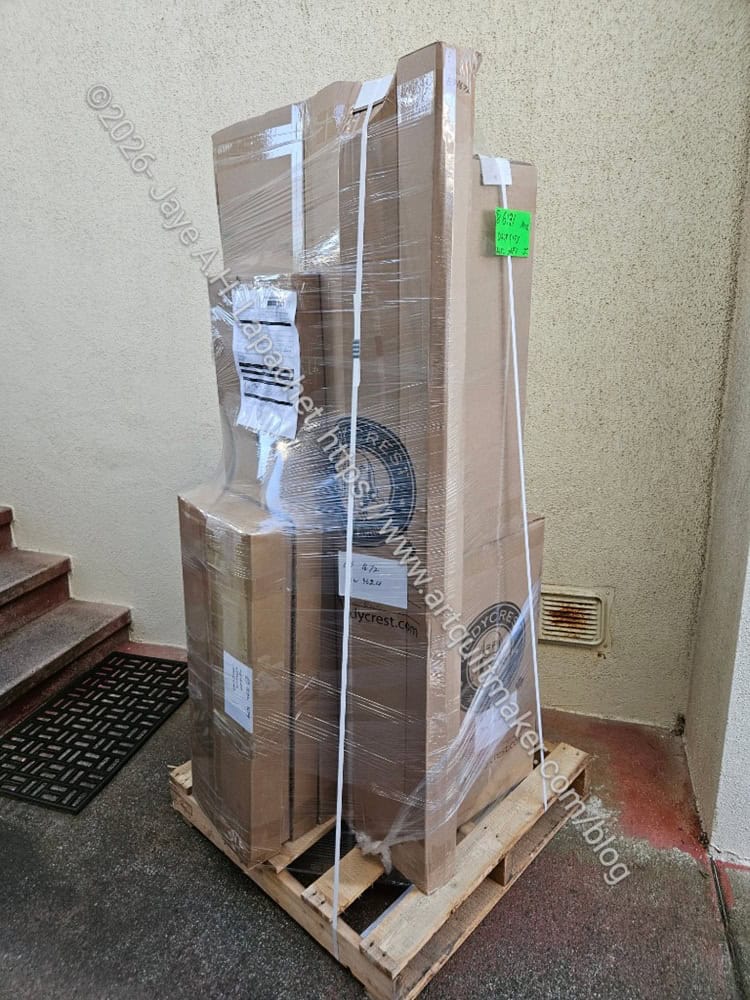
My new sewing table arrived yesterday. I knew it was coming, but I didn’t know it was coming at 8:30am!
Fortunately, I was home. I was looking for a ground sheet to lay out in the driveway when I heard the truck pull up. I was told it would be delivered to the driveway and my driveway doesn’t get sun until the afternoon. I didn’t want any moisture to seep through the cardboard boxes.
I was pleased to see the boxes were on a pallet and covered in plastic. The delivery driver also put the pallet near my front door rather than in the driveway, which is more convenient.
I spent my afternoon free time unloading my old sewing table, moving the machine and generally gearing up for bringing the new table upstairs.
Need a sewing table? My old one needs to go to a new home.
This month 8 was pulled. Another happy choice, though all the projects are good choices at the moment.
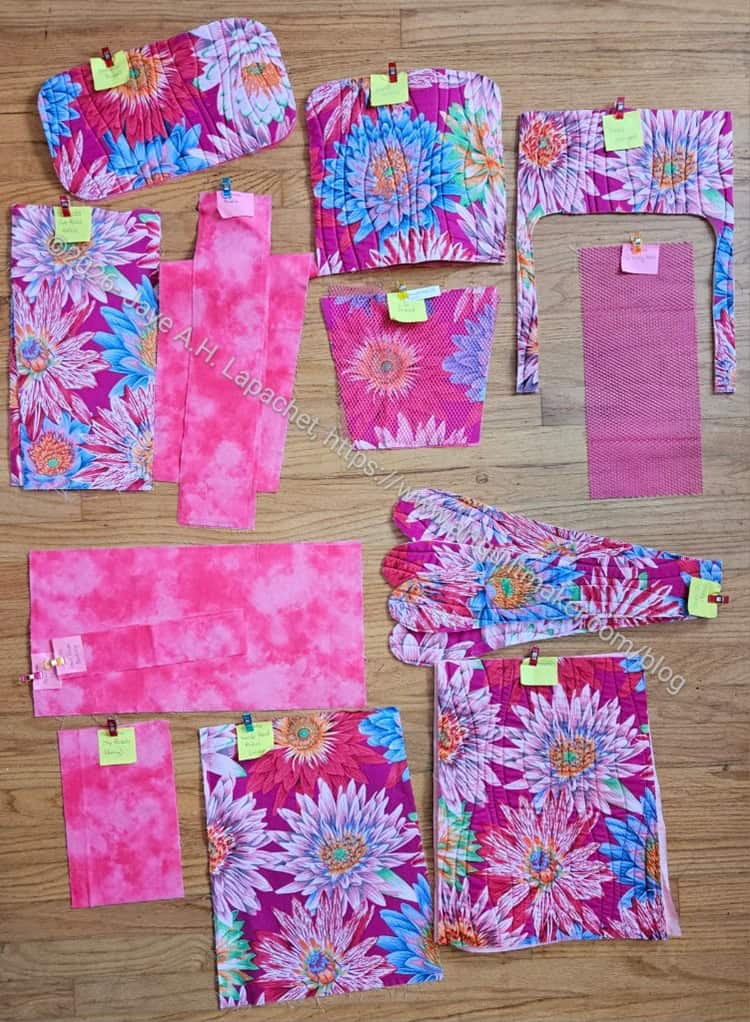
Chickadee Pieces cut out, ready to sew
The bag was all cut out and ready to sew after Sew Day and I just needed to get sewing. I haven’t made any further progress yet. I have plenty of time and think I can easily finish it before the next Sew Day.
I plan to make the handles so they don’t stick up all the time, which means a little extra hardware. I don’t like to make changes until I have made a bag, but I feel like this is an important one.
**Obviously, you should shop at local quilt shops and small businesses, as I did. However, if you are too busy, don’t have a local shop nearby or can’t find what you need, I use Amazon affiliate links. I may be paid for your purchase of an item when you click on an item’s link in my post. There is no additional cost to you for clicking or purchasing items I recommend. I don’t link to items I don’t like. I appreciate your clicks and purchases as it helps support this website.
I made some good progress on the Oxbow last week and am really happy with the progress.
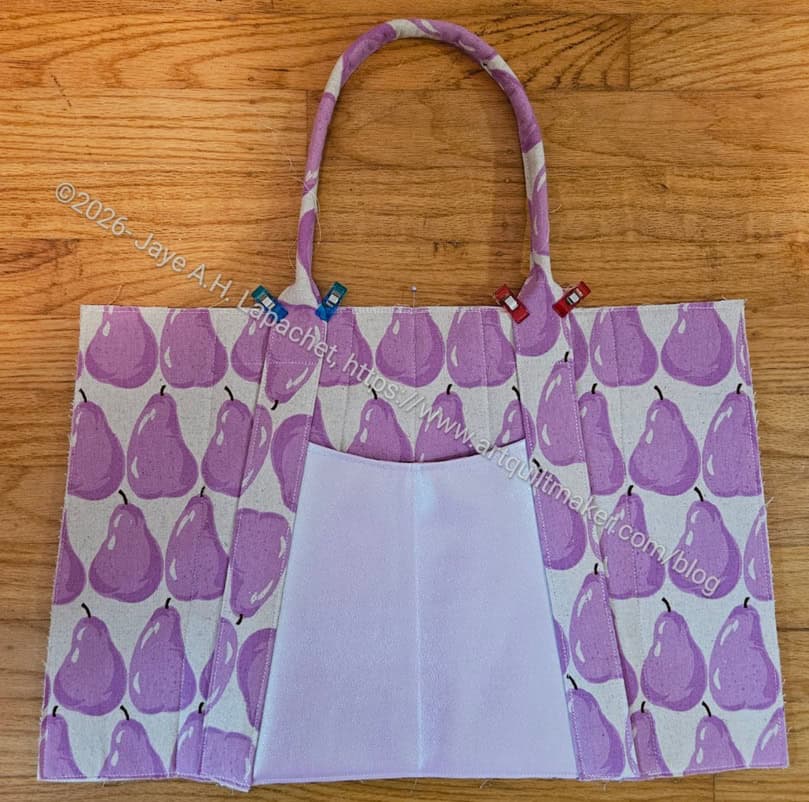
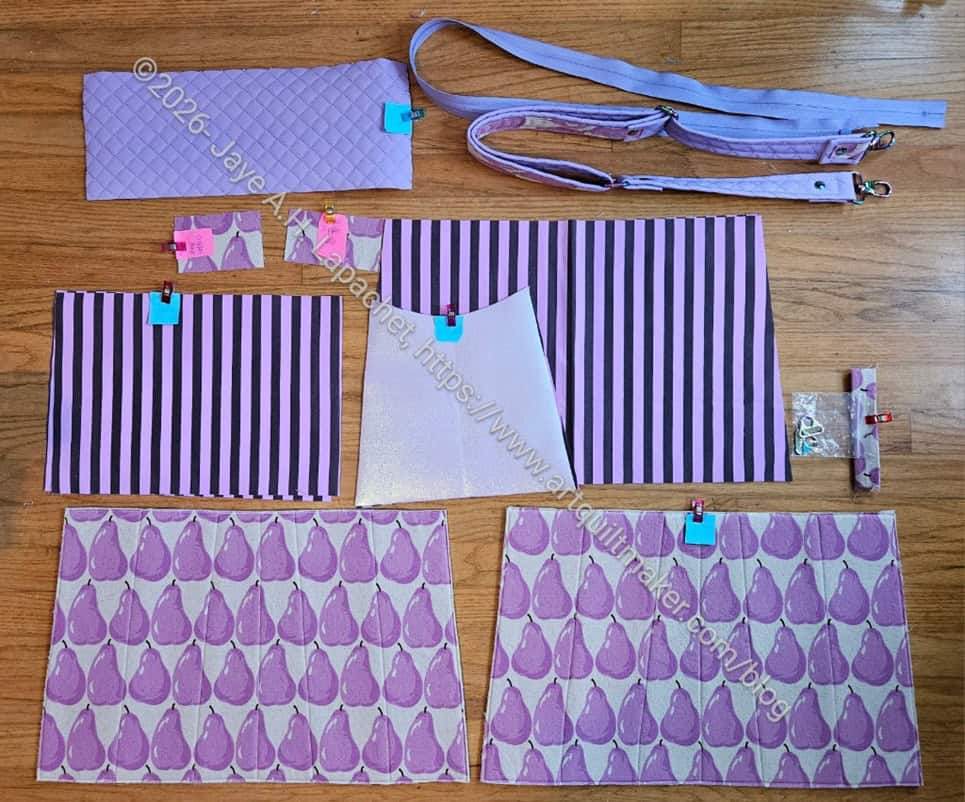
This is the exterior pocket side of the bag, which the directions say to make first. I stopped at this point, because after completing this step, I have to make the other side and then add the strap holders. I haven’t 100% decided how to do that. I did decide I needed to be fresh and ready for a challenge
I often think using the big print fabric, or special fabric, for the Oxbow exterior is a waste because the pocket covers it. I do think that enough of the pears can be seen so it isn’t a complete waste.
I forgot that part of the handle would be upside down. Even if I hadn’t forgotten, I probably wouldn’t have done anything different as splitting the fabric would have meant weakening the handles. I suppose I could have used the lavender quilted vinyl. I did think about it, but I was concerned that even with my new machine, the layers would have been too thick through which to sew.
This bag has a lot of prep, but once you get through the prep, the bag goes together really easily.
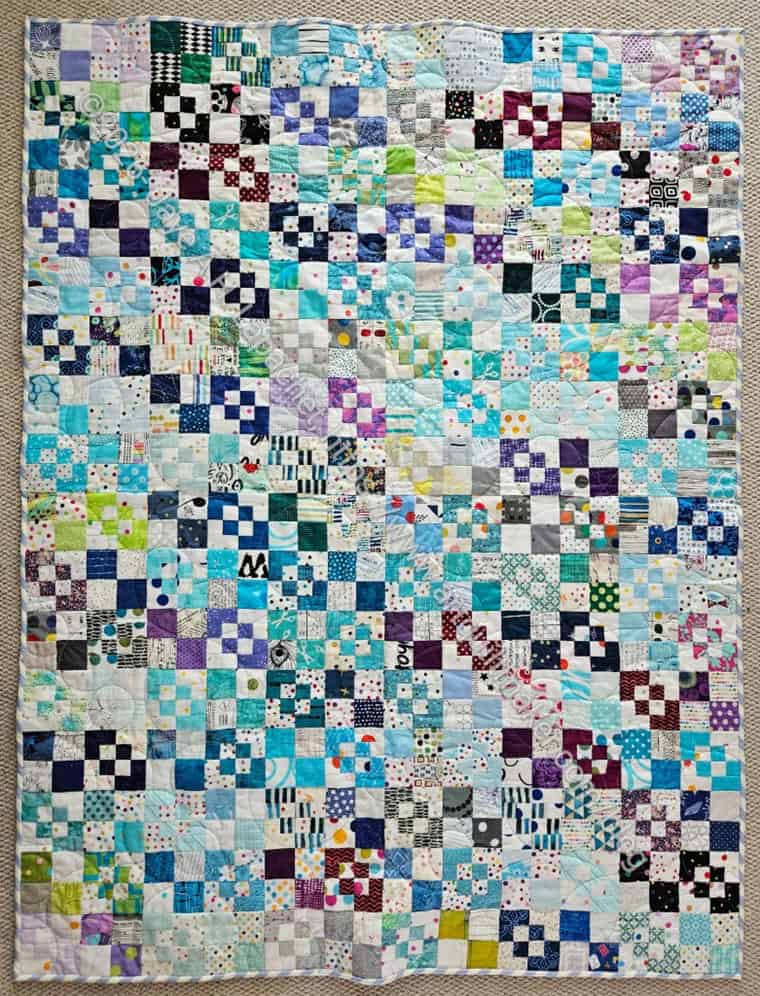
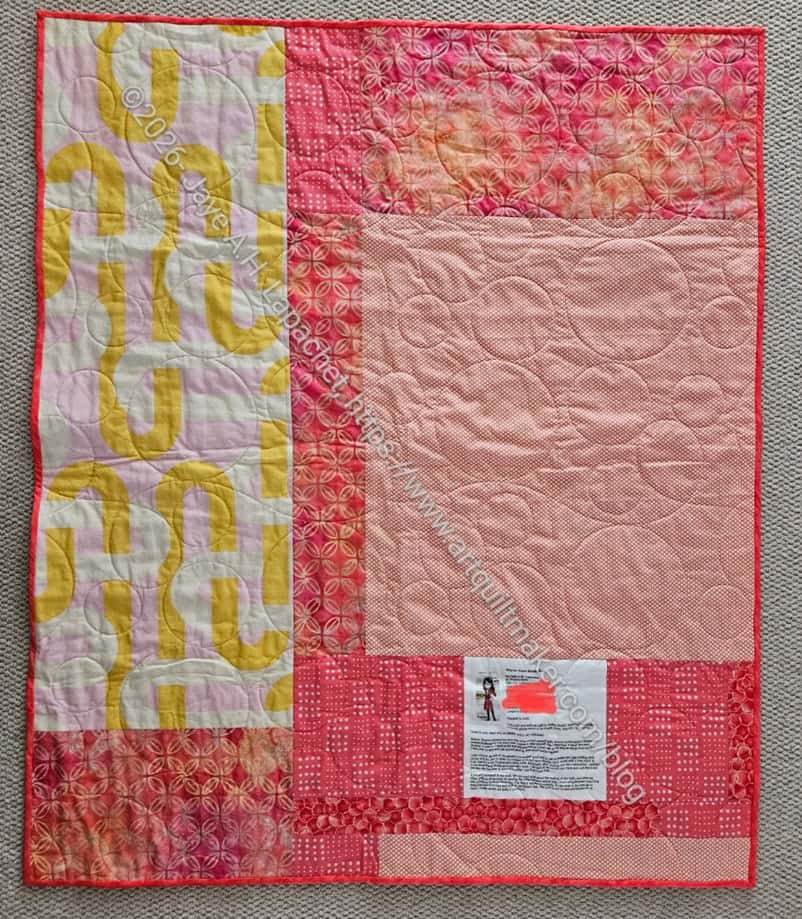
This quilt is larger than the Warm Four Patch Fun. I do use a lot of cool colored fabrics, but it is still odd. I wasn’t counting, but I thought I had an equivalent number of fabrics.
Finished Cool Four Patch Fun – back
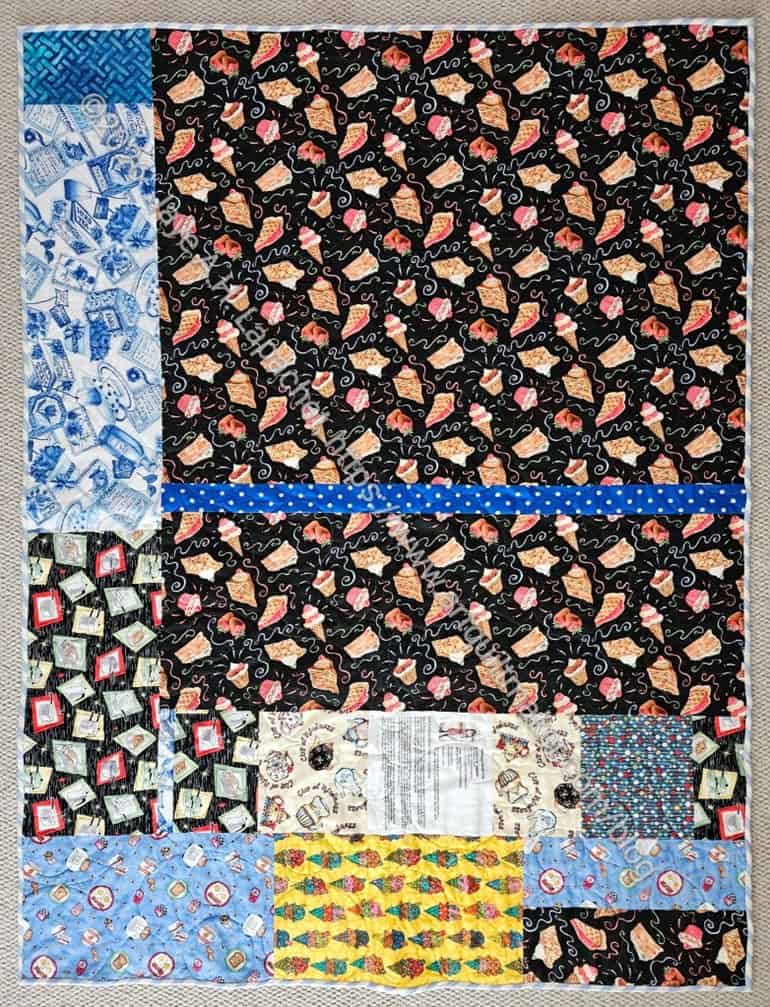
The back of this quilt has more novelty fabrics. I guess I was in that mood.
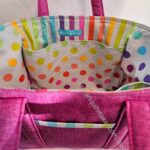
I started the Pear Oxbow the other day. This is a gift for an acquaintance that has been helping me with some issues in the family.
The colors are out of the ordinary for me, but a good challenge.
I have most of the pieces cut out and am working on the prep. Most of the interfacing is finished, though I haven’t done anything about the reinforced bottom. I chose to use some of the lavender quilted vinyl I bought from Sew Hungry Hippie. Usually it needs to be quilted, but I don’t want to interfere with the diamond vinyl pattern. I am thinking of either sewing some foam around the edge or using the Sewfisive self-adhesive stabilizer from Sewfisticated. I am leaning towards the latter. I haven’t decided yet, so I haven’t done anything.
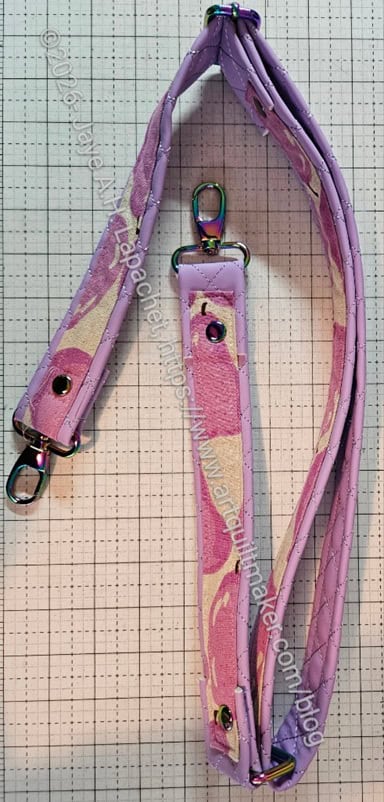
Pear Oxbow shoulder strap
I have made the shoulder strap. I am not sure how I feel about it. It is VERY thick. This means I didn’t need padding and the strap will not ‘self adjust’. It also means that is hard to adjust. The quilted vinyl doesn’t fray, but the raw edges are showing and that makes me a little uncomfortable. Maybe it will be considered BoHo?
I am also working on reinforcing the strap holders. On the first Oxbow I just sewed the strap holders into the side seam. I plan to do the same, but with a little extra fabric so I can reinforce the strap holder and not have all the weight of the bag on the side seam. SueS and I went back and forth about it. She was kind enough to share pictures of what she did so I could consider my options.
Oxbow: Playing with the strap holders
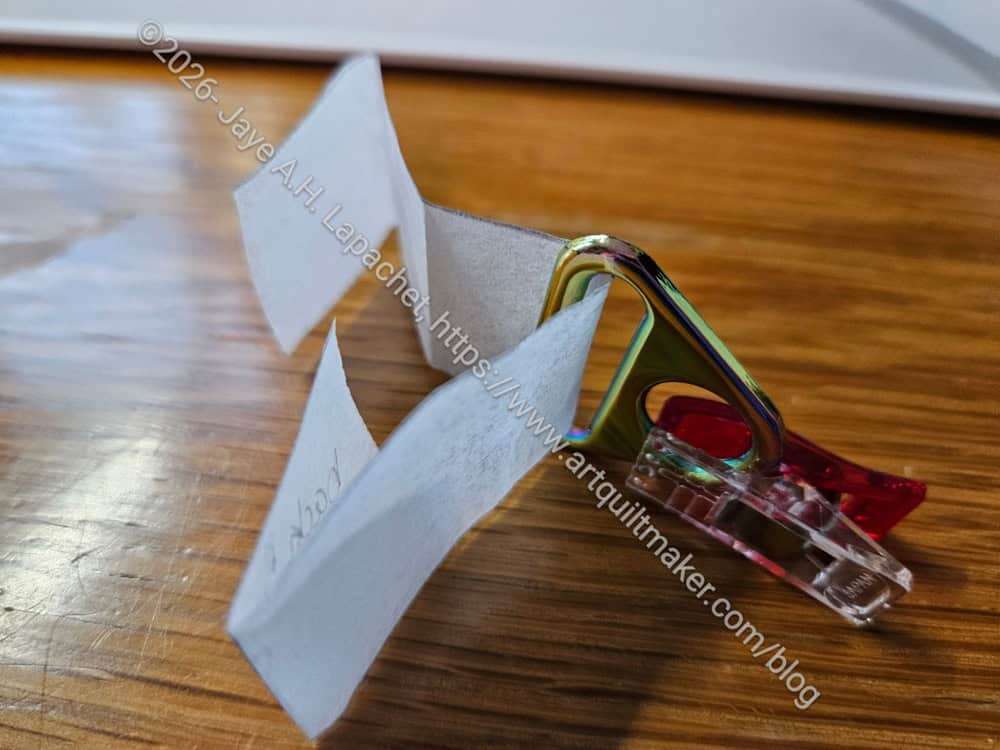
The idea is that there would be a seam next to the triangle. Then there would be enough strap holder so some would be on the inside of the bag (between lining and exterior) and some would be on the outside of the bag. I would reinforce it using a stitched box like normal and then rivet through the two layers of strap holder and the exterior of the bag. My paper test strap holder is in a mid iteration in the photo as I think I decided that that fabric (in paper above) needed to be folded in the other direction. I haven’t sewn anything yet.
Sometimes I think of things and then I realize why it isn’t included in the pattern as it is very difficult to describe. I am having fun trying to make the solution work.
Other prep is the zipper, which I had to order in the right color, making the interior pocket, and making the handles. I am in some stage of making all of these. Yes, I have been jumping around. Once they are all prepared, then I can start sewing the bag together.
SueS reminded me that Noodlehead has some videos I can look at.
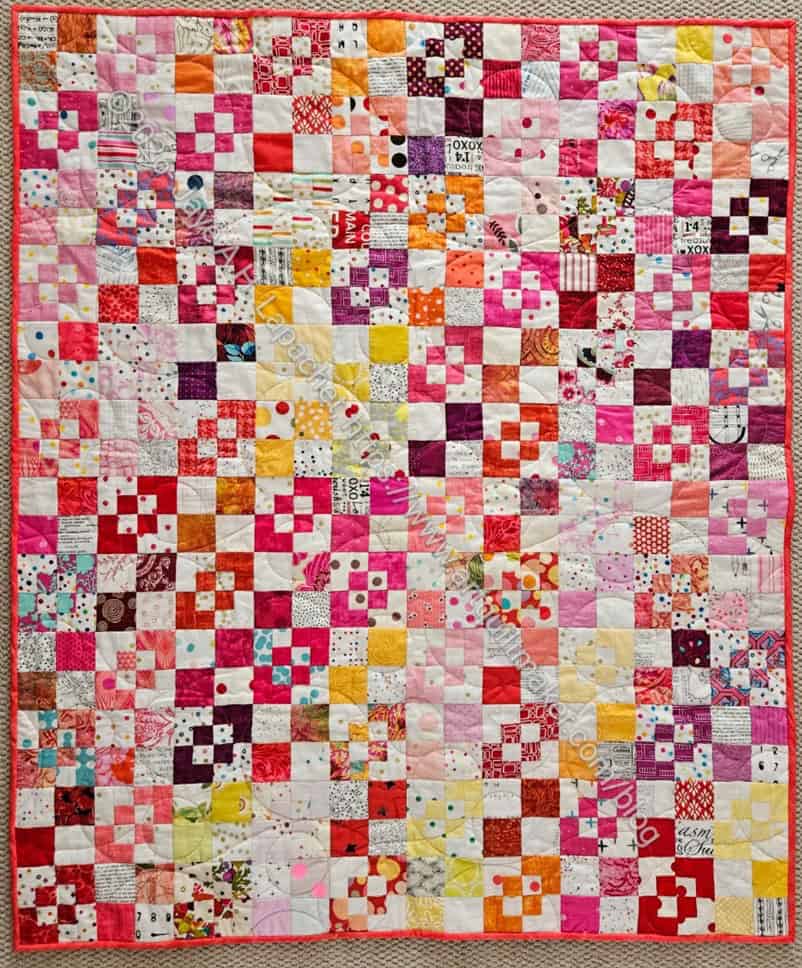
I finished the binding on the Warm Four Patch Fun. I really thought this quilt was larger, but it is relatively small. Kind of surprising since I use so much pink. Oh well, I hope it will be a good drag around quilt.
Finished Warm Four Patch Fun – back
The back is another melange of random fabric. I do try and keep to a theme if I can. This time it was peachy pinks.
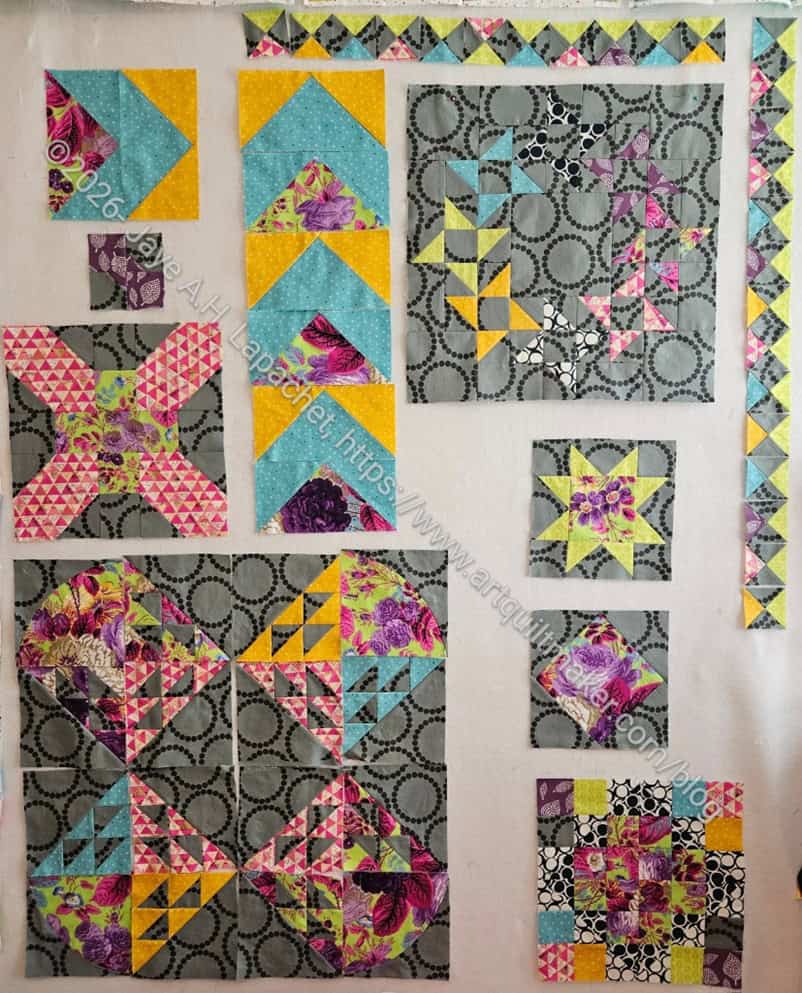
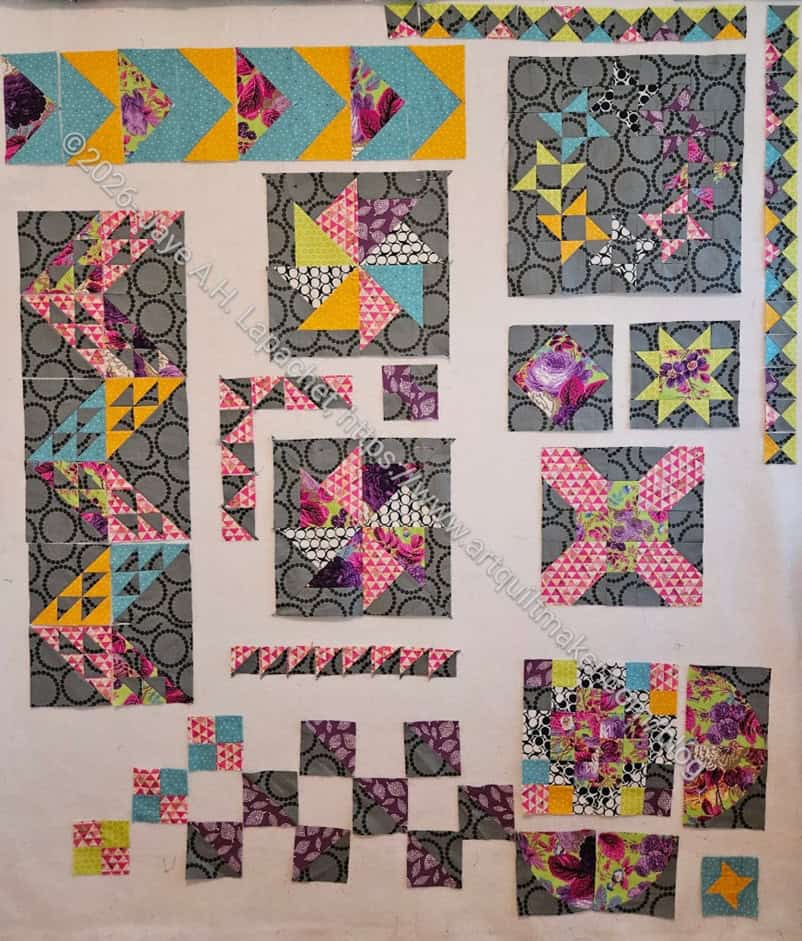
All of the blocks for the guild Block of the Month are done. We will have the layout party at Sew Day in November. I decided to put my blocks up on my design wall to see what I could do with them.
I am thinking I would like to get the top sewn together so I can focus on helping other people get theirs laid out during the layout party.
The blocks shown are the major blocks, mostly. This doesn’t now show anywhere near all of the blocks. I just wanted to get something up on the wall to get started. Each iteration provides information.
BAM BOM on the design wall – 8
I am not going to bore you going through all the permutations and changes that I made.
Version 8 is the best one so far. You can see some of the ideas that stayed, most notably the upper right hand corner.
I am thinking of making four more Birds in the Air blocks and at least one more Sawtooth Star. The bottom left hand corner is very light feeling and the whole piece is a little top heavy.
I am also thinking I won’t use the grey Pearl Bracelets as the background. First, I may not have enough and second the pearls make the background really confusing when parts are sewn together. I am thinking of a similar color in a solid. I need to look through my greys and at my color cards.