Pincushion Gifts

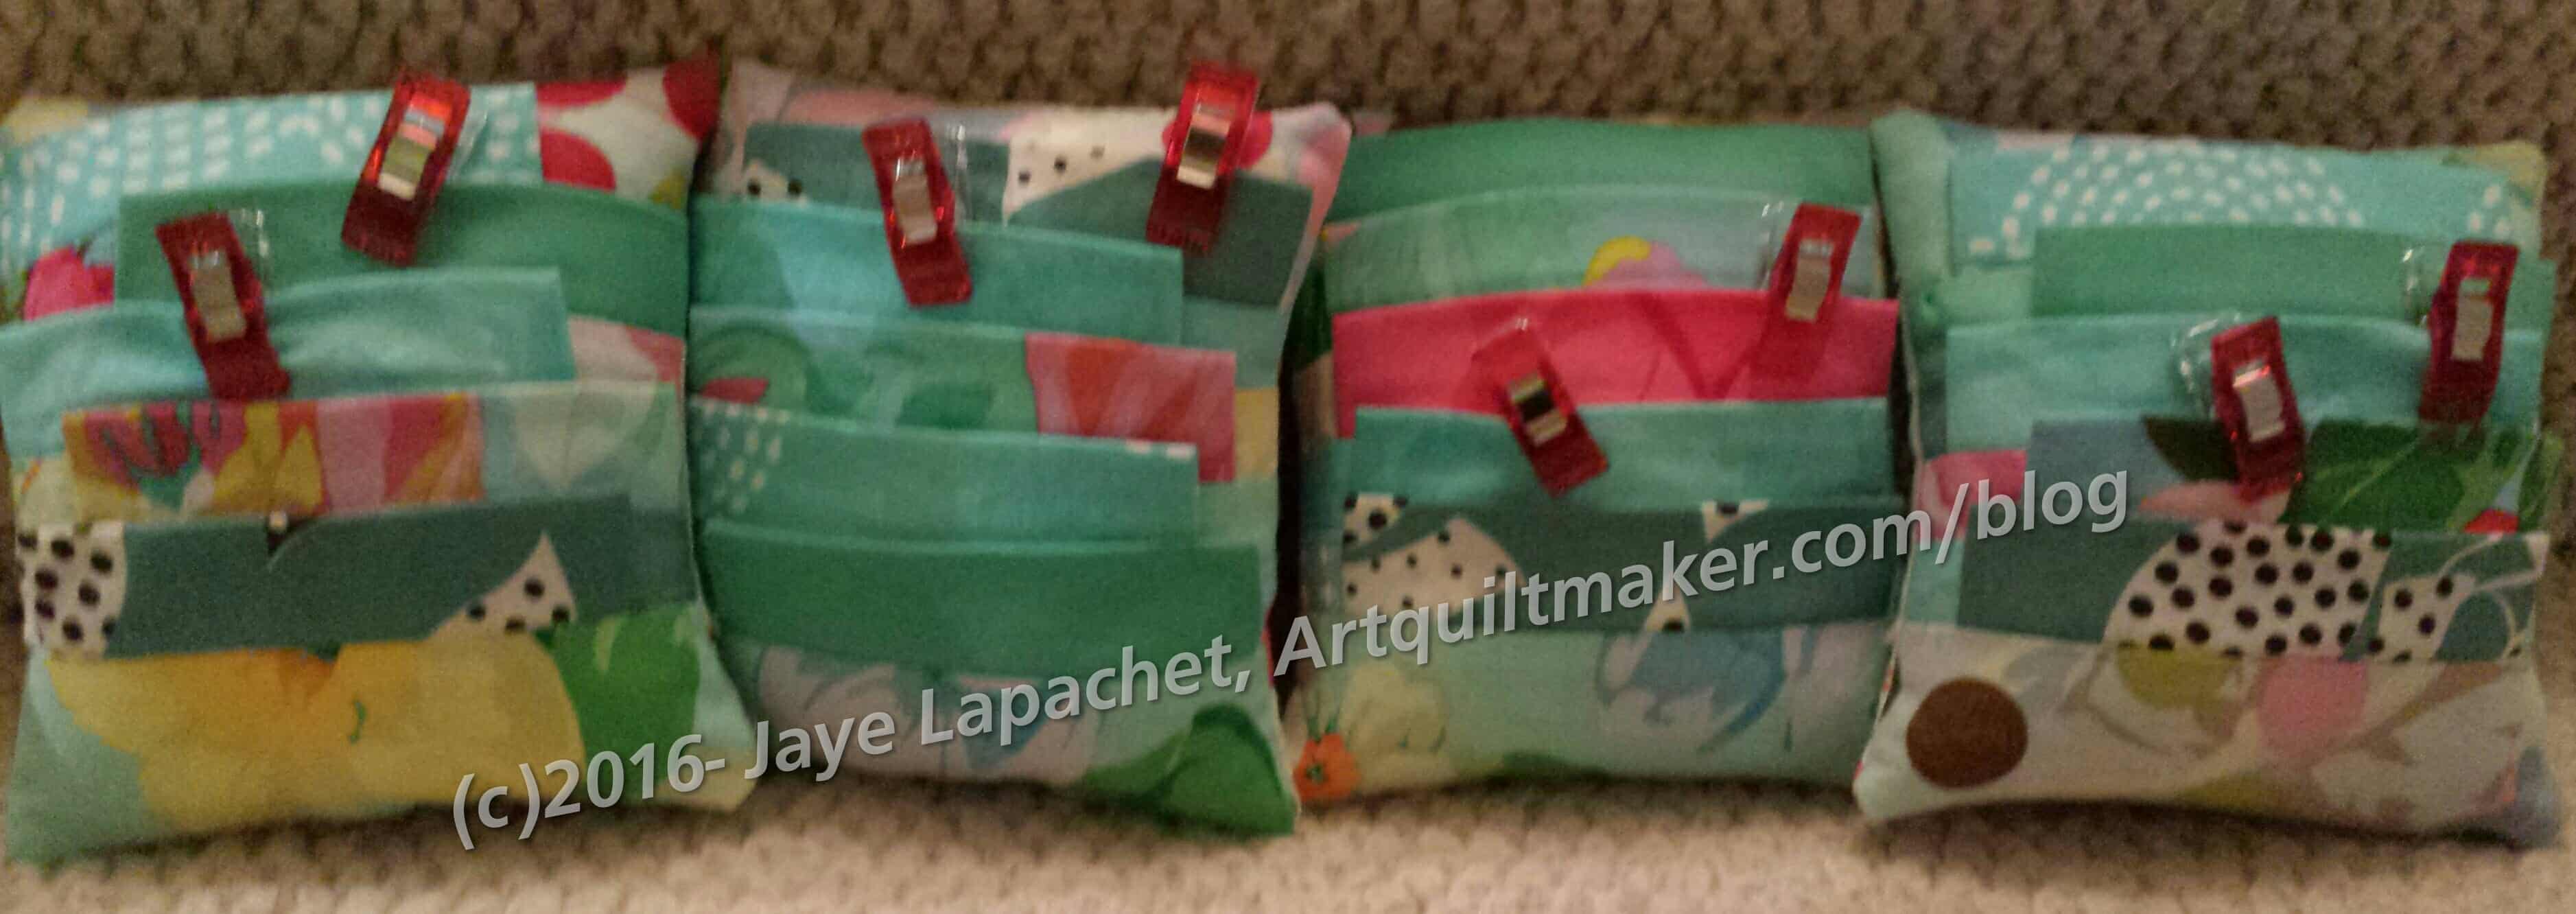
Pincushion Clip gifts

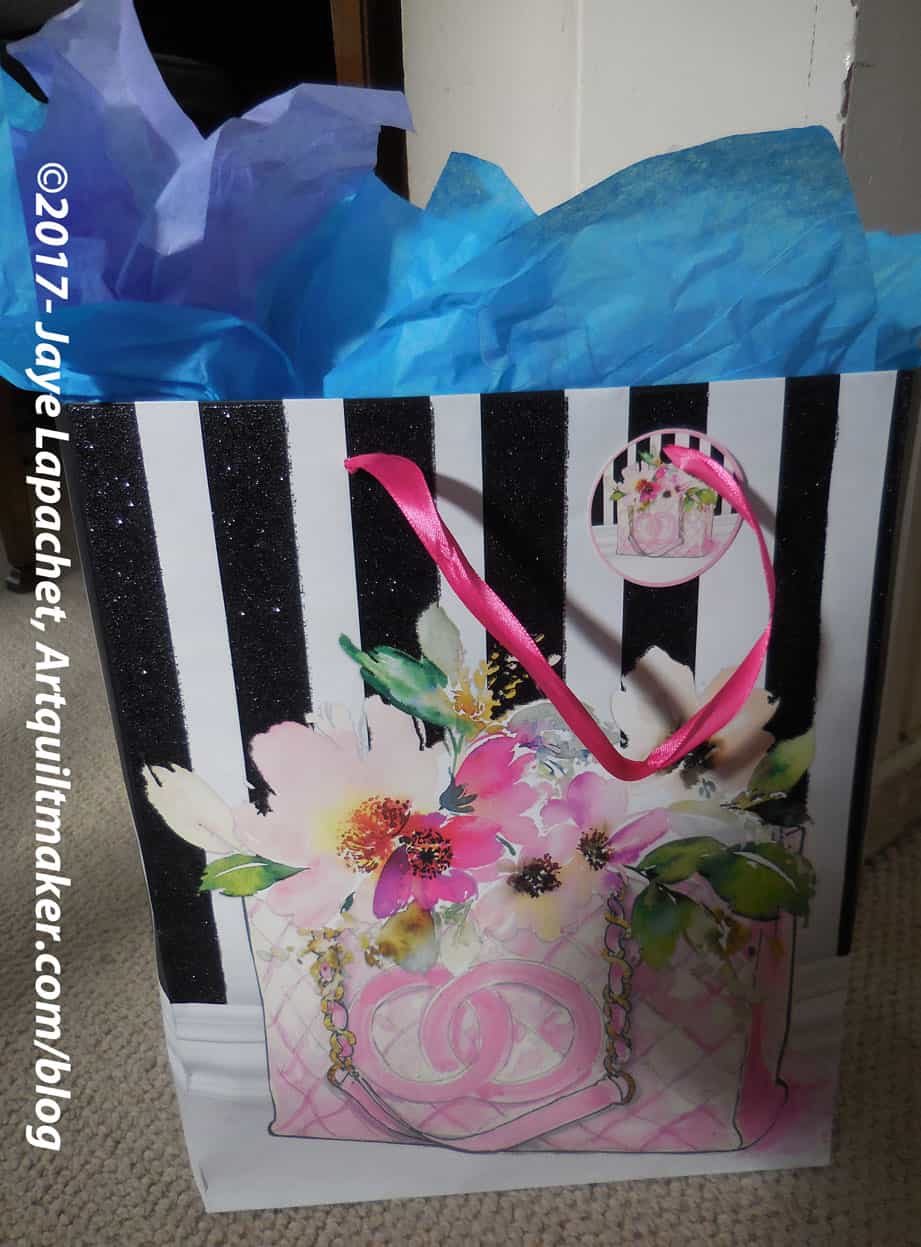
I wasn’t be at the guild meeting yesterday, which made me sad. Kelly, of the Kelly bag fame, pinch hit for me with the officer gift bags. Thanks, Kelly.

Many guilds give their officers quilts as thank you gifts. I am of the mind that we all have enough quilts, but a tote bag (simple or complicated) full of lovely small gifts is great for everyone. Since I organize it, that is what we do. When someone else takes over they can do something else.

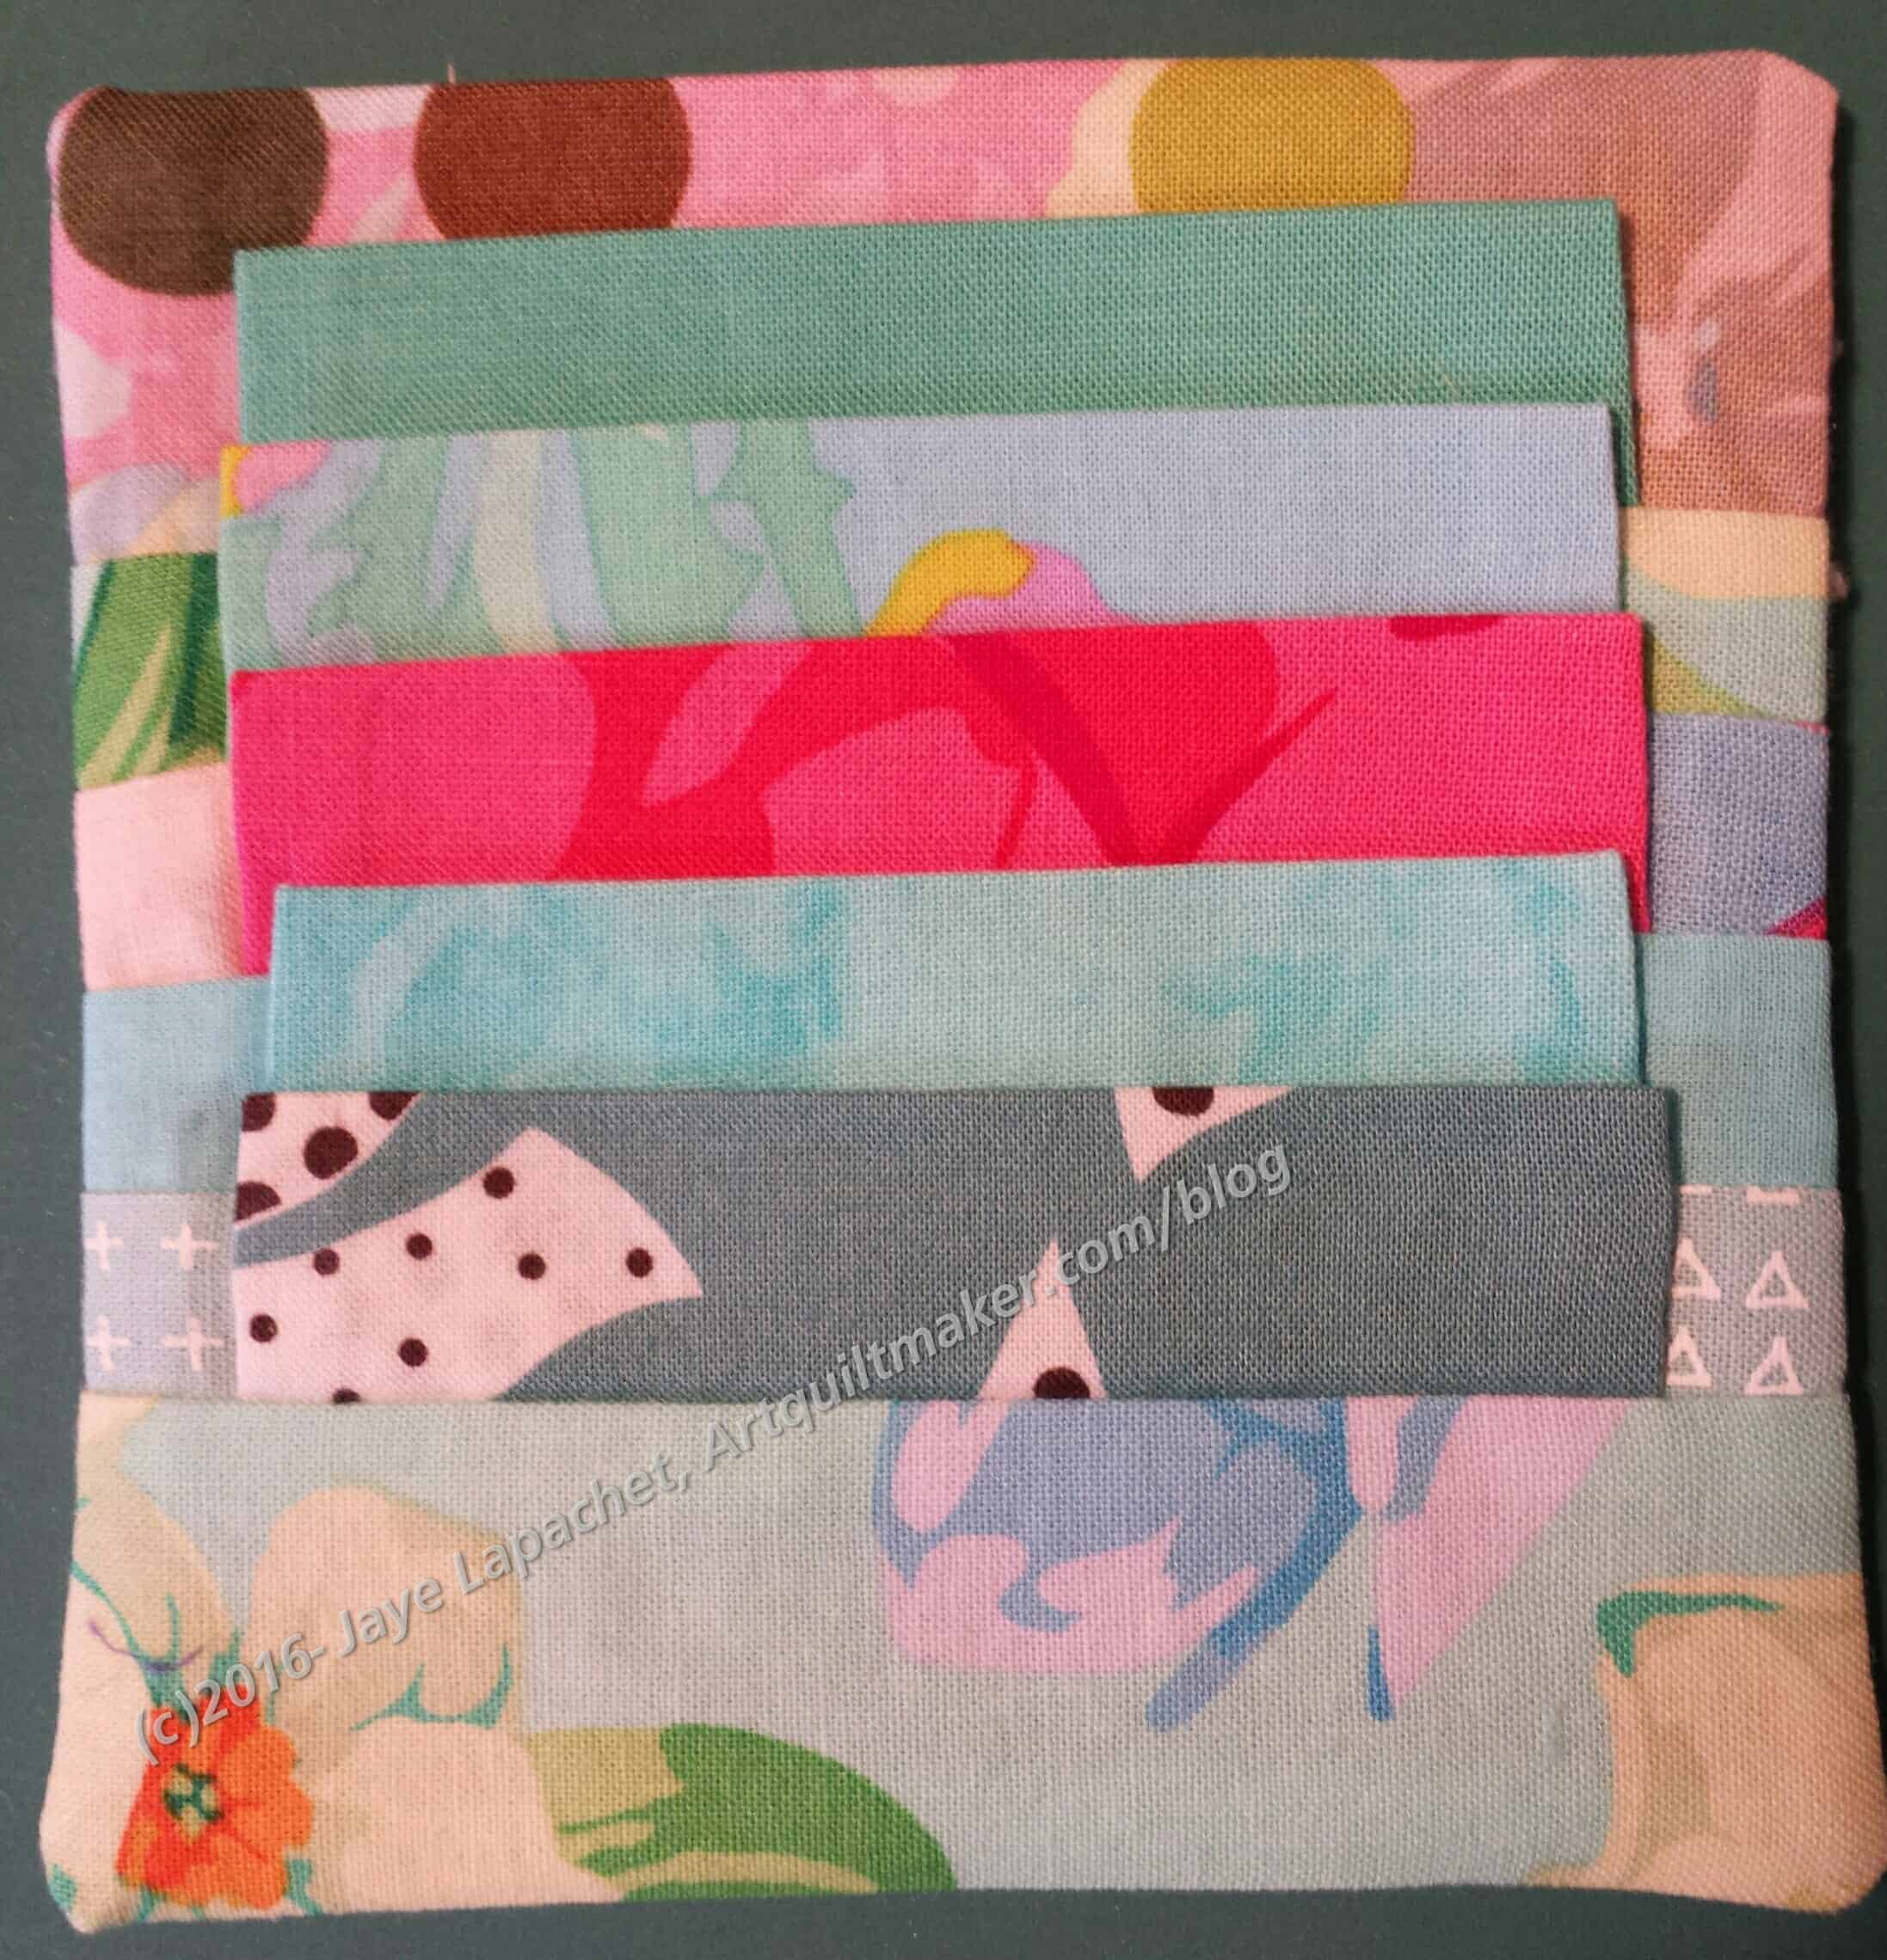
Pincushion Wonderclip Holder

I cut the pieces on that last Sew Day then worked on my gifts the day after. The cutting is always the worst for me. There wasn’t much so I can’t complain. The sewing went remarkably quickly – so quickly in fact that I felt like making half a dozen more.

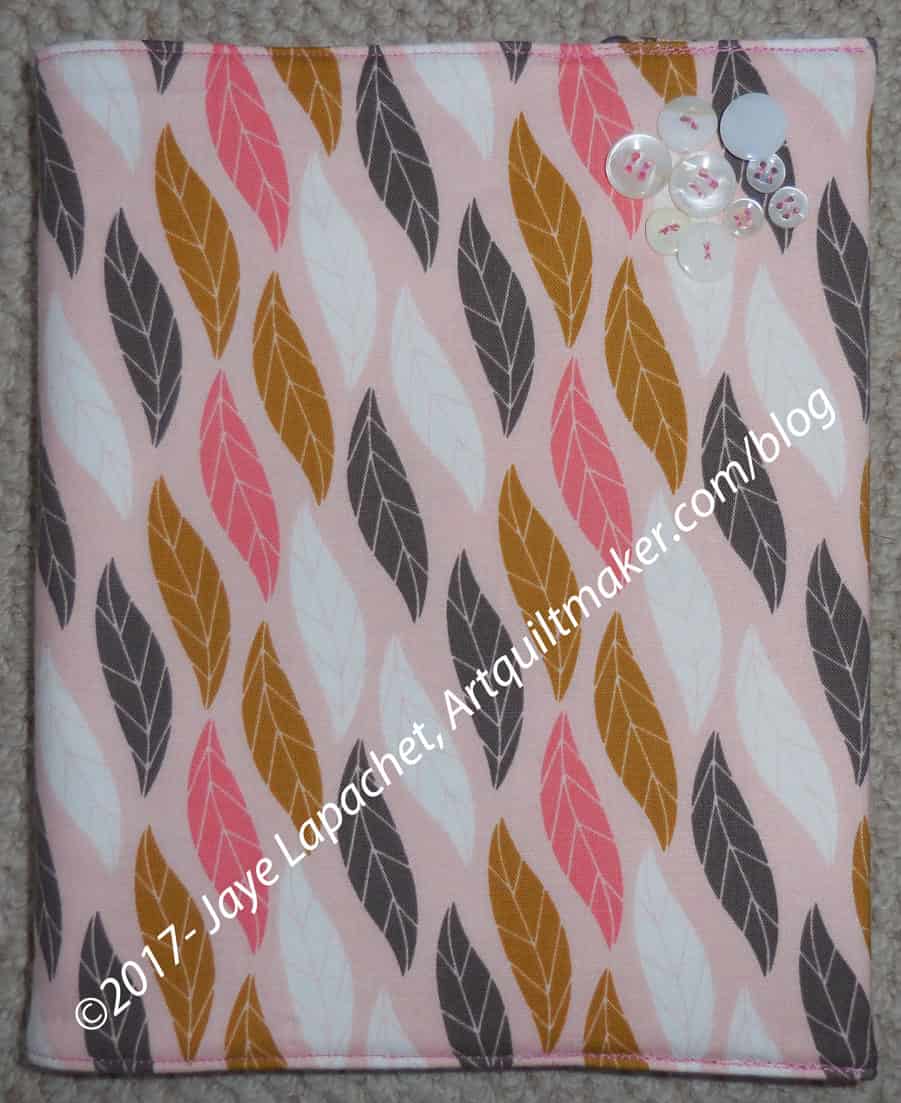
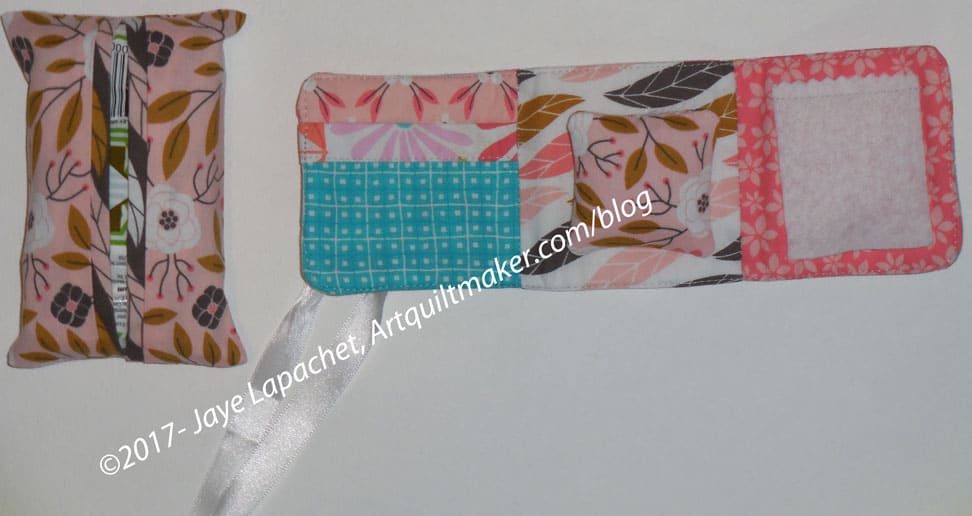
As I mentioned the fabrics were all scraps except for the back (5″ square). I made fabric by sewing selvedges together. I am tempted to do that again, but will try to resist saving another thing. The other fabrics are heavily from the Kaffe Collective, especially my man Phil (Philip Jacobs) and Martha Negley. I know these fabrics aren’t everyone’s cup of tea, but I hope the officers like them.

Pincushion gift pre-stuffing

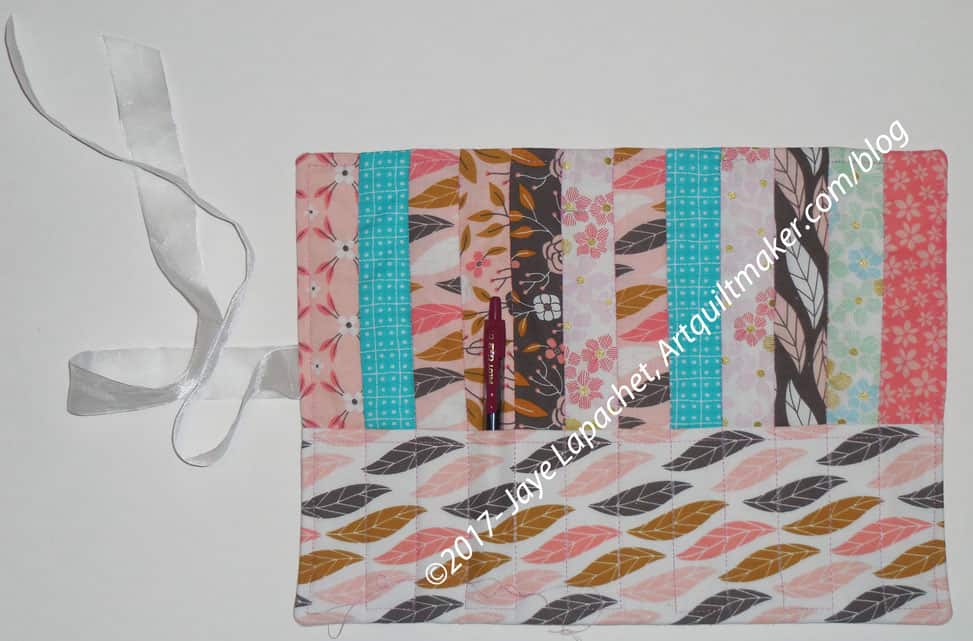
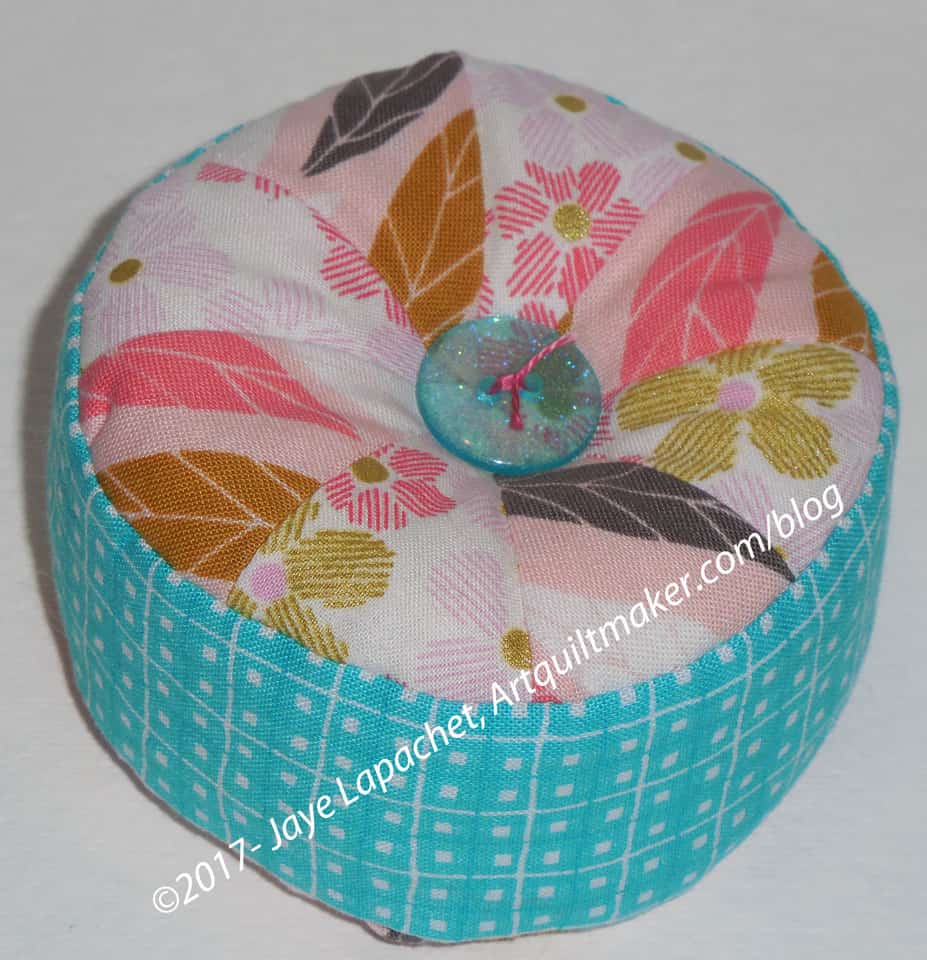
The pattern says to line up the clip holders evenly, but I only did that for one. I thought the uneven rows would add interest, but I am not sure now.

I used some of my Beanie Baby beans and some stuffing leftover from Red and Coral. I hope it is good enough for its purpose.

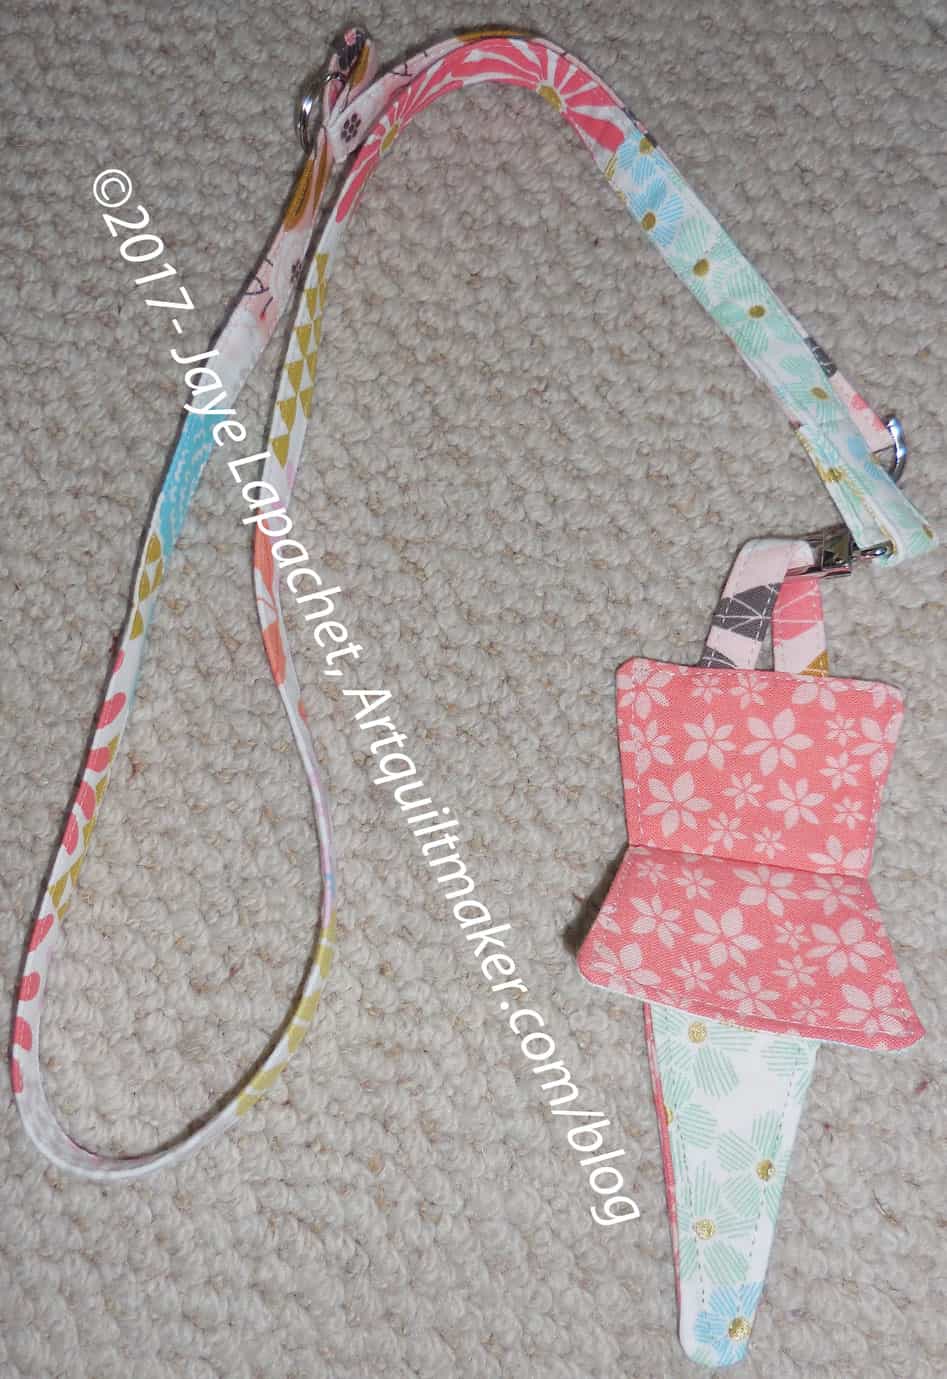
The flaps you see are to hold Wonderclips (see photos above). My Wonderclips are holding the hole closed until I could sew it together. I plan to put a couple of clips and some pins in each one to show their purpose.

Finally, I sent them to Kelly so she could put them into the bags for me. I found the pattern in Love Patchwork and Quilting, issue 39. It is available digitally in the Apple and Google Play stores. It was a quick and satisfying project. I was able to make four of them in about an hour minus sewing the stuffing hole closed.

I think this will be on my list of small gifts to give to people for whom I want to make a quilty gift.

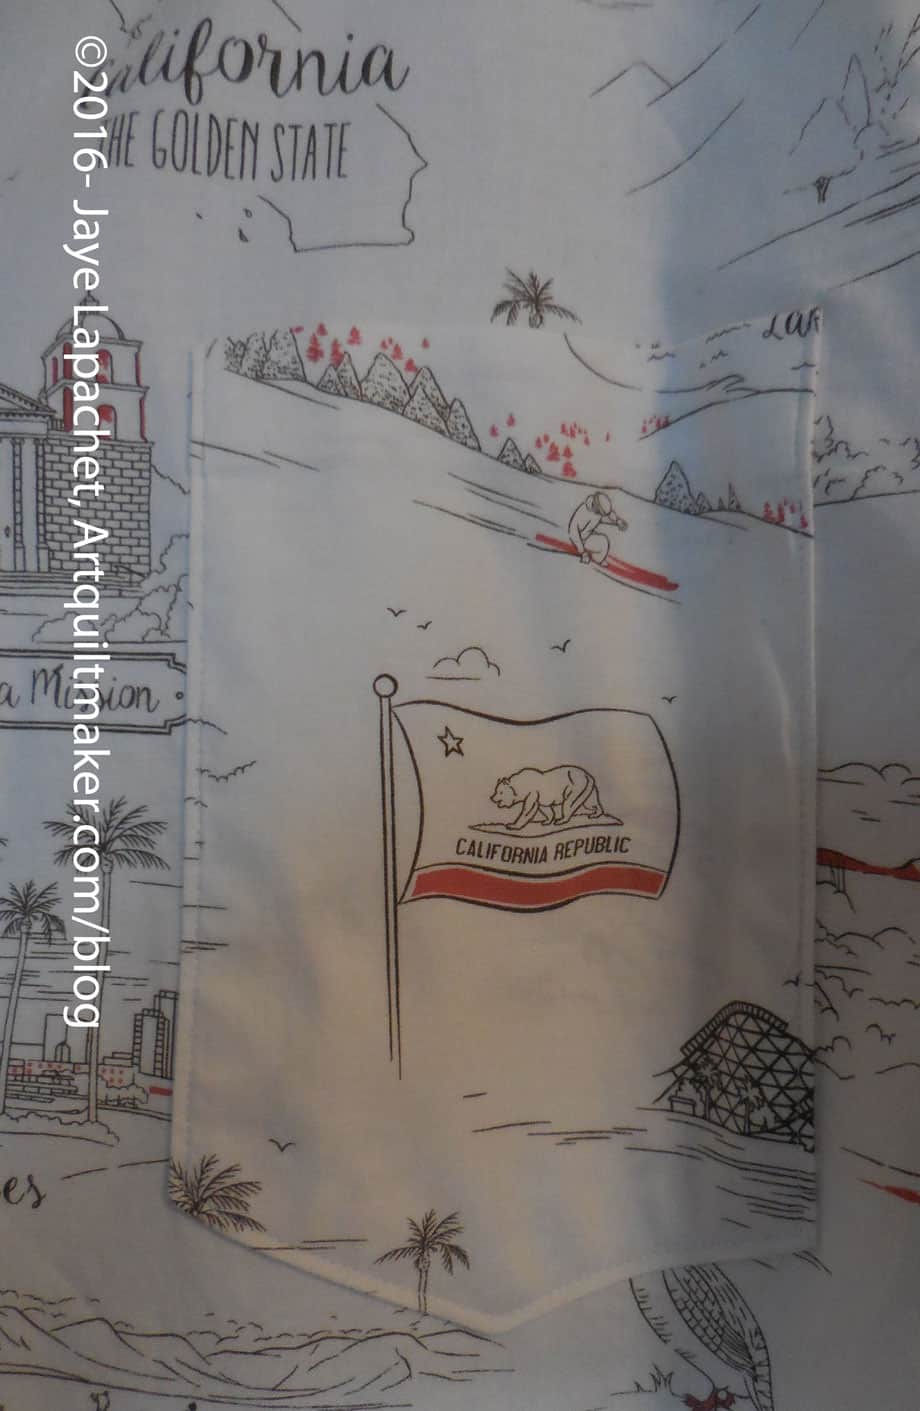
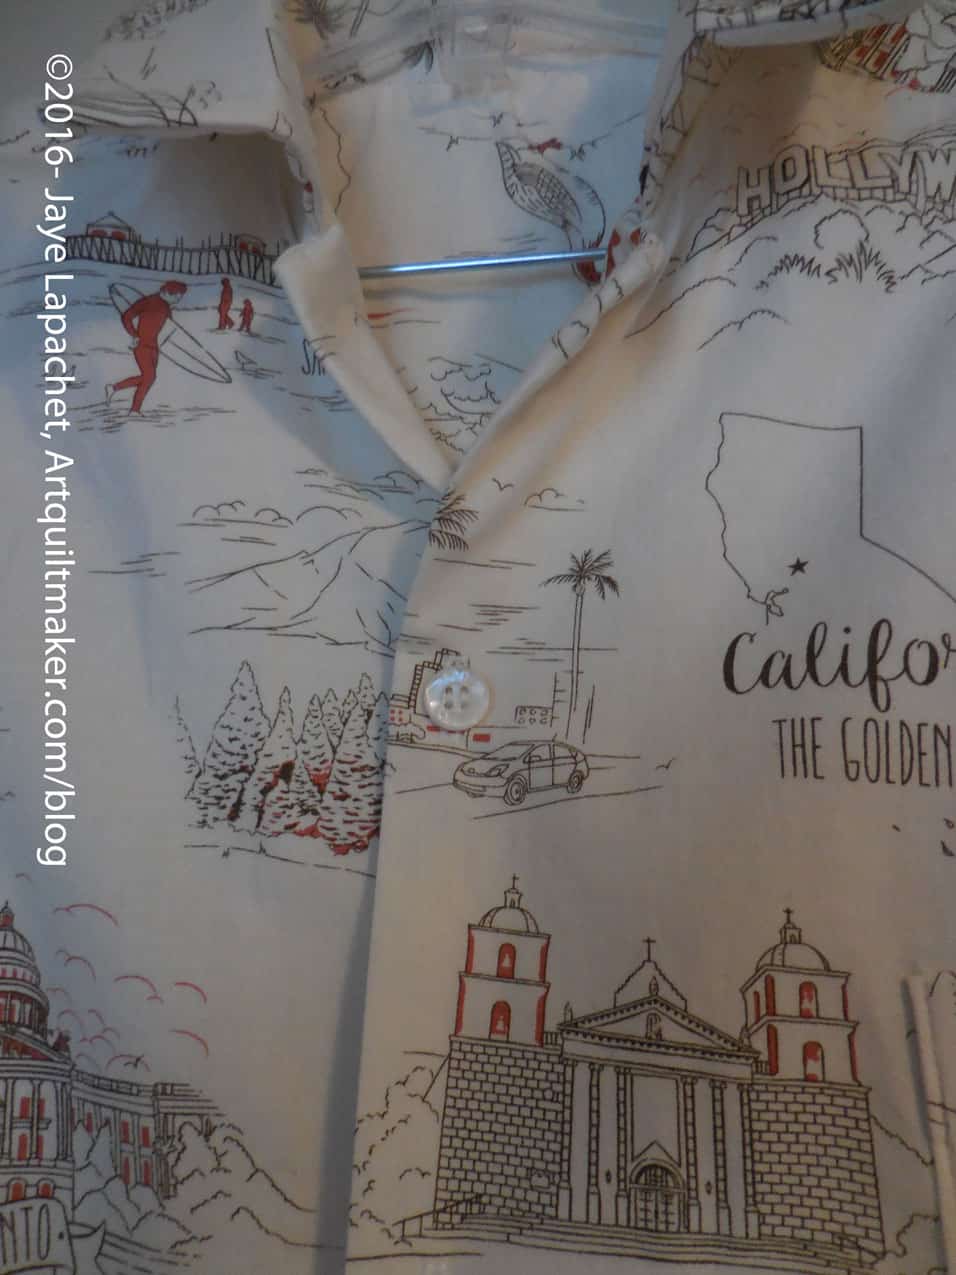
California Shirt detail

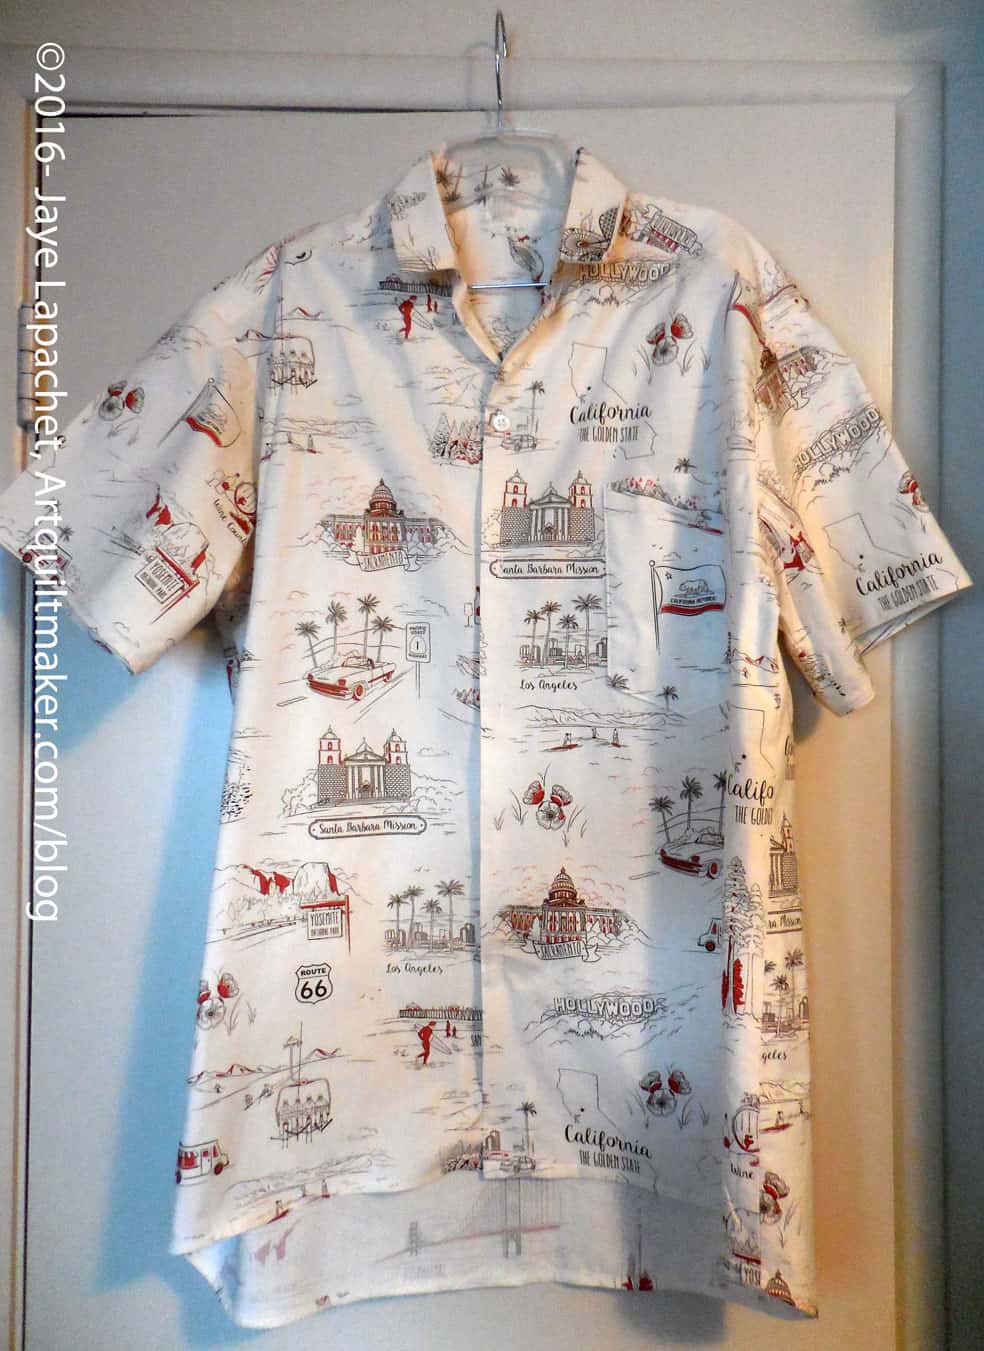
California Shirt
California Shirt

The other day I talked about the shirt I made for DH for Christmas.

I  decided I wanted to talk a little more about the details. The motifs lend themselves to fussy cutting and where I could I tried to use that technique to make the shirt more special.

It didn’t always work out. I cut out the collar with the state capital beautifully centered and realized that it would come out upside down. Oh well.

California Shirt n.3 detail

I did succeed on the pocket. I wanted to make the pocket larger since he has a larger cell phone now. Larger pockets can be floopy so I lined the pocket with ShapeFlex to give it some bulk and make it stronger. Pockets aren’t that large so I was able to find a scrap that worked really well. The flag will draw some attention from the Native Sons.

I have successfully made buttonholes I like at TFQ’s house on her Bernina. I have never figured out how to use the buttonhole foot on my Janome 9000. I did get a lesson on the DC5100 and I knew it wasn’t difficult. I hauled that little machine over to SIL’s (the YM came over and carried it home for me when we finished) and used it to make the buttonholes.

I took a prepared scrap over and did a couple of test runs. The test buttonholes came out beautifully, so I decided to go for it on the shirt.

California Shirt button closure

Failure. I got and error message, the start of a buttonhole, then a straight stitch going in the wrong direction. 🙁 SIL said that she needed to make a project with 100 buttonholes in order to feel confident. Very true, for many things, I think.

I eventually made the machine work by turning it off and on again between each buttonhole. It was a pain and I had to reset the settings each time, but I got all of the buttonholes done.

The buttons came out of a jar that TFQ bought for me at Road to California. I really like them and think they fit the look of the shirt very well.

The photo directly above has a great shot of one of the missions on the fabric design.

The Gifts That Could Have Been

When I went into 2016, I had a list of gifts I wanted to make. As I have mentioned, there was a good portion of the year where I felt uninspired. Many gifts were not made.

As I took out the card holder I made for us a few years ago, I thought about what a great gift that was and how hard it is to make something that good again. The siblings and cousins are getting fudge, nothing sewn.

I wanted to make a couple of tote bags and pincushions as one-offs for people. I also had the idea to make a couple of Sew Together Bags. There is still a possibility, but not for Christmas 2016.

I need to be more organized next year, starting with finding a pattern that has a lot of bang for my buck, eg interesting and usable, but doesn’t take 40 hours to make. I have a week or two before I have to be serious about finding such a project.

Gift Post #1: California Shirt (n.3)

PSA: If you aren’t already sewing for #BDSI, get to it. I am on my way to contribute my tweets and grams!

California Shirt
California Shirt

I am not sure why I do this to myself. Garment sewing is hard. Fortunately, my SIL lives around the corner and she held my hand throughout the process. I worked on this only at her house until Friday when I pressed it and wrapped it.

I know why I made this shirt, actually. It was all about the fabric. This was a particularly nice print of California fabrics and I just had to make DH a shirt.

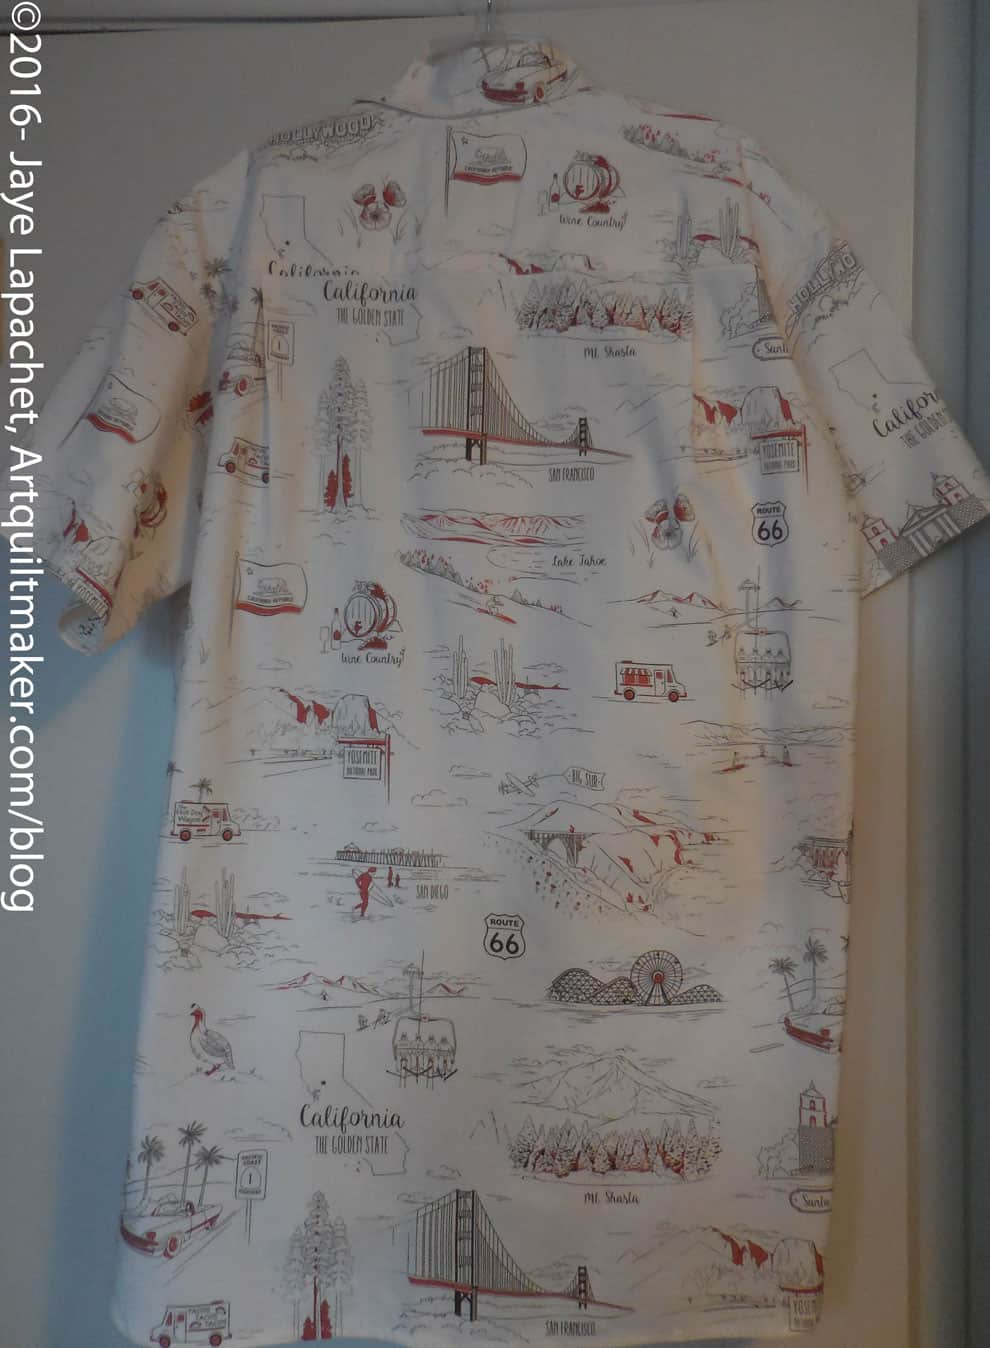
The motifs really depict California rather than being some kind of idealized version of California. I was pleased with the fabric design, because of the missions, which are a big part of the state’s history. Yosemite is depicted and the food trucks are a hilarious addition.

He finds the tablecloth shirt I made too short, so I wanted to get it right. That is the kind of person I am. Have you seen how many Petrillo bags I have made?

California Shirt back

We made the whole shirt 3″ longer than the pattern said. yes, I learned to alter a pattern which involves actually dealing with the pattern, rather than just adding a few inches here and there.

I think that next time, if there is a next time, I will make the inside seams French seams. I know I shouldn’t worry about raw edges, but I do. I am not even sure if French seams on a shirt are possible. I am sure they are, but may be ill advised for some reason.

I started well in time to get it done timely, but really finished it last Thursday. I made the buttonholes using my little machine and sewed on the buttons. After that all I had to do was press and wrap.


Julie’s Gift

Julie's Birthday Gifts
Julie’s Birthday Gifts

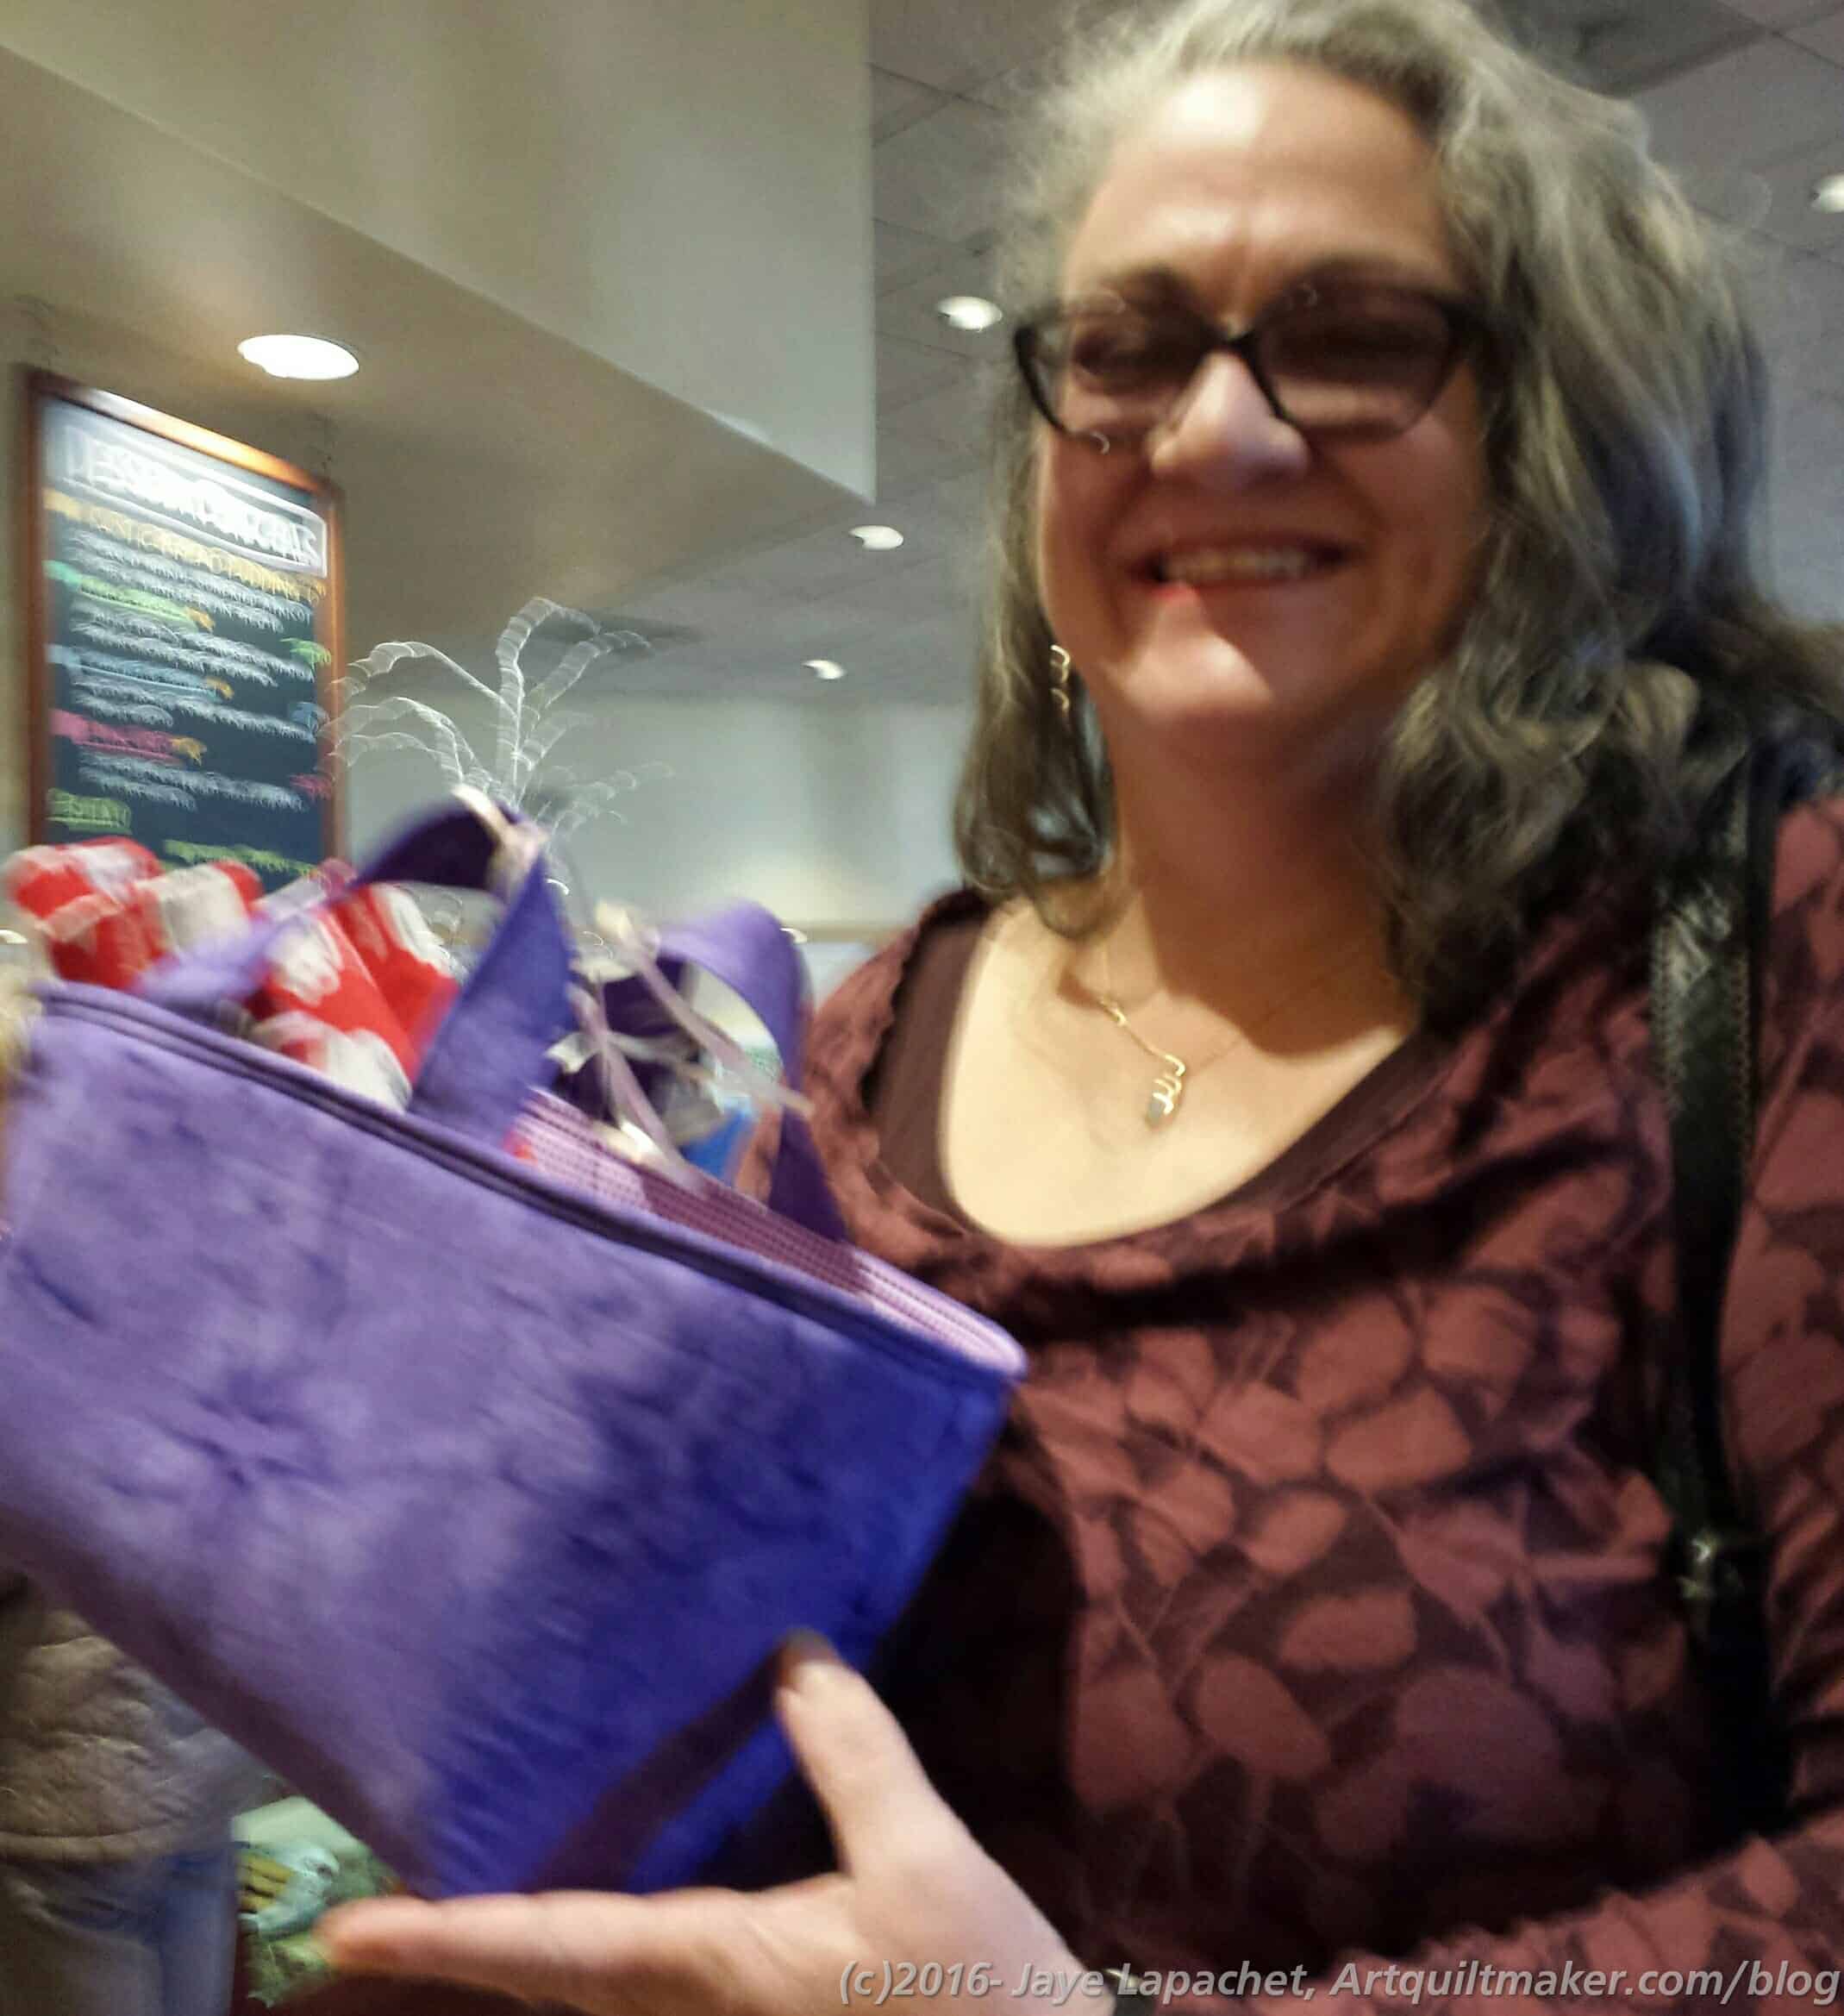
Don’t you love this photo? We went out to lunch for Julie’s birthday and I took this in the restaurant.

Friend Julie‘s birthday is December 1 and generally it sneaks up on me, but this year I was prepared! I got a jump on it. In the frenzy of fabric pressing before Thanksgiving, I found some fabric I had bought to make napkins. I picked out some purples to go on the back and started some napkins. I also decided that Julie needed a One Hour Basket, so I made one of those as well.

I bought her some books and things as well, but I do like to make things for people who appreciate them. Also, I feel like I am sewing in place, so a couple of finishes was great.

Reducing the Toll

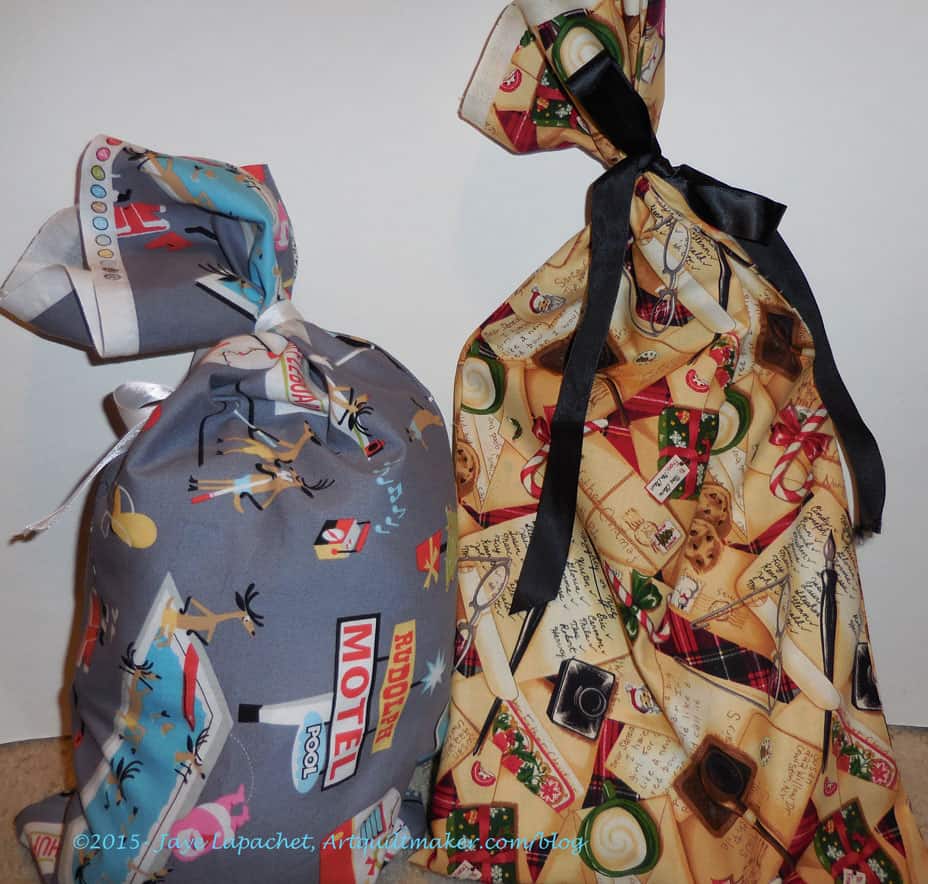
Formerly cuffs, now gift bags

I constantly try to find ways to reduce the huge environmental toll from holiday-related purchases. I have harped about this for years. One way is using gift bags. The fabric may not be terribly environmentally friendly to make in factories in Korea, but once the fabric is here and made into gift bags, they can be used them over and over. Fabric gift bags reduce the amount of paper we use during the holidays.

I practice what I preach and see so many advantages for using gift bags. The biggest negative is actually having to make them before you can use them. I have made gift bags to fit certain gifts in the middle of wrapping. They don’t take much time, can be as complicated as you like and are customizable. The biggest bonus is you get to see your holiday favorite fabrics over and over without actually having to make a holiday quilt.

Lush Gift Bag
Lush Gift Bag

Here is the tutorial using French seams to prevent raveling.

Supplies:

  • Machine in good working order
  • fabric (any kind of fabric to fit your holiday works well)
  • thread
  • ribbon
  • basic sewing supplies

I press a double hem* on one side of a relevant size piece of fabric** and finish it with a decorative stitch. As a bonus, this is a good way to get to know the resources, e.g. time and thread, required to use your decorative stitches.

Once done, I fold the piece in half, wrong sides together, aligning the hem at the top. I put a piece of ribbon, folded in half, inside the piece. The fold of the ribbon will be sticking of the side a little bit and is placed about a quarter of the way down the side.

I sew down the side, starting with the hem. I sew less than a quarter inch from the side. I reinforce the start, the the ribbon and the end by backstitching over it a few times. Then I turn the bag wrong side out.

Trim any stray threads along your tiny seam allowance.

Press.

Once pressed, I sew again using a larger seam allowance to cover the raw edges. Make sure the ribbon closure stays out of the way. This completely encloses the raw edge.

Turn the bag right side out and press again. Your bag is ready to use.

I love using gift bags for gifts. Besides the fact that I am terrible at wrapping gifts with paper, I intensely dislike wrapping gifts with paper, tape and ribbon. The fabric feels so much nicer in my hands. If a tag falls off the gift you can easily open it, look in and re-tie. No harm done to a beautiful wrapping job.

*Note: I often use the selvedge instead of hemming to speed up the process.

**Note on fabric sizes: I make the most basic gift bags with a fat quarter, but also use half yards and yards, depending on the size needed. I have also pieced fabric together to wrap larger and smaller gifts, but generally like to use standard sizes and then put the gift into whatever bag size works. Leftover fabric from making pillowcases are good to use as well.


College Pillowcases

Yep.

We sent the YM off on Tuesday for a brief trip to visit his freshman year roommate before he heads back to college.

Already! Can you believe it? The four months flew by.

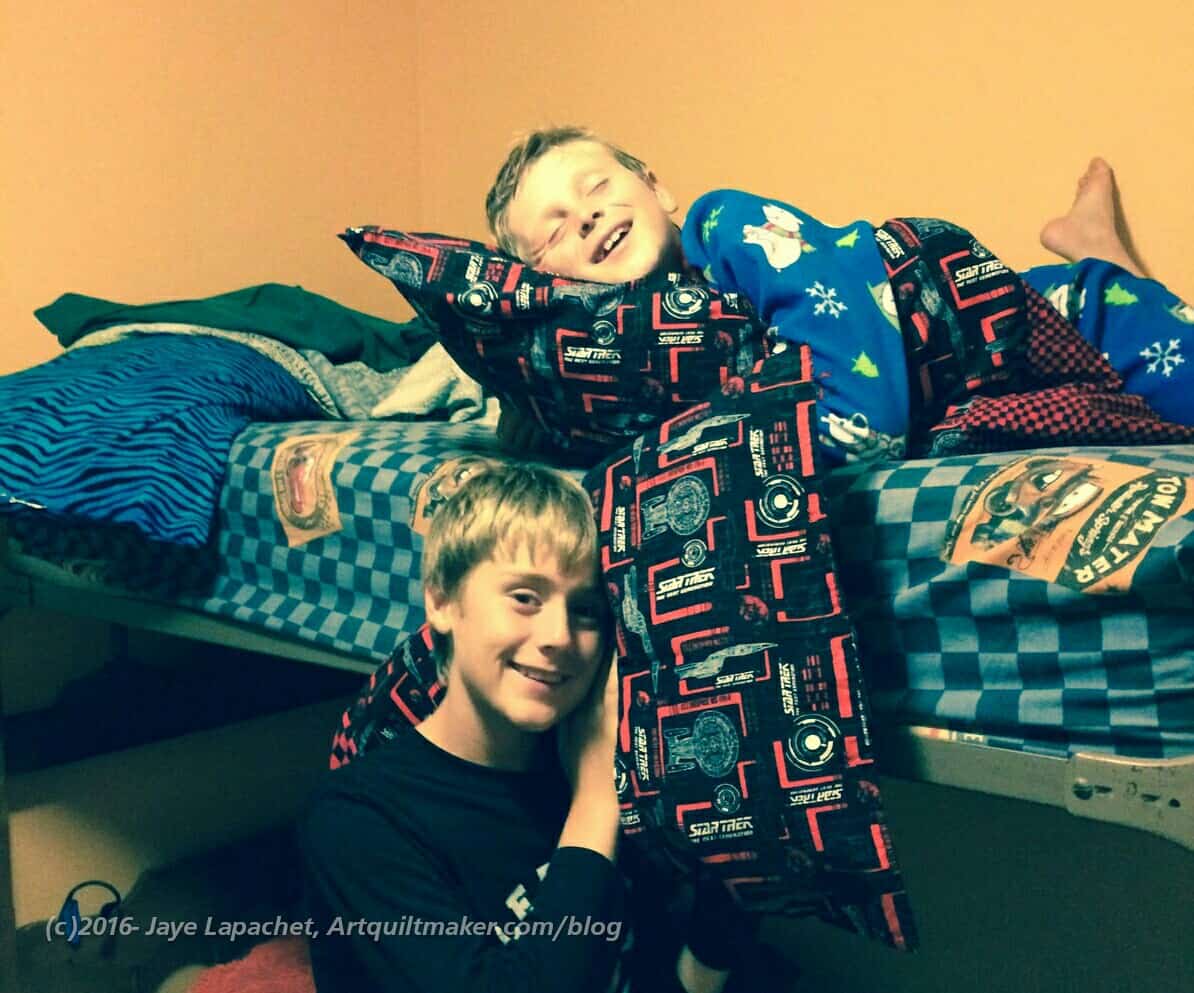
I made pillowcases for his friends.

College Pillowcases
College Pillowcases

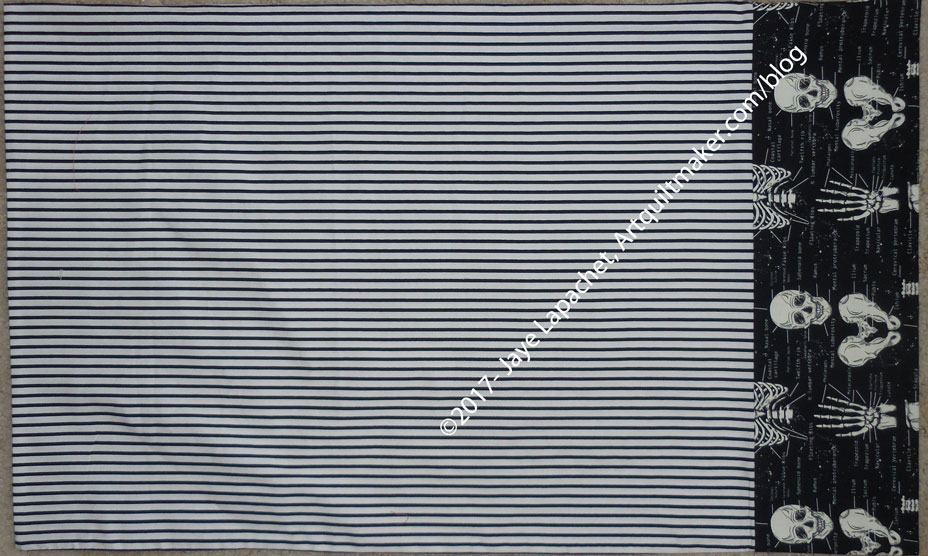
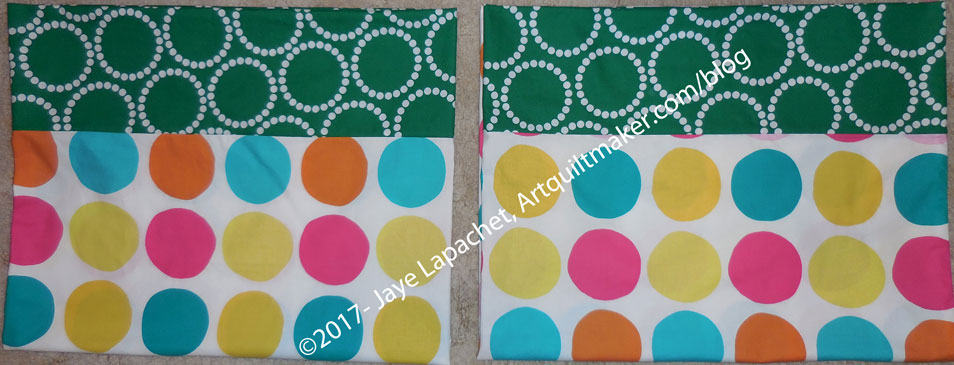
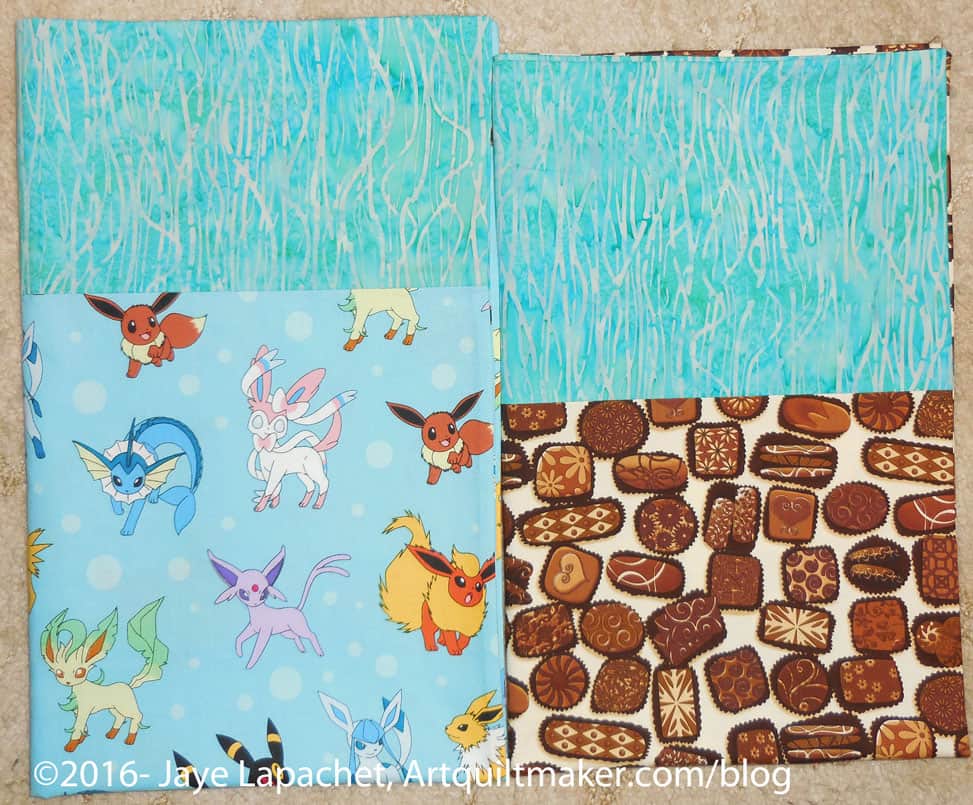
I saw some Pokemon fabric the last time I went to the hairdresser and described it to the YM . He wasn’t interested but he must have described the fabric (the skills of the quiltmaker’s young) to his sophomore year roommate who wanted a pillowcase from it. I bought some and made it. In the course of rummaging for cuff fabric, I found some chocolate fabric I had designated for a pillowcase and sewed that one up as well. The chocolate pillowcase went to the girl of the trio. I haven’t heard if they received them, but I am sure they did.

Finished: Food Quilt #3 Top & Back

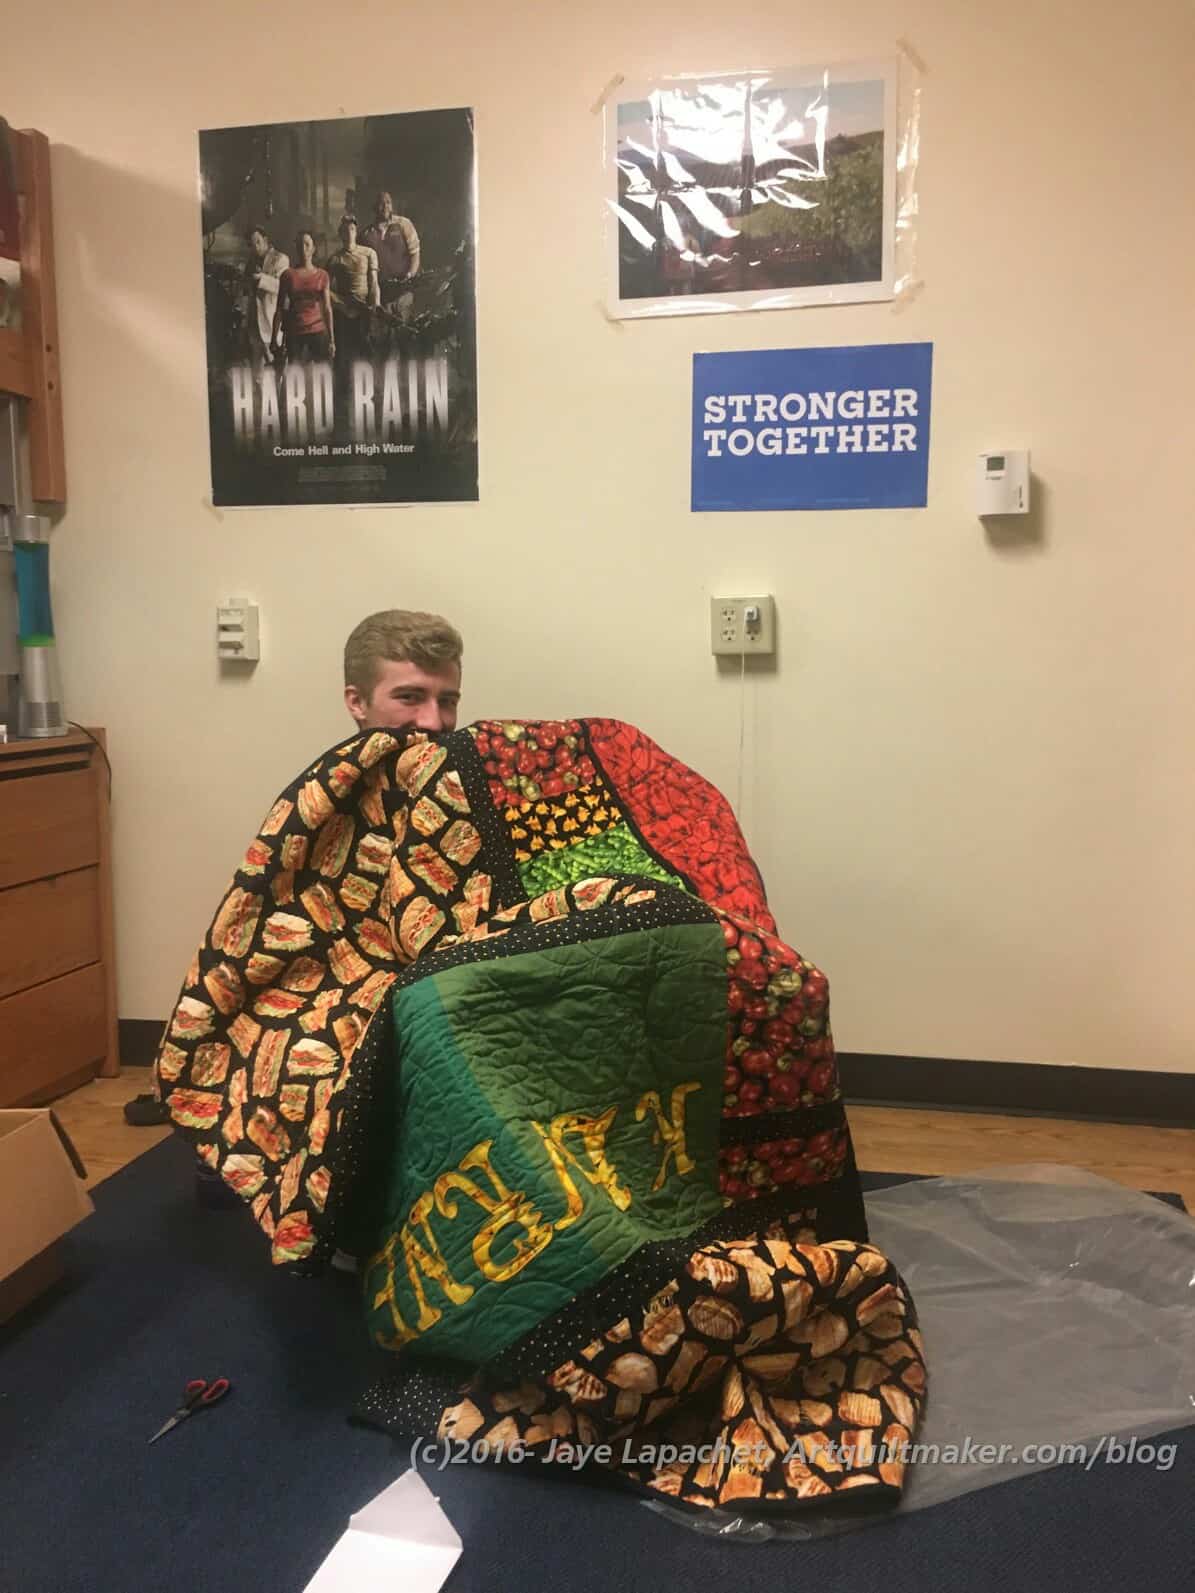
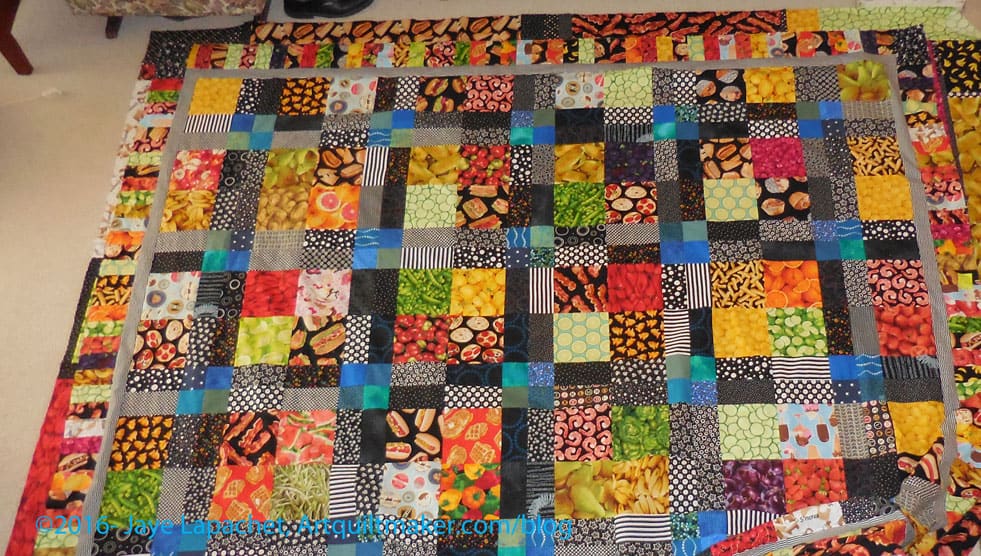
There was a Sew-in this past weekend (4th of July in the US) and I spent most of the time working on the finishing aspects of the Food Quilt #3. I finished the binding on Saturday and the back on Sunday. Even though I have other projects on which to work, this felt like a coup.

Food Quilt #3: Finished top

The piece is about 101″x 86″. Yes, it is huge, which means that I don’t have a full picture of the top or back. The YM was gone, it was cold outside and I don’t have a room large enough to lay out the back or top. The above photo is part of the top with a bit of the back peeking through.

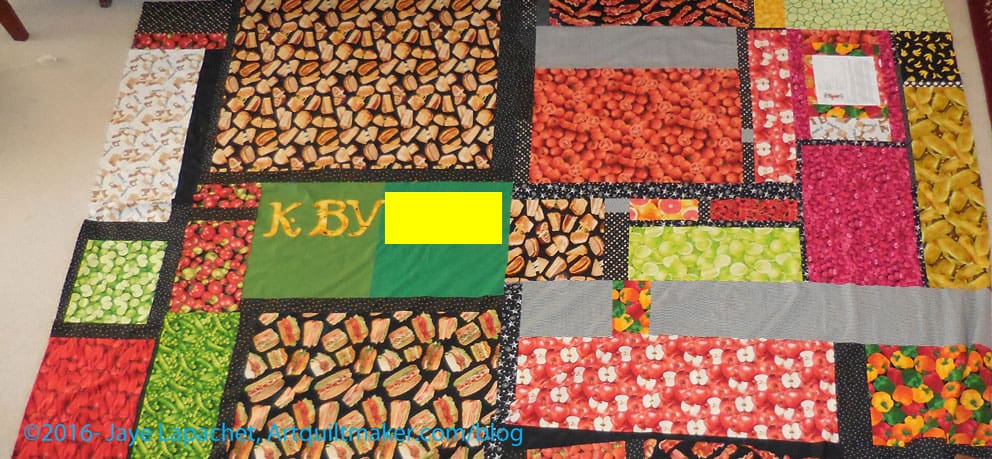
Food Quilt #3: Finished back

Of course the back is larger. Again, I have shown you only part of it due to the size.

I am pleased that this is done and will see about getting this and FOTY 2015 to the quilter soon.

More on the Heart Bag

Heart Bag with Applique'
Heart Bag with Applique’

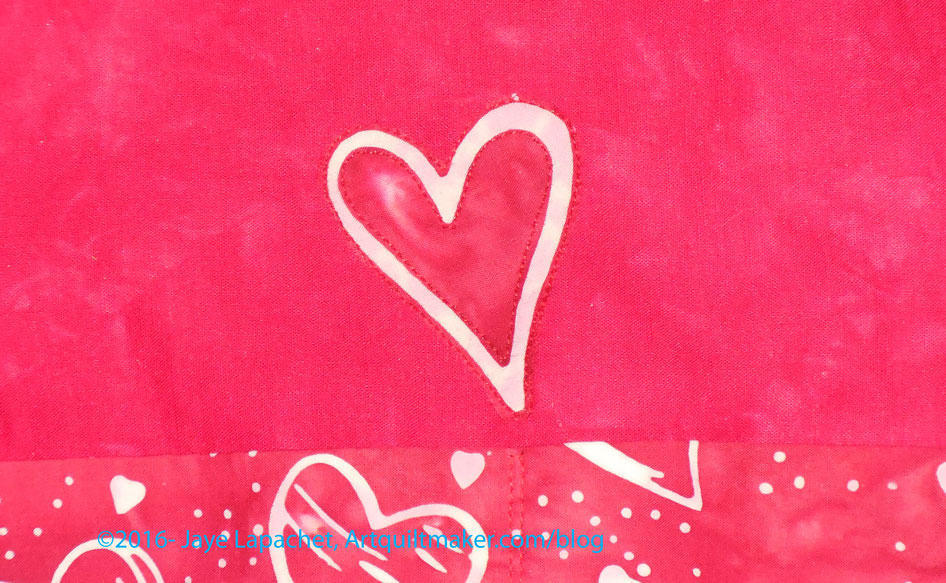
Right before we had to leave for the NDGW Grand Parlor, I decided the front of the Heart Bag needed something more. I didn’t have a suitable button which I have put on other versions of this bag. Finally, I decided (perhaps SIL suggested?) to applique’ a heart on to the front. I cut out one of the hearts from the scrap of fabric I had left. I used raw edge applique to sew it on and an Aurifil thread that matched pretty well.

Heart Bag with Applique' detail
Heart Bag with Applique’ detail

I don’t think the placement will be in the way too much and I sewed it very close to the edge to minimize fraying, though there will be some.

I am pleased with how it turned out. I think it breaks up the expanse of red just a bit.

The recipient really liked the bag, which was gratifying.

Feeling Better About the Heart Bag

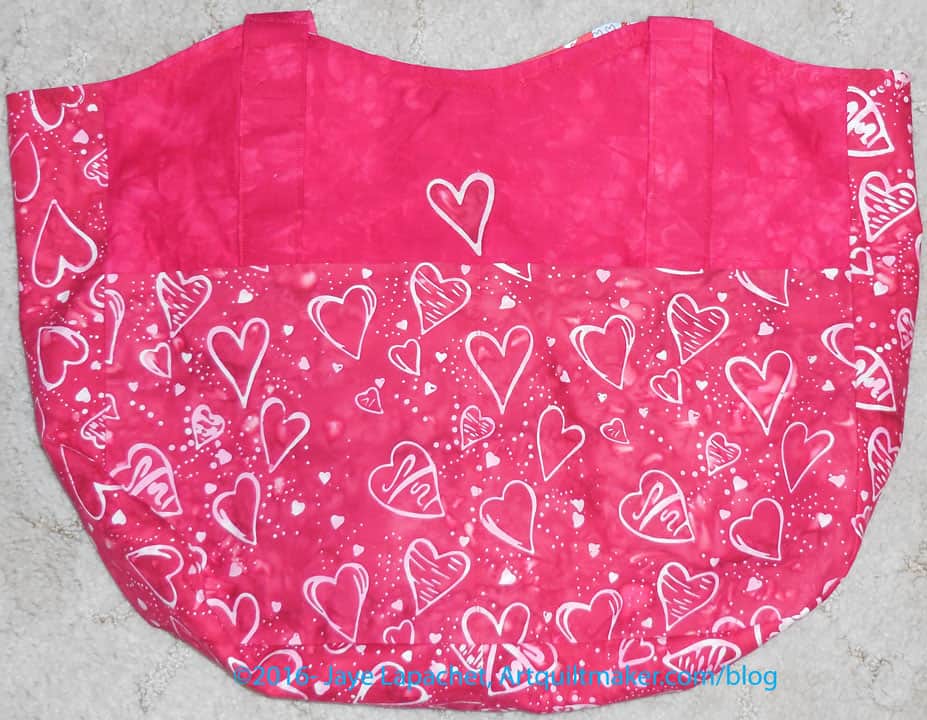
Heart Bag back
Heart Bag back

I finished the Heart Bag over Memorial Day weekend, but since I am friends with people who know the recipient, I decided not to post about it until it had been given. Also, I found out that DH reads my posts. I shouldn’t be surprised, but I was. He read the last post on this Heart Bag and questioned me (not in a bad way) about my whining. I had to explain that I was tired and things went much better after I recovered more from the NSGW Grand Parlor. There is a fine line between wanting desperately to sew and being too tired to sew.

Heart Bag: Finished
Heart Bag: Finished

So, the bag is finished and I am pleased with the way it came out. The ShapeFlex interfacing gives the bag some structure, which I like, though it can still be folded for easier storage. I love that stuff!

I think I felt especially bad about that twisted strap, because I made an effort to ensure it wasn’t twisted when I first sewed it on. I felt like a gremlin had snuck into my workroom and twisted it while I was looking away just to be mean and frustrate me.

Heart Bag decorative stitch

I thought about leaving it, but didn’t feel right so I ripped it out (good time to focus on podcasts!) and now it is not twisted.

The pattern calls for the edging to be topstitched, so I used a heart decorative stitch. I like the heart stitch on my Janome 9000, but you know that story. The stitch on the DC5100 is much more substantial. The machine goes over the stitches a few times each. Not all of them came out perfectly, especially around the straps, but matters of the heart are never perfect.

I really like that heart batik. It has a good hand, doesn’t fray and the heart motif is not kitschy. I have a bit more left and am said to use it up, but it has been hanging around for awhile so it is good to use it.

Heart Bag inside
Heart Bag inside

I have to do something better about the pockets on this bag. I always do them wrong, though wrong is relative since they still work. I just don’t do them according to the pattern and I think I need to add more of them. There is always next time.

Food Quilt #3: Making Progress

Food Quilt #3: Center

I made a little progress on Food Quilt #3 over last weekend. The center is now done. My next step is to put a thin (not sure how thin) black border around the center and then attach the piano key border to the black border. I have to decide if I want to use a solid back or a white on black. If I use the latter, I want it to have a subtle white design on it.

You may have also noticed that I have broken the bounds of the design wall and the quilt is laying on the floor. Crazy, I know!

Typewriter Gift Bag

Gift Bag
Gift Bag

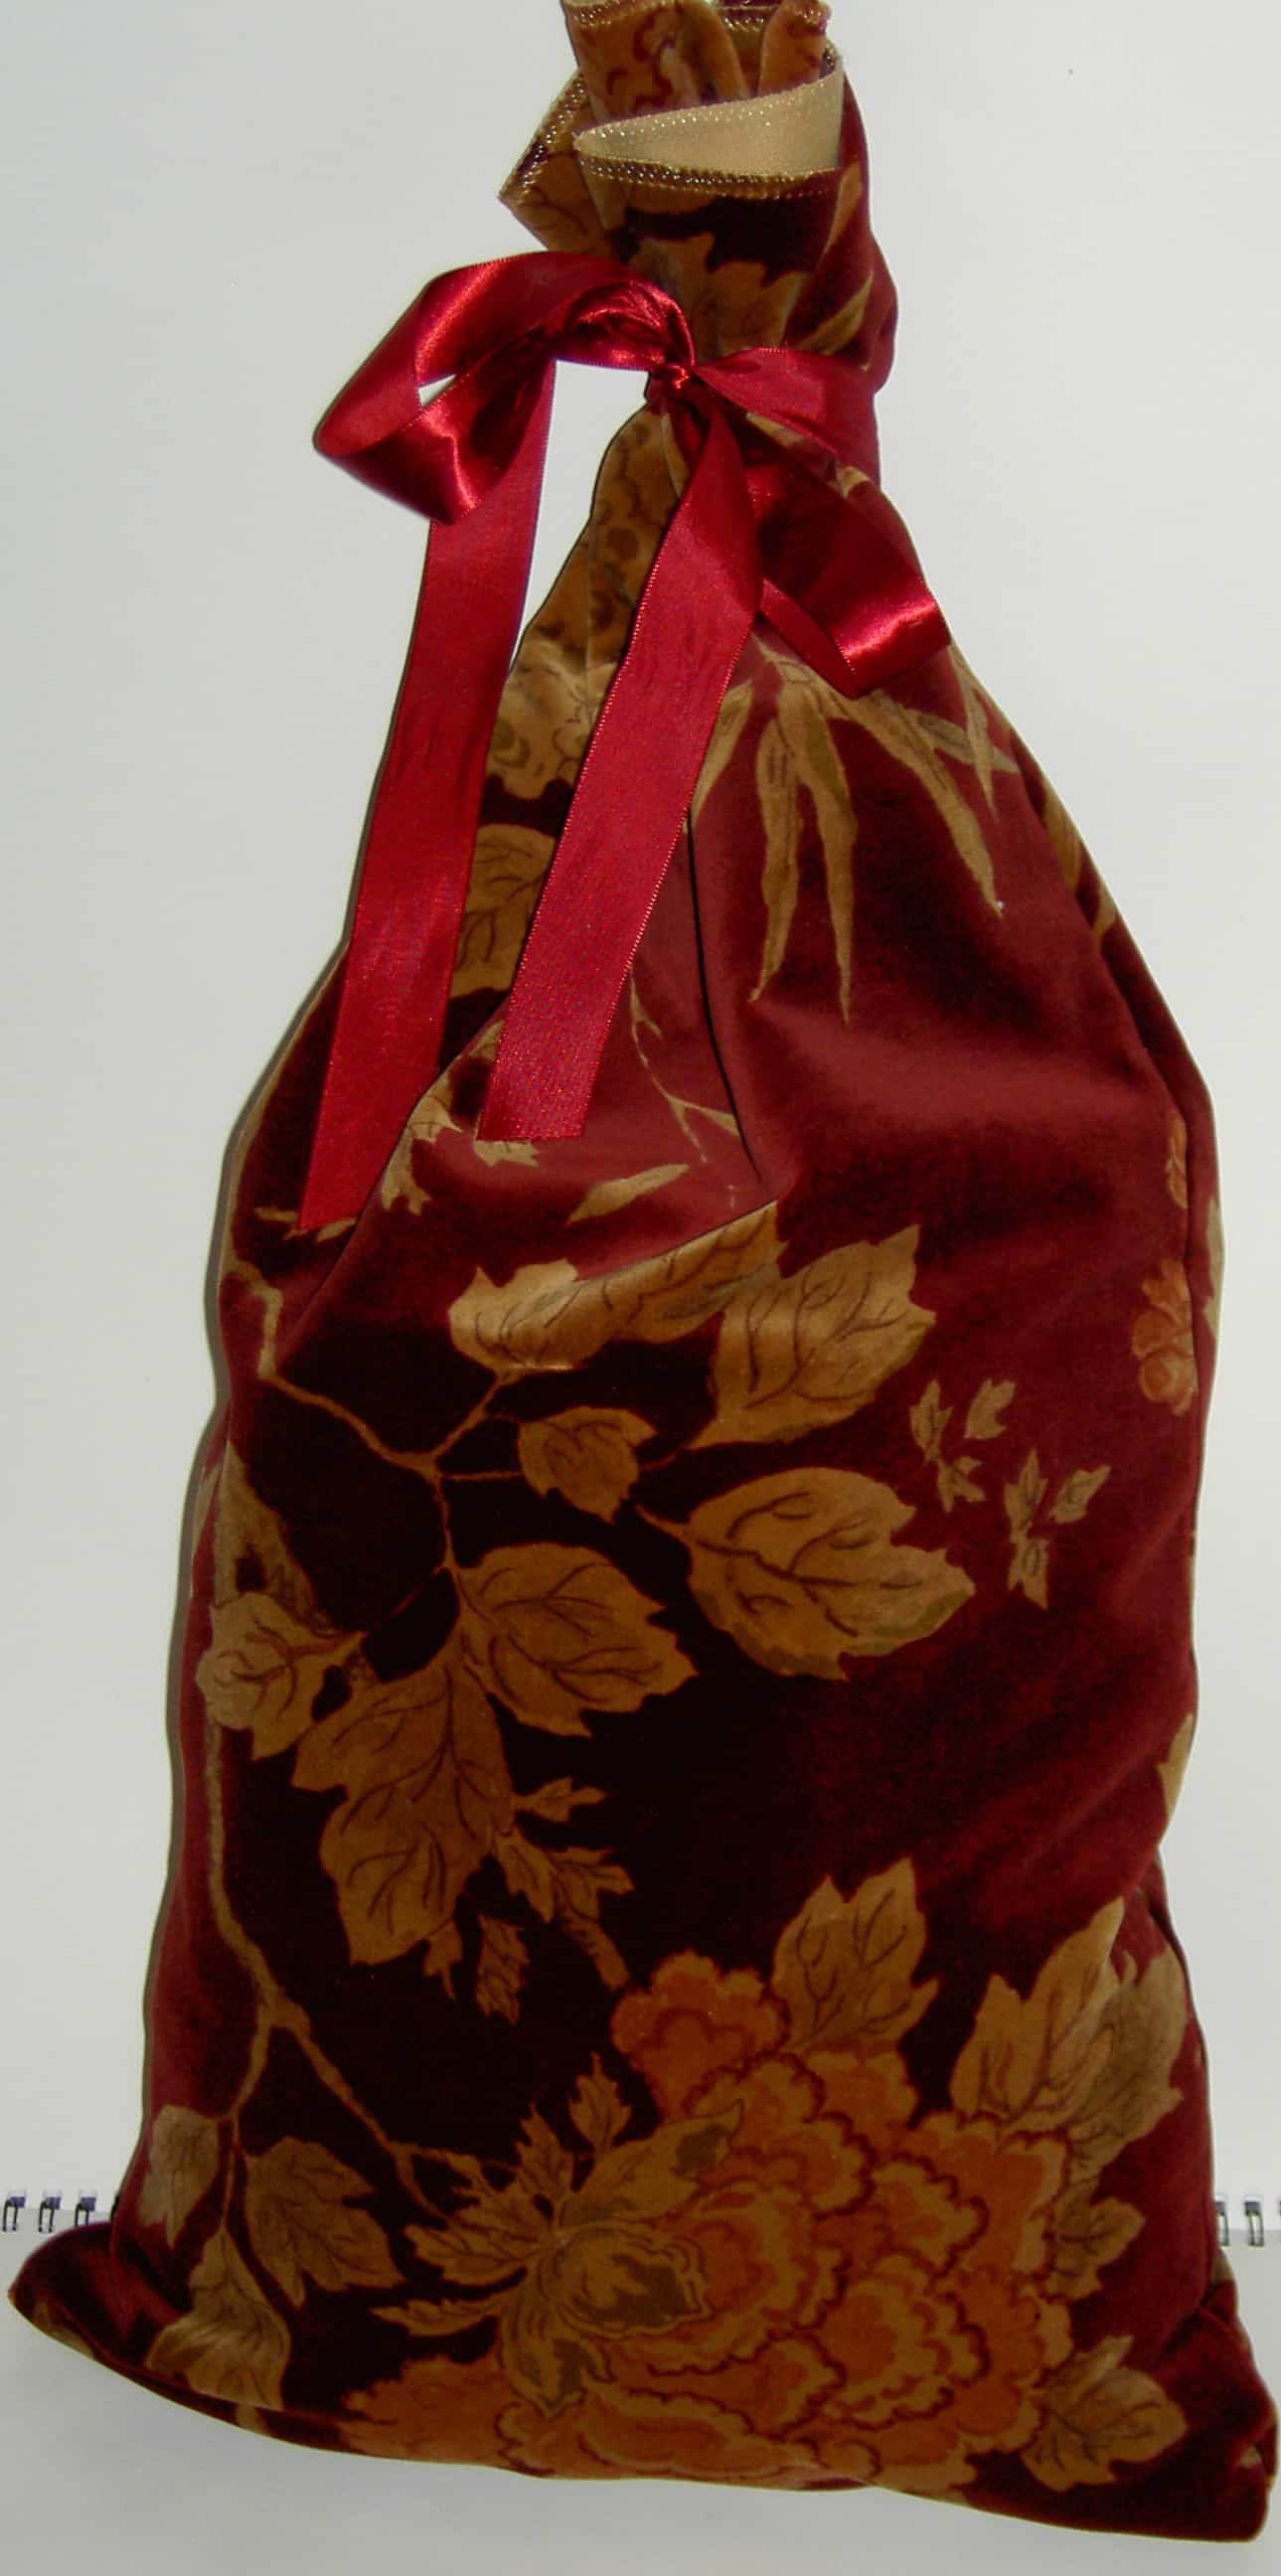
This is a different kind of gift bag than the one I usually make. A few years ago I made a couple of bags for wine. I was thinking of those bags when I bought the olive oil** for the hostess gifts. I remembered the basics so I didn’t even look at the post until I was writing this post. Also, I had just finished the Heart Bag, so I was freshly well versed in handles and turning bags. I felt confident that I could make one of these bags easily.

Gift Bag - Full
Gift Bag – Full

The size is different from wine, but I just measured the bottles of olive oil and made one bag (about 15″ around) for both bottles and the pour spout. The size was generous, though not so much that the bottles clinked around against each other.  I used some leftover pieces of batting to beef up the sturdiness of the bag. I used something different last time, but didn’t note what I used. It was pretty stiff. The batting worked fine this time.

I made two handles this time and think I prefer just one handle. It isn’t as fussy around the top. All in all, I am pretty pleased with how this bag came out and especially pleased that it was a quick project. I will definitely make more.


**Nota bene: there is a fancy olive oil store near my old office and we find that giving fancy olive oil is different than giving wine. Most people bring wine as a hostess gift and fancy olive oil is usable and well received.

Food Quilt #3 Starts & Progresses

Last Monday was the day to start the latest Food Quilt. The YM wasn’t home and DH was doing his NSGW stuff, so I was pretty much left to entertain myself. 😉 It might be the last Food Quilt, but we will see. After making the binding for FOTY 2015, I started sewing the 9 patches I needed to get this quilt started. I made really good progress.

First Food Quilt 9 Patch
6 Food Quilt 9 Patches

The first one was quickly followed by 6 of them.

Food Quilt #3- 9 Patches

I was shocked to get all of them done in one day. I had some leftover parts. Poor counting. I thought I would use them for the back or for another quilt. Then SIL came over to talk about sewing and we discussed the size. The giftee for this quilt is very tall and would not cover him, so eventually, after discussing rearranging the blocks, I decided to make 4 more blocks. I will use the extra parts as a starting point.

Food Quilt #3 - Blocks Cut
Food Quilt #3 – Blocks Cut

After making all the 9 patches, I decided I would see what cutting the blocks up looked like. That is always a fun exercise. I thought I would do one. In a short amount of time, I did them all.

I’d like to do a different layout than the other two. Food Quilt #2 has a kind of zigzaggy look and Food Quilt #1 has a more traditional one block surrounded by sashing and cornerstones look. I am toying with putting the blues together in the middle. I think it looks good. If I do that layout, I’ll have to repress some of the seams. The one thing I am contemplating is whether I want the food fabrics touching. I plan to look online at some layouts for the Disappearing 9 Patch.

I think I will be able to get this done relatively quickly. After I make the extra blocks, the holdup will be the applique’ on the back and I have a good process in my head for making the templates, so it is a matter of sitting down to do it.