Here is how I make a Double Pinwheel block.
I found it interesting to break down the process step by step and try to explain it. Here is what I came up with.

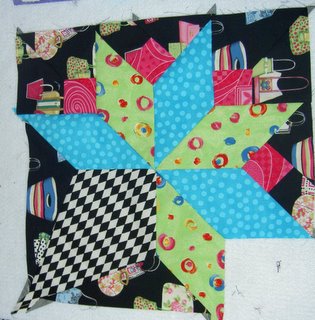
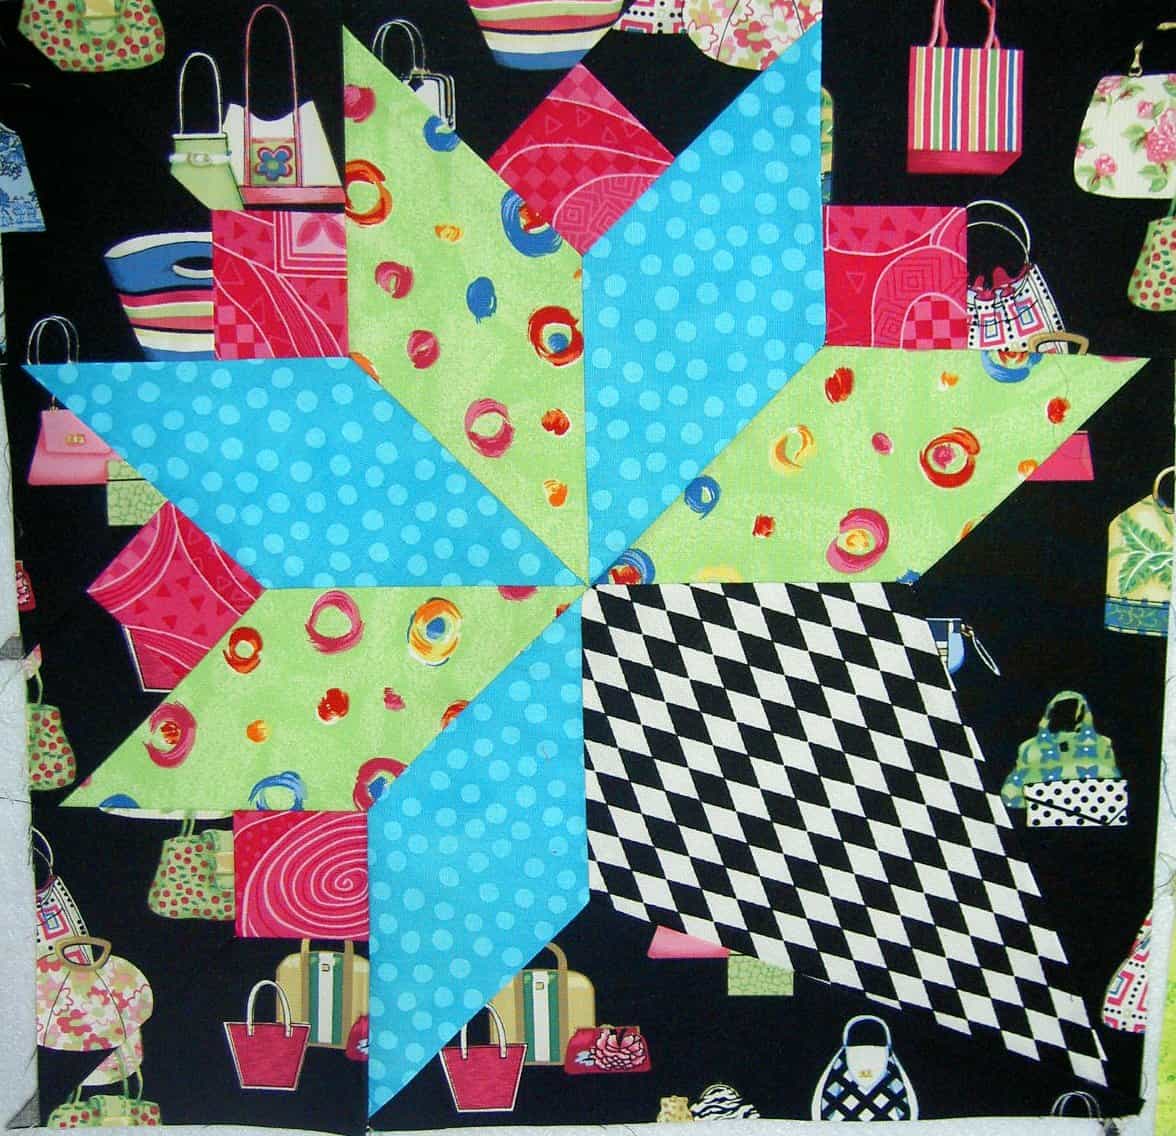
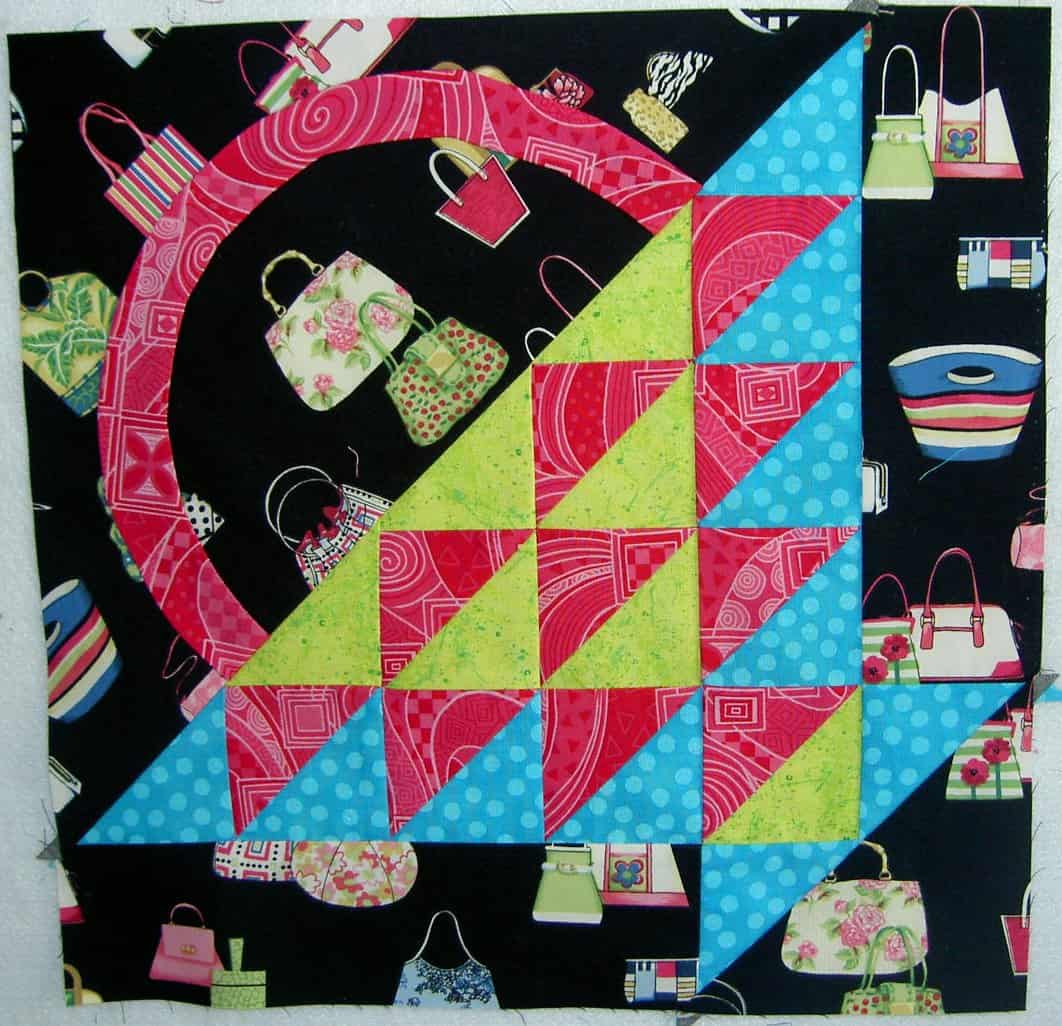
This is the block we are making today. You are making 12″ finished block in the Double Pinwheel pattern. The unfinished block will be 12.5″.

It is ok if your finished products looks like the above photo.
1. Cut 4 squares 4″x4″ for pinwheel part of block (mine are red in the above photos) and 4 squares (also 4″x4″) from the background fabric (my background fabric is aqua in the above photo). This will allow you to have enough extra fabric to trim the half square triangles before you sew them into the pinwheel. I like trimming. Also cut two 6.5″ squares for the large background pieces. Use your background fabric for the 6.5″ squares.
2. Cut all of the squares in half on the diagonal.

3. Lay out all of your patches to you can see how the block will look. Start thinking about how you will piece it.
- Notice how the patches don’t look like they are the right sizes? That is because of the seam allowances. It will all work out in the end. I promise.
4. Put one background patch and one pinwheel patch right sides together matching the hypotenuse (longest side) of the triangle.
- Handle the triangles carefully by not yanking on them.

5. Sew one background patch and one pinwheel patch together along the hypotenuse of the triangle. I sew them with the background patch on top.

- Sew all patches with the same color fabric on top. It will help you keep them organized.
- My fingers are just keeping the hypotenuse up against my seam guide.
- I use chain piecing to piece all of the triangles. I try and prevent them from falling off the back of my table so the falling triangles don’t yank on the ones still under the presser foot.

6. Sew all triangles needed to make pinwheels.
7. Press towards the pinwheel fabric.
- I set the seam like Fons & Porter suggest and then open the seam and carefully press the seam open towards the pinwheel fabric (red dot in my case).
8. Line up diagonal line on your ruler (hopefully you are using a square ruler with a diagonal line) with the diagonal line you have sewed and trim your new half square triangle (HST) block to 3.5″.
- You will need to make this cut twice for each patch as you cut two sides, turn the block 180 degrees and then trim the other two sides.
9. Arrange your sewn HSTs on your design wall to you can be sure that the HSTs are arranged in a pinwheel block.
10. Make a note to yourself (use a pin, eyeball it, pinch it) which sides you are going to sew together.

11. Take 2 half square triangles and place them right sides together underneath your machine’s presser foot.

- The seam allowances on the diagonal should be nested together. This will work if you have pressed all of your HSTs towards the pinwheel fabric. In the above photo you can see how the diagonal seams are lined up when I lift the corner of the fabric to show you. (Professional stunt quiltmaker, please do not try this at home with your machine running!
12. Making sure you are sewing them in the right orientation, sew two half square triangles together.
13. Press these half pinwheels towards the background.
- You should have 2 pieces of 2 half square triangles ready to sew into a pinwheel.

14. Nest the 2 half pieces together and sew along the middle of the pinwheel. In the above photo I have put the pin in just to show you about where you should sew.
- When you sew try not to cut off the point of the pinwheel center. You will see a V made by the seams you have sewn previously. Make sure you err towards the seam allowance (on your right looking at the needle of the sewing machine) and don’t cut off that V. Ideally, you want to sew one thread towards the seam allowance on top of that V.

- You can just sew over the middle (.5″ on either side of the middle) to make sure your points match, then you can go over the whole seam once you decide if you like the way the center looks. The ripping out is easier if you only have an inch to do.

When you open the block (with just the middle sewn) you can tell whether or not the points will match.
A NOTE ABOUT POINT MATCHING: It is really important that you know your tolerance level for points not matching. My points don’t always match and either I leave them or rip them out. If my points are 1/4″ apart, I usually rip them out. If they are 1/16th of inch from one another, I will probably leave them. It is important to know:
- what you are trying to achieve (practice block or show quilt)
- if you are going to think about that seam not matching late into the night and it is going to prevent you from sleeping.
- deadlines
- whether the quilt is a gift to a prize winning quiltmaker or a baby who will drool all over it.
- How busy the fabrics are (can you actually see the seams matching?)
Be kind to yourself when you think about whether to agonize over a seam not matching. Have fun, there is always more fabric and don’t make yourself crazy.
15. Sew the halves together, along the whole side, for both pinwheels. If you have sewn along the middle for an inch, make sure you stay on that line when you sew the whole side together.

- See that nice little square that the pinwheel makes in the center?
16. Press the pinwheels patches in the same direction as the other triangles. It will look like the seam allowances are spinning.
17. Sew the large 6.5″ background square to each of your pinwheels.
18. Press towards the 6.5″ square/background.
19. Nest the two pieces (which are made up of a pinwheel and a background patch).
20. Sew over the middle starting from about .5″ on either side of the middle to make sure you have not cut off points.
21. Sew the 2 pieces together starting on one side, sewing over the middle where you have already sewn and continuing to the end of the block.

22. Press whichever way the seam seems to want to go. I like to press each half of the seam towards the background. It makes for kind of an ugly pressing job, but I am not going to quilt over that center anyway, so, for me, it doesn’t matter.
- You could trim the seam in the middle, but I don’t do that. Jo Morton talks about doing that and you might want to check out her website and YouTube videos.

Look how nice the 3 blocks look together!