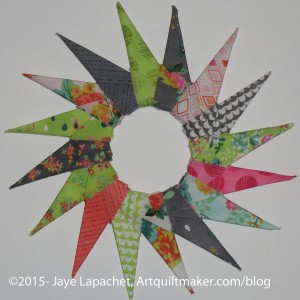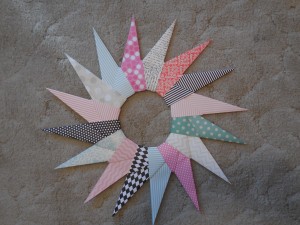
I was so thrilled to find a tutorial on the origami starburst (paper wreath). It is a great tutorial, but I like to do my own, as you know. I made several of these and have enough paper to make a few more. We might use these to give out as gifts at the Ladies Lunch at DH’s Grand Parlor. These make great hostess gifts.
Supplies
- 16 pieces SQUARE paper (any size) – almost all paper is suitable except very thin paper. Super thick paper will be hard to fold
- bone folder
- glue (Elmer’s or Aleene’s are both fine)
Nota bene: you can use fabric. If you do, you will also need the following items:
- Mary Ellen’s Best Press
- ShapeFlex or other lightweight interfacing
- 16 square patches (any size)
Directions:
Make legs:
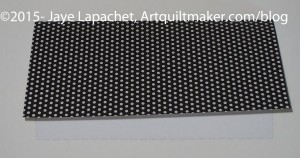
1. Take square piece of paper and fold paper in half.
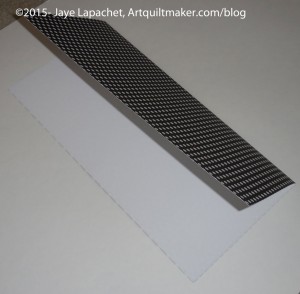
2. Open and fold in half the other way
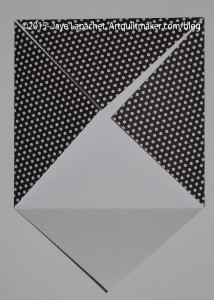
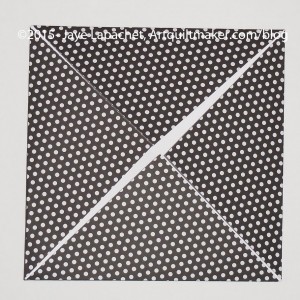
3. Fold corners in to center point
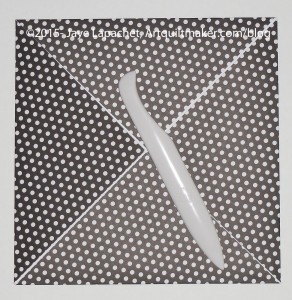
4. Use your bone folder to make the folds nice and sharp
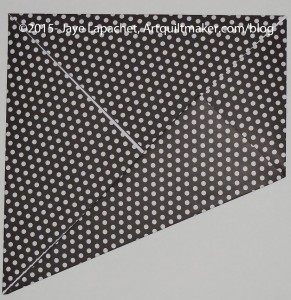
5. With a point facing you, fold the bottom half up to meet the center crease.
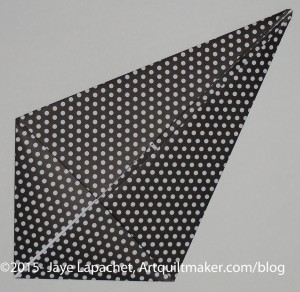
6. Do the same to the other point. Now you will have a piece that looks like a kite.
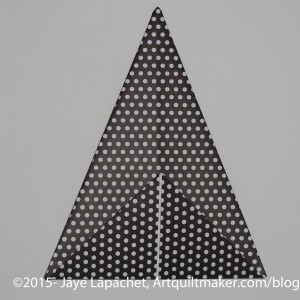
7. Flip the piece so the open bits are face down. Fold the short piece so you can see the open spot between the folded piece again.
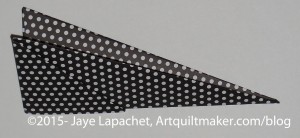
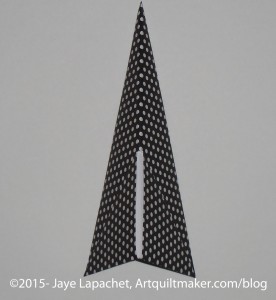
8. Fold leg in half with short side out. That opening will be where you put the other legs.
Make Wreath
1. Make 16 legs (directions above)
2. Put a little glue on to the tip of one leg
3. Insert each leg into 2 holes in another leg to make four quarters
4. Glue tip of each leg until you have a circle or wreath.
5. Before the glue dries, arrange the wreath so the inner circle is smooth.
Now you can carefully hang your wreath on the wall
