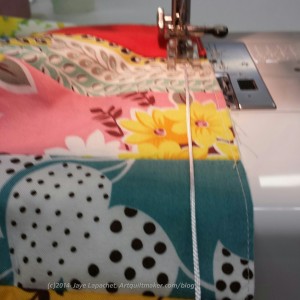
As you may remember, I had a lot of work to do on the tuffet at home in between classes. With some drama, but not major drama, I got the tuffet top together except for the drawstring.
I misunderstood (all me not the teacher) the directions and used the drawstring cording to make the button. This left me short for the drawstring.
I got another piece of cording from Robin and sewed the drawstring in class. I also remade the button, taking out some of the cording and redoing the tightening part with upholstery thread. Robin was very patient with our foibles from between class and that is a great quality in a teacher.
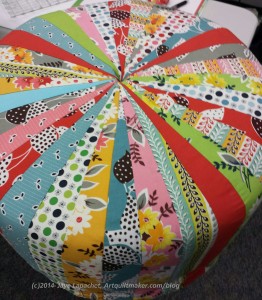
Once the drawstring was on, I was able to put the top (or cover) over the structure of the tuffet. I know this picture looks the same as the photo I posted in my previous post when I stuffed random bits of batting under the top so the photo would come out better. Trust me when I say that there is a big fat piece of foam and a piece of plywood under that cover (picture right).
Nota bene: Robin was kind enough to put my tuffet structure together. I wasn’t really able to wield a hammer or the staple gun very well with my hand. This was very frustrating for me. If I had known that the class required wielding tools, I might not have taken it, thus I am very pleased that Robin was willing to help me with the difficult parts.
I was completely thrilled when I saw the tuffet like this and would have been, mostly, satisfied with it, but it wasn’t finished and Robin was definitely encouraging us to finish. It wouldn’t have stayed together either.
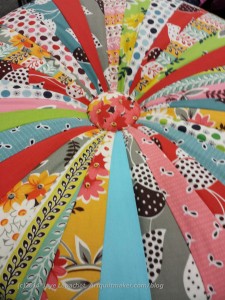
The next step was to add the button and make the tuffet look like an upholstered piece of furniture. Not only is Robin funny and encouraging, but she is also smart and the steps of the class are well thought out. She had an ingenious way of tufting the button through the 2 feet of foam. GENIUS! It was fun and not difficult.
Using the cording (which is like cording for blinds), I made the button look like a jelly fish. After the button was in, I tightened it to correct tufting levels 😉 and tied the button off on the bottom using the jelly fish “arms” and a surgeon’s knot to tie the button and tuft the tuffet. We had some fun talking about ‘jellyfishing’ our buttons. I know that making nouns into verbs is the path to destruction, but the whole class found ‘jellyfishing’ to be quite hilarious and I, at least, couldn’t help laughing over it.
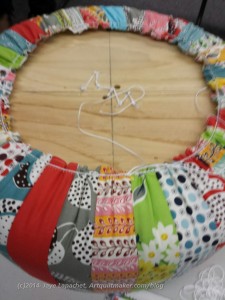
Next I tightened the cover and drew up the drawstring to keep it tight. The cover was long enough (intentionally) to fit over the bottom of the tuffet, which was a thick piece of plywood.
We marked where the feet were to be inserted (there are holes drilled in the plywood that are covered by the tuffet cover) and stapled the cover to the plywood. Robin, again, helped with mine, though I was able to do a bit of the staple gunning (I am right handed, but had to use my left hand, which isn’t as good at tasks as my right, so I was a bit of a danger to myself and the class, thus the assistance. ) Julie helped as well.
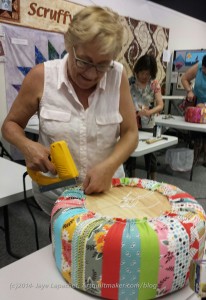
I am pretty sure that I would have been reluctant to staple through my cover (All that work!!!), so I think it was good that Robin did most of it for me. Nobody died in the stapling of the cover and I lost my feeling of preciousness over it.
I cut dime sized holes in the cover and cut away the batting and foam so that I could insert the feet.
I also made the bottom. Stitching it down started a long discussion, because many of us were whip stitching our bottoms about various methods of speeding up the whip stitching, which took a lot of time. Katrina, an awesome quiltmaker (I took the Pineapple class from her), who works at Scruffy Quilts suggested that we use Steam-A-Seam in the 1/4″ tape version to keep the bottom in place and then whip stitch at home. Robin hadn’t thought of that and since she is still reviewing the process, to a certain extent, thought that might work, but wanted to try it. I plan to make another tuffet (perhaps two) and will try it. I enjoyed sitting there and stitching, but it is a step I could have easily done at home. One of our classmates tried the Steam-A-Seam and it seemed to work out very well.
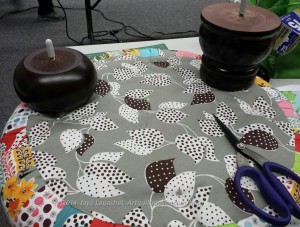
I went back and forth on feet quite a bit. Robin’s source stopped production while they retooled their factory (or something), so her inventory was a bit low. At first, I thought I wanted white feet. That would have meant finishing them myself, which I knew was not going to happen. Then I decided I wanted the feet to match my furniture, which has a cherry color. I took some that were a more beigey brown kind of wood that I thought would match (make visual decisions visually!). I compared them with my other furniture and found that they were not the right color.
Robin didn’t have any that were the exact shade. I looked at all of her feet and finally decided on the bun feet (shown right). They are darker than my furniture, but have a tinge of red and on the bottom of the piece, they are ok.
Once the bottom was on, we carefully put in the feet and the tuffet was finished!
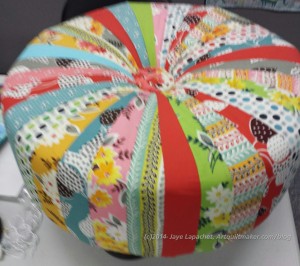
It was such a thrill to take home a completely completed project. That is one bonus of doing the stitching in class: I went home with NO additional work to do.
The class is a little on the expensive side because of the finishing kit, but it is worth it to get the finishing kit from Robin (West Coast Tuffets), because everything is there and in good order and well documented.
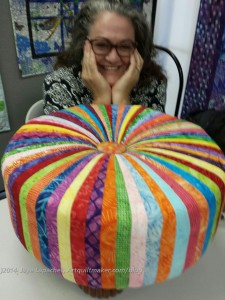
I love Julie’s Tuffet. She used a batik jelly roll and it really fits her personality. It is so cheerful and this is a gorgeous picture of her!
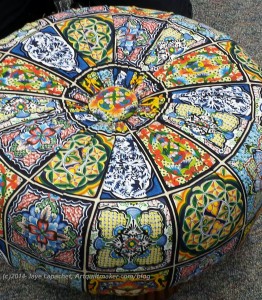
Robin brought a few tuffets to show us. She made a great, rich looking tuffet from a whole piece of fabric. She gathered the center under the button rather than cutting the fabric into almost-points and it looks really amazing. I think some experience with gathering or making a few tuffets first would be required before doing this kind of tuffet. I do like the idea of whole cloth tuffet. Can you imagine one with some Philip Jacobs fabric?
All in all, I really liked this class and want to take another one. I want to make a tuffet in the colors of the Stepping Stones blocks even though it will do with nothing in my house as well as another for the living room so I can put my feet up.
Go forth and make tuffets!