Remember when I mentioned the sleeping bag pouch made by CraftyKristnf? Maybe I just mentioned it to you in my head? She posted some guidelines for making it and I have been mulling them over in my head.
One thing she mentioned in the guidelines were the size of the base piece. A couple of days ago was the day I decided to start. I cut the fabric I planned to use as a base. WOW! It is large. When I think of a pouch, I think small, but this baby will be big.
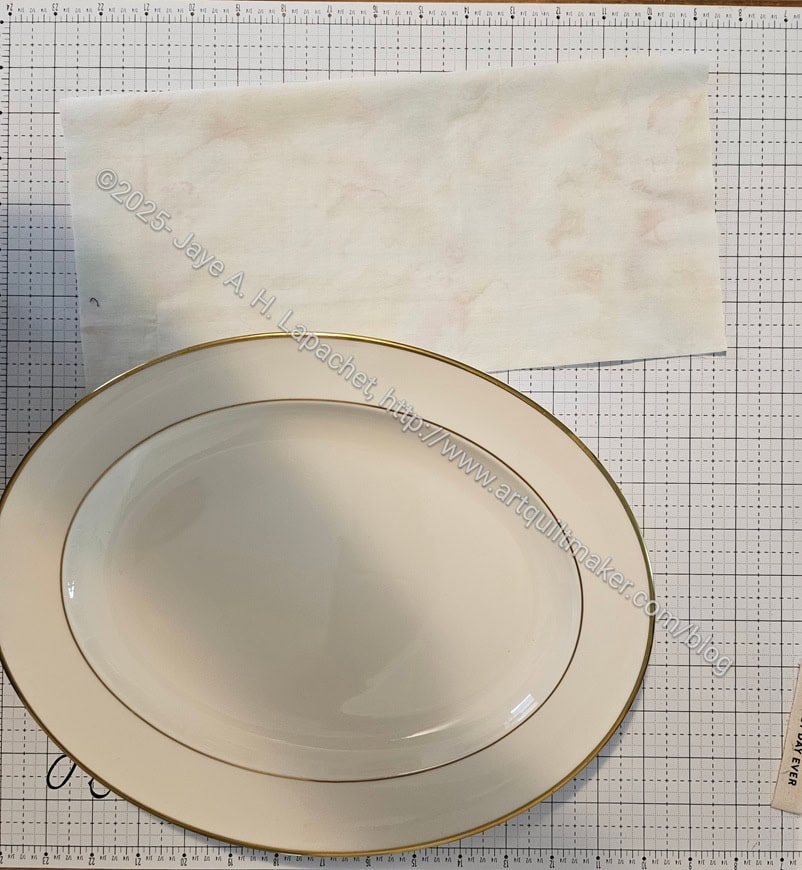
The top is curved so my first order of business was to figure out the curve. I decided it was more of an oval than a circle after trying different plates and templates laying around the house. I finally ended up with one of the platters from my china set.
The platter hasn’t been out of the china cabinet for a year, maybe two, so I am sure it was pleased to have an outing.
I folded the fabric in half. In the photo above, the fold is at the top of the photo.
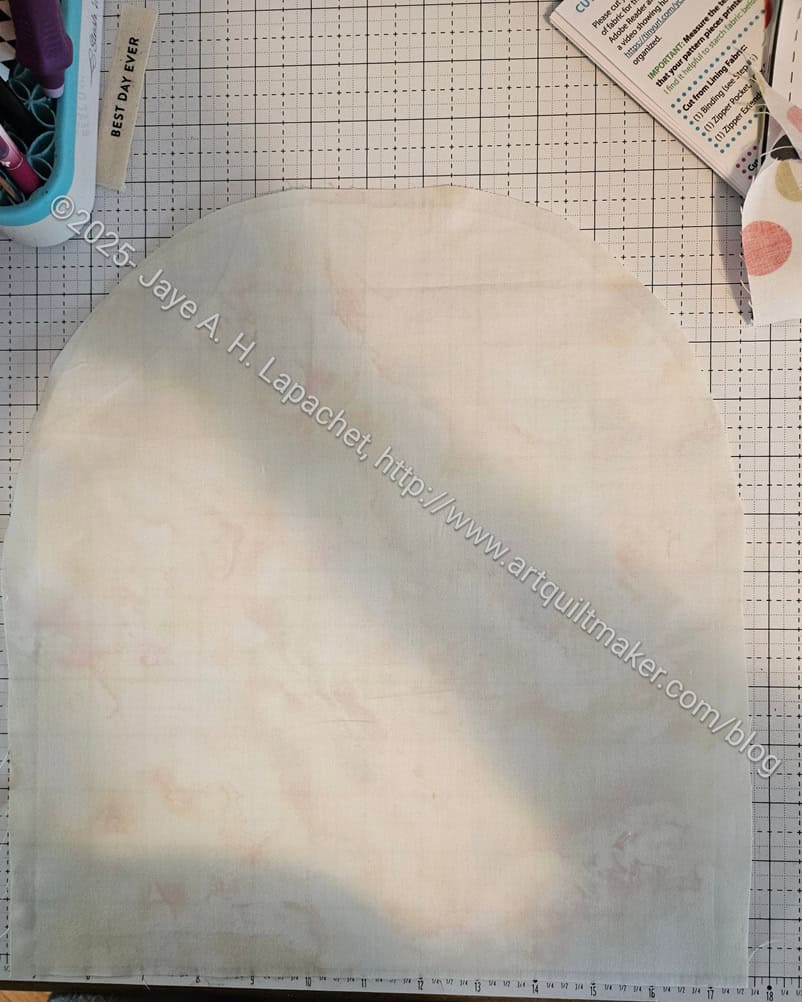
I lined up the ‘short’ end of the platter with the short end of the fabric. I also lined up the ‘long’ side of the platter with the open (non-fold) side of the fabric. It didn’t exactly fit, but it worked well enough. I drew a line and then cut a curve along the non-folded side of the fabric.
I was very pleased with the way the base fabric was shaped. I plan to trace it and use it as a template for future pouches like this. I don’t want to keep running downstairs for my platter. LOL!
The example CraftyKristnf showed uses Renaissance Ribbon and is absolutely gorgeous. I’d love to make one like that. I have plenty of Renaissance Ribbons so materials are no problem. I didn’t want to use them if I was going to wreck my first effort. Selvedges occurred to me. I have a bin full of them as I haven’t cleared it out and given the most recent ones to Amy yet.
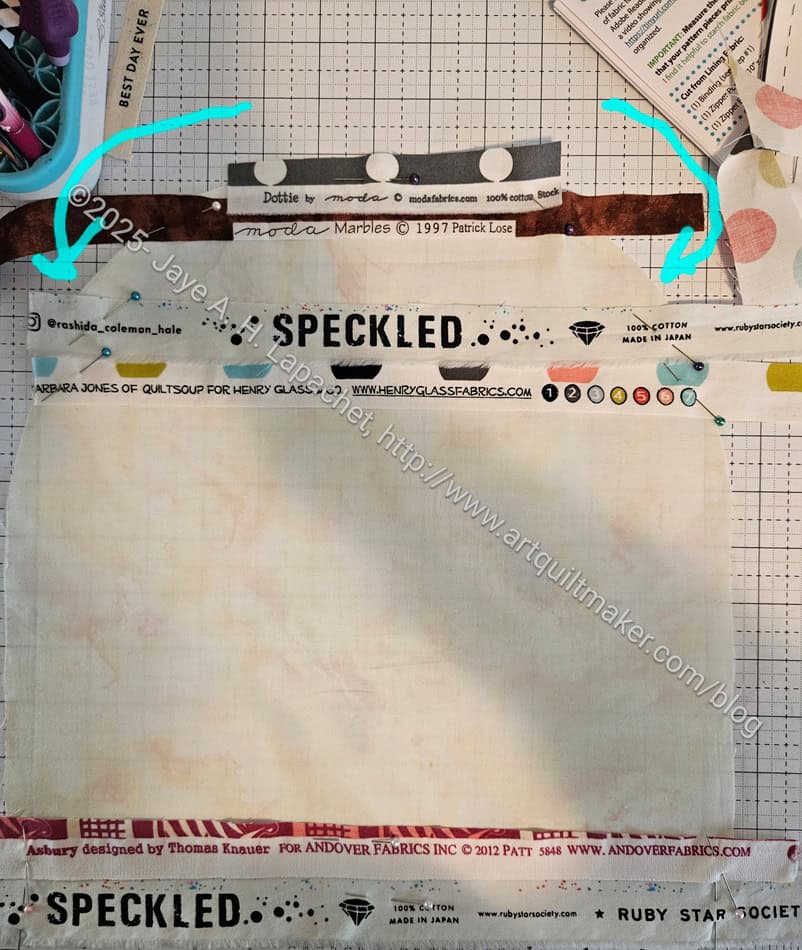
Before I started applying selvedges, I put some SF101 on the back of the base fabric. I thought it would strengthen the fabric for the applique’.
Next, I started arranging and pinning selvedges to the base fabric. Since the top is curved, I was able to use smaller pieces at the top. In the photo, left, you can see the arrows pointing to the curves at the top of the base fabric.
I was working on something else at the same time, so I dipped in an out of adding selvedges when I needed a break from the other project.
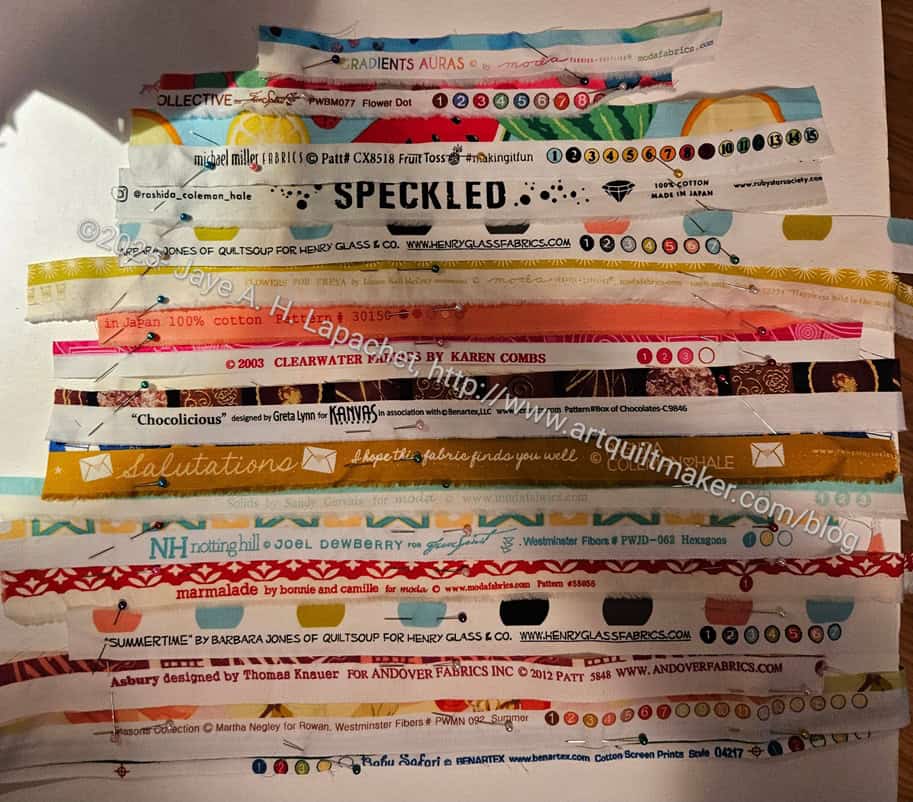
By the end of my sewing session, I had all the selvedges laid out and pinned down. Some of the selvedges are from favorite or much loved fabrics, which makes me happy.
My plan is to start sewing the selvedges on to the base and then trim the piece to size and shape of the base fabric. Then I’ll make the template, adjusting if necessary.
I feel so happy that I am trying this and that, so far, it is working out well.