I worked really hard on Wednesday to get this project to this state. The process went a lot better than I expected. I have to finish it today to make the UFO Challenge deadline. Fingers crossed, but I am patting myself on the back for getting this far.
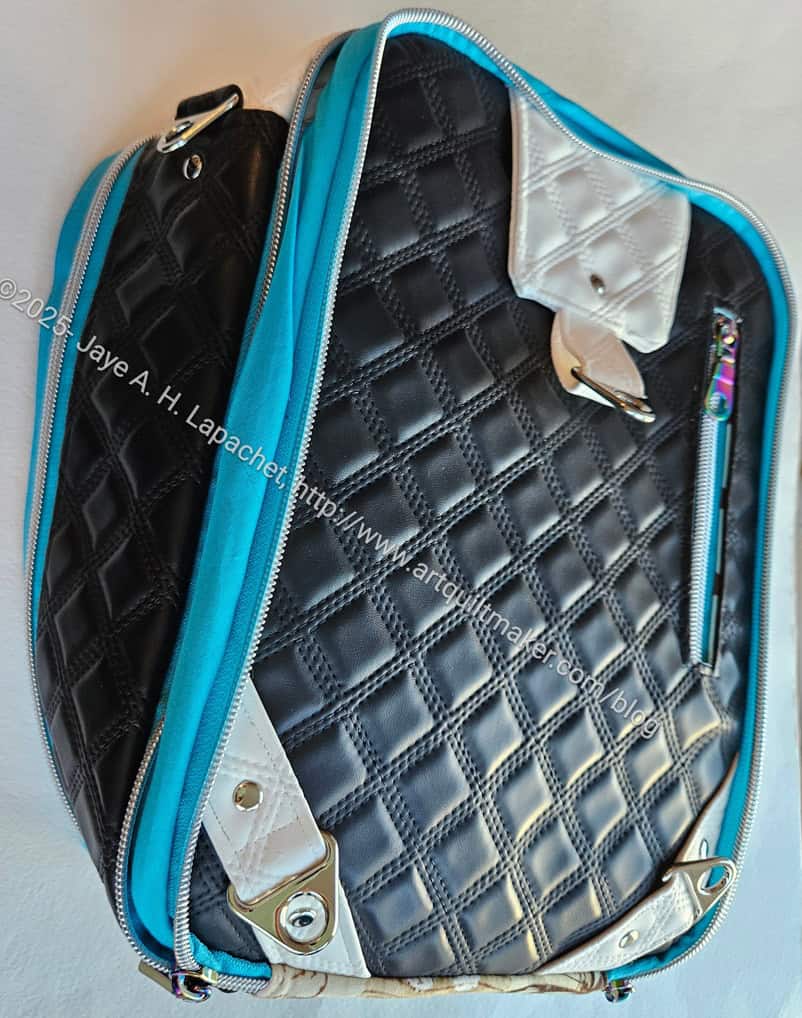
The photo shows two sections and two zipper gussets sewn together. There is still quite a bit of assembly required, but I was excited when I saw how the bag looked.
It is always hard for me to imagine the size, shape and elements of a bag when I only see it on paper. Seeing it put together is awesome.
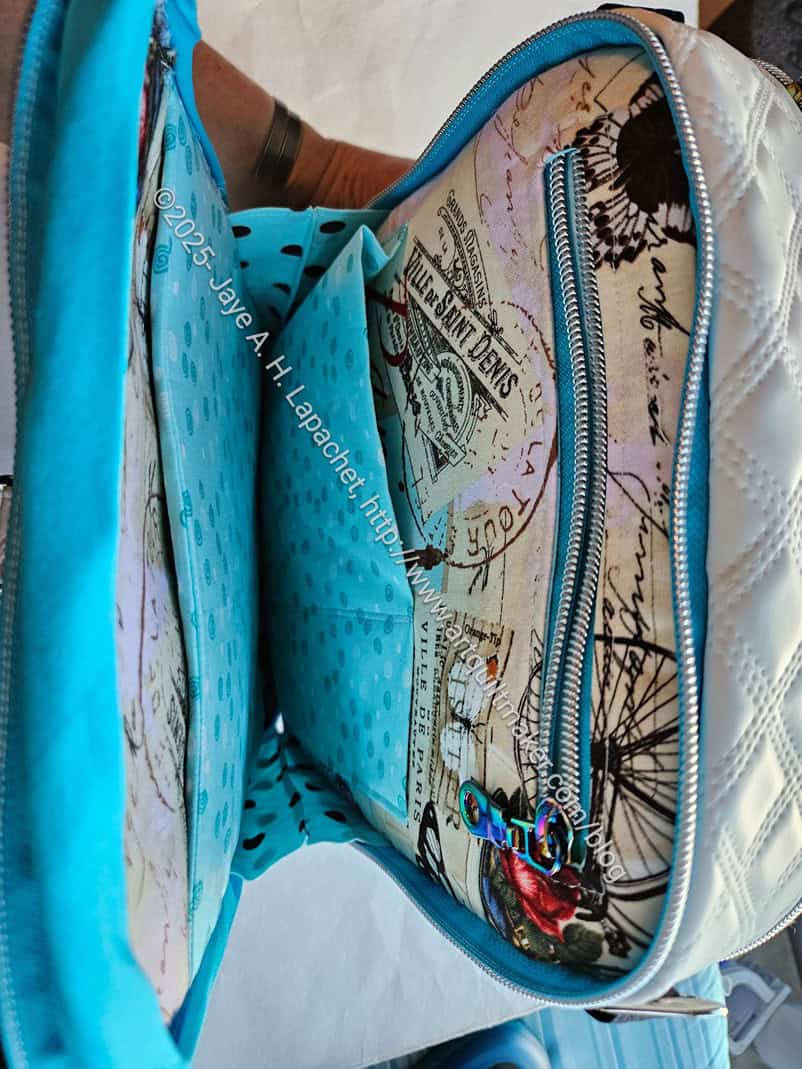
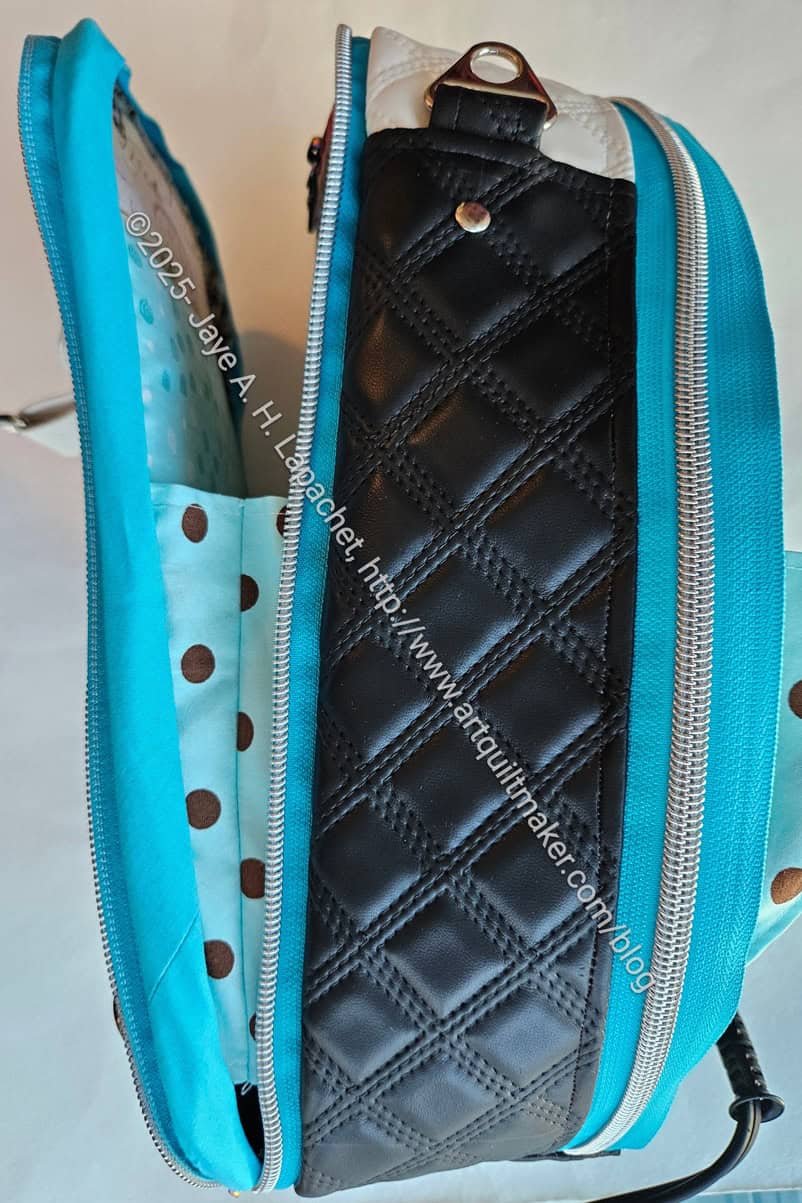
There is one small (thin) section (photo, right). This is good for a tablet plus pens and other things. The pocket on the right is a really good idea. There is an internal zipper pocket with the divided slip pocket on top.
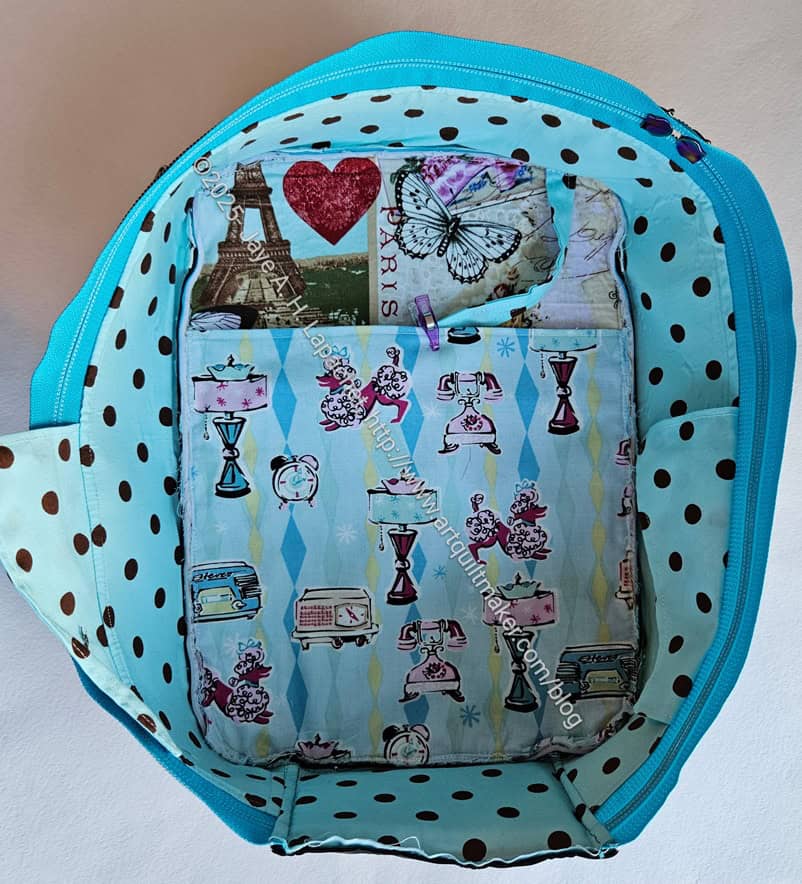
As I saw the finished parts, I started to mark pockets that could be made from vinyl in future versions. Vinyl would make the bag thicker, but would also conserve focus fabric, if necessary.
I will add another section that folds down diagonally on the left. That section is larger (fatter) than the one described above, so the user can put things that are more 3D (wallet, water bottle, etc) inside. It’s not huge, but large enough to use as a handbag.
I really had to watch the video in order to get to this point. Making sure the sections/pieces are oriented in the correct direction is super important and the pattern alone wasn’t doing the job. It really makes me appreciate the way Sara and Danny of Sew Sweetness mark their videos to coincide with the steps in the pattern.
The same section can be viewed from the top so you can see how big it is.
That pocket with the lamps and the poodles could definitely be vinyl. It would have to bind the top with doublefold elastic and then I could see the fabric behind it as well as what was in the pocket. Alternatively, I would use a solid or tone-on-tone for the back panel piece and a focus fabric for the pocket. There is a lot going on in that section, which could be toned down a bit. 😉