Pandora Charisma #2 Finished

Pandora Charisma #2: finished

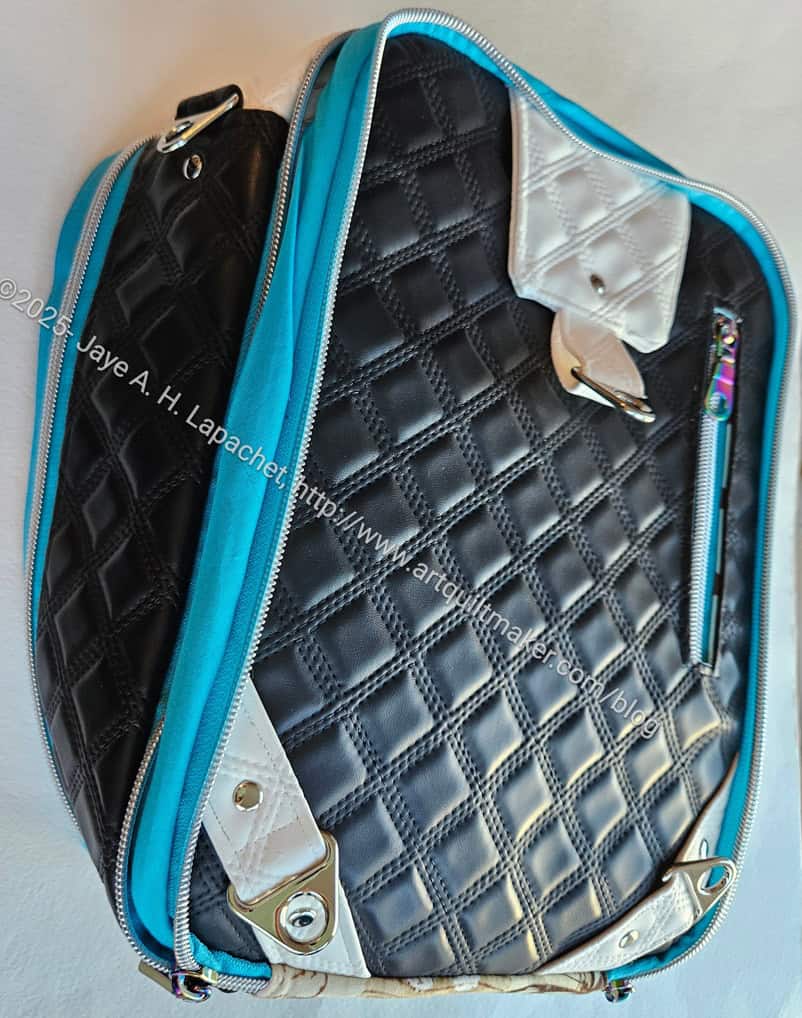
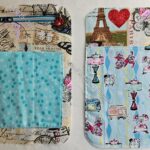
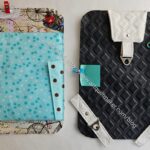
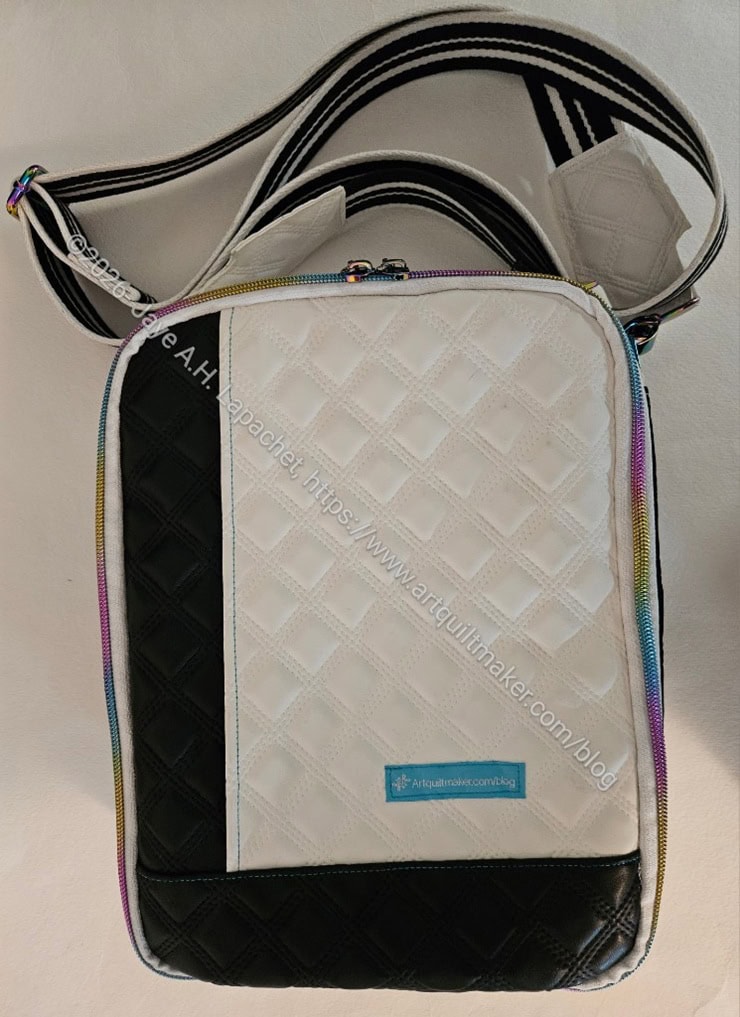
Finally! I finished the second Pandora Charisma. It was mostly done after Friday night’s stitching session, but I made the strap after the meeting on Saturday.

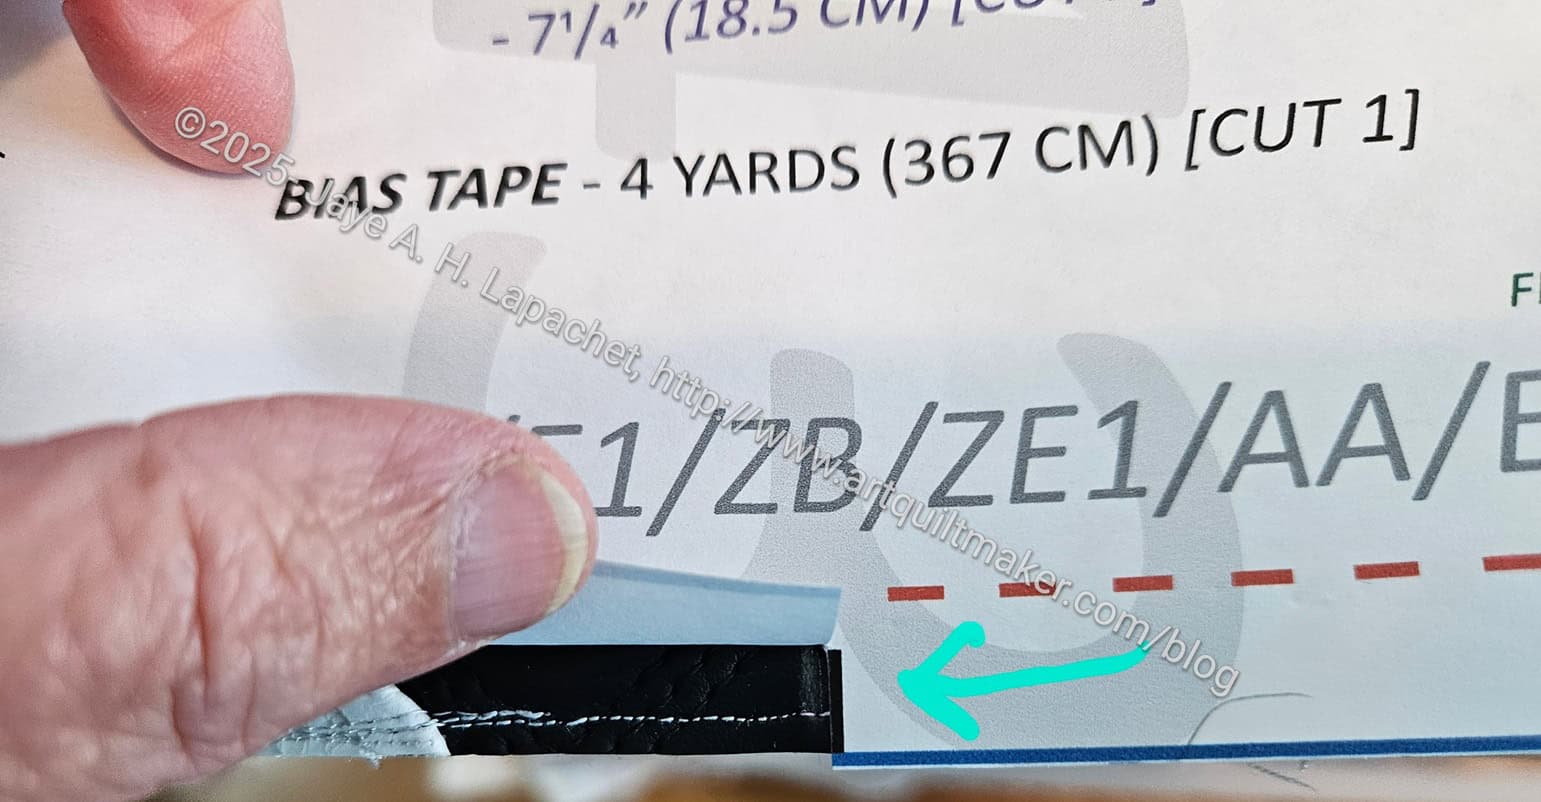
I am much happier with the way the zipper opens after stitching down the excess binding fabric. I have to review the pattern to see where I misread about binding. I think I may have mentioned I will try foldover elastic next time.

I also think this bag looks pretty professional. It isn’t perfect, but it is very good. 
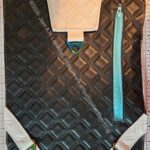
Pandora Charisma #2: finished - back
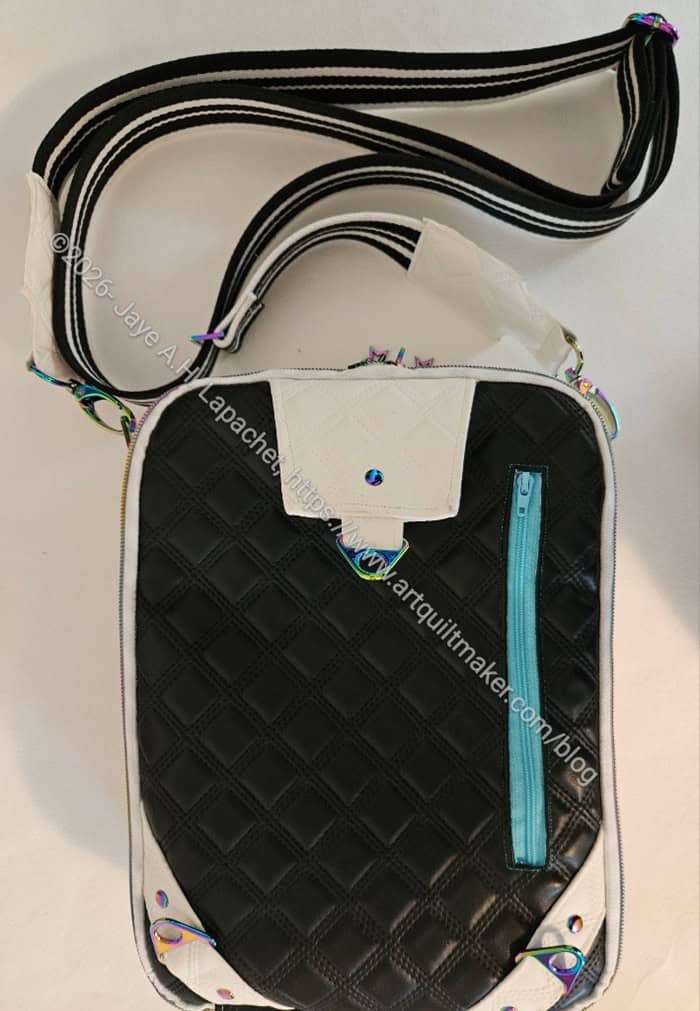
Pandora Charisma #2: finished – back

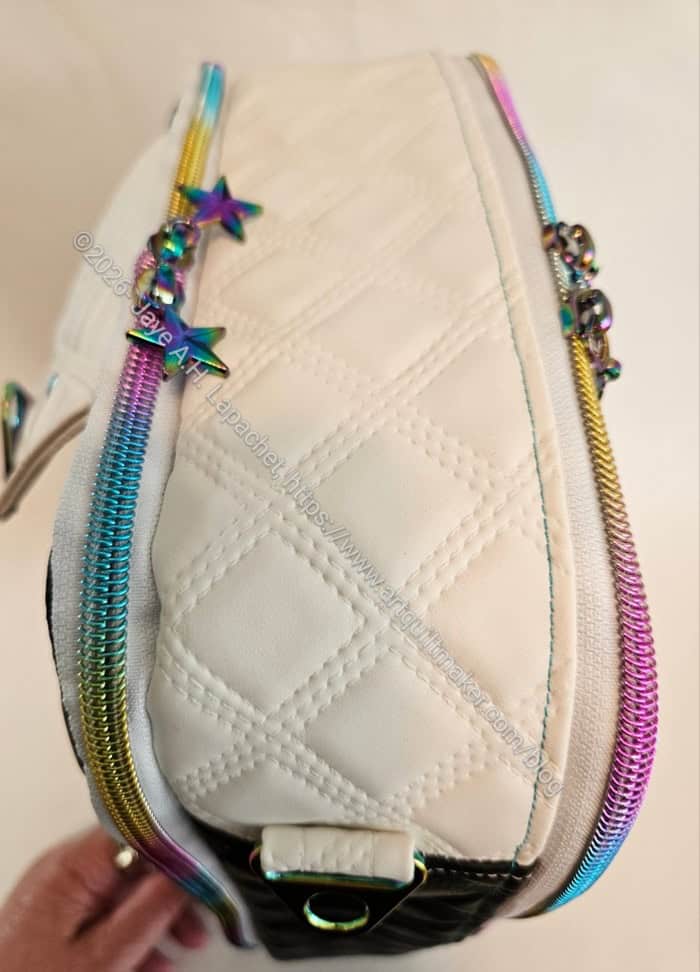
After taking some photos, I realized I needed some zipper pulls! I had a couple of Ruby Star color wheels so I added those, though not to the front pocket. I want that pocket to stay hidden.

I put the strap on the side and tried it out as a cross body bag, but thought I might try out the sling function as well. I plan to take this on a trip and the sling style might be a better way to wear it on a trip. I suppose it depends on whether I am wearing a backpack.

The good thing is I can change the strap at any moment. The same strap works for wearing it as a sling and as a crossbody bag.
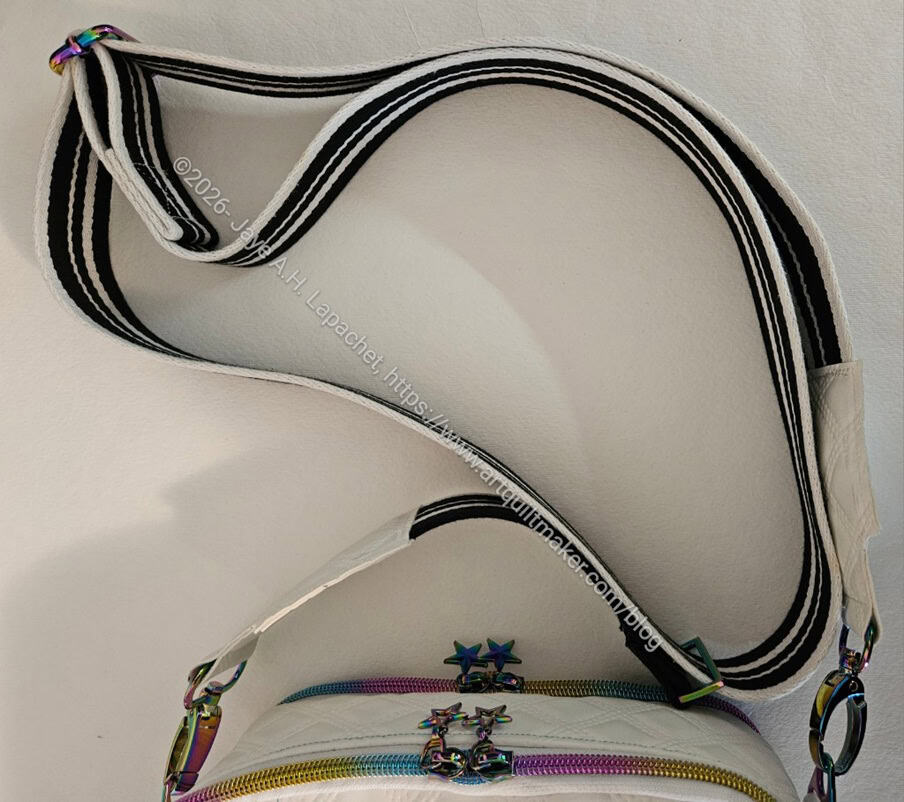
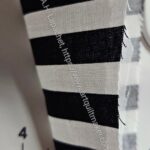
Pandora Charisma #2: adjustable strap

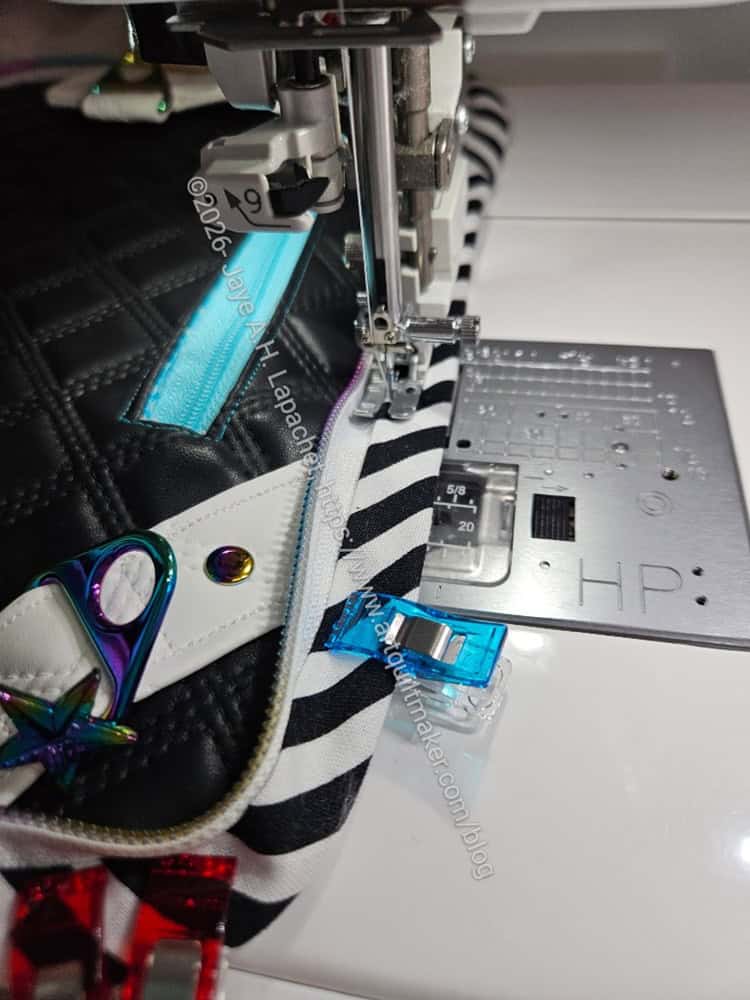
The webbing I chose was very thick, thus comfortable when the bag is on the heavy side. The thickness made the sewing difficult, however, even with the Harry Potter foot.

The pattern includes three different methods for making the strap. I combined a couple of the options for no good reason other than I felt like it. I think I will still rivet the strap in a couple of places. I am not sure I 100% like this strap and may make another.

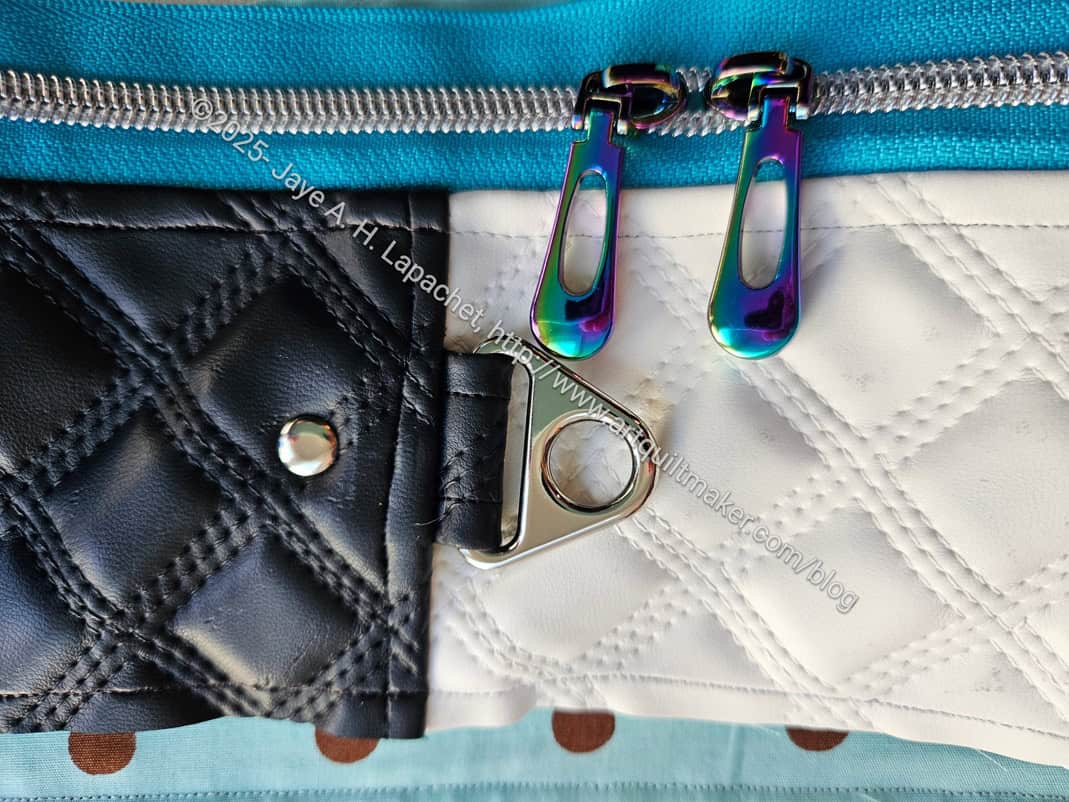
I also used a different template for the Strap Connector tabs. I used a different decorative version from Sew Sweetness. I used the Diamond vinyl to make the strap connector tab and am a little uncomfortable with the fact that edges are raw. Still, there will be no fraying, so I don’t what I am worried about. 
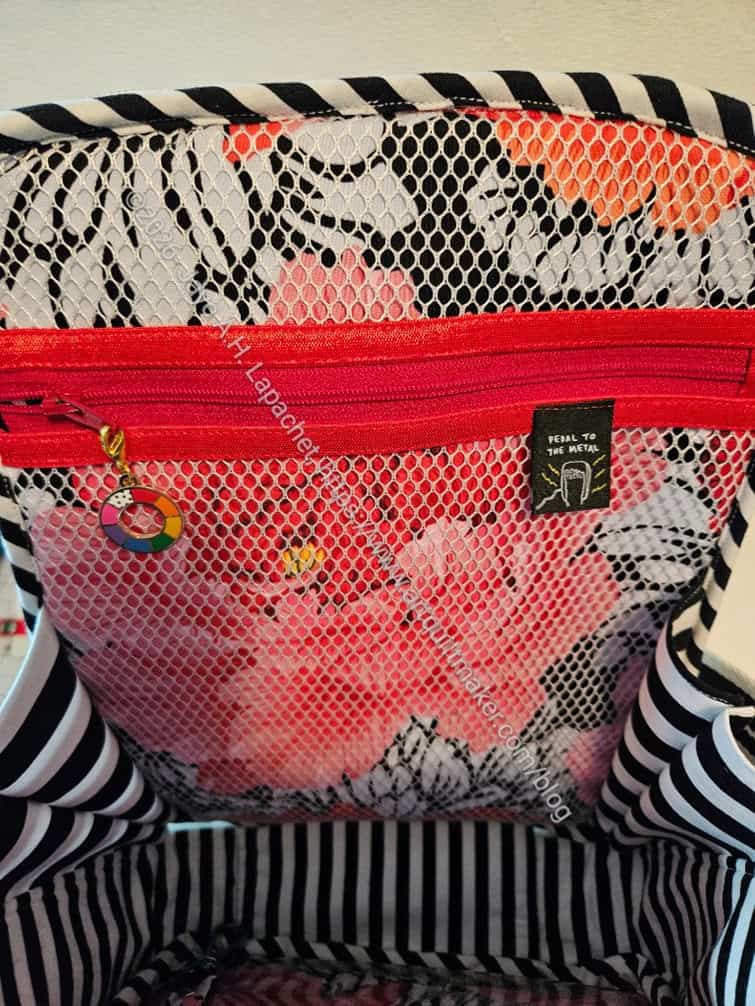
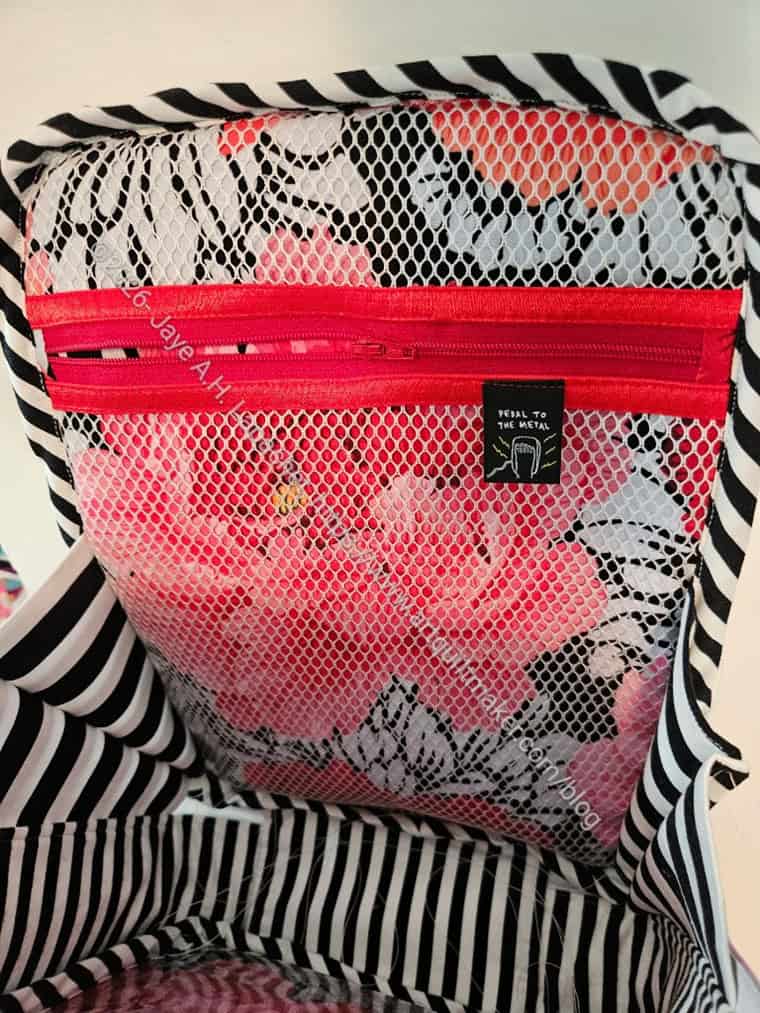
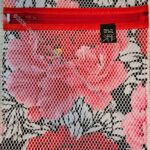
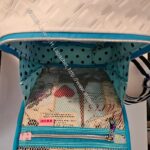
Pandora Charisma #2: mesh pocket

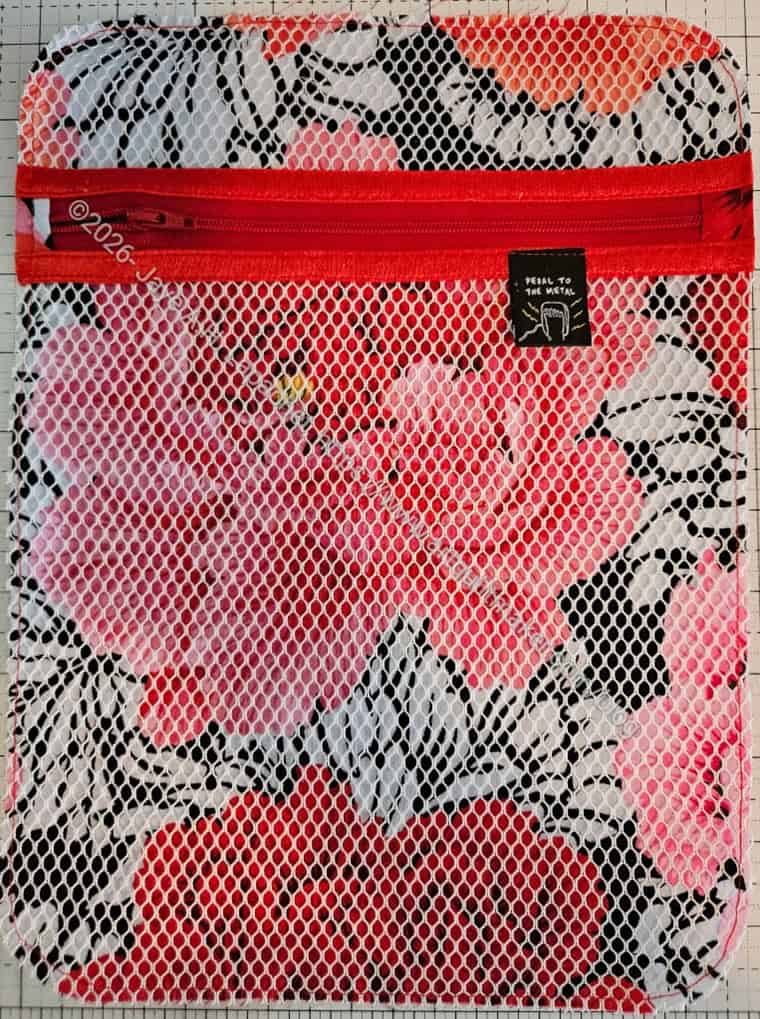
The mesh pocket looks good and I hope it is useful.

In the photo, you can see the Ruby Star zipper pulls I mentioned. The metal is gold, not rainbow, but I think it is ok. I probably mentioned that I used various labels on this bag. Why not? 

I notice that there are some places where items could fall out from the bottom. I guess that is why there are pockets. 
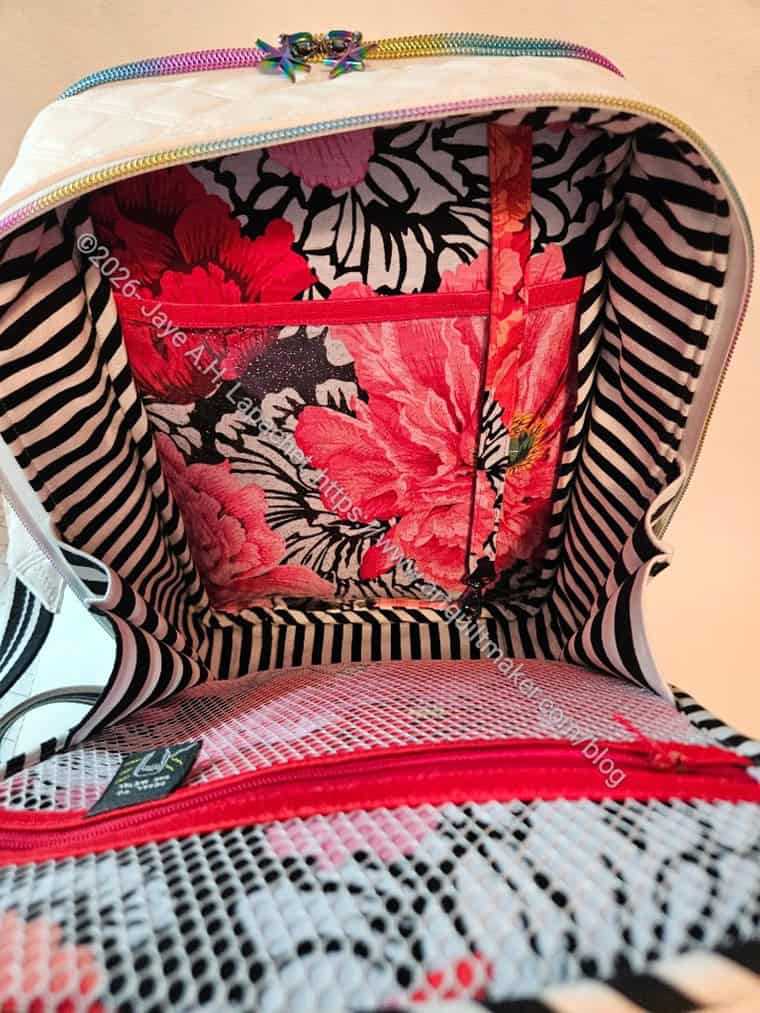
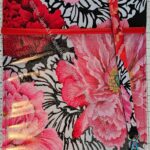
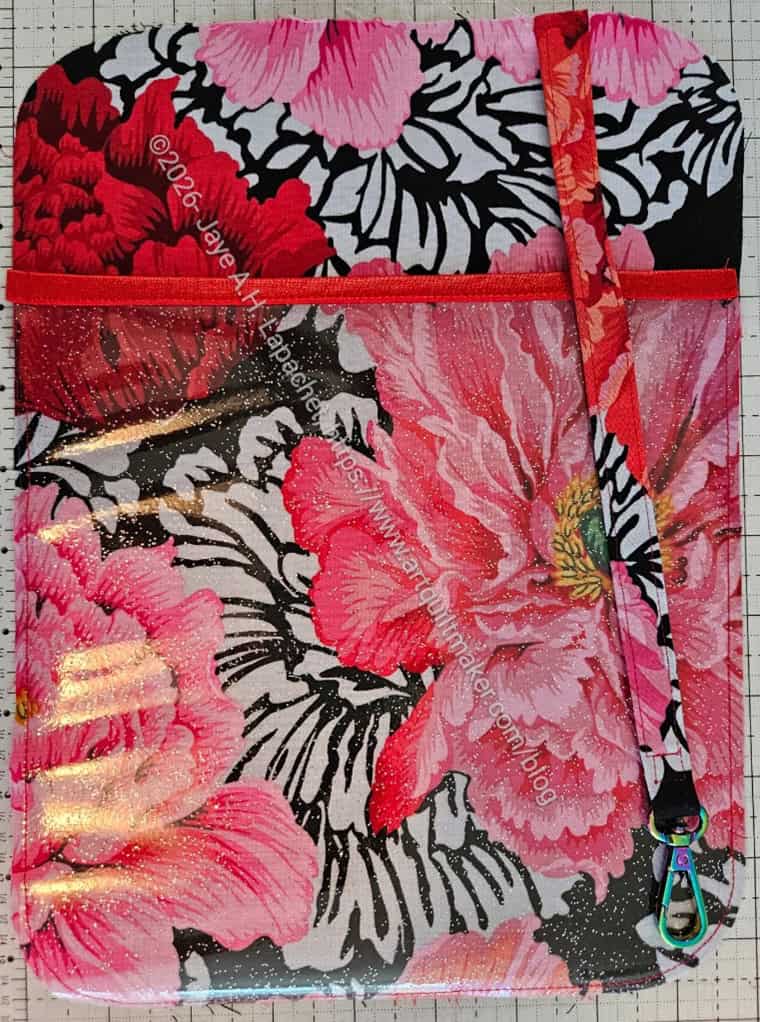
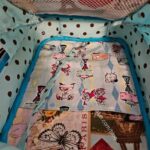
Pandora Charisma #2: vinyl pocket

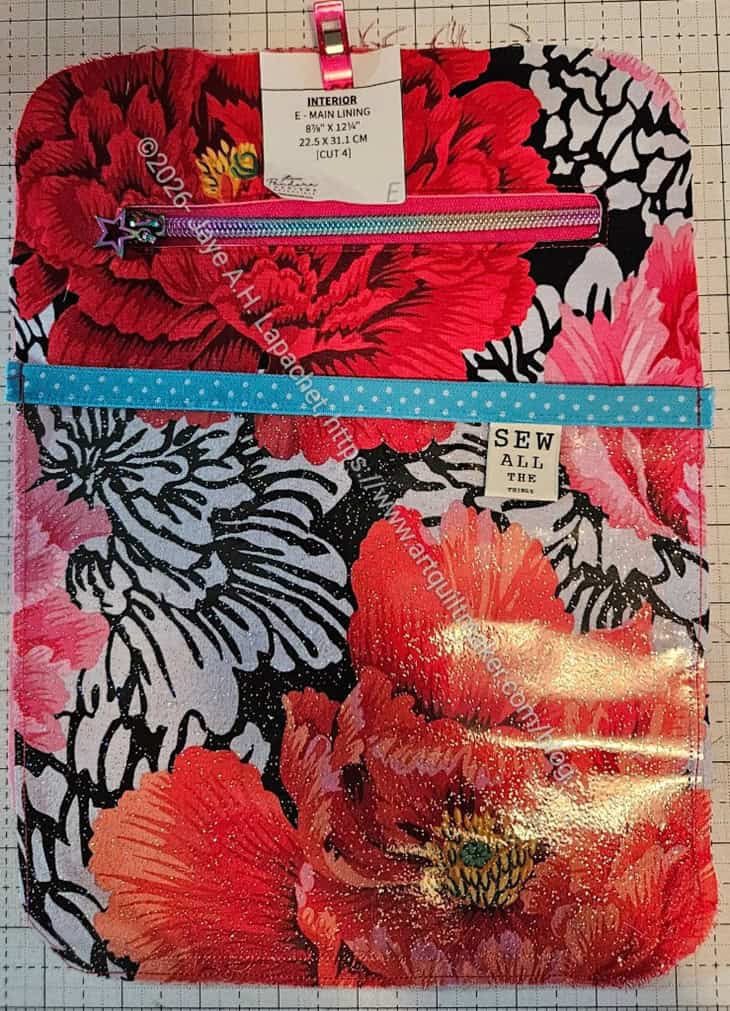
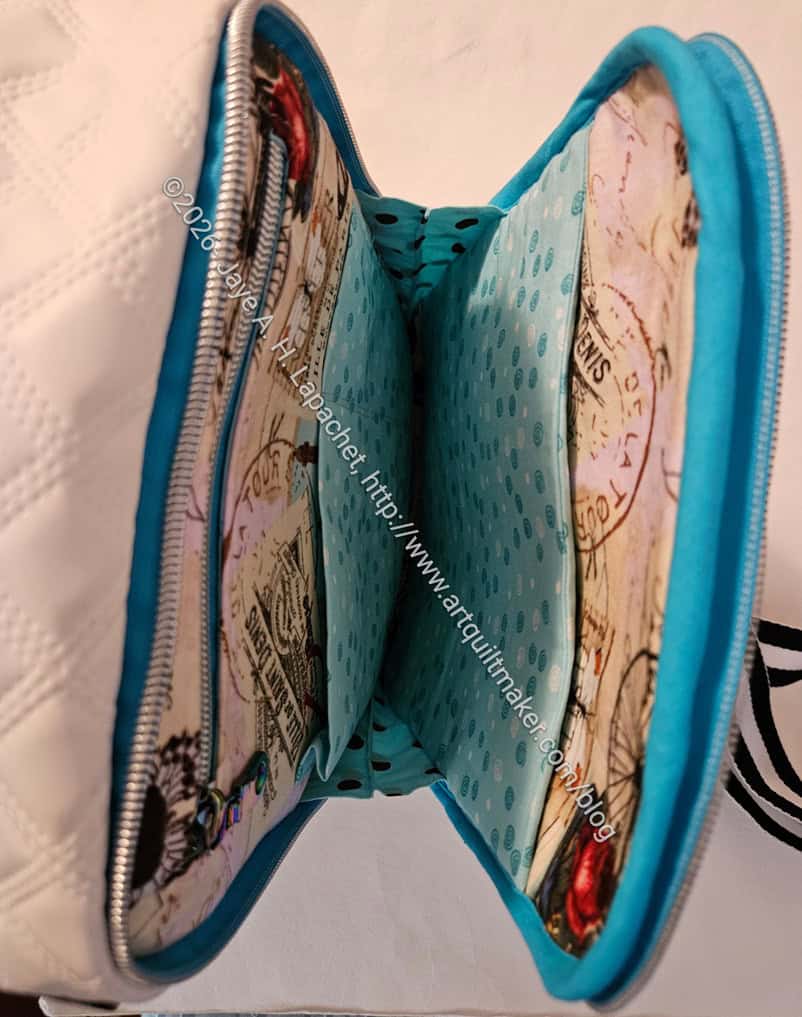
On the opposite side from the mesh pocket is the vinyl pocket. One of the things about vinyl pockets is I can see the beautiful peonies in the Philip Jacobs Brocade Peony fabric I used.

In thinking about using this bag, I think the vinyl pocket is where my pens will be housed. I didn’t think about pens before. I may make a specific pen holder/pocket and attach it to the gusset, if I make this bag again. 

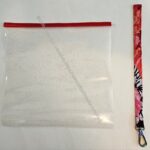
The key leash is built in, so I won’t have to worry about switching a leash from bag to bag in order to keep my keys clipped to my handbag.

I made the bag pocket using the fatter gussets as someone else in the Sewfisticated group did, so that it opens wider.
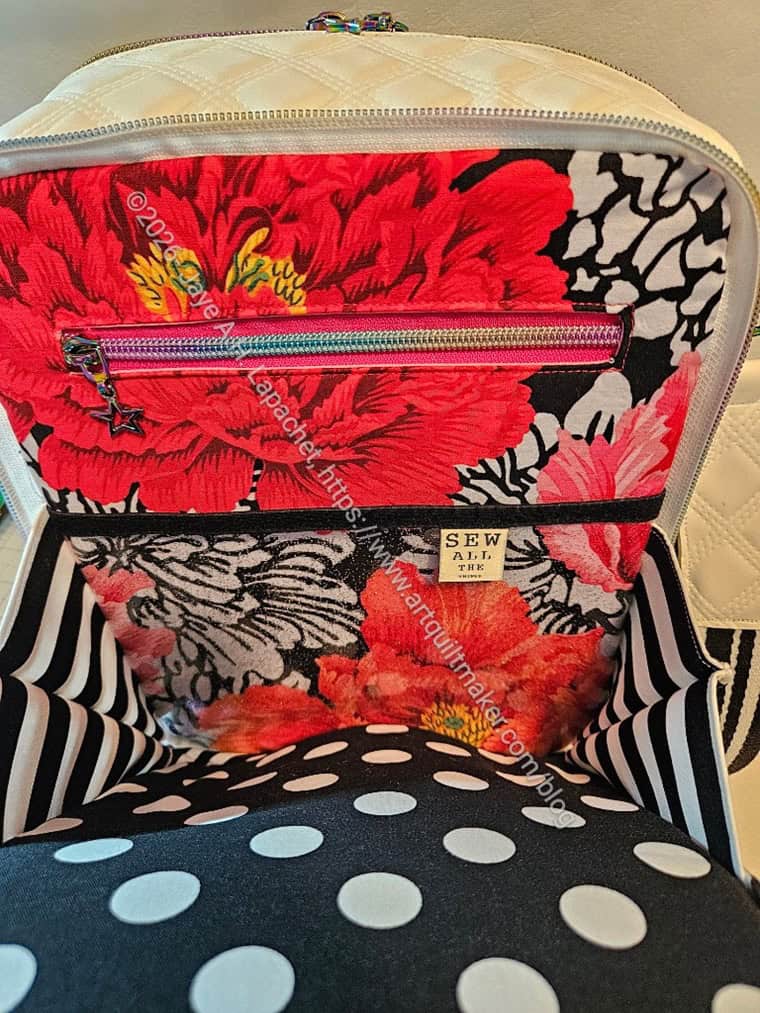
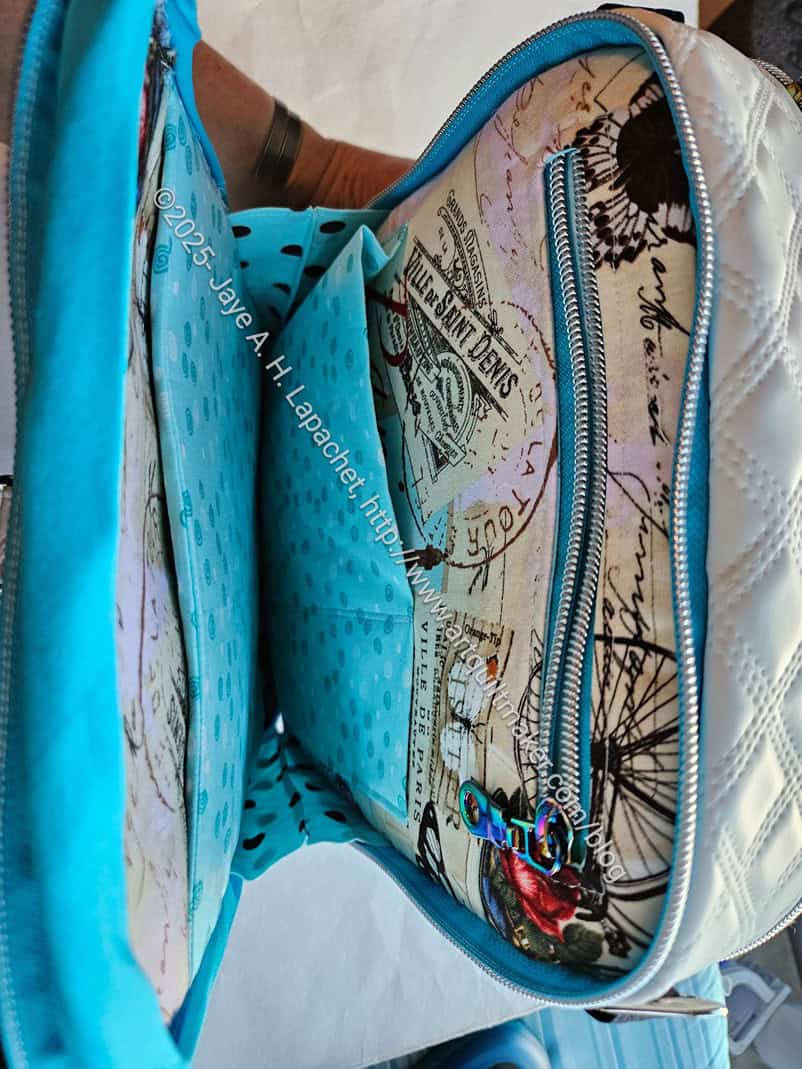
Pandora Charisma #2: Vinyl and interior pockets
Pandora Charisma #2: Vinyl and interior

I added another vinyl pocket to the back section. It covers an interior zipper pocket.  This vinyl pocket is shorter than the one described above. It might be a better candidate for pens. We’ll see.
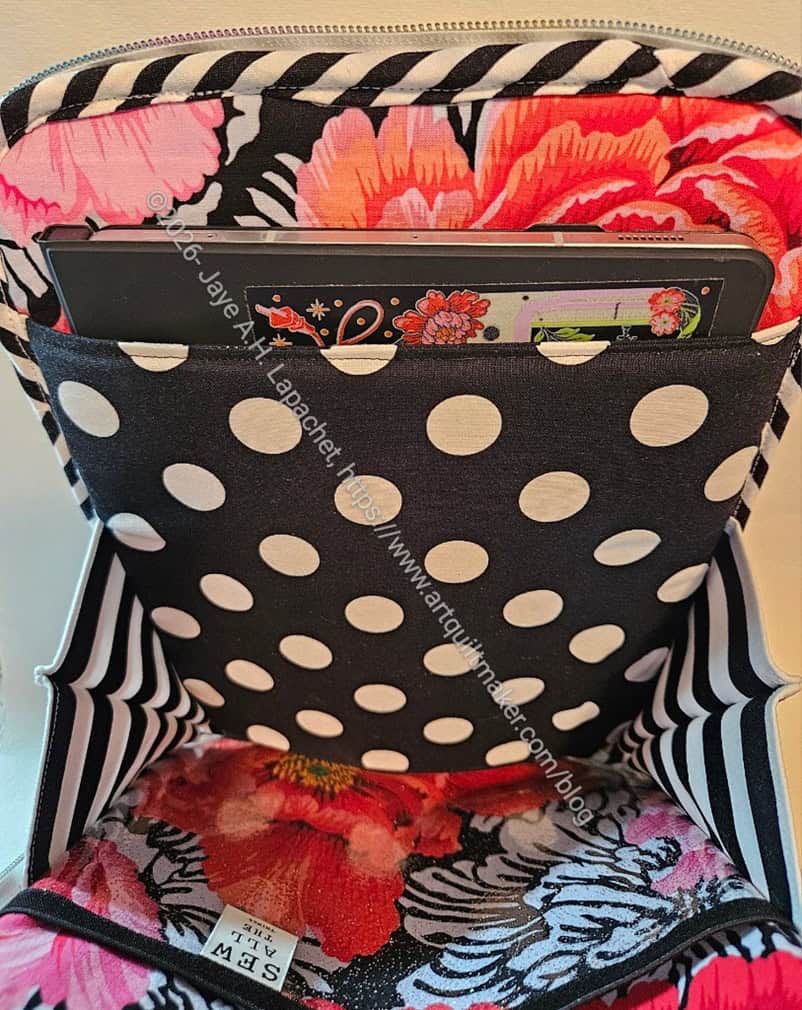
Pandora Charisma #2: my tablet fits!!!

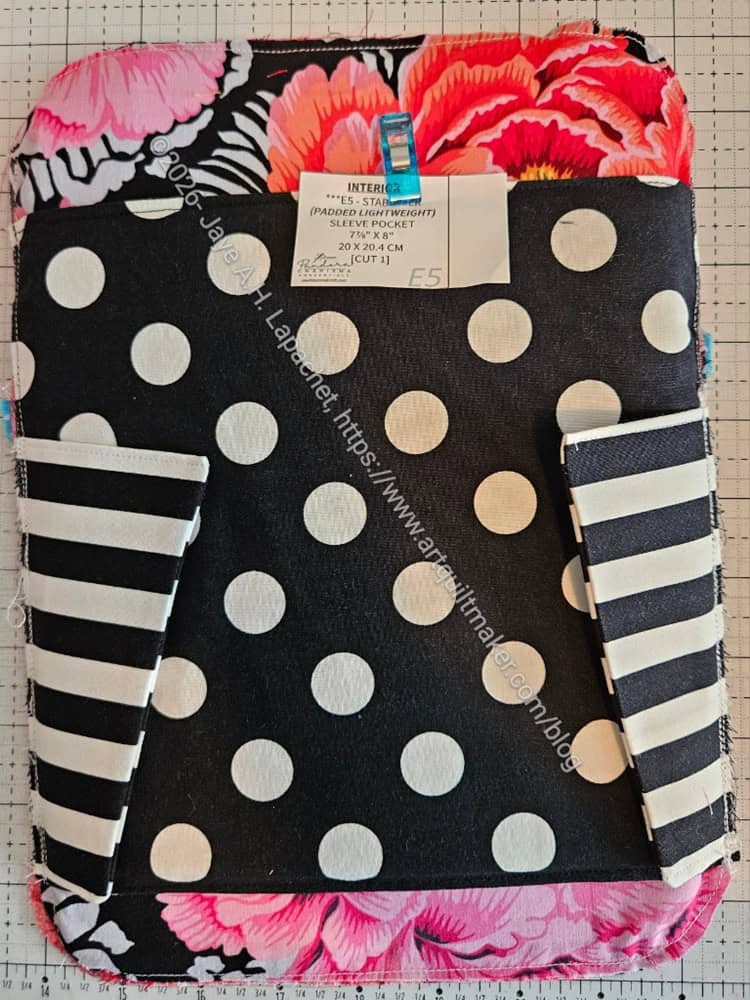
Finally, I am really happy that the tablet/computer sleeve, because it fits my tablet. I didn’t think it would. The sleeve looks really small in the bag and my tablet just fits. It is almost like the bag was made for my tablet, which it wasn’t. The only thing I would do differently is put the tablet sleeve against the main part of the bag next time. The pattern has its placement against the outside of the bag /  the back panel. I think the fabric would be less likely to rip with a heavy tablet housed there if it were swapped with the second vinyl pocket.

I am looking forward to using this bag. Yes, I plan to use it soon. I am contemplating not using it until after next year’s Fair, but I think that might be too long to let it just sit around.
Pandora Charisma #2 Continues

It hasn’t been very long since I worked on the newest Pandora Charisma, but it feels like an eternity. It was before the Great Wisconsin Quilt Show, which makes it feel like an eternity.

I really wanted a nice tidy finish before I left, but I wasn’t able to finish. I want it to be a bag that I will use so I didn’t want to do a rush job.


I worked hard on the binding, which is probably the most difficult part of the bag, aside from the thickness of the layers. The thickness of the layers is not a problem for me now because of the Elna’s HP2 foot. I almost finished. I have to fix the binding and have finishing bits to add like making the adjustable strap, so I put it aside and went to Wisconsin.

Pandora Charisma #2 Top

The biggest problem was when I tested the zippers that the binding was getting caught in the zippers. I thought about it while I was gone. I was disappointed and didn’t really want to take the binding off. For this pattern, the binding has been an issue for me. I thinking my quiltmaking binding background is the issue. I think I am making my binding too wide. Next time I make a Sewfisticated pattern, I plan to use foldover elastic.  Alternatively, I will check the size of the binding the pattern requires more carefully.

Pandora Charisma #2 - main compartment
Pandora Charisma #2 – main compartment

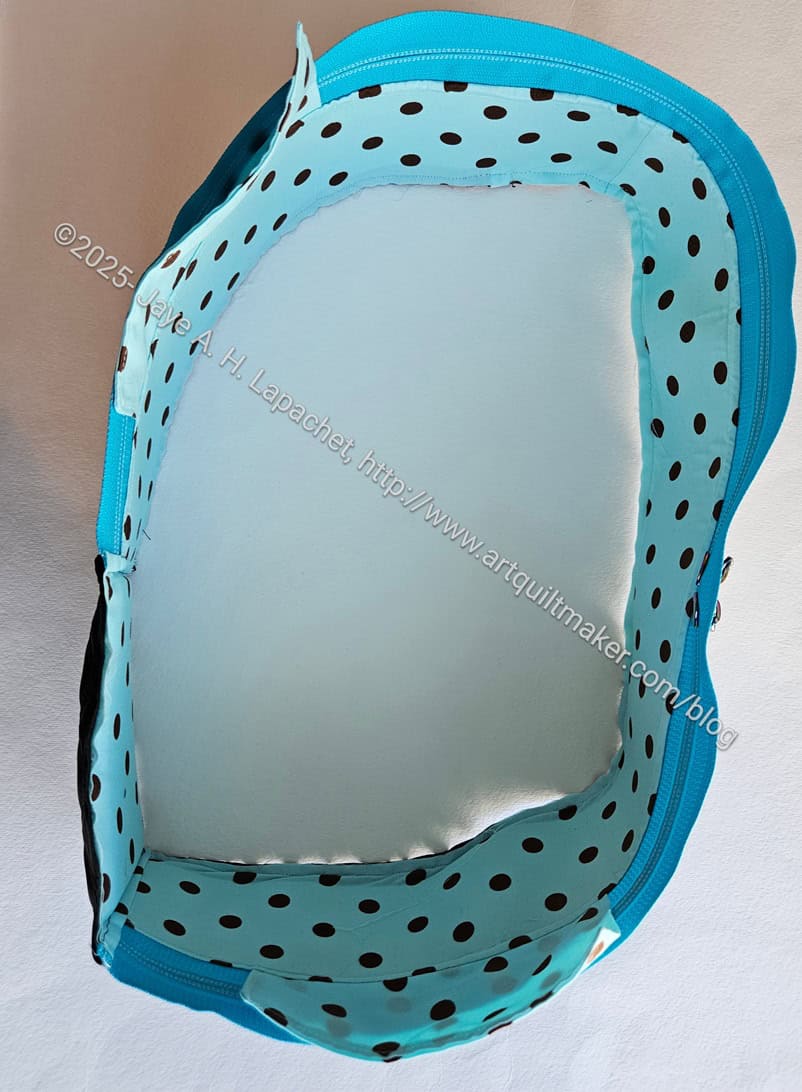
I got back to it on Thursday night after a few days of being home. You can see the excess binding fabric in the photo, right. I decided to handstitch the excess binding to itself. That will cover any suboptimal stitching and make the excess fabric more contained. Not an ideal solution, but the excess won’t get caught in the zipper.

I hope to finish soon. I’d like to try using it and see how it works for me.

Even More Pandora Charisma #2 Progress

I spent the Labor Day weekend, when I wasn’t at Sew Day, working on the Pandora Charisma #2. I really wanted to finish it, but didn’t quite get there. The ripping that happened took time.

I sewed some of the panels together wrong. The panels are sewn back to back once they are all done. I sewed two of them to the ‘wrong’ sides. I thought it would be fine, but I found the final assembly to be really confusing. I couldn’t quite translate the panel in the instructions into the way I had sewn them during the final assembly. I ripped back all the stitching and sewed the correct panels to each other.

Since I was taking the panels apart anyway, I took the opportunity to fix one of the vinyl pockets. I thought the crookedness of the one on the left would bug me since it wasn’t quite extreme enough to be a design feature. I didn’t have any more of that turquoise foldover elastic, so I used some black, which looks good. Maybe better.

Pandora Charisma #2 binding in progress

I did figure out why the binding of the last one was so difficult. I was supposed to sew both sides of the binding at one time. I just figured that out through a cryptic note I had written to myself. 

Putting the binding on this way is difficult. My machine was able to handle it, but it doesn’t look great and I think it might be too big for the space – the binding isn’t filled. The completed binding seems to get in the way of the zipper also, though I have to wait and see since I need to do some trimming and clearing up of threads.

Additional Pandora Charisma #2

The Pandora Charisma #2 has been on my mind. I worked on it a little last week and realized I was at the assembly point. Nearly all of the pieces are ready to be assembled into a bag. The sewing of this version has been a lot easier than the first time. And much less anxiety provoking. 
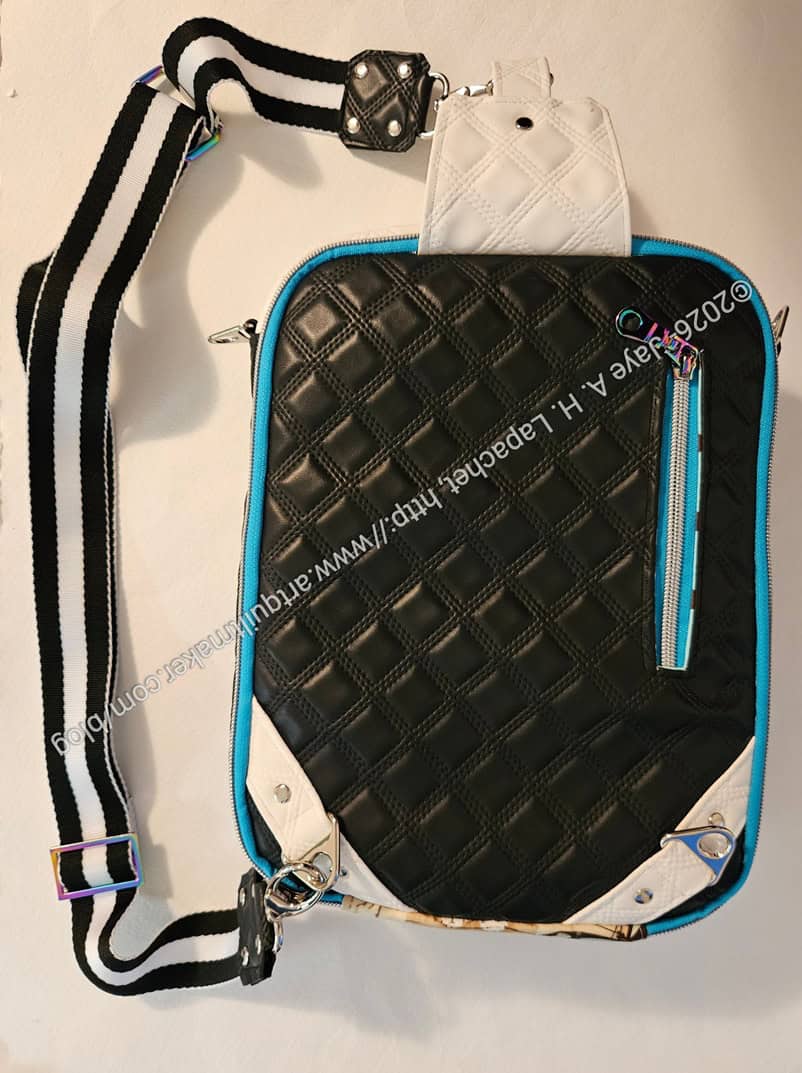
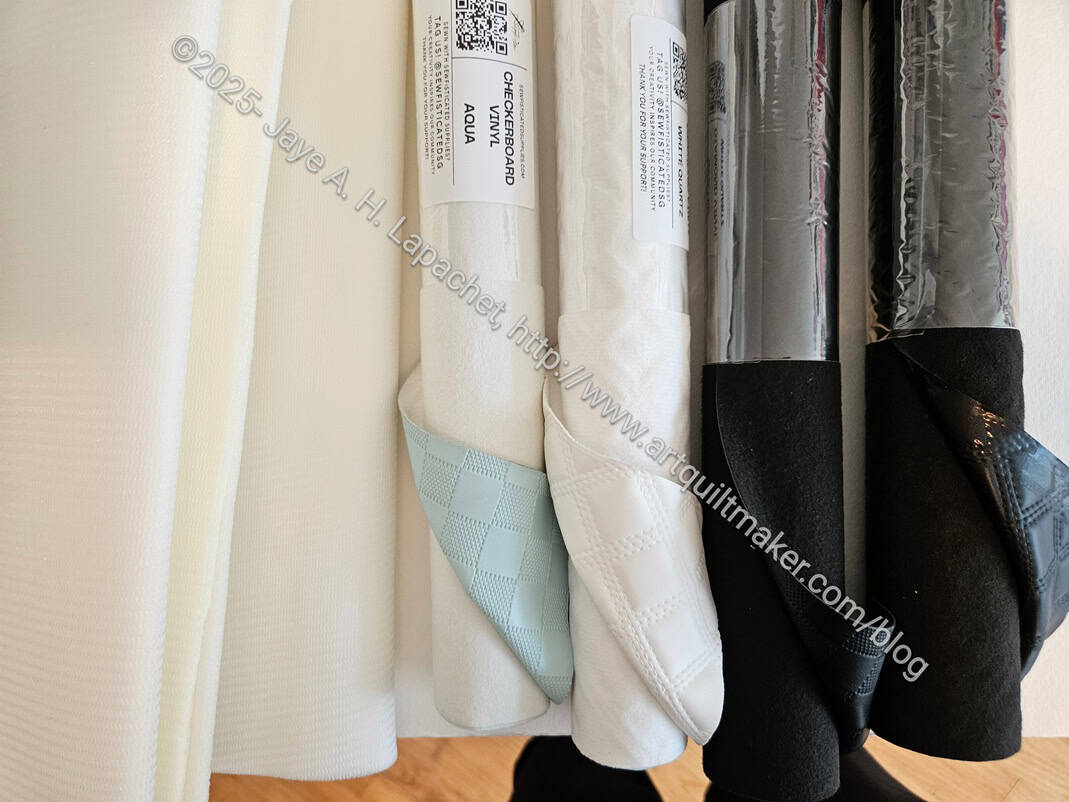
Sewfisticated substrates

The next step was to get the zipper gusset done, but I was anxious about the layers. The outside is made with the same pleather/Diamond Vinyl as Pandora Charisma #1. I took a breath, cut the pieces I needed and made a start. I had the good sense to install a leather needle and the HP2 foot*. I don’t know what HP stands for in the Elna world, but maybe I should call it my Harry Potter foot since it is really magical. 😉

There were about 5 layers of the Diamond Vinyl through which to sew. Once I was setup, I went for it. My machine sewed through them all like a champ. Granted I sewed very slowly, but it worked!! I was thrilled.
I had to do a lot of ripping over the weekend. It was one of those “it’ll be fine” moments and I should have taken heed sooner. Live and learn!!
I was able to rivet crucial points at Sew Day, thanks to MaryC.

Now I am on to final assembly.


*N.B. “Suitable for the dual feed narrow system, the HP2 foot combines the advantages of a slim ¼” foot with dual feed capability. Providing high visibility, it is ideal for precisely sewing curves and topstitching. In addition, it guides simultaneously the top and bottom layers of fabric for perfect results when quilting and matching patterns. It must be used together with the HP needle plate.” from Elna site

More Pandora Charisma #2

Pandora Charisma back panel sleeve pocket

The last time I worked on the Pandora Charisma #2 was back in July. I have been itching to work on it again, but hadn’t quite gotten to it lately. That changed on Sunday. I came back from viewing the amazing dahlias in Golden Gate Park and got to work.

Having all the pieces and parts in one project bag really helped. 

First I made the tablet sleeve. I kind of wanted to make it from vinyl, so I could see the lovely Brocade Peony print I used for the main panel. I decided vinyl would look great, but not provide any protection for my  tablet. I hunted around and found some of the Tula Poms and used them for the padded sleeve. When I stick my items into the bag, I’ll be able to see the flowers.

Pandora Charisma zipper/slip pocket

I did use vinyl for the lining zipper pocket. I decided to put the pocket on at an angle, but it ended up just looking a little wonky. I wanted it to be more accessible and thought that putting it at angle would help. Perhaps I need to think that through a little more for next time.

Now I am ready to put the whole thing together. I think I might have skipped making the gusset, but can easily sew one. I am finding that having made the first one means making this one is more understandable.

More Miniscule Pandora Charisma #2 Progress

Pandora Charisma mesh pocket

I haven’t worked on the Pandora Charisma for a few days, but I did make some progress.

I finished the mesh pocket, as you can see. I picked the foldover elastic and zipper especially to match the background fabric. 

I can’t believe how much easier this bag is to make the second time around! 

I haven’t made the gusset yet, but that is coming up. So far I have some of the pockets made as well as the front and back panels. I have a fair bit to go, but am making progress intermittently between other projects.


More Pandora Charisma #2

Pandora Charisma #2: gussets

After finishing the back panel, I started on the gussets. Before starting them, I looked through versions of this bag on the Sewfisticated FB group. I noticed one maker had made the back panel open wider by using the same instructions.

It is super helpful to see the different fabrics and modifications other bagmakers think up. I forget that I can do things differently. Although I have made a lot of bags and pouches, every new bag project feels unfamiliar.

Pandora Charisma #2: front panel lining

One of the changes I am making on this one is a clear slip pocket instead of a fabric slip pocket. I thought about the utility of it and whether the vinyl would be a problem. I couldn’t think of one and I wanted to show off the lining fabric. In future I will use a plain fabric for the lining and a featured or printed fabric for the slip pocket.

Part of this step is the key leash. That is done as well. I love the way the flowers show through the glitter vinyl.

I am still having fun with this and the steps are going faster than I expected. Next is to make the mesh pocket. I have cut everything. I just haven’t sewed the zipper in.

Pandora Charisma #2

Pandora Charisma #2 front panel

Amazingly I have recently continued to work on the Pandora Charisma #2. I didn’t have a Pandora Charisma #2, really, but decided I would make another one with the front panel I sewed when testing the Elna.

It wasn’t a done deal that I would make another one as all I could remember was the struggles I had with the binding on #1. The win really made me excited about the project. Another reason I want to work on this project again (despite the hair ripping during the first one) is I want to see how the Elna does. I also think winning Best in Show made me want to try another one. 

On Sunday, when I was done beavering away on other non-sewing chores, I really thought about the project I wanted to work on. Since I am sort of in between quilts, I am working on tidying up little tasks. I made a binding for the Warm Four Patch Fun, I processed a bunch of scraps and did a few other fabric related tasks. I wasn’t ready to start a new quilt or revisit a WIP yet, so the Pandora Charisma settled into my mind. I did really want to work on it. So I did. 

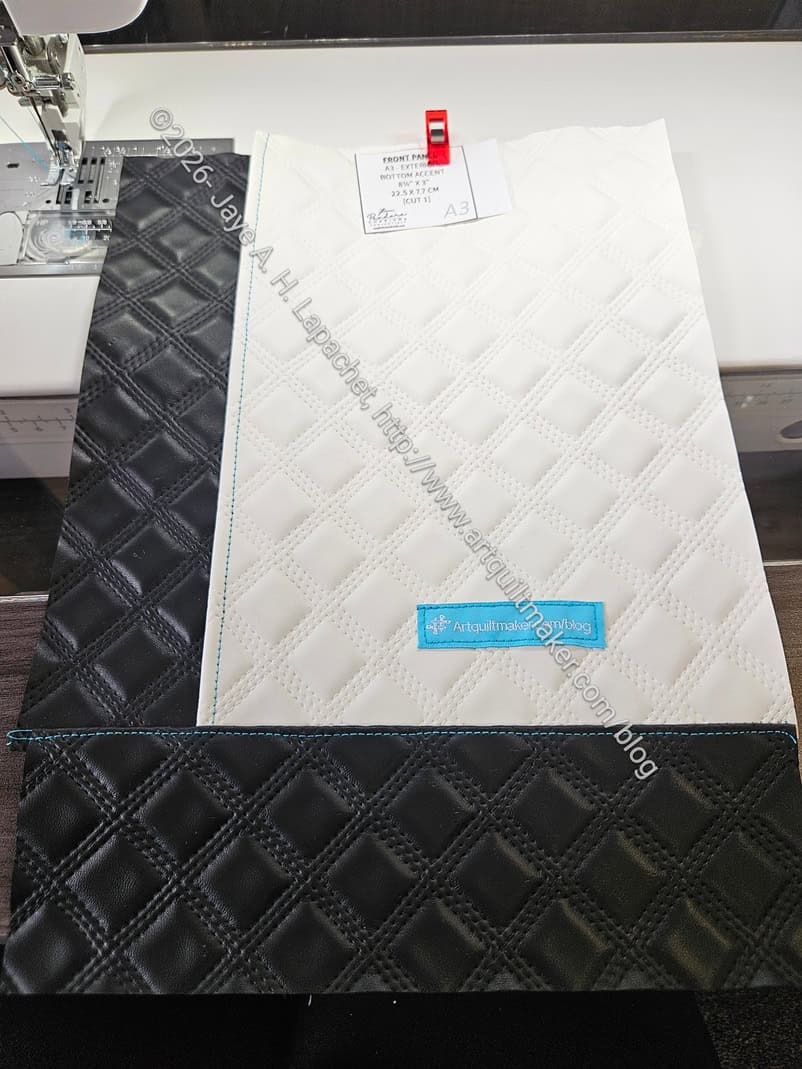
Pandora Charisma #2: back panel

I made the back panel. I didn’t scream through it like I did on the front panel, but I did make it. I found it didn’t take long at all. 

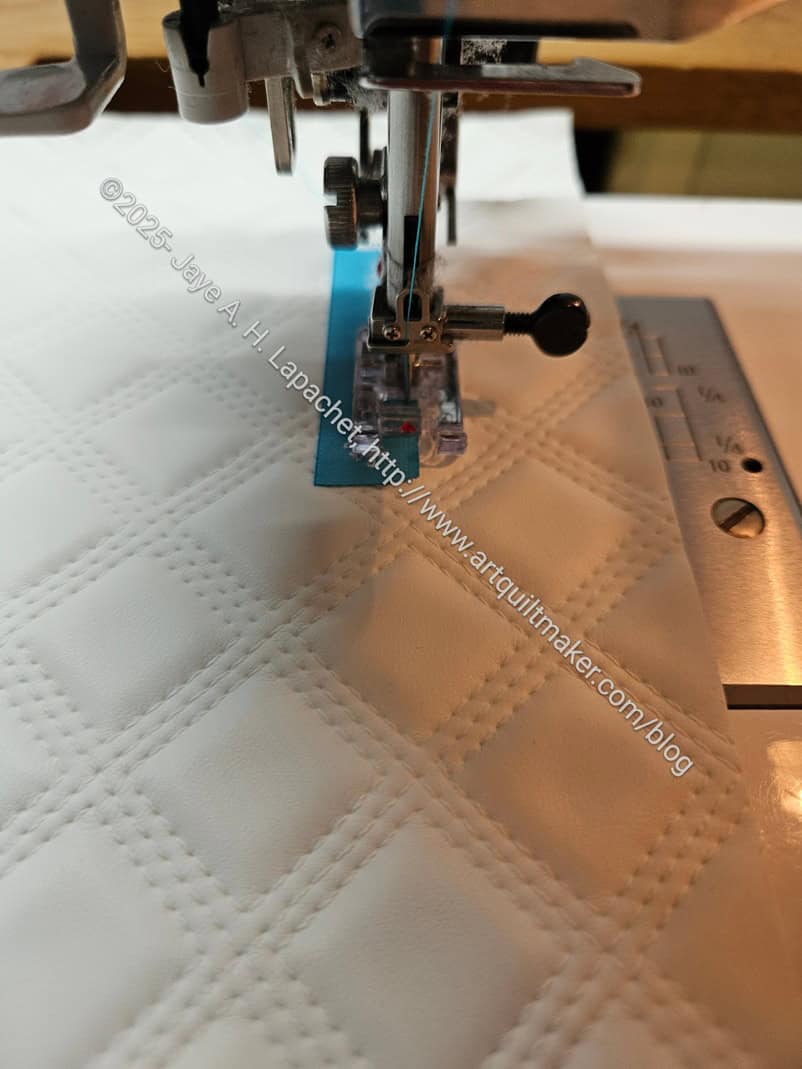
So far so good. This piece uses the Diamond Quilted Vinyl that looks like pleather. I always refer to it as pleather as I think of vinyl as clear. Anyway, this stuff acts like vinyl, so I after 1 stitch put on the Teflon foot and needle plate. What a dream! Those two are a powerhouse combo! No issues with pulling or sticking. 

This time I used regular (#3??) zippers for the hidden zippers in the front and back panels. So far so good, though it was a challenge to get the zipper surround to lay flat. 

The next step is to make the gussets for the inside. It was a good stopping point. Stay tuned!

Another Winner

I went to the San Mateo County Fair on Thursday with SIL#4.

Winner 2026: Pandora Charisma

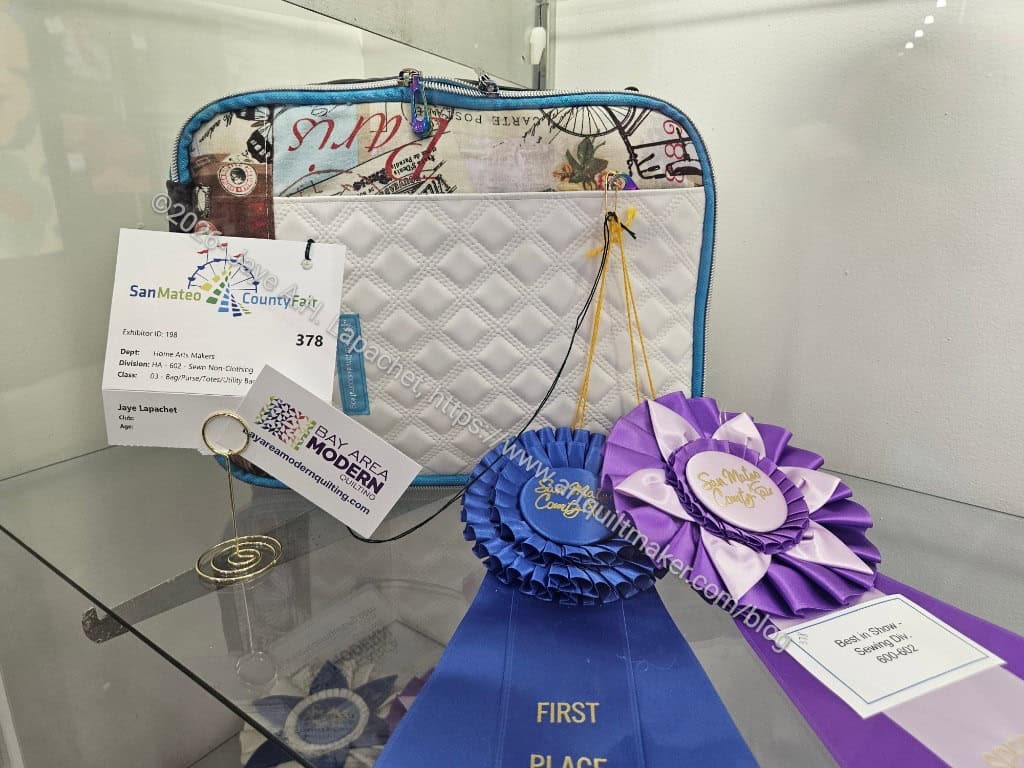
I was shocked and amazed that the Pandora Charisma won at the County Fair. Lee Ann shared the news with me at Sew Day, so it wasn’t a surprise. I was, however, so excited to see the evidence in person. I am in wonder at the size of those ribbons!

Old Town with Ribbon

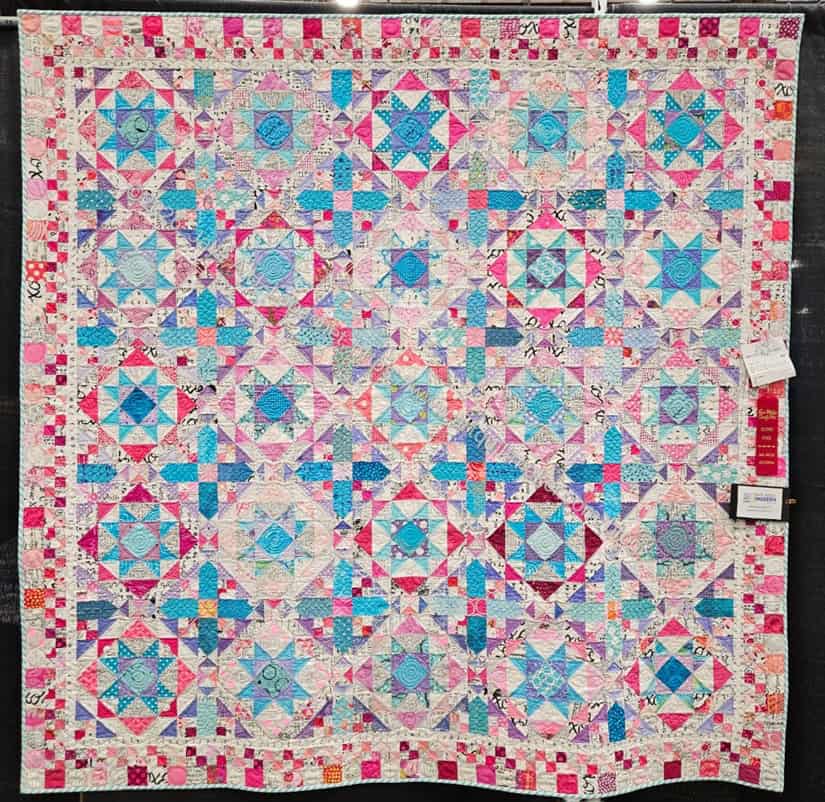
I was also pleased that one of my quilts, Old Town,  won a second prize. While second place can seem like nothing special, this quilt was entered into a category where a lot of quilts are entered (quilted by someone else). After thinking about it, I was very pleased even with a second place in this category.

BAM members in general did really well! I was thrilled to see so many BAM cards on prize winning exhibits.

See previous winners.

Testing Sewing Machines

I went out again to test sewing machines, this time with my own materials. It made such a difference! I was really able to test what the machines could do.

Before I get into that, I highly recommend taking time to prepare you own samples to sew. I spent all the sewing time I had on Sunday prepping materials that I would sew as a test. These were not fake tests, they were real pieces that will be used in bags I am making.

I planned to perform the same tasks on an Elna 792 Pro Ex and a Janome Continental M8. Most everything I brought had two options. Mostly I got the same results from both machines. 

Enigma Side Panel - handle support
Enigma Side Panel – handle support

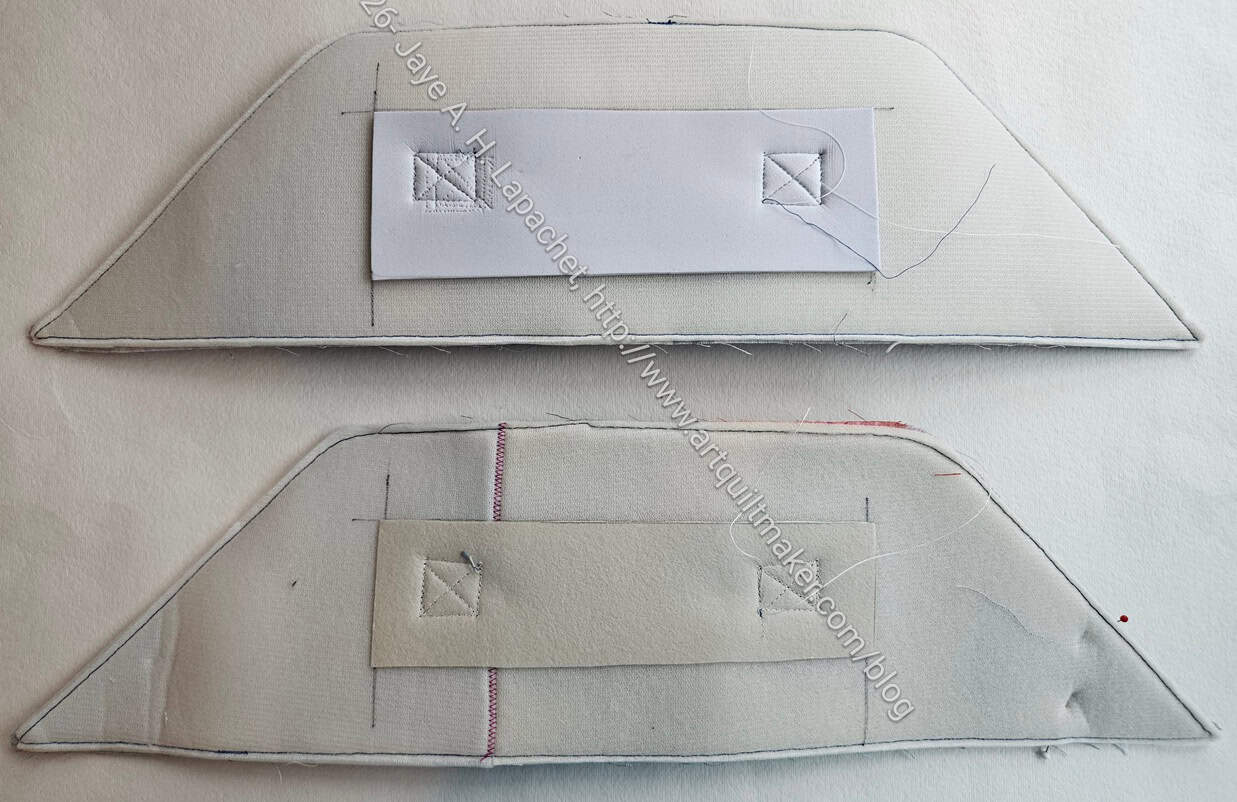
I prepped two Enigma tops, which the pattern calls the Side Panel. I wanted to test going through the handle, one of which included a layer of Decovil (bottom). The other had a layer of the Sewfisticated 2mm stick-on (top) interfacing. I wanted to see the difference in the sewing. I know the underside looks really ugly, but that is the hidden structure of the bag.

I had tried to sew the Sewfisticated 2mm stick-on interfacing on my current Enigma efforts and kept getting skipped stitches. I was annoyed, so I peeled off the Sewfisticated 2mm stick-on (top) interfacing and replaced it with Decovil. This gave me the idea to test them both out on the machines. I quickly put together the pieces for these two bags and took them with me. 

The outcome was that I learned about a new type of needle. Schmetz has a universal needle called the Super Nonstick Needles**. While I didn’t try sewing this special stabilizer with a regular needle, using one of these non-stick needles made the process very smooth. The layers were a challenge, but not the stickiness. WooHoo! I learned something new!  MaryC knows everything and she hadn’t heard of these needles either. 

I cut a foam and fabric combination using some scraps and prepped it with the MistyFuse like I have done for the past couple of Enigmas. The test I performed was using two different thread colors. The tension definitely had to be adjusted to get it perfect, but even out of the gate, the quilting looked good. I was particularly pleased that no blue thread showed on the white side.

I tested sewing one of the last steps of the Enigma pattern – the side completed panels with zipper to the bottom panel. I had some trouble the other day with the two sections slipping out of true and not getting caught in the seam. I used the HP2 foot with Acufeed, which is described as “… holds fabrics firmly in sync with the feed dogs to achieve professional results.” I found that to be true even when sewing approximately 7 layers of fabric and foam together. Technique is not to be ignored. This time I sewed from the side where I could see the previous stitches, except over the zipper. 

Pandora Charisma #2 front panel

I also prepped the front panel of the second Pandora Charisma. Yes, despite the swearing, I am making another. It is not at the top of the list, but I do plan to finish it. As a result, I prepped the pieces for the front panel, because I thought that if I wanted to put the machine through a hard test, this would be it. Amazingly, I sewed the entire front panel in about a half an hour (!!!) on the machine I am considering. It was amazing. The machine had no problem with multiple layers of pleather and I could really see the difference in the stitch quality. I wasn’t even using special thread.

Pandora Charisma #2 front panel detail

It isn’t perfect, mostly because I am not familiar with handling the machine. Still, I was thrilled with how well I did using the pleather. I really didn’t think it was possible to have an easier time sewing through that substrate.

I know I shouldn’t compare a brand new machine to an older, well loved machine, but I was really excited by the improvement by using a machine with a more powerful motor.

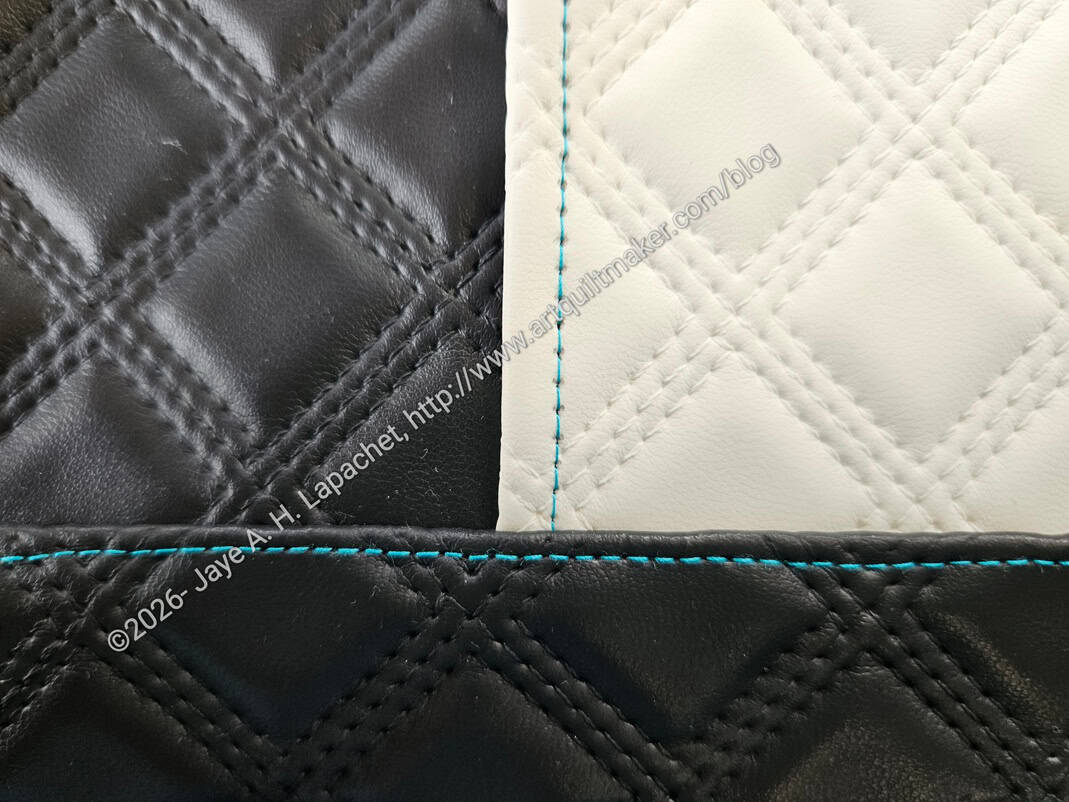
The above two pictures show the differences in the stitch quality. The Pandora Charisma #1  is on the left and #2 is on the right. Both show the same front panel detail. For #1, I upped the stitch length from 2.2, which is the default, to 2.5. It is still almost impossible to see the individual stitches. The pleather is almost perforated on Pandora Charisma #1.

I did not test the Janome M8 with the Pandora Charisma. I was getting tired and wasn’t up for it. I am told that both machines are the same with different housing, so I didn’t feel I needed to do it.

We’ll see what happens. I am inclined to buy one of these machines. I’ll have to wait and see.


**Obviously, you should shop at local quilt shops and small businesses. However, if you are too busy or can’t find what you need there, I use Amazon affiliate links and may be paid for your purchase of an item when you click on an item’s link in my post. There is no additional cost to you for clicking or purchasing items I recommend. I appreciate your clicks and purchases as it helps support this website.

Thinking about the Pandora Charisma

Pandora Charisma - front, finished
Pandora Charisma – front, finished

As you know I completed the Pandora Charisma. It was a learning experience mostly because, if I categorize my thoughts, it was a pattern by a new designer.

One of the things I explored was new substrates. I used the Diamond Quilted vinyl, which feels like leather, as mentioned, for the first time. I had some challenges sewing it, but not as many as I expected. I did buy and start using a Teflon** AKA Ultra Glide foot. It wasn’t as magical as I hoped, but it worked better than the tissue paper I normally use with vinyl. The tissue paper went straight into the holes made by the needle and wouldn’t come out. 🙁

There were lots of eighth inch measurements. I thought it might be because the designer is from Singapore and uses metric measurements to start, but in one place there was an eighth measurement and the metric was x.1, so I think it is just the way the pattern turned out.

Sweetbay zipper pocket in progress

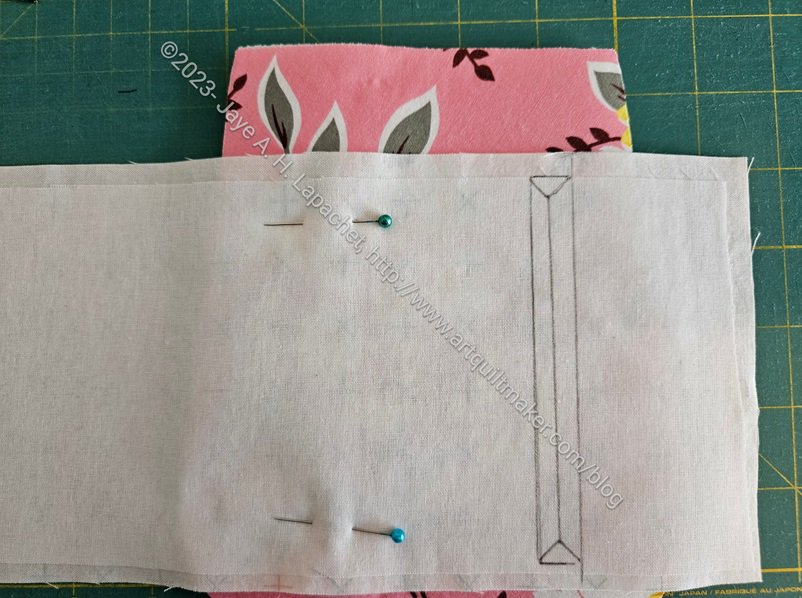
I thought the pattern was well written and pretty easy to follow. One of the good things about using a pattern from a new/different designer is that I learn new ways to complete general bagmaking steps, such as sewing the hidden zipper pocket. For an internal/hidden zipper pocket, Jessie (owner of Sewfisticated) only sews along the two long edges rather than all the way around the box. This prevents puckers in the corners, which is something that has always bugged me. The picture of my Sweetbay project shows the box drawn and ready for sewing, so you can see the box. One of the reasons this works is that later in the process the maker top stitches the whole zipper pocket when finishing the zipper pocket. 

I was also confused about the internal/hidden zipper pocket directions, mostly how far down from the top the zipper pocket needed to be on one of the steps. I don’t know if I missed or didn’t understand the directions, but I didn’t have quite enough seam allowance at the top. I made it work, but will do the step differently next time.

I loved that the pattern listed the exact pieces I needed for each section. I was able to cut the pieces I needed for just that section as I worked through the pattern. This helped me keep organized and not have a whole bunch of pieces sitting around for a month. I also liked not cutting everything at once, which I find to be the worst part of bagmaking. In general, it broke the pattern down into manageable bites, which helped my brain, but also my hands.

Center markings
Center markings

Center points are often marked on a pattern piece when you have to assemble a gusset to a side of a bag. In the video I watched, the maker snipped the center marking then could leave the pattern piece in place (pinned or clipped), lift up one side of the pattern and mark the center line. Genius!!!

I learned about stick-on interfacing. I had never heard of this before I found this pattern as part of the Bag of the Month program in which I participated at the beginning of 2025. When I saw the pattern I knew I had to make it and went looking for the supplies, which led me to the Sewfisticated website.  The supplies have been sitting in my workroom and I was pleased to have them on hand so I could use them. I didn’t have all the thicknesses, but I made it work and the stick-on interfacing is awesome. I can’t wait to use up my Decovil** and replace it with this product. It is a lot easier to use than Decovil and works with substrates that cannot be ironed. Genius!

Pandora Charisma: label sewing

I like the labels for each, which were included with the pattern, piece as well. This is a good feature and I would love to see it as a standard for all bag patterns.

Jessie also tells you where to put the label, which I really appreciate, if for no other reason than I don’t forget to add one.

There were a couple of places I found confusing, but managed. I didn’t understand the use of some language, including the divider pocket. I couldn’t understand what they were trying to achieve, but then I watched one of the videos available and it all became clearer. They were calling the pocket a divider pocket whereas I am used to calling it a divided pocket.

There were somethings I didn’t like. The pattern has a whole section on interfacing, which I found to be really confusing. This is where cutting and interfacing all the pieces upfront works better. I didn’t know whether to interface a piece or not and the pattern didn’t always say. I plan to make this again and have been making notes about where/when I want interfacing. 

They pattern suggested making zipper tabs in a way I don’t like because it doesn’t come out well. I have to find my preferred method and make sure I know how to do it without thinking. There are so many methods for everything. The way that works is the best for the bag maker.

The bag requires a lot of hardware, particularly zipper pulls. It makes me think that I need to find a small bag or container to use for all the hardware I need for one bag. All of my hardware goes into the Quilts Illustrated Tool Tote I made years ago. I have it mostly sorted in that bag. I am talking about a smaller bag where I can sort just the hardware and zippers(?) I need for one project. I’ll have to think about the right bag. Maybe a smaller version Sara’s Nuthatch? It’s part of Minikins Season 4.

All in all, this pattern provided me with a huge learning experience. I enjoyed the learning and I am pleased with the way the bag came out.


**Obviously, you should shop at local quilt shops and small businesses. However, if you are too busy or can’t find what you need there, I use Amazon affiliate links and may be paid for your purchase of an item when you click on an item’s link in my post. There is no additional cost to you for clicking or purchasing items I recommend. I appreciate your clicks and purchases as it helps support this website.

The Pandora Charisma is Finished

Pandora Charisma - front, finished
Pandora Charisma – front, finished

I am into sneak peeks lately! You got one the other day about this finished Pandora Charisma.

Yep!

Finished! Done! Complete!

I powered through a lot of the finishing steps, which were the hardest, on Friday so the bag could be done for the Month 1: UFO challenge reveal.

When I brought it to Sew Day, as mentioned, I wanted to add some additional rivets, but for all intents and purposes, it was done before I did that. I am pretty pleased with it, though I know there are things I could do better and want to do better. 

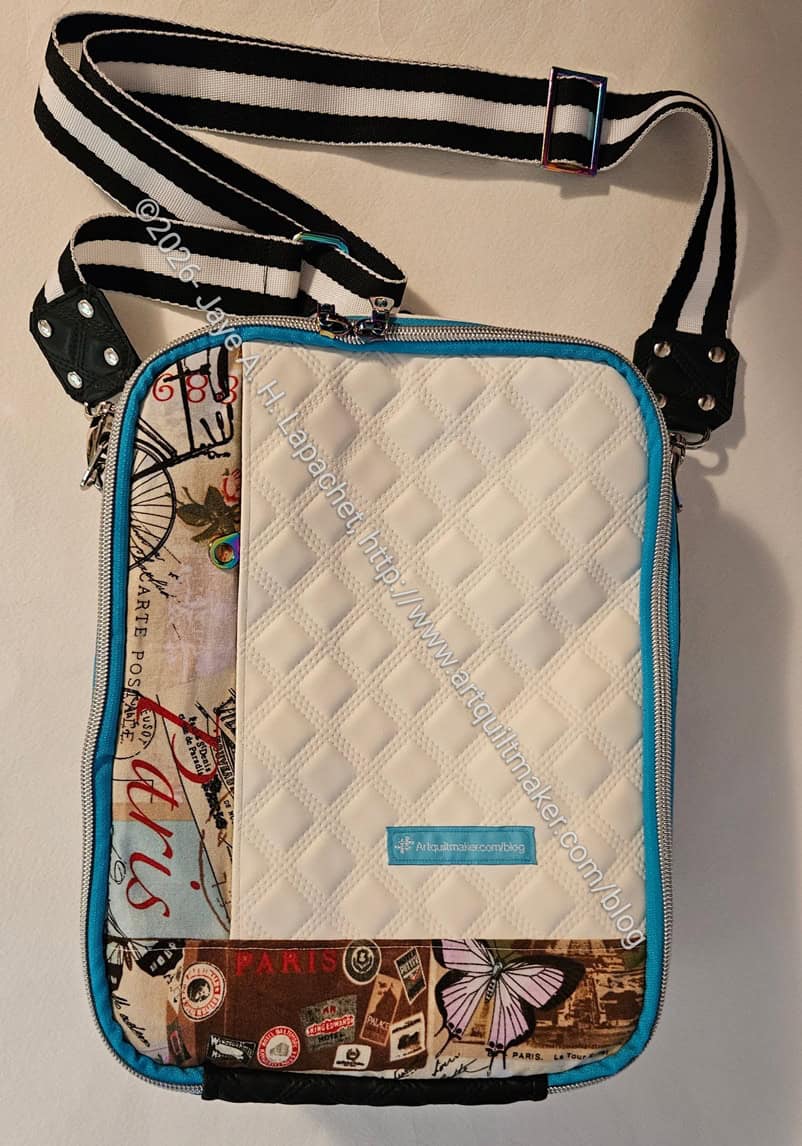
Pandora Charisma - back, finished
Pandora Charisma – back, finished

I am really pleased with the back. I think it looks awesome and I can’t really believe that I made it using all the weird substrates.

The zippers look good, but I wasn’t happy with the way the teeth were so high up from the zipper tape (the teeth were not flush or flush-ish with the tape). Also, there was something strange about the zipper tape. I am going to use a different brand when I make this bag again, maybe Wawak or ByAnnie continuous zippers next time. Using the continuous zipper was good for small zipper areas like the back zipper shown on the photo, right. The teeth were too high, but I had to secure the zipper with fabric, so the stitches looked ok. In general, though the high teeth kept me from making nice straight stitches. It was good that I had enough continuous zipper yardage to have the same zipper tape on all of the many zippers required for this bag.

There are a lot of pockets and places to hold stuff in this bag. The front pocket is like a regular purse area. the main area has a mesh pocket, which will keep things safe but handy and a slip pocket. The leash is very useful for keys, but also for attaching anything you don’t want to lose. That leash could be made of ribbon, tiny webbing or leather.

Pandora Charisma - tablet pocket, open
Pandora Charisma – tablet pocket, open

The back pocket has a small tablet sleeve, which is padded to keep your Kindle, iPad or other type of tablet safe. The pocket opens a lot more narrowly, so you have to use that side for items that can be slipped in and out.

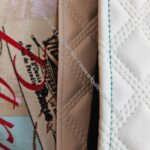
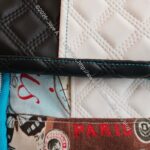
The most challenging part of this bag can be seen in the photo, left, and that is the binding. The final step, which, seriously, almost made me give up, is putting the bag together then binding the edges. It is really hard to shove so many layers under the needle and get it to look ok. I did one side of some of the bindings by hand, which was a big effort, but looked a lot better than my first binding by machine. My binding effort is not stellar, but I was able to finish. 

I do want to make another. I plan to borrow my mom’s 1960s Emdeko machine, which is one of those all metal machines that can sew through anything. I also plan to go through the pattern while I have the bag at hand and decide which pockets I can sew in vinyl, which need more interfacing, etc, so I am more prepared next time. I also want to count up all the hardware I used so I have matching hardware when I make the next one.

I am really pleased that I finished it and plan to take some time to relax with some easy projects.

Pandora Charisma is 3D!

Pandora Charisma the process of assembly

I worked really hard on Wednesday to get this project to this state. The process went a lot better than I expected. I have to finish it today to make the UFO Challenge deadline. Fingers crossed, but I am patting myself on the back for getting this far.

The photo shows two sections and two zipper gussets sewn together. There is still quite a bit of assembly required, but I was excited when I saw how the bag looked. 

Pandora Charisma top into small section

It is always hard for me to imagine the size, shape and elements of a bag when I only see it on paper. Seeing it put together is awesome. 

There is one small (thin) section (photo, right). This is good for a tablet plus pens and other things. The pocket on the right is a really good idea. There is an internal zipper pocket with the divided slip pocket on top. 

As I saw the finished parts, I started to mark pockets that could be made from vinyl in future versions. Vinyl would make the bag thicker, but would also conserve focus fabric, if necessary.

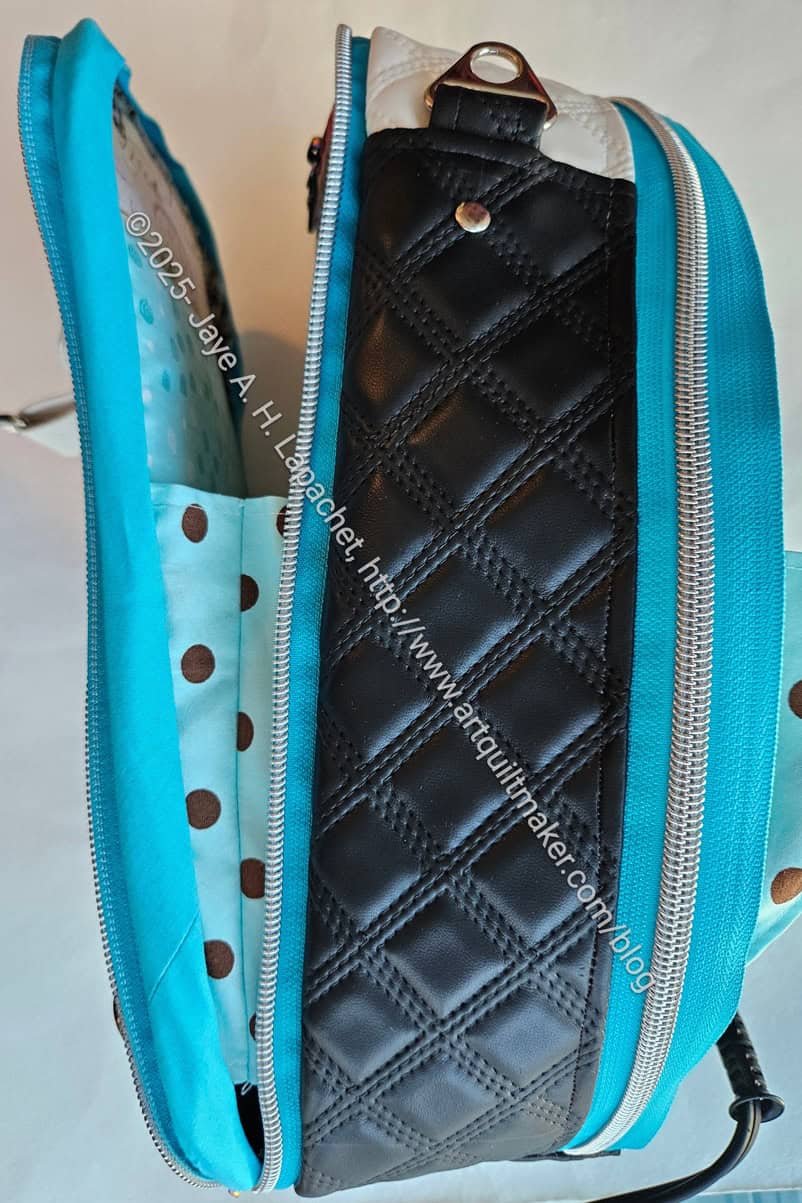
Pandora Charisma side view

I will add another section that folds down diagonally on the left. That section is larger (fatter) than the one described above, so the user can put things that are more 3D (wallet, water bottle, etc) inside. It’s not huge, but large enough to use as a handbag.

I really had to watch the video in order to get to this point. Making sure the sections/pieces are oriented in the correct direction is super important and the pattern alone wasn’t doing the job. It really makes me appreciate the way Sara and Danny of Sew Sweetness mark their videos to coincide with the steps in the pattern.

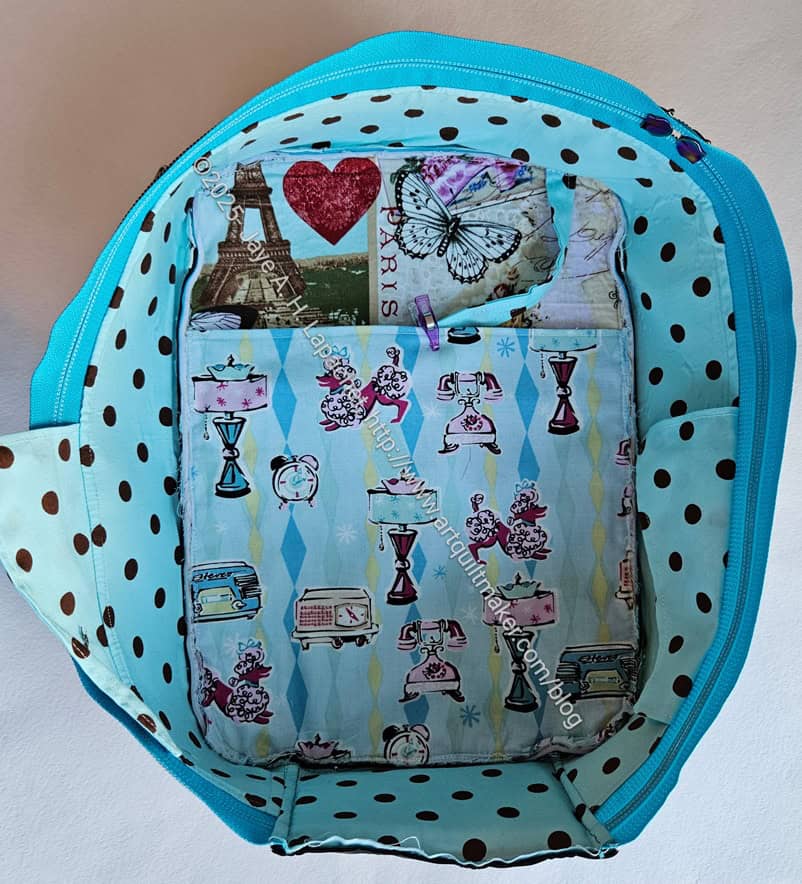
Pandora Charisma side view - large section
Pandora Charisma side view – large section

The same section can be viewed from the top so you can see how big it is.

That pocket with the lamps and the poodles could definitely be vinyl. It would have to bind the top with doublefold elastic and then I could see the fabric behind it as well as what was in the pocket. Alternatively, I would use a solid or tone-on-tone for the back panel piece and a focus fabric for the pocket. There is a lot going on in that section, which could be toned down a bit. 😉


More Pandora Charisma

I made good progress over the weekend on my ongoing project. I finished all the ‘panels’. After all the work, they are combined into the 3 panels: front, middle  and back, which are 2-sided.

Pandora Charisma: rivets

With the panels done, I can now start assembling the bag. The first thing was to make the zipper gussets. I started over the weekend, but then, almost immediately, had to rivet the D-rings. I haven’t done much with rivets in the past, but I think that this bag will get harder usage and my machine is struggling, so off I went to MaryC’s again for more rivets. 

Pandora Charisma: zipper gusset

The zipper gusset is one of the largest I have made. Fortunately I had enough of zipper by the yard (from my various purchases at Sewlarium) to use for all of the small and long zippers. 

I am excited I am nearing the end.

Good Charisma Progress

Pandora Charisma back panel

Something changed. I am not sure what. Understanding? Small success? I don’t know, but something clicked into place and I am back on track to make progress on the Pandora Charisma.

First, I have been reading the pattern and watching the video to help move me along. This should be the magic combination, but the video’s sound wasn’t working so I had to read the closed captioning. First world problem, I know, but something was missing. It could be the way I learn. 

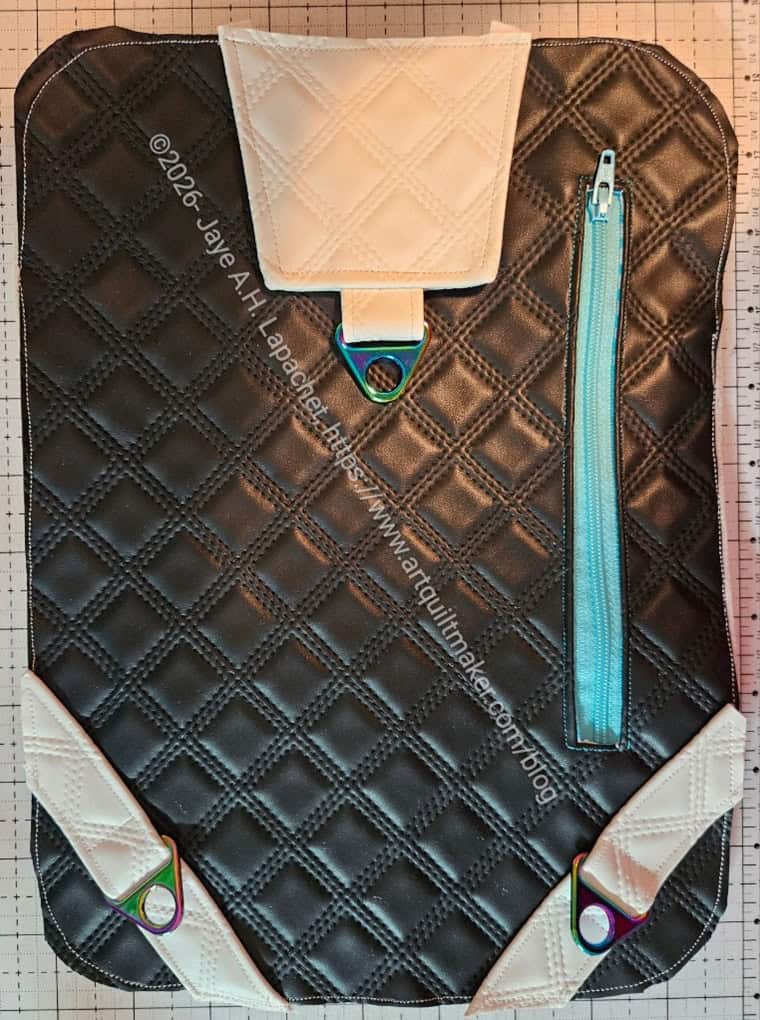
Pandora Charisma back panel with connector

The other day, the video’s sound magically started working! This was so helpful. 

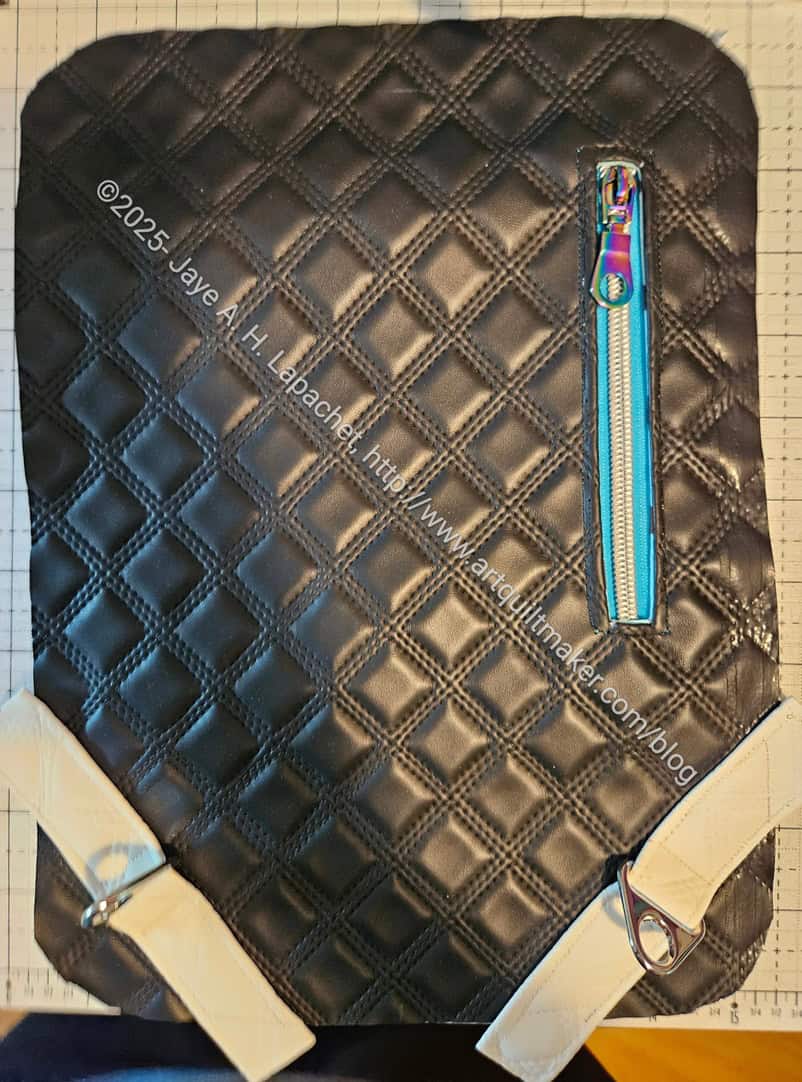
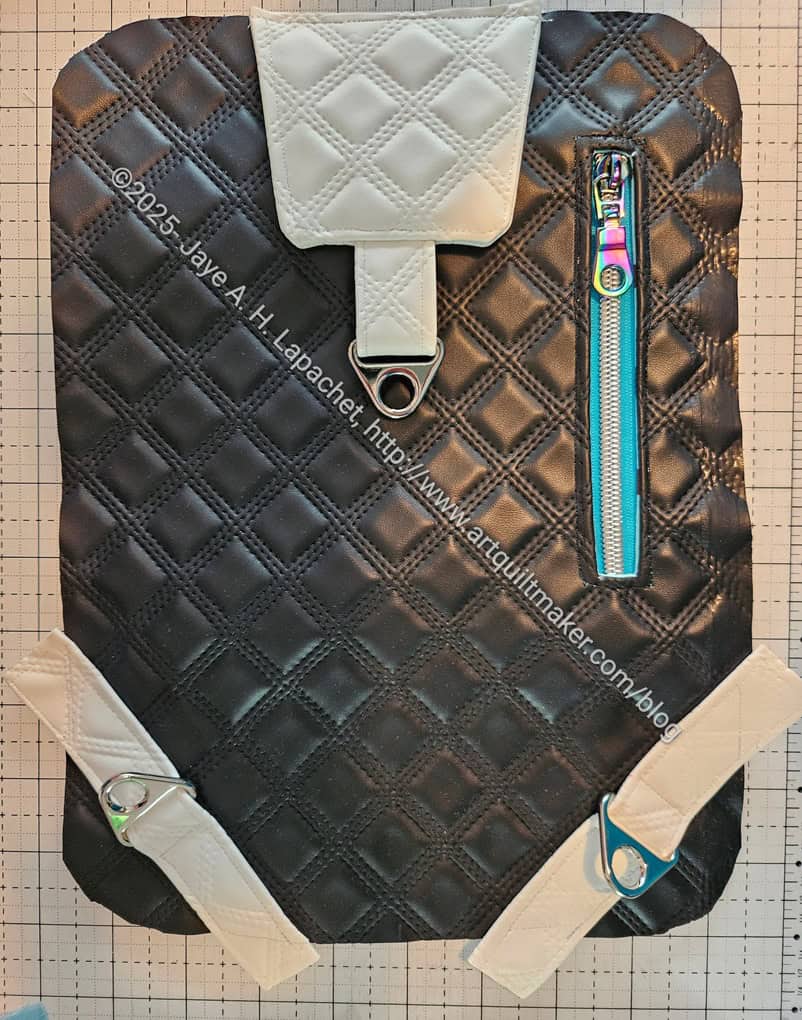
I have been using the Diamond quilted vinyl from Sewfisticated and I am pleased with the overall look of the back panel. I was concerned with the white and the black combo when I put on the bottom D-rings, but the connector at the top made the whole thing look good.

Next, I was confused about the interfacing. Decovil was one of the options. The designer provides several different options, which is awesome, but also confusing. The presenter on the video talked a little about the stick-on Sewfisticated interfacing. I have some and decided to try it. Magical! I don’t have to iron it or sew it on, which is important for the exterior I am using, which cannot be ironed. 

Also, I bought a Teflon foot for my machine, which really works well. 

Finally, seeing what the presenter did with the D-rings (mine are triangles on white strips in the above photo) and using the Teflon foot made the sewing so much easier. 

So, I think I am back on track. Fingers crossed! I have 8 days to go before the UFO challenge deadline. Will I make it?