I am into sneak peeks lately! You got one the other day about this finished Pandora Charisma.
Yep!
Finished! Done! Complete!
I powered through a lot of the finishing steps, which were the hardest, on Friday so the bag could be done for the Month 1: UFO challenge reveal.
When I brought it to Sew Day, as mentioned, I wanted to add some additional rivets, but for all intents and purposes, it was done before I did that. I am pretty pleased with it, though I know there are things I could do better and want to do better.
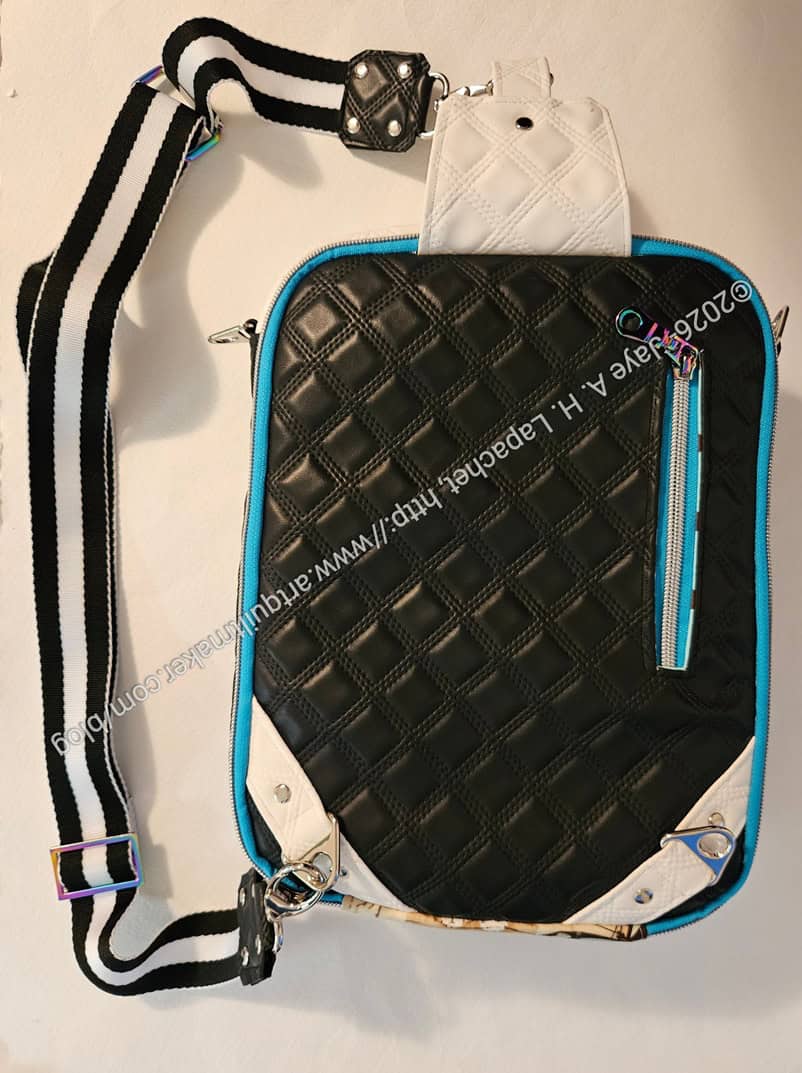
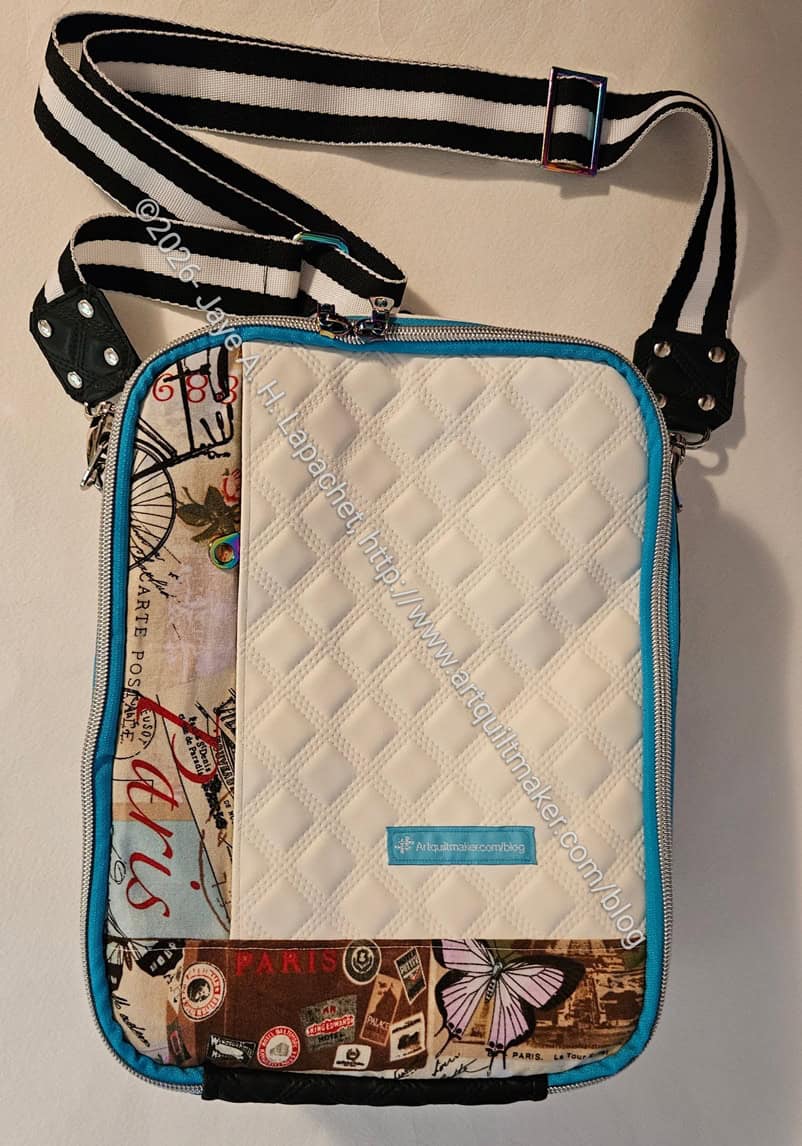
I am really pleased with the back. I think it looks awesome and I can’t really believe that I made it using all the weird substrates.
The zippers look good, but I wasn’t happy with the way the teeth were so high up from the zipper tape (the teeth were not flush or flush-ish with the tape). Also, there was something strange about the zipper tape. I am going to use a different brand when I make this bag again, maybe Wawak or ByAnnie continuous zippers next time. Using the continuous zipper was good for small zipper areas like the back zipper shown on the photo, right. The teeth were too high, but I had to secure the zipper with fabric, so the stitches looked ok. In general, though the high teeth kept me from making nice straight stitches. It was good that I had enough continuous zipper yardage to have the same zipper tape on all of the many zippers required for this bag.
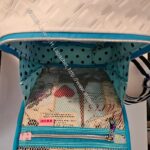
There are a lot of pockets and places to hold stuff in this bag. The front pocket is like a regular purse area. the main area has a mesh pocket, which will keep things safe but handy and a slip pocket. The leash is very useful for keys, but also for attaching anything you don’t want to lose. That leash could be made of ribbon, tiny webbing or leather.
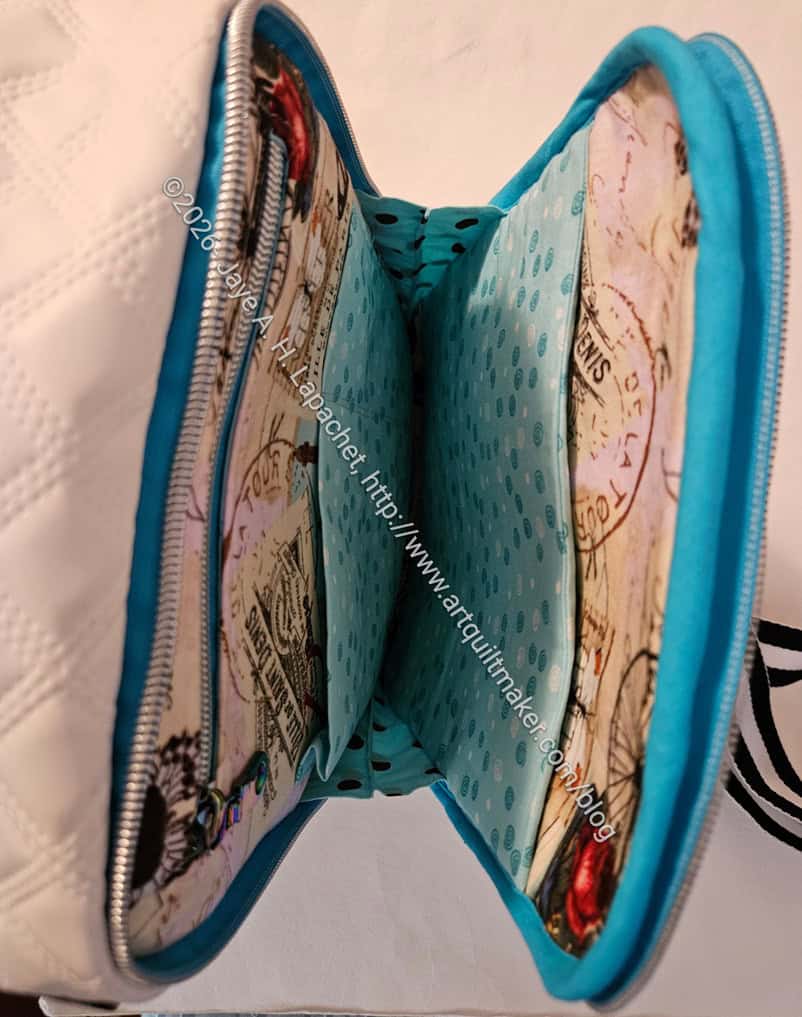
The back pocket has a small tablet sleeve, which is padded to keep your Kindle, iPad or other type of tablet safe. The pocket opens a lot more narrowly, so you have to use that side for items that can be slipped in and out.
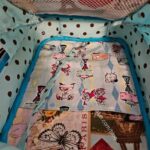
The most challenging part of this bag can be seen in the photo, left, and that is the binding. The final step, which, seriously, almost made me give up, is putting the bag together then binding the edges. It is really hard to shove so many layers under the needle and get it to look ok. I did one side of some of the bindings by hand, which was a big effort, but looked a lot better than my first binding by machine. My binding effort is not stellar, but I was able to finish.
I do want to make another. I plan to borrow my mom’s 1960s Emdeko machine, which is one of those all metal machines that can sew through anything. I also plan to go through the pattern while I have the bag at hand and decide which pockets I can sew in vinyl, which need more interfacing, etc, so I am more prepared next time. I also want to count up all the hardware I used so I have matching hardware when I make the next one.
I am really pleased that I finished it and plan to take some time to relax with some easy projects.