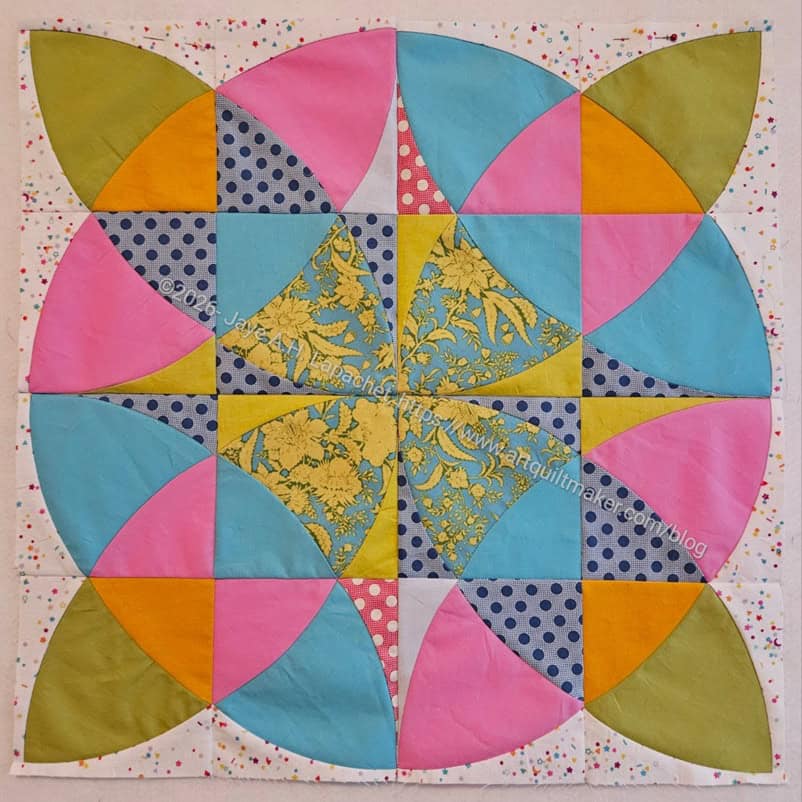
I am not sure whether this is a tutorial or not, but I will put it on that page later, so we all can find it again.
I have two other zipper tab information pages, which you can find on the Tutorials page. For the moment, this new technique is my favorite because it reduces more bulk int he zipper tab area than the other techniques.
Instagram has been showing me zipper techniques lately. I found one that I decided to try a few months ago. The other day when I was working on an Enigma pouch, I decided to try it again. Then I had to go hunting for the video.
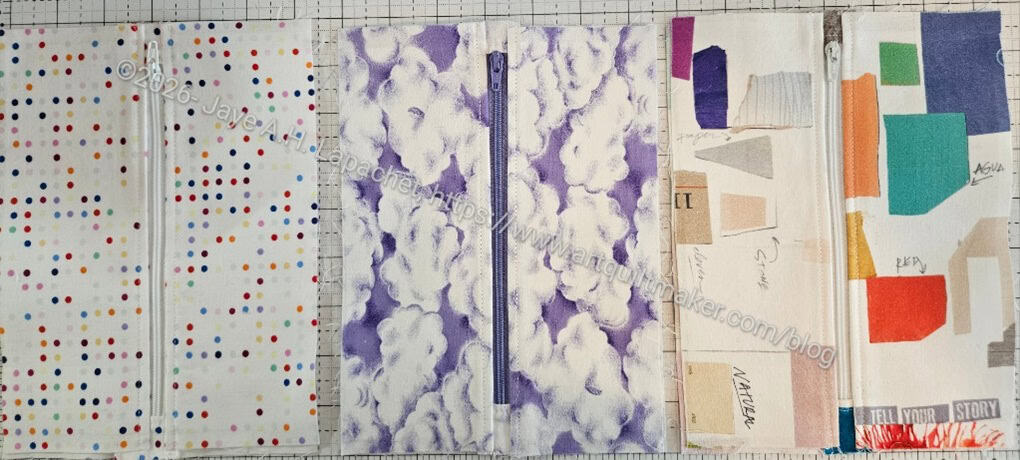
In many of the Sew Sweetness and other patterns, I have to fold a strip into a zipper tab, which adds bulk to the edge and is a little hard through which to sew. This technique adds less bulk and there aren’t bits from the folds sticking out and making the project look unprofessional.
Supplies
- Zipper
- Zipper tab fabric – the tabs look better if they match your zipper pocket fabric
- BSK
- Bag pattern
- Sewing machine
- Thread
Directions
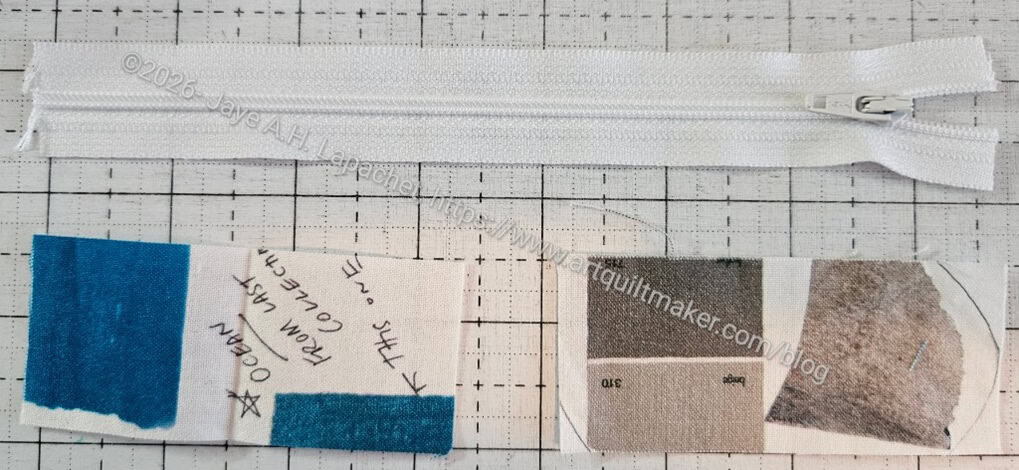
First, cut some zipper tabs. I often use the exact size indicated in the pattern, which is why I am not giving you sizes. The zipper tab should be long enough to go past the cut end of the zipper on both sides when folded back and wide enough to match the width of the zipper, at least.
Fold both fabric zipper tabs in half and press them so the crease is firm.
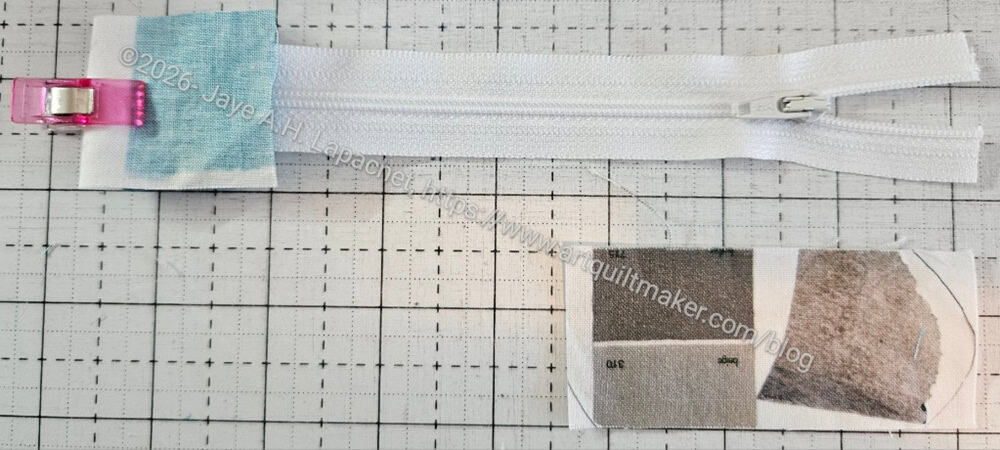
Clip the fabric strip in half to cover one end of the zipper. You’ll need to do both.
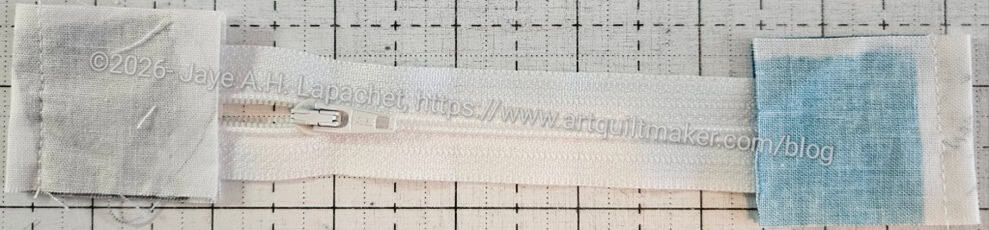
Using a quarter inch seam allowance, sew across each end of the zipper.

Press the zipper tabs back wrong sides together.

Topstitch using a eighth inch seam allowance.
Sew the exterior according to the directions on your pattern. In this case, my exterior and lining fabrics are the same.
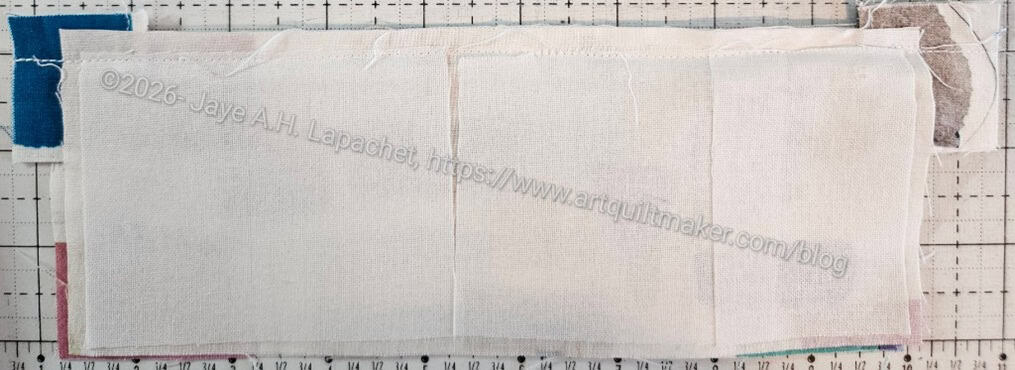
Sew lining with the zipper sandwiched in between.
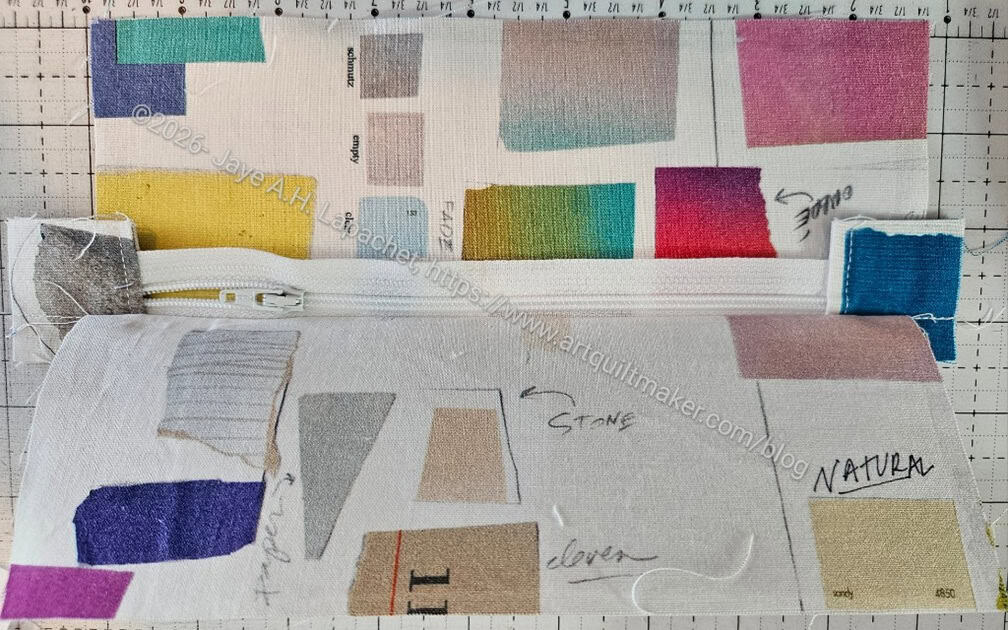
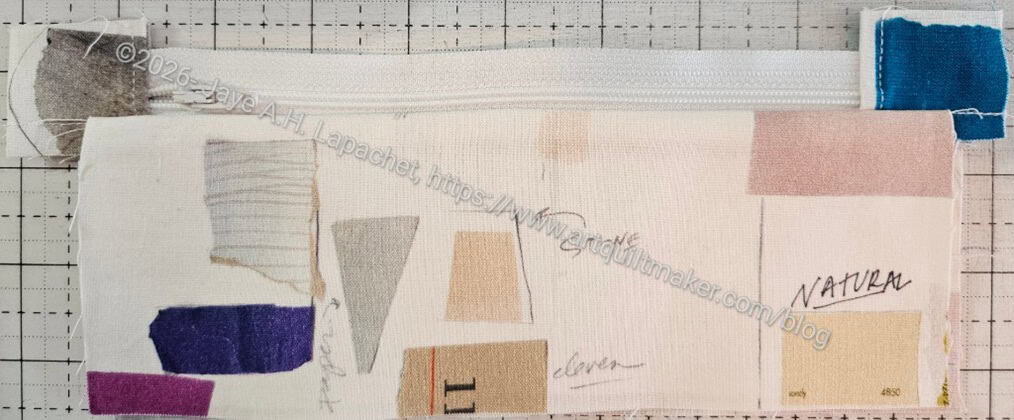
Press fabric away from zipper.
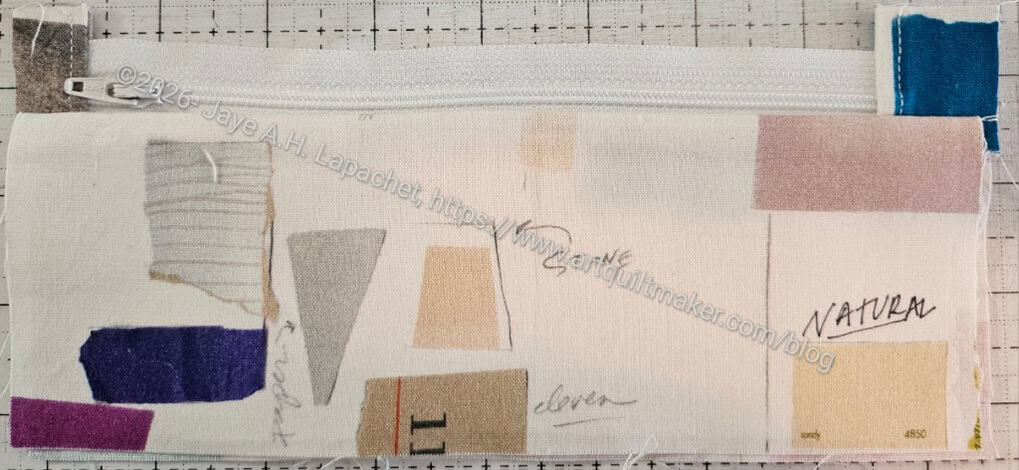
Get ready to trim zipper tabs even with the top of the zipper and the sizes of the fabric.
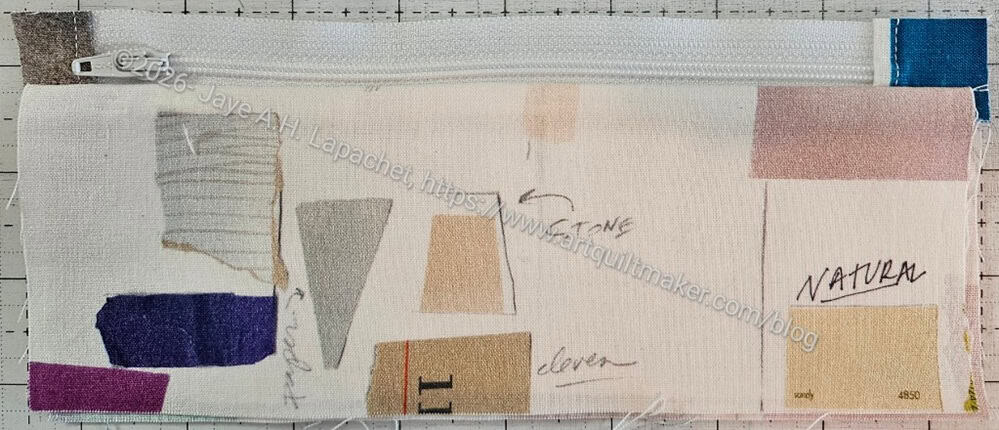
Trimmed zipper tabs.
Now finish your bag or pouch according to the directions.