A Whole Bunch of Mini One Handle Totes

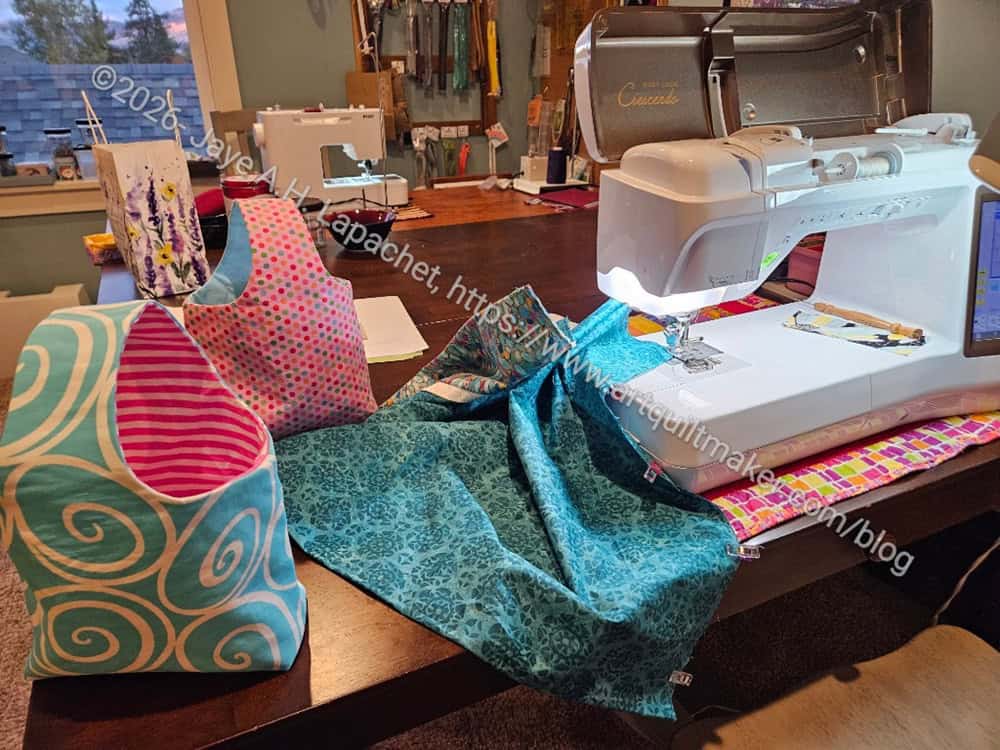
Prepped: Mini One Handle Totes

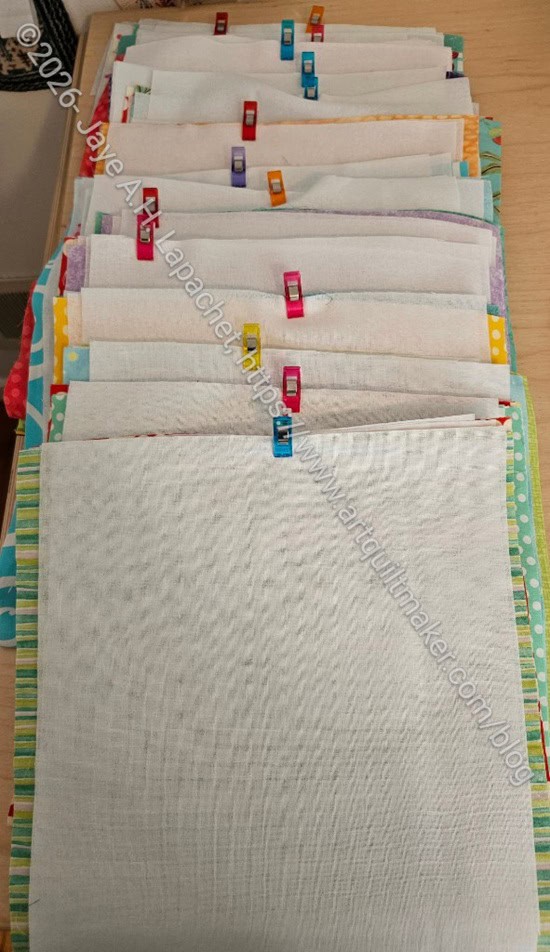
I spent almost a whole day before my trip prepping fabrics and interfacing for 15 Mini One Handle Totes. As I have mentioned, these are an easy project and I wanted to cross them off my list.

I went through the Sorbet fabrics and pulled out pieces that were large enough to cut the pieces I needed, then I went through and cut the interfacing. I spent several hours on the project, but it made the sewing so much easier. 

Once I got to MaryM’s I started sewing a couple of them. We were talking about bags, which I really enjoy, so I didn’t plan on getting a lot of them done. One problem I ran into immediately was turning the bags through the tiny handle. The problem is the DecorBond. I am still paying for and kicking myself for accidentally buying a bolt of this stuff. I was stuck, though since I decided to plow through some of this bolt by using it for this project. 

I yanked and pulled and swore under my breath as I tried to turn the bags I sewed so I could make progress. I didn’t actually resolve this problem until I got to Portland. I tried to buy hemostats as mine were at home, but failed. Sidebar: Google lies, so don’t believe it. Google said three stores had them and none of them did.
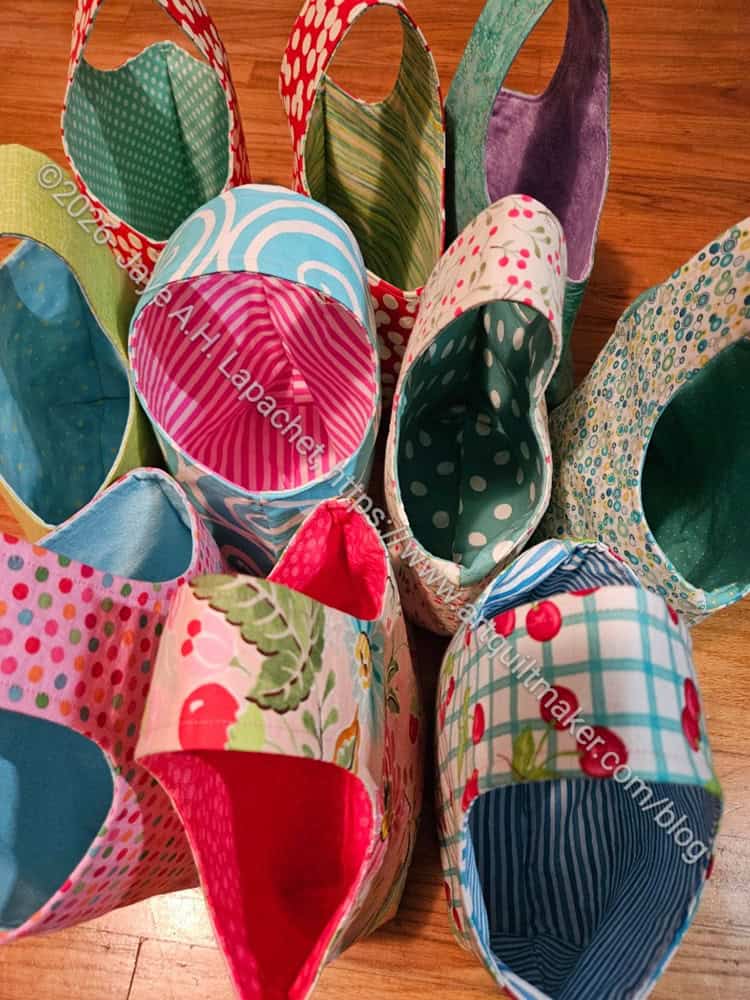
Gaggle of Mini One Handle Totes

I solved the problem eventually by stuffing the ProFuse side through the hole first. I still could have used the hemostats, but I was able to speed up the process of turning the bags through this method. Also, I felt relieved since I could make some progress. I finished 10 of them and four more nearly done. I’ll be able to finish them soon.

I am pleased with how much of this project I was able to complete. I was not happy that this was pretty much the only project I almost finished.
I Like Sewing with MaryM

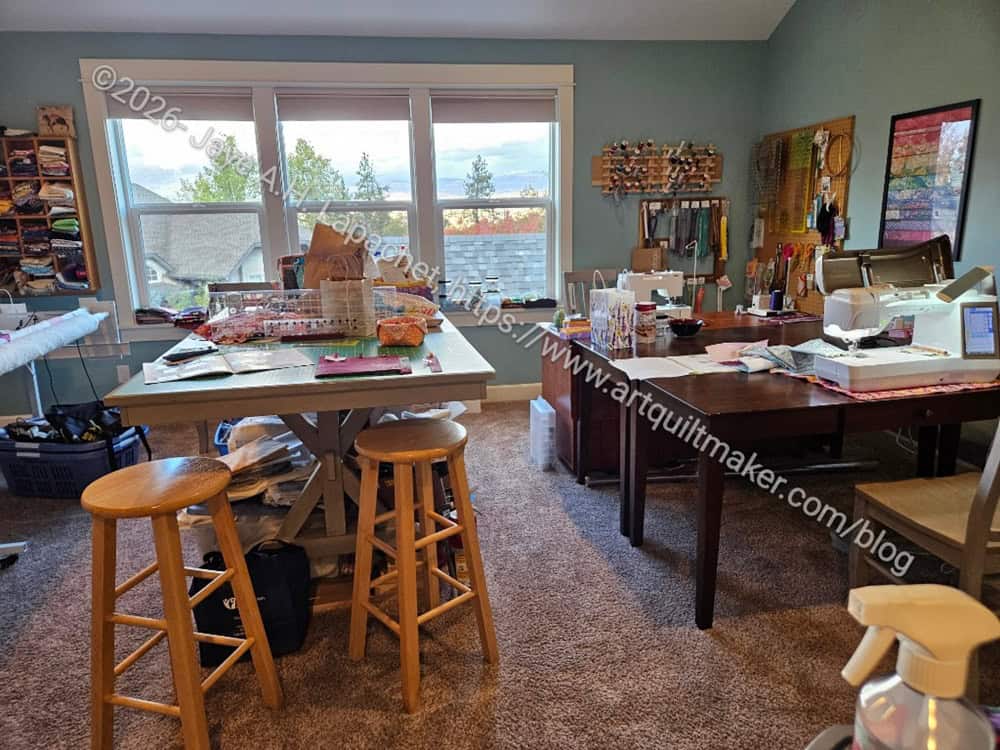
View from Mary's workroom
View from Mary’s workroom

I went to Portland last week to see the YM and to visit with other family. On the way, I stayed for an extra day in Ashland to sew with Mary.

I was able to help her with a bag on which she is working. The pattern is Hideout from Fireweed Stitches. I had never heard of this company before MaryM alerted me to her need to for help.

I really enjoy talking and collaborating with people about bags so it is a lot of fun when I work with Mary. She often chooses patterns I have never heard of so I always learn something.

My sewing space at MaryM's
My sewing space at MaryM’s

We sat across from each other sewing and I totally inhabited my allotted space.

I got busy on the pillowcases for the Pacifica Quilt Club and continued to work on the Mini One Handle Totes.

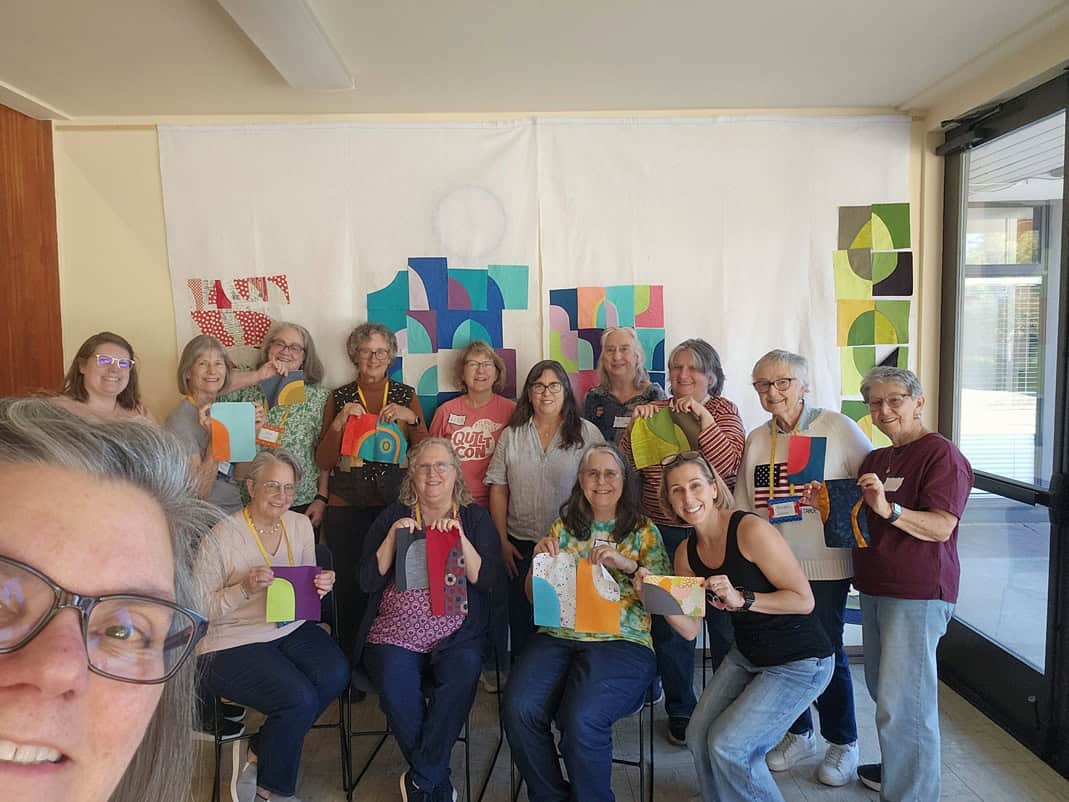
Post Modern Jukebox Workshop

Post Modern Jukebox Class participants

The guild organized a workshop with Claudia Shearer. She called it Post Modern Jukebox. It was very similar to a workshop with Virginia Schnalle I took years ago when I made the Eye of God quilt.

Initially, we had a hard time getting enough people to participate, but invited some other guilds and got enough people not to lose money. Always a good idea.

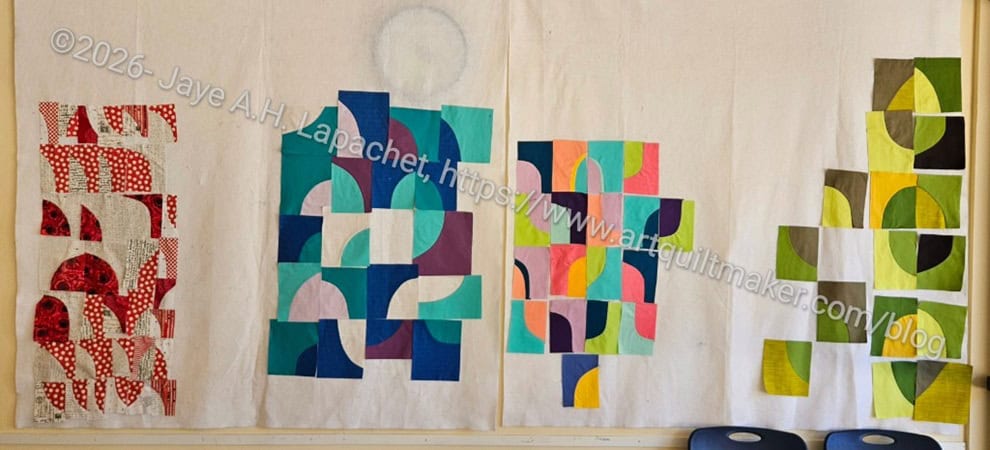
Everyone was able to make at least a dozen blocks. There were a lot of solids, but people, like me, used prints as well.

At first, when I was thinking about what fabrics to bring, I thought I would bring my box of cool solids. A solid, if predictable choice. I read something about really thinking about your fabric choices. I often grab my most recent fabric purchases as they are the most accessible. Whatever I read made me stop and think.

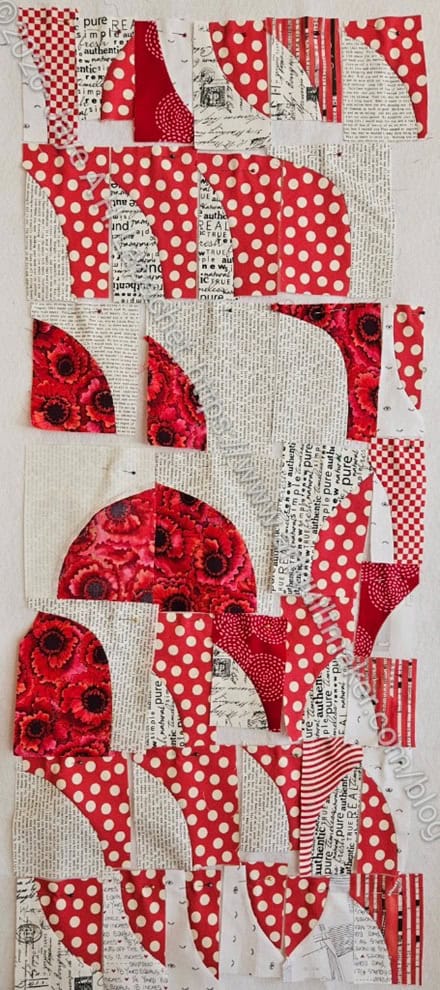
I knew I would be making a table runner. They are large enough projects to have some design options, but small enough to finish sooner rather than later. My dining room is painted red. I have also been thinking about how I don’t seem to have used much red lately. I got my red bins and also a bin of low volume text prints. I made my fabric decision and stuck with it. 

Post Modern Jukebox class work
My Post Modern Jukebox class work

I am pleased with the fabrics I chose and how the piece is coming out. 

Yes, I have too much of the pinky red dots I found when cutting out the Mini One Handle Totes last week. I am working on diluting their influence with other fabrics. I used a lot of that pinky red dot fabric and am working on not using so much of others. It would be find if I were making a quilt,but for a table runner, I need to restrict the amounts, I think.

Also, I have not played around with the layout at all. The teacher, Claudia Shearer, played around with the layout a bit. She turned on of the blocks upside down to show how making the blocks the other way would add to my layout options. I need to pretty much make all the other blocks with the high part of the curve starting on the right. I think I need to do some layout work, though.

I have done a lot of ‘free cutting’ in various workshops, most of which were before I started writing posts for this website. Aside from the Virginia Schnalle workshop, I took a class at Fort Mason with Sonya Lee Barrington and she also showed us how to cut improv curves.

I wasn’t excited about this workshop, but feel like I have to be a good guild citizen. I also firmly believe that I can get something out of each workshop no matter how many times I have done a similar technique. In this case, the key tip was a registration mark! This helps a lot with the piecing.

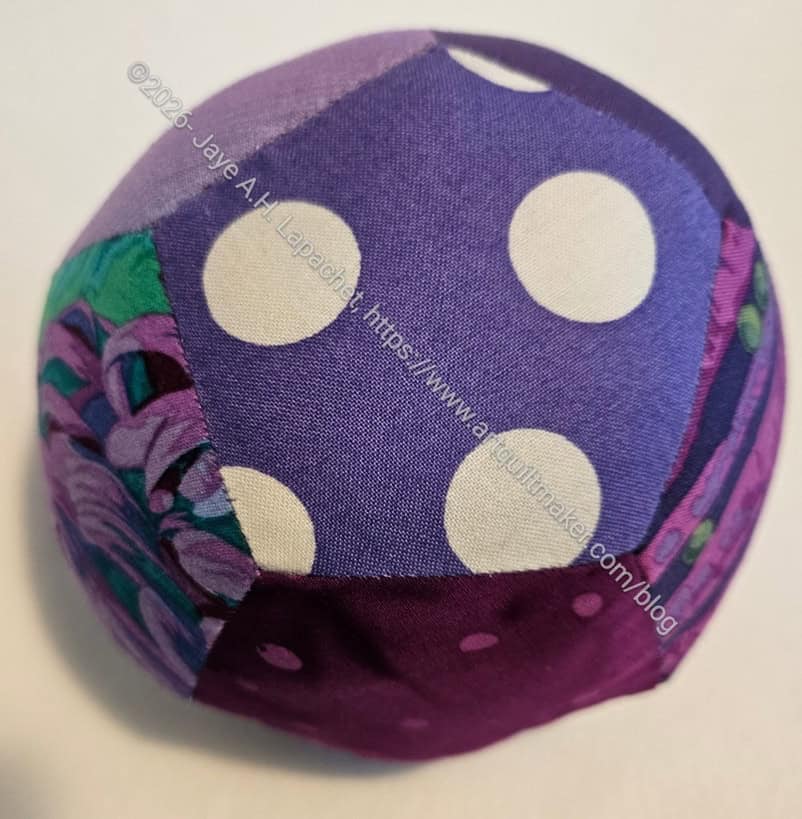
EPP Ball #16: Purple

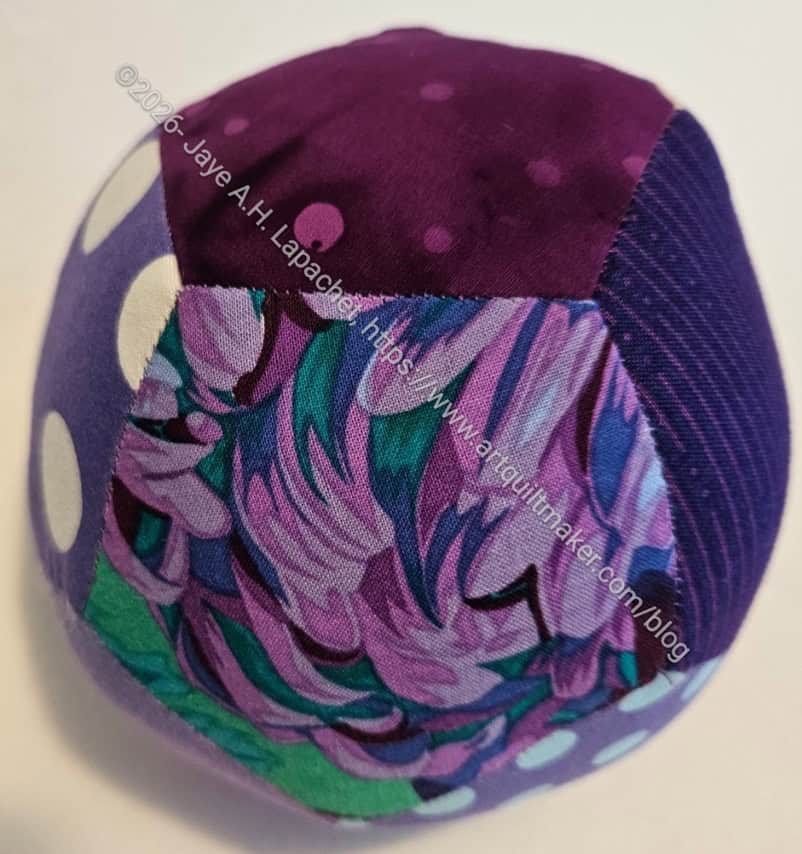
EPP Ball #16 side 1
EPP Ball #16 side 1

I have been working on this EPP Ball on and off for a few weeks and was able to finish it last week. Honestly, I try to keep one of these on the go at all times. I love EPP, haven’t gotten back into the groove of La Passacaglia and always want a little hand work to do in the evenings.

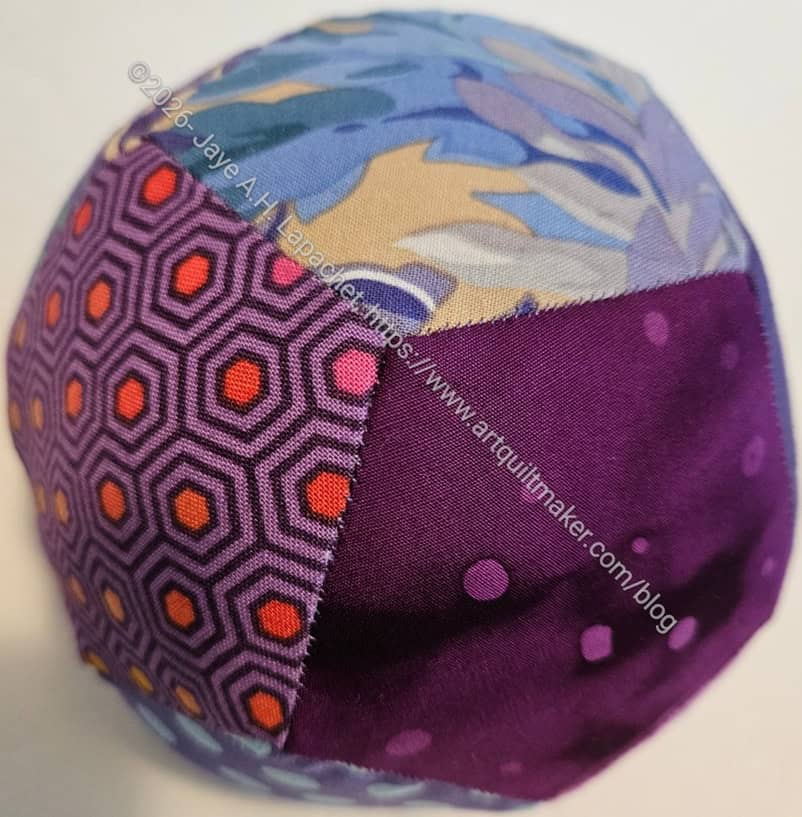
EPP Ball #16 side 2
EPP Ball #16 side 2

I use the 5 inch squares I cut from scraps for these balls – not exclusively, but when I want to make one I go digging in those containers first. I often find fabrics I love like the big purple dots above and the purple Chrysanthemum print, right. It is an older Philip Jacobs print and this might be the last bit of it.

I chose two pieces of that red-violet batik and used them as the center of the cup I make first before putting the two halves together. It means that the same fabrics will not touch each other.

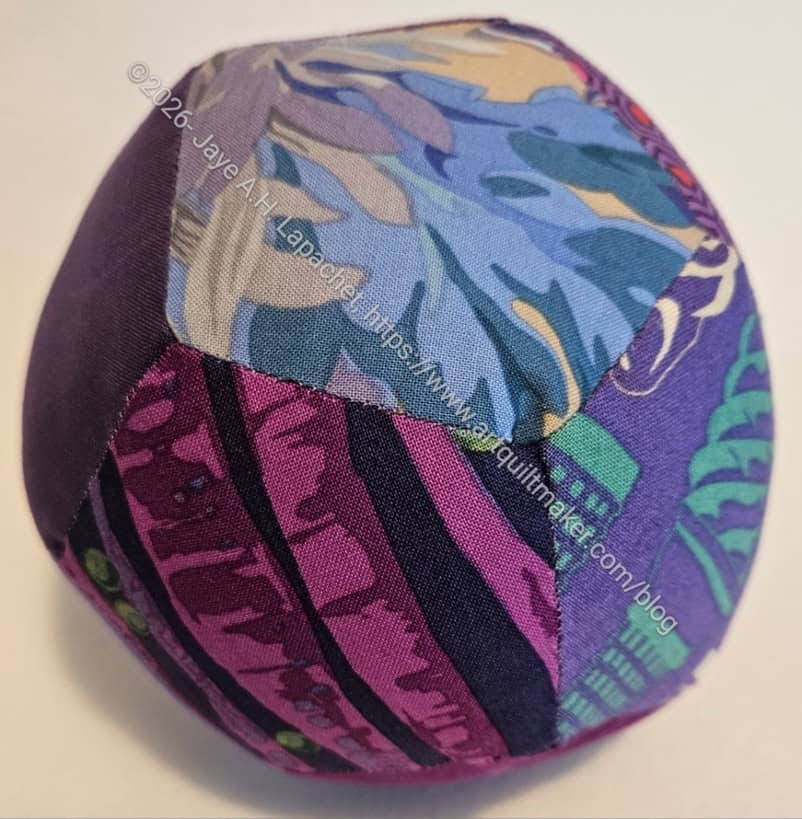
EPP Ball #16 side 3
EPP Ball #16 side 3

I also tried to keep the purples similar in value, but had to add another Philip Jacobs print. Despite the beige, I love his prints.

This ball came out really well. The purple fabrics really went together well. 

EPP Ball #16 side 4
EPP Ball #16 side 4

I tend to want to keep the ‘good’ fabrics for the perfect project. I am finding that projects are better when I use fabrics, all the fabrics, including the ‘good’ fabrics. The Tula hexie print above adds a smaller and more geometric print to the overall combination of fabrics.

I also used a last bit of Asbury Park ice cream cones and a Martha Negley carrot print. Both are favorites as well. 

I added a label later by hand as I seem to forget to do it by machine.

California Shirt Redux

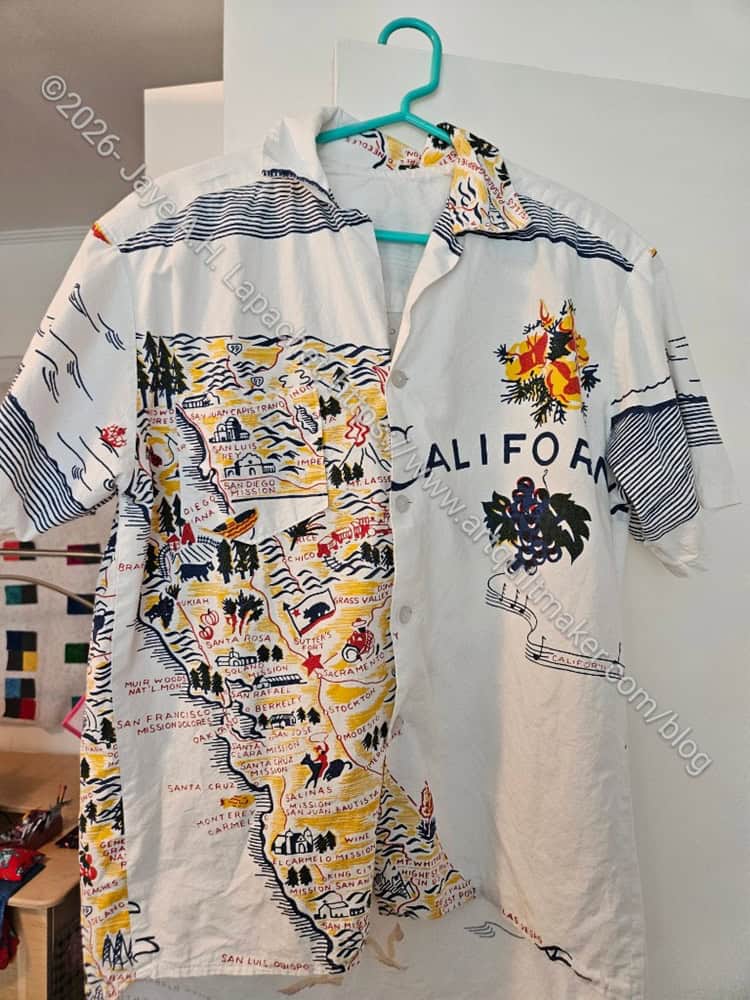
California shirt for DH

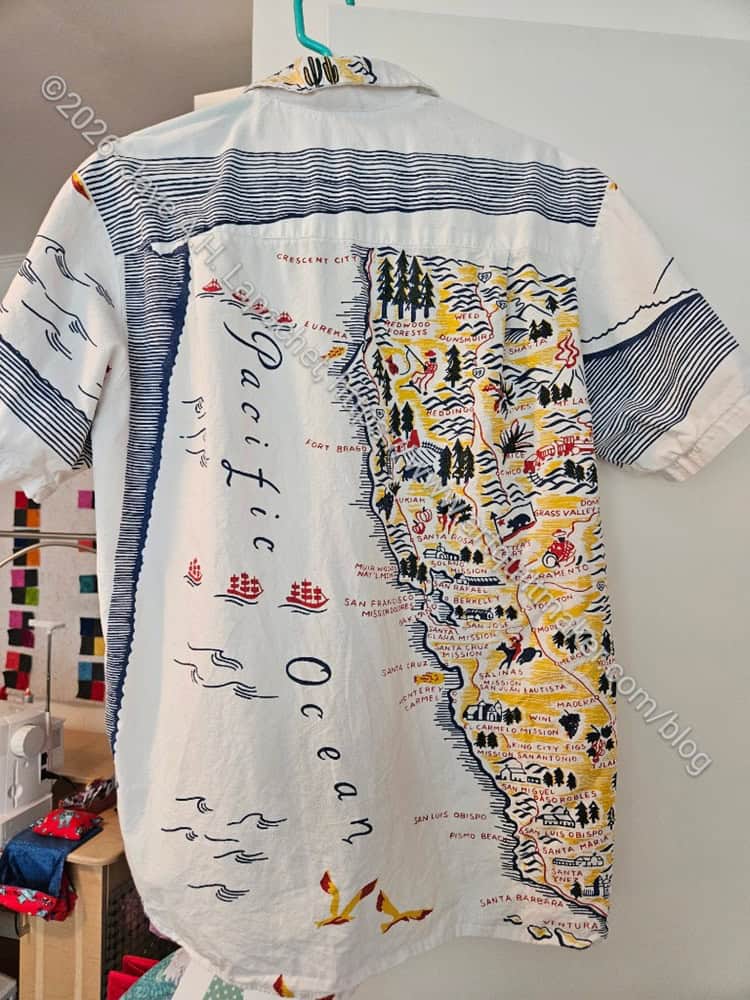
On my mission to find another California tablecloth, I scoured everything looking for a photo of the full California shirt. I found a photo of it without sleeves. However, I did not find a photo of it complete, so here we are. This is a photo of the completed shirt. 

DH wore it over the weekend while we were away so it was easy to find and take a quick snap. 

California shirt for DH - back
California shirt for DH – back

I am really pleased with the fussy cutting I did and am so sad Red and White Kitchen no longer make the tablecloth. There are things I would do differently if I had more tablecloths to make this shirt again.