Have a great day!
Commentary about works in progress, design & creativity
Have a great day!
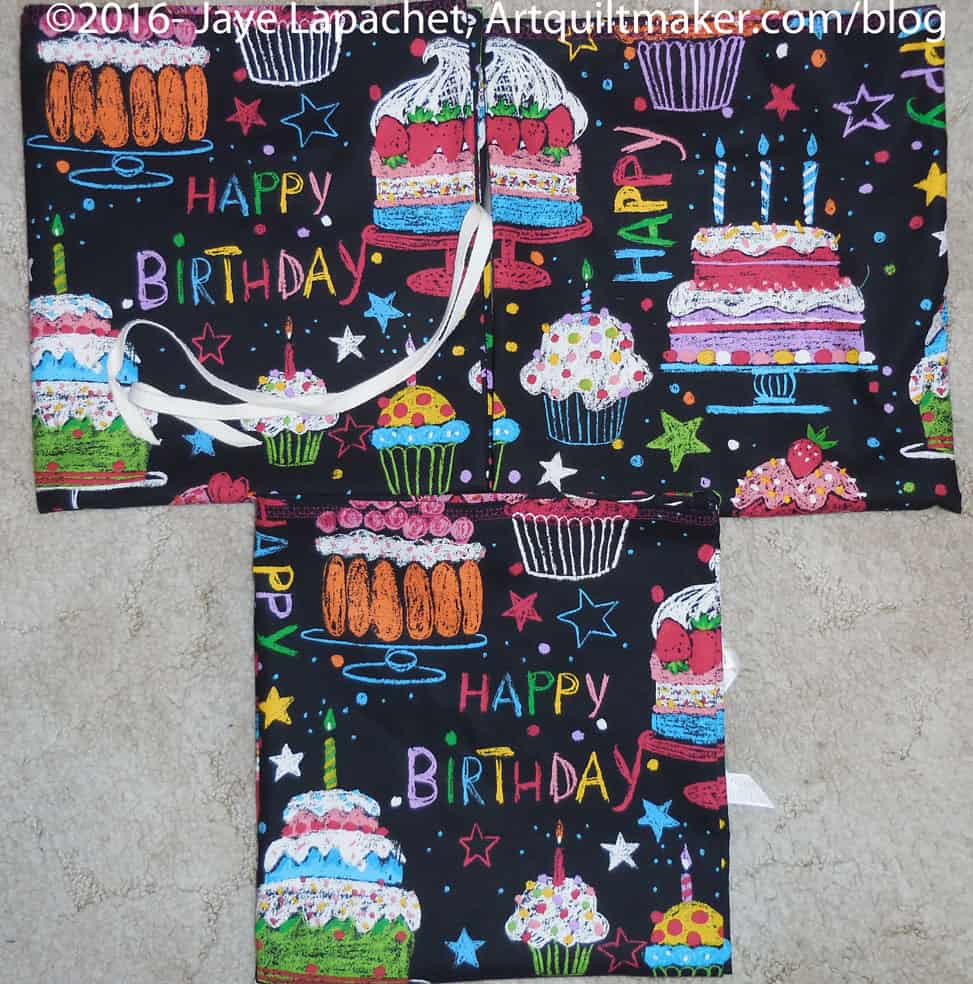
I was at a NSGW event over the weekend in Sacramento. I took the opportunity to visit two shops: the Fabric Garden and Quilter’s Corner. The Fabric Garden had a wonderful Alexander Happy Birthday print I couldn’t resist. I bought a couple of yards to use as gift bags.
I was pleased to be able to use my star decorative stitch again. It looks a little wonky, but not enough to worry about.
2016 To Do List
As I said in July, I have been using a version of Pam‘s spreadsheet to keep track of my fabric usage. My goal is still not to get rid of my stash, though I do want to use my stash. This means I am not telling you my Net totals. To date I have used almost 136 yards of fabric, 21% of which is for charity. I am upset, because I am not using as much as I expected. I am, however, enjoying keeping track of my fabric usage, because I can see that I am actually using fabric.
September To Do
*New since last post
Finished since December 2015 post

I have a number of tutorials listed on the menu above, which are free and you can access any time. Due to some large time commitments in the next little while, which will leave me little time to sew, I have decided to take some of this month (September 2016) and post Sampler Quilt block tutorials most days. I want the blog to seem like a quilt class. They will, essentially be the same as the tutorials, but I will rewrite them and, perhaps, add some information just to make it worth your while to read a revised version. This will start in a few days.
Back in the Dark Ages when I learned to quilt, everyone, or most everyone, learned by making a sampler quilt. [I know TFQ will disagree as she didn’t learn using a sampler, thus the qualifier.] I think it is a good way to learn because students learn most of the techniques required to make any block they can find.
In the class I took, we covered the basic skills of quiltmaking. We made templates and used scissors to cut them out. I have updated the tutorials as rotary cutting is de rigueur. I think it is better to learn to use them early. Also, we can make more quilts if we can cut faster.
I have added a number of additional techniques to my blog class, and I am not limiting myself to once a week. I hope to be able to finish by the end of September, but I may go into October. It will be October 4 before I can expect much sewing time.
The class will consist of the following techniques and blocks:
Skills need practice. If you have done a block for each tutorial in the past, perhaps it is time to do them again? Perhaps I’ll have a drawing for those who complete a quilt top using my tutorials. We’ll see.
I hope you play along and enjoy the series!
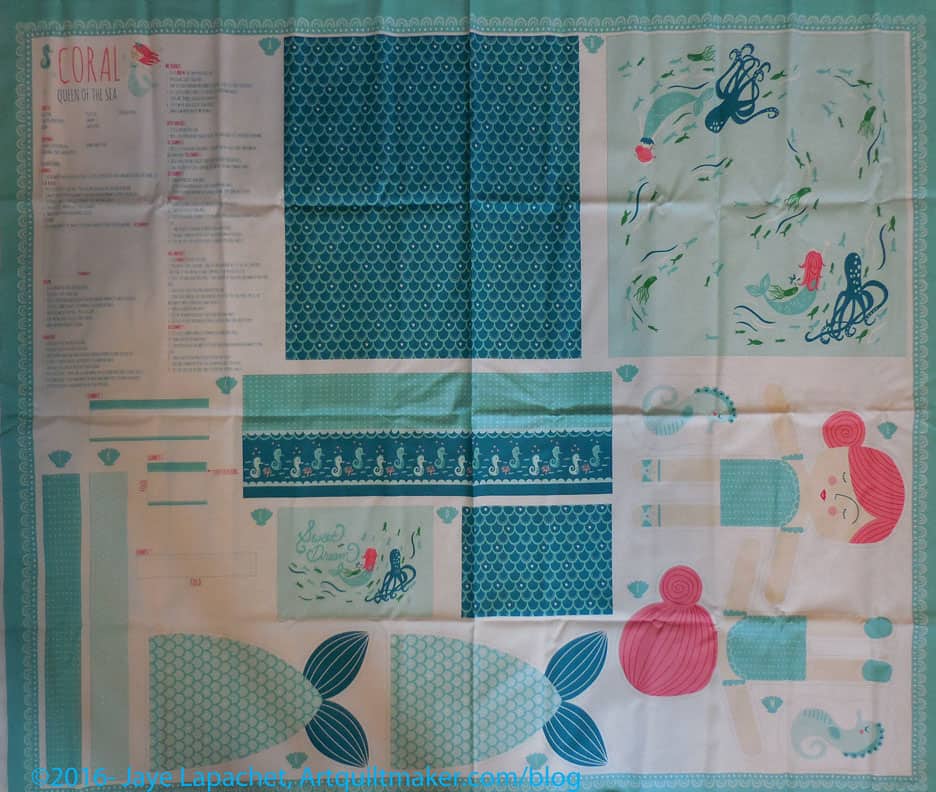
Now that Red is finished, I can focus on Coral the Mermaid. I have been working on her in bits and pieces, but focusing on finishing Red. One finished is better than none finished.
Coral is sewn, but not yet turned and stuffed. I decided I would reinforce the sections of stitching where I have to clip as I had some almost seam failures after stuffing Red.
Coral’s quilt just needs to be quilted to be completed. I suppose I could tie it with some embroidery floss. I haven’t that and it might be a good excuse to learn how to do it.
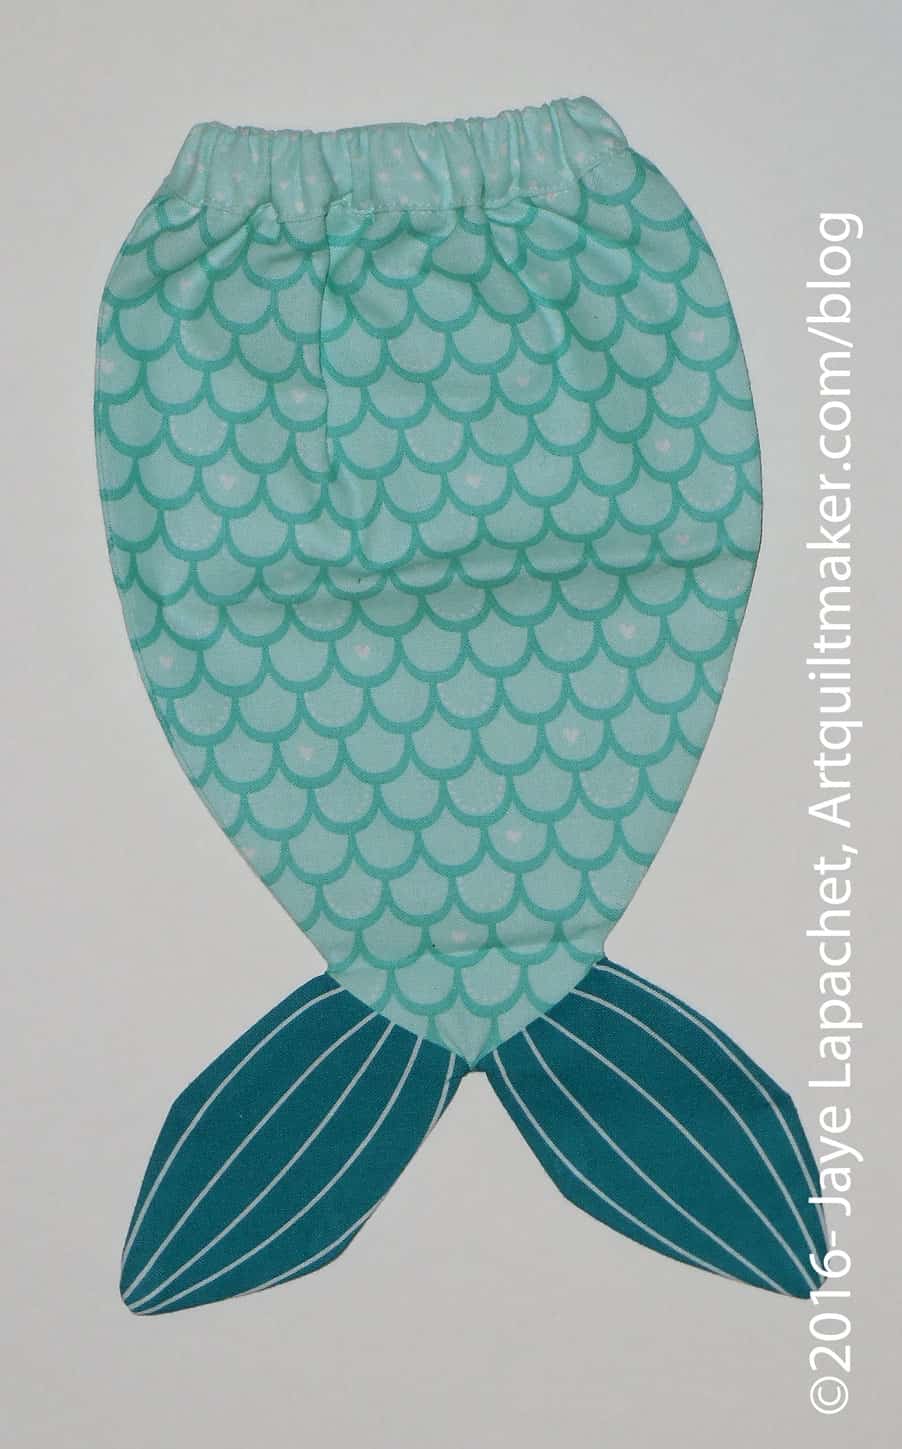
Mom put elastic into the fin for me. I thought that would be better than having ties. Less frustrating for little fingers.
Recently we started having Craft Night again.I am not sure when we stopped, but I know that I was able to finish my Sampler because I took it to Craft Night. Life became too busy with little kids around.
This time the attendees consist of my two SILs and me. Almost all of our kids are out of the house. One left Tuesday for college, three are out on their own with jobs, families, etc and my YM is back at school and out of my hair until Thanksgiving. (I say that in a loving way) We alternate houses and mostly do crafts rather than quilting, though all of my projects are quilt related — or fabric related, I guess.

The other week the SILs made cushions for SIL #3’s couch. SIL #2 has a lot of fabric so they used fabric she had on hand. SIL #2 had all of the supplies on hand including pillow forms and by the end of the night SIL #3, who did the work, had two new cushions.
I have been able to cut up Triangle Technique pieces, finish Red, work on Under the Sea and do other handwork. It is sometimes a crush to get there, but I am getting a lot done and having fun catching up with the SILs.
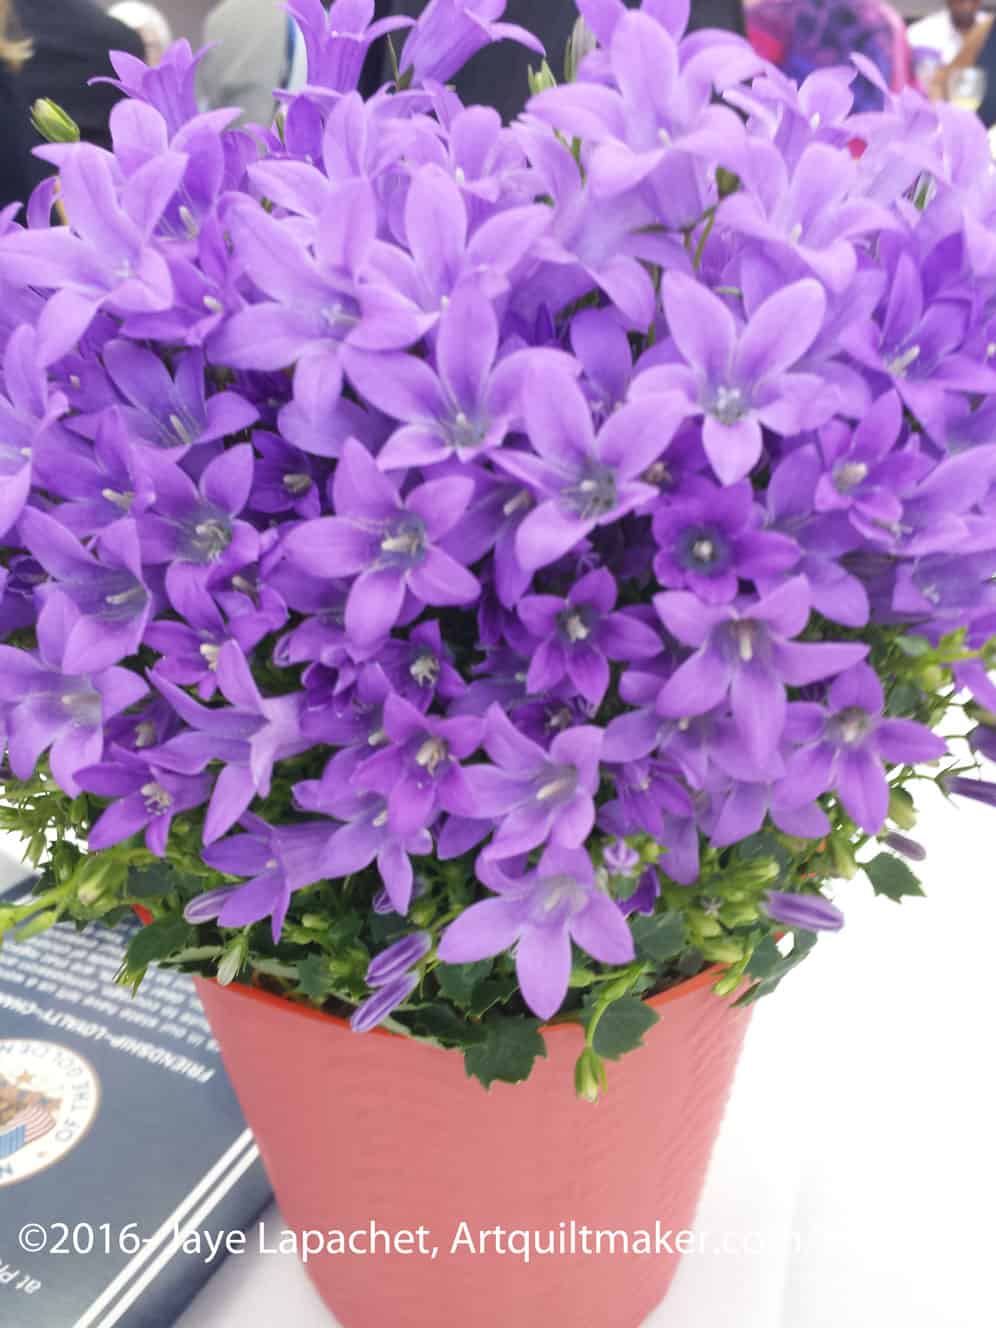
It never ceases to amaze me that I see new things as I walk around the neighborhood. Then I realized that everything is mostly the same but the details are different. Different flowers are bloom, plants are different colors, people put new decorations up for different seasons and holidays.
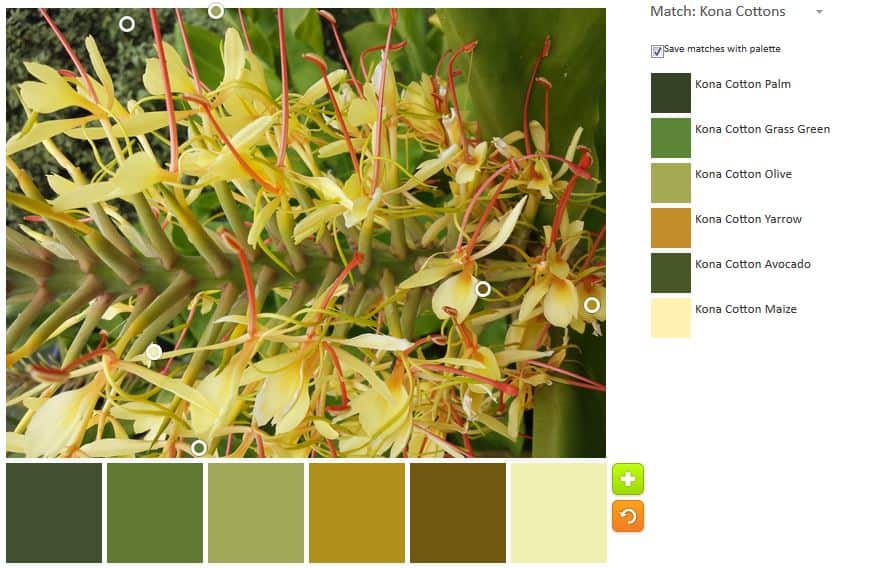
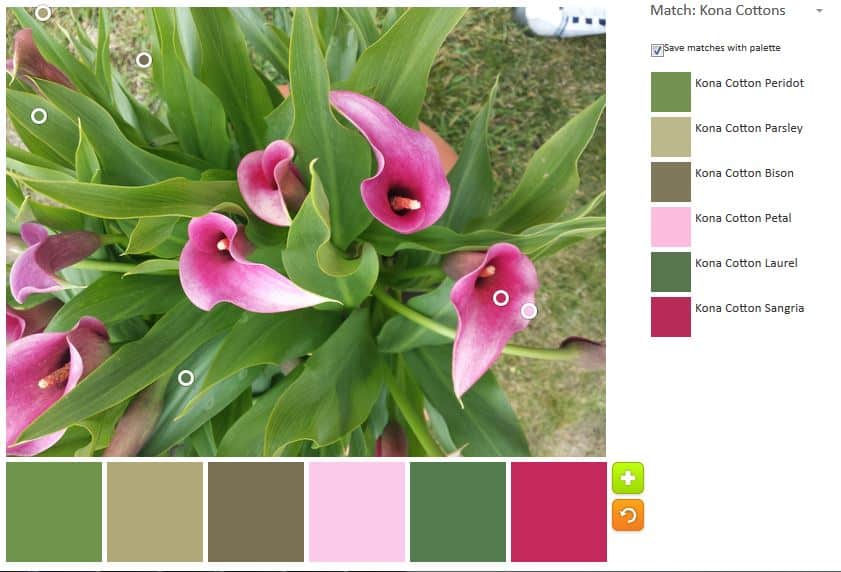
Because of the drought, people are using a lot more succulents. Succulents are not my favorite, but I am trying to see the beauty in them. I saw this yellow flower on a succulent and took a super close-up.
Because I can’t resist fiddling, I moved the circles and did a, mostly, different palette.
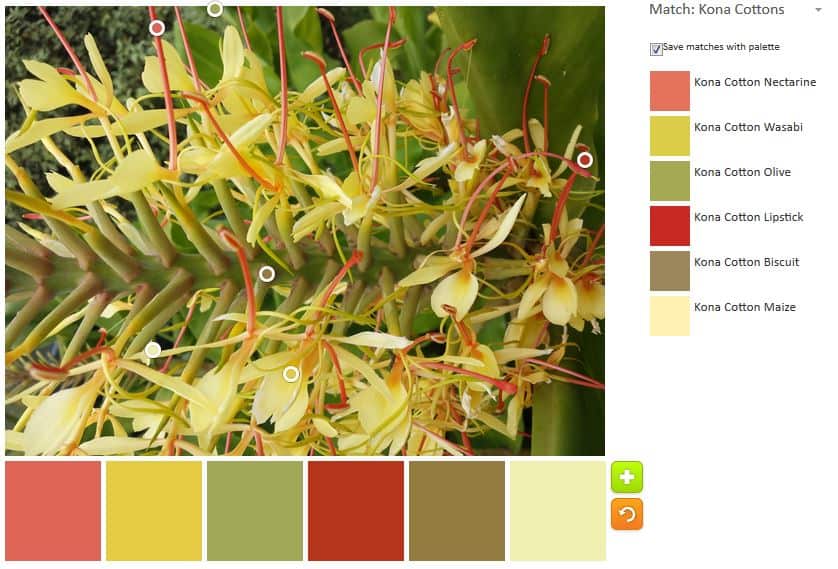
There are little bits of warm colors – pinky reds and reds – and I capitalized on them. Still, this palette is not bright enough for me. I think I’ll need to find some tropical flowers and make some palettes out of them. 😉
Try out the Palette Builder on the Play-Crafts.com website
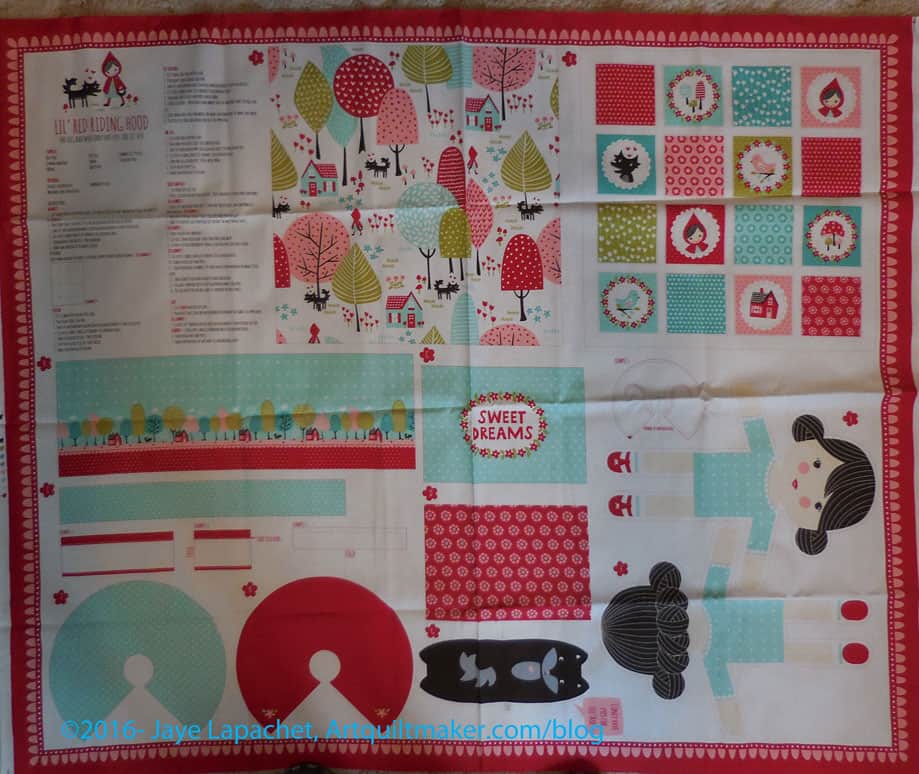
Little Red Riding Hood is finished! She went from a panel to a finished doll in not very long.
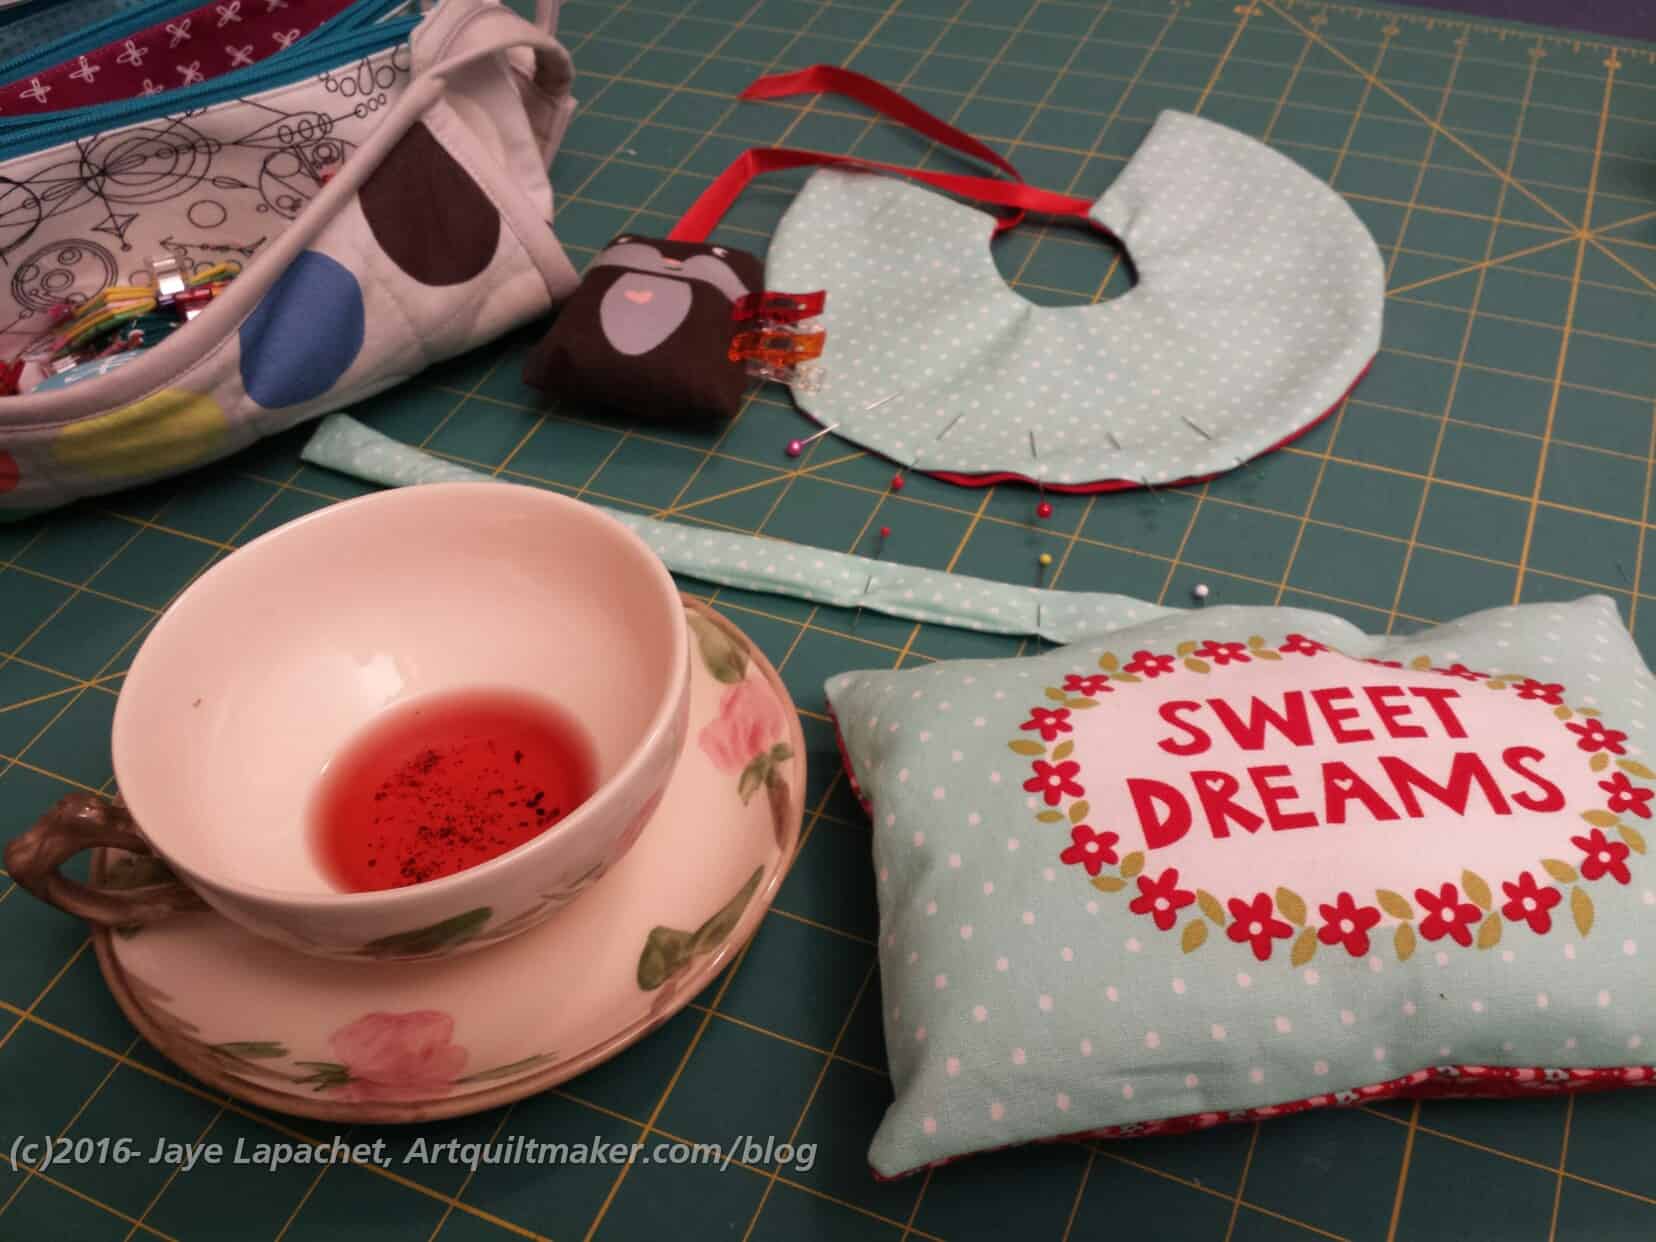
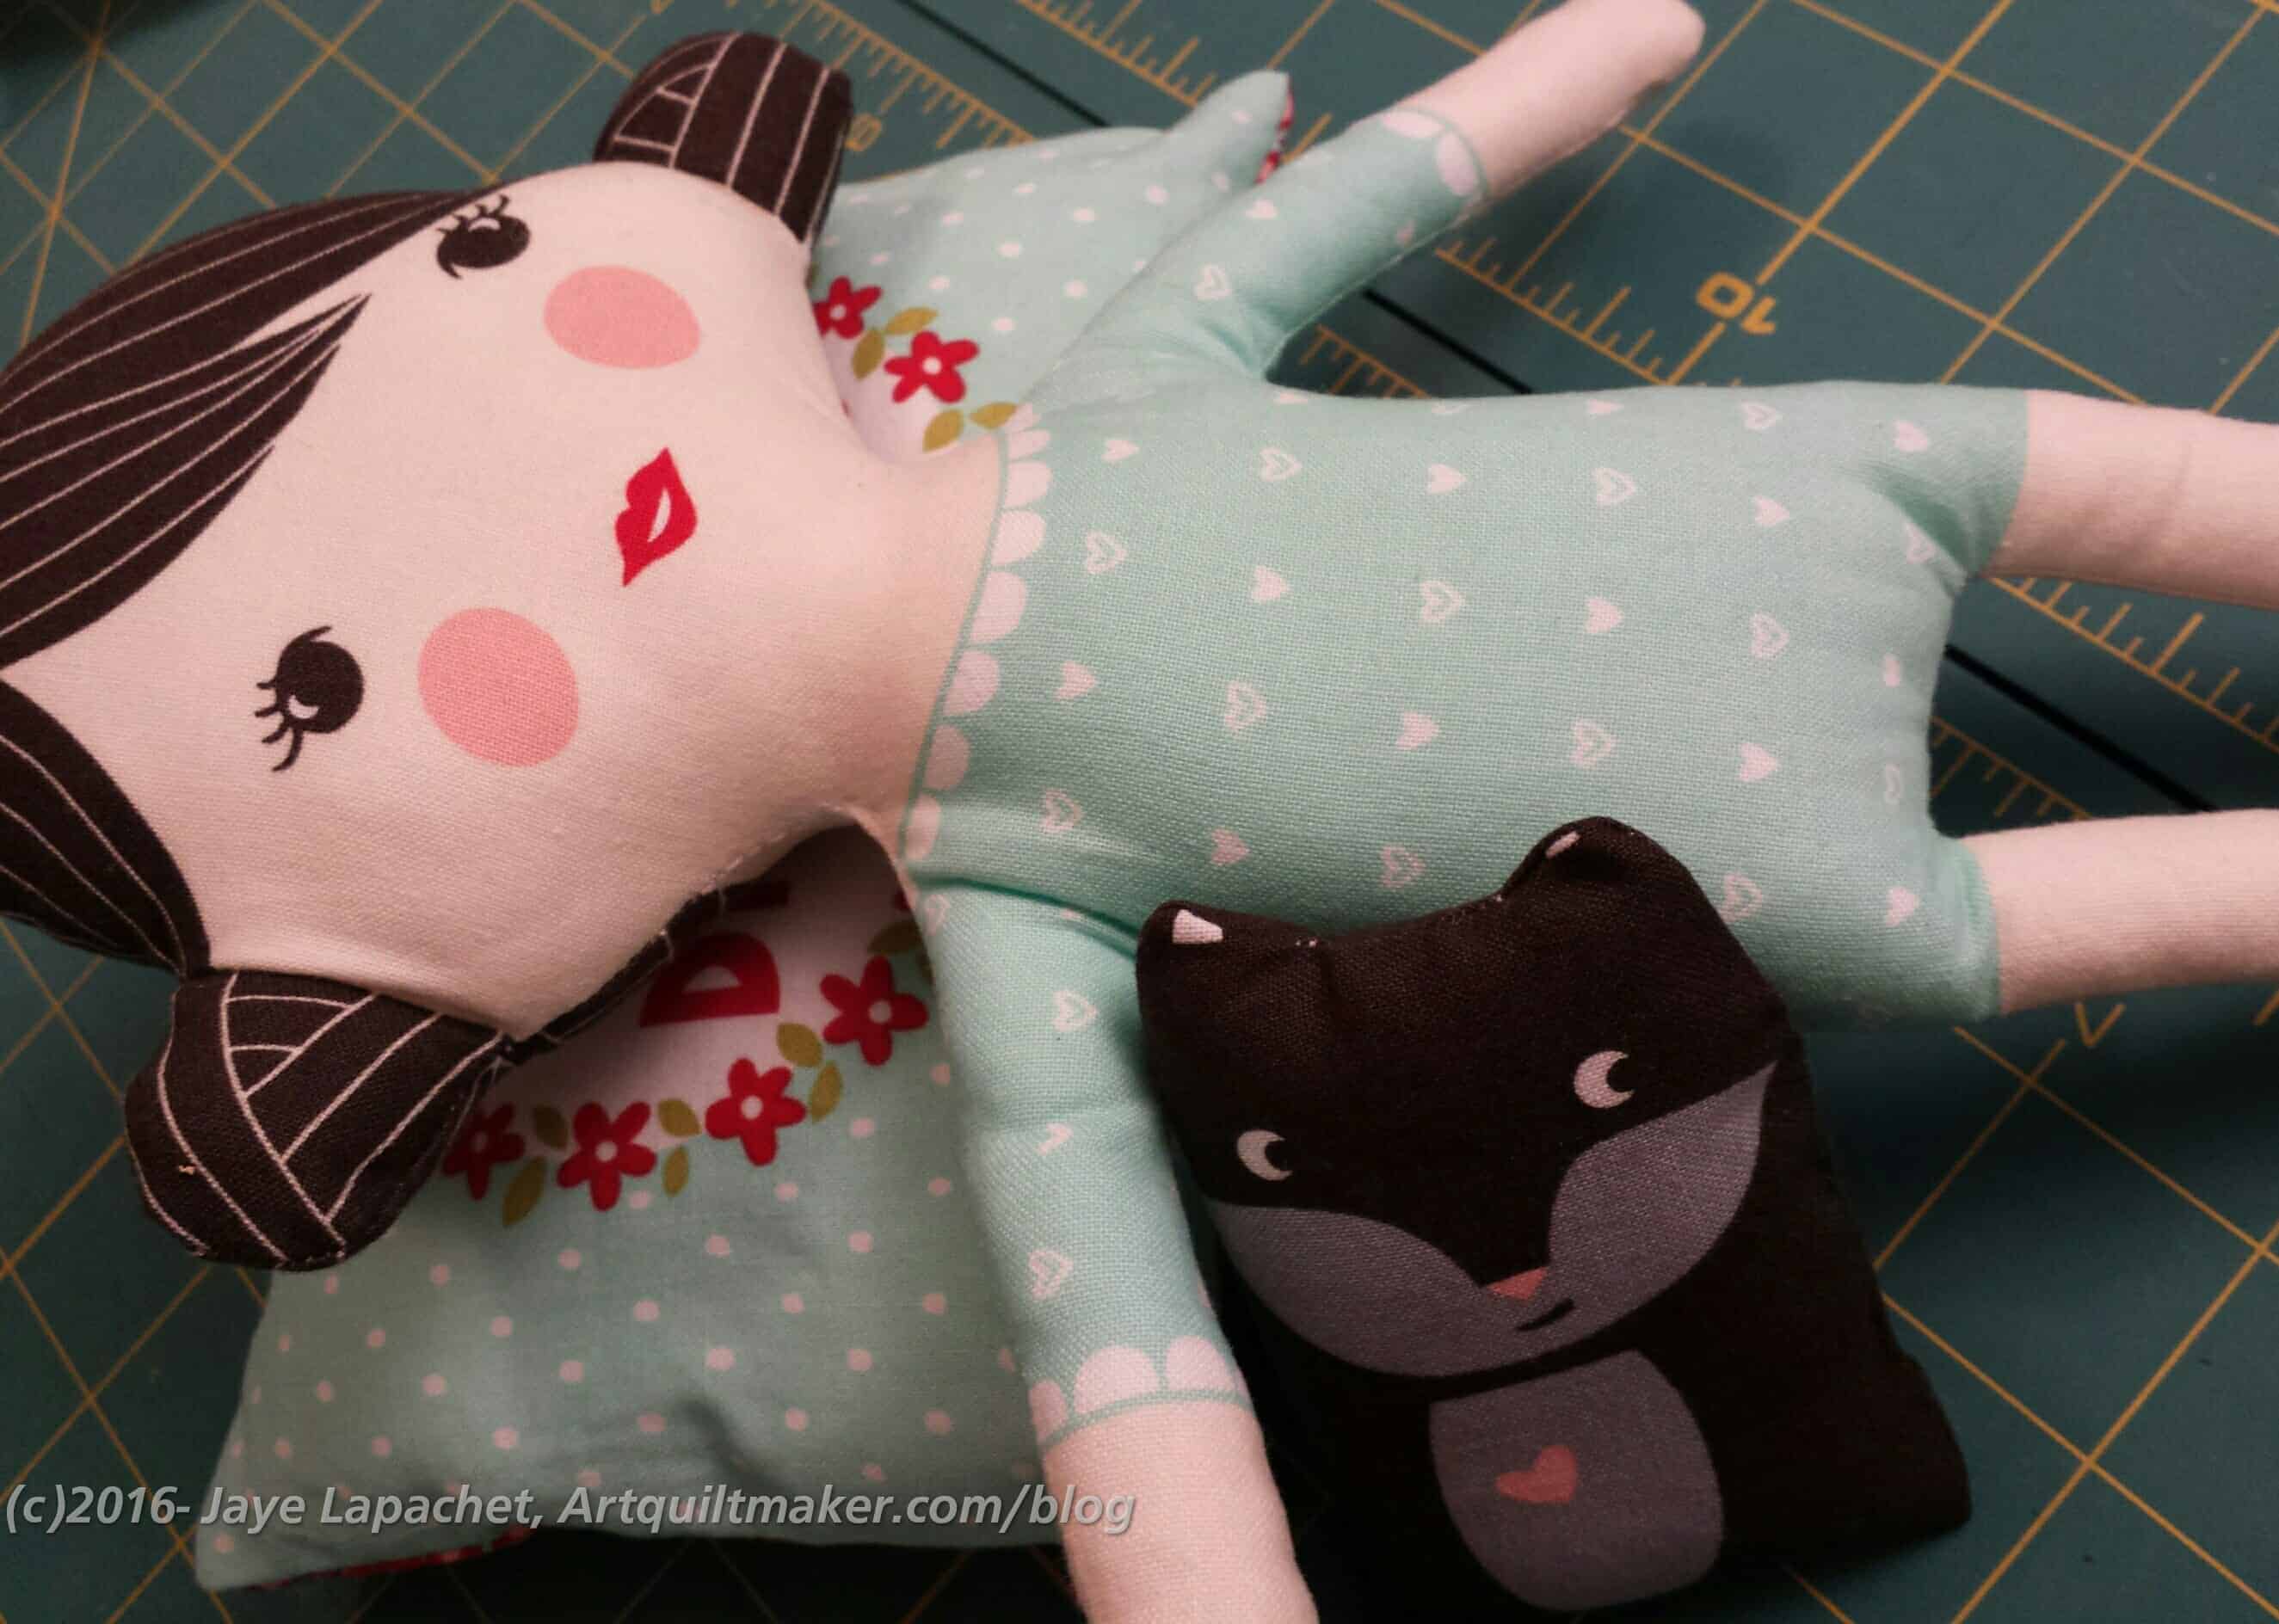
I did need some help. Mom helped with the gathering of the skirt, SIL #3 gave me some stuffing and SIL #2 offered various types of advice and some ribbon for her necklace. Group effort.
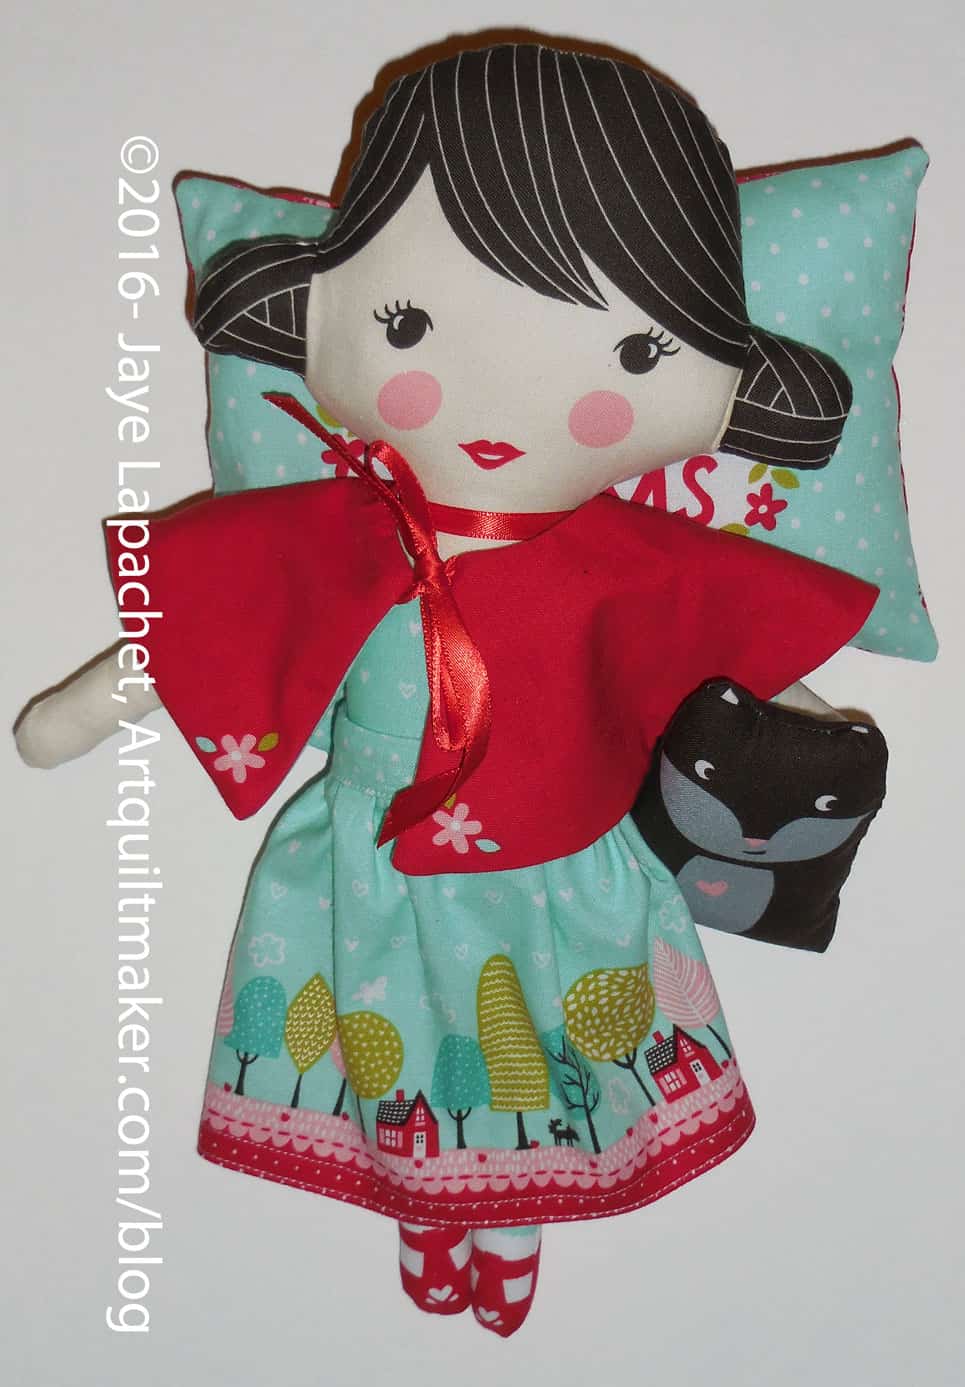
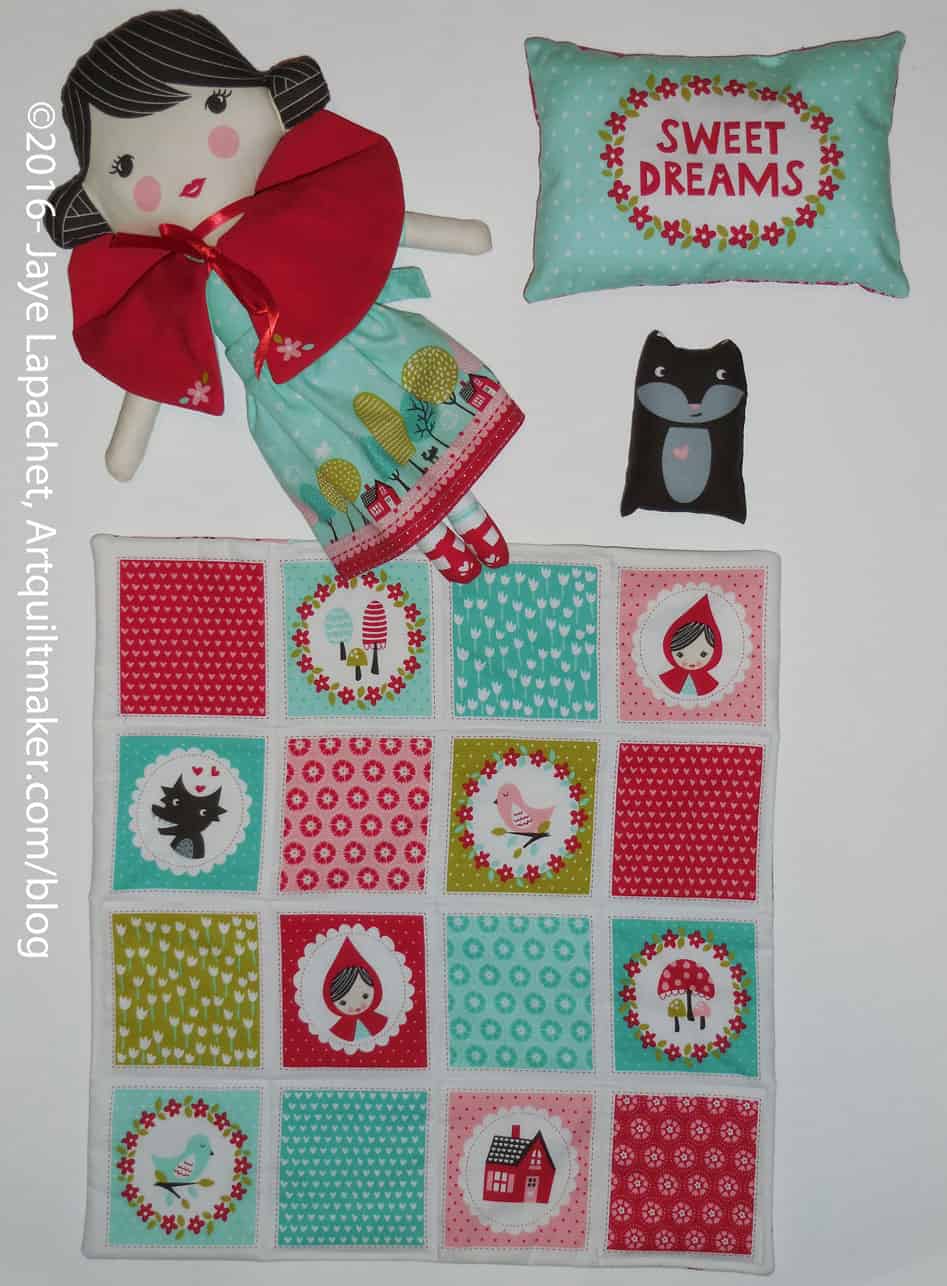
I am pretty pleased with how the whole group came out and I can’t wait to send it off and see what happens.
I spent some days on the weekend finishing the Petrillo Bag #3 (Buy the pattern from Sew Sweetness). I have a few threads to weave in before I can say DONE, but it is close.
In this bag, I made a few more changes to the original pattern.

First, I made the bag larger again, but instead of using clips like last time, I bought some wide elastic and used that. The reason I need to use something rather than let the bag be free is because I want the front closure to still work. It is a magnetic closure and probably wouldn’t be strong enough to keep the bag closed if the shape weren’t similar to the original bag. I want it bigger to be able to get stuff out easier (this bag is GREAT for conferences) and be able to stuff a sweater in for cold conference rooms.
I didn’t have enough of the sew-in magnetic closures that Sara of Sew Sweetness recommends, so I bought one more at Joann. Big mistake. Use the ones that Sara recommends; they are MUCH better.

Next, I needed a way for the interior zipper pocket to be stabilized. I use the zipper pocket a lot and it was completely saggy. You can see the outside folded over to the inside from the weight. One solution was to lessen the amount of stuff in the pocket.I do like my stuff so I sewed close to the edge on the top of the pocket as one possible solution to keep the pocket stable.
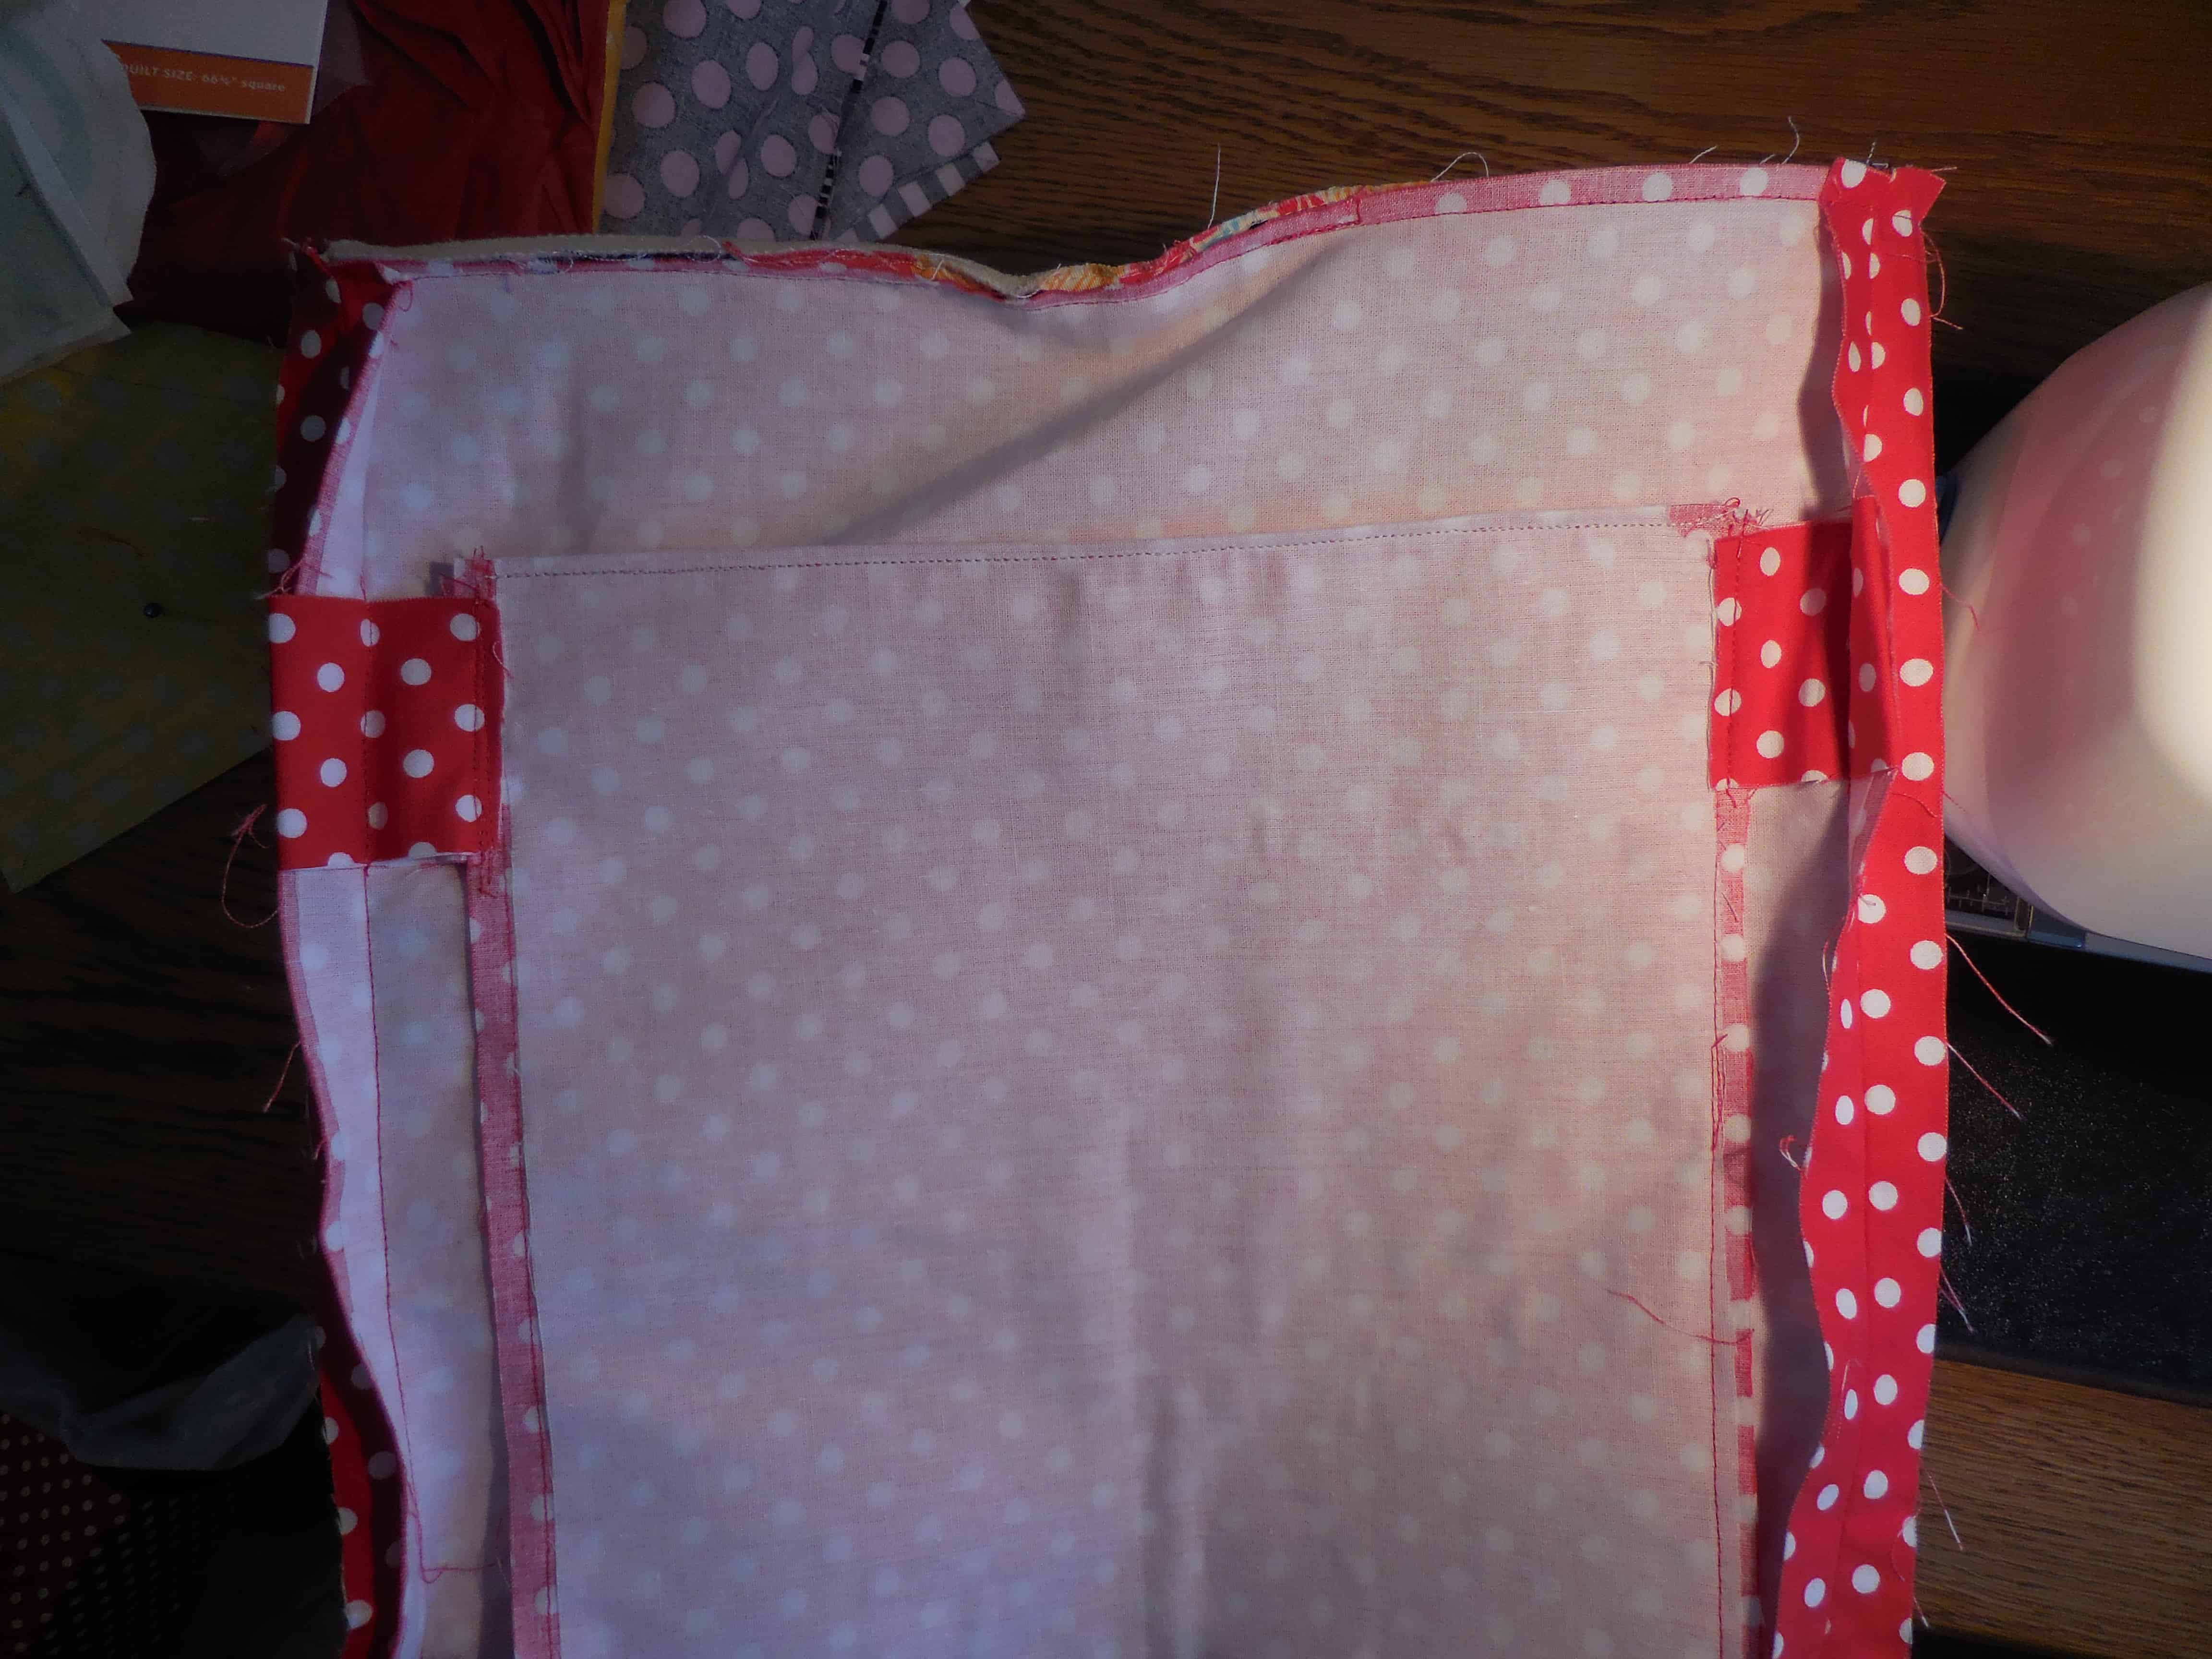
However, I thought of a solution that would allow me to keep the same amount of stuff in the pocket and not be saggy. I thought of this at the last minute when the bag was almost completely together, so my options for making it super nice were limited. I sewed tabs on to the ends of the zipper. They were sticking out just enough to allow me to do so, then I sewed the tabs into the side seam.
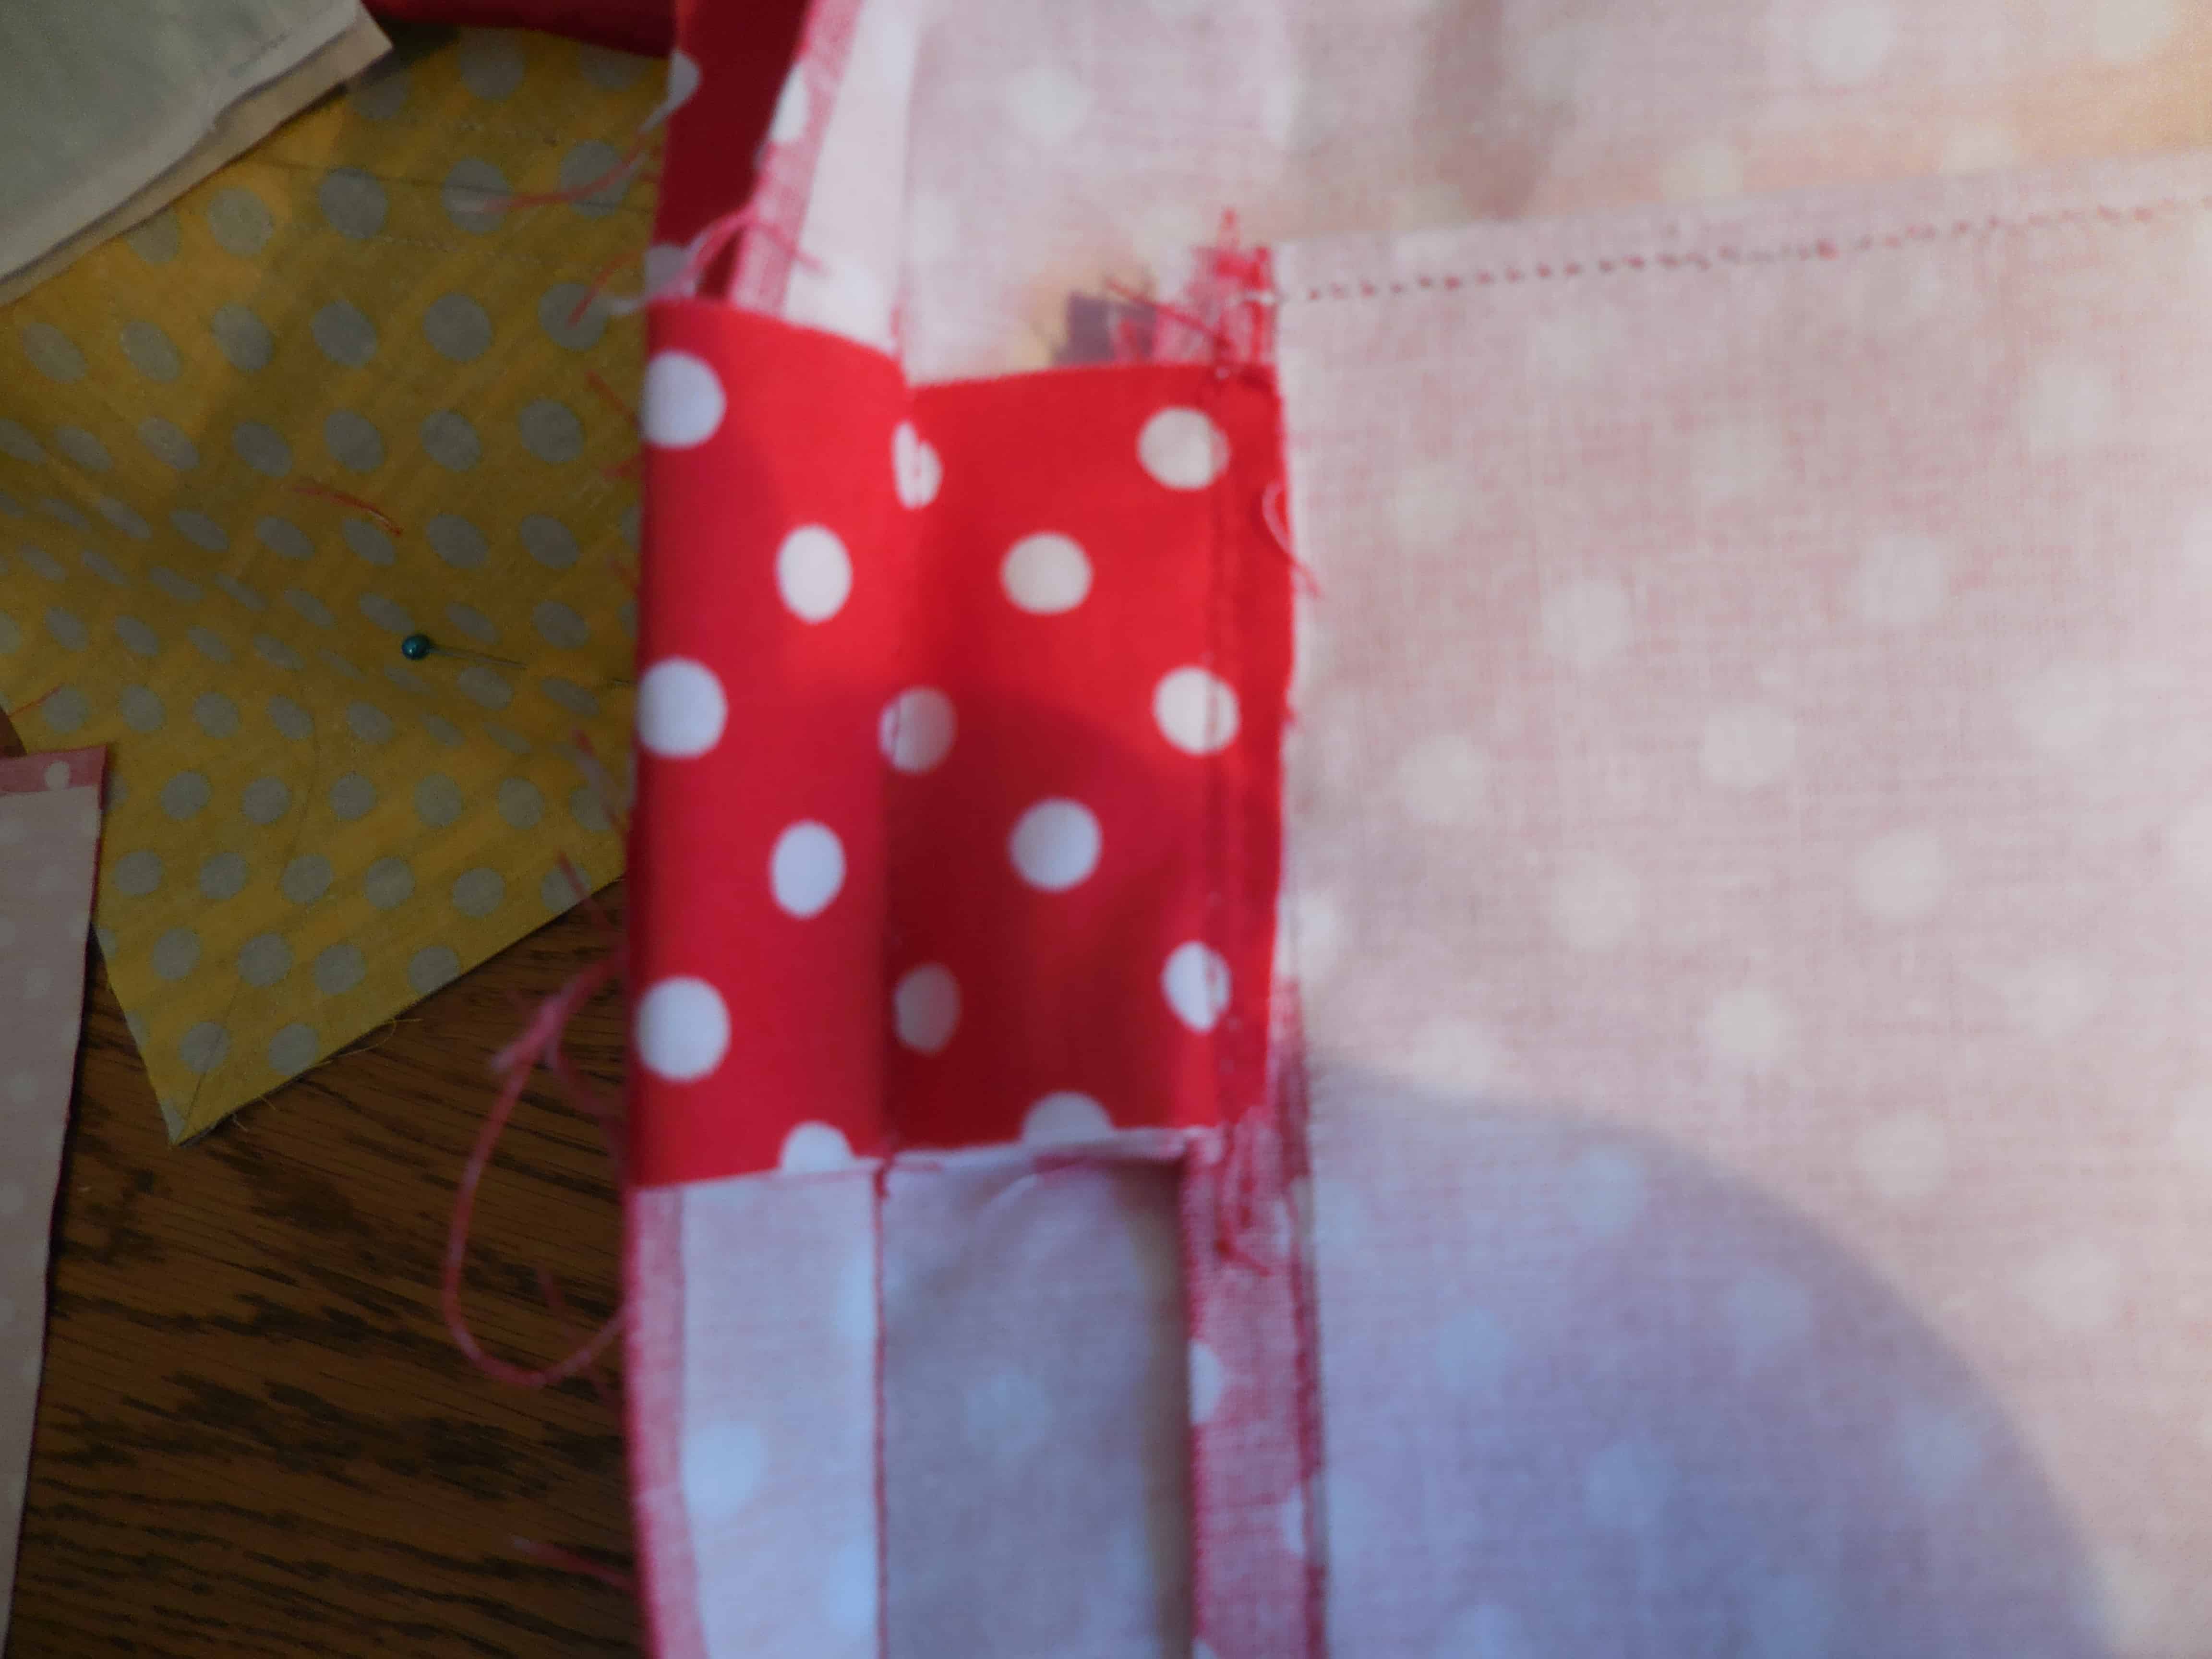
I didn’t finish the tabs, but I figured it wouldn’t matter much since the stablizers were on the inside. I would finish the edges and make real zipper tabs if I were making the bag again.
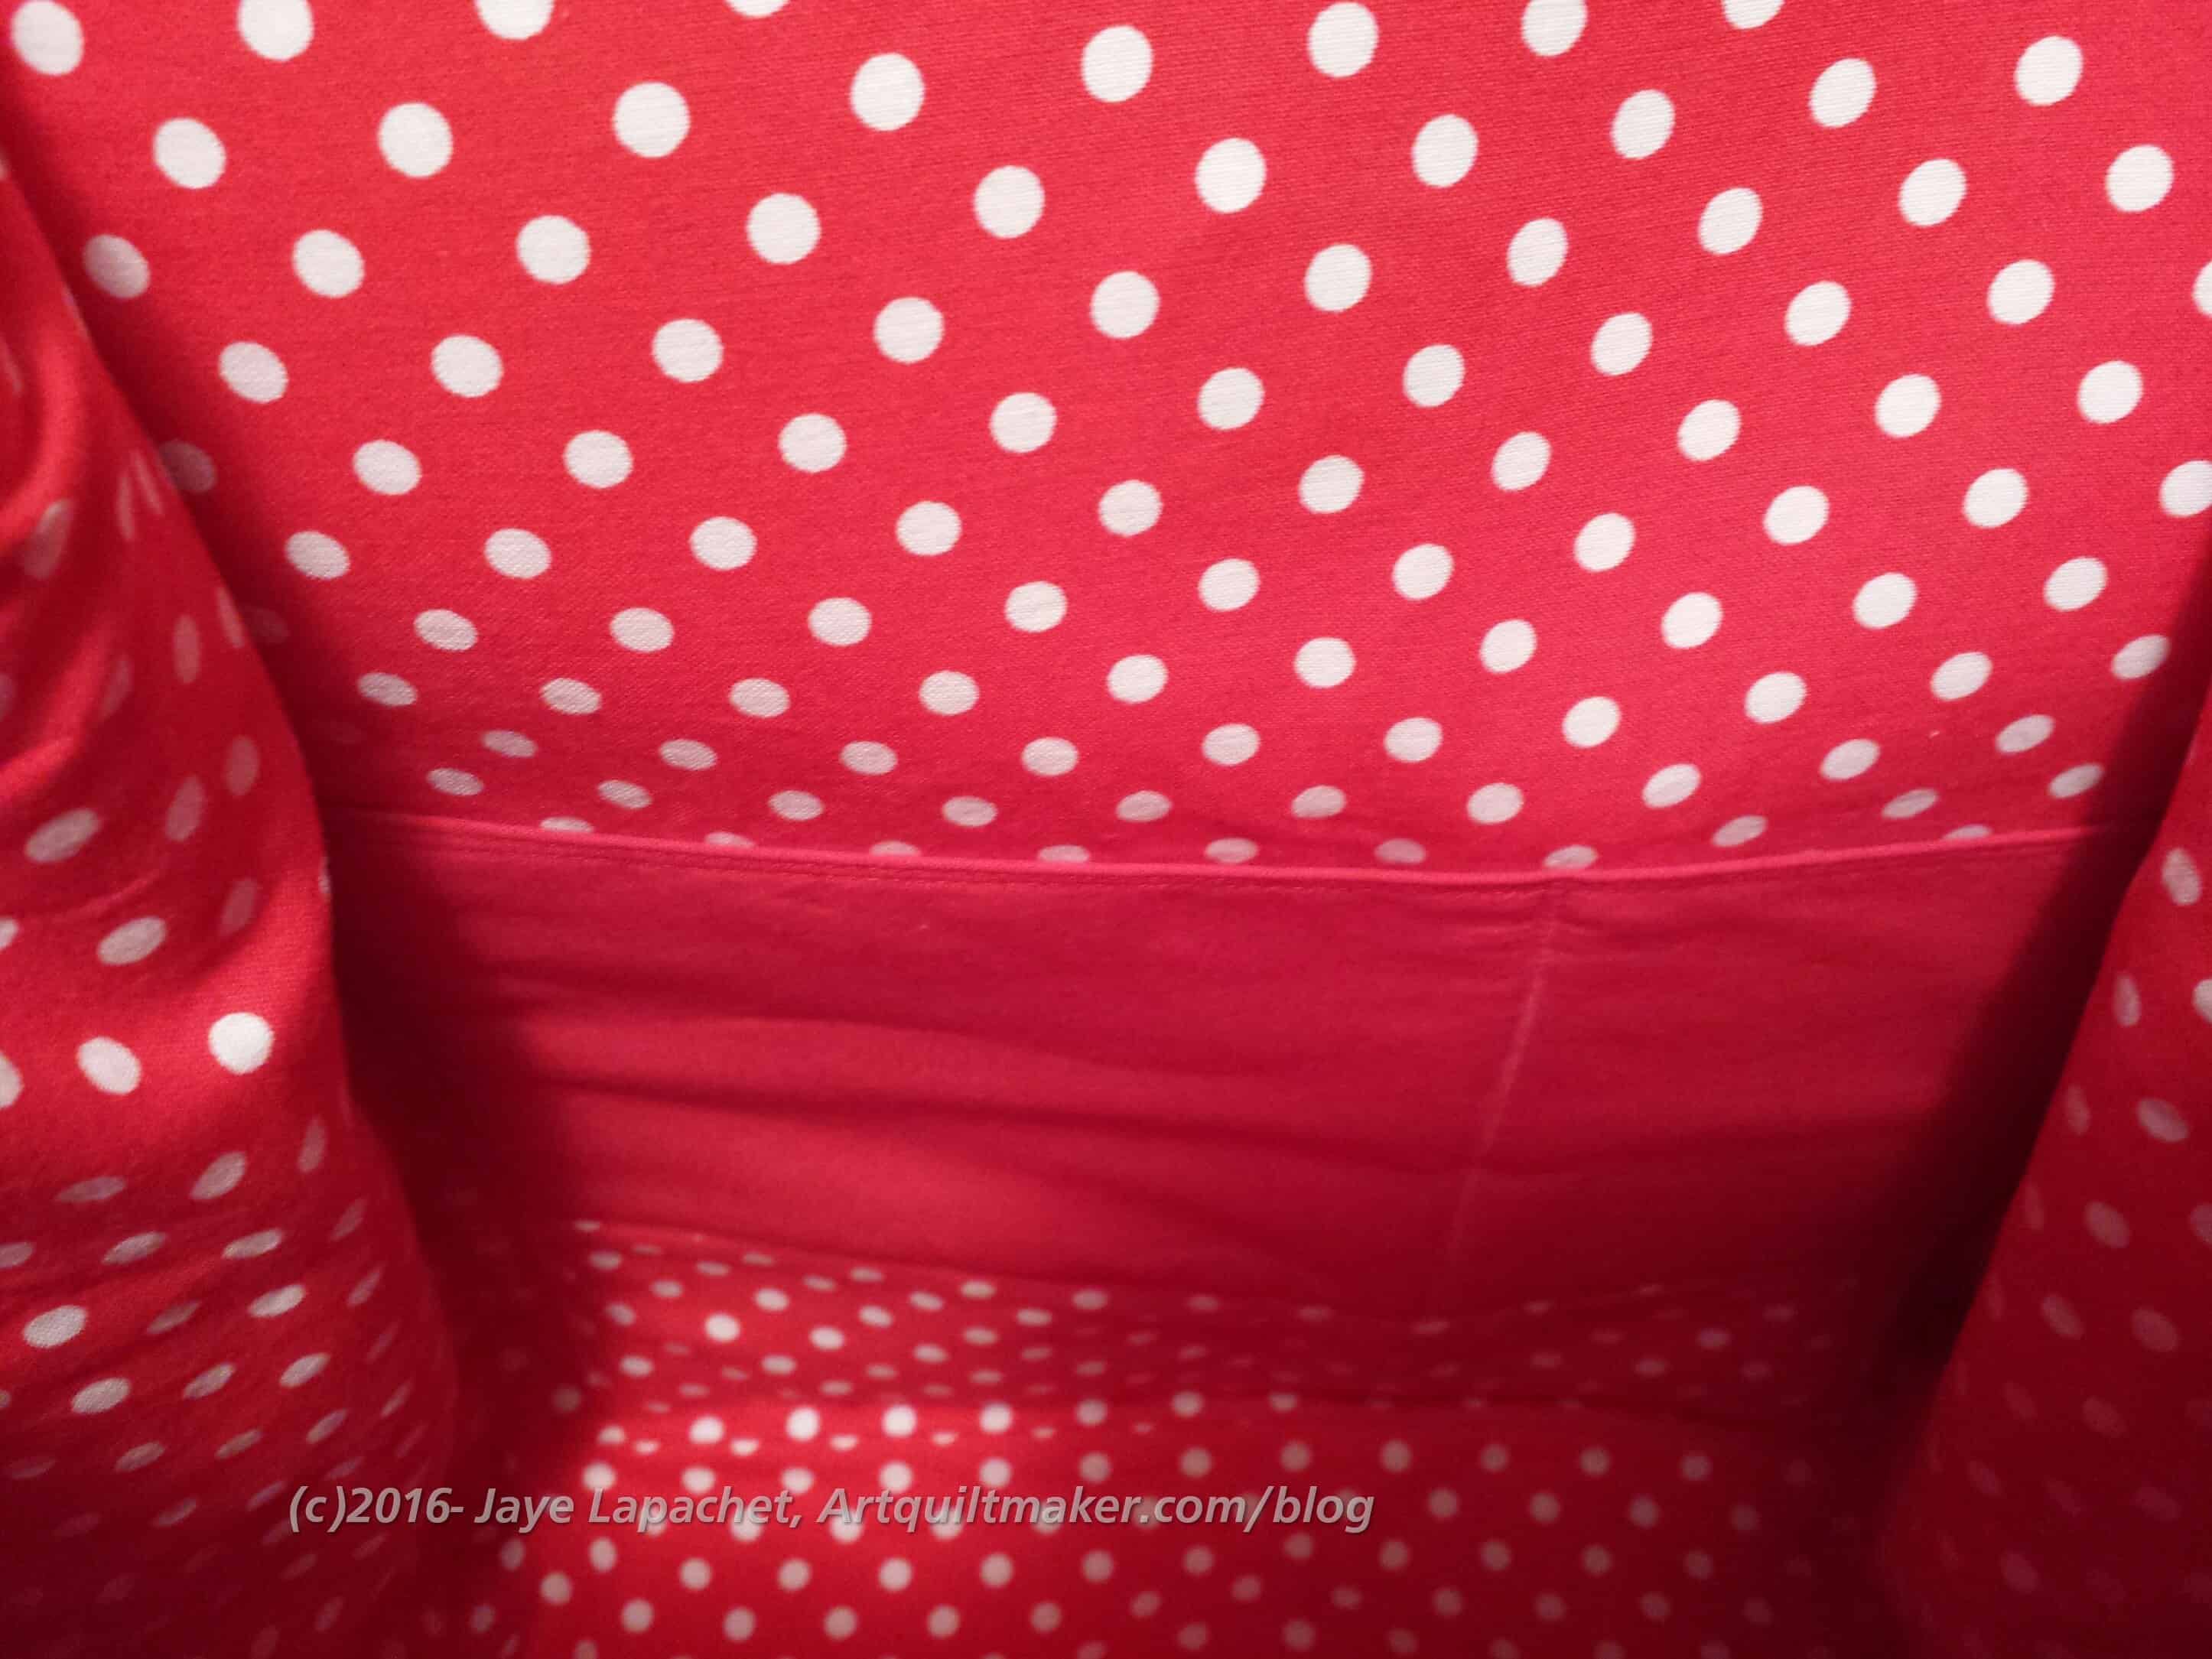
In a further effort to stabilize the interior zipper pocket, I also added a slip pocket to the outside of the padded pocket. I got this idea from making the Cargo Duffle. I hope to put the pens in this pocket instead of in the zipper pocket, which should help the stabilization. I divided the slip pocket into two sections using my phone as a guide for size.
The slip pocket isn’t in exactly the right place. I should have put it down a little further, because in its current location, it interferes with the padded pocket flap. Thinking about this made me realize that I probably don’t need a flap over the padded pocket.
I think I will have to make this bag again with further refined hacks.

As usual, Janome sent me an ad for their Labor Day Sale.

I don’t know that this is the machine that I actually want, because I haven’t done any real shopping, but if someone sent me one, I wouldn’t say no.
One of these days they won’t have a sale and that will be the time I decide it is time to buy a new machine.

I haven’t shown FOTY squares for awhile. Not sure why, but I haven’t been working as much as I like so I haven’t been cutting. I guess. You can see several recent projects in the squares. I am getting a nice stack.
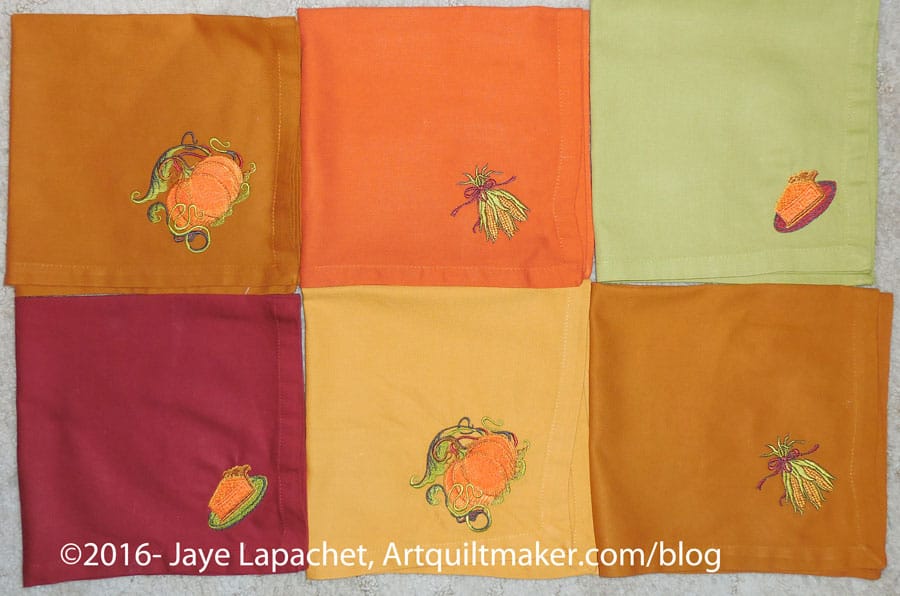
The good thing about machine embroidery is that it can happen while the maker is piecing since the machine works independently. Still, SIL is making crazy good progress. After a few napkins last week, she gave me a bunch this week.
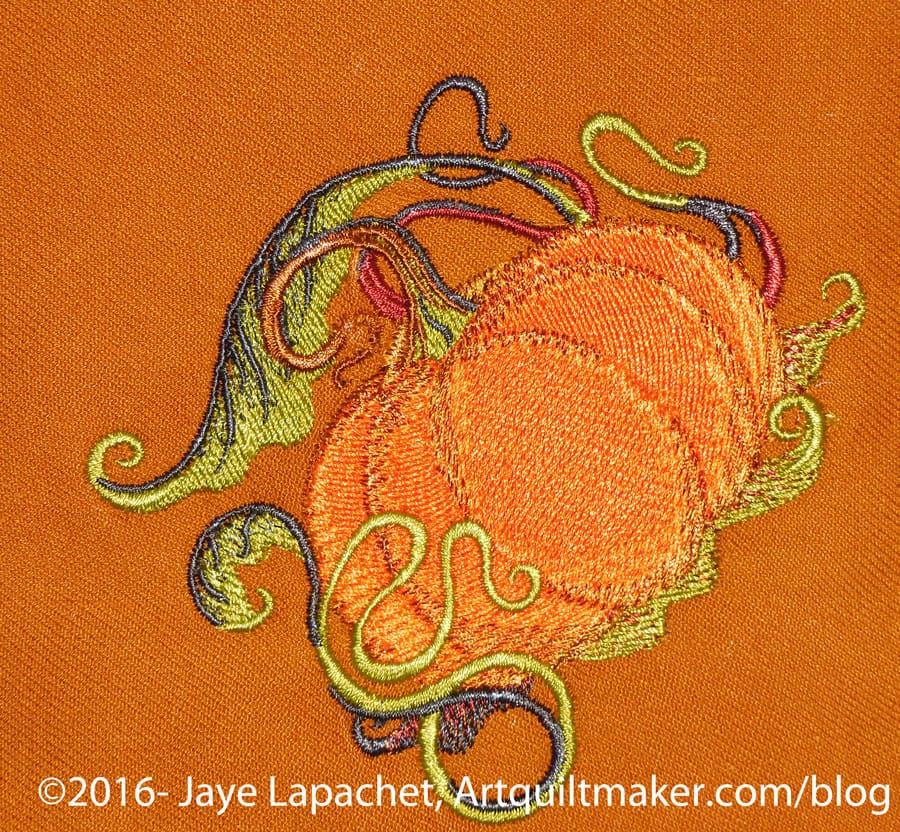
This group of motifs is fun. The pie and the corn, along with the pumpkin, which you saw last week, are two of my favorites. I took a close up of the pumpkin, so you could see what a nice design it is.
Yep.
We sent the YM off on Tuesday for a brief trip to visit his freshman year roommate before he heads back to college.
Already! Can you believe it? The four months flew by.
I made pillowcases for his friends.
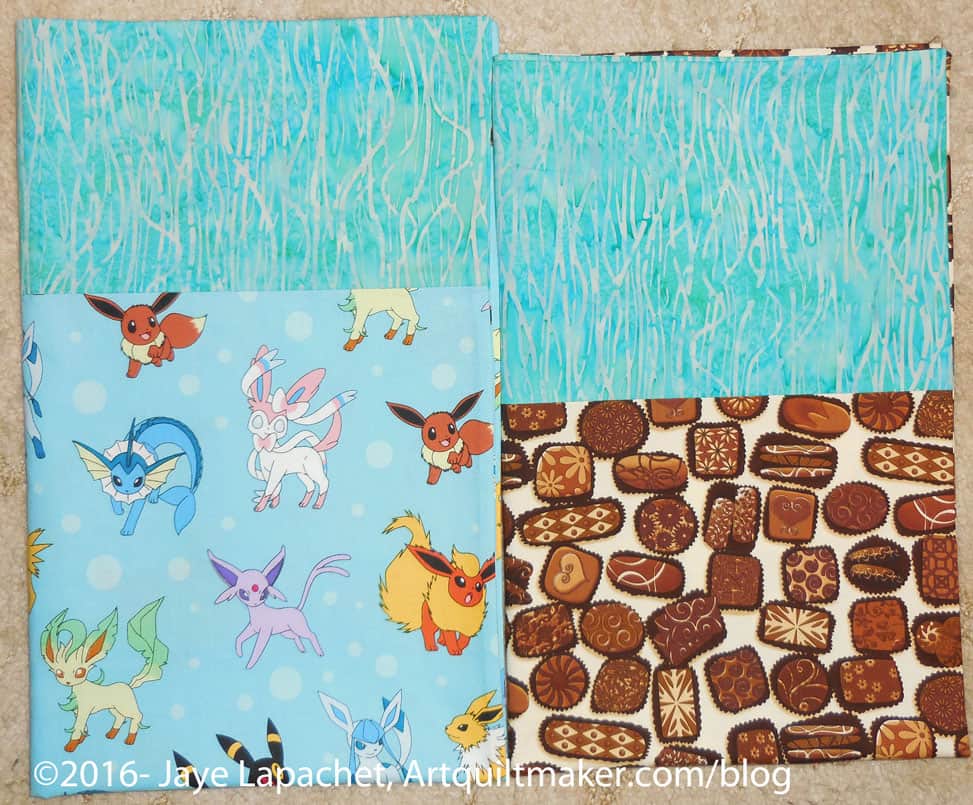
I saw some Pokemon fabric the last time I went to the hairdresser and described it to the YM . He wasn’t interested but he must have described the fabric (the skills of the quiltmaker’s young) to his sophomore year roommate who wanted a pillowcase from it. I bought some and made it. In the course of rummaging for cuff fabric, I found some chocolate fabric I had designated for a pillowcase and sewed that one up as well. The chocolate pillowcase went to the girl of the trio. I haven’t heard if they received them, but I am sure they did.
While these are not necessarily my colors, I do like the combination of green and pink.
I saw this small tableau when I was out for a walk and couldn’t help wonder what kind of a Palette the Palette Builder would make.
Trust me, I know it is August, but I didn’t have a chance to post these until now.
I got three kits at the July meeting and was only able to fill one cat bed 2/3s full. I hope Amanda still has some schnibbles.