Gift Card Holder Tutorial

This started out after I searched my various small project books and the web for an easy gift card Holder. I found one on the web, but there were so many ads that I couldn’t use it. I also saw some YouTube tutorials, but just wanted a paper template and maybe some instructions. 

Gift card holder drawing

DH and I talked about it at dinner and came up with a viable pattern. We talk a lot about the mechanics of quiltmaking at dinner. Usually, I am trying to work out a problem. He doesn’t want to make quilts, but has a mind that can help me work out a pattern and mad math skills. It’s a good thing we had a lot of holiday and New Years cards on the table. Their backs made for great drawings.

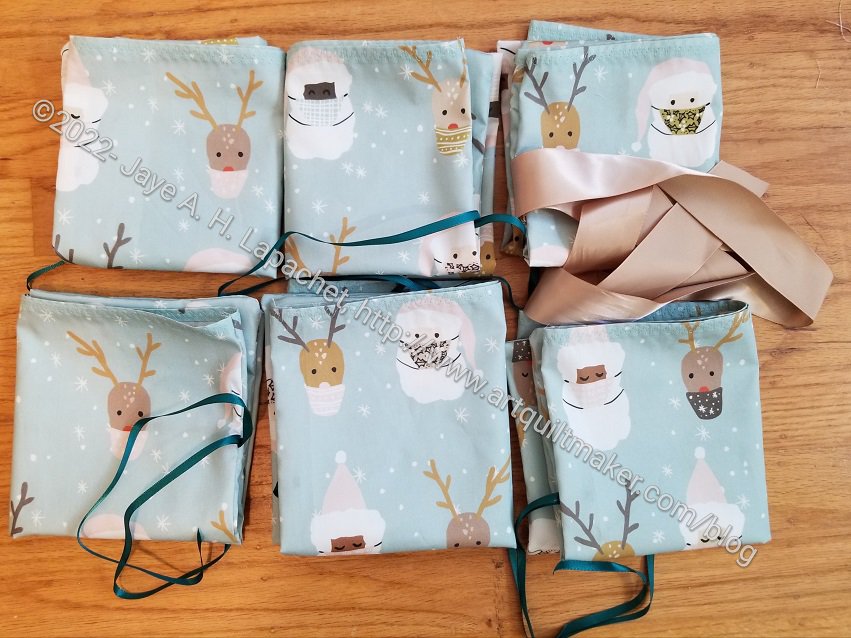
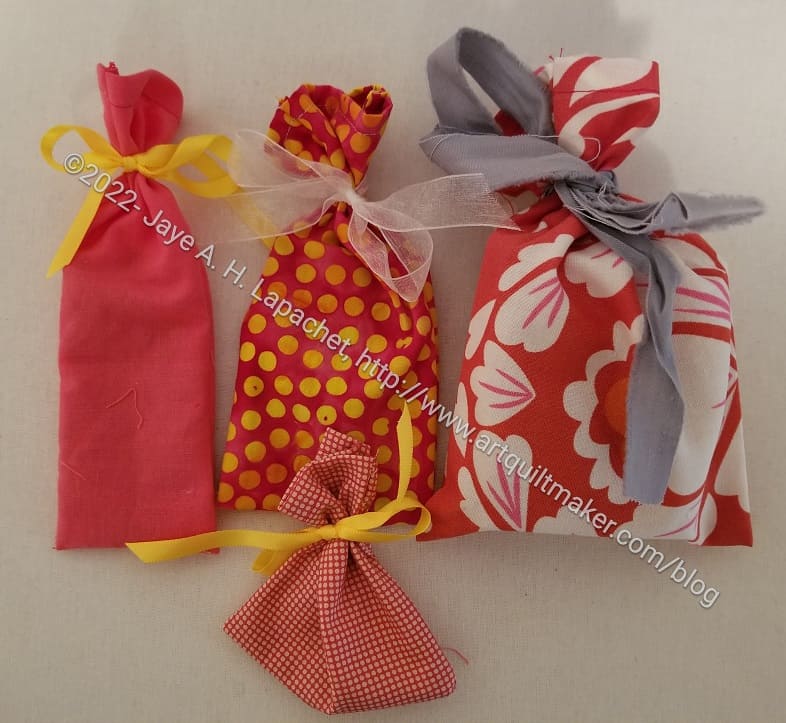
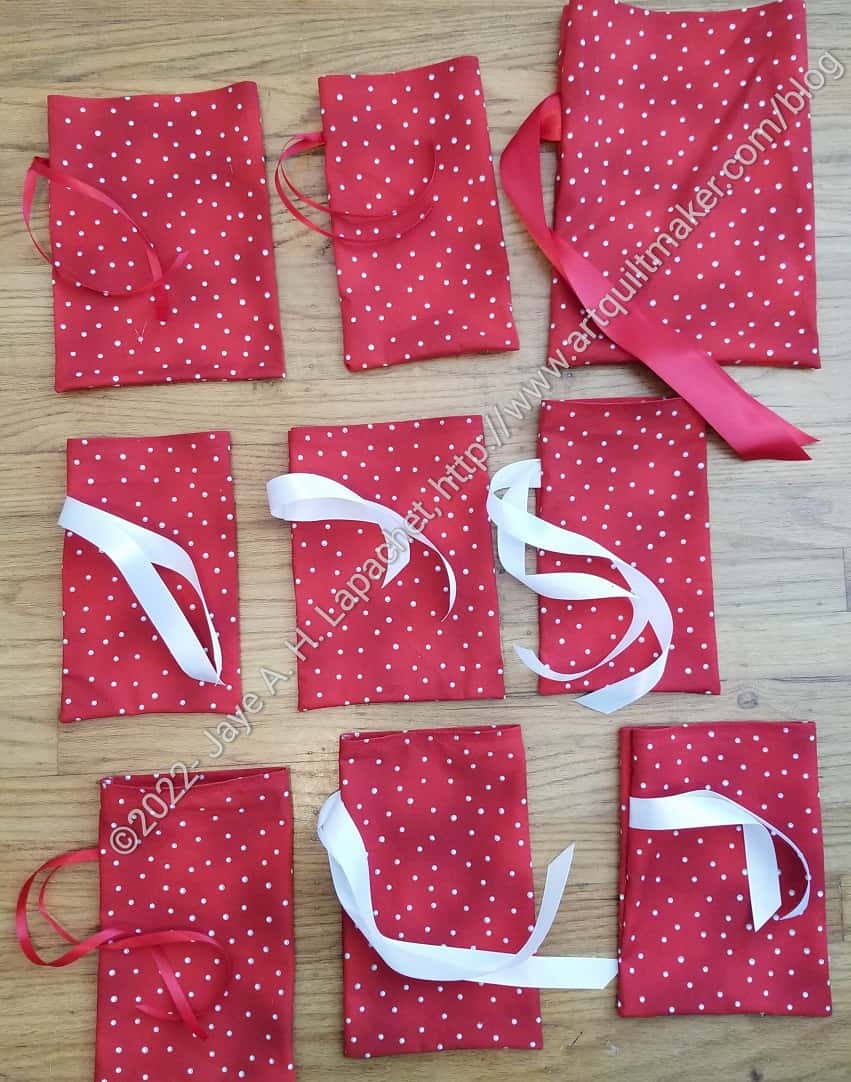
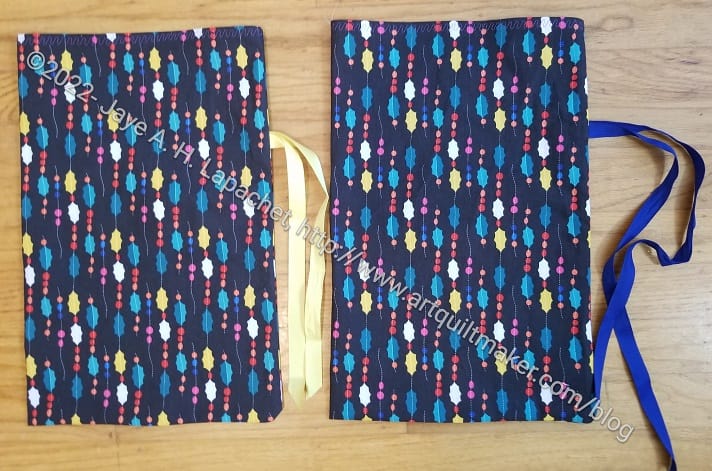
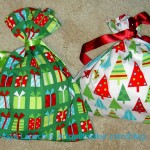
N.B. while it is Christmas now, it will also be Hannukah in a few days. You can use this pattern for any holiday or gift giving event. Just choose the right fabric.

Supplies (If you have taken my quilt class, you should have all of the supplies, except maybe felt)


Gift card holder Pattern with sizes

I have not tested this ‘pattern’ extensively, so YMMV. Adapt the sizes as you see fit.

These sizes are slightly larger than my test version to make it easier for you to sew.

Take your graph paper and measure out the lines as shown. It helps to have a gift card or credit card handy.

There is no size or angle for the diagonal line. Create the rest of your pattern first, then connect the two lines to make the diagonal.

Gift card holder pattern traced

Trace your pattern on the felt.

If you plan to make a lot of these, I would recommend pasting the pattern onto template plastic as it makes it a lot easier to trace. That is why I added template plastic and a glue stick to the supply list as optional.

Gift card holder -cut out

Cut out your felt along the lines of the outline.

If you have time, you can embellish your felt. Some embroidery along the diagonal line would look nice as would an applique’ around the area of the diagonal line. If you do an applique’, remember that that part of the piece will be folded to the left, so you need to put the applique’ on the back of the piece as shown above. See below.

Of course, you can also embellish the edges using various decorative stitches on your machine or bits of leftover ribbon and rickrack.

Gift card holder - testing size
Gift card holder – testing size

Test your pattern piecing using a gift card or credit card.

On my first try at this ‘pattern’, my piece was very tight. I only had a little space for sewing. That’s why I made the sizes a little larger for you. Depending on your machine, you may be able to use a decorative stitch.

You only need to sew from the bottom of the diagonal line on the left vertical to the corner and then along the bottom. If you want to sew all the way around, check your size to make sure you have enough space for the stitching and that the card will still fit.

Gift card holder finished

I also cut the top corners so they were curved. I did it freehand and you can, too. 

This is a super basic gift card holder, but it is free and fast, especially once you have made the pattern.

Since I am not making you plow through ads or watch a 30 minute video to make this, I appreciate you clicking on the Amazon links and buying things from my Associate account. As it says below, it helps support the costs of this blog.


If you send me a photo of a gift card holder you make, I will post it, with due credit, here in the new year.


**N. B. : Obviously, you should shop at local quilt shops and small businesses. However, if you are too busy or can’t find what you need there, I use Amazon affiliate links and may be paid for your purchase of an item when you click on an item’s link in my post. There is no additional cost to you for clicking or purchasing items I recommend. I appreciate your clicks and purchases as it helps support this blog.

More Gift Bags

I am finally making some gift bags this year. Some of the fabric was laying around half finished from last year. I needed to wrap some gifts and we haven’t gotten the Christmas decorations out. Also, I want to use up fabric. Of course, you probably saw the tutorial I posted a week or so ago, so go make some bags.

Time to Make Gift Bags

It is once again time to make gift bags. Obviously, Christmas is coming and these types of gift bags make wrapping a breeze. I know many of you don’t celebrate Christmas. These bags are great for any holiday including birthdays, anniversaries, saints days, Hannukah and any other you can think up. I use them for most birthdays. There is always more fabric, after all.

The great thing about these bags is that they are reusable. The other great thing is that you can use ANY fabric; it doesn’t have to be quilting cotton. I have made some gorgeous bags from upholstery fabric I got from FabMo.

Supplies:

  • Fabric – I use either a half yard, a yard or a fat quarter. If you use a yard you can make 4 smallish bags, two medium bags or one large bag. You can make bags with any size piece of fabric and you can make a specially sized bag for a special gift. I once made a gift bag for a weed whacker!
  • thread
  • ribbon- I often save ribbon from packages and other gifts and reuse it for gift bags.
  • Sewing machine
  • basic sewing kit

For this tutorial, we will use a fat quarter of fabric

1. If your fat quarter does not have a selvedge, create a hem using two folds so there are no raw edges. If your fat quarter has a selvedge, use the selvedge for the top. It won’t unravel.

2. Press hem in place.

3. Sew hem with a decorative stitch, if you have it, a zigzag or straight stitch work fine as well.

Optional: you can use embroidery to liven up or personalize the front of the bag.

Optional: If you have stitch letters on your sewing machine, stitch your name and the year so you know when you made the bag.

4. Fold hemmed bag in half WRONG SIDES TOGETHER so that half of the hem is underneath itself towards the top and the fold is on the left. You will be making a French seam.

5. Fold a piece of ribbon about 1.5 feet long in half. You can adjust the size of ribbon you use depending on how much ribbon you need to make a nice bow when you tie.

6. Place the folded ribbon in the open side of the bag about 4″ from the top edge/hem.

7. Pin ribbon in place.

8. Pin rest of the right side and bottom closed.

Use an 1/8″ seam allowance.

Sew first seam on gift bag

9. Starting from the top, sew down the right side, backstitching at the beginning and over the ribbon, 2-3 times. You want to backstitch at stress points to keep the bag from ripping apart.

10. Turn at the corner and continue across the bottom, backstitching at the end.

Optional: round the corner. It makes sewing and turning easier.

11. Turn the bag inside out, so the right sides are together and the ribbon is out of the way of the seam (It will be inside the bag, but I put mine as straight as possible towards the opposite side of the bag.

12. Press seams, taking care to push them as far out as possible so there is no extra fabric folded near the seams.

Use a 1/2″ or 5/8″ seam allowance.

Finish French Seam
Finish French Seam

13. Starting at the top, sew down the side and across the bottom again to finish the seam.

14. Open bag to make sure the raw edge is completely hidden inside the seam.

15. Turn bag inside out and press.

Voila! Your bag is really to use!

Many people ask about labels. I punch a hole in a gift tag and thread the ribbon through it. You can also buy basic tags with strings** or gift tags** and use those or stick a sticker onto the bag. I would recommend reusing gift tags. We do that, too.

Benefits:

  • reusable
  • reduces garbage
  • good way to use fabric you might not use for quilts
    • Novelty fabrics
    • fabric you don’t love anymore
    • Use fabric you already own
    • orphan blocks
    • vintage sheets
    • Any fabric is suitable including velvet, brocade, knits, etc
  • provides you with the opportunity to buy holiday fabric without committing to making a holiday (or birthday) quilt
  • quick method for wrapping
  • If you track fabric usage, this a good way to use fabric quickly
  • no need to rush out to buy gift wrap
  • no tape or scissors needed
  • small children can help wrap, or wrap their own gifts
  • Fabric costs can be amortized over the years of the gift bag use 😉
  • bags are made quickly
  • hems provide a good opportunity to try out decorative stitches
  • can quickly make a gift bag for an oddly shaped gift, such as the weed whacker I mentioned
  • odd sized bags can be cut up later and used for different sized gifts
  • I reuse ribbon I get from other places for the ties
  • Easy to open and close the gift bag up again if the gift tag falls off
  • Embellishment possibilities are endless, if you want to take the time. Gift bags are a great way to try out different techniques, stitches, embroidery. embellishments or use orphan blocks
Blue Flower gift bag

Drawbacks:

  • takes time to develop a stockpile
  • reusable gift bags have to be stored
  • fabric costs are not insignificant
  • You don’t get beautiful mounds of boxed gifts under your tree

Any gift bags you make will add to your stockpile. You can use leaders and enders to make them, which means that your regular sewing isn’t interrupted much .

Resources:


**N. B. : Obviously, you should shop at local quilt shops and small businesses. However, if you are too busy or can’t find what you need there, I use Amazon affiliate links and may be paid for your purchase of an item when you click on an item’s link in my post. There is no additional cost to you for clicking or purchasing items I recommend. I appreciate your clicks and purchases as it helps support this blog.

Gift Bag Reminder

I saw an article about Christmas coming up fast. That article and the gift bags I made for birthdays recently reminded me that it was time to encourage all of you to make gift bags! I updated the tutorial and am reposting it here.

Pink Gift Bag for Mom

I love using fabric gift bags for all types of gifts – birthdays, Christmas, graduations, weddings. Besides the fact that I intensely dislike wrapping gifts with paper, the fabric feels so much nicer in my hands. For Christmas, or other specialty holidays, I also get to sew with the new and beautiful fabrics each year with out committing to a holiday quilt.

Gift bags are a great way to use up scrap fabric that would otherwise hang around unused. If a fabric is no longer to your taste, it will make a great gift bag.

You don’t need super high quality fabric for gift bags either. If stored properly gift bags can be reused year after year.

Supplies:

  • Basic Sewing Kit
  • Sewing machine
  • Thread
  • Fabric
  • Ribbon

Supply Notes:

Lush Gift Bag
Lush Gift Bag

Fabric: the amount you need depends on the gift you are wrapping. If you are making some to have on hand, you can make one bag from a half yard or small bags from a fat quarter. Making gift bags is also a great way to use different fabrics such as upholstery fabric, velvet and other lush fabrics you wouldn’t normally use for quiltmaking.

Decorative stitches: This is a good way to get to know the resources required to use your decorative stitches. I made a lot of bags systematically using all the decorative stitches on my machine. This allowed me to know how much thread each one used and how long they took to stitch out.

Instructions:

Press a double hem on the edge of your fabric that will be the top. I often use the selvedge so I can skip this step.

Finish the hem with a decorative stitch. If you do not have decorative stitches on your machine, two straight stitches close together make a nice finish.

Sew first seam on gift bag

Once done, I fold the piece in half, wrong sides together, aligning the hem at the top. I put a piece of ribbon, folded in half. The end of the ribbon should be sticking out of the piece. Place the ribbon about a quarter of the way down the side.

Stitch down the side, starting with the hem using an 1/8 inch seam allowance. I reinforce the start backstitching over it a few times. I do the same for the ribbon and the end.

After sewing, trim any stray threads. Trim the corners.

Turn the bag wrong side out.

Finish French Seam
Finish French Seam

Stitch using a larger seam allowance. A quarter inch seam allowance may work, but you need to make sure you cover the entire previous seam allowance. Again, I reinforce the start backstitching over it a few times. I do the same for the ribbon and the end.

      • N.B. Be very careful that the end of the ribbon is out of the way.

Turn your bag right side out and poke out the corners carefully.

Hooray! You have finished a gift bag!


Mid Year Gift Bags

Pink Gift Bags
Pink Gift Bags

I spent some time on Friday making gift bags for my mom’s gifts and for a book** I bought for my baby niece.

I realized as I was sewing that my ribbon stash is getting low. I’ll have to buy some ribbon before I start making Christmas and holiday gift bags.

The first bag uses the last of the pink Textured Basics fabrics by Patty Young. I used this fabric for Marianne’s Fresh Fruit quilt. I am pleased with how the bag came out. I did save some of the fabric for Fabric of the Year 2022.

Pink Gift Bag for Mom

I used some fabric that I found when rummaging for the first Pantone Project blocks for one of my mom’s birthday gifts. I was going to give it away, but ended up using it for the bag. This bag looks great in the picture and the bag construction itself is good. I was going to give it away because the color was too dull. I don’t see that in the picture. It is really old, though I had cut a piece out of it so maybe I bought it after I started on the FOTY series.

Gift Bag for Mom
Gift Bag for Mom

Finally, I took a piece of fabric out of my dots collection. This is probably not one that I will use as a background, but I still like it. I think the bow looks especially posh.

All of these bags have French seams, which keep them from raveling.


**Obviously, you should shop at local fabric stores, knitting shops, independent booksellers or quilt shops. However, if you can’t, please know that I use affiliate links. I may be paid for your purchase of an item when you click on an item’s link in my post. There is no additional cost to you for clicking or purchasing items I recommend. I do not recommend items I don’t like. I appreciate your clicks and purchases as it helps support this blog.

Last Gift Bags?

Gfit Bags - finished February 2022
Gfit Bags – finished February 2022

I finished a few more gift bags from the fabric I received for Christmas from Friend Julie.

As I think I mentioned, we needed small bags, so I have been concentrating on those. They take a long time just because there are more of them. These have been in process for a week or more, but I finally finished them over the weekend. Yay!

More Gift Bags for 2022

Holly Gift Bags
Holly Gift Bags

I cut out a lot of gift bags from the fabric in which Friend Julie wrapped my Christmas gifts. I was happy about it initially, but then suddenly I had a whole lot of projects on my cutting a sewing tables that were unsewn. I was starting to get cranky and irritable and feel bad about my sewing.

AGF Red Gift Bag
AGF Red Gift Bag

After finishing the A Place for Everything Bag, I was able to free up some time to finish some things laying around my sewing room. Over the weekend I blew through several small projects including some gift bags and really felt good about myself.

Christmas Gift Bags

Christmas Tree Bag
Christmas Tree Bag

Julie wrapped my Christmas gifts in Christmas fabric. I decided to make some bags for Christmas 2022 with the fabric. I did that yesterday.

I made 2 of these. I am working on making smaller bags, because we were kind of short of them when we wrapped gifts during Christmas.

I have started some others, but am not near finishing them.

New Gift Bags

Candy cane heart gift bag

Even during the holidays, when it is busy, I make gift bags. The other day I went hunting in a ‘gift bag fabric drawer’ I have and pulled out some fabric I have saved for gift bags. There was a lot of birthday gift bag fabric in the drawer, but also a couple of pieces of Christmas fabric I could use.

I keep my gift bag fabric separate because I don’t wash it. The sizing helps keep the gift bags looking crisp and reminds me to wear a mask when I iron them during the construction process

This candy cane heart fabric has been around for a long time. It is cute so I don’t know why I didn’t use it sooner. I had a yard, so I made two bags.

I had some old Debbie Mumm fabric. The fact that I have this fabric at all is a testament to 1) how long I have had it and 2) how little fabric there used to be to buy. Since it is unlikely I will use this for anything else, the fabric has become more gift bags.

In between sewing other projects, I have been making gift bags.

Reminder: Gift Bags

Once again, I am posting a gift bag tutorial to encourage you to forego paper wrapping and wrap your gifts in reusable gift bags. As a reminder, if you do not celebrate Christmas or another gift giving winter holiday, you can still make gift bags for birthdays, graduations, weddings and for giving quilts to people. You can make them using the tutorial below. You can make them using your own tutorial. You can use the In Color Order drawstring bag pattern or you can buy reusable fabric gift bags.

Supplies:

  • Fabric – I use either a half yard, a yard or a fat quarter. If you use a yard you can make 4 smallish bags, two medium bags or one large bag. You can make bags with any size piece of fabric and you can use the directions to make a specially sized bag for a special gift. Also, check out FabMo, if you are local, and get some super special fabric that makes up gorgeous gift bags.
  • thread
  • ribbon or cord or  use your imagination (braided yarn?)
  • Sewing machine
  • basic sewing kit

For this tutorial, we will use a fat quarter of fabric

1. If your fat quarter does not have a selvedge, create a hem using two folds so there are no raw edges. If your fat quarter has a selvedge, use the selvedge for the top. It won’t unravel. If you are using the selvedge and not making a hem, skip to step 4.

2. (If you need a hem) Press hem in place.

3. Sew hem with a decorative stitch, if you have it, a zigzag or straight stitch work fine as well.

Optional: If you have stitch letters on your sewing machine, stitch your name and the year so you know when you made the bag.

4. Fold hemmed bag in half WRONG SIDES TOGETHER so that half of the hem is underneath itself towards the top and the fold is on the left. You will be making a French seam.

Sew first seam on gift bag

5. Fold a piece of ribbon about 1.5 feet long in half. You can adjust the size of ribbon you use depending on how much ribbon you need to tie.

6. Place the folded ribbon in the open side of the bag about 4 inches from the top edge/hem.

7. Pin ribbon in place.

8. Pin rest of the right side and bottom closed. NOTE: If you are folding your fabric in half, you will be sewing two sides rather than the side and bottom. Basically, sew the sides or bottom closed depending on where your open edges are.

Use an 1/8 inch seam allowance or as small as you can.

9. Starting from the top, sew down the right side, backstitching at the beginning and over the ribbon 2-3 times. Backstitch at all stress points to keep the bag from ripping apart.

10. Turn at the corner and continue across the bottom, backstitching at the end.

11. Turn the bag inside out, so the right sides are together and the ribbon is out of the way of the seam (It will be inside the bag, but I put mine as straight as possible towards the opposite side of the bag).

12. Press seams, taking care to push them as far out as possible so there is no extra fabric near the seams.

NOTE: If you ribbon is synthetic or delicate, keep it out of the way of the iron.

Use a 1/2 inch or 5/8 inch seam allowance.

Finish French Seam
Finish French Seam

13. You are now sewing on the wrong side. Starting at the top, sew down the side and across the bottom again to finish the seam.

The raw edges will now be hidden inside the seams.

14. Open bag to make sure the raw edge is hidden inside the seam.

15. Turn bag inside out and press.

Candy cane heart gift bag

Voila! Your bag is really to use!

Pink Flower gift bag

Benefits:

  • reusable
  • good way to use fabric you might not use for quilts
    • Novelty fabrics
    • fabric you don’t love anymore
    • Use fabric you already own
    • orphan blocks
    • vintage sheets
  • opportunity to buy holiday fabric without committing to making a holiday (or birthday) quilt
  • quick way to wrap
  • no need to rush out to buy gift wrap
  • no tape or scissors needed
  • small children can help wrap, or wrap their own gifts
  • Fabric costs can be amortized over the years of the gift bag use
  • bags are made quickly
  • good opportunity to try out decorative stitches
  • Can quickly make a gift bag for an oddly shaped gift. I once wrapped a weed whacker in a gift bag!
  • Odd sized bags can be cut up later and used for different sized gifts
  • I reuse ribbon I get from other places for the ties
  • Easy to open and close the gift bag up again if the gift tag falls off
  •  
  • Embellishment possibilities are endless, if you want to take the time. Gift bags are a great way to try out different techniques, stitches, embroidery and embellishments

Blue Flower gift bag

Drawbacks:

  • takes time to develop a stockpile
  • reusable gift bags have to be stored
  • fabric costs are not insignificant
  • You don’t get beautiful mounds of boxed gifts under your tree

Any gift bags you make will add to your stockpile. You can use leaders and enders to make them, which means that your regular sewing isn’t interrupted much .

Resources: