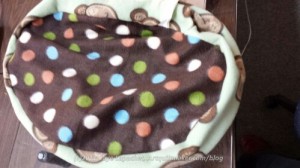
You know, sometimes you just have to sew like a demon and make a lot of cat beds.
I have to say that when I sew these cat beds, I think about the two cats we had growing up, Spooky and Sunkist. they have long since gone to that giant cat bed int he sky, but I still remember them fondly. Spooky used to crawl under my covers and sleep there, hogging the entire bed, of course. Sunkist was what we would call “A Big Guy”. He weighted about 18 lbs and liked to park himself in a convenient lap. Once he parked, the lap was not going anywhere. You would be lucky if you could move at all!
I made a lot of cat beds over the weekend. Amanda was kind enough, via Kelly, to send along the parts for about 5 cat beds. Now that I am pro-cat bed maker, I can make one, start to finish in about 20 minutes. The first one, which I mentioned, I made at Sew Day. Everyone stuffed their schnibbles in, but Amanda will still have to stuff it some more.

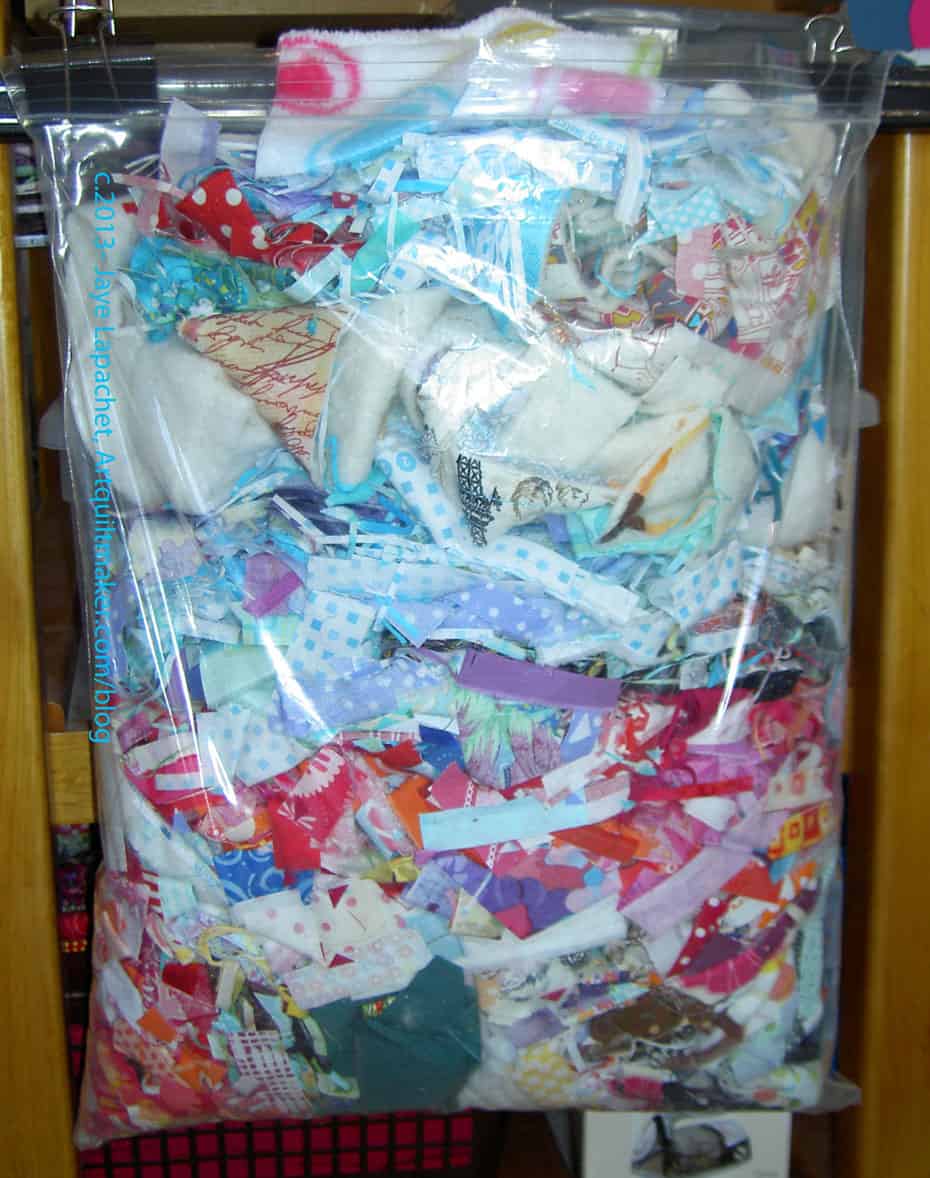
I heard Very Lazy Daisy’s podcast #1 where she was talking about the tiny slivers of fabric she keeps for collaged art quilts. I kept yelling at her, in the middle of the gym no less, to make cat beds and stuff them full of those tiny scraps. The kitties will love them.
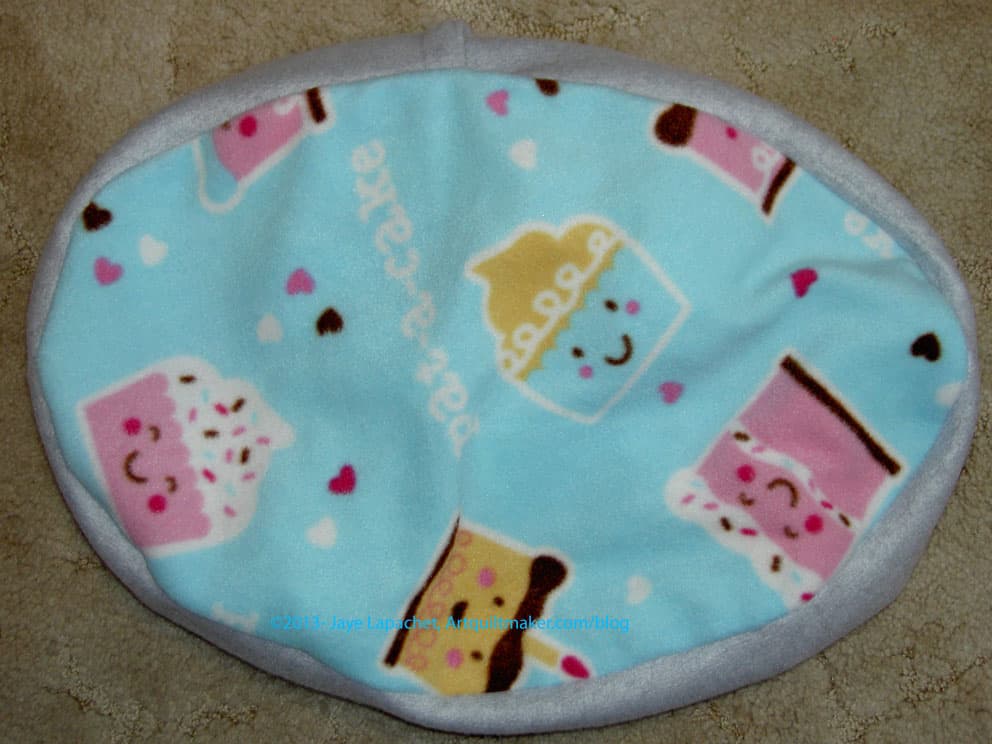
The other thing I like about the cat beds is the fun fabrics. I would never buy many of these fabrics, but they are fun. How often do you get to work with smiling pieces of cake? I like thinking up funny names for them.
I also think that I should try more patriotic fabrics once in a while and this project gives me an opportunity to do so. I like the idea of helping animals, especially since they provide so much comfort to people without children or other family members nearby.
You can make cat beds, too. I previously posted the pattern and it is still valid. I will get them to Amanda if you make some and get them to me. You can also talk to your local shelter and see if they accept cat beds and what the parameters for making some are.