I can’t help taking pictures of Mt. Shasta. Despite the fact that I already have a million photos of the mountain, I still take more photos each time I drive by. It is a striking sight. Pictures just don’t do it justice. It looked particularly beautiful as we drove by this time.
When I don’t pick up my Mom, I can bypass about two hours of the drive. We arrived in Ashland just after 4pm not at all exhausted. DH was able to make a quick stop at the fly fishing store there. Sadly, Sew Creative was closed when I went there while he went to the fly fishing shop. How perfect is that, though? A quilt store and a fly fishing store two blocks apart?
On the first day of my vacation, I sent DH off at 9am to go fly fishing. DH had to drive another 2.5 hours into the wilderness to find his stream. Then MaryM and I headed upstairs to start sewing.
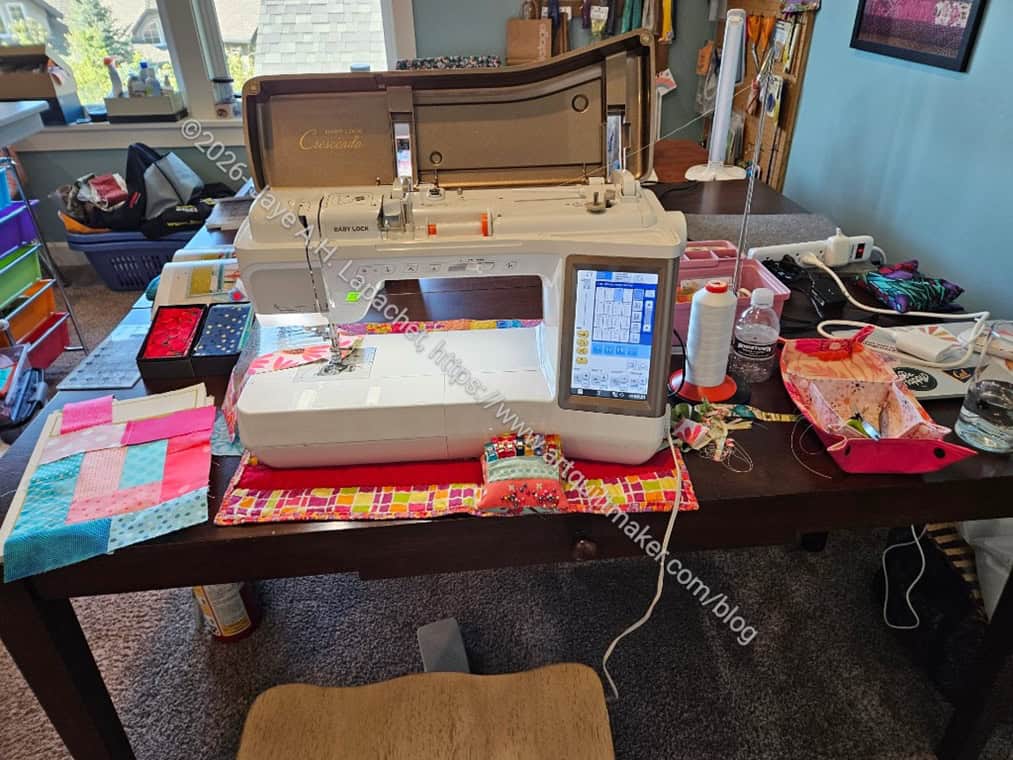
After setup in Mary’s workroom, I started sewing a couple of small projects. I was sad not to be using my new machine, but was happy that Mary had a second machine I could use so I didn’t have to haul a machine in our stuffed car.
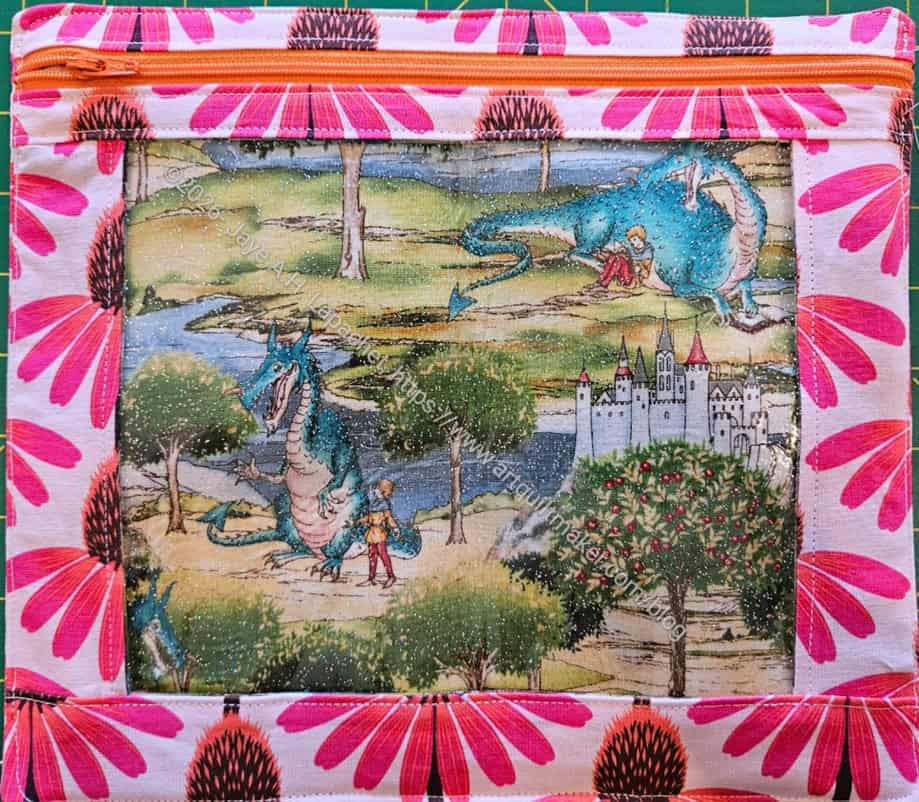
Before I left, I had prepped another Snap Tray. That project was ready to sew. I also had plans for an I Spy pouch for the Chaos templates.
This I Spy pouch did not adhere to the sizes Sara provides. I used her instructions, but worked with my own measurements. The process worked fine and I am really happy with my newest I Spy pouch.
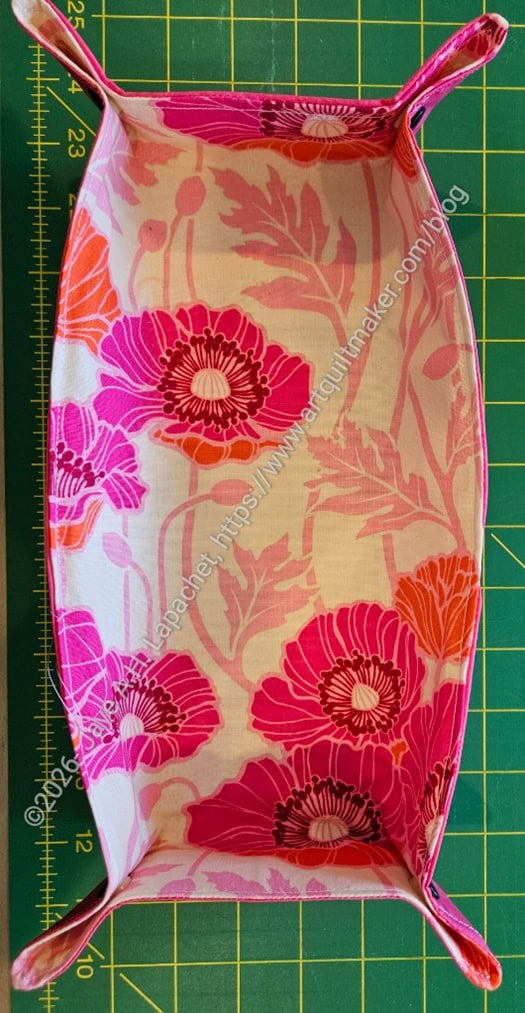
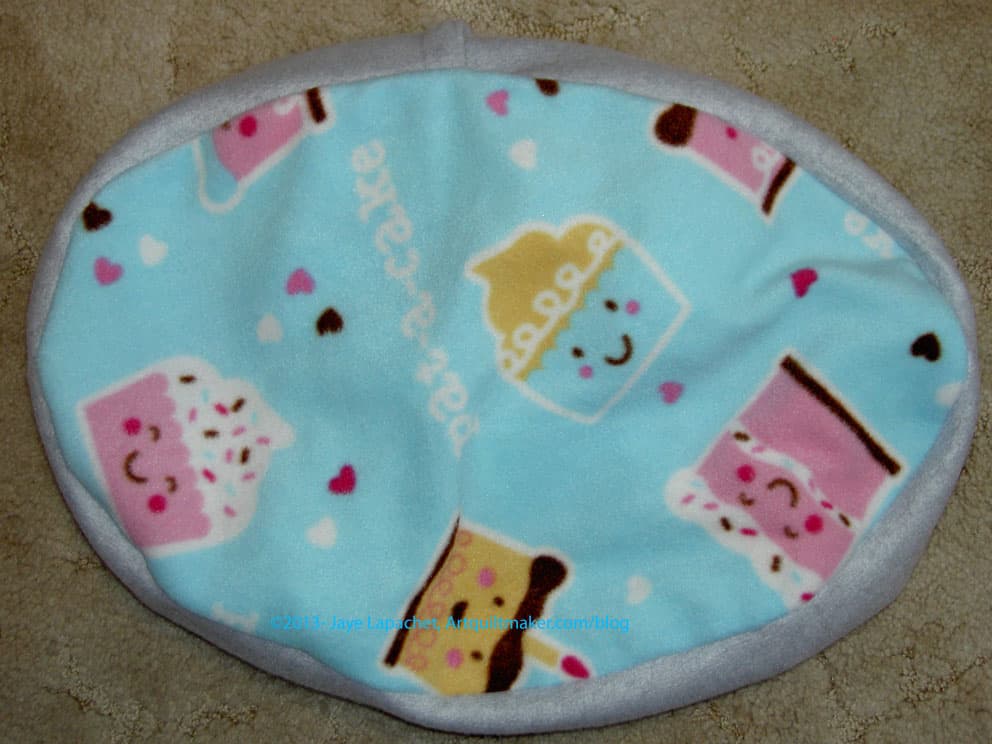
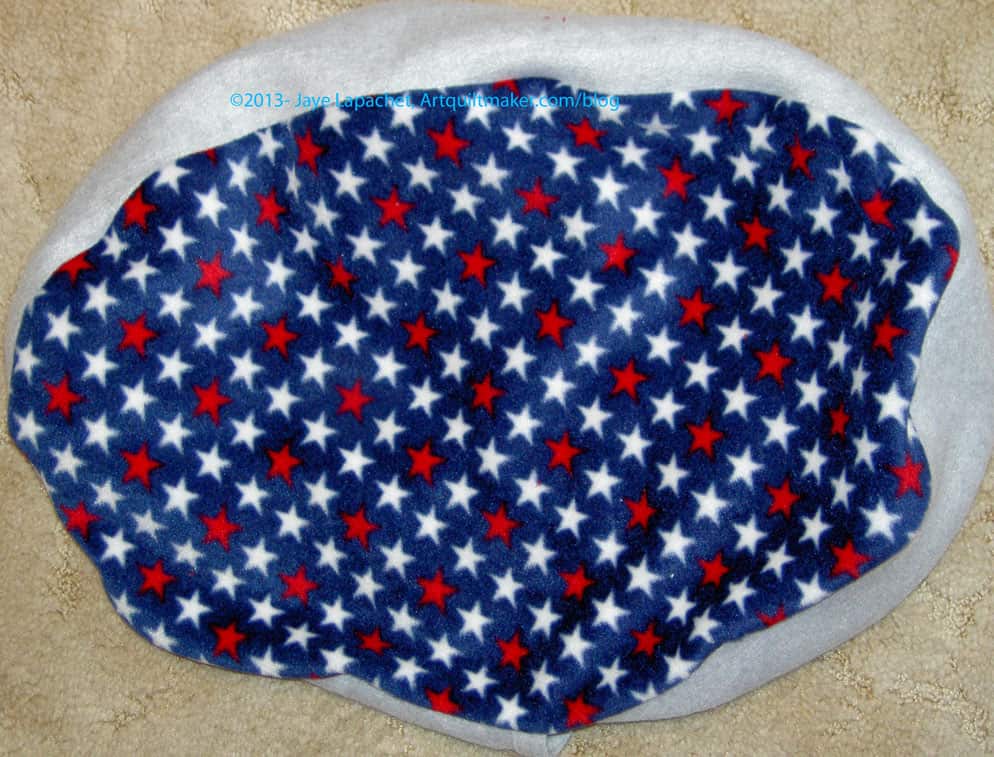
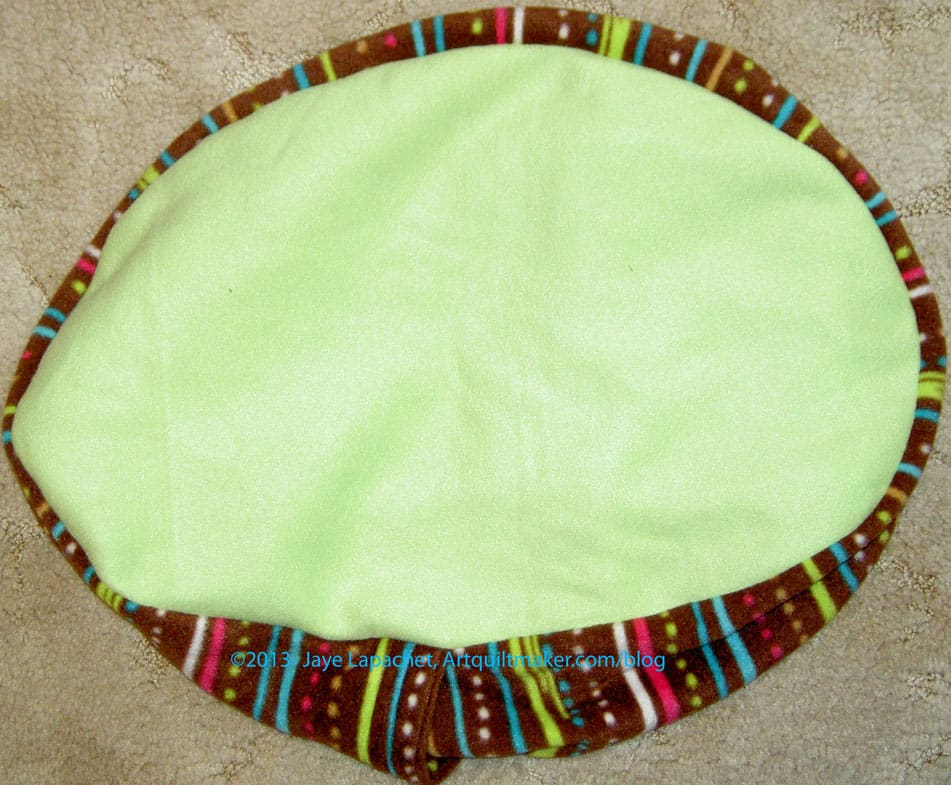
I got to work on the Snap Tray first. As mentioned, I wanted to use to organize the space next to my machine. I am pretty excited about how well it worked. Cleanup was a breeze as well. I took the small Snap Tray out of the rectangular Snap Tray and brushed all the schnibbles into the pet bed pile.
I also started cutting out the Sheffield on the first day. I was able to get everything ready so I could start to sew on Day Two. I am glad I did some prep before I left. I was really able to hit the ground running.
At the same time I was working on these projects, Mary got down to business with her Running with Scissors tote. I thought she had finished this bag a long time ago! We worked together on fabric choices and some other confusing aspects of the pattern**. Periodically, I stuck my oar in when Mary seemed to be struggling. Mostly, I encouraged and cajoled her to get on with it! By the time I left, she was assembling the whole project. Mary is very meticulous. I was super impressed with how she quilted her pieces. The pocket quilting matched up with the case body quilting. I would have never thought of it, but it looked amazing.
I have made this pattern and am pleased with how mine came out. However, I still find the naming of the pieces and the lack of a map of the project to be confusing in terms of what fabric goes where. We looked at the photos of my Arty Running with Scissors tote. A LOT.
The next day we went to Green’s (Anvil Sewing) and Stitched. Both are in Medford. I forgot thread beyond the Serafil I was using for bagmaking. I needed some Aurifil 2600 for EPP. I bought the thread, but never worked on the project. Green’s is a great place to buy bag hardware, patterns and supplies. I think they have all of the ByAnnie products. What a great resource for local bagmakers.
Then it was back to sewing. I continued to work on the Sheffield. In between, as leaders and enders, I worked on the Potato Chip blocks. I am glad I brought them since I was able to sew about 6.
At some point, I stopped working on the Sheffield, even though I really wanted to finish it. I decided to add a leash and an interior zipper pocket. I didn’t have the right hardware and didn’t want to compromise on a bag for me.
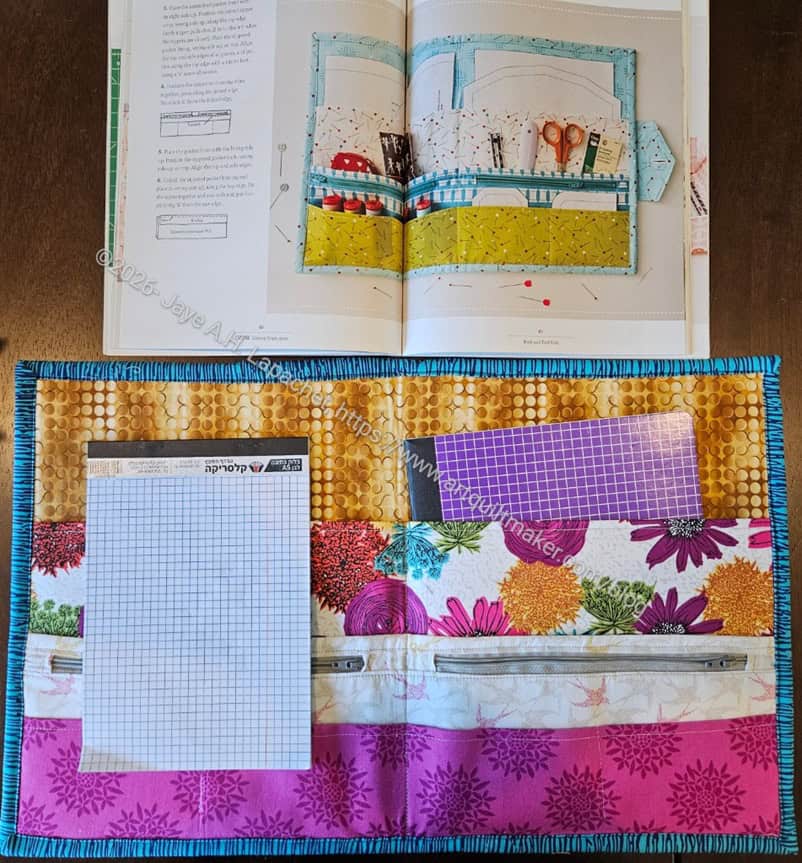
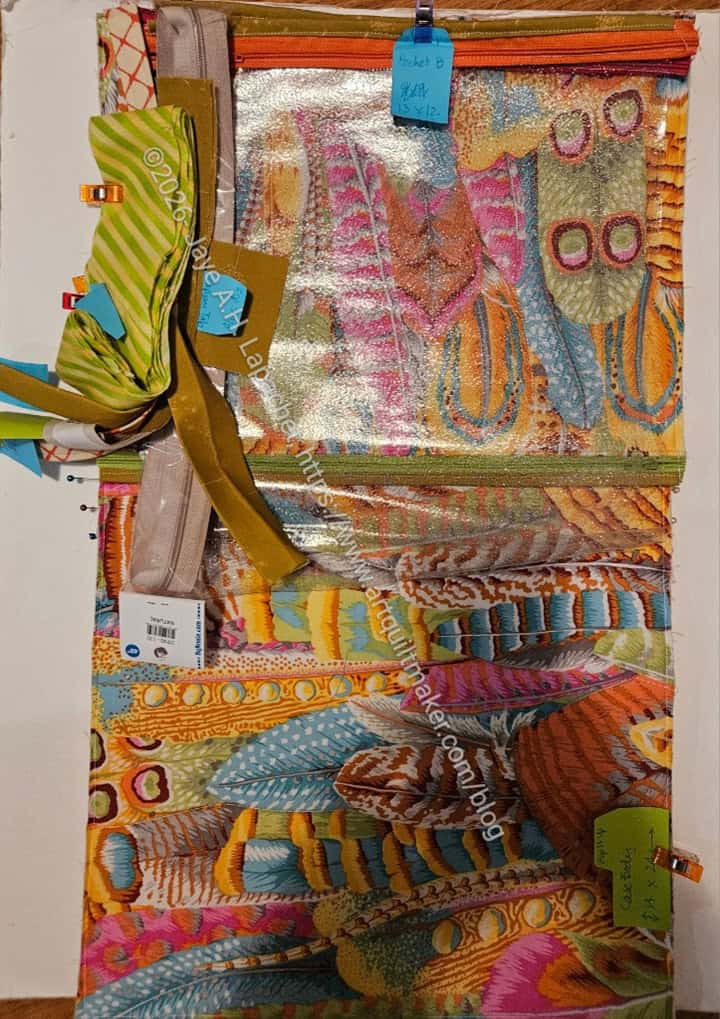
I started work on three bags that I want to use as gifts. I had decided, before I left to make the Aneela Hooey Book and Tool Folio (Stitched Sewing Organizers**, pg.55). I collected all of the supplies and fabrics for three of them. One reason I decided to make this was that I thought it would be a useful organizing tool. It is also one bag that uses 8 inch zippers, of which I have a lot and rarely use.
Aneela’s idea was to use it for sewing supplies, but I found that a pad, including a larger one I tried later, and a composition book both fit in the large pockets. Mary and I had a long discussion about the merits and then she suggested the Zip It Up Folio** by ByAnnie. I had most of the supplies I needed and Mary gave me a couple of zippers to use, so I was set to make them. I decided to make one first to get the lay of the land.
I think making one on its own was a good choice. I wanted to get familiar with the pattern and see where I might want to make changes.
Cutting takes awhile and is a good thing to do with a friend. All the pieces are now cut using the Philip Jacobs feather fabric as my inspiration.
I chose to make this bag with two vinyl pockets instead of a mesh pocket and a vinyl pocket. I cut the first vinyl pieces wrong, so those will become the new windows for future I Spy pouches. I am glad I brought a brand new roll of glitter vinyl. Mary has a lifetime supply of clear vinyl and she offered me some. It was a good backup in case I ran out.
I made good progress despite the need to quilt the fabric. I wanted to cover the top of the vinyl pockets below the zipper, so I brought the pieces home. Since I was ready to assemble the bag, I needed to stop, add the ribbon and then proceed. Another project to finish at home. Sigh.
It was a great trip. I felt super calm afterwards and can’t wait to do it again.
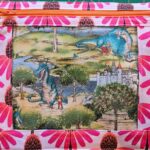
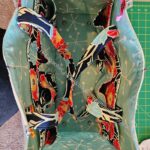
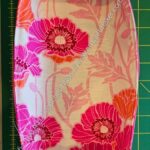
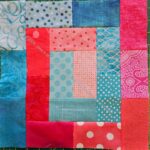
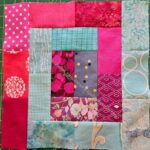
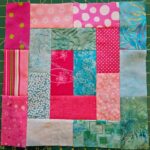
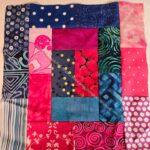
All the May vacation projects