EPPic Case: Nearing the End

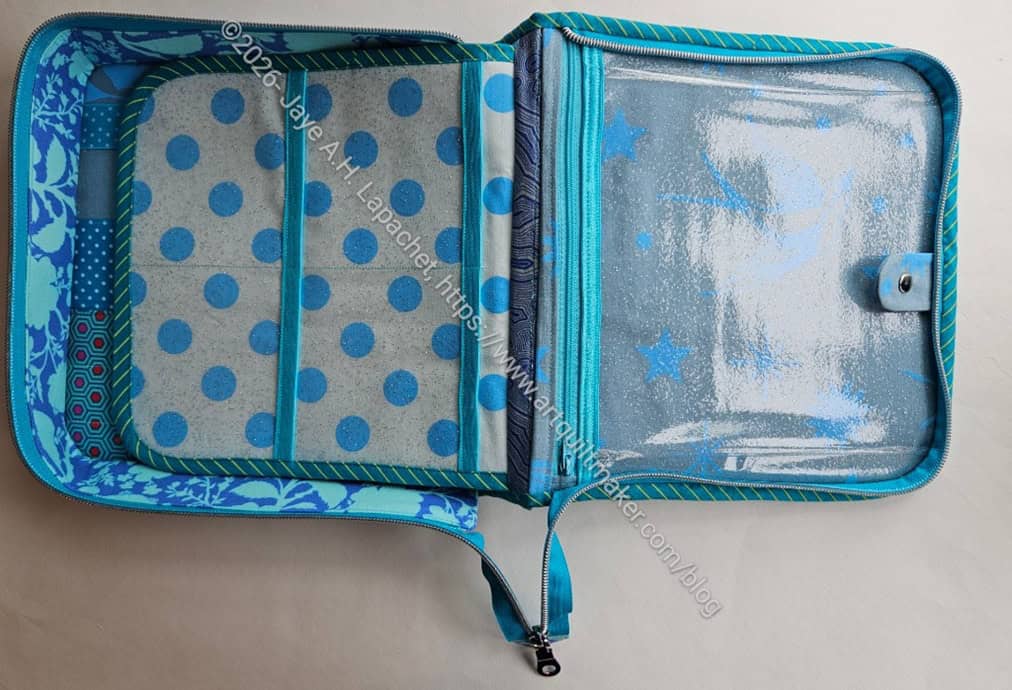
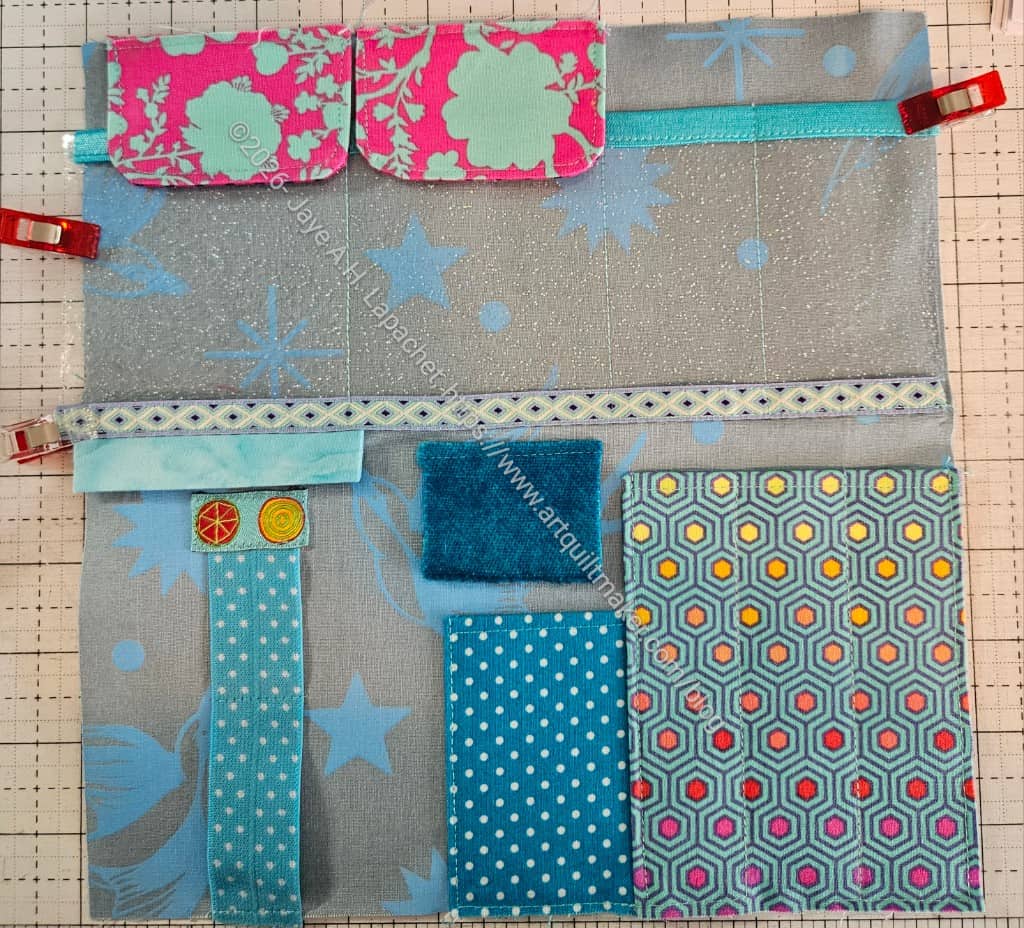
EPPic Base in process

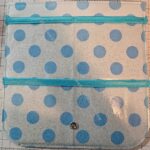
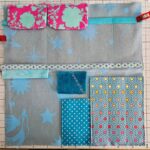
I finally finished the EPPic Case Base. I didn’t follow the directions exactly, but made the base my own. Mostly, I changed from the elasticated cord required to foldover elastic. I don’t think I will need more than space for two spools of thread if I am EPPing. 

I took a scrap of ribbon and used it to cover the raw edge of the elastic. I would continue the foldover elastic up to the seam with the upper pocket next time, but the ribbon was a good solution for now.

I was able to sew the binding to the outside of the case by machine, but then I had to unsew it. It looked bad. I re-pressed the binding to give myself a little more space and then machine sewed it again. It is better this time. I am now sewing the second side of the binding by hand.

More EPPic Progress

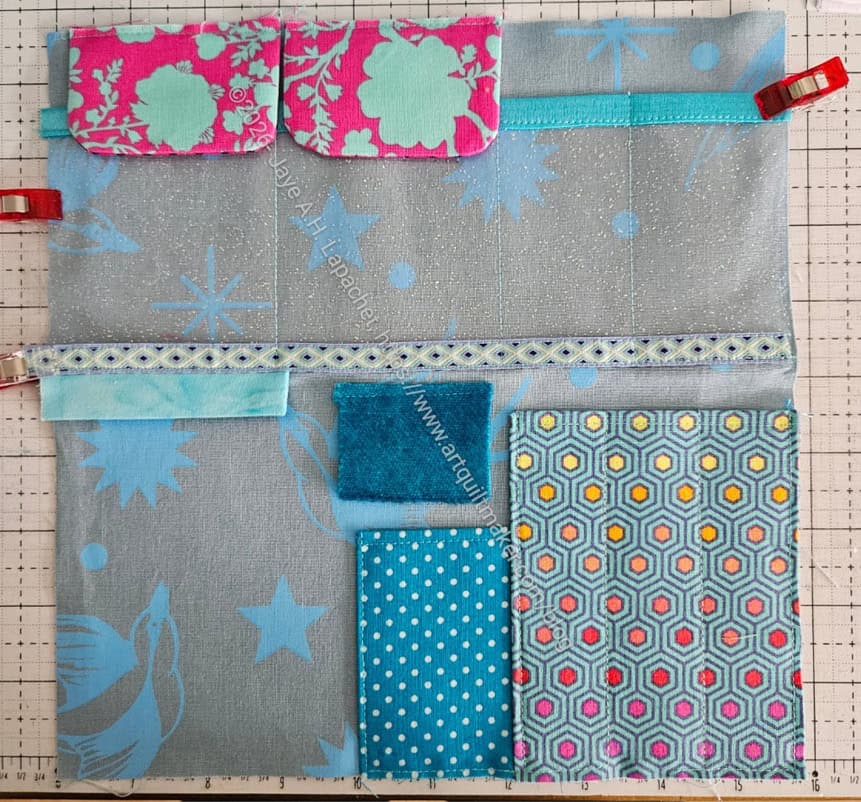
EPPic - base
EPPic – base

I am making good progress on the EPPic bag. I am not working on exclusively, so it is taking longer. I slotted the Sidewalk #6:Green quilt in so I can hand it in on Saturday.

I am finding that taking a pause between steps is working out well for me. I am finding solutions that make the bag better for me. 

As mentioned, the directions are not as comprehensive as other pattern designers’ patterns. This has made me bolder. I don’t feel like I need to do the step her way. I feel liberated to do steps in a way that makes the bag work better for me. This is very novel. I still feel like I am doing the steps ‘wrong’. However, as I look at the photo above, nothing looks wrong about it. 

That pause, rather than blindly trying to follow the directions, is giving me some freedom. I am not saying “when I make this again.” I am asking “will the designer’s solution work for me this time?” 

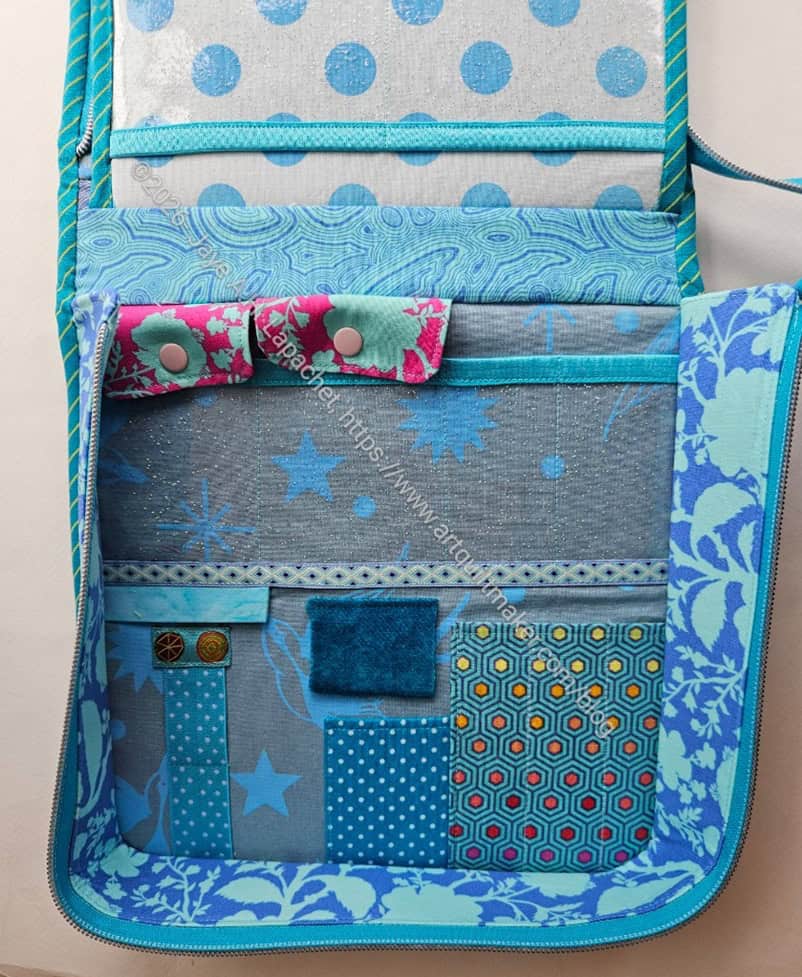
EPPic Base in process

That led me to doing the thread holder a little differently. The pattern calls for elastic. I decided to use foldover elastic.

I didn’t think I would need 5 spools, so my foldover elastic solution holds two. One thing I am never sure about when using foldover elastic is how long of a piece to add and how tight to stretch it. We’ll see if this works.

Working on the EPPic Case

EPPic Exterior
EPPic Exterior

Gosh! I started this project in 2023! I am really not sure why I didn’t just make it. 

This bag is easier than I expected. The pattern is by a new-to-me designer, as in I haven’t made any of her patterns before. The style of the directions are less hand holding and more “do this any way you want.” This style brings me up short a bit. I know how to do all of the steps, but I am unsure that I am doing it ‘right’. I can see that I encountered that sort of feeling when I worked on cutting out the pieces last year. I’ll have to think about that. 

I started out with the exterior, as it said in the directions, and I finished that section pretty quickly. It makes a difference when everything is already cut out and interfaced. 

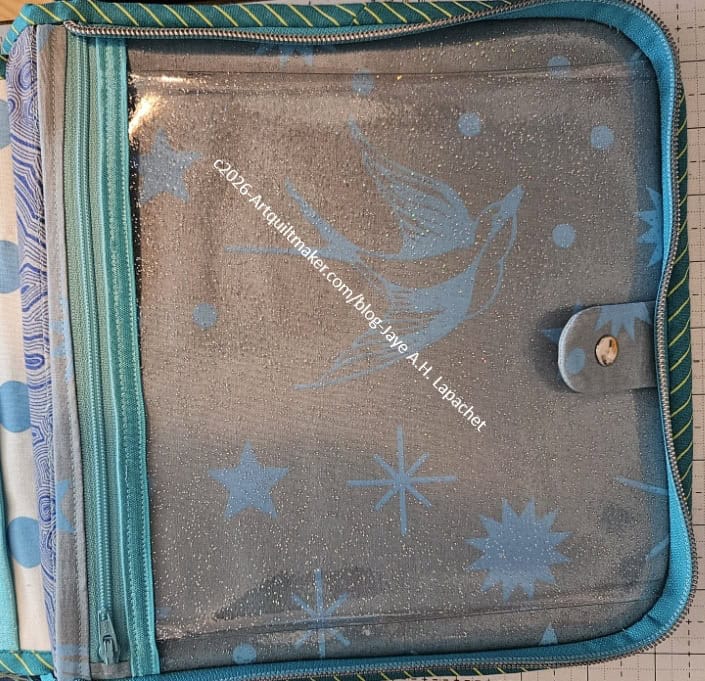
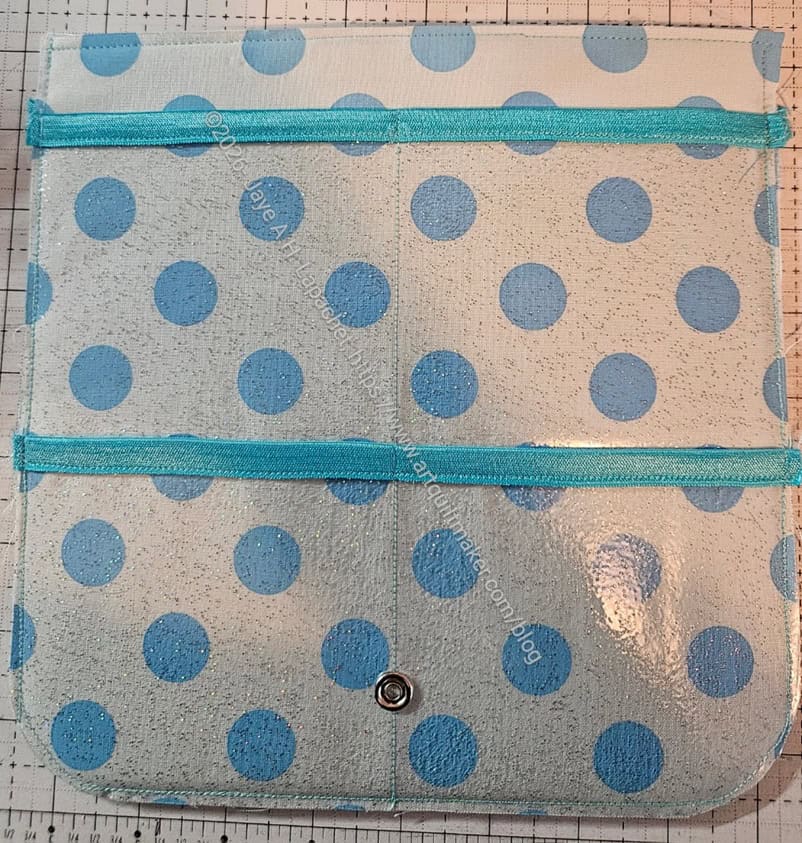
EPPic interior vinyl pocket

The next part was an inner vinyl pocket. Here I found that the naming of the pieces, or my understanding of the naming was a little off. I had to be really careful about making sure I had the right pieces. 

I didn’t understand the pleating instructions, so I didn’t sew the pleats down initially. I clipped them and then sewed the top pleats when I sewed the foldover elastic as binding. I kept the bottom ones clipped until I had that AHA moment on how to sew them (horizontal to the edge not parallel to the pleat as I originally thought). I am glad I paused and let the directions simmer a bit. 

I have never made a vinyl pocket with pleats before. It makes sense, but I wonder how the pocket will hold up?

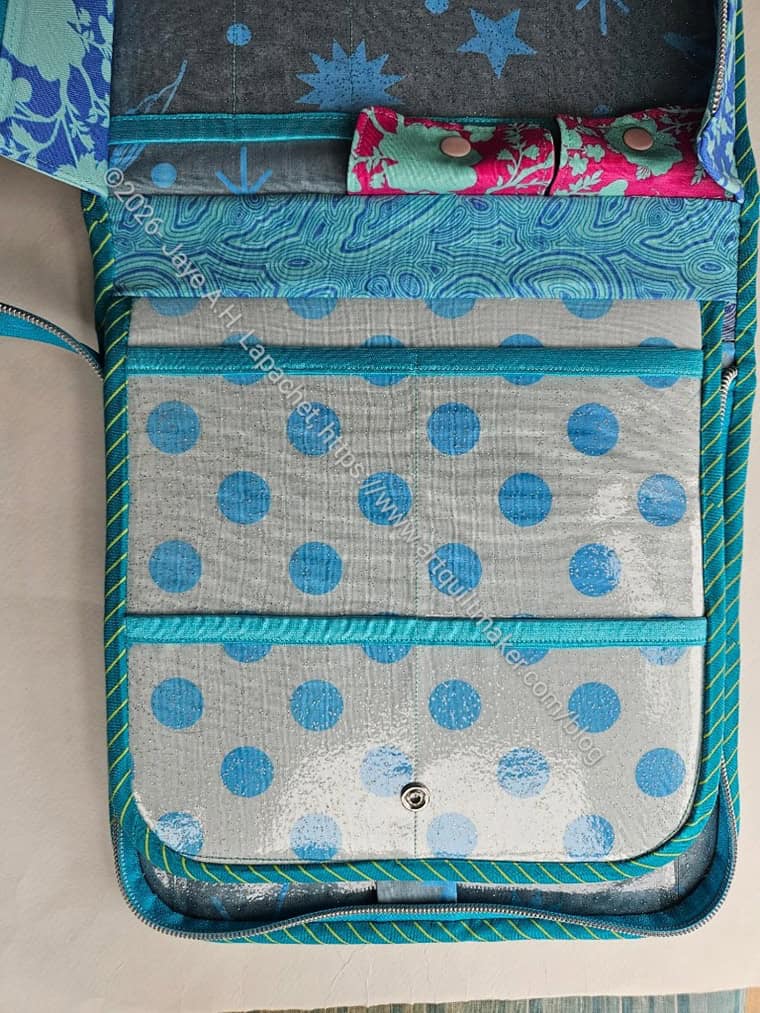
EPPic Flap in process

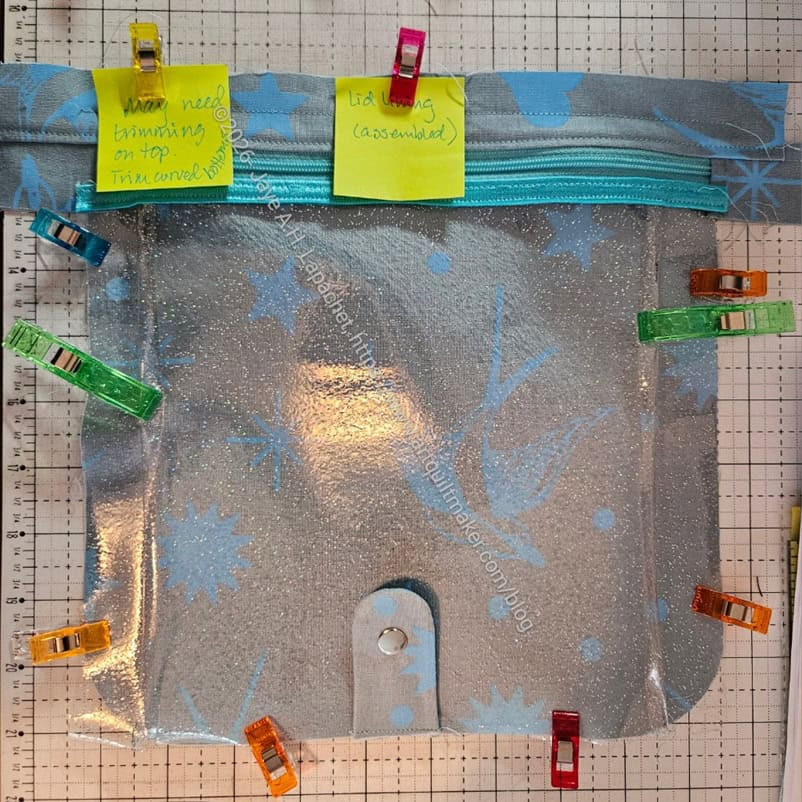
I didn’t really run into any problems until I got to the flap, which is part of the interior. I am not sure I have made a bag with a flap like this before. I didn’t really understand the directions.

I was able to find a page of video tutorials on the Chasing Tigers website. I do appreciate the effort that goes into these videos. It was really helpful to watch the video as one step was missing from the printed instructions – sewing up the sides.

I added a snap, as you can see. I didn’t have the magnetic snap with the prongs, so I used the SnapSetter and enjoyed hitting the tool with the hammer. LOL!

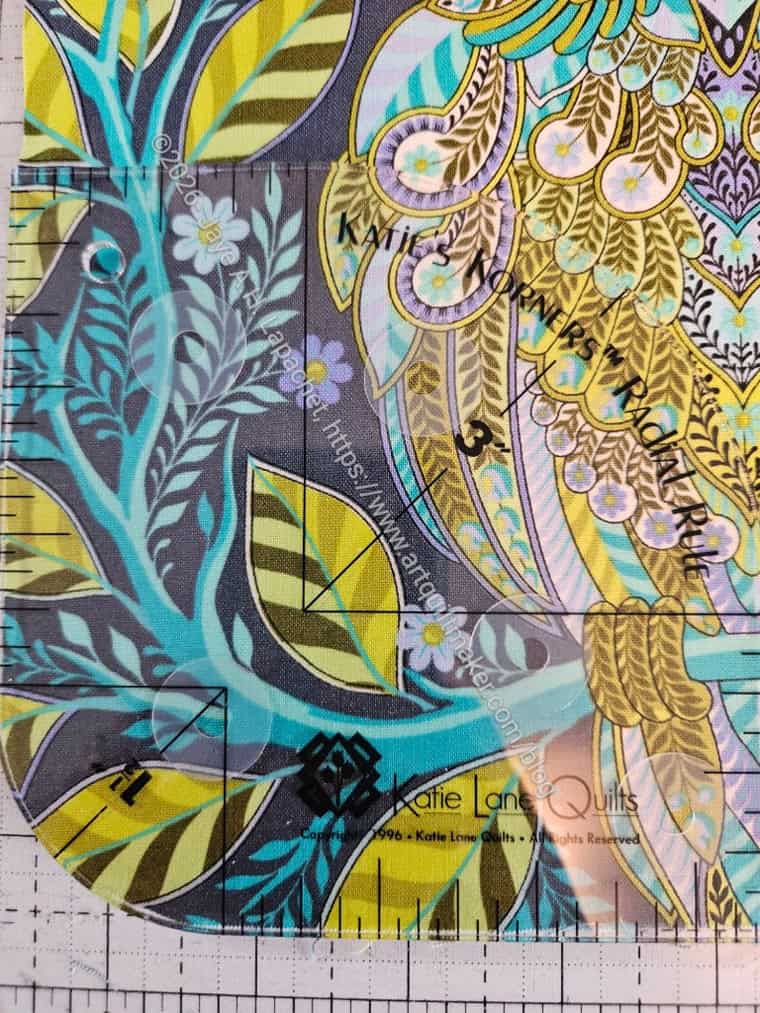
Cutting with the Katie's Korners Radial Rule
Cutting with the Katie’s Korners Radial Rule

The corners of the bag edges are rounded and the pattern comes with a template for doing that. I didn’t want to use the tissue paper pattern/template I made. I went rummaging for a couple of corner rulers I have. I found that the Katie’s Korners Radial Rule (wasn’t able to find a link, so if you see one, buy it; very useful) was the perfect size for this project. Again, I was glad to find the exact size that I needed. I think an approximate size would have worked, but since I haven’t made this project before, I wasn’t sure what effect a different sized corner would have.

One thing I still need to figure out is the what the difference is between the patterns in the bundle. I am sure I knew at one point, but I have yet to figure it out. This is probably where the names of patterns comes in handy.

I am not sure what is next in the pattern, but I am making good progress and am pleased that this UFO will be finished soon.

More About the EPPic Bag

Tula Pink Owl fabric

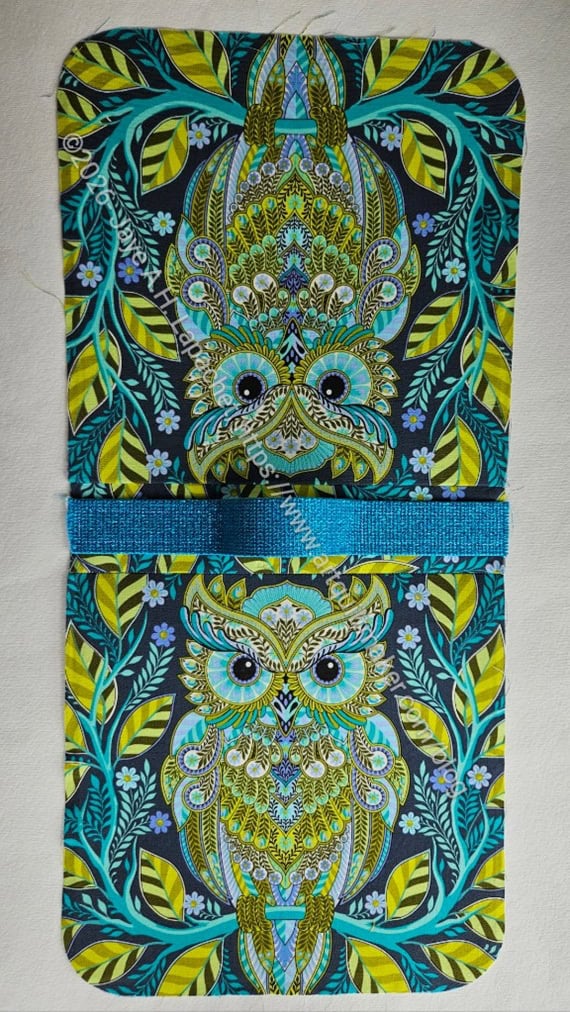
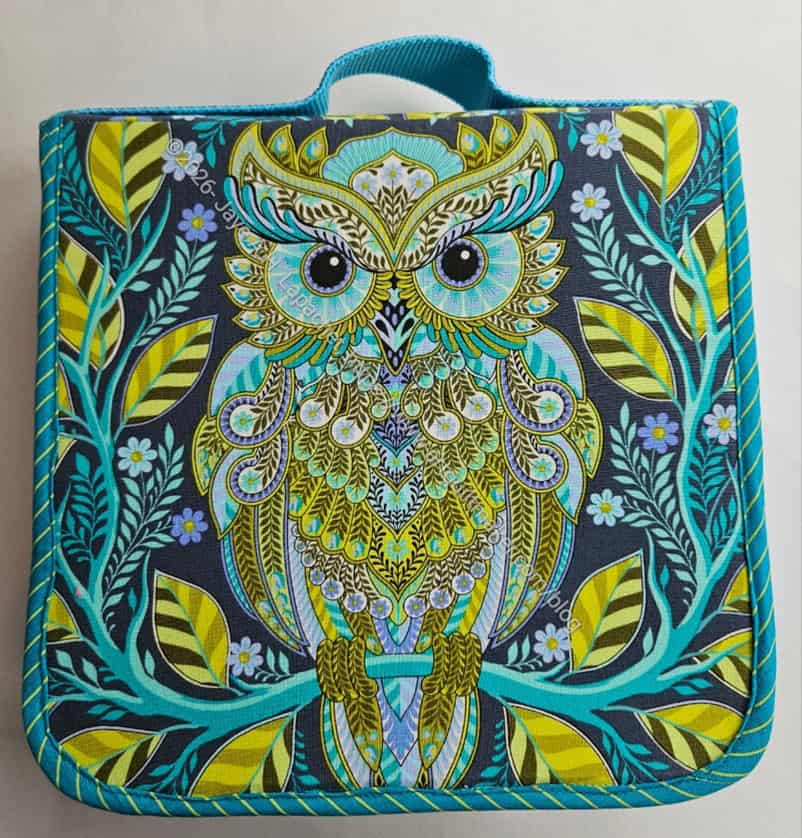
It’s been a good while since I cut out the EPPic Bag. I decided to go through my project bags over this weekend and this was the first one on the list. I decided to use the owl fabric from Tula Pink for the exterior. I wanted to cut it out and cross that off the cutting list. 

I know I was in an agony of indecision when I first started choosing fabric about whether to make this for myself or not. I decided it doesn’t matter and I am just going to make it the way I want. We’ll go from there. It might be a bag I can enter in the Fair.

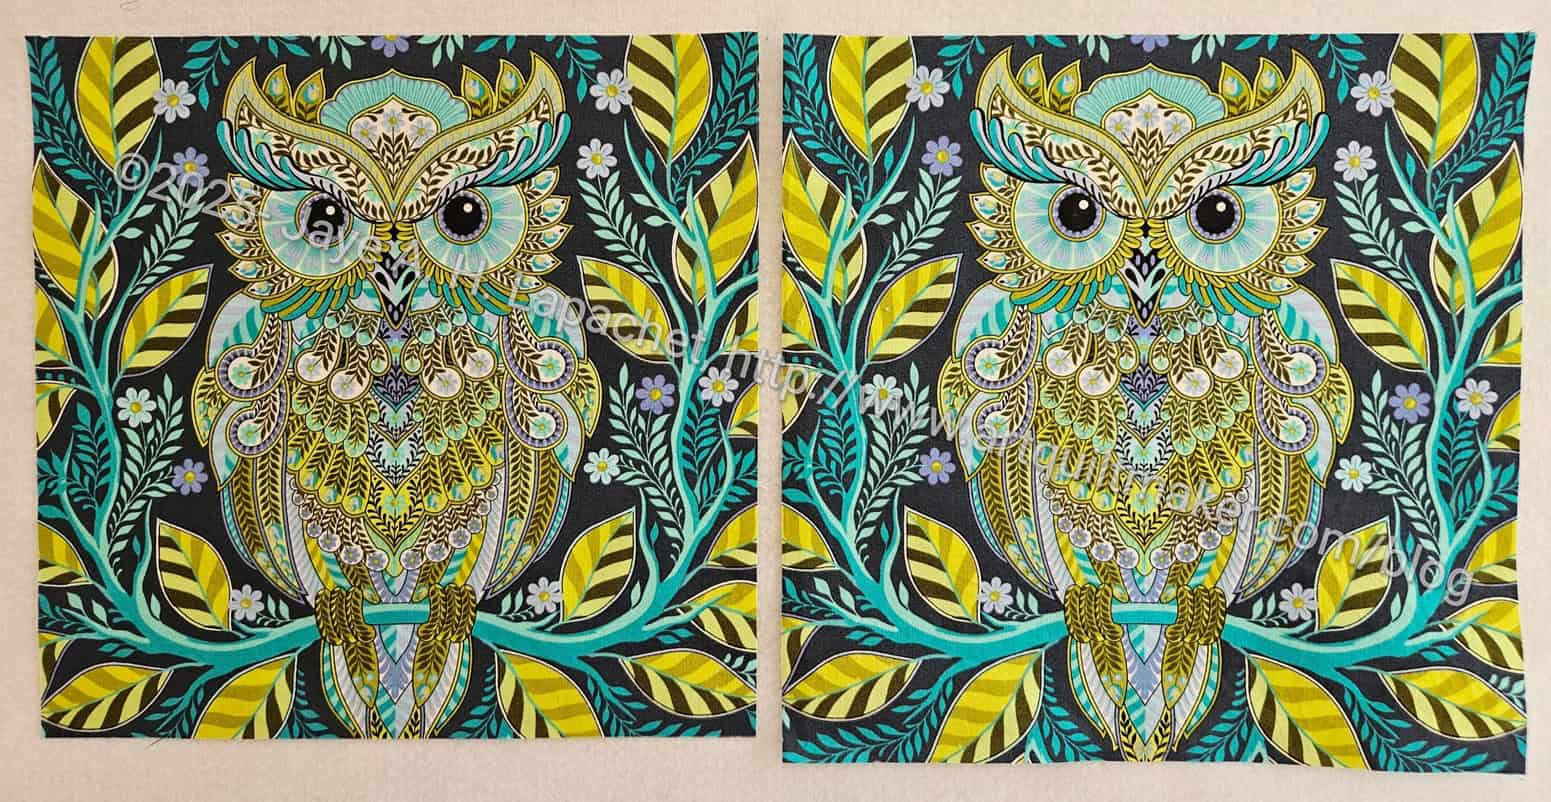
EPPic: fussy cut owls

Proceeding from there, I fussy cut the owls in the right size and did some interfacing of pieces. I used a lot of Decovil Heavy and hope that will be heavy enough for the ‘heavy’ interfacing indicated in the pattern. I tried to be very careful about lining up the center with the center of the owl. The owls are drawn in such a way that I was able to line up the ruler on the center line pretty easily. 

EPPic all cut out
EPPic all cut out

I haven’t actually done any sewing yet, but we’ll see if I get to it.

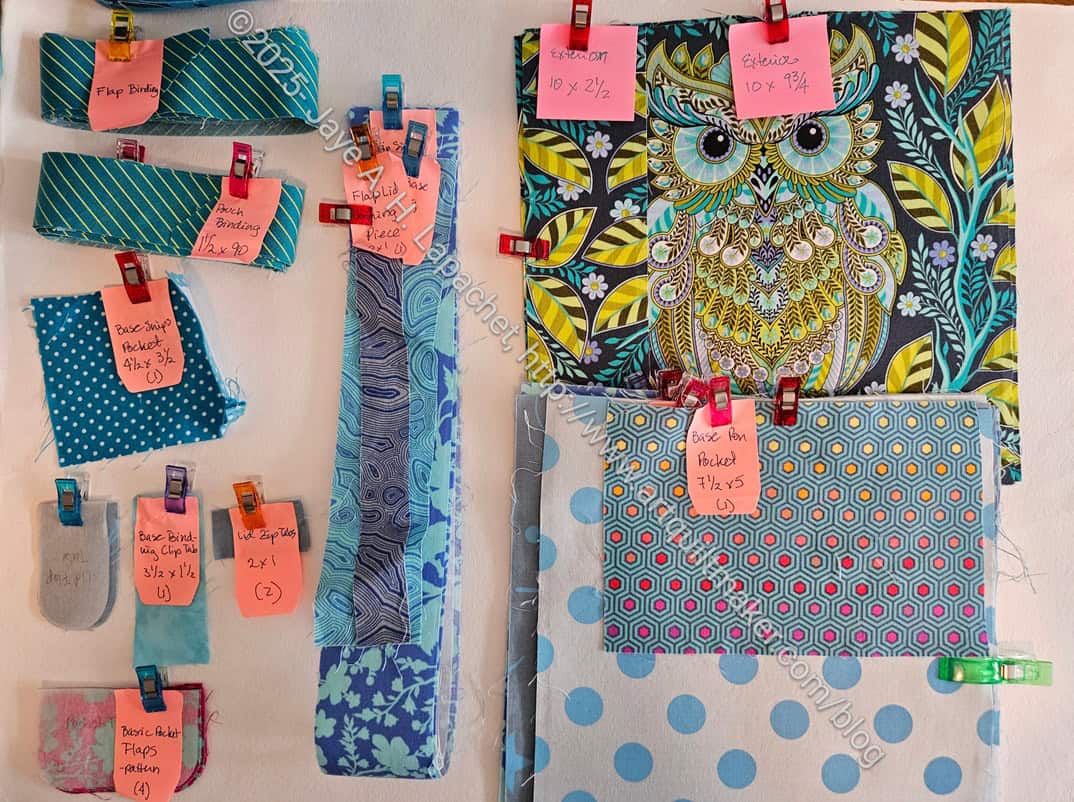
EPPic Bag Cut-out

EPPic Cut-out
EPPic Cut-out

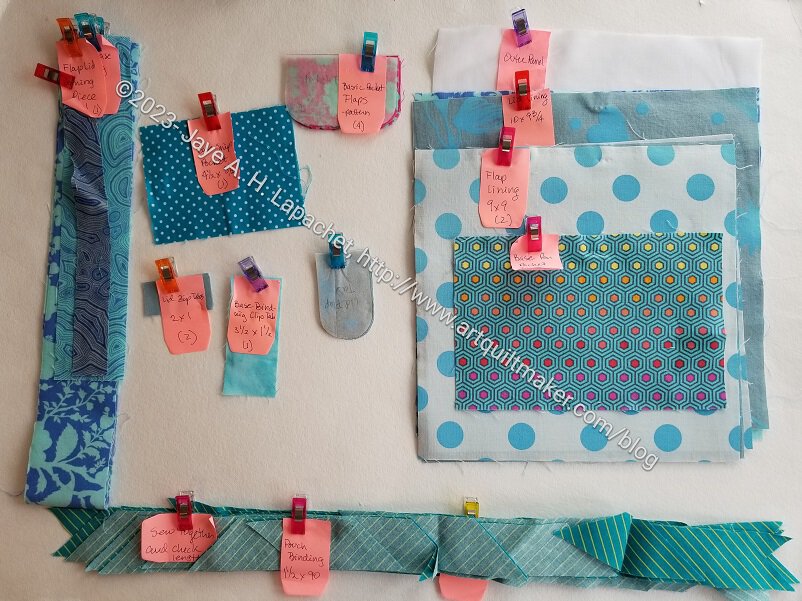
It has been a month or so since I cut out this bag, but I remembered I hadn’t showed you the pieces. I talked about the idea of this bag when I talked about the Everglow fabric.

I still haven’t chosen an exterior fabric. All of the fabrics shown are for the interior and the trim. One reason is I thought I might make this as a gift, but am wobbling. I cut the fabrics to suit myself, but then thought I had the A Place for Everything bag for EPP and didn’t need another one. If I give this as a gift, I would choose different fabrics for the front. Part of the reason, I haven’t worked on this is that I am in an agony of indecision. Not really, but it sounds dramatic, right?

One thing I will note is that all of the Etsy links I posted before to allow you to buy your own pattern are no longer available. Chasing Tygers has a website with videos on making the bag, which is great, but very little other information. The Etsy link is also different. I eventually went to IG and called up the Chasing Tigers account‘s linktree, where I found they are now on Payhip. Thus, you can actually buy the EPPic Case pattern. Remember to buy the bundle as you get a better deal. I suppose I should have known that nobody updates their blog or website anymore and I should have gone to IG first.