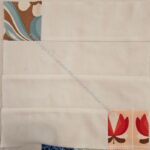
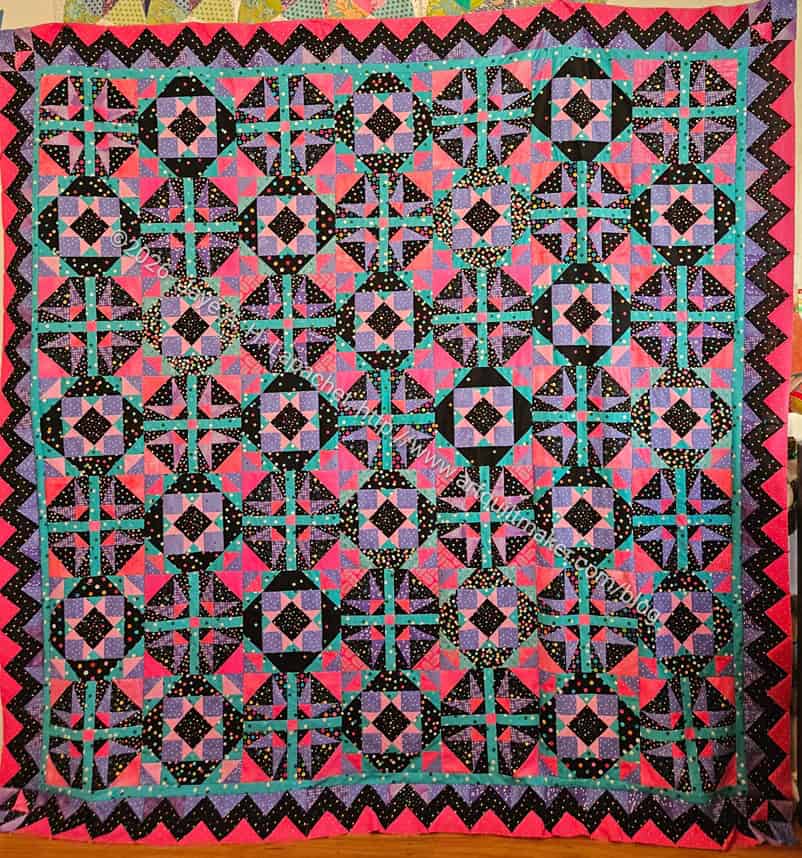
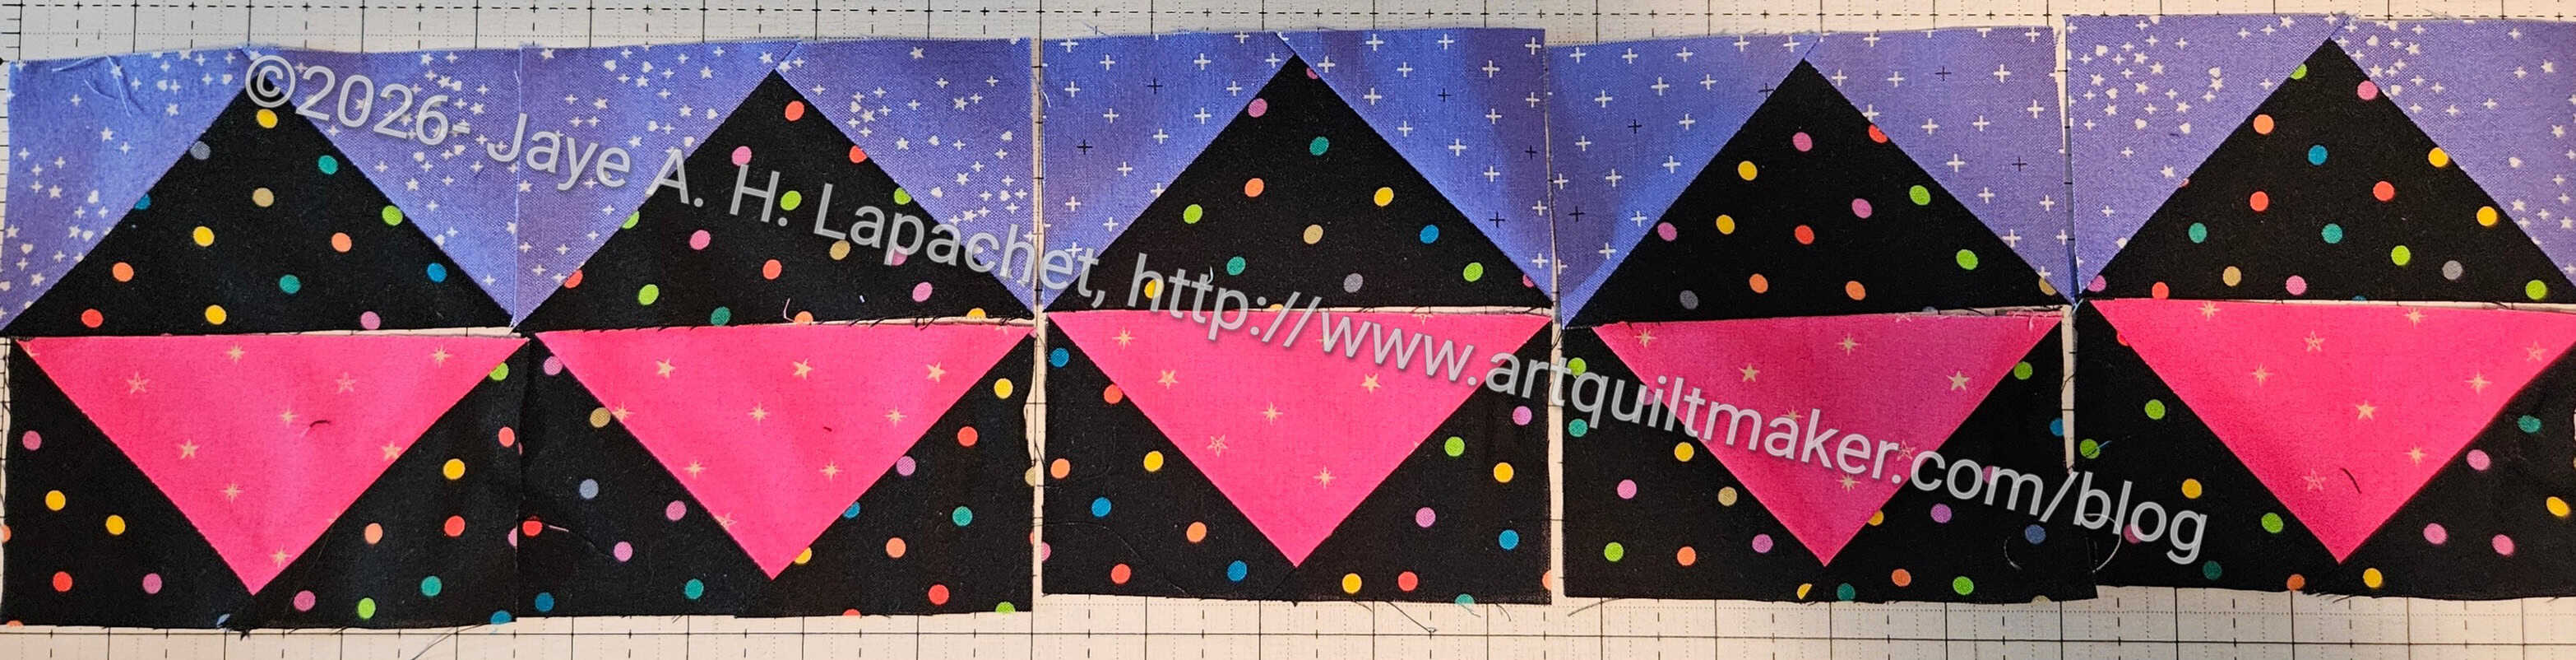
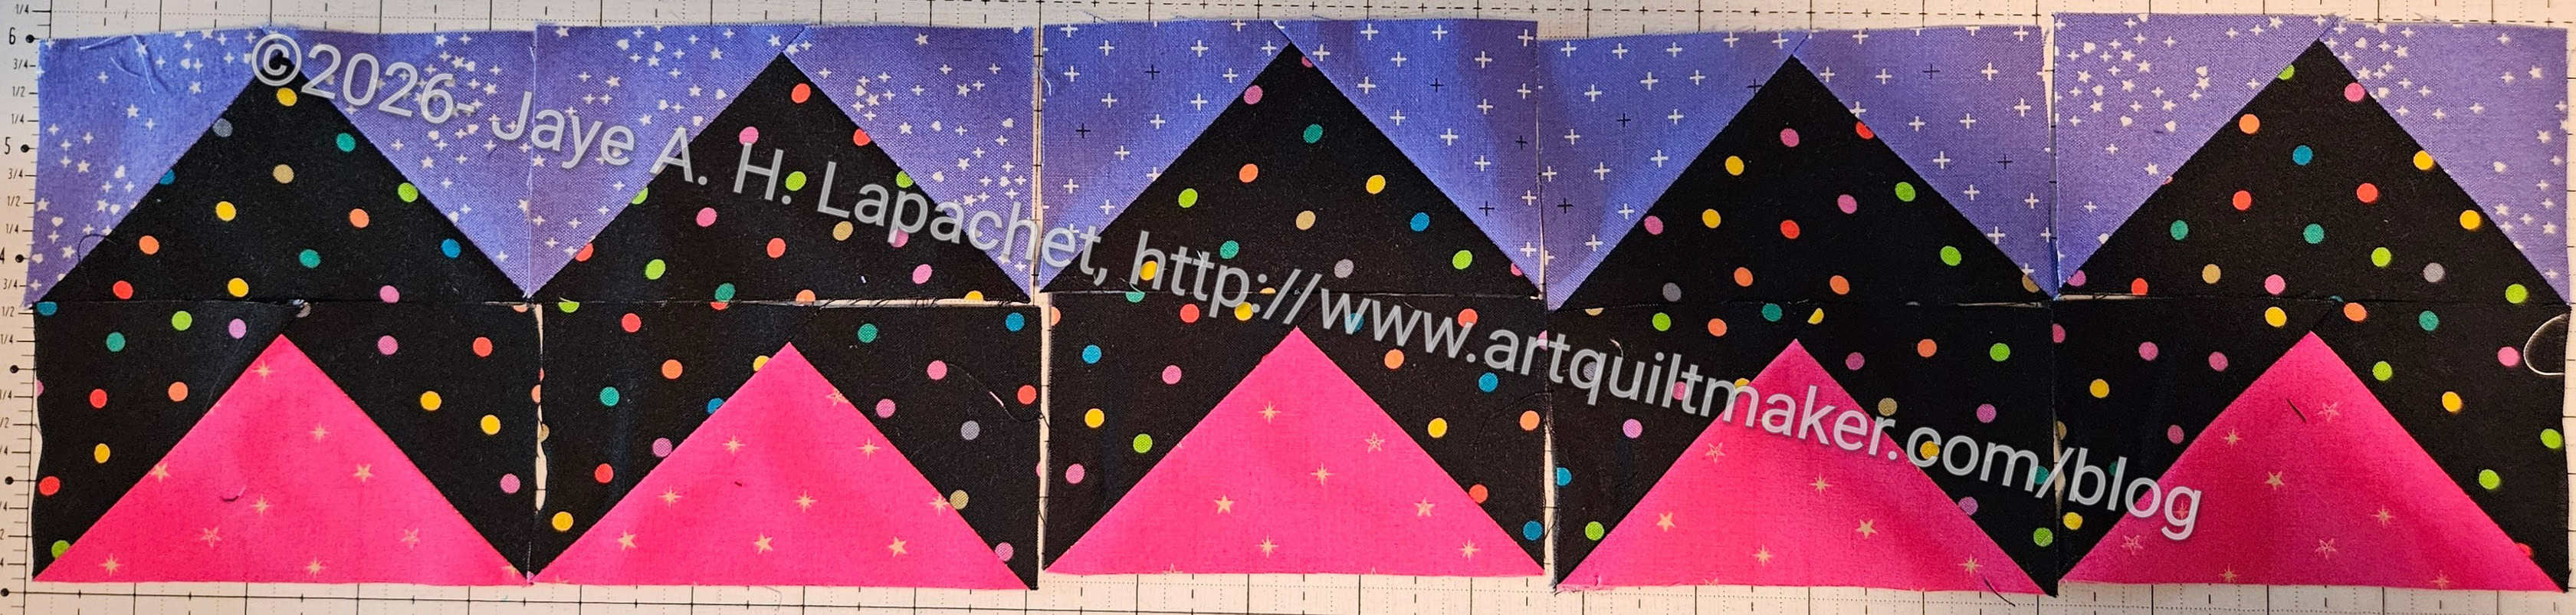
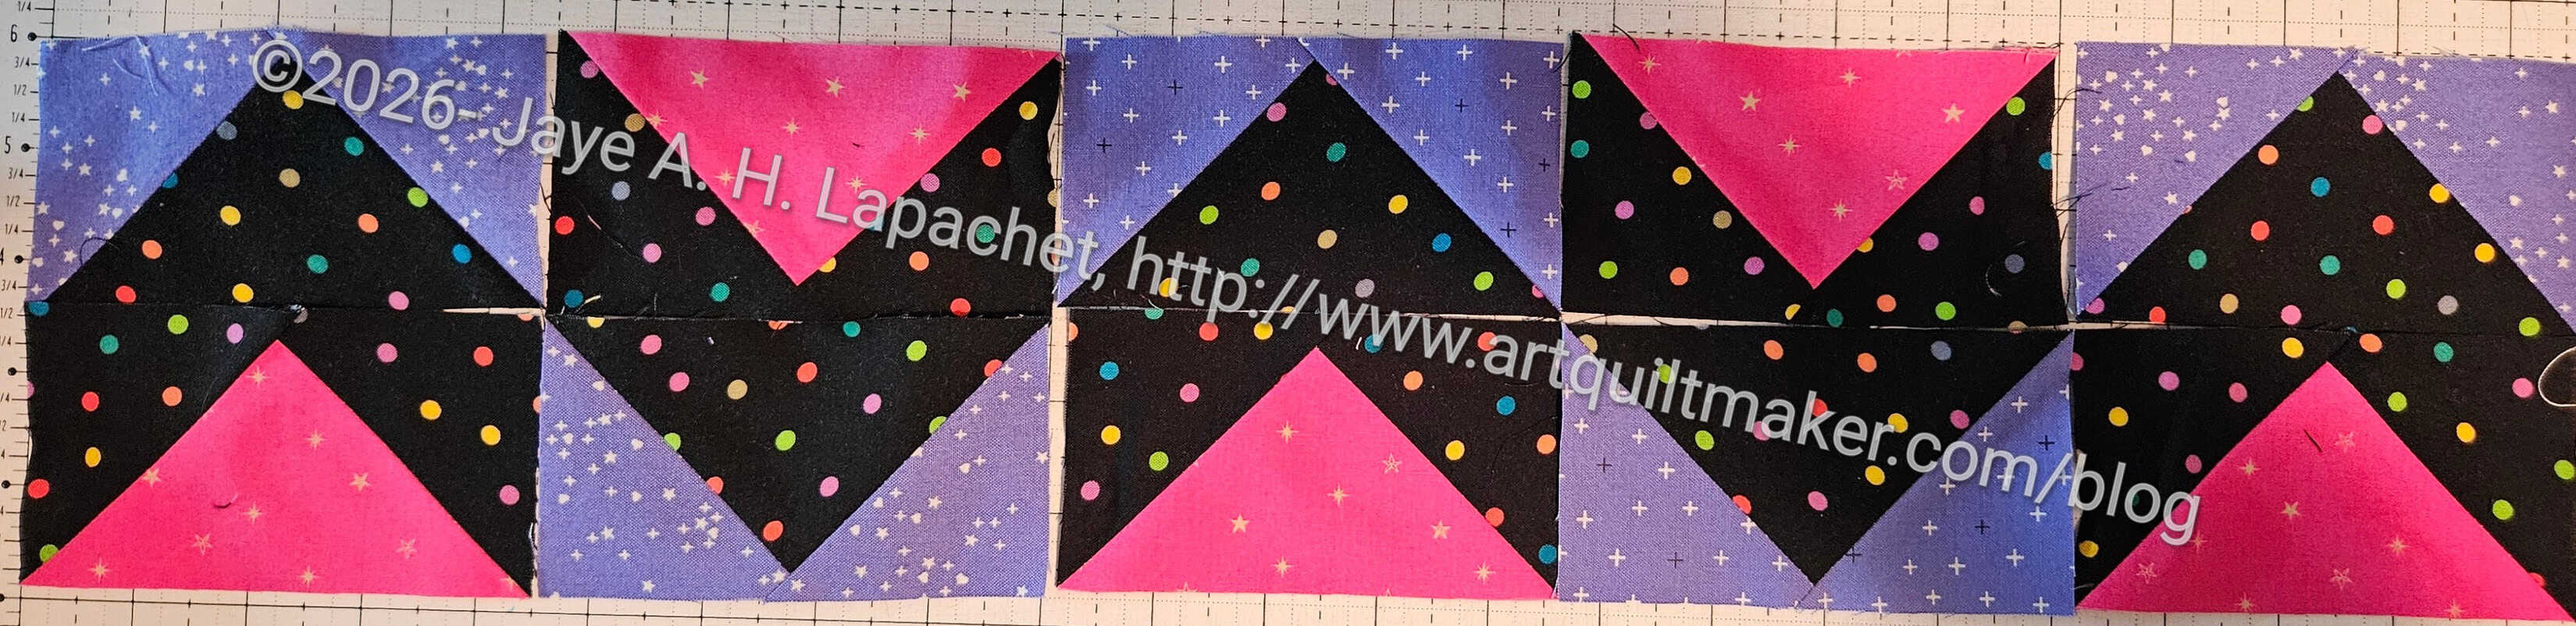
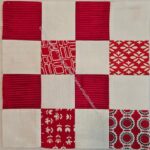
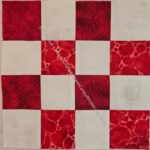
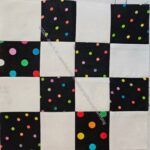
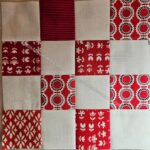
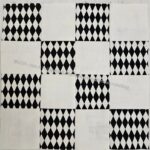
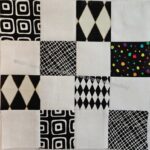
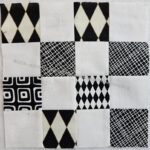
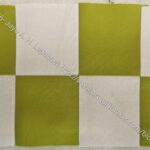
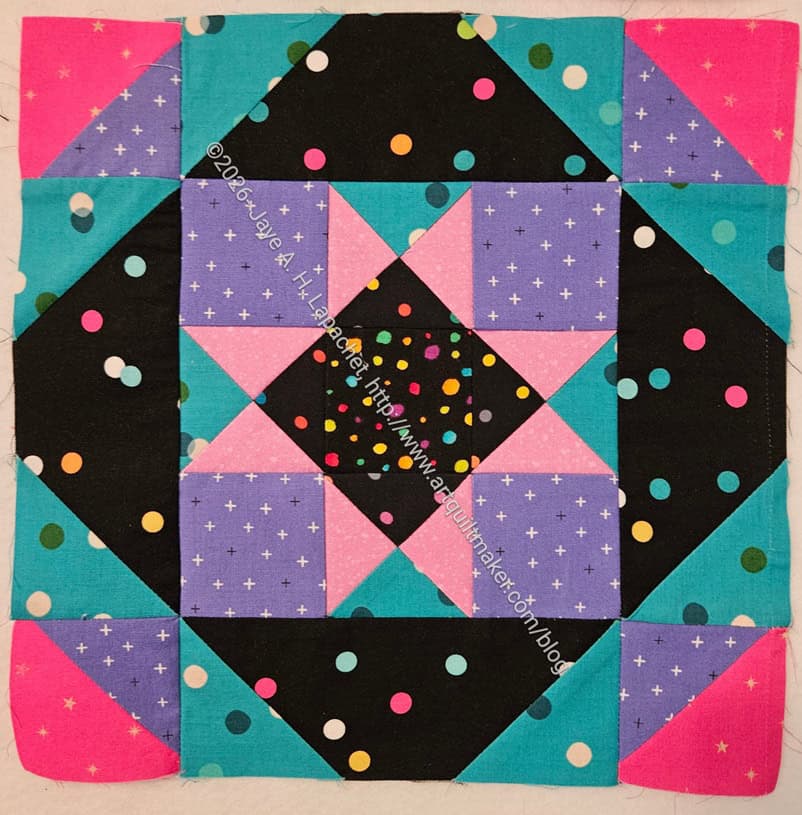
I found a tutorial for a 3 color quarter square triangle block while reading the Love of Quilting magazine. I decided to try it for my Bay Area Modern Block of the Month for March blocks.
The tutorial includes a 1.5 minute video with jaunty music.
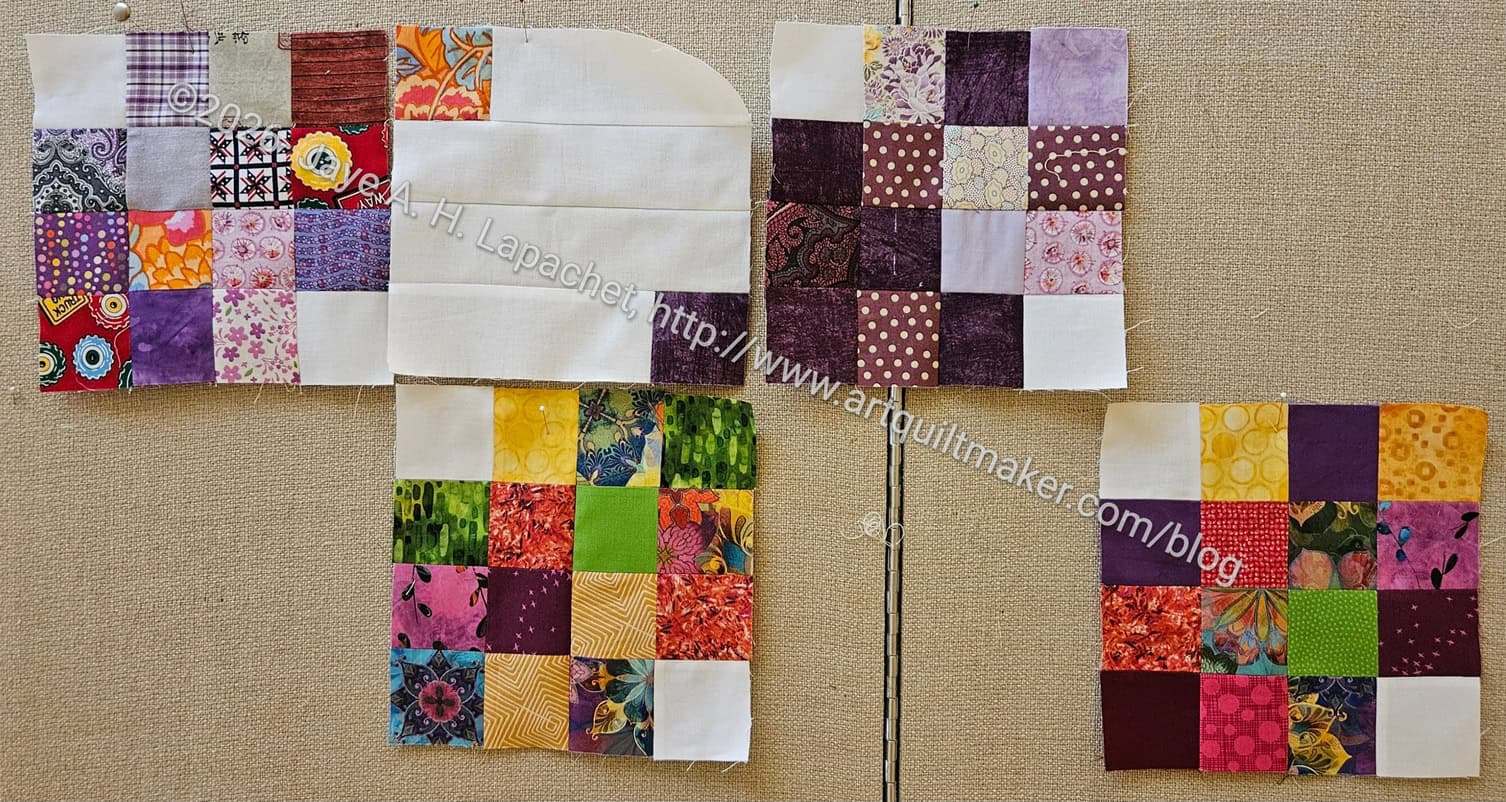
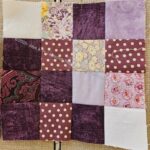
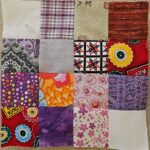
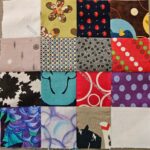
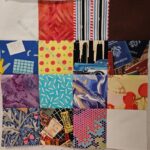
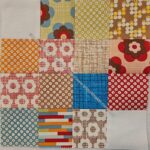
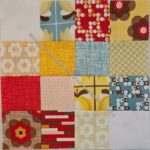
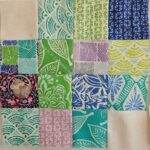
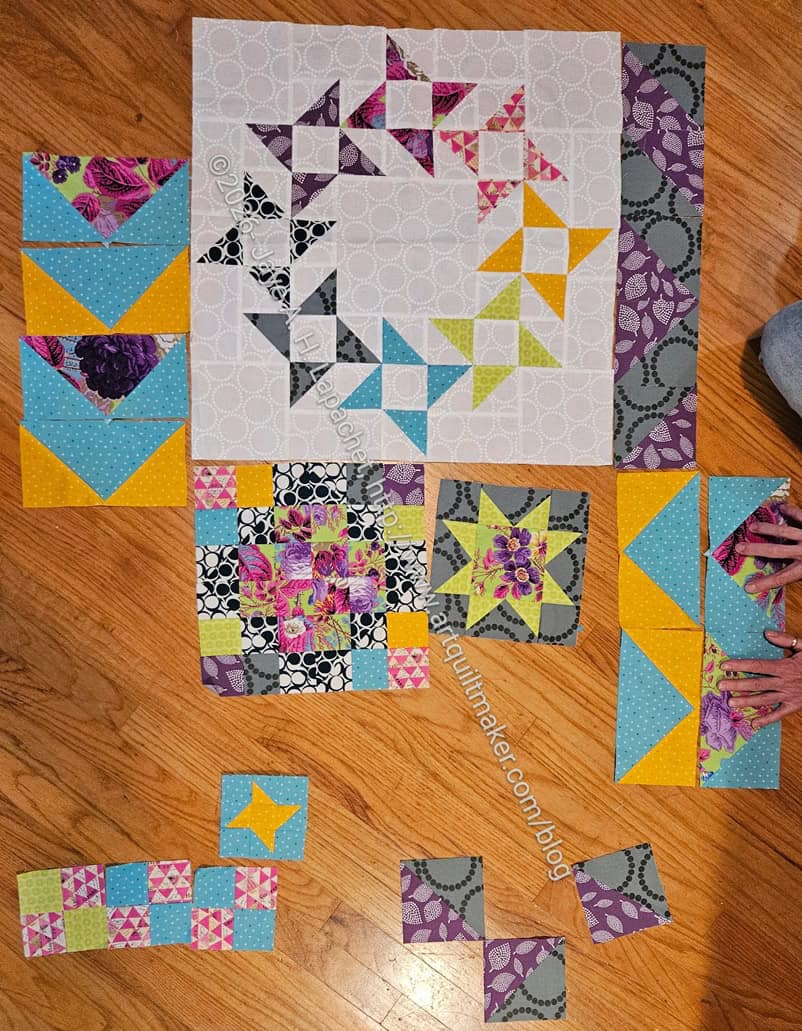
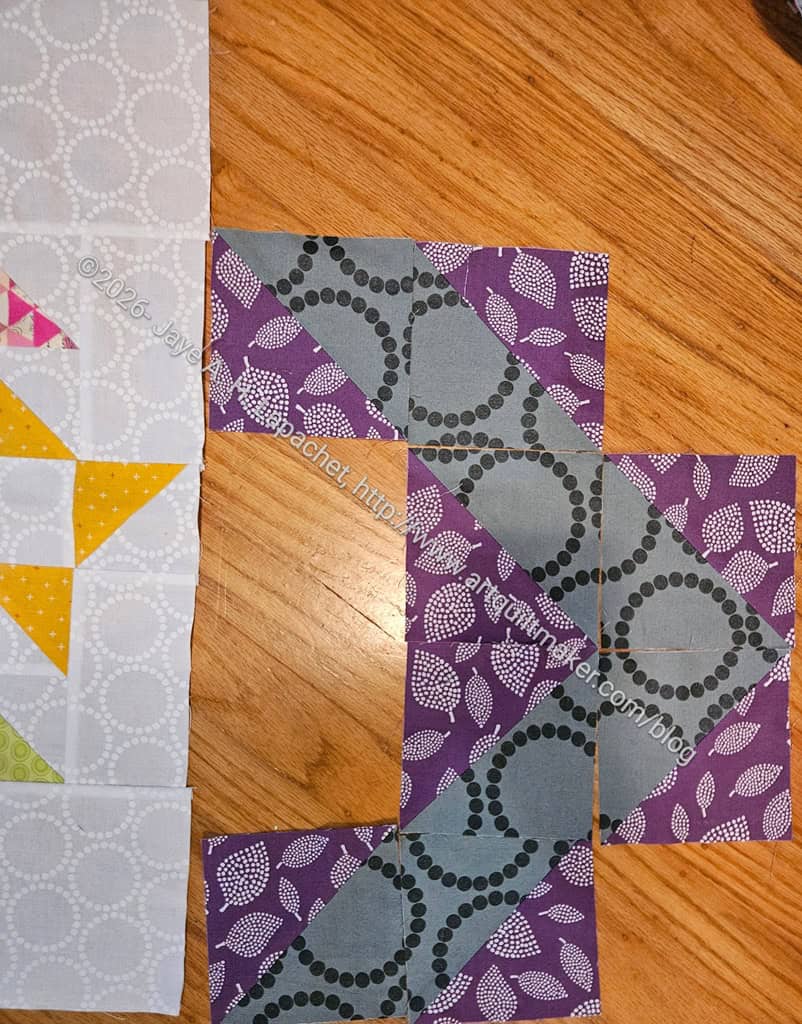
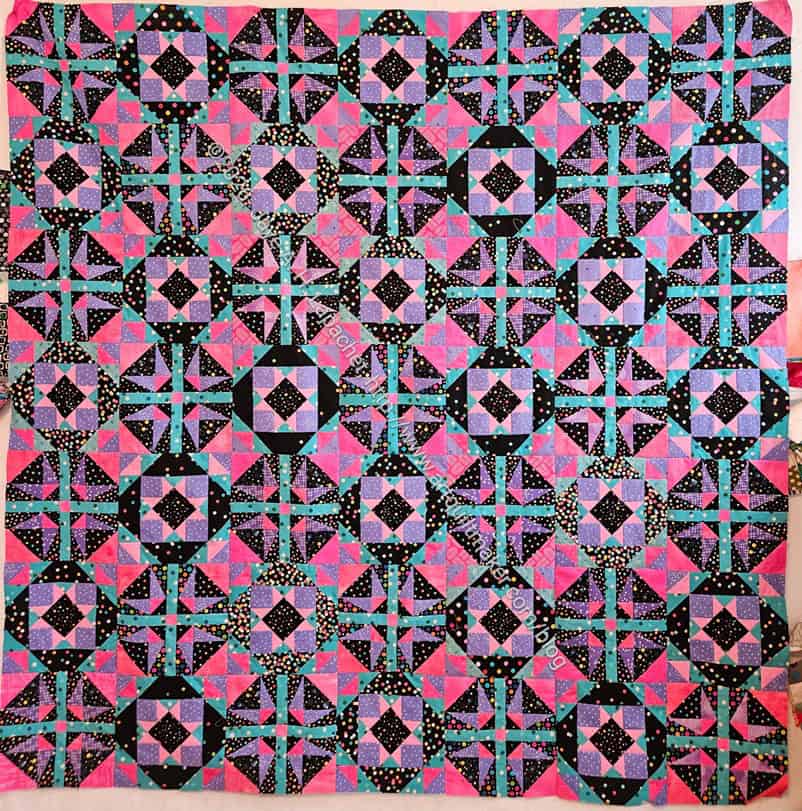
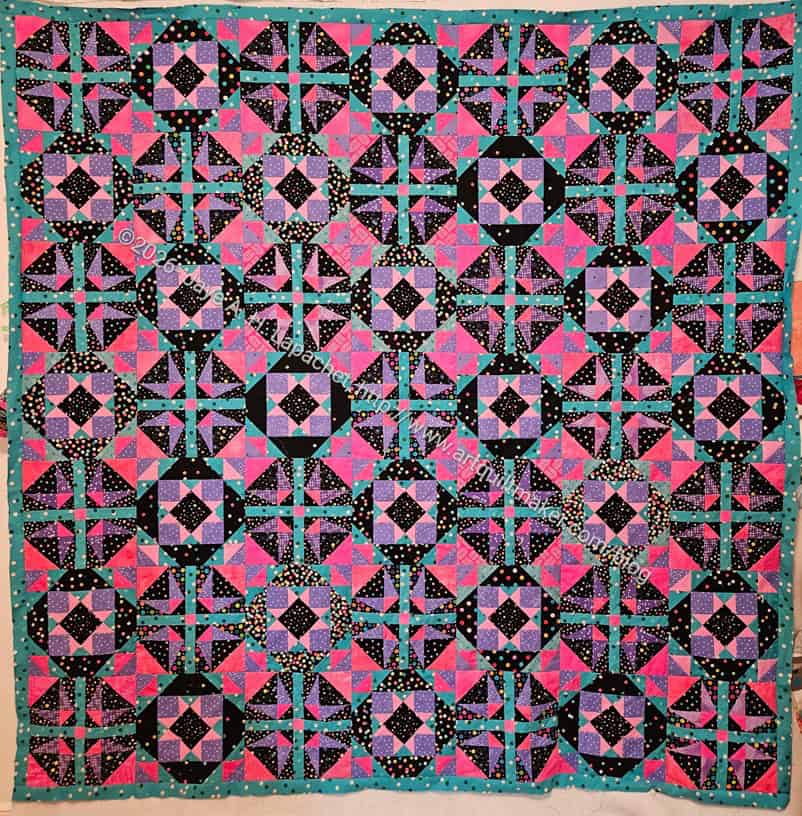
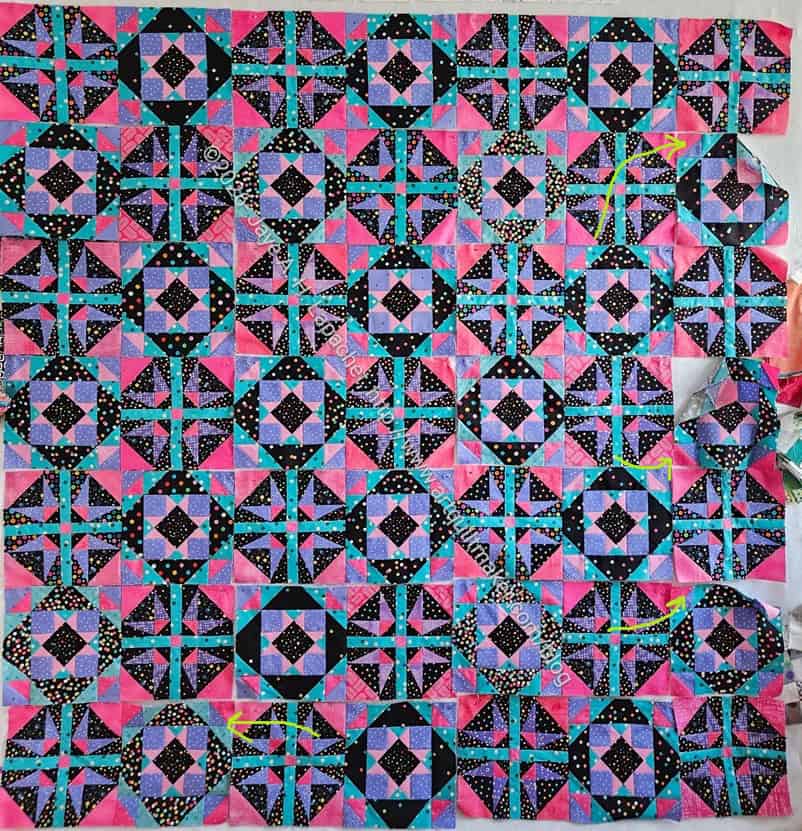
I made two first just to see what I thought of the technique. I thought it was fine and something different, so I cut some squares and went to work. I went a little crazy and made quite a few QSTs!
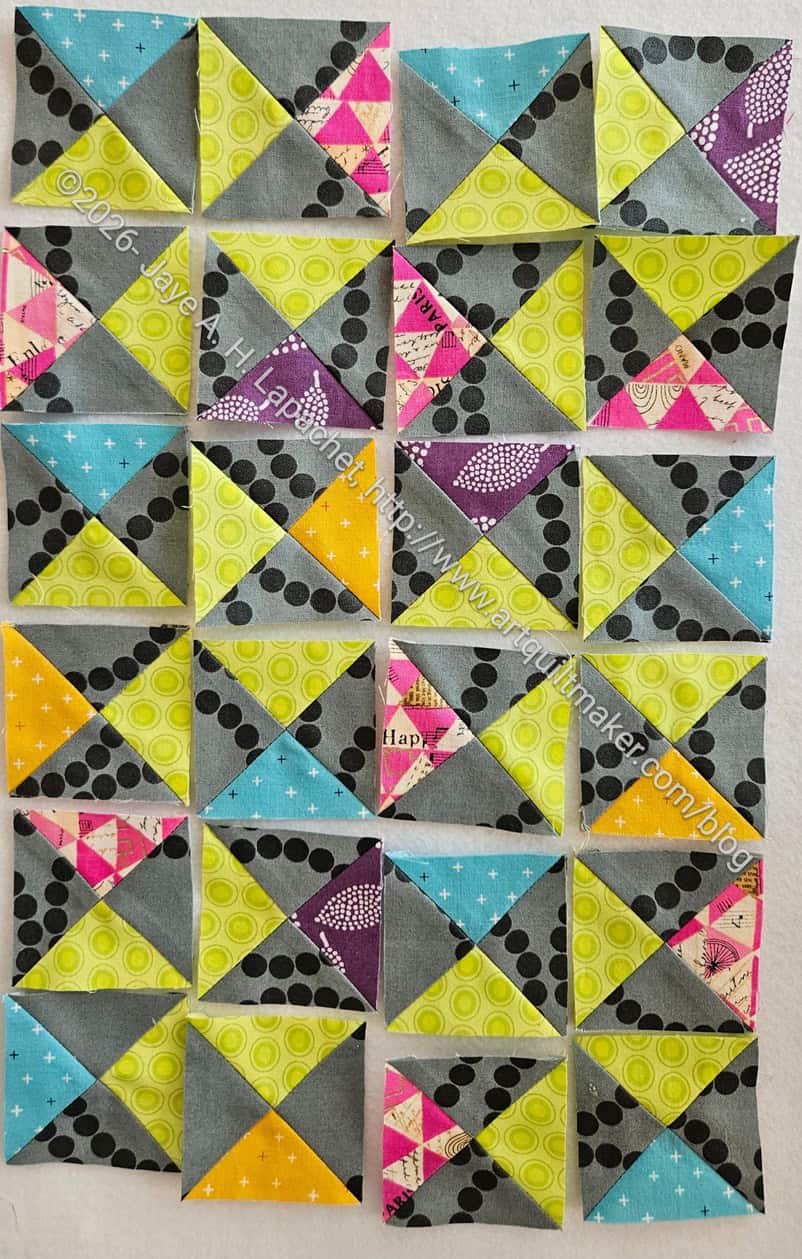
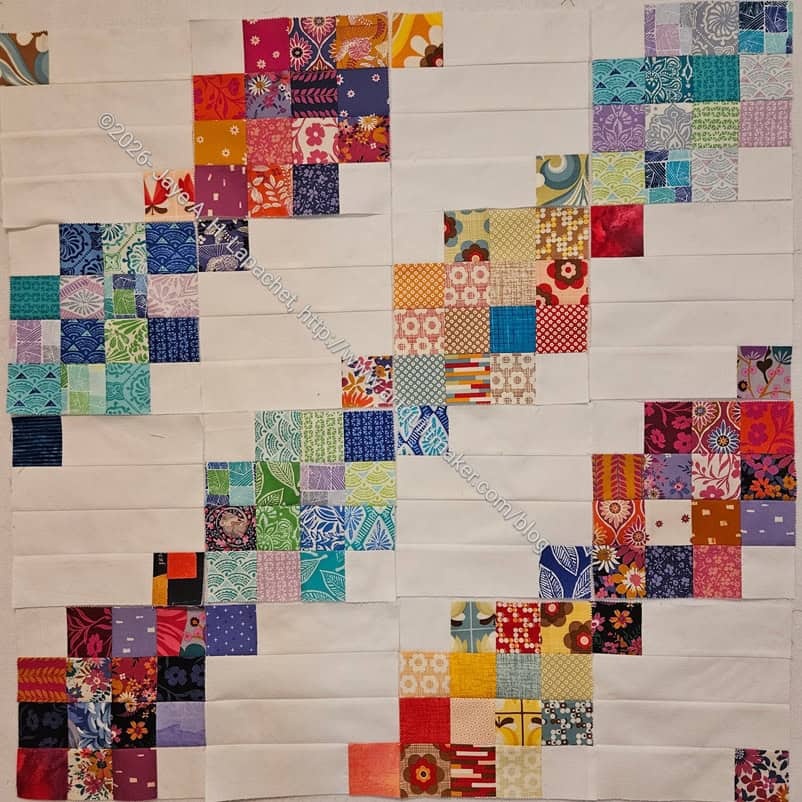
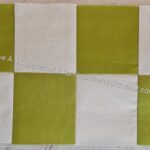
As I was laying them out I realized that I could make pinwheels since I used the lime green in all of the blocks. I don’t know that I’ll do that in the final layout of the quilt, but it was kind of fun to see what such a layout would look like.
I just got a Technique Sheet from Studio 180 Designs for the Split Recs Ruler**. I love that ruler and may make some Elongated Hourglass units. Stay tuned.
**Obviously, you should shop at local quilt shops and small businesses. However, if you are too busy or can’t find what you need there, I use Amazon affiliate links and may be paid for your purchase of an item when you click on an item’s link in my post. There is no additional cost to you for clicking or purchasing items I recommend. I appreciate your clicks and purchases as it helps support this website.