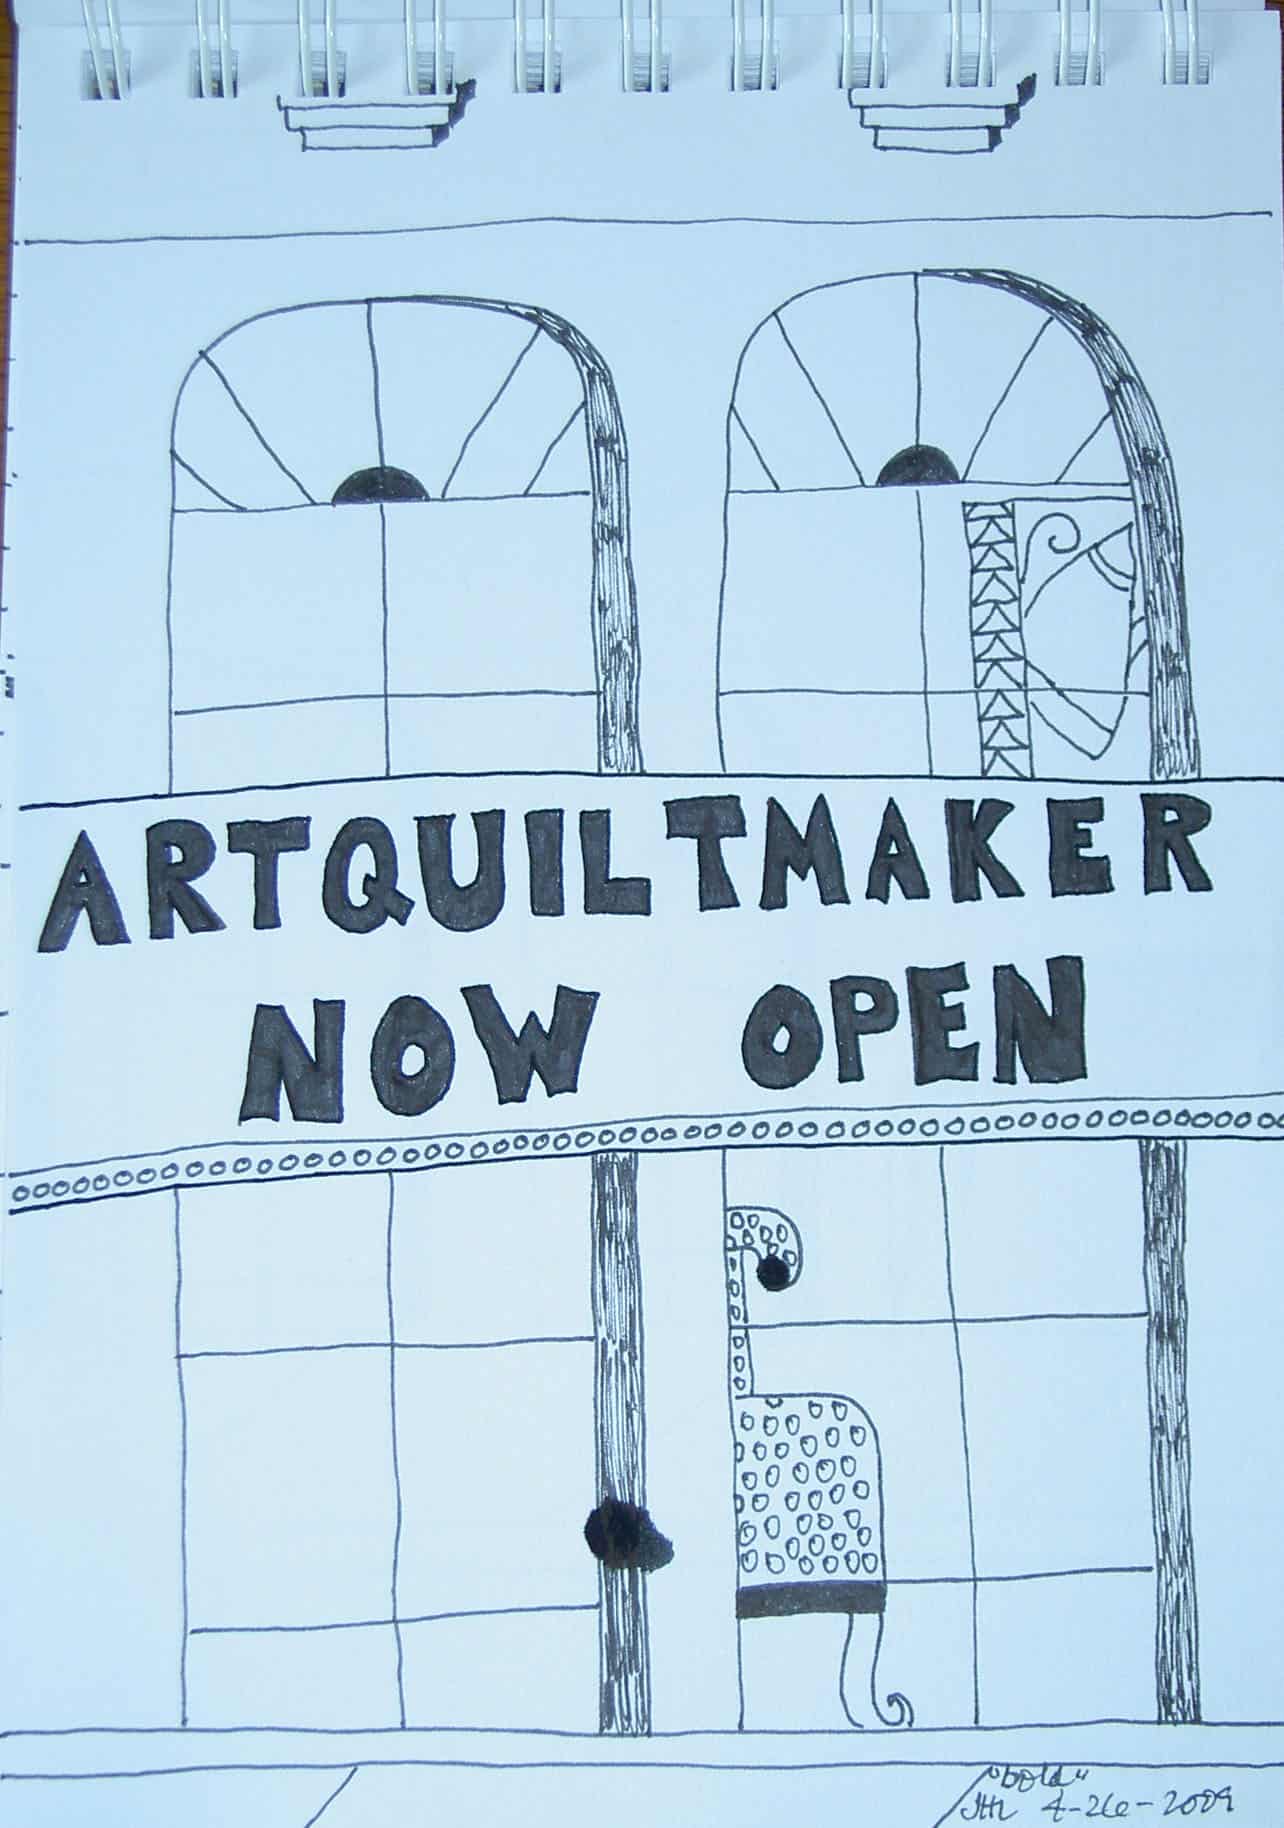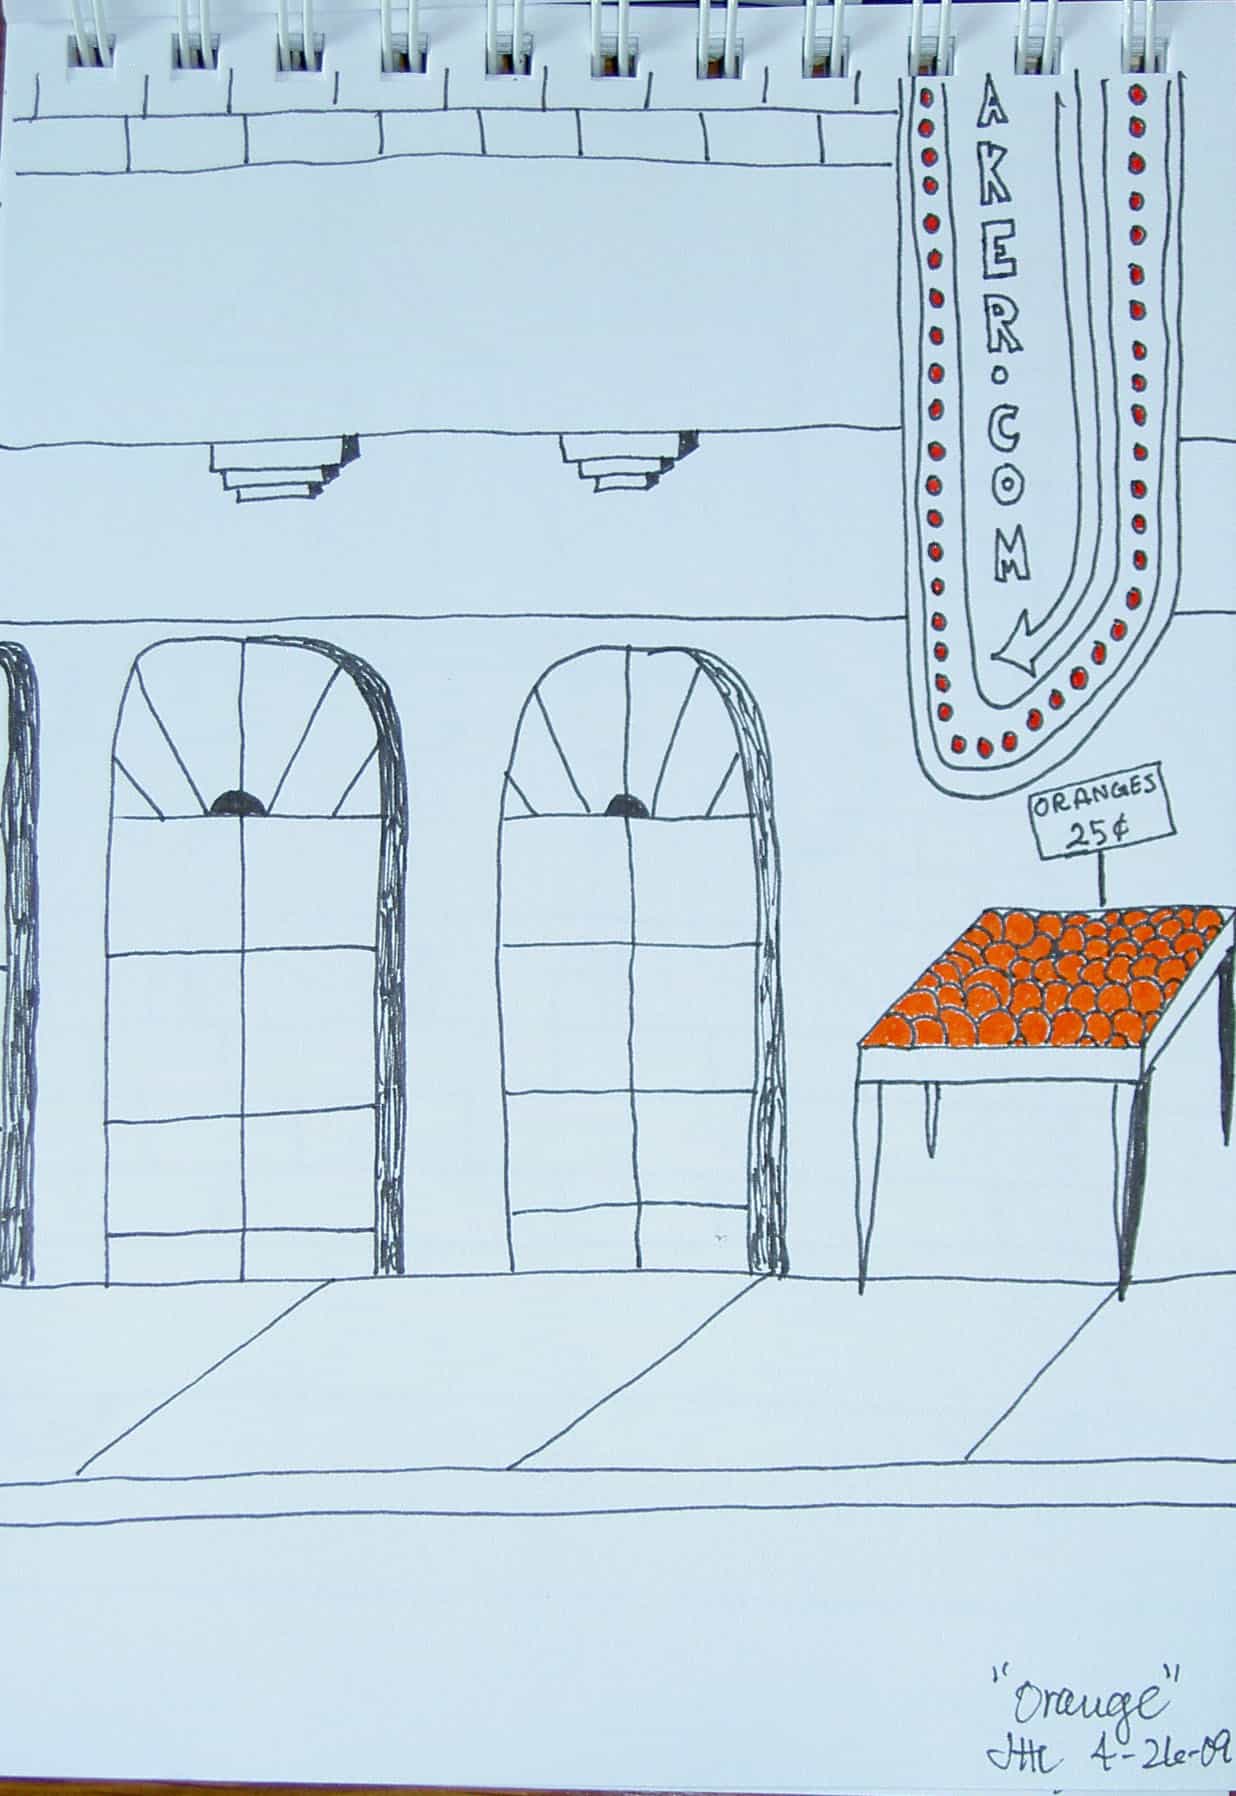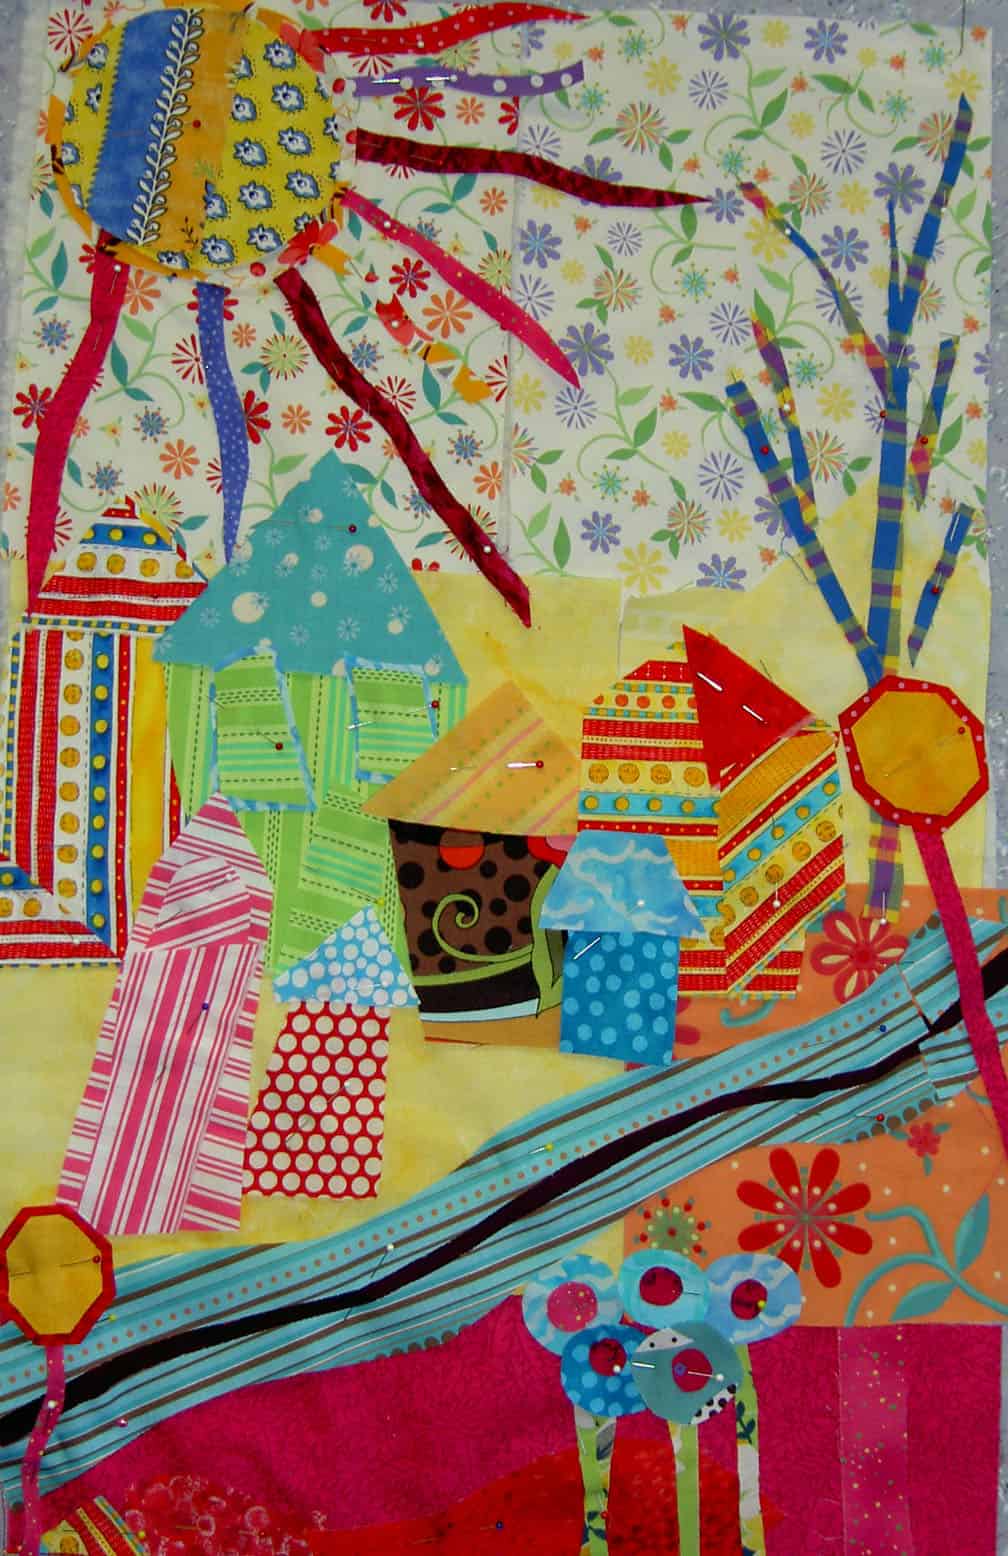
Use the word ‘excitement’ to create this week’s doodle or art work.
I updated the Creative Prompt page with some additional resources.
Commentary about works in progress, design & creativity
Use the word ‘excitement’ to create this week’s doodle or art work.
I updated the Creative Prompt page with some additional resources.

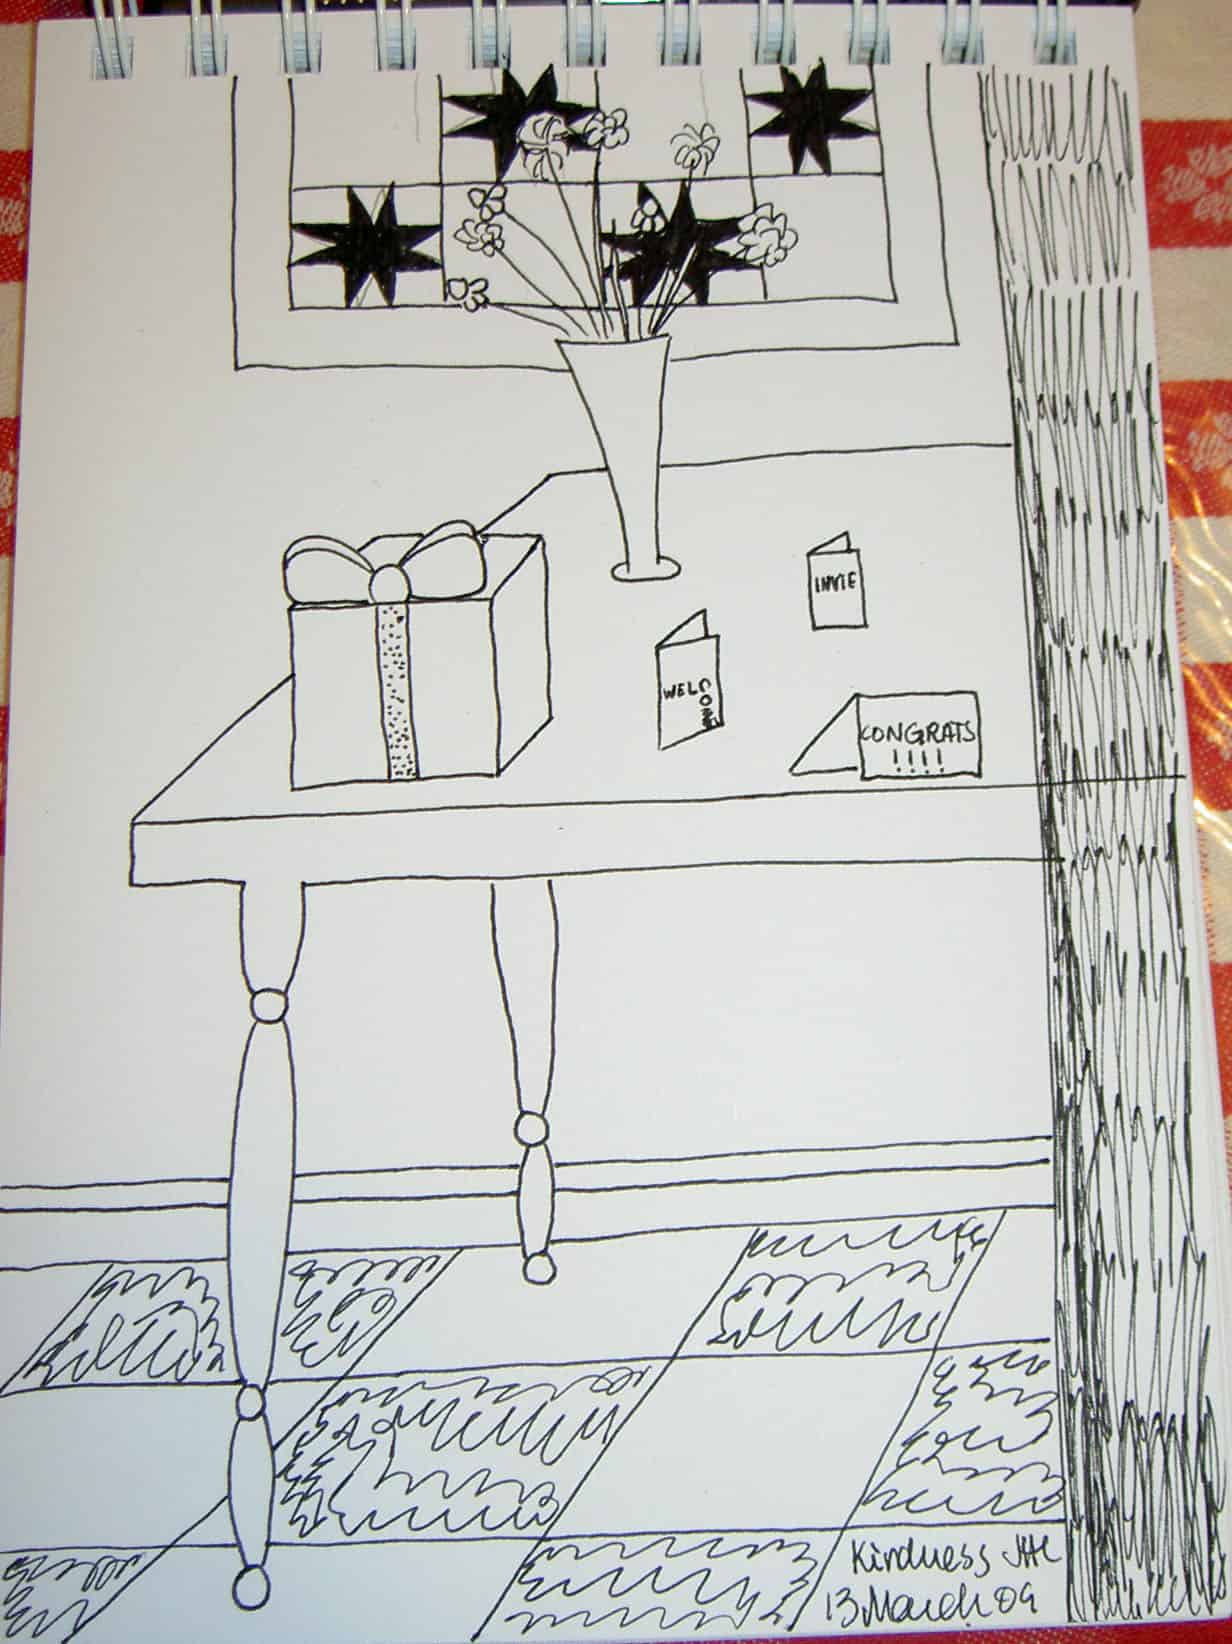
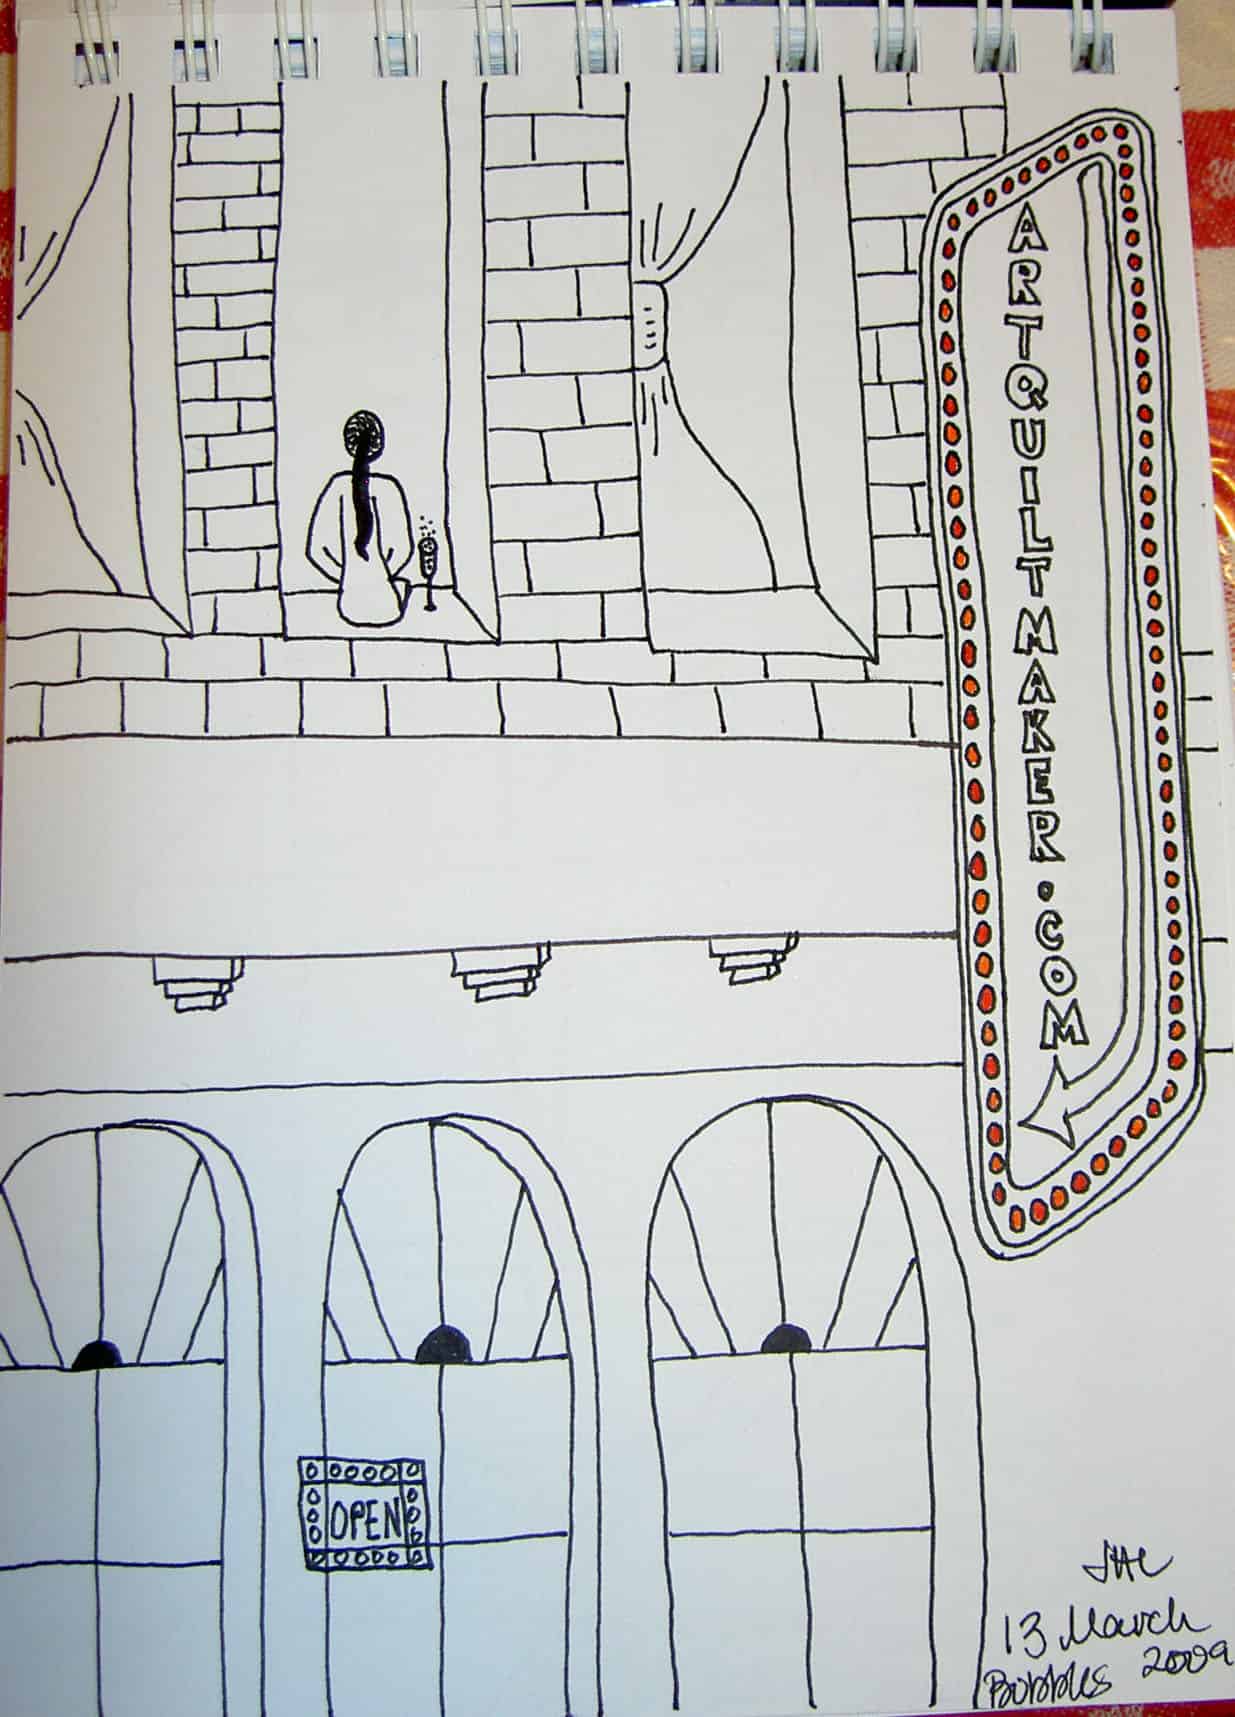
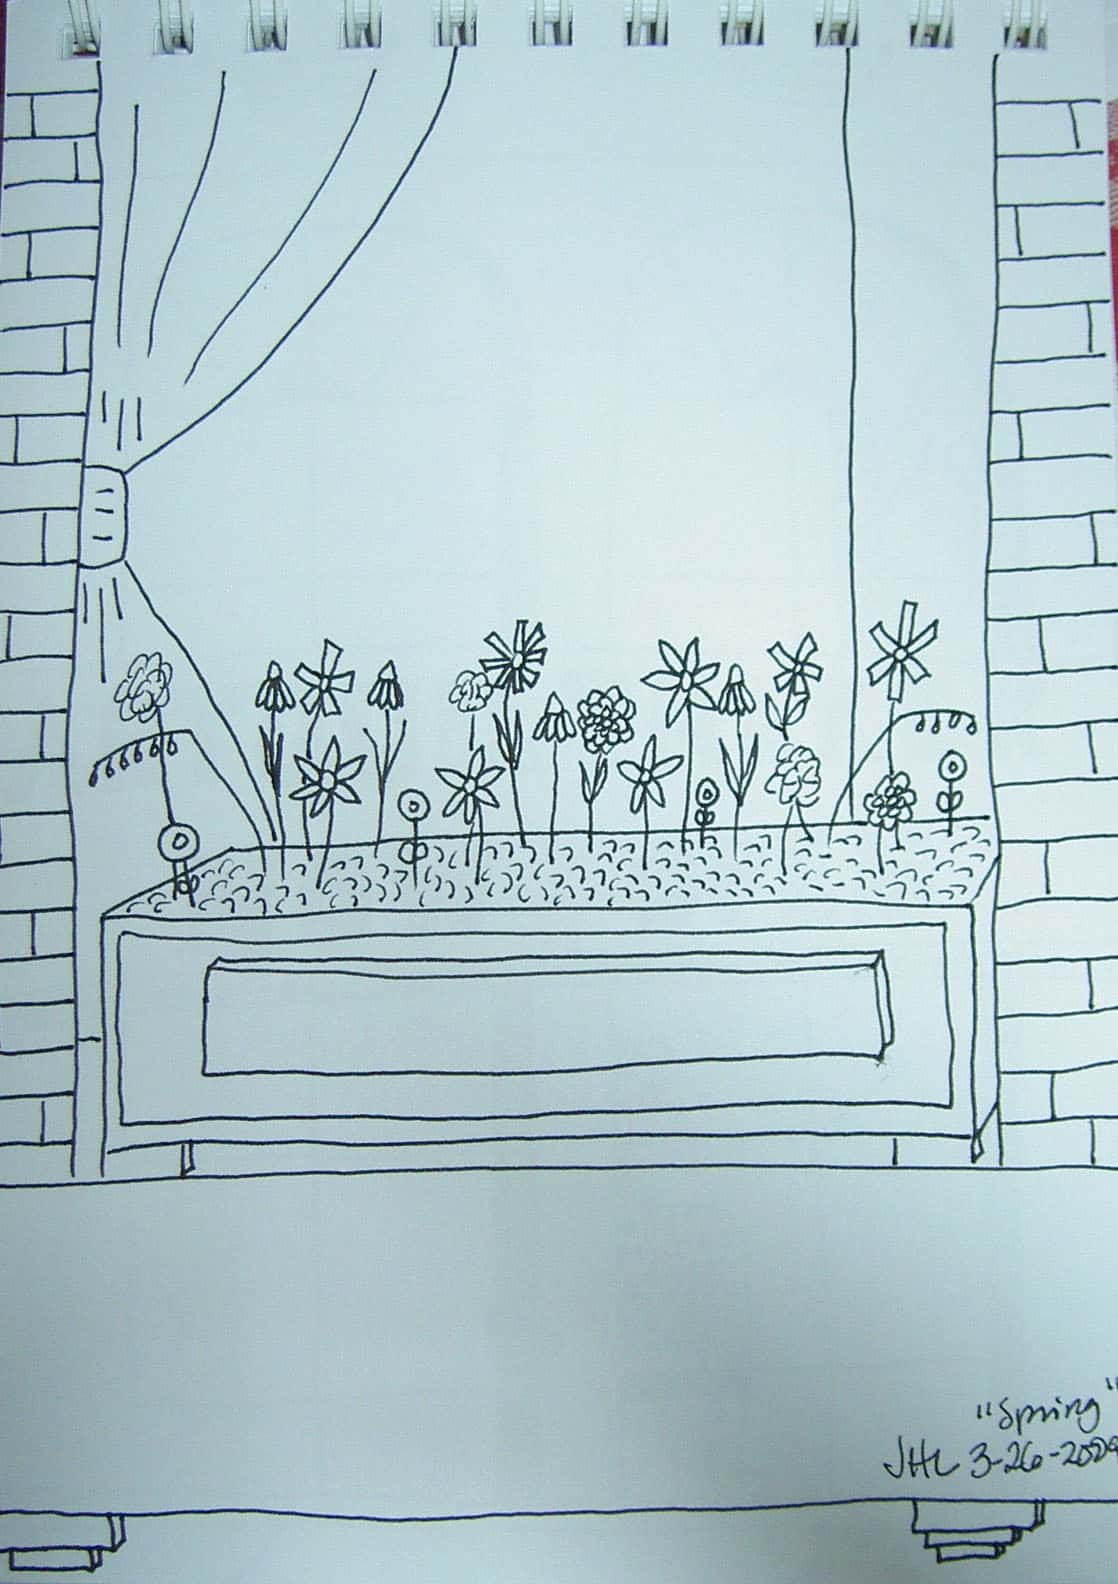
As you probably read yesterday, a couple of us are doing a little creativity project. My first sketch is the blog moving sketch, but I had some time in the afternoon, so I decided to do another sketch. Enjoy
The Creative Prompt project was inspired by many people and blogs. I started thinking about it after listening to many of the Creative Mom podcasts. Just FYI: I did a review of the CMP as well. I have some ideas for creative prompt projects that don’t involve quiltmaking, but this latest phenomenon just exploded on to the scene. A few people started talking about it after I wrote the Illustrated Journals post. Suddenly, the idea became something. I am pretty excited: excited because of the enthusiasm shown my Linda and Sherri, excited by the support shown by Julie and excited to just do it, like the Nike ad says.
Here is what I am going to do:
1. Every week (probably Friday) I will post a creative prompt. It may be words or pictures or something else.
2. I will do a drawing or some kind of creative endeavor with that prompt
The rest of the gang have said that they will:
1. Do a drawing, doodle, collage, write poetry, jot down a few words, origami, whatever every week.
2. Post a link to their efforts to the comments section.
Just see what you think of for the prompt and draw, write, collage, sew or whatever something. If you don’t like the prompt, look around and let something else inspire you.
If you want to join in, please feel welcome. If you don’t have a blog or website, open a Flickr account for FREE and post your work there.
There is more information on the Creative Prompt Page.
We’ll see how long it lasts and what comes of it.
_____________________________
The first creative prompt is Beginnings.
Anna Maria Horner talks about Beginnings in her blog post.
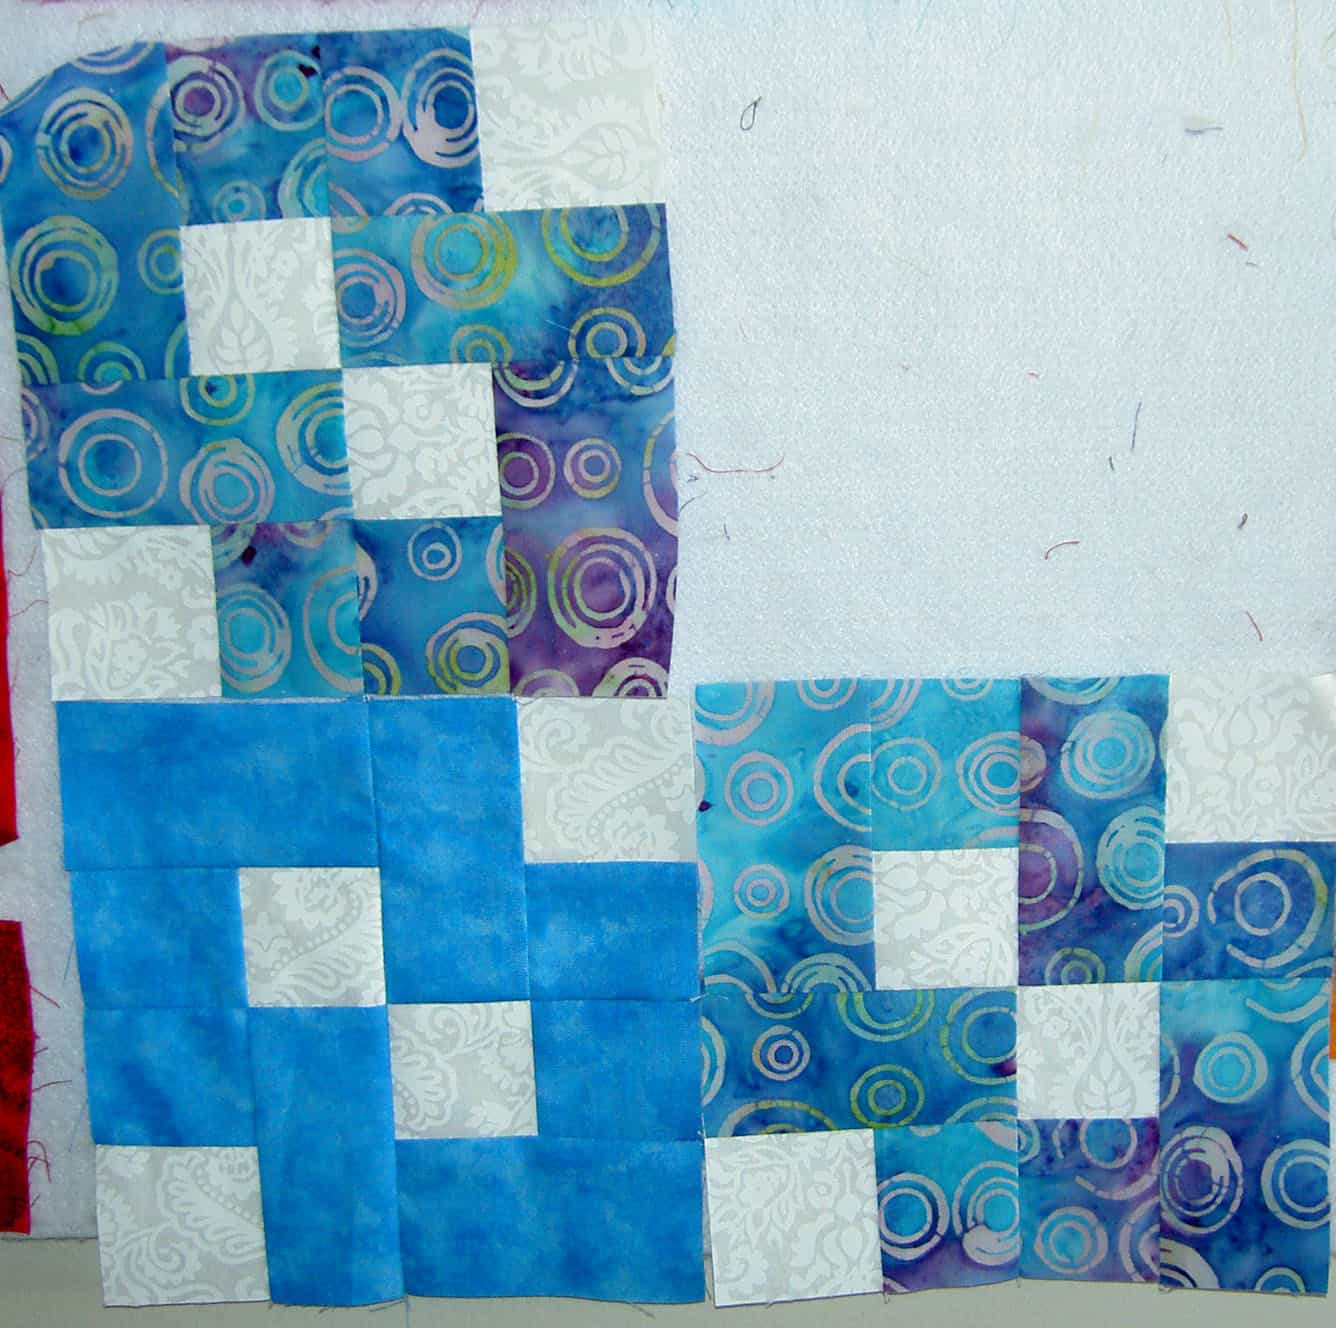
Page 10 of the Dear Baby Jane pool (http://www.flickr.com/groups/dearbabyjane/pool/page10/) blew me away. The blocks on that page all looked like they were made out of batiks and hand-dyes. They were almost all brightly colored and caught my attention. I guess I am like a bird – attracted to brightly colored and shiny patchwork.
I have posted a few of the blocks, but go take a look at the page.
One of the things I notice as I go through the DJ blocks people have made is how the white stands out. TFQ and I have discussions about white all the time and how it can really detract from the rest of the block – or not allow a person to see the rest of the block. In the case of the DJ blocks, I think the white, in many of the blocks, really makes you see the design. I think the block patterns are so detailed that they need something to show off the intricate piecing. In the case of this block, the white does the trick.
I am really impressed by he great fabric combinations that the makers are using.
There are thousands of Dear Jane blocks posted on the two Flickr groups I have found. I think the choice of fabric and artistry of these blocks is amazing. Not to mention the dedication!
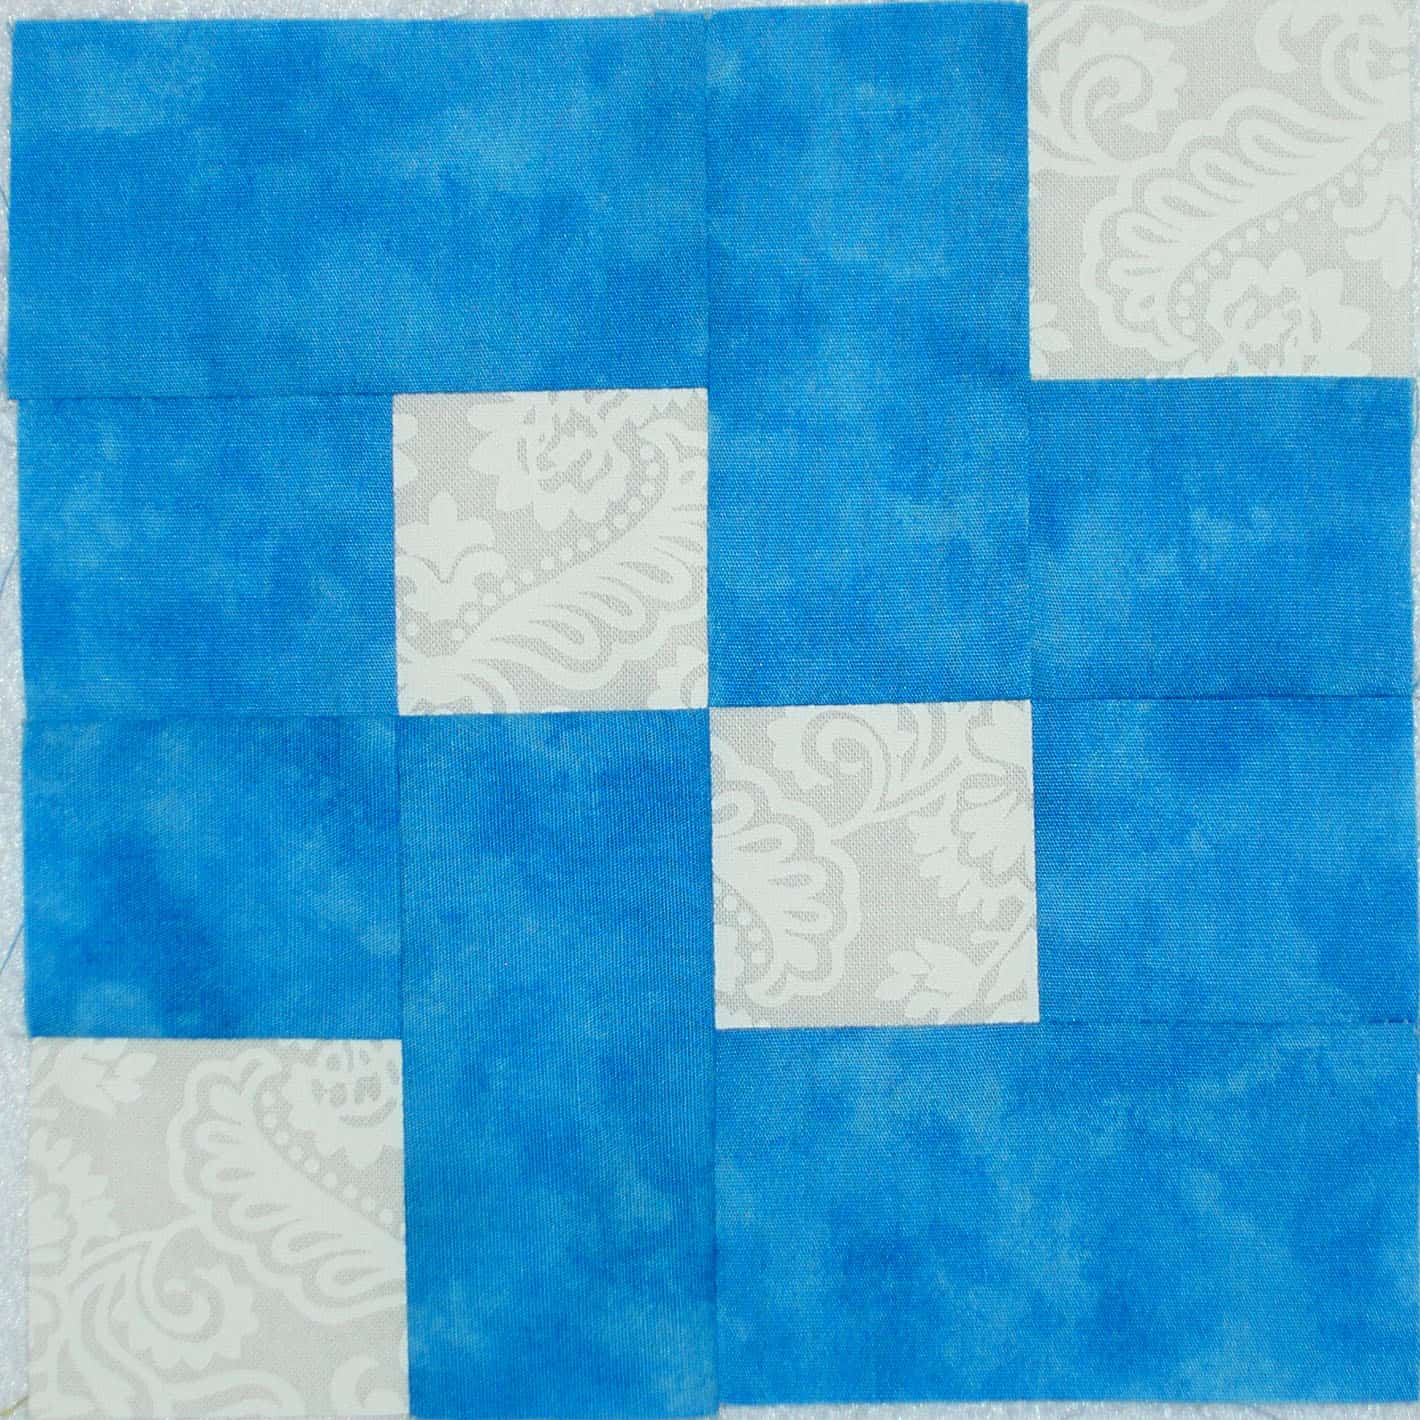
This one, initially, caught my attention because of the dots (of course!). After I got over the dots I noticed how what interesting patches the block has. Notice how the rectangles are not quite rectangles? They seem to be trapezoids. As a result, there is a lot of movement in this block.
I am waiting to get an appointment to deliver my quilts – YES, quilts plural!!! – to my quilter. I have to call her and get a date. Last time I tried she was out of town on all the days that would have been convenient for me. I almost finished a third top last night, so I may wait to add the last two borders, and get the back done before I make the appointment.

Above is the back of the purple Bullseye. I was really pleased with how well this back went together. The whole quilt really went together well, but the back was especially easy. The fabrics I used are much lighter than the front. I wanted to use some fabrics that I owned and liked and had also been around for awhile yet hadn’t yet made it to the front of a quilt.
It is really a thrill to have three quilts (almost) ready to go to the quiltmaker. Sadly, two of them were not on my 2007 UFO list, so that list won’t be much smaller unless I get really busy.
TalisCalifornia has made this very interesting version of the Dear Jane block, Dad’s Plaids. I love the way she has switched the background and the foreground within the block. It really has a nice effect that makes your eye move around the block without making them cross (like certain black and white fabrics would).
The Baby Jane group on Flickr is a testament to hope for the future of quiltmaking. These blocks are not easy to put together and they have really done, and continue to do, a wonderful job. They are moving through all of the Dear Jane blocks and I love seeing the progress.
I ponder doing the blocks along with them! I just don’t want to start another hand project until I make some progress on the Flowering Snowballs and my projects from Pamela Allen’s classes.
The last update I gave you on the Bullseyes was on September 8 and I was slowly working through the trimming and sewing the patches together to make blocks.
I went through this process kind of slowly because I was enjoying the fiddliness and taking my time. Above shows the quilt top as it was sometime in the last week or so. You can see that patches are sewn together to make blocks and some blocks are sewn together to make. During the past week I have been sewing chunks together and this morning I had only seven seams left. I finished this morning after wrestling with those last seams.
I hope to be able to finish the back today as well. I already made one piece of it with some leftover quarter circle/triangle patches.
One of the things I tried on this quilt was sewing the seams open. I saw in the Kerr/Ringle color book that they press the seams, on all of their quilts, open. I thought this would be a good project to try it. I was pleased with how easy it was to deal with several seams meeting at one central point. Because of the layers of applique’, it was a little tricky to get all the little bits to lay flat. I also found it easier to press from the back when pressing the seams open. My points matched up pretty well (at least no worse than normal). I did use pins to help that process. All in all, I liked pressing the seams open. I’ll have to read a little more of what Kerr/Ringle say about their reasons and report back.
Last week I noted that I wanted to get moving on the Bullseye, because I wanted to get it off the design wall and to the quilter. Yesterday, I got busy and began sewing blocks together. This is a project, because I need – well, want – to keep the patches in the order I have laid them out. As TFQ pointed out, in the future nobody will notice and I won’t remember, but there is no sense in laying them out and not, at least, trying to keep them in order.
I spent several hours yesterday sewing blocks together, trimming applique and squaring up the blocks. I decided that it would be a lot easier to square the blocks as I went along rather than waiting. It did take longer, but I am happy that I am trimming and squaring now since it will be a lot easier to put the blocks together later.
The sewing part is a little tricky, because, while I was sewing blocks, the blocks I was sewing together have nothing to do with the design on the quilt. Groups of blocks make up the design.
You can see from the photo, above, how much the piece will shrink once all of the sewing is completed. Right now there is about a 2″ gap between the sewn block (left) and the unsewn blocks (right). It never ceases to amaze me how much fabric seam allowances take up. There will be more once I start sewing blocks together.
After magnificiently struggling with the layout for the Bullseye, I believe I have settled on a shape I can live with and one that is successful. The difference between this and the others I have done is that the ‘knots’ I have created are self contained. I keep thinking of them as Lovers’ Knots, but I know that term may confuse people who know the actual Lovers’ Knot quilt pattern.
I have more patches on the wall and am finalizing fabric placement now. I hope to get to sewing today as I would like to have this piece ready to take to the quilter with the Chocolate Box. I am itching to get back to the Pineapple (amazing, but true). I need to move a couple of projects forward first.
I can’t really decide if I am making progress on this project. It has been on my wall for awhile and all the ways I have tried to arrange the pieces have not been successful or satisfactory. I want to finish it and get it off my wall, because it is a dark quilt and doesn’t make me feel happy when I look at it. I like the quilt, it is just the wrong time of year to have a dark quilt on the wall.
Until yesterday, the above photo shows the most recent design. It had been on the wall for awhile and I knew it wasn’t working, but was considering sewing it together just to be done with it.
Sadly, this layout looks like two separate quilts, which is not good. I suppose I could put one on the front and one on the back. Not happening. I want a cohesive/unified design. I seriously like the snaky bit highlighted with the warm colored (red and pink) fabrics, but I couldn’t figure out how to include it and all the other patches. I like the half block wedges (see photo below) that end up, often, in the corners, s, in this iteration, I tried to replicate those on the left side of this layout. It doesn’t solve the problem of two quilts in one and the wedges don’t show up very well in the overall piece.
Wedge detail.
Detail showing my attempt at the wedge design.
I saw a quilt of Kerr/Ringle’s called XO in the Modern Quilt Workshop book. The blocks had patches the same shape as my bullseye wedges, but Bill and Weeks had added a thin strip of fabric in between. Above shows my attempt at using their idea. I considered trying a purple/violet fabric, but ultimately didn’t choose this option, because I was too lazy to find the right fabric and think I came up with a better idea.

Yesterday morning, I had a brainwave and the above layout is it. Is isn’t finished and there are still a couple of problems to work out, but so far I like this layout the best of all. The red/pink snake is gone, but so is the two quilts in one problem. Some of the problems I have to work out are:
None of these are as insurmountable as the layout. I think I have a good one here and will move forward with until such time as it is finished or I decide it was a bad idea.
I have a sinking feeling I already posted this picture, but I can’t find it in the blog, so either I am losing my mind or imagining things. Either one could be positive. 😉

This is the first arrangement. It will work, areas I want to stand out stand out. With a few more blocks the self bordering will work as well.
I know I rearranged the pieces after I took this photo, but, once again, my camera is upstairs, so it will have to be a post for tomorrow.
Julie has posted her bullseyes. The post shows how they look with the ones I sent her. She spray starched hers, which is a great idea. I am not sure why I didn’t think of it! I guess I learn something new every day.