HAH! Fooled you! I just wanted to see if you were paying attention. Really, the blog was busy yesterday with the Primal Green information. Priorities, you know.
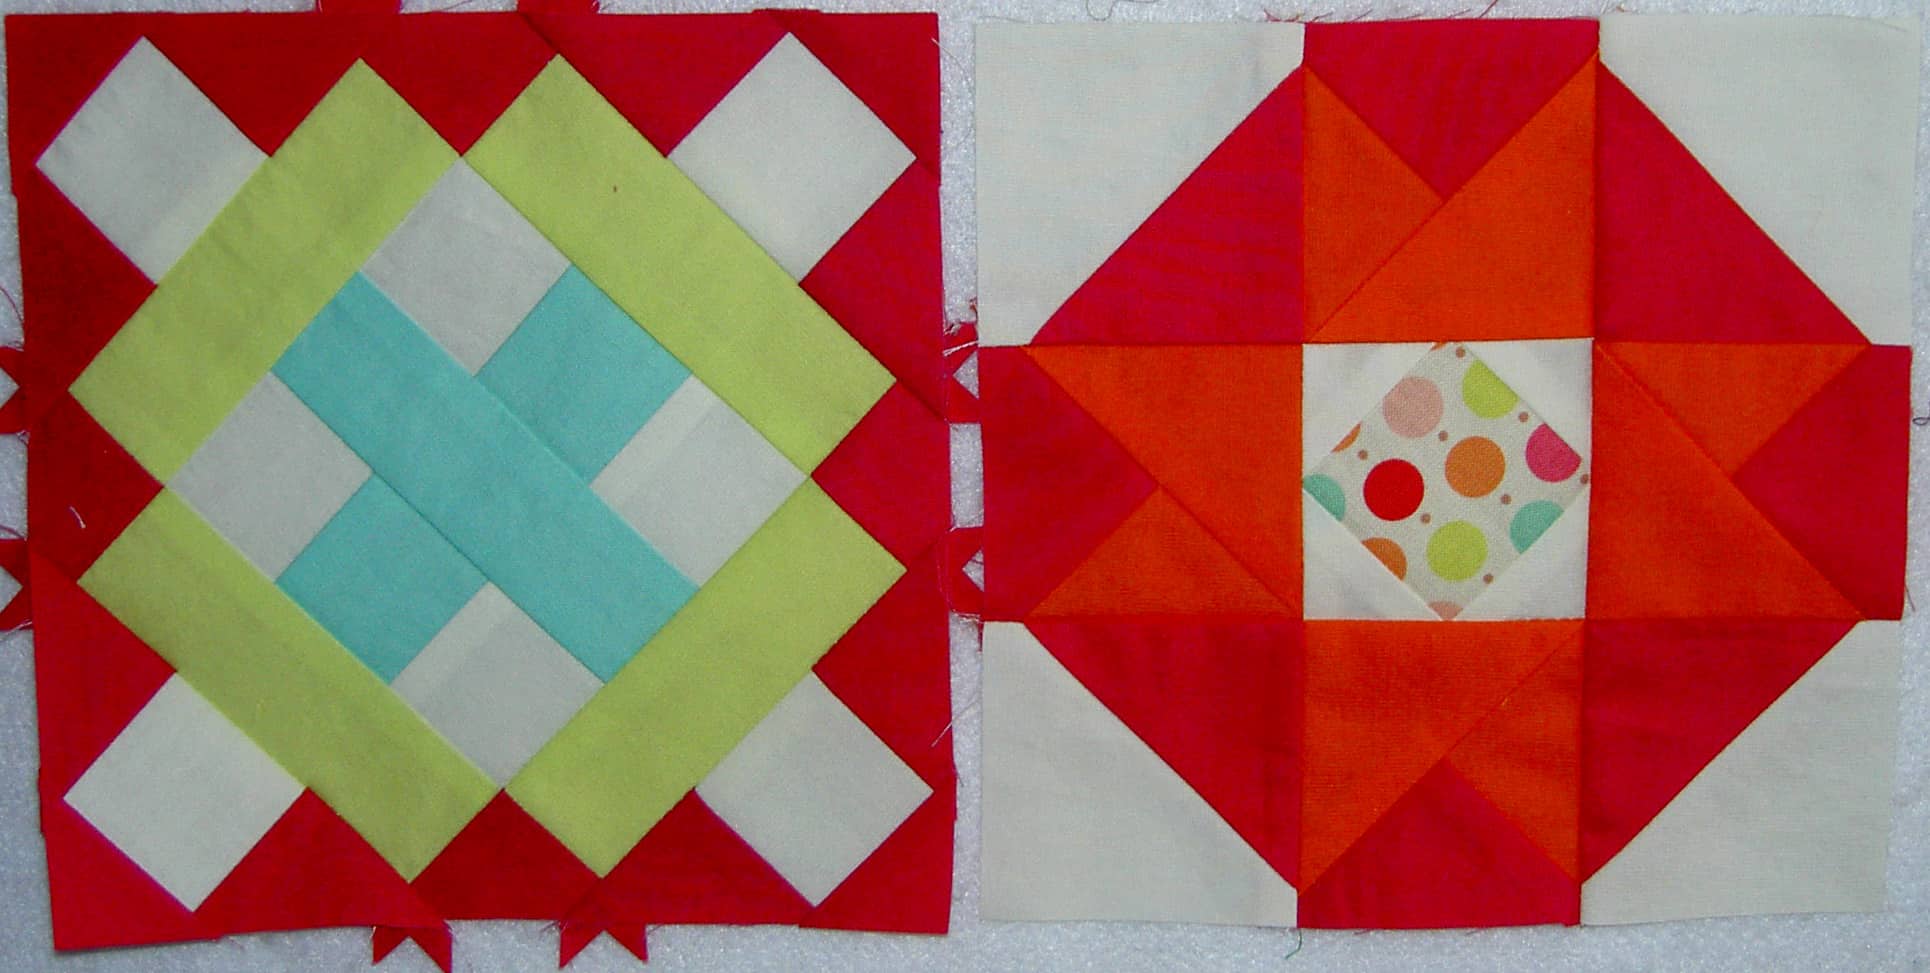
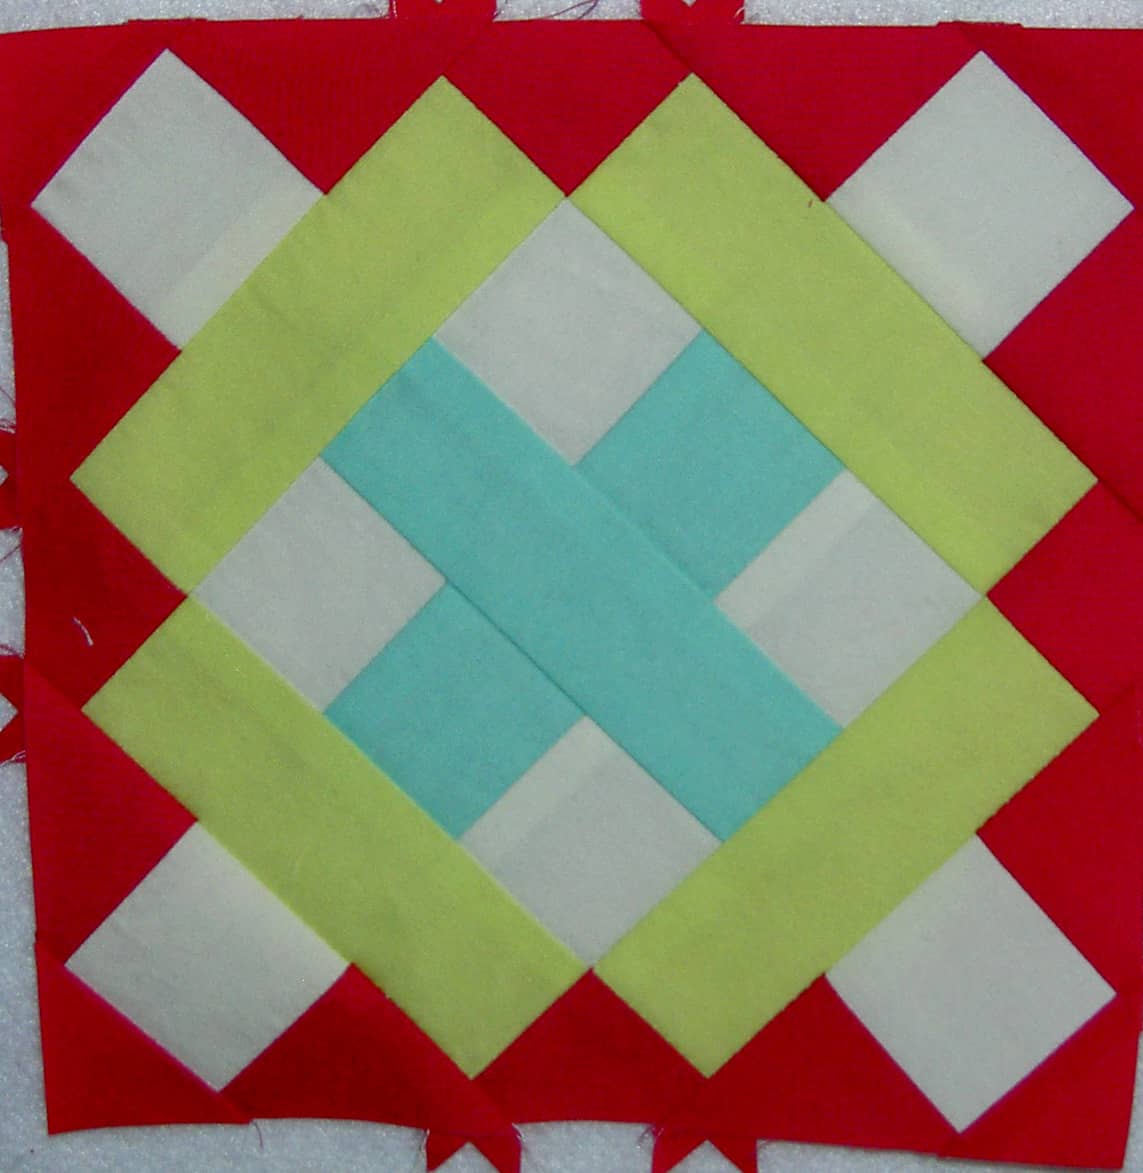
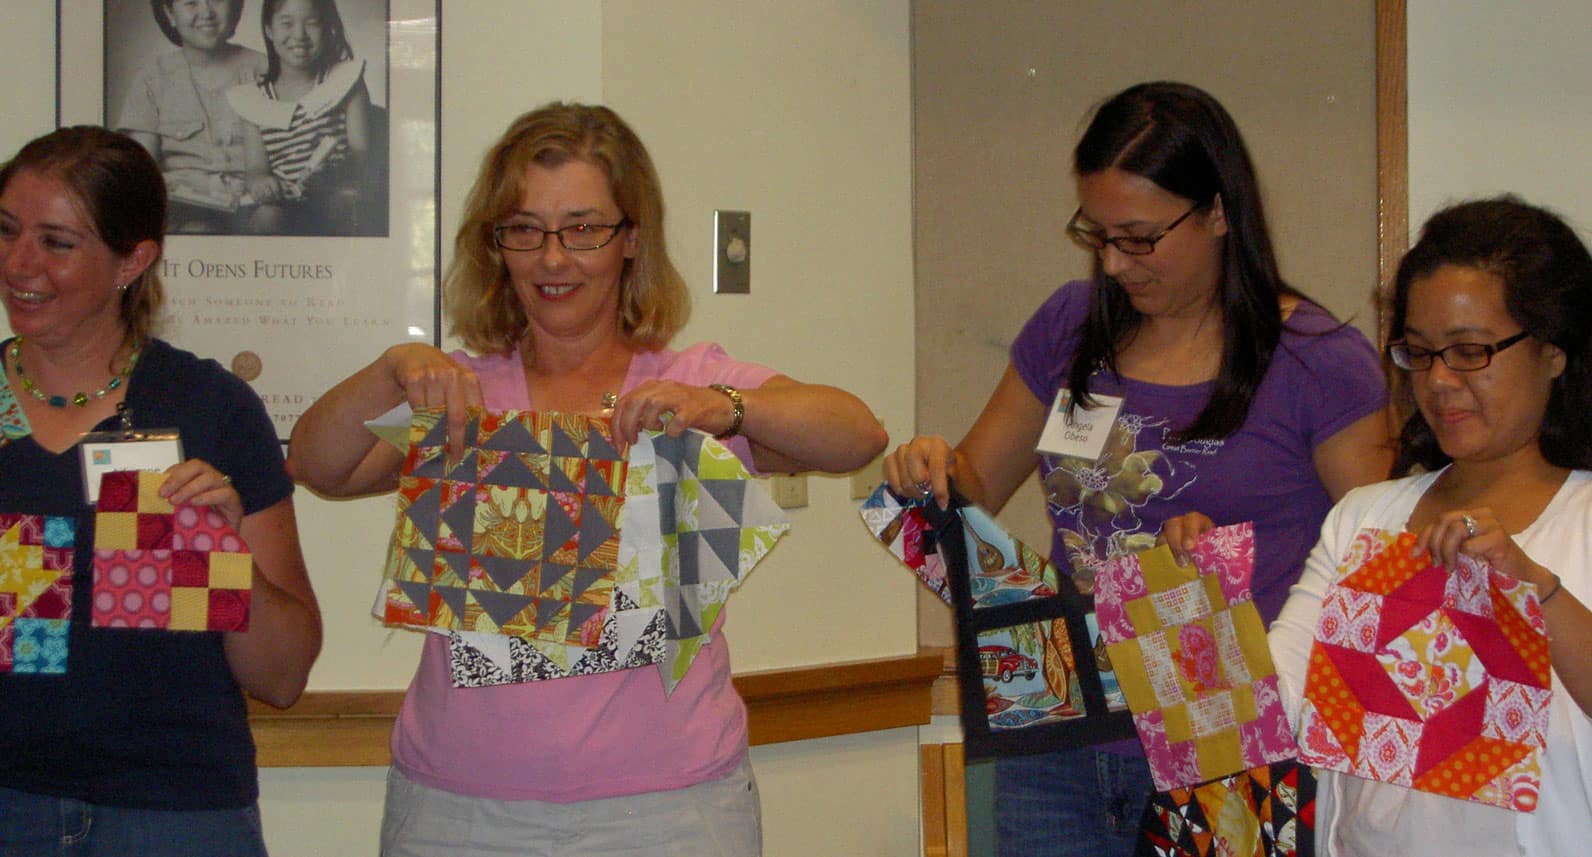
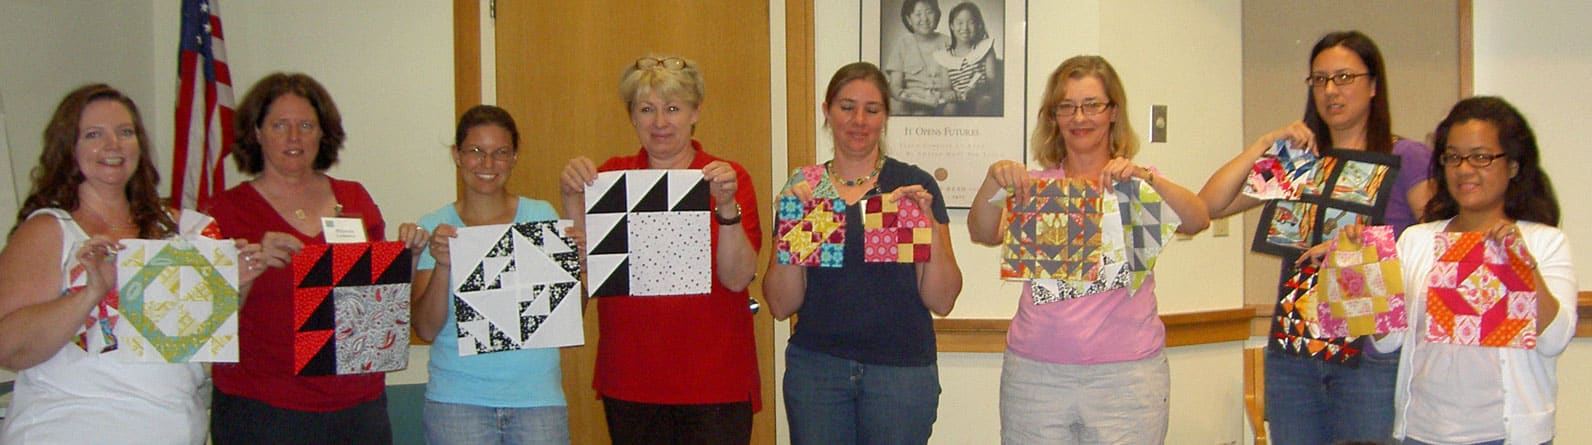
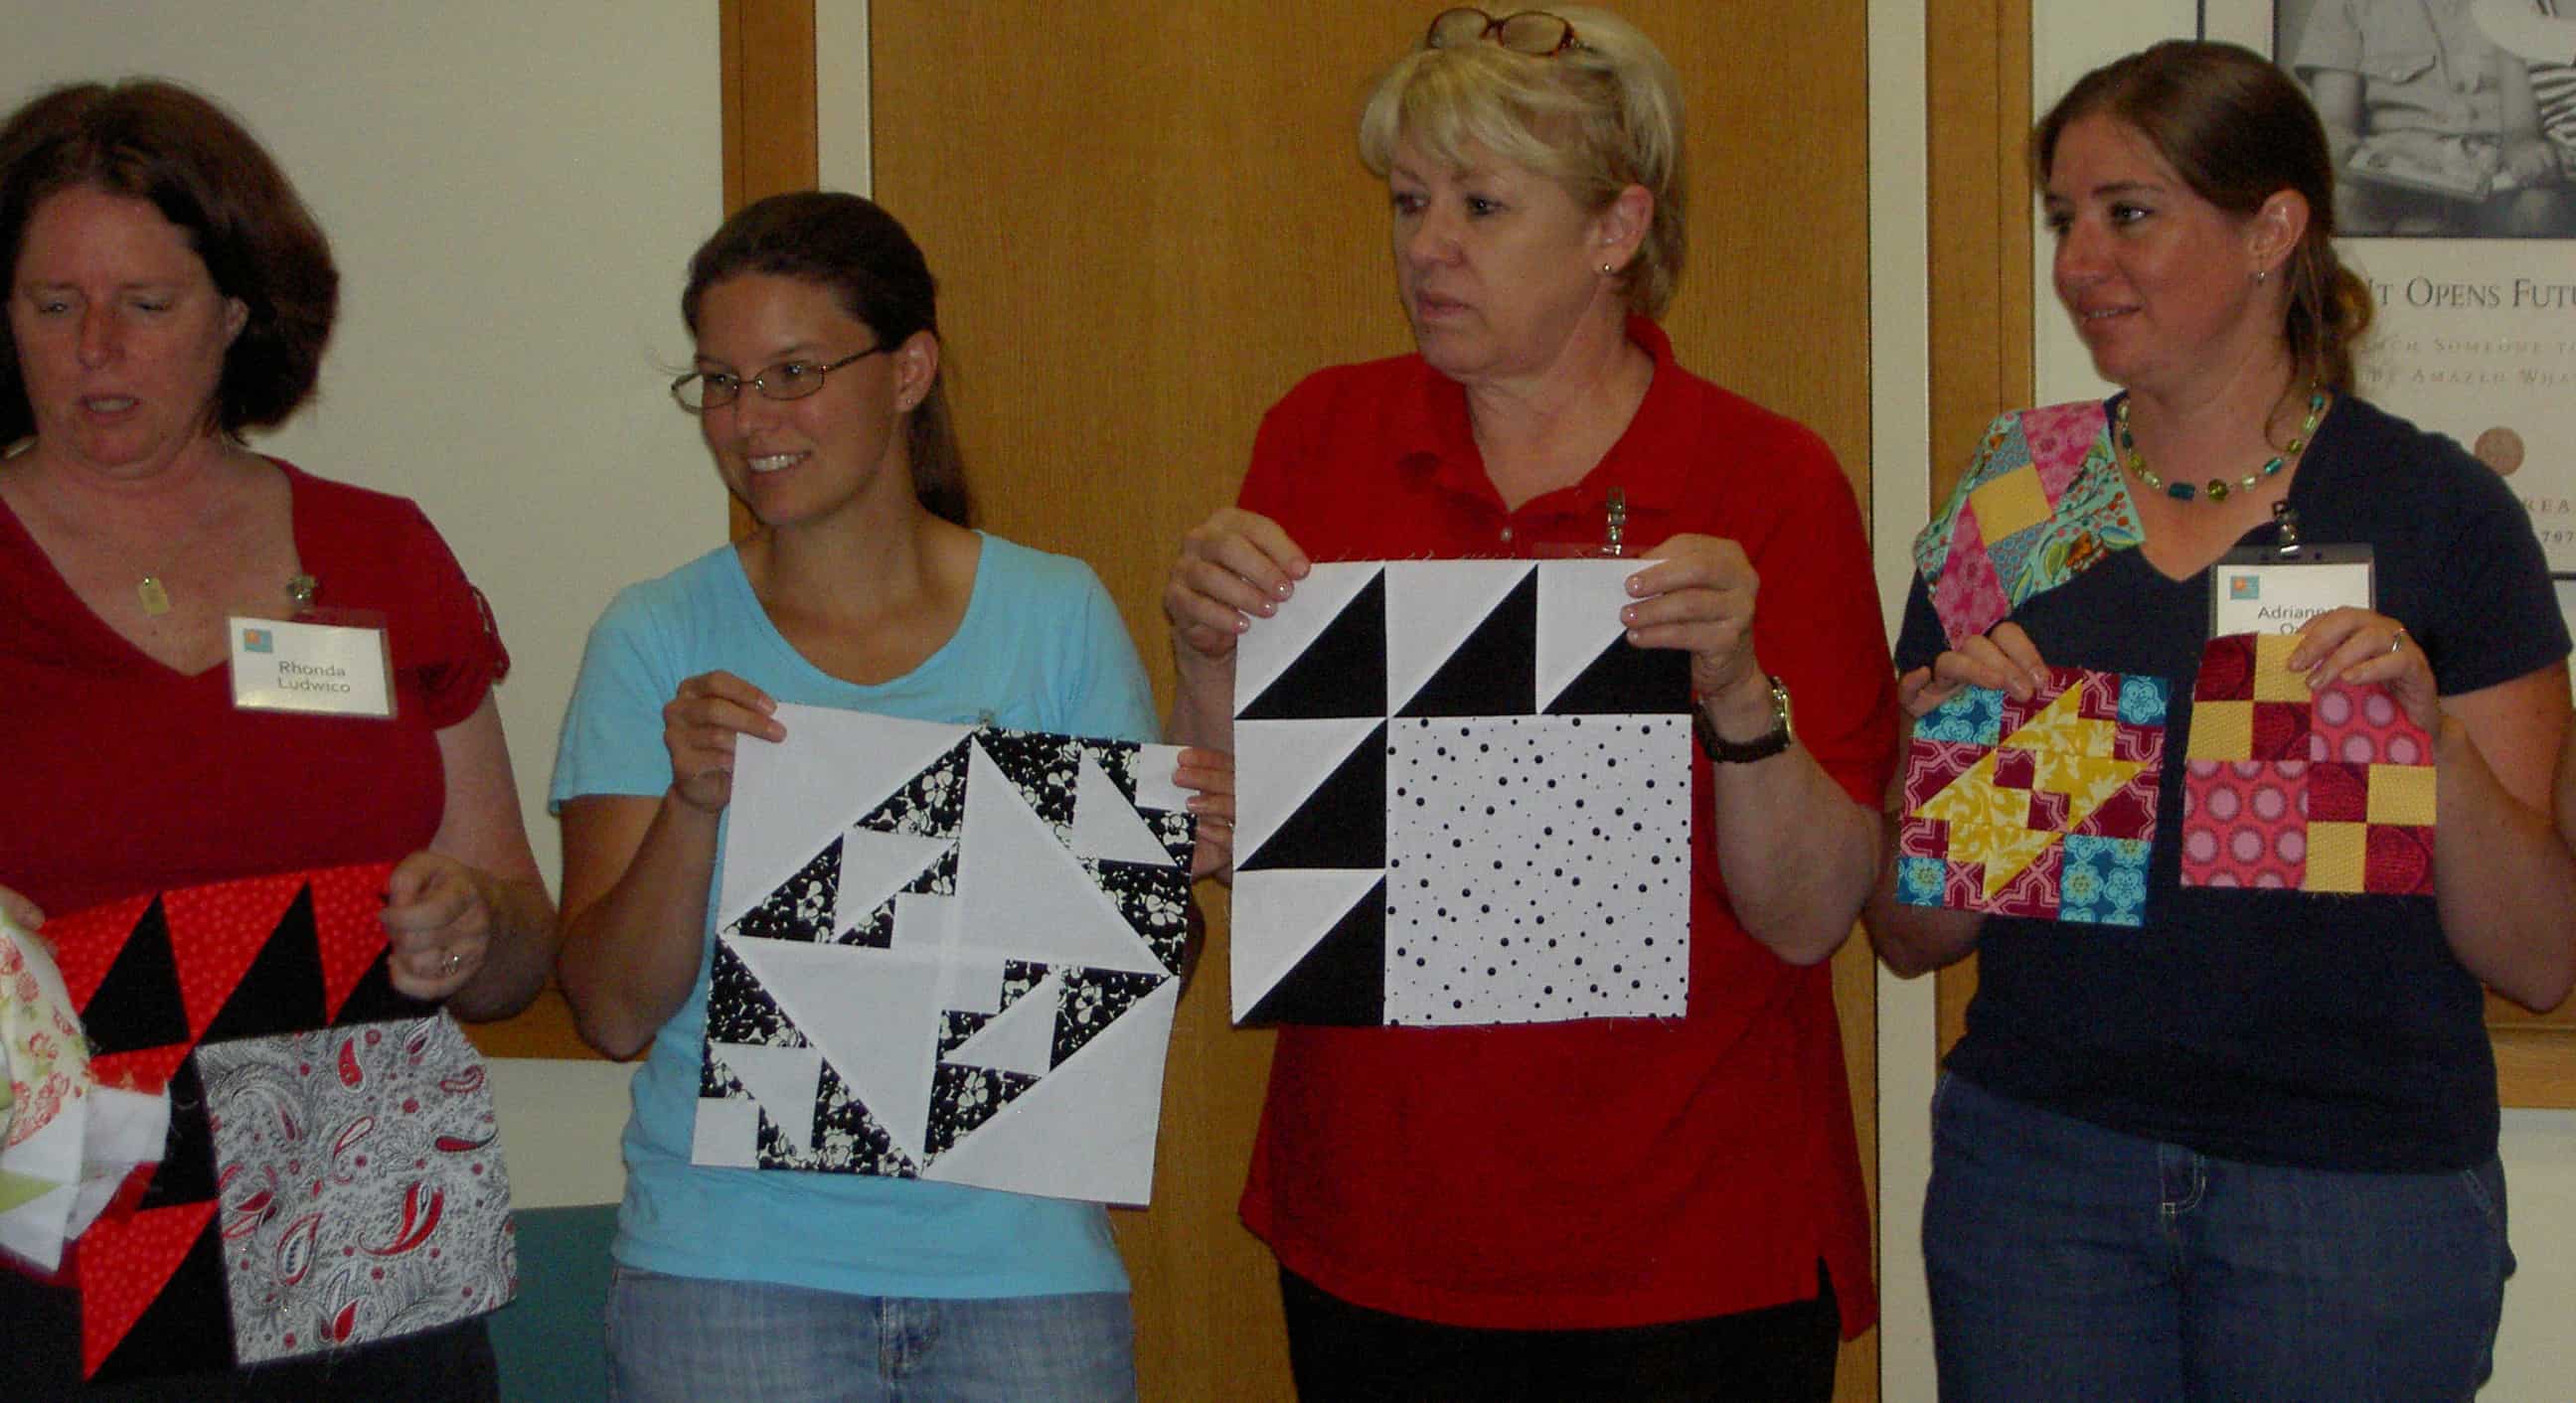
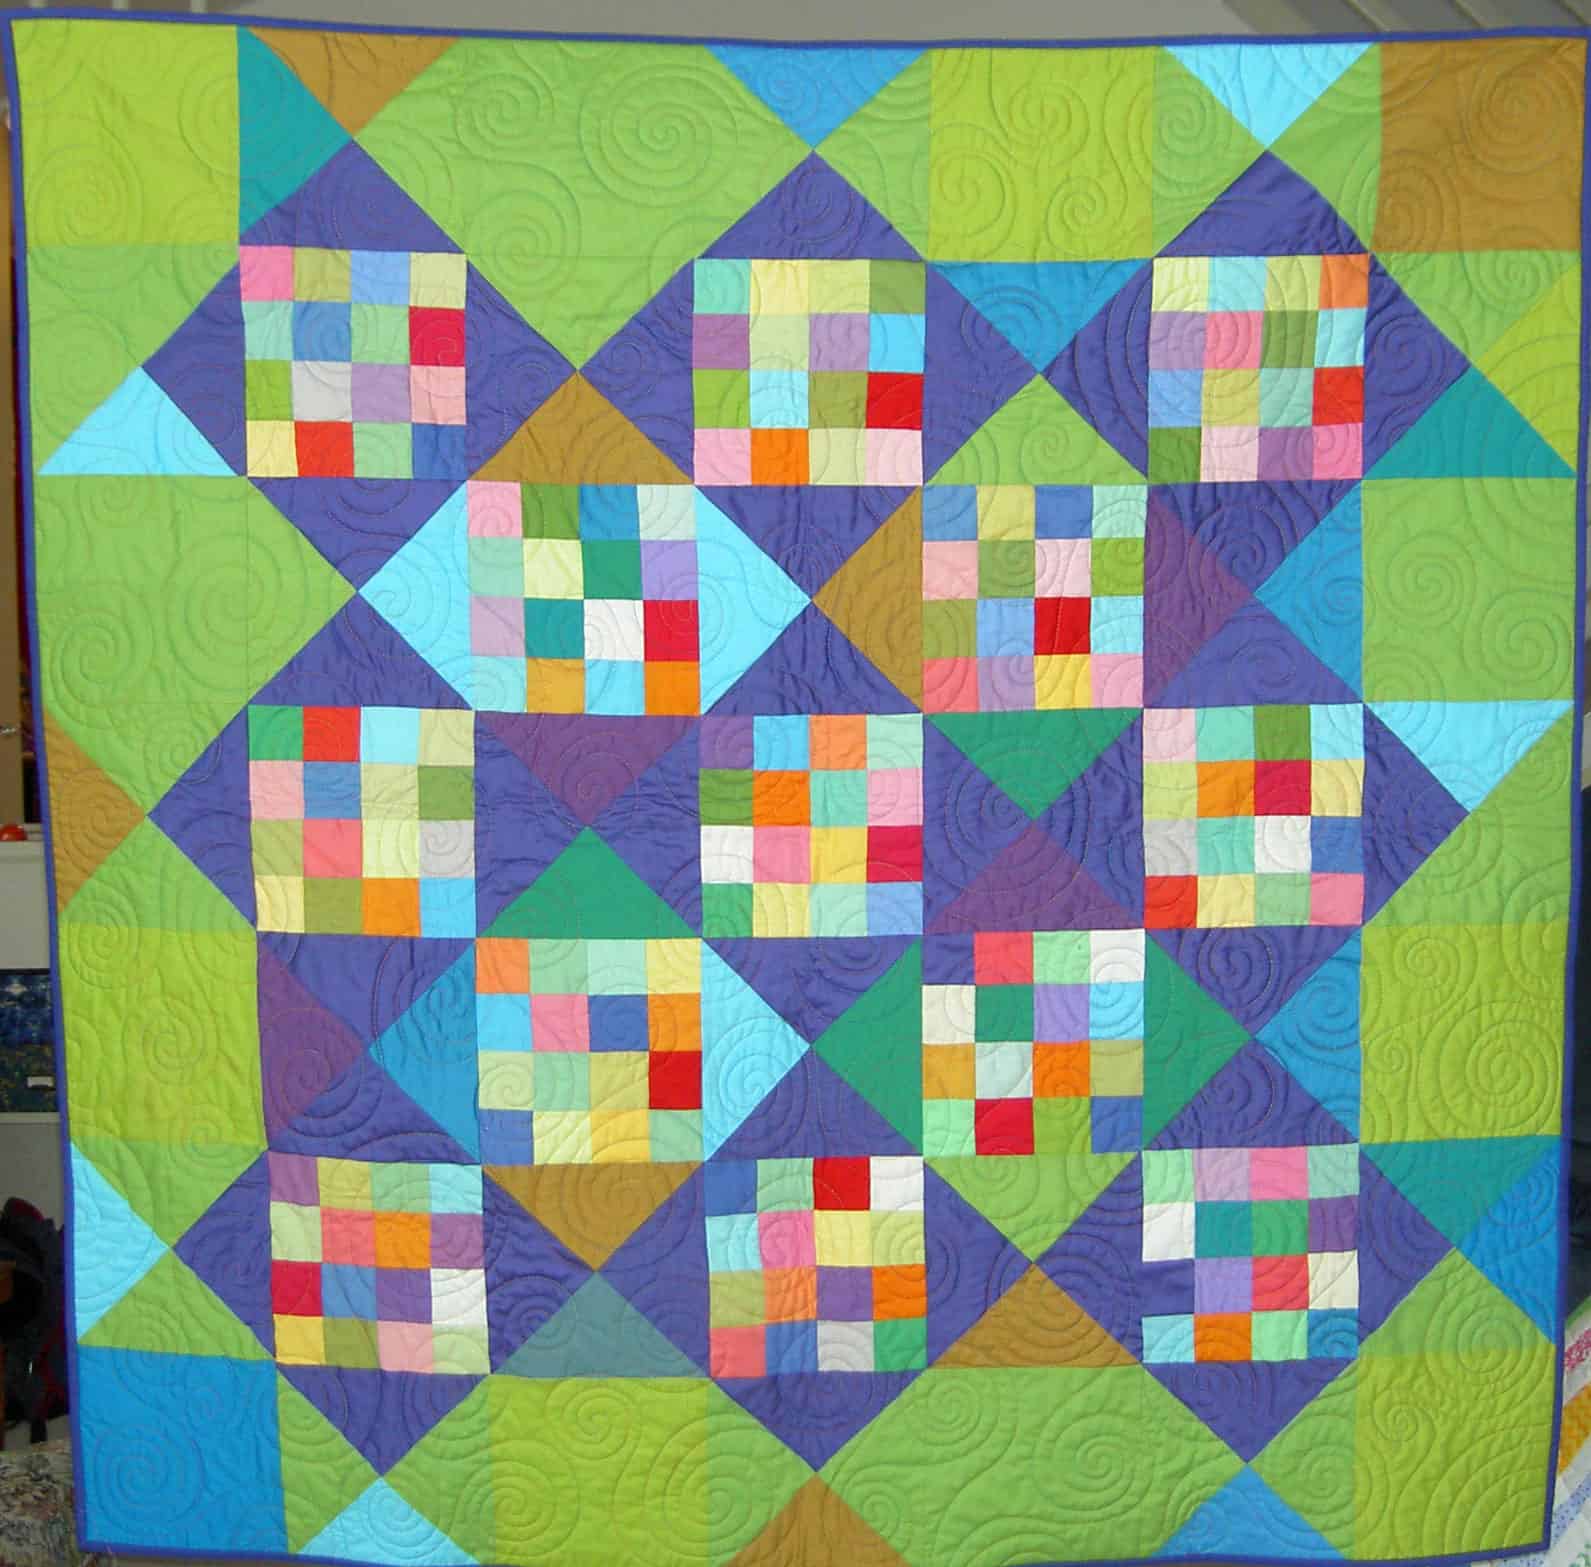
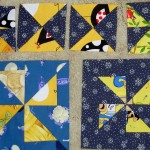
But, we are back in the Block-a-Long saddle. Thenewest block, which I named 9 Patch Foundation is a very similar block to the 9 Patch and the 9 Patch Go Round. Can you see how they relate to each other? Can you see that they are the same type of grid?
If you saved some strips or patches from either of those blocks, you can use them for this block. If you are brand new, I am providing the directions for your convenience.
Did you go and see the show? This is the last week to see it. Primal Green is a show of environmental art quilts at the Main Branch of the San Francisco Public Library.
The Wallace Stegner Environmental Center is one of the special collections at the Main Branch and, after a year of work with the Library, CQFA has over 20 quilts and other fiber art on display. The quilts all have an environmental theme. The show will hang until this coming Saturday July 30 and be available to viewers during the Library’s normal open hours. Don’t wait until the last minute! Oops! It is the last minute. Go TODAY!
Have you done them all? Have you done a significant number or some? Any?
Did you add links to your art? Contributed to the Flickr Group? Have fun and link to your responses! Ask a friend to join, too! You can do the prompts together.
Post the direct URL (link) where your drawing, doodle, artwork is posted (e.g. your blog, Flickr) in the comments area of this post. I would really like to keep all the artwork together and provide a way for others to see your work and/or your blog, and how your work relates to the other responses.
The Creative Prompt Project, also, has a Flickr group, which you can join to post your responses. Are you already a member? I created that spot so those of you without blogs and websites would have a place to post your responses. Please join and look at all of the great artwork that people have posted. Post yours and get kudos!
This block is similar to #10, the 9 patch Go Round. The sizes are very similar to the 9 patch. Use the Top Columns #13 Directions to make this block and post your results to your blog or the AQ Block-a-Long Flickr Group with a link in the comments section.
I designed these blocks so they would look complicated once put together, but they are easy enough to make quickly and you can use them as leaders and enders.
Yes, I am back in the saddle, too. I am working on the last few prompts from before the break, but back in the saddle.
This one is different from my normal style of response. I got a bug in my ear to do it this way after looking at some Zentangles, so voila’! I responded in a Zentangly kind of style.
One very exciting element of this photo that I noticed when I was processing the picture was the quality of the pen line. Oooh la la! I really like the way the line looks. If you click on the picture to enlarge it, you will see the line. You will also be able to see the detail of my inexpert drawing, which will hopefully encourage you to just respond. The pen I used is one that I use regularly for writing. It is a Pilot G-2 07.
Have you done them all? Have you done a significant number or some? Any?
Did you add links to your art? Contributed to the Flickr Group? Have fun and link to your responses! Ask a friend to join, too! You can do the prompts together.
Post the direct URL (link) where your drawing, doodle, artwork is posted (e.g. your blog, Flickr) in the comments area of this post. I would really like to keep all the artwork together and provide a way for others to see your work and/or your blog, and how your work relates to the other responses.
The Creative Prompt Project, also, has a Flickr group, which you can join to post your responses. Are you already a member? I created that spot so those of you without blogs and websites would have a place to post your responses. Please join and look at all of the great artwork that people have posted. Post yours and get kudos!
stem cell
flower stem
starting point, basis
The Science, Technology, Engineering, and Mathematics (STEM) Education Coalition
The stem is the component on a bicycle that connects the handlebars to the steerer tube of the bicycle fork. (Wikipedia)
organic skincare company
stop or reduce, as in flow or tide
stems of words
stemming
Definition: 1. the ascending axis of a plant, whether above or below ground, which ordinarily grows in an opposite direction to the root or descending axis. 2.the stalk that supports a leaf, flower, or fruit. 3. the main body of that portion of a tree, shrub, or other plant which is above ground; trunk; stalk. (I really like #1, especially ascending axis…)
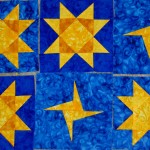
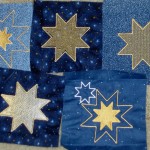
Friendship Stars and Sawtooth Stars are both easy and relatively fast to make.
All star blocks are welcome!
Block background: dark blue
Block design: Yellow star (any pattern, technique, eg. embroidery, painting, silkscreen, etc)
Block size: 8? finished (8.5? unfinished) or smaller (we will work with any size)
Remember to sign your block!
Heat may be defined as energy in transit from a high temperature object to a lower temperature object. An object does not possess “heat”; the appropriate term for the microscopic energy in an object is internal energy. The internal energy may be increased by transferring energy to the object from a higher temperature (hotter) object – this is properly called heating.
extreme heat
heating and cooling systems
Lickin’ the Heat
turn up the heat
when the heat rises
put the heat on
Help Desk software
dry heat
“If it ain’t the heat; it’s the humilty” — Yogi Berra
heat safety
“Anger and hatred cannot bring harmony. The noble task of arms control and disarmament cannot be accomplished by confrontation and condemnation. Hostile attitudes only serve to heat up the situation, whereas a true sense of respect gradually cools down what otherwise could become explosive. We must recognize the frequent contradictions between short-term benefit and long-term harm.” – Dalai Lama
rising heat
feel the heat
“If you can’t stand the heat, get out of the kitchen” (widely attributed to Harry Truman)
summer heat
heat relief
heat transfers
commercial heat press
Beat the summer heat
desert heat
Havin’ a Heat Wave [a tropical heat wave] – Marilyn Monroe
Post the direct URL (link) where your drawing, doodle, artwork is posted (e.g. your blog, Flickr) in the comments area of this post. I would really like to keep all the artwork together and provide a way for others to see your work and/or your blog.
The Creative Prompt Project, also, has a Flickr group, which you can join to post your responses. Are you already a member? I created this spot so those of you without blogs and websites would have a place to post your responses. Please join and look at all of the great artwork that people have posted. Post yours and get kudos!
This block is very similar to last week’s block, 3 Rail Fence. It is a good example of how easy it is to design blocks. I split the top rail and, voila’, a new block. Directions for Split 3 Rail Fence are available.
If you have made one of the blocks, put a link to a picture of your block in the comments section below. I would love to see them.
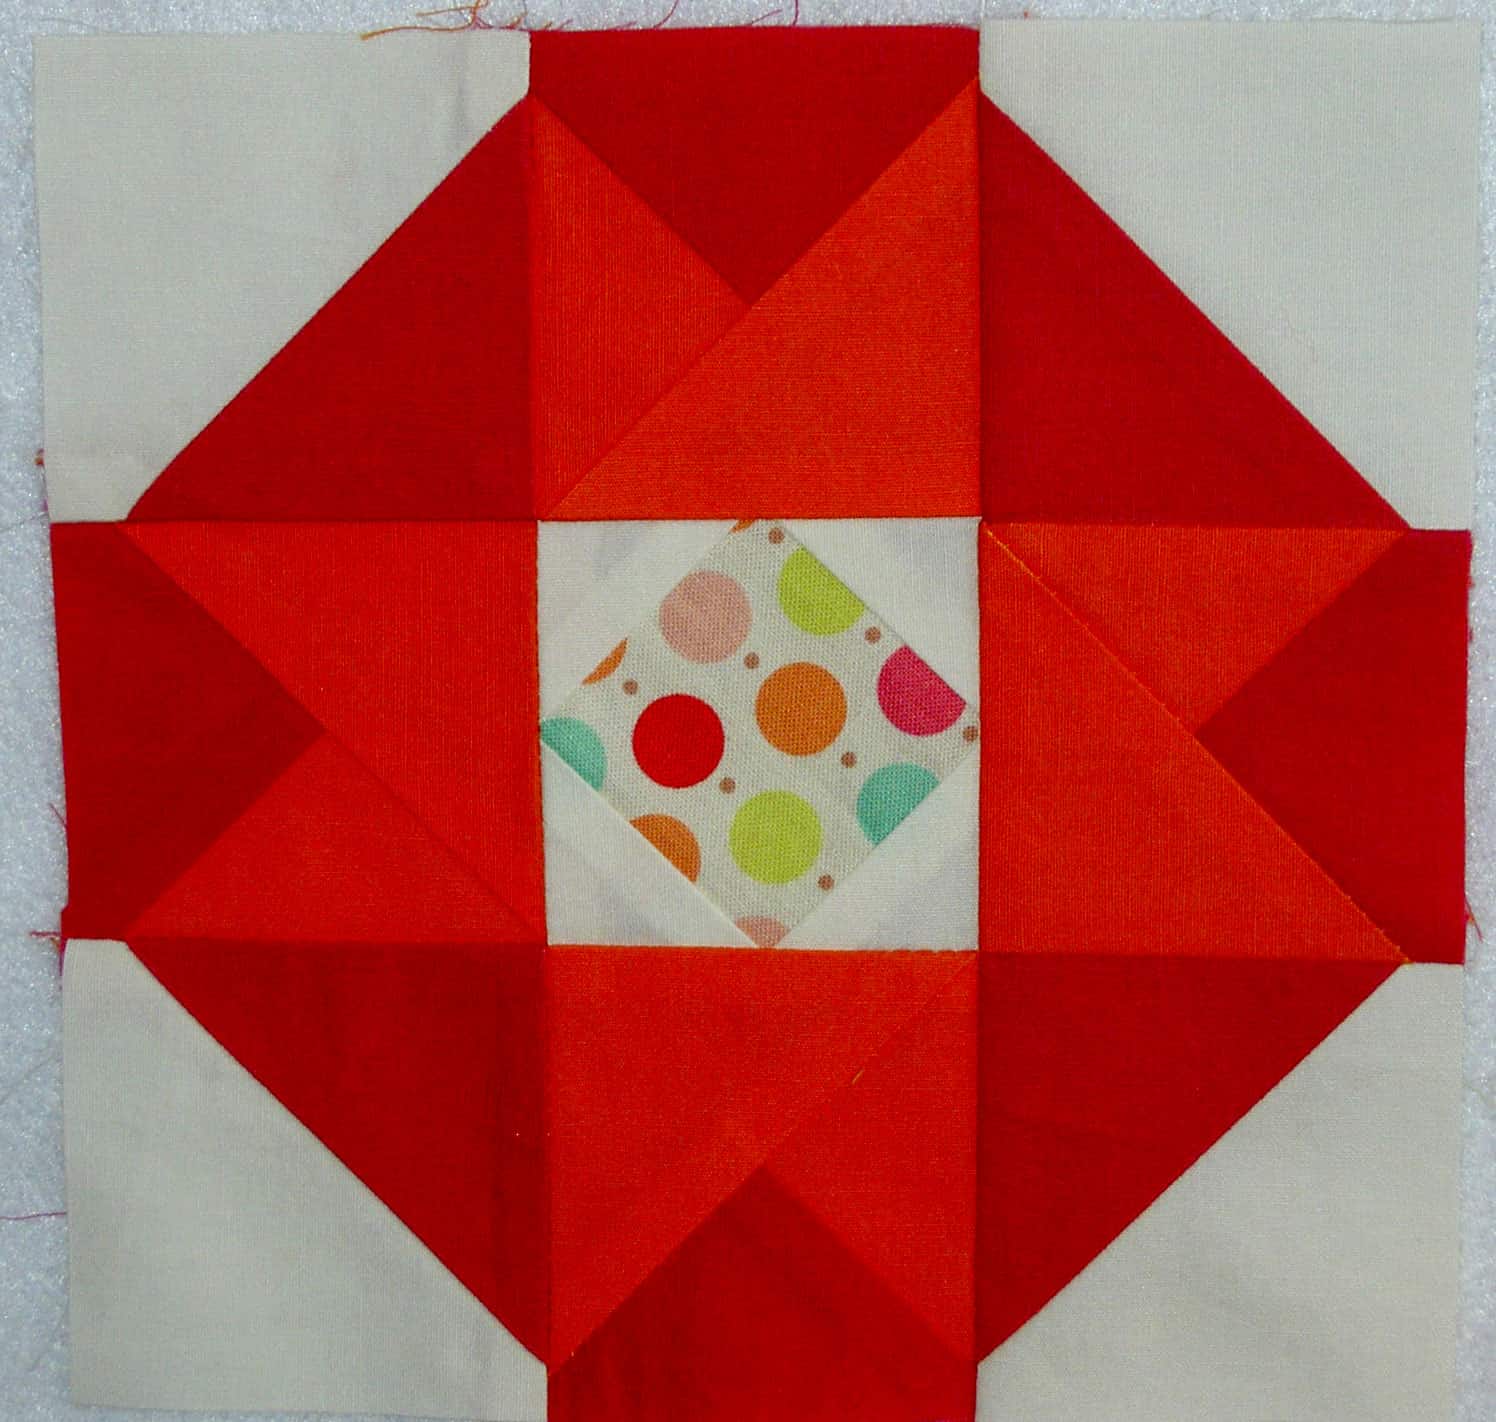
Kristen emailed me, and a few friends, to ask for Lovey blocks for a mutual friend who needed some quilty hugs. I spent an hour or so yesterday making these 6″ Sawtooth Stars for the quilt. Ever since I saw how many of these little stars TFQ could churn out, they are my go to pattern for donation blocks.
These blocks are small and I know it takes a lot to make even a lap/wrap around quilt, so I may make some more. As I was looking at the blocks on the design wall, I was also looking at my Sampler blocks and wondering how some small Double Four Patches would look in the same fabrics? Stay tuned.
Lovey block #2Lovey block #3
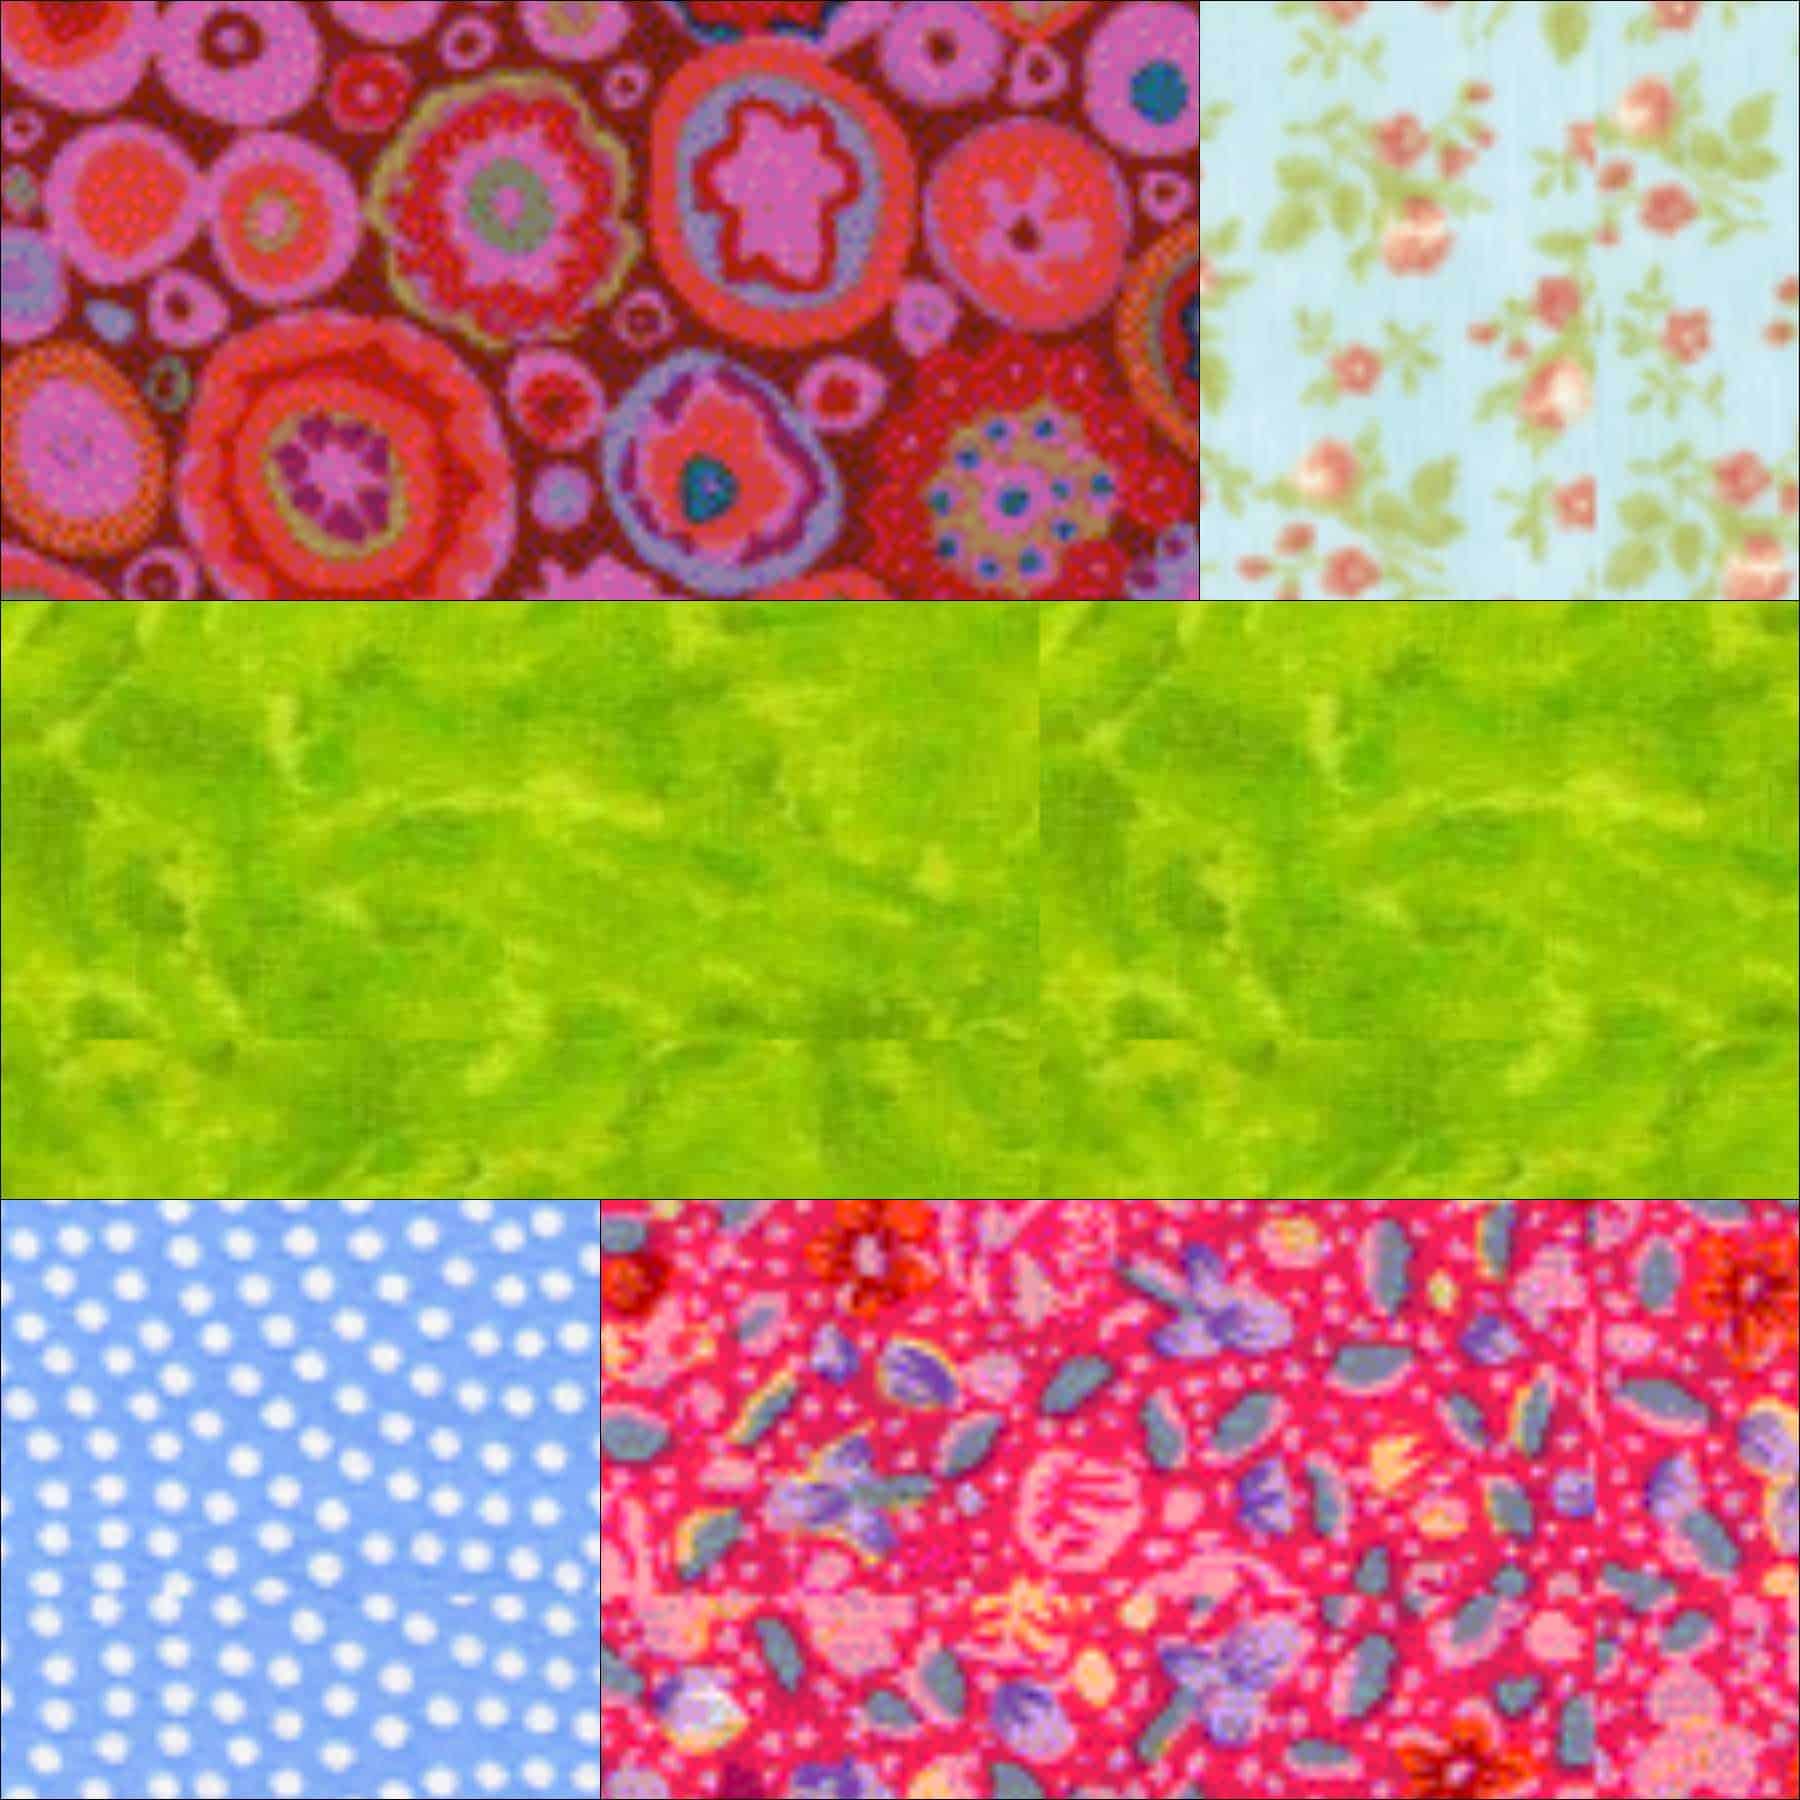
This little project gave me the opportunity to work with orange. Not sure why orange popped into my head when Kristen said ‘bright’, but I think it works. I was really pleased that I stopped being lazy and pulled down my bin of orange. Orange isn’t associated with a gender, necessarily, and this was a good opportunity to get reacquainted with some really nice fabrics. The cool thing is that I also cut some pieces of the fabrics for the FOTY 2011, so I can see them in that piece when these blocks go off to be in the Lovey.
Yes, it was one more thing to do on my long list of things to do, but it was also a good little project to warm me up for some concentrated sewing this weekend.
Ok, gang, I am doing my part by posting prompts. Please do your part by responding to them.
Post the direct URL (link) where your drawing, doodle, artwork is posted (e.g. your blog, Flickr) in the comments area of this post. I would really like to keep all the artwork together and provide a way for others to see your work and/or your blog.
The Creative Prompt Project, also, has a Flickr group, which you can join to post your responses. Are you already a member? I created this spot so those of you without blogs and websites would have a place to post your responses. Please join and look at all of the great artwork that people have posted. Post yours and get kudos!
The CPP will return tomorrow. Today is the last day to enter for prizes. The prizes I have will further inspire your creativity. Did you do your responses so you can be in the drawing?
Rules: Anyone who posts a response to any of the prompts between May 27 and the post for prompt #111 will be entered for a prize. You can post in the Flickr group and/or on the post for the prompt to which you are responding. Yes, I know the end of school and vacation time have kicked your butts, but it is time for creativity. 5 minutes a week is all I ask. I reserve the right to change the rules if I feel I need to do so.
If you do a response to any prompt (there are 110), you will be entered into the drawing. Anyone who gets a friend to do a response will get two entries. You have some drawing friends, right? Poets? Mixed media artist friends? Thread painters? Photographers? No creative endeavor will be excluded. Sign them up. BTW, all rules are subject to change at my discretion.
As a reminder: these will not be quilt related prizes, but creativity related prizes.
Angela is a new friend from the Bay Area Modern Quilt Guild. I have mentioned her a couple of times in conjunction with those meetings. She is the one that turned me on to the New Handmade book.
Angela participated in the Kona Challenge. She agonized and really worked hard on her design. I love her quilt. It shows her hard work and came out really well. Her agony paid off.
She wasn’t able to make this quilt from one charm pack. She bought extra fabric (don’t you think that is Robert Kaufman’s whole idea?). She played around with the pieces, drew designs, carried them around, cut and rearranged until she had something that was fabulous. It worked.
She asked “OK–you said sewing in a circle. What order do you do the seams, then? Sew piece 1 (center hexie) to piece 2, then piece 1 (center) to piece 3, then adjoining seams of 2 and 3?
I’m not positive I’d be able to keep track of my design if I sew in circles/chunks rather than rows. It’s sort of a mosaic-y thing. Once I get everything laid out, I’ll be able to tell better. It’s not a problem with method, just me knowing how best to make sure I get pieces in the right place!”
My response, slightly edited for clarity, was: If I understand what you mean, remember that the goal is to have no hexagon edges raw. This means that each side of the hexagon will be sewn to another side of another hexagon. This may be different on the edge of the quilt, depending on what the designer (you!) decides to do about borders, but for the middle, you want each hexagon edge to be sewn to another hexagon edge.
Remember: no sewing into the seam allowances!
I am going to show you how to do this with 3 hexagons to start. Go get 3 hexagons, I’ll wait.
3 hexagons
Put them on your design wall or on your floor and gaze at them. See the V formed by the top of the 2 bottom hexagons? Pay attention to that. You will need it later.
Start with 2 hexagons
First, you sew two sides together. These will be two separate hexagons that you have already marked. Remember, you can mark with the Jinny Beyer Perfect Piecer and a Sewline pencil or with your favorite ruler and marking tools.
Put one Hexagon right sides together
Put the first 2 hexagons right sides together and sew between the marks. Don’t sew into the seam allowance. If you did sew into the seam allowance, rip out the stitches outside of the marks.
2 hexagons sewn together
When you open those pieces you will have 2 hexagons sewn together. YAY!
3 hexagons
Second, for the third piece, you have to do a Y seam eventually (hope I explained clearly enough in the post how to do it). Remember that I told you to pay attention to the V? There will be a V where the two already sewn hexagons meet and that is where you will place the 3rd hexagon.
You will need to sew 3 seams total to completely add the third piece to the first 2 already sewn pieces.
Adding 3rd hexagon
Third, you line up the third piece with piece 1, right sides together, so that one side of piece three will be sewn to one side of piece 1. The side of piece one to which you sew should be one part of the V referenced above.
Fold over Hexagon 3 to hexagon 2
Fourth, once you have sewn one side of piece three to one side of piece one, you fold the neighboring side on piece three right sides together to the adjacent side of piece two. You will fold it on to the other side of the V.
Fifth, sew the second side of piece three to the second side of piece two.
3 hexagons sewn together
Now you have 3 hexagons sewn together. AND you did a Y seam. That wasn’t scary, was it?
Hexagon Flower
Sixth, press from the back so all of the seams twirl in the same direction.
In terms of keeping track of the pieces, because you want to sew them in a certain order, you need to lay the pieces out and look at them as you sew. I understand that many people don’t have a design wall. A design floor works just as well. You may need to pin your pieces together in the order you will sew them and take lots of photos. I also have pinned numbers to my patches or blocks so I know what order to sew in.
Let me know if you have further questions about the hexagons.
This is not a scary process. Just slow down a bit, follow the directions and you will be fine. You can do it!
Other:
Pam’s recent podcast about her hexagon project is posted on her site. she is very funny in calling this a Point and Laugh-a-long, which makes me laugh.
Sandy also posted a much more helpful and informative post that had actual content about how to do the project (not that Pam’s post was not helpful or informative, because it was) rather than just blathering on about process, which is what I tend to do. In Sandy’s most recent podcast she talks about the practical aspects of cutting hexagons and how she had success on the Kaye Wood method.
Here are a couple of different takes on hexagon quilts. This one from Random Thoughts do or di won’t work with the method we are using unless you figure out how to put the sashing in between the hexies. if you do figure that out, then you can use the directions all of us have posted to put the piece together. I don’t know if the sashing is more complicated than sewing a strip around the outside. This is a question I would ask TFQ about.
This photo from Sunset Sewing is a really nice variation of a hexagon quilt. I can’t tell whether it is a variation of the Spiderweb pattern.