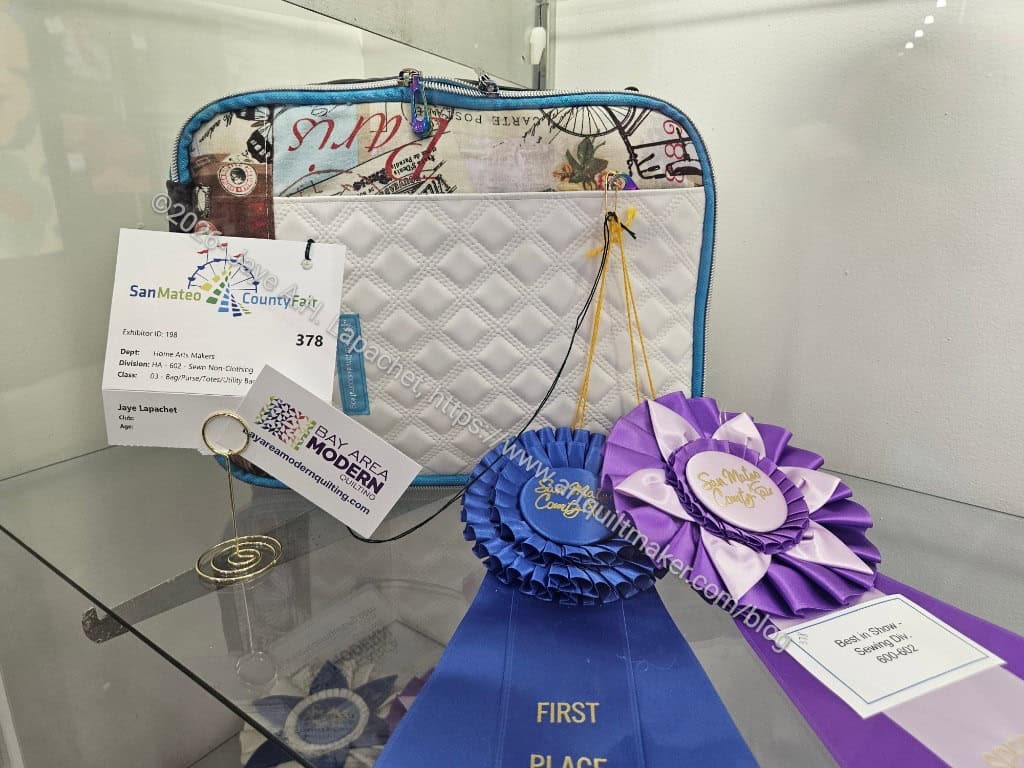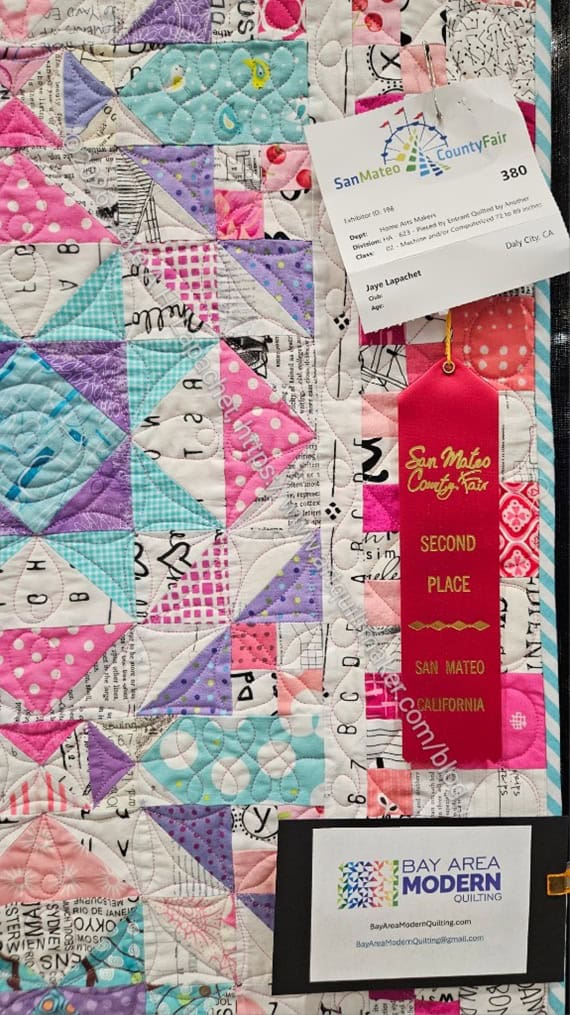
I finished Old Town a few months ago, but never posted about it. I think my quilt holders have been busy or out of town. After winning Second place at the Fair, I realized it and knew I needed to get it done.
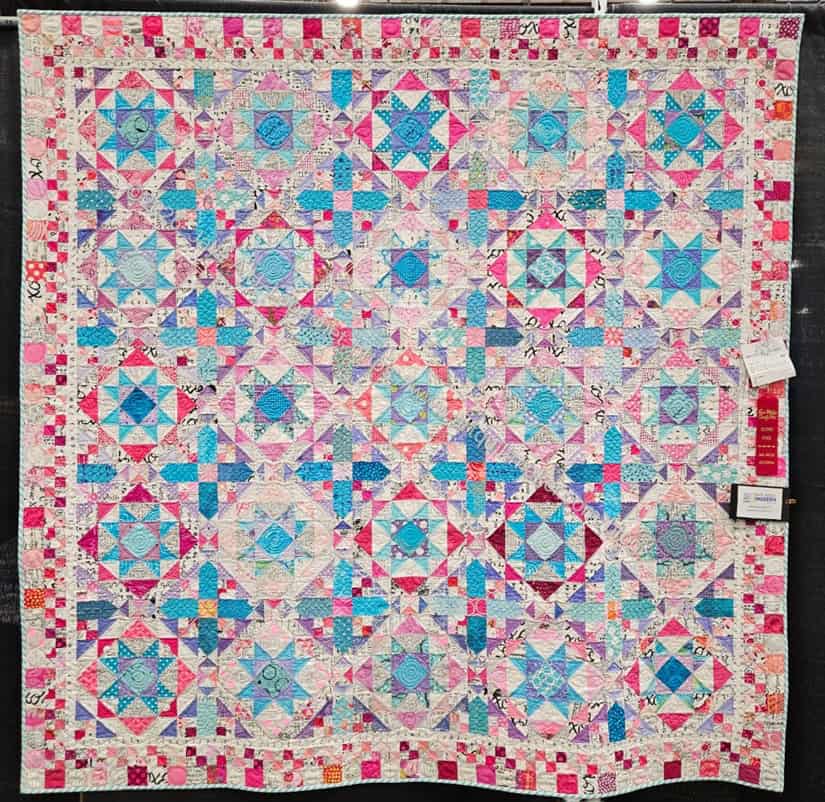
Old Town is finished! Yay! LOL!
Old Town is the 2024 Bonnie Hunter Mystery Quilt. I played along and sewed many of the blocks together at the BAM Retreat, then finished it up at home.
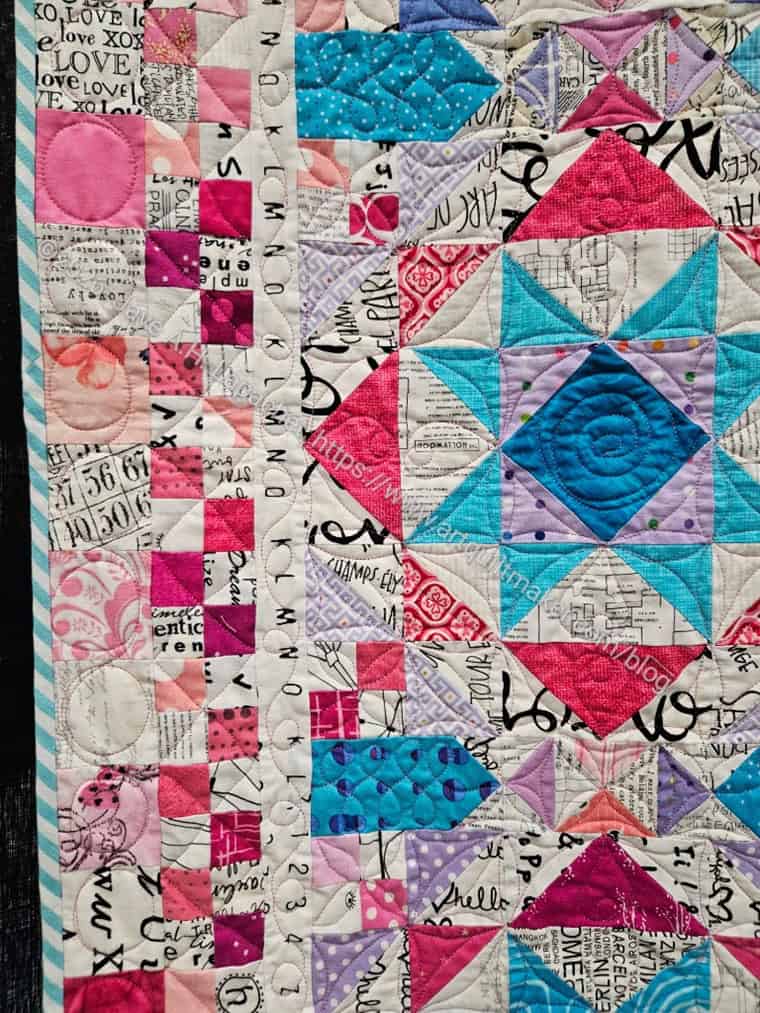
Colleen quilted it for me and here we are. I was really pleased to get second place since the category in which I entered it (quilted by another) is packed. This was a much easier quilt to quilt than Patchwork Palooza since once I decided how to quilt a block, I just had Colleen quilt all the blocks the same.