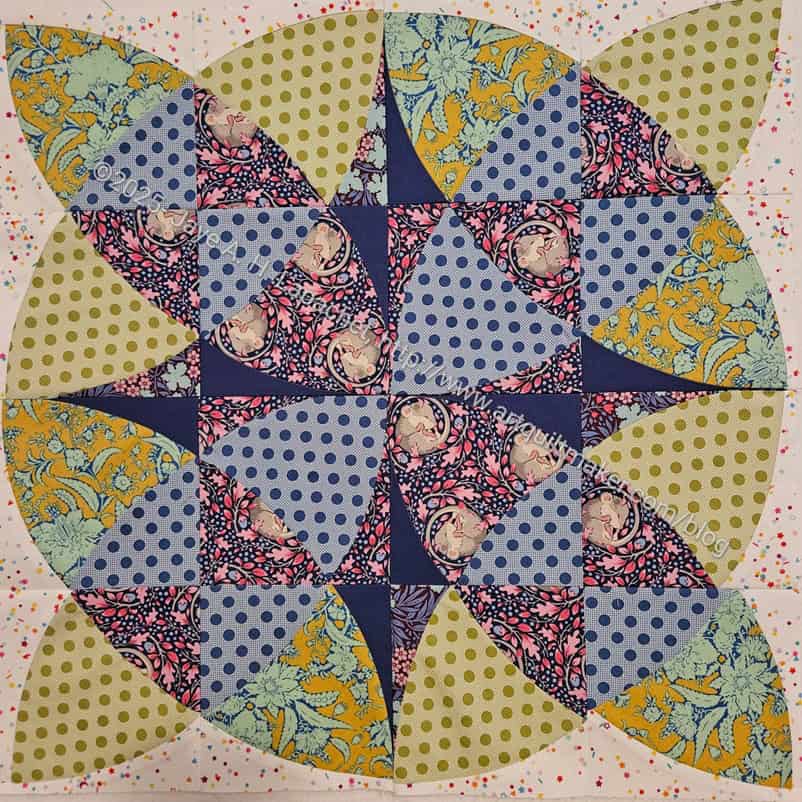
I finally sewed one of the flowers.
It is amazing how different it looks from the pre-trimmed and sewed piece.
Sewing this together really moved me along in the process. I felt able to work on the colors for Flower #1 again.
Commentary about works in progress, design & creativity
I finally sewed one of the flowers.
It is amazing how different it looks from the pre-trimmed and sewed piece.
Sewing this together really moved me along in the process. I felt able to work on the colors for Flower #1 again.
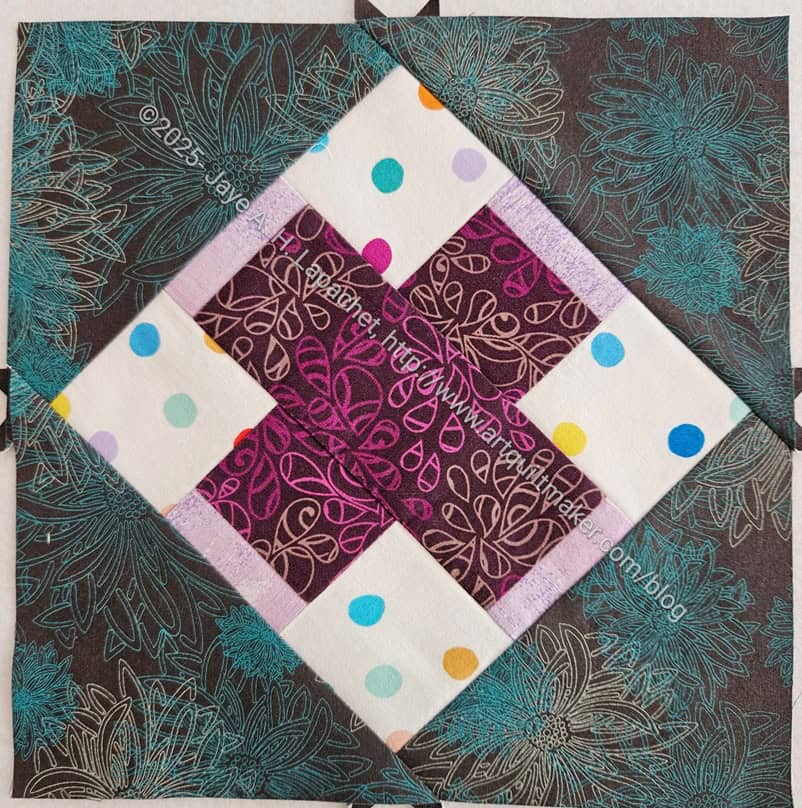
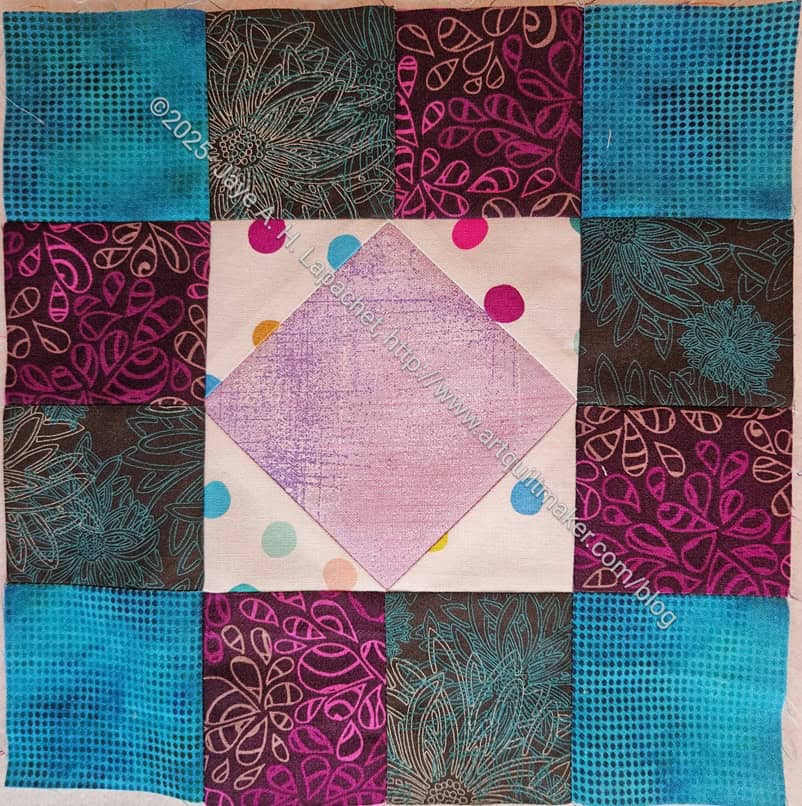
Block 7, North and True is finished!
It took me a long time, because I was sewing other things and using this as leaders and enders. It didn’t take years just longer than a small block should. I was working on donation blocks and sewing bits of the Country Revival/Sad Quilt together. So many projects happening at once!
I have to figure out if this needs to be trimmed. I think so, but getting the block done feels like an achievement.
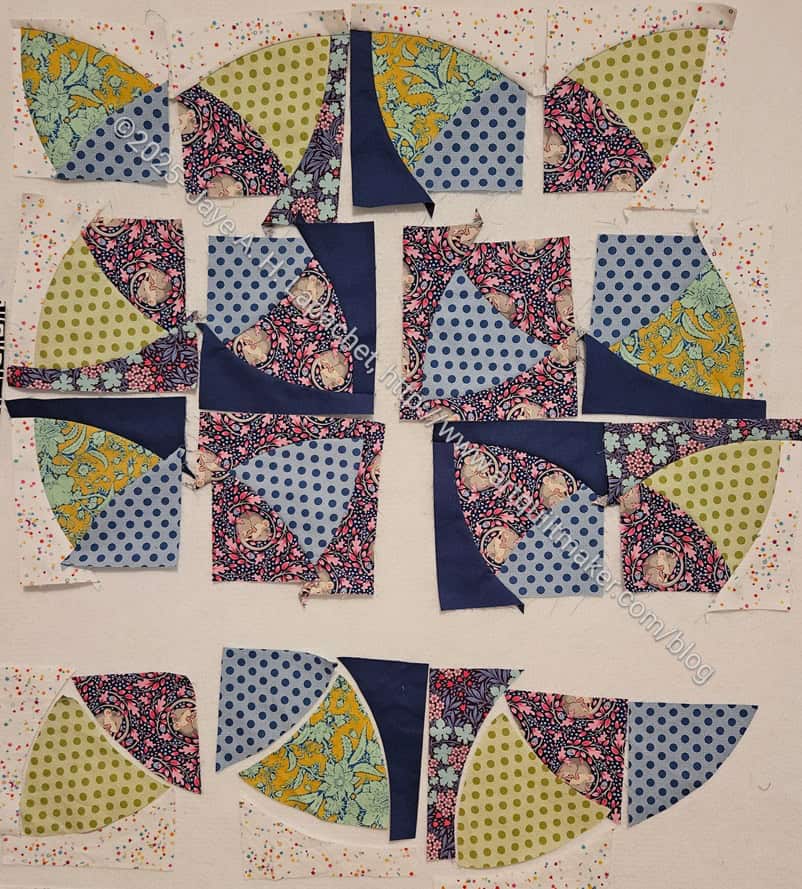
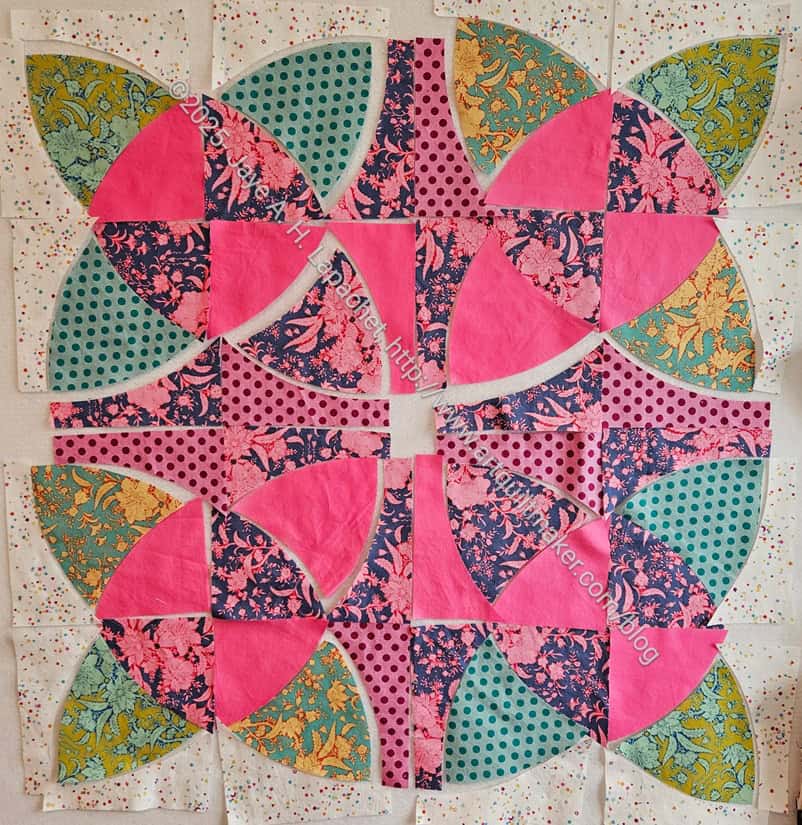
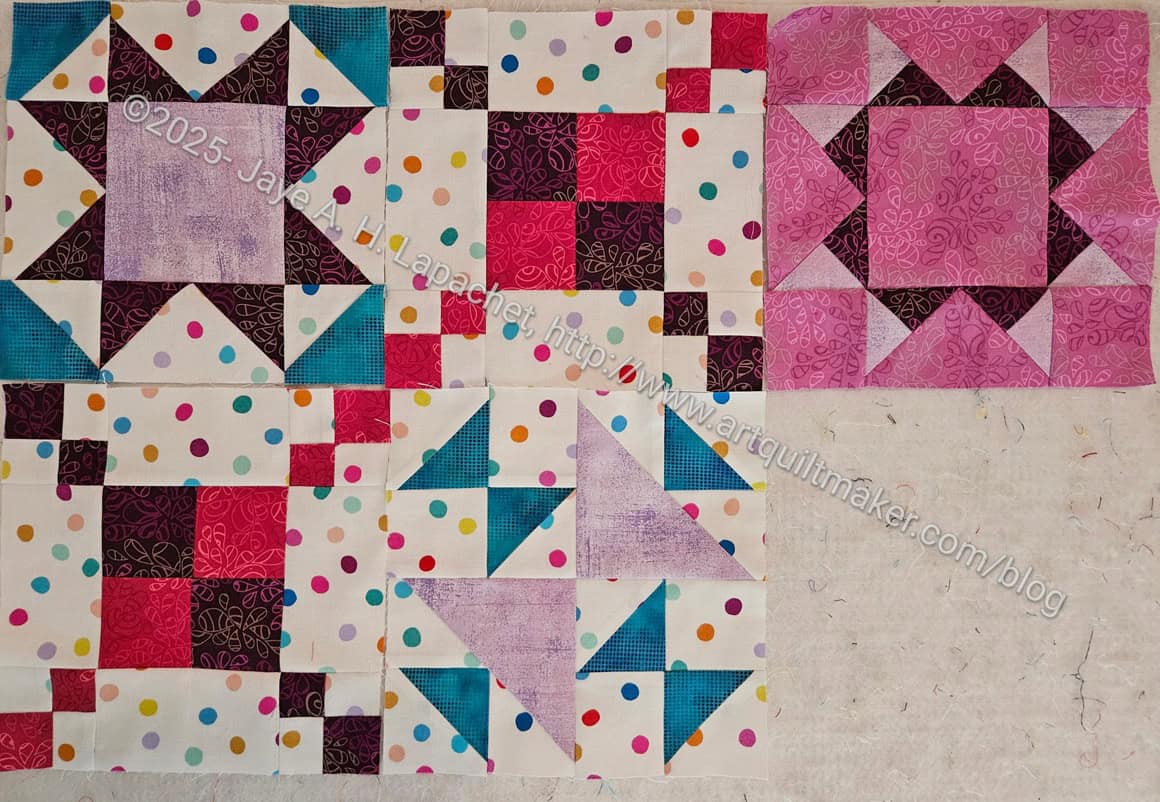
The piecing on this quilt takes a lot of time. I think it is because of the curves. That doesn’t mean it is difficult, just time consuming.
In the photo, the top left unit is pieced and trimmed. I wasn’t happy with the trimming. I ended up buying the SKOW recommended ruler, Sew Square 6**, though, despite my love for specialty rulers, I am fundamentally opposed to specialty square rulers. I would much rather the ruler I already have, the Quick Curve Ruler**, be marked well enough so I could trim with it. It isn’t impossible, but I found it to be very difficult. I haven’t decided if I need to make that upper left unit again. I don’t know if I trimmed too close to the green curved shape.
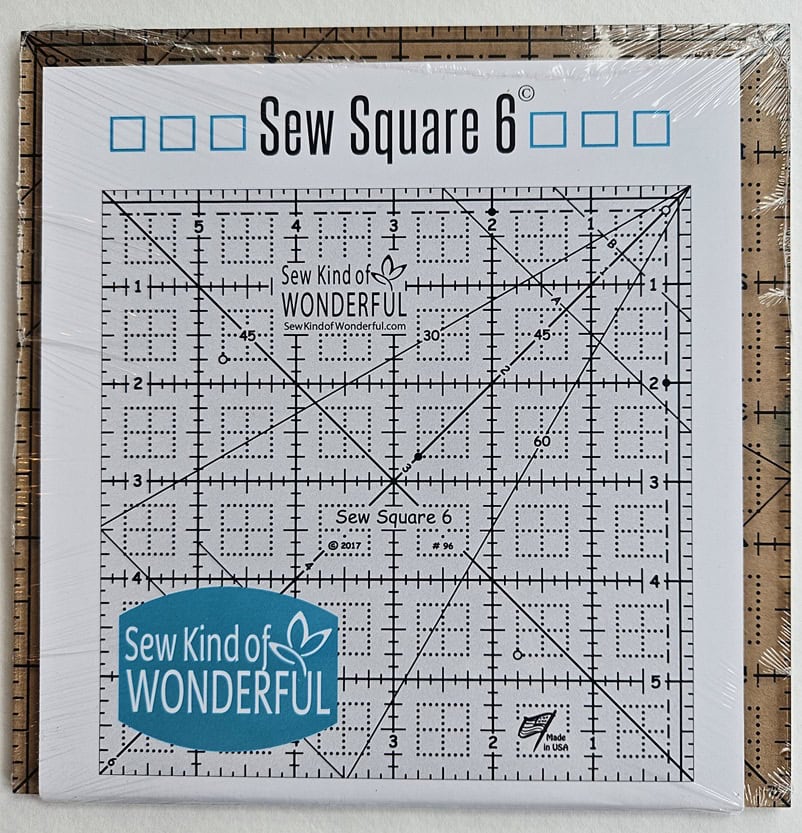
Except for the bottom row, the rest of the units have been sewn, but not trimmed. You can see how weird looking they are before they are trimmed. I bought the Sew Square 6** which I plan to use to trim the other units.
I didn’t buy the whole set; I just bought this one to see if I thought it was better than just using the Quick Curve Ruler.
Flower 1 is still unsewn. I am not 100% happy with the color selection. I bought a few solids, which I am hoping will help fix whatever the problem is.
**N. B. : Obviously, you should shop at local quilt shops and small businesses. However, if you are too busy or can’t find what you need there, I use Amazon affiliate links and may be paid for your purchase of an item when you click on an item’s link in my post. There is no additional cost to you for clicking or purchasing items I recommend. I appreciate your clicks and purchases as it helps support this website.
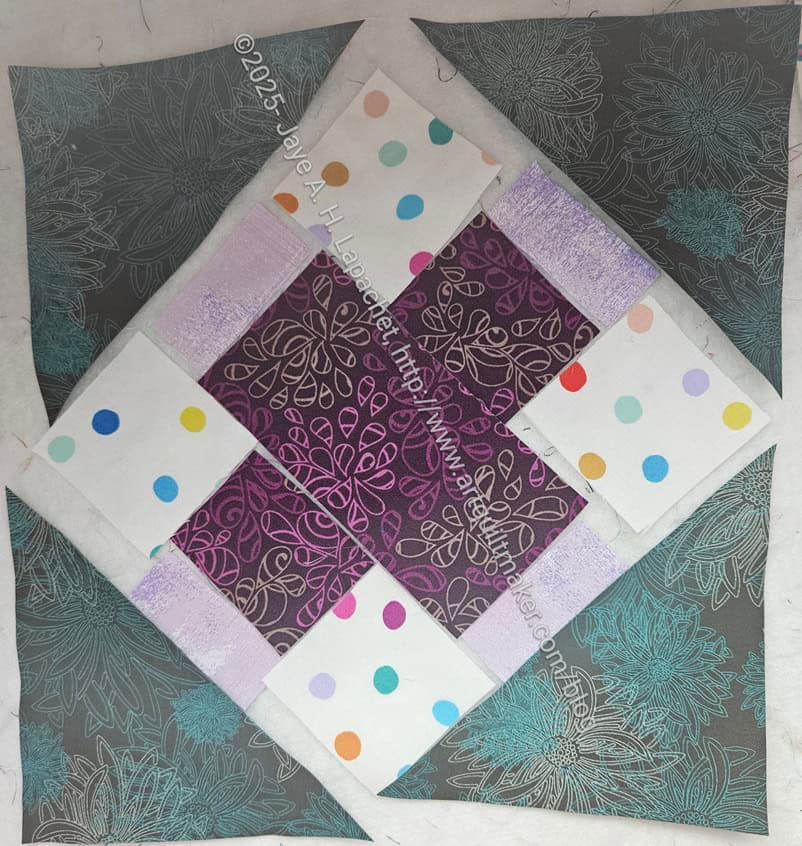
I am keeping up with Patchwork Palooza and am on to block 7.
As you can see it is cut out and ready to sew. I am unsure if I will have to trim it. The corner triangles look a little large.
I finished Patchwork Palooza Block 11! I am excited as I only have a few more blocks to make to catch up.
So far, I haven’t been able to find a block like this in either the or in Jinny Beyer’s The Quilter’s Album of Patchwork Patterns. I can’t believe nobody ever thought of it, but so far I haven’t found it categorized.
The latest Patchwork Palooza block came out on Friday and I am pleased that I finished it. I didn’t finish it until last night, but I don’t want to get behind again.
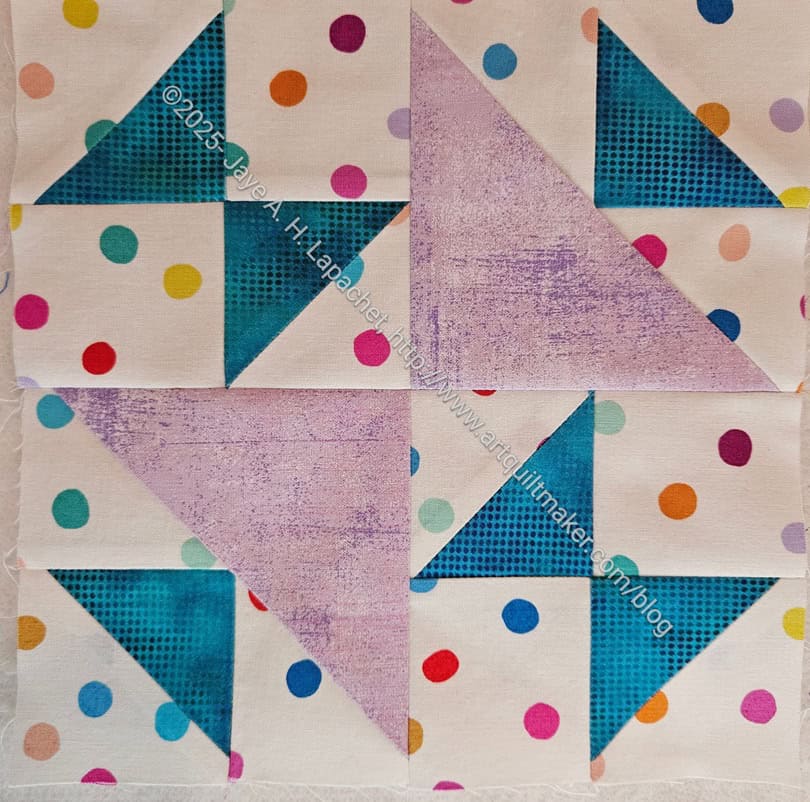
This block is called, by the Patchwork Palooza people, Set Sail. Historically it has several different names, including Old Maid’s Puzzle or Hour Glass or School Girl’s Puzzle. You can find this block in Barbara Brackman’s Encyclopedia of Quilt Patterns** as #1317.
The name Old Maid’s Puzzle is from Ladies Art Company #25. Not very P.C., as many of these names tend to be.
The Hour Glass name is from Grandma Dexter. I had never heard of Grandma Dexter and had to look it up. Grandma Dexter is listed in the bibliography of the Encyclopedia of Quilt Patterns** as a “series of booklets published in the early 1930s from the Virginia Snow Studios, apart of the Dexter Yarn and Thread Company and the Collingbourne Mills in Elgin, IL. Hmm. Interesting. More puzzles as I have never heard of that company either, but I am just interested and not an expert.
The School Girl’s Puzzle name is from Needlecraft Supply 1936, n.12.
I also found it Jinny Beyer’s The Quilter’s Album of Patchwork Patterns, where it is called as Crosses & Losses (73-9). The name comes from Ladies Art Company, 1897. Beyer says it is also known as Bouncing Betty (!!??!!) (Progressive Farmer, 1933), Fox & Geese (Finley, 1929) and Hour Glass, as mentioned above.
This is a block that I have always admired. I know I made a similar one for the Handbag Sampler. I don’t think I have ever made it otherwise, so it makes me glad to have the opportunity to try it again.
I have also made a few of the alternate blocks. I think there will be another piece of sashing, but for now, I have a few of the blocks laid out without it. I just chose some random blocks, though I see now that two of them are Sawtooth Star types. I’ll choose some others once I get more of the alternate blocks made.
**N. B. : Obviously, you should shop at local quilt shops and small businesses. However, if you are too busy or can’t find what you need there, I use Amazon affiliate links and may be paid for your purchase of an item when you click on an item’s link in my post. There is no additional cost to you for clicking or purchasing items I recommend. I appreciate your clicks and purchases as it helps support this website.
Is this a bag, do you think? On my computer, the folder is under ‘My Projects –> Bags”, but I wonder if it is a bag. I probably should call that folder ‘Small Projects’ instead of bags, but ‘Bags’ comes first in the alphabet, so doesn’t require as much scrolling.
I promised MaryC a pencil roll after she saw the one I brought to the organizer swap. I finally got started on it.
Yes, I am using the same fat quarter pack I used for the first one. I am using different fabrics for the pockets and flaps. In a way I am also trying to see how many projects I make with that fat quarter pack. I want to use a good portion of the FQ pack for each project, not just one piece. Obviously, I am using other fabrics, but I am still getting a lot out of the 3.25 yards.

We had a Sew Day on Saturday dedicated to making a group quilt that will be donated. Peggy has a pattern that uses different sizes of squares to make a quilt. I don’t know the name and I am not sure Peggy made it up. She probably found it somewhere. The directions were a bit confusing to start with, but easy once we got a few explanations and I drew some pictures.

We all brought a few squares that were the right size, so the quilt would be very scrappy. I made one center block and a couple of border blocks.
My center block didn’t look very nice by itself. The fabrics were scraps from various projects that were the right size. I wasn’t hopeful that my block would fit in.
The border block looked a bit better. While the motifs were quite different, I think having similar colors was better for a block.

In general, though, the quilt went together well and the variety of fabrics worked out.

The quilt looks like an HST quilt, but it didn’t go together that way at all. Unlike some methods of making HSTs, the bias was completely enclosed, so not a problem.
Peggy did a great job and the participants really stepped up.

I couldn’t help myself. I said I wouldn’t, but I really couldn’t help myself. I made two more blocks for the Handbag Sampler.
I decided that the quilt needed a few more blocks and I took the time on Sunday morning to choose a couple of easy blocks. I chose Sawtooth Star, because it is a favorite. I also chose Fox & Geese, because I thought it would look good with the other blocks. I really had to stretch that blue fabric, because I had barely enough to make the background.

The blocks went relatively quickly and I think they look good with the other blocks. I am well on my way to finishing the quilt.
I got online with Latifah Saafir the other day as part of her Mystery Quilt project. I almost didn’t, but am really glad I did, because it was me, Latifah and one other person for almost the whole session. I didn’t have a Zoom background installed so the other participants could see my small design wall. Latifah asked about the Blue Improv piece hanging behind me and we talked about it for awhile. I almost swooned. Latifah admiring MY piecing.

One of the things I got to do during the session was show my finished Triumphant top. Despite having continual cutting problems, I was able to finish the top. Now I need to make the binding and backing then it will be ready to go to Colleen.
I am pleased with how it came out. I am glad it is done, but happy with the finished result. It is really different than other quilts.
I am also not feeling as cranky about the rulers as I was. I think I will try the HuRTy PuRTy design to try and get the way those rulers work stuck in my mind.
I didn’t get Triumphant on the wall as early on Sunday as I would have liked. I was busy finishing the Sidewalk #2: Blue Strips so Triumphant would have some design wall space.

When I finally did get it on the wall, I found that I had miscounted the pieces I cut at Sew Day. I was short about a dozen units. Sigh.
The photo doesn’t show any of the side border pieces I cut on Saturday. You’ll have to trust me when I say it wasn’t enough.
I was actually glad to get it on the wall as I could see what I was working with. The main part of the quilt is just a giant 9 patch, so I sewed it together and then sewed the top and bottom borders on which I had finished a week or so ago.
Then I sat down and had to correlate the pieces I had with what I needed. Once I figured out what happened, the cutting went relatively quickly.
Now on to sewing.

I spent all day Sunday finishing this top. I tried to focus on putting the blocks into chunks and then the chunks together as a top.
In photos the piece looks like it is vibrating. In person it doesn’t look like that at all.
I am really excited that this top is done.

The way this piecing is going is I cut a lot wrong, then I figure it out, cut it right and piece cool units together. This is the case with Blocks 4 & 5.
However, I like this quilt, am pleased with the fabrics I chose and am learning a lot.
Except for a couple of background strips, these blocks are done and I have the patterns for blocks 6 & 7. I plan to work on this weekend.

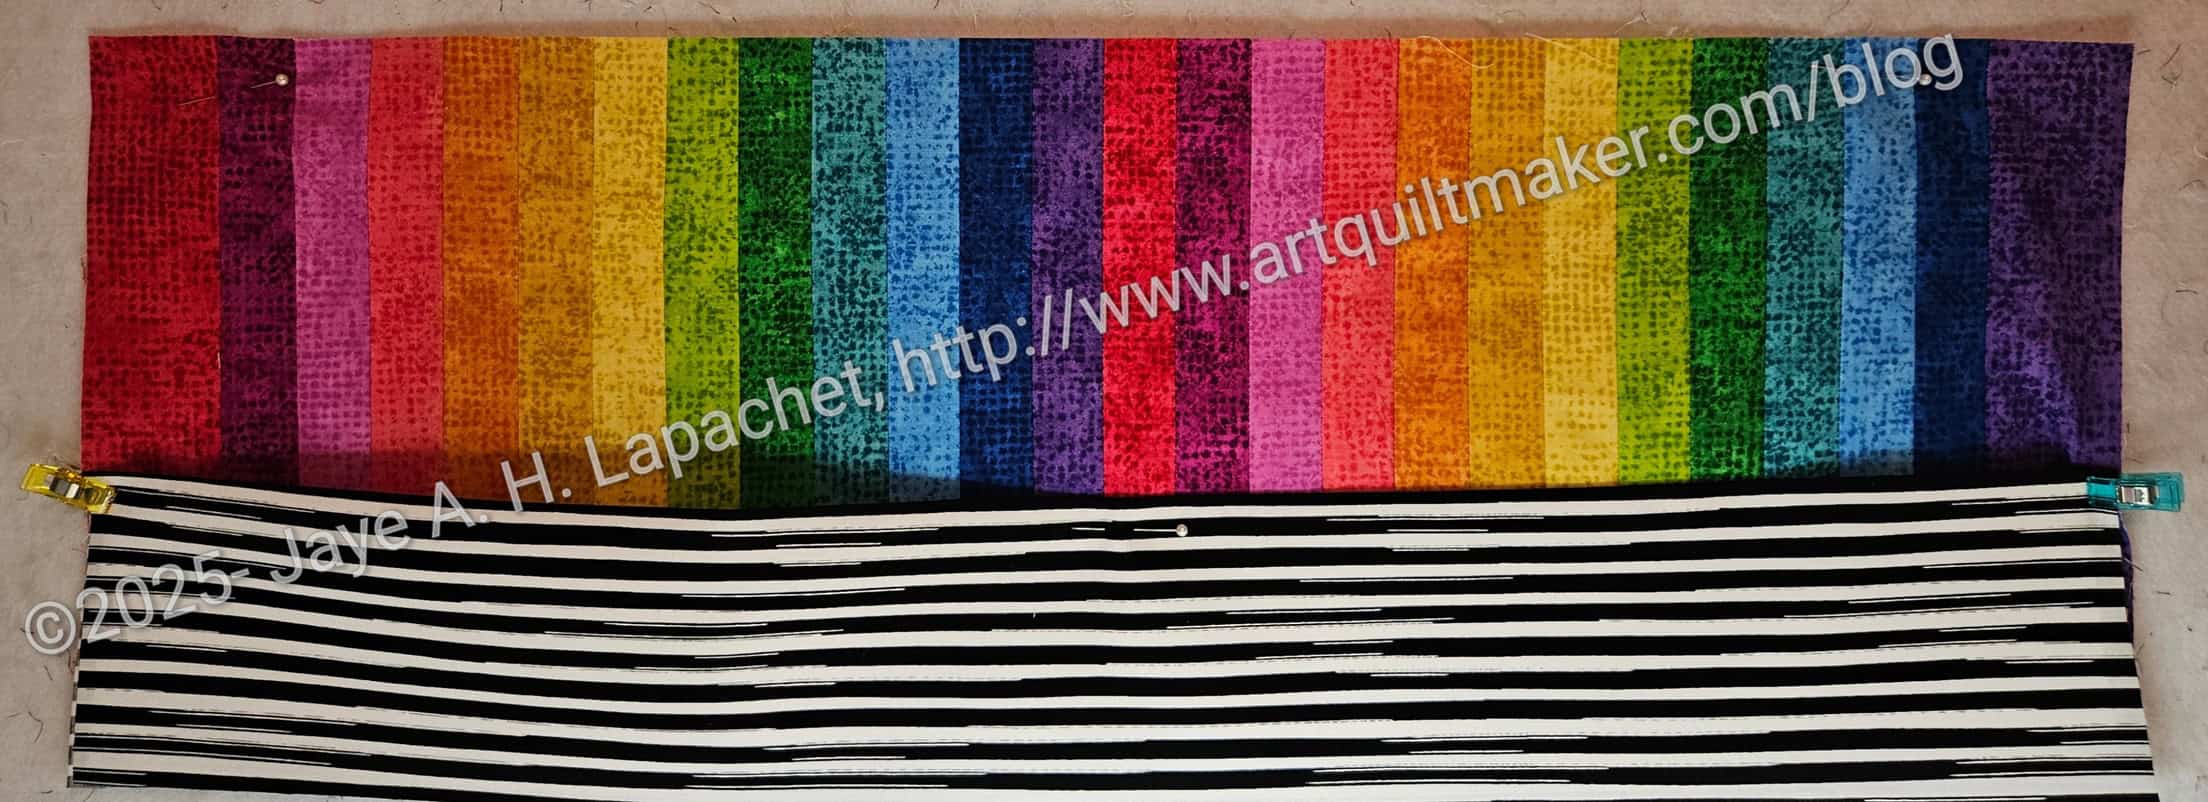
Putting Chain Link up on the design wall the other day made a huge difference. I could finally see what was going on with this quilt. I made good progress over the past couple of days and am pleased that this quilt is finally going in the right direction.
In the photo, the fabrics look plaid. Except for a couple of gingham charms, there isn’t any plaid. The rainbow stripes contribute to the effect, I think.
I worked really hard on putting the strip sets together. It is a tedious task, but had to be done, so I just got on with it. Once all the blocks were in place, I could see what was going on with this quilt. I could see how to put it together and the way the design was supposed to work. I don’t know why I couldn’t see that before.
Now on to chunking.

After cutting a lot of pieceswrong and having to re-cut I finally finished block 1. What I figured out is that I am struggling to cut the HRT B pieces.
For the next block, I will label much better. I had a hard time figuring out which ruler to use for trimming.
I am pleased with the fabrics I chose.