The other day I showed you the rest of the Flower #1 metamorphosis for the Country Revival/Sad Quilt. Here I am going to show you the entire process, though go back to the first post, then the second to read the explanation of whole process.
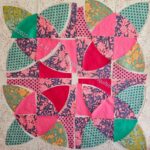
Country Revival/Sad Quilt flower motif
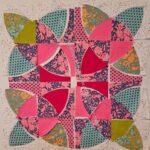
Country Revival/Sad Quilt flower motif with leaves v.2
Country Revival/Sad Quilt flower motif with leaves v.3
Country Revival/Sad Quilt flower motif with leaves v.4
Country Revival/Sad Quilt flower motif with leaves v.4
Country Revival/Sad Quilt flower motif with leaves v.5
Country Revival/Sad Quilt flower motif with leaves v.6
Country Revival/Sad Quilt flower motif with leaves v.7
I am probably more fascinated by my own process than you are. As a result, I may publish another post later today. Stay tuned.
I received the stack of solids I ordered, so it was back to Flower #1 for more changes. you might remember how much I worked on making incremental, small changes the first time around. I have been looking at it as I sewed Flower #2 and still wasn’t 100% happy.
Country Revival/Sad Quilt flower motif with leaves v.3
I decided to pick out some solids and see if I could make Flower #1 look better. I started off with a vast improvement over the original. Adding some more greens made the block much more interesting. I decided that there was too much solid pink, so I replaced some of the solid pink with some Emerald. The Emerald is about halfway down the stack in the photo above.
Country Revival/Sad Quilt flower motif with leaves v.4
I put the Emerald in the corners on the bottom right and top left. I want to make incremental changes to so I can see what it happening. It is amazing how the replacement of two little pieces makes a huge difference.
Country Revival/Sad Quilt flower motif with leaves v.5
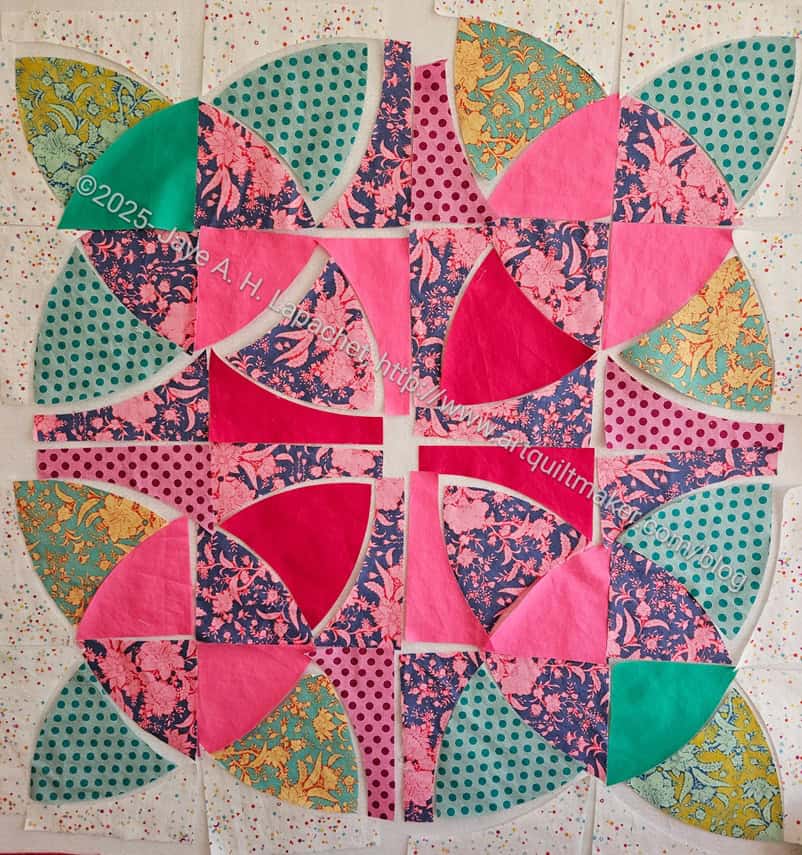
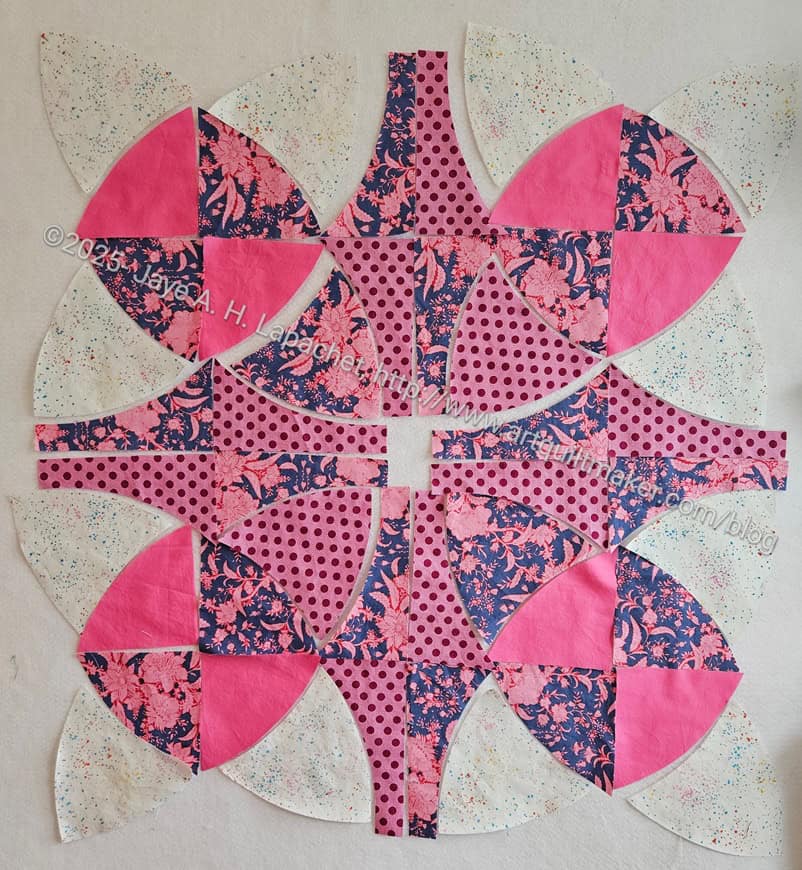
The edges were looking better, so I decided to work on the center. I replaced some of the pink with Dragonfruit, a darker pink.
I liked the change, but it wasn’t quite enough. Each change I make highlights another area that needs attention!
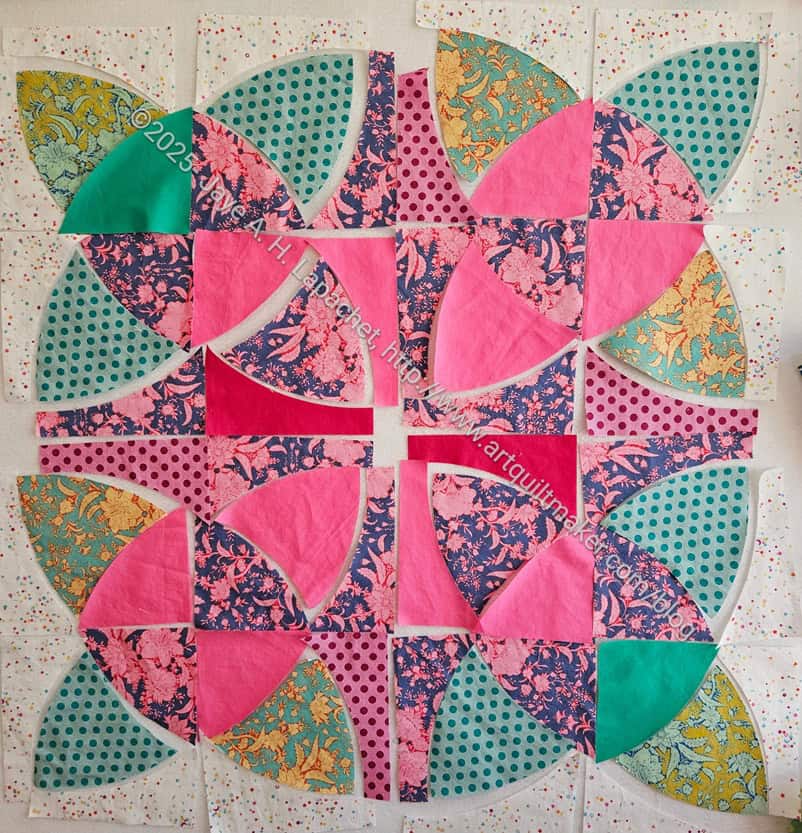
Country Revival/Sad Quilt flower motif with leaves v.6
Once I made the change by adding the Dragonfruit, I thought it needed more. I cut another couple of pieces to end up with more dark pink in the middle.
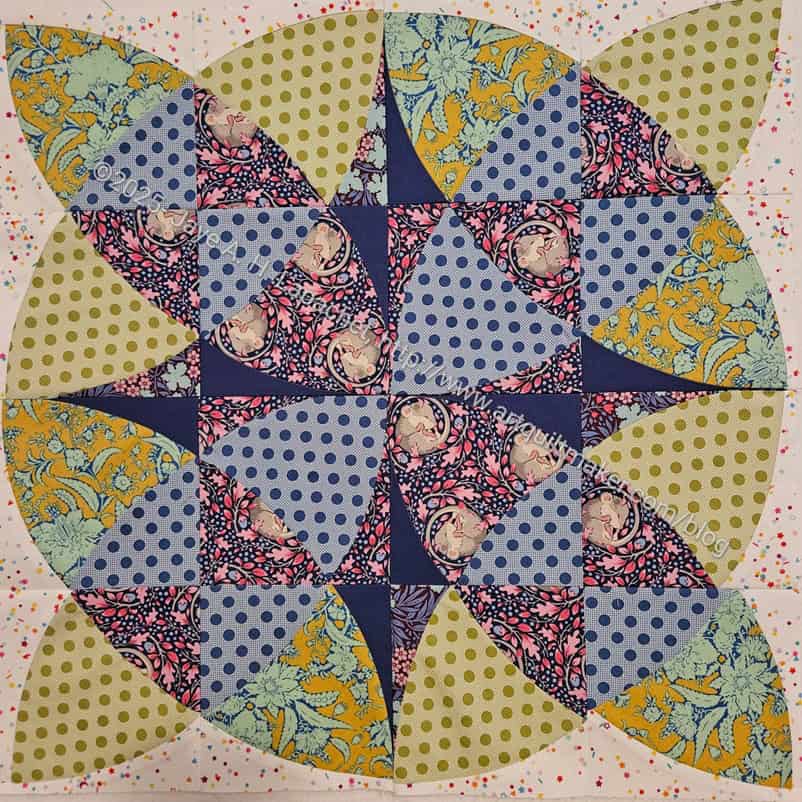
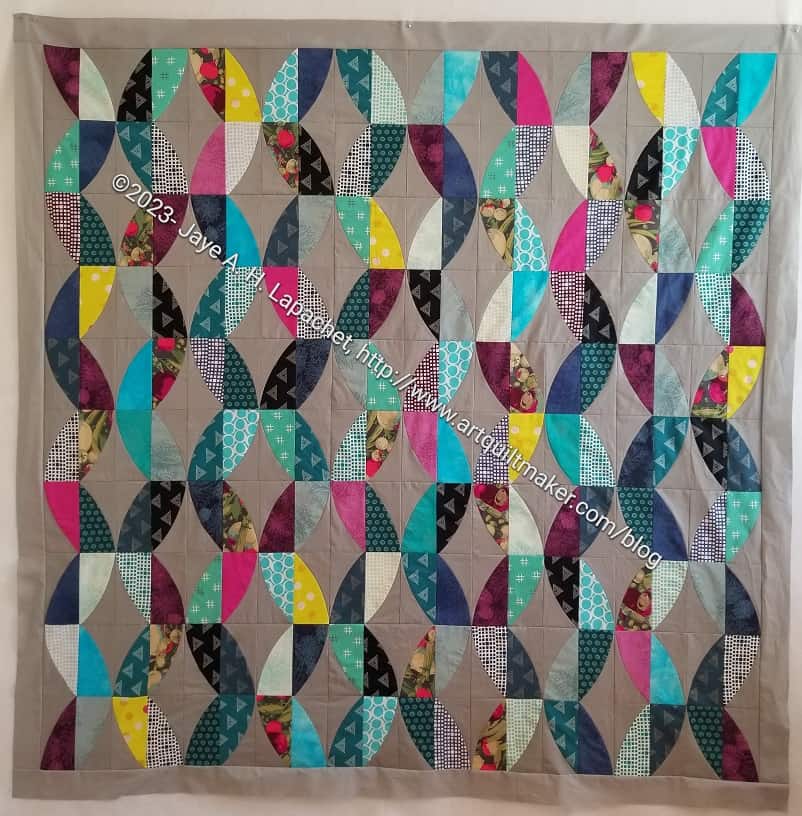
After looking at v.6 for awhile, I decided that this was the final version. Maybe it isn’t perfect. Maybe it could be better, but I like it. I think there isn’t anywhere that is too boring or too repetitive. Even the bottom left and top right corners light pink works.
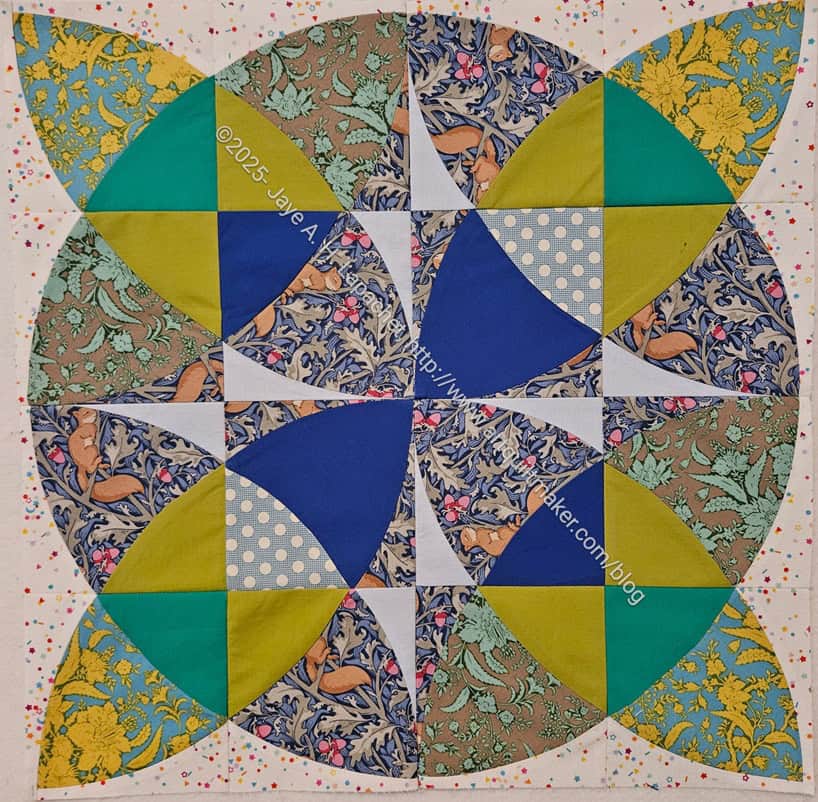
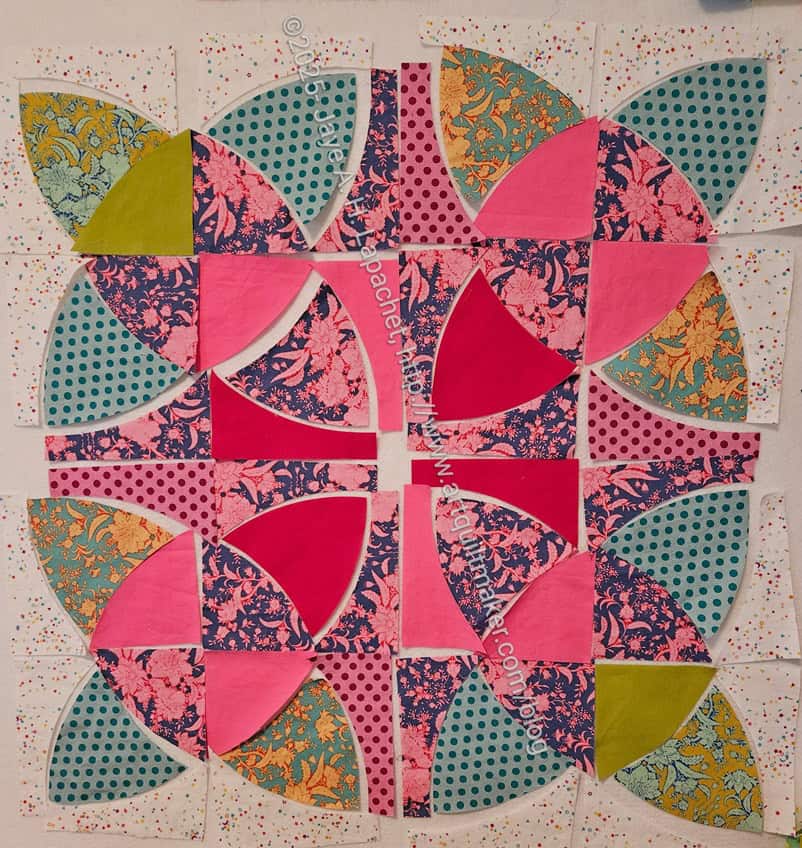
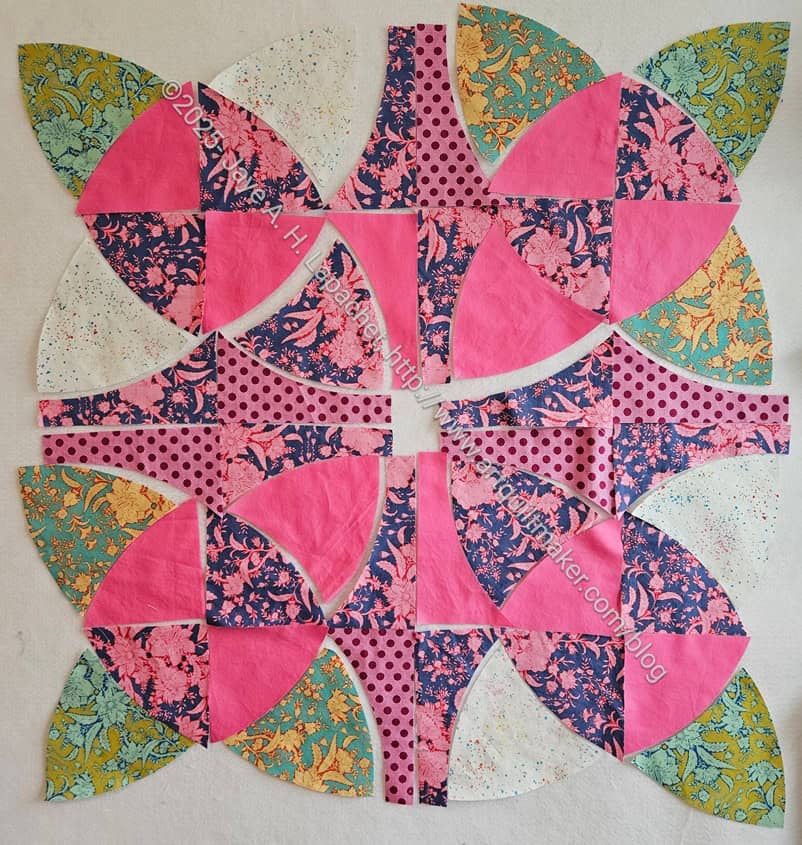
Country Revival/Sad Quilt flower motif with leaves v.7
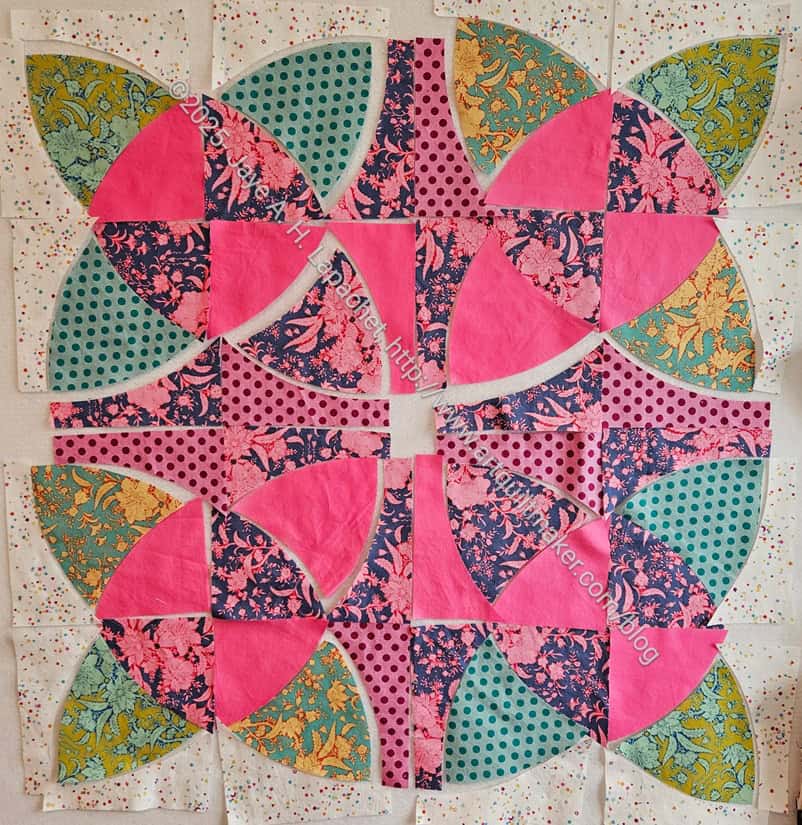
Finally, I decided that the Emerald needed to be toned down a little. I like that fabric and the color, but for this block, I needed something a little more subtle. I decided to change the Emerald for Dark Citron.
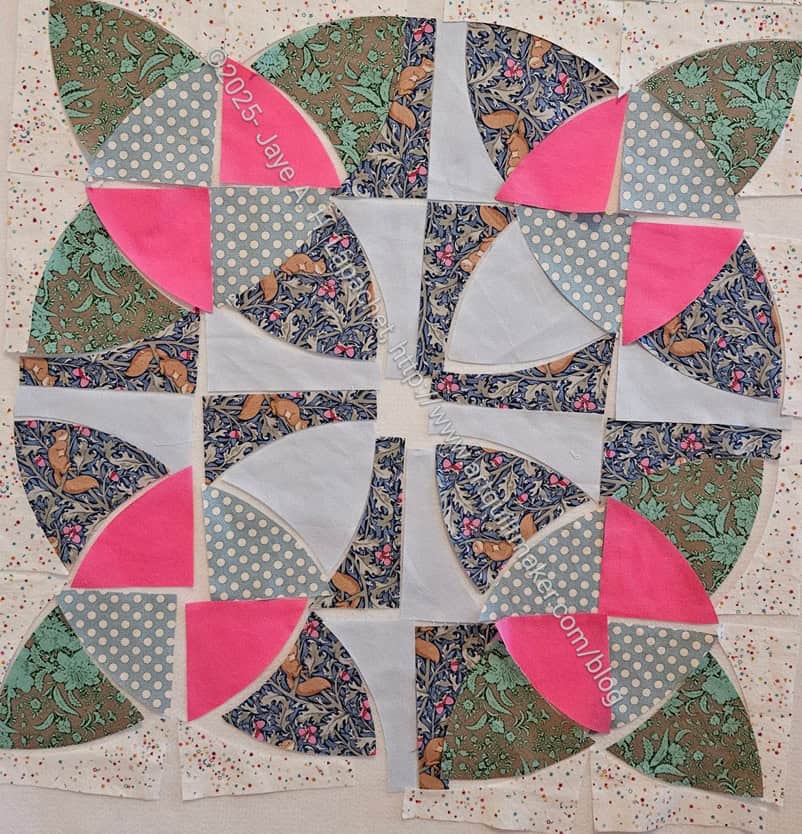
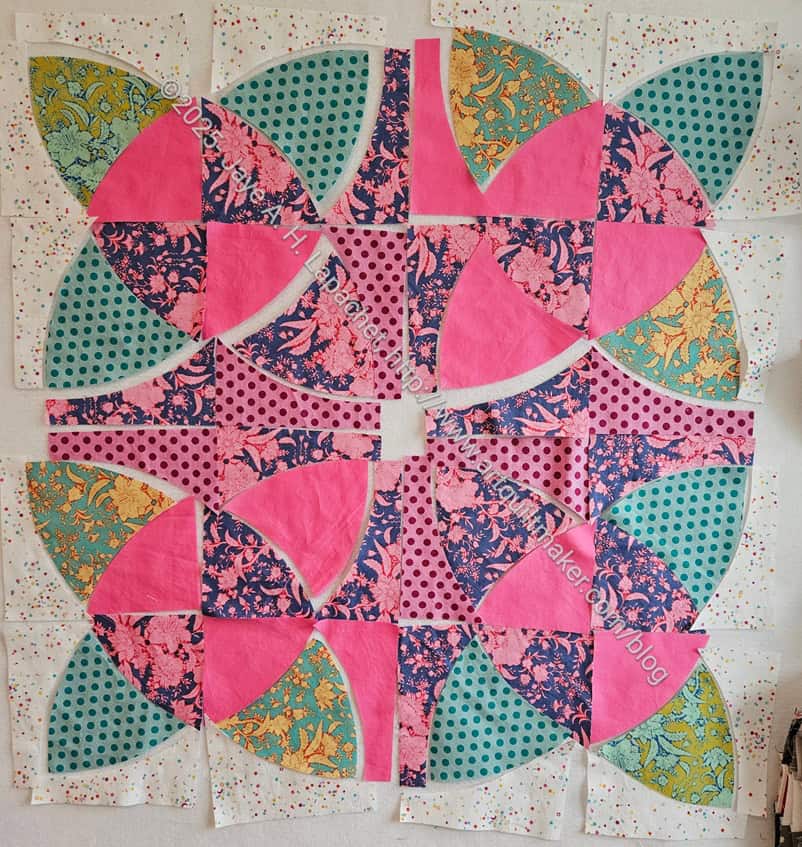
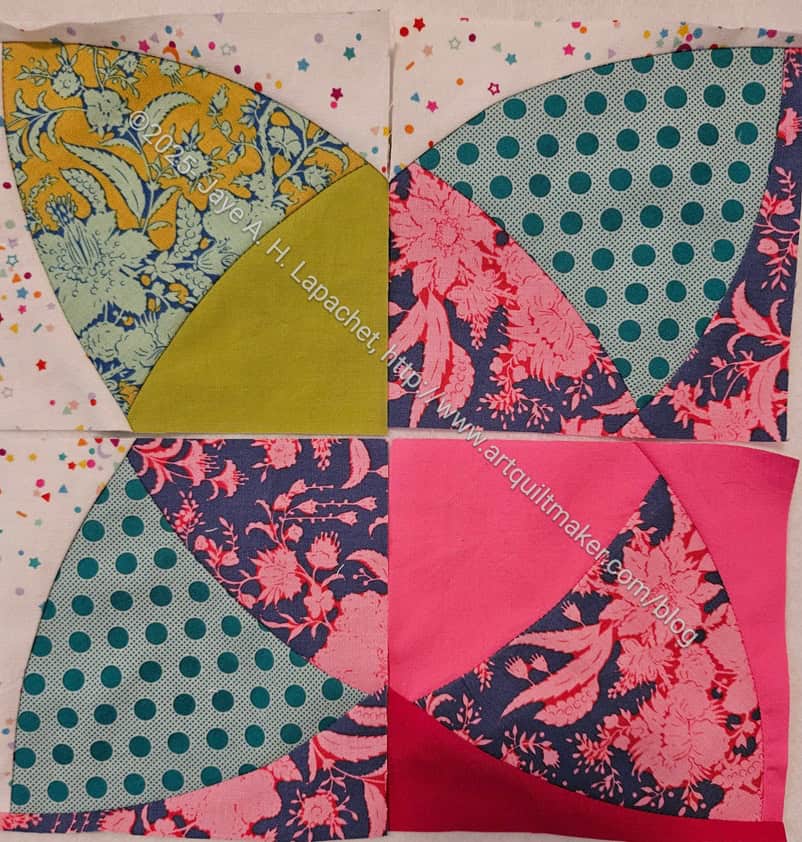
Flower #1: upper left hand corner
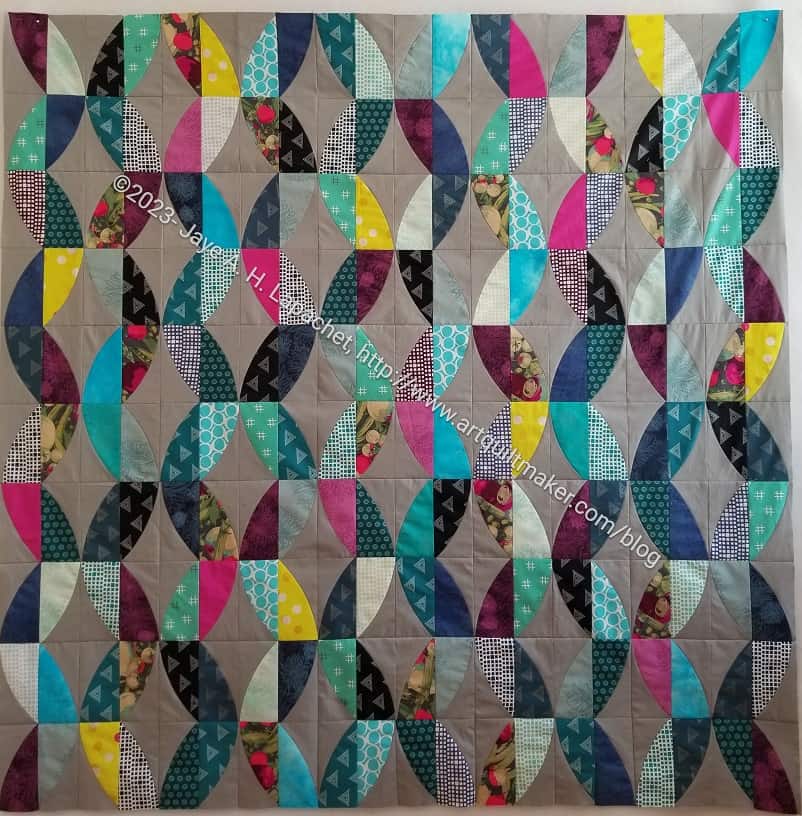
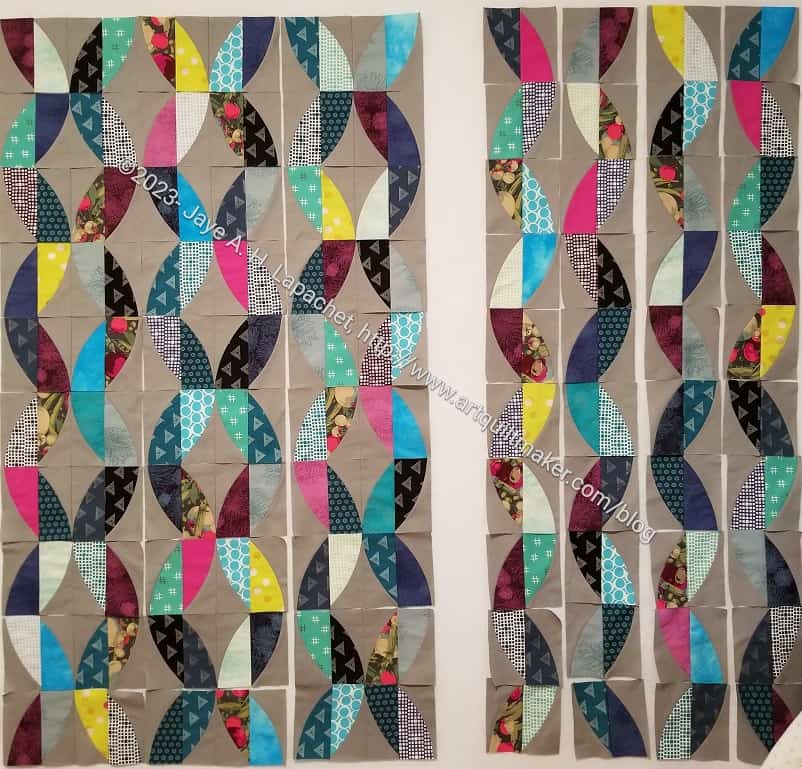
I started sewing the block together and it is looking good.
The piecing on this quilt takes a lot of time. I think it is because of the curves. That doesn’t mean it is difficult, just time consuming.
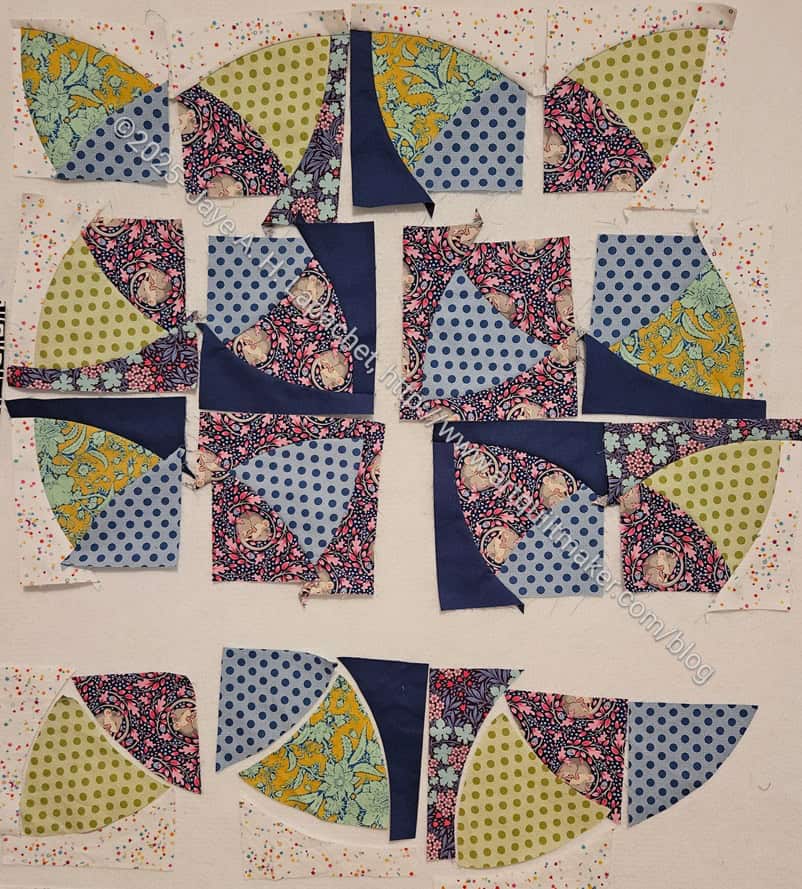
In the photo, the top left unit is pieced and trimmed. I wasn’t happy with the trimming. I ended up buying the SKOW recommended ruler, Sew Square 6**, though, despite my love for specialty rulers, I am fundamentally opposed to specialty square rulers. I would much rather the ruler I already have, the Quick Curve Ruler**, be marked well enough so I could trim with it. It isn’t impossible, but I found it to be very difficult. I haven’t decided if I need to make that upper left unit again. I don’t know if I trimmed too close to the green curved shape.
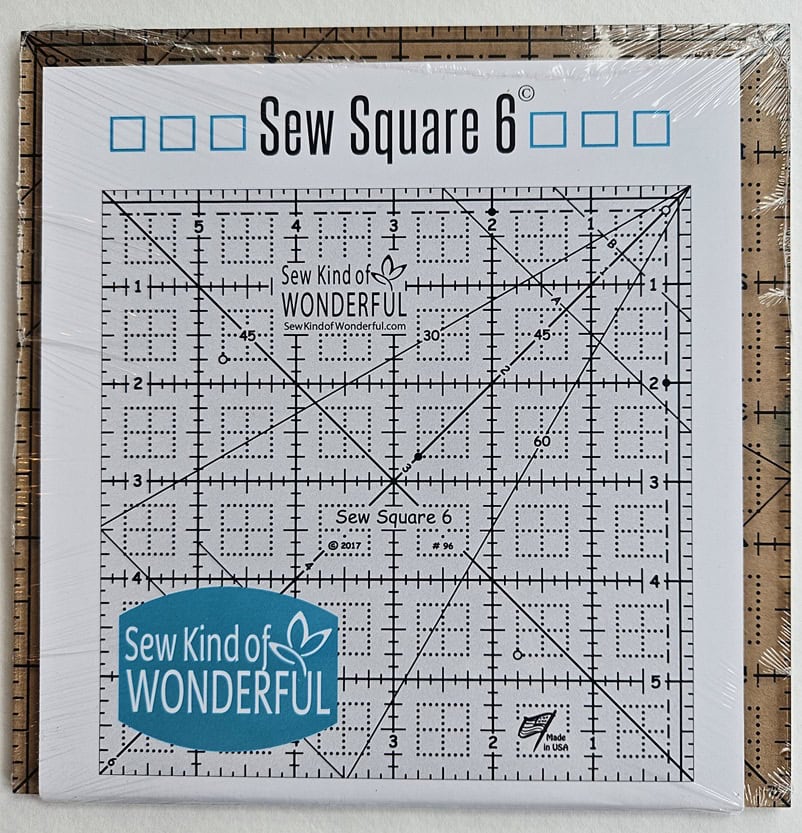
Sew Square 6
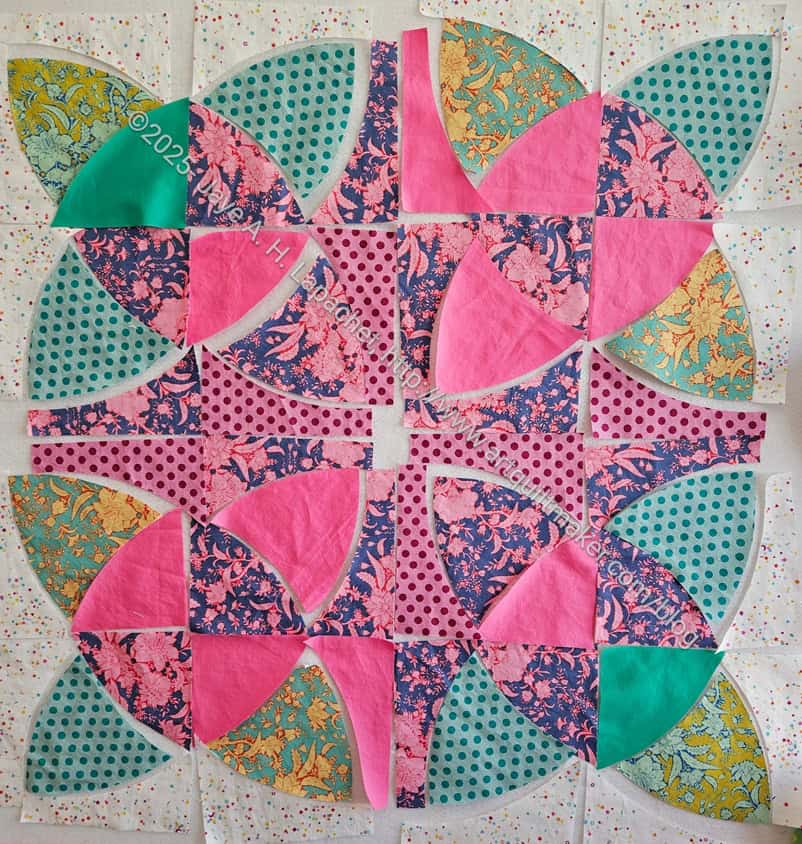
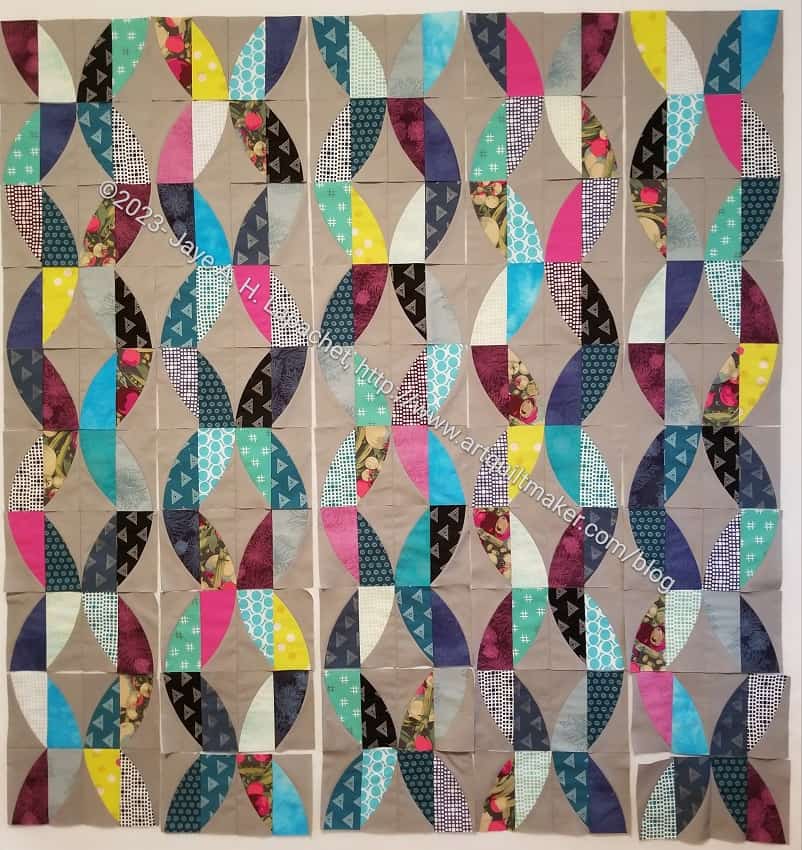
Except for the bottom row, the rest of the units have been sewn, but not trimmed. You can see how weird looking they are before they are trimmed. I bought the Sew Square 6** which I plan to use to trim the other units.
I didn’t buy the whole set; I just bought this one to see if I thought it was better than just using the Quick Curve Ruler.
Country Revival/Sad Quilt flower motif with leaves v.4
Flower 1 is still unsewn. I am not 100% happy with the color selection. I bought a few solids, which I am hoping will help fix whatever the problem is.
**N. B. : Obviously, you should shop at local quilt shops and small businesses. However, if you are too busy or can’t find what you need there, I use Amazon affiliate links and may be paid for your purchase of an item when you click on an item’s link in my post. There is no additional cost to you for clicking or purchasing items I recommend. I appreciate your clicks and purchases as it helps support this website.
I had the Flower motif from the Country Revival pattern** on my design wall for a long time without sewing it together. It wasn’t quite right and looking at it was the only way to figure out how to improve it. I knew I couldn’t use white in the place I had put it originally-leaf area around the outside. I wanted to use white as a background and the white as shown would be lost and change the shape of the flower motif completely. I also didn’t know what to do.
I often find that if I just do something, then I can get started improving a piece.
Country Revival/Sad Quilt flower motif with leaves
The first thing I did was decide the white ‘petals’ needed to be replaced with green and become leaves. It was a good start.
I liked the addition of the green, but decided I needed more and different greens. In this photo there are two different Tilda fabrics. One reason is that I used some of the green on the tips of the flowers for a pillowcase for my friend. I didn’t have much left, but I wanted to include some so it would kind of match the pillowcase. I had just enough to make four leaves.
Country Revival/Sad Quilt flower motif with leaves v.3
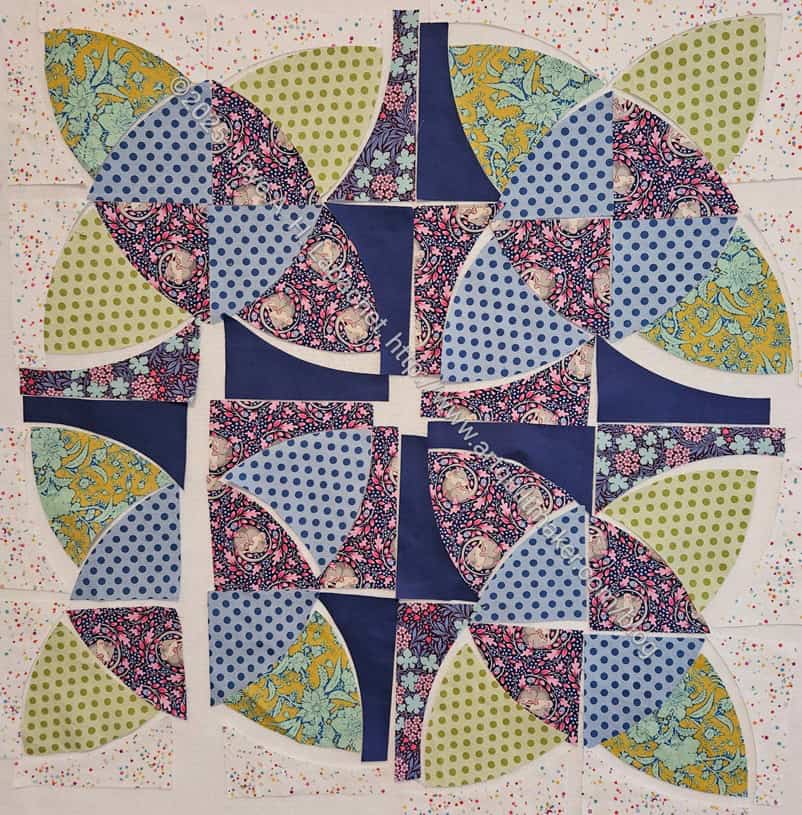
I wasn’t 100% happy with the look and feel. I really wanted an emerald green solid. I didn’t have that so I tried some dots. They were close to an emerald green and looks like a great addition to the overall look.
I still felt like there was nowhere for the eye to rest, so I moved some of the tall, skinny pieces with the slightly curved tops around. Better, but not perfect.
I added in some of the Dovetail by Ghazal Razavi background I bought at Bay Quilts with Julie a few weeks ago. It is a bright white, which I like and the many colors go well. I know it is hard to see in the photo. You can enlarge the photo to see it better.
Country Revival/Sad Quilt flower motif with leaves v.4
I can’t get away from symmetry, so I cut more pieces and changed the fabrics around so there was more symmetry, e.g. the piece looked more symmetrical.
I know the changes are slight and hard to see. I changed the corner fabrics and moved some of the other greens around.
My eye was honing in on the pink dots. I wasn’t liking them, but I wasn’t sure what to do. I didn’t want to add more of the pink solid as I thought it would overwhelm the piece in general. For the moment, this is the final version of block 1. I may make some more changes, but I decided to work on a second block and give myself a rest from the pink.
I love that pink and blue Tilda fabric and it is now much less prominent. I’ll have to use it in another block.
**N. B. : Obviously, you should shop at local quilt shops and small businesses. However, if you are too busy or can’t find what you need there, I use Amazon affiliate links and may be paid for your purchase of an item when you click on an item’s link in my post. There is no additional cost to you for clicking or purchasing items I recommend. I appreciate your clicks and purchases as it helps support this website.
After my recent post, I thought more about this quilt and decided that the Jacob’s Ladder pattern wasn’t going to work at all. I tried different ideas, different colors, but it just isn’t the right idea for my friend.
First, I really shouldn’t call it the Sad Quilt. Not a great start. I can’t help how sad I am, though.
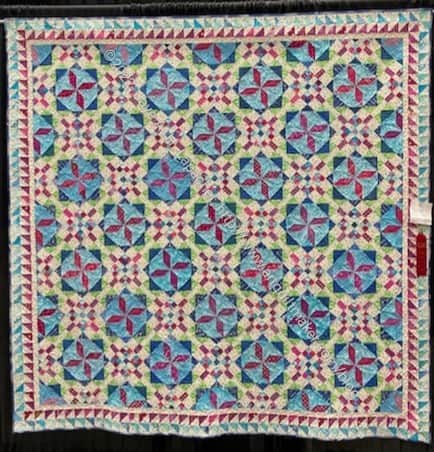
Frolic!
Second, as an interim solution, I sent off Frolic! to her. I am glad I have some quilts around I can just send off to people in need.
I love this quilt and had a good time making it, so there is a lot of good karma/energy associated with it. My friend lives in Hawaii, so it wasn’t cheap to send. It was totally worth it since I can’t be there to hug her in person.
In the meantime I am still working on a design made specifically in memory of my friend’s daughter. I am thinking that I will repurpose the Tilde fabrics I bought on vacation into this quilt.
Country Revival QCR pattern
A pattern occurred to me that I bought awhile ago, but haven’t yet tried, Country Revival. I don’t know why it is called Country Revival, because it doesn’t look ‘country’ at all to me.
The QCR (etc) patterns I have made, Metro Twist and Metroscape, have come out well, so I think the end result would be successful. At least is has a chance of being successful.
Tilde Fabrics
Obviously the Tilde fabrics would give it a different look than the quilt on the cover. I think I need to find a common fabric I could use in the center to bring the whole quilt together. I think pink would work, even different pinks. I also have that weird blue, which might work.
Also, the example quilt is small. I would want to make it larger, maybe 9 blocks. Still work to do to bring it together, but I feel I am on the right track now.
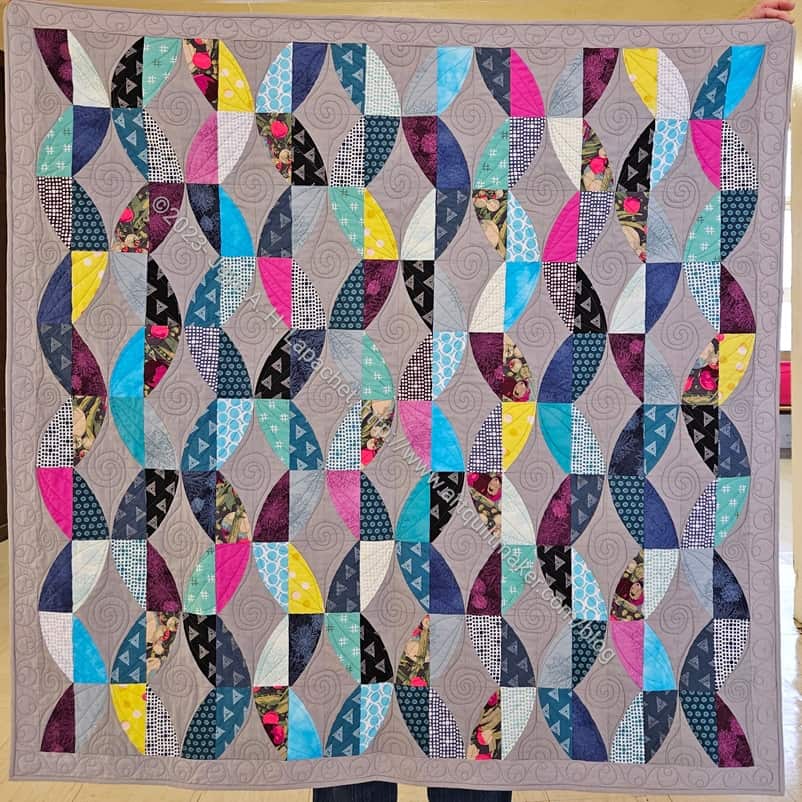
Yes, Metro Twist is finished! Hooray. It will go off to its new home after I show it at the guild meeting.
I am so thrilled with the fabrics. It was a good group to use. Someone asked me when I showed it at Sew Day if I had bought the pack of fabrics or if it came from the fabric closet. I was thrilled to tell them I made the choices myself.
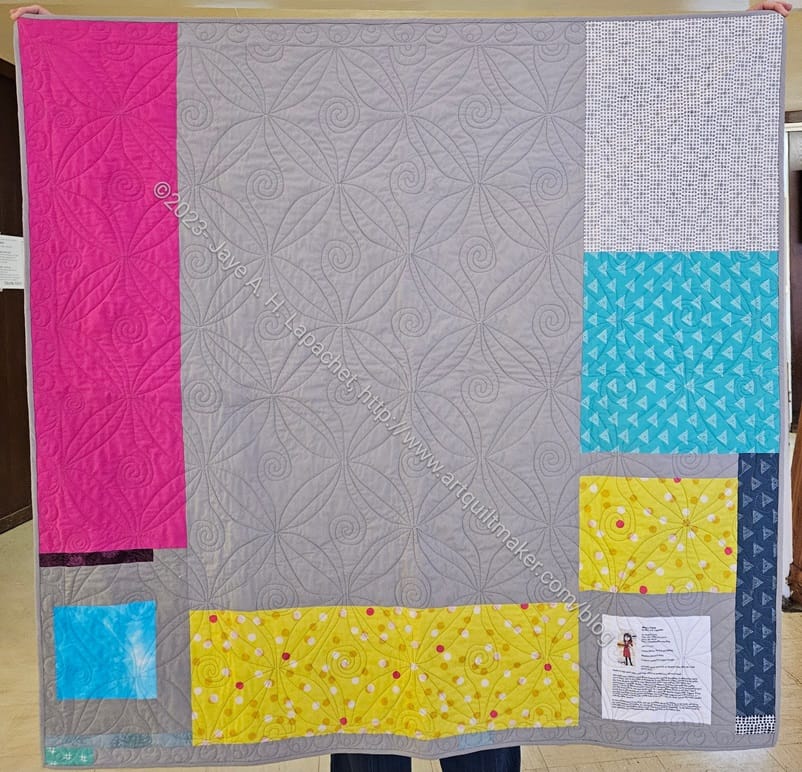
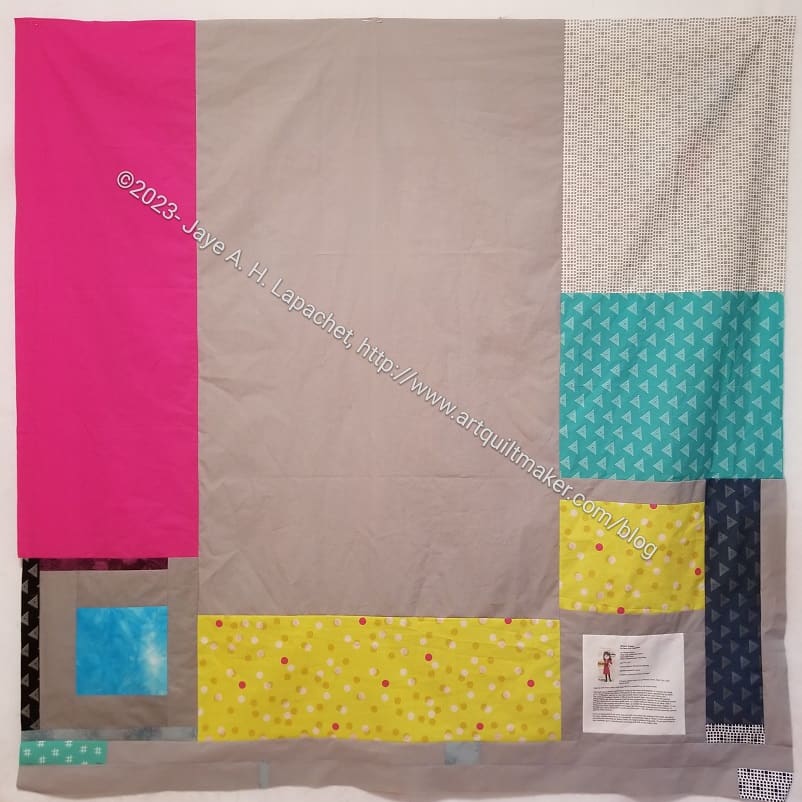
Finished: Metro Twist back
Colleen did a great job on the quilting. You can see it really well on the back
It came out smaller than I remembered, but it will be a large wall hanging or a small lap quilt.
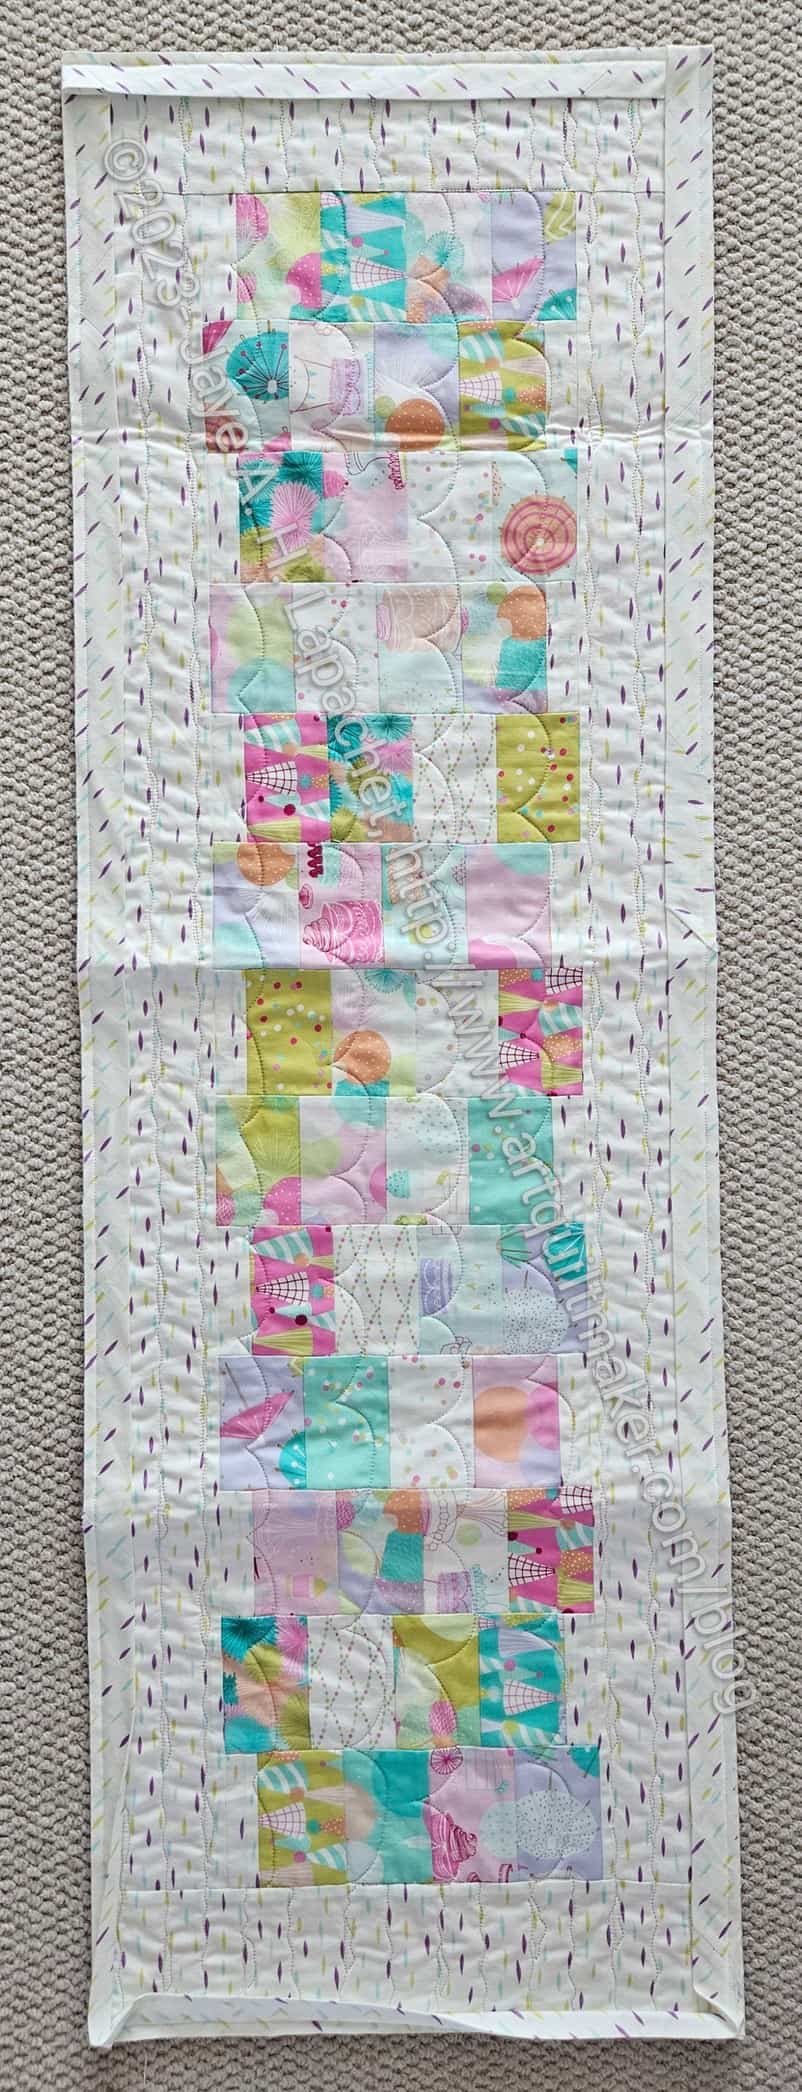
I only took a picture of the table runner as I didn’t have any assistance. As you can see I didn’t press it before I took the photo. The details are a little hard to see, so I have included a detail.
Yep, I finished the top and back. I feel much lighter now that it is done.
I am also pleased with how it turned out. I don’t know if I will make this pattern again, but it is possible.
I am sure I said somewhere when I worked on the Metroscape quilt or the Mod Lights tablerunner that the Quick Curve ruler projects come out really well. Not all of my points match up in this quilt, but they are close enough in most cases.
Metro Twist back
I put the back together relatively quickly. The label is a little lower than I normally sew it, but I wrote Colleen a note about in case I forget to tell her if I ever see her again. 😉
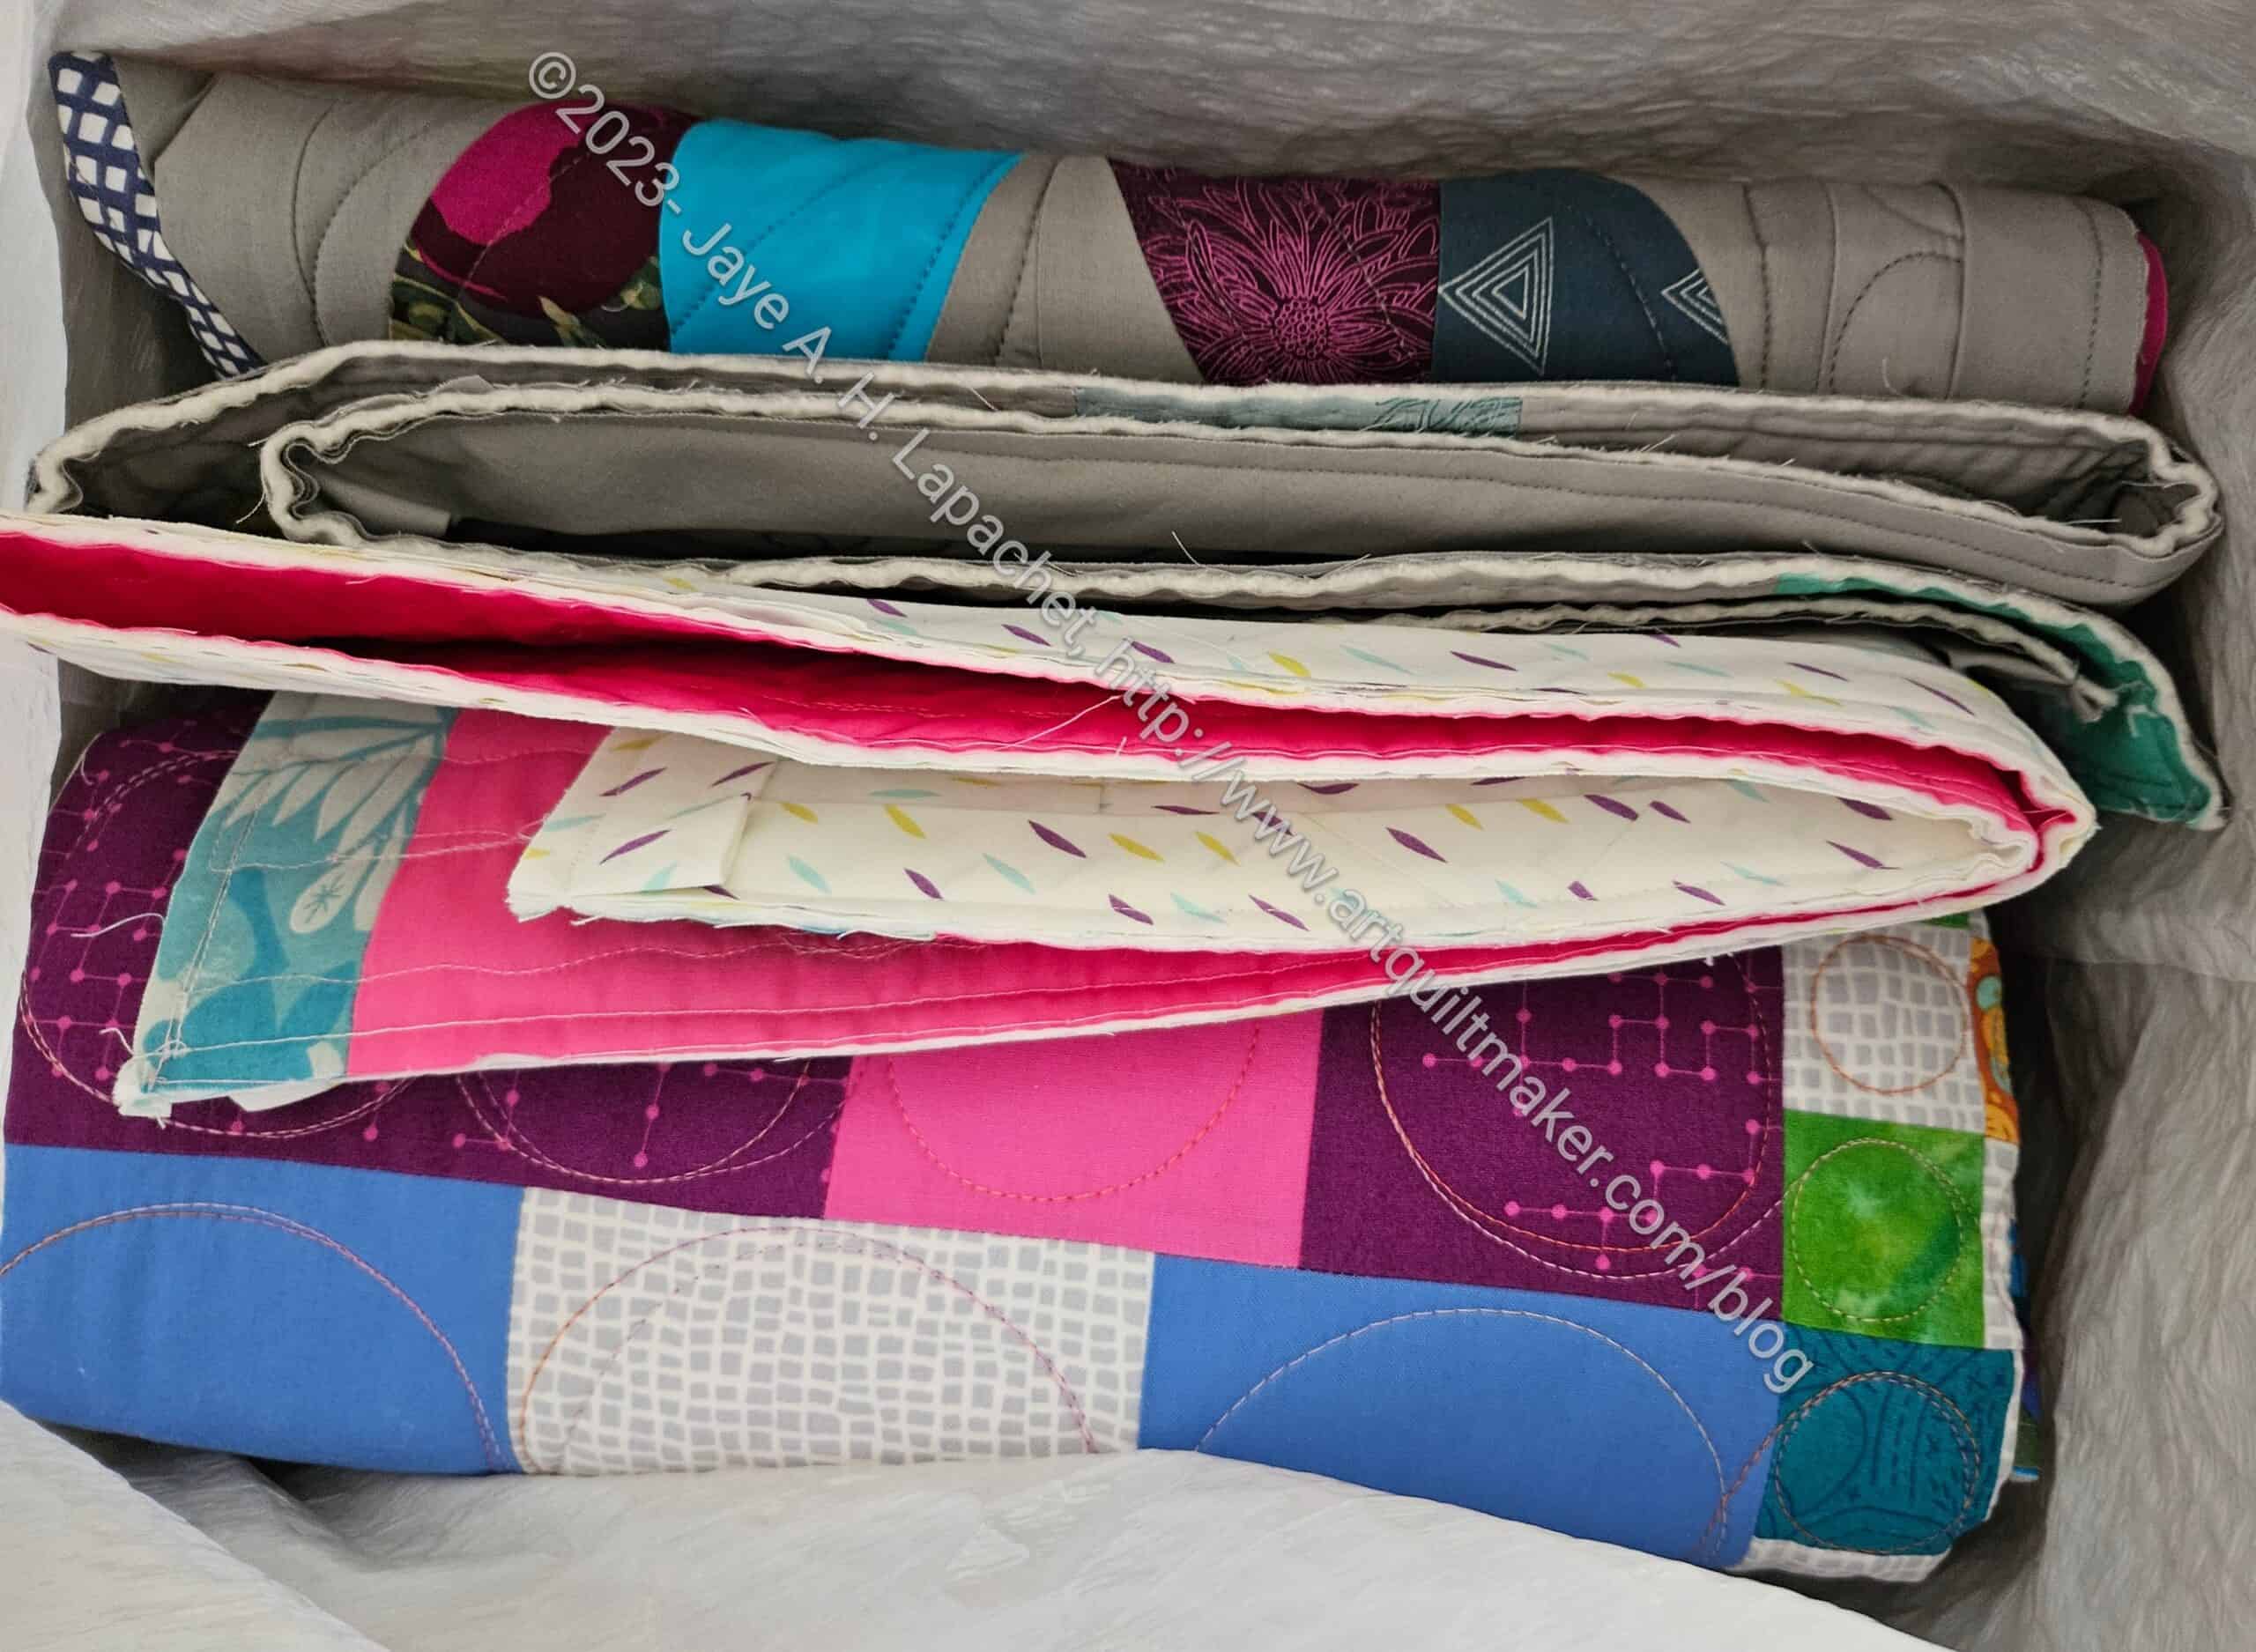
Another project off my list. My pile of quilts for Colleen is growing.
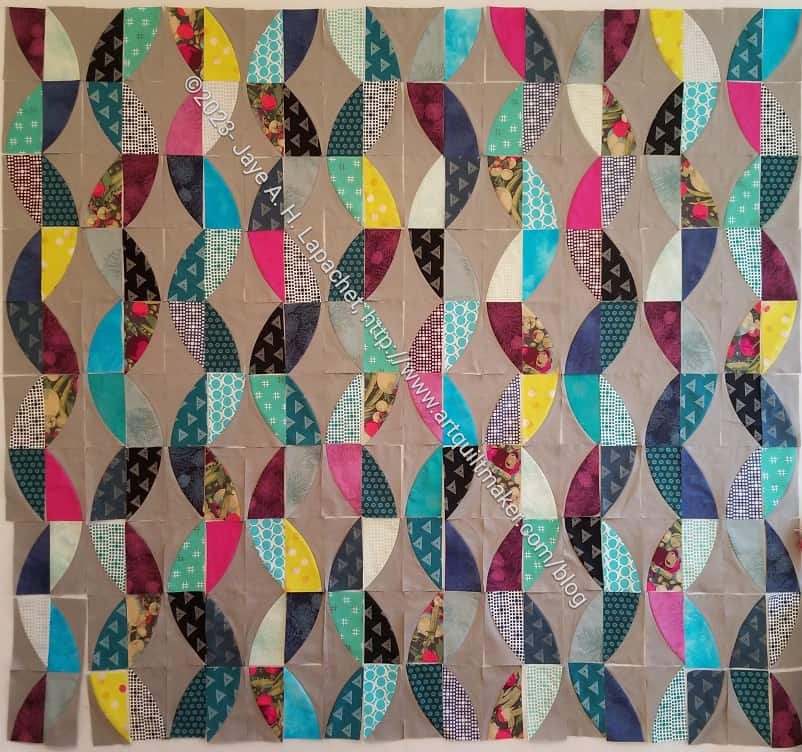
I pressed and trimmed all the blocks I made at Cyndi’s. Then I spent a few hours putting them on the design wall and preparing the final layout. I am ready to get sewing.