Despite the fact that I still can’t measure, 3 of the Teacher Pillows are close to completion. The machine stitching is complete and I only have some final hand stitching to do on them and, voila, fini!
I thought to myself this morning that I should be able to finish three. I am not sure I really wanted to buckle down and do that many, but it got stuck in my head and here I am.
I don’t normally sew during the week, but I did some stitching on Friday afternoon. I was very slow and deliberate and not out to accomplish a lot. I just wanted to make some progress, no matter how little. I think that short session got me to the point where I could put three pillow covers together today.
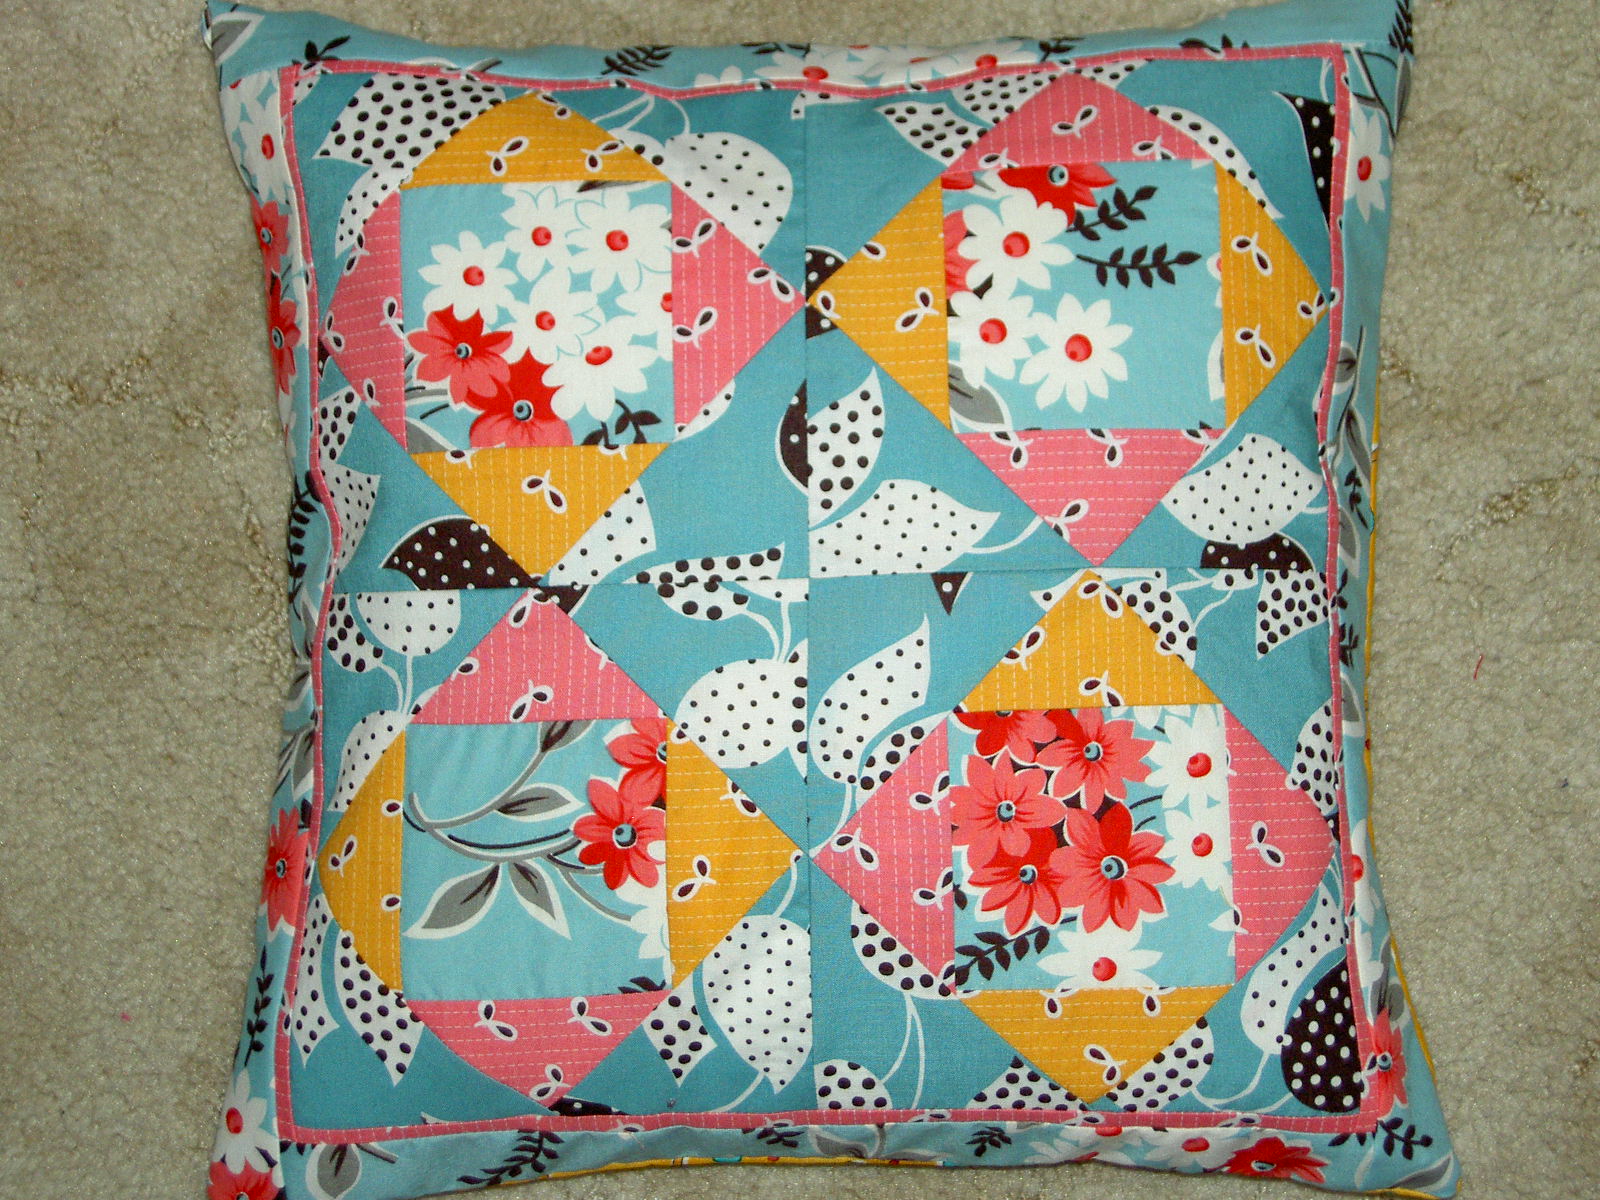
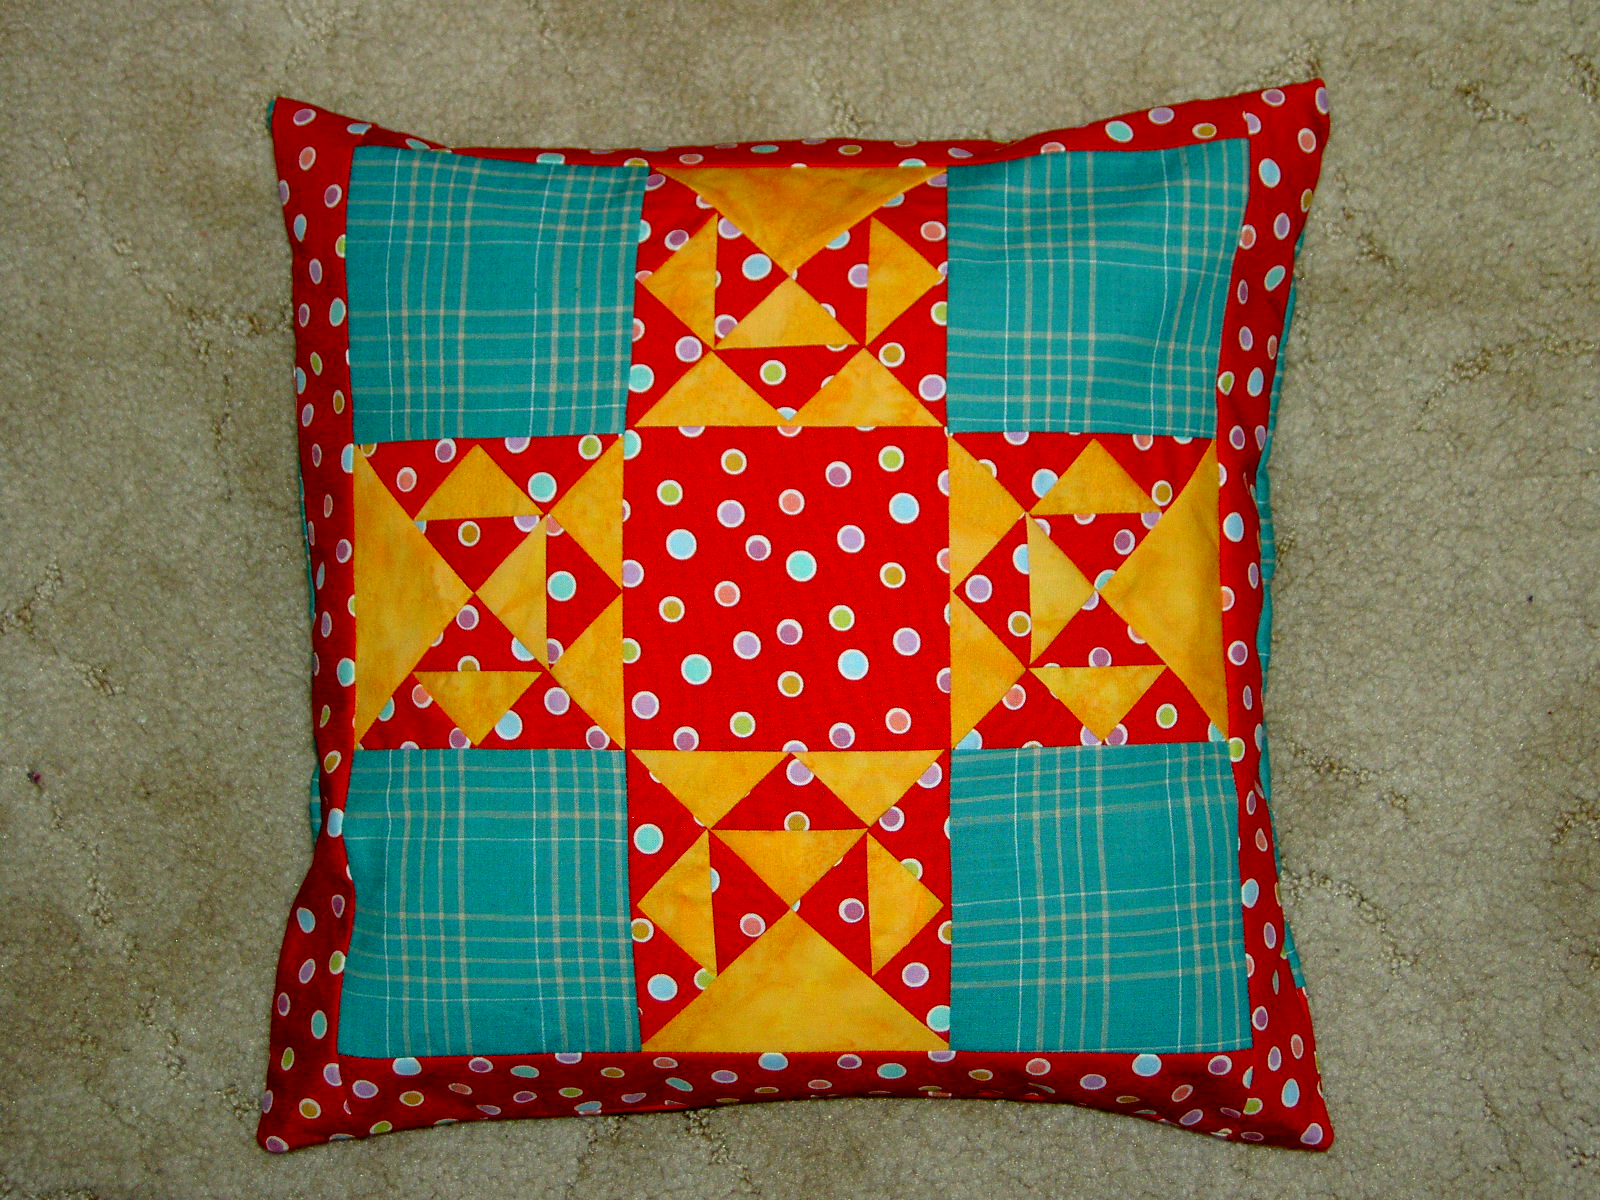
Teacher Pillow – Front: I am really pleased with the way this front came out. I was not that thrilled with the Economy Patch that the child chose, but piecing more of the design in a smaller format really made it look good. I also LOVE LOVE LOVE the Flea Market Fancy fabric out of which I made this front.
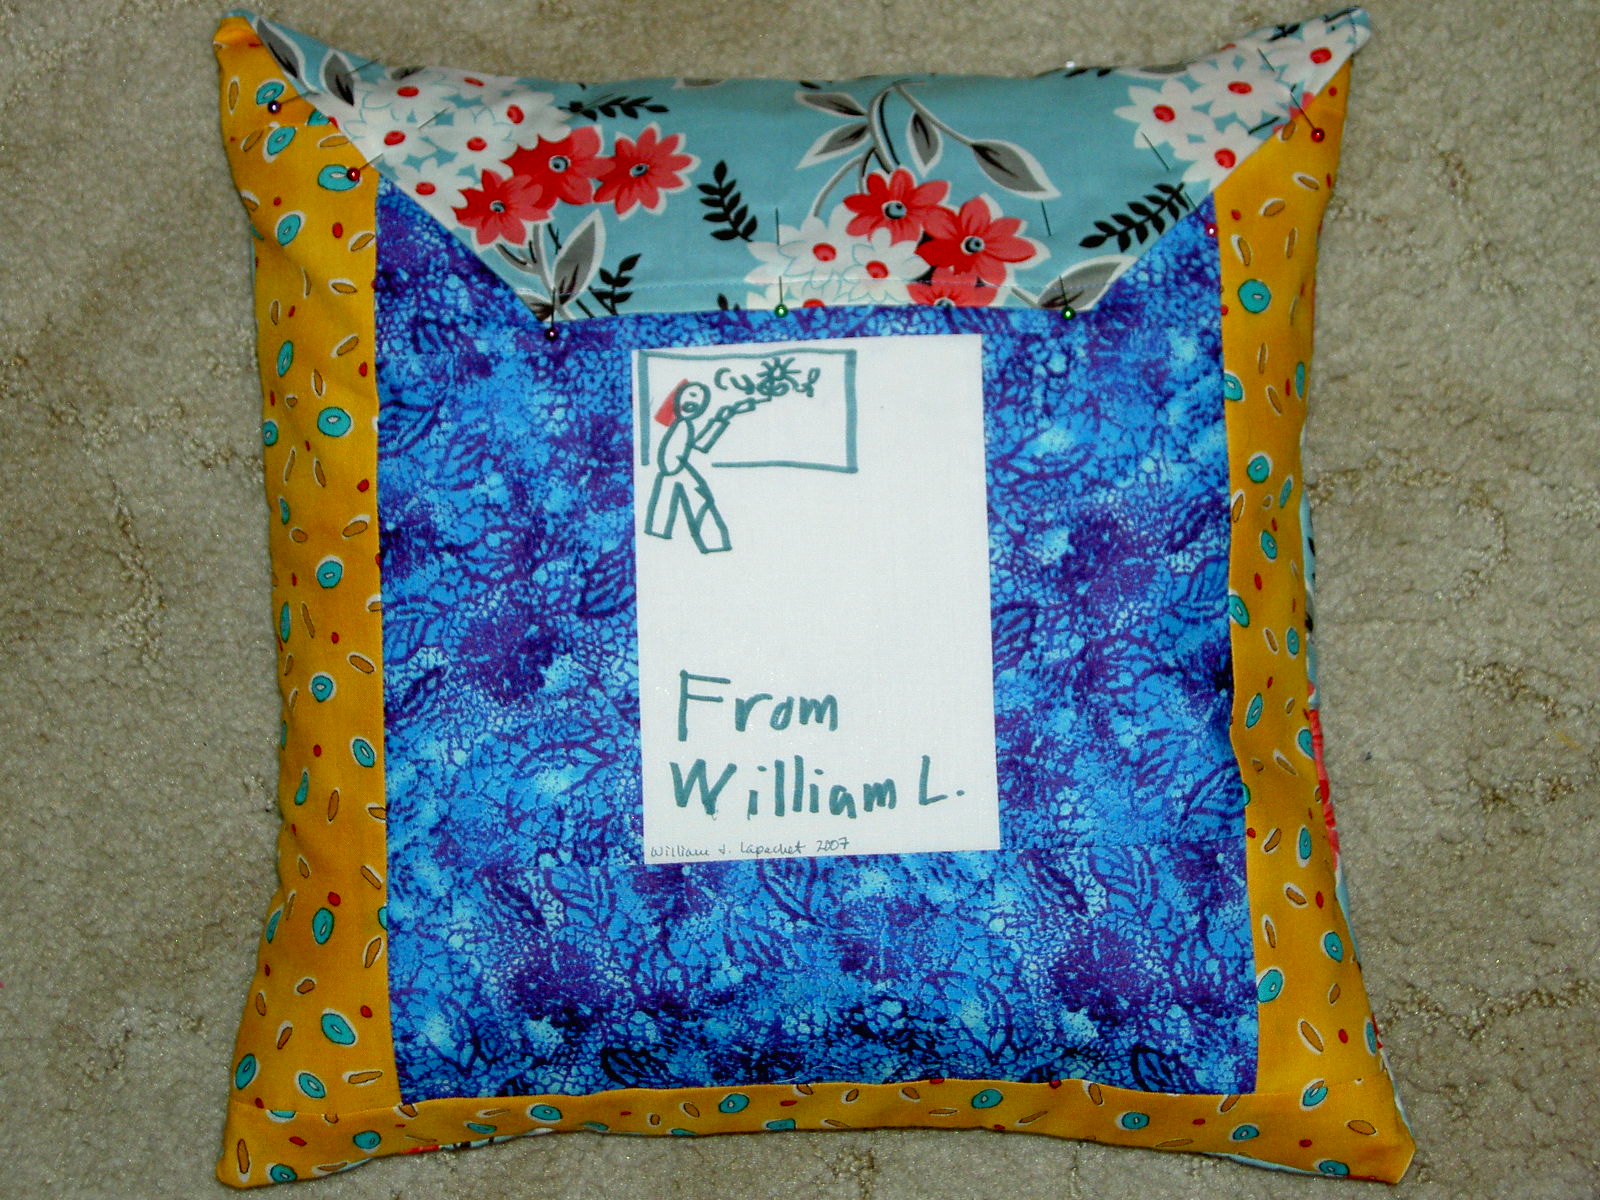
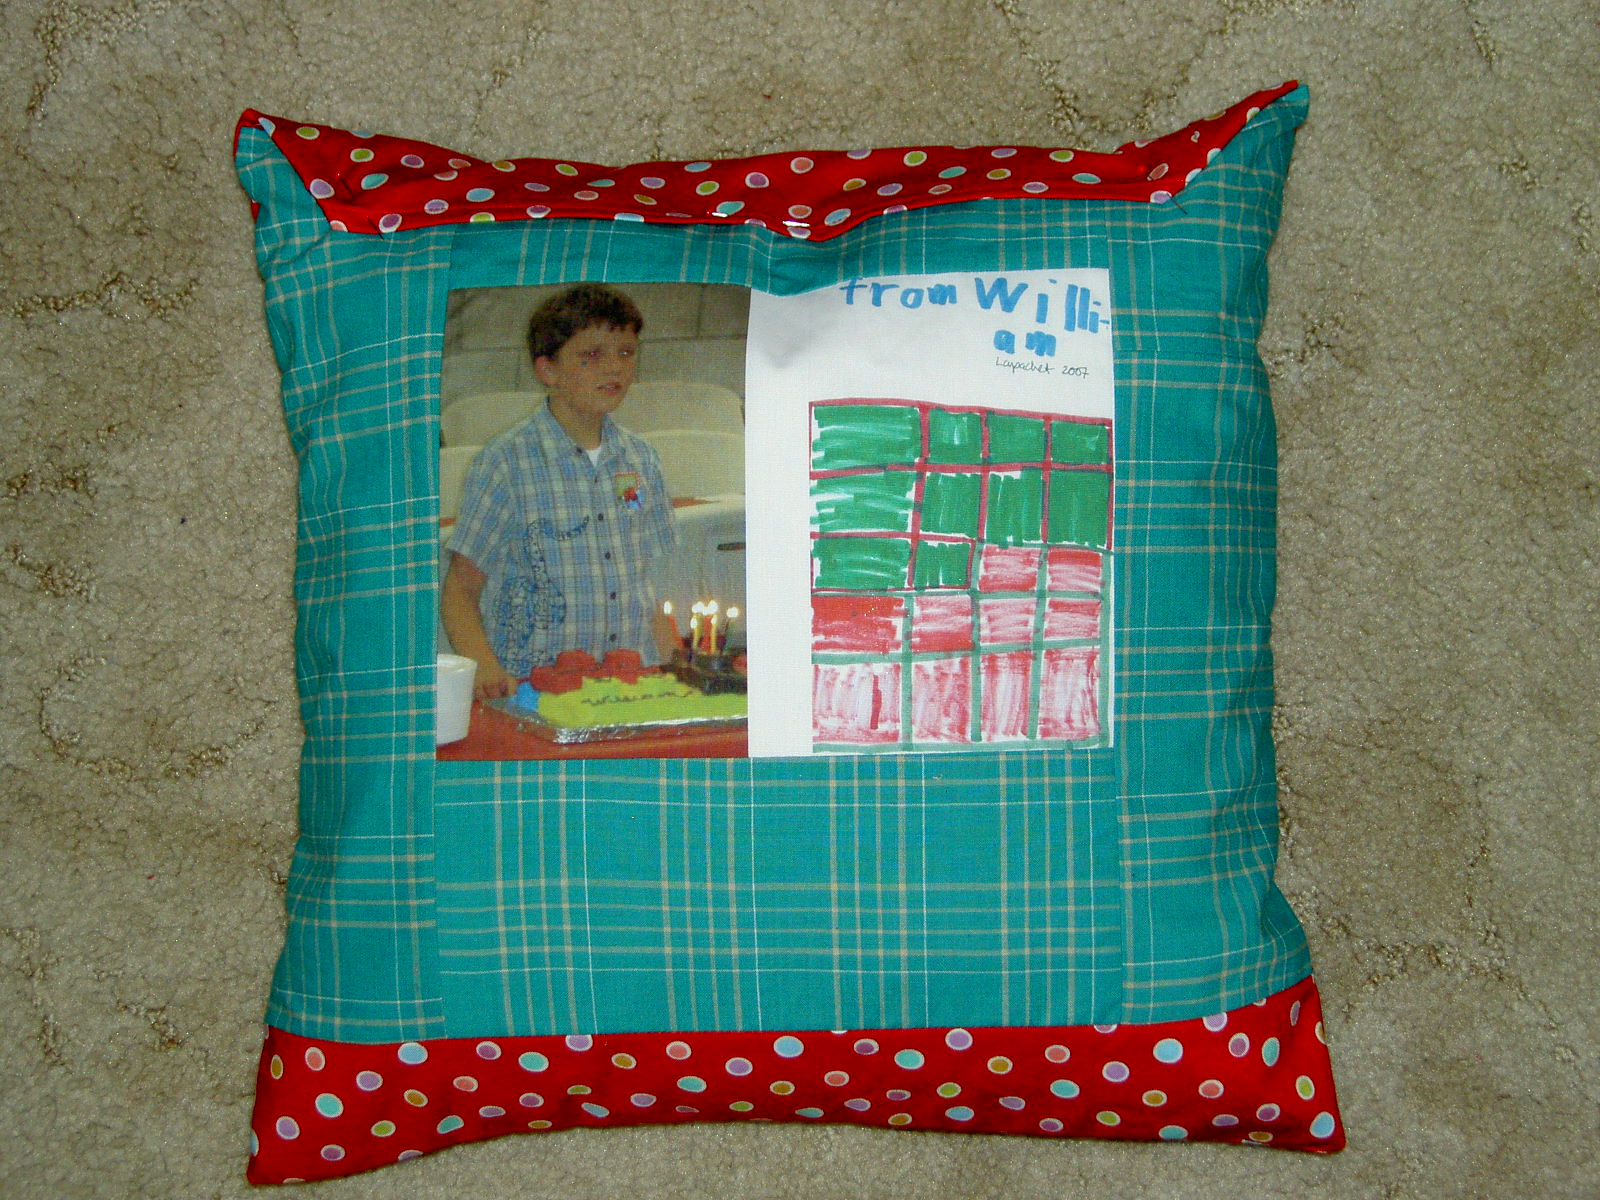
Teacher Pillow – Back: I am not so enamoured of the back. I ran out of the flower fabric I used for the front and grabbed these fabrics. I didn’t just grab the blue randomly, but I am not sure why I chose it. My SIL came over and suggested yellow or pink (well, DUH! Why didn’t I think of that?), so I added the yellow to the outside. The back isn’t great, but done is better than perfect and, hopefully, she won’t look too much at the back.
The variety of colors, however, illustrate the way I made the back. I made two squares and then added a bit of extra fabric to the top of the front, hemmed it and folded it over. I will hand stitch down the folded over part.
Aide Pillow – Front: I sewed this one last (for the day) and it came out the best. It is small enough so the pillow form fills the entire cover.
Aide Pillow – Back
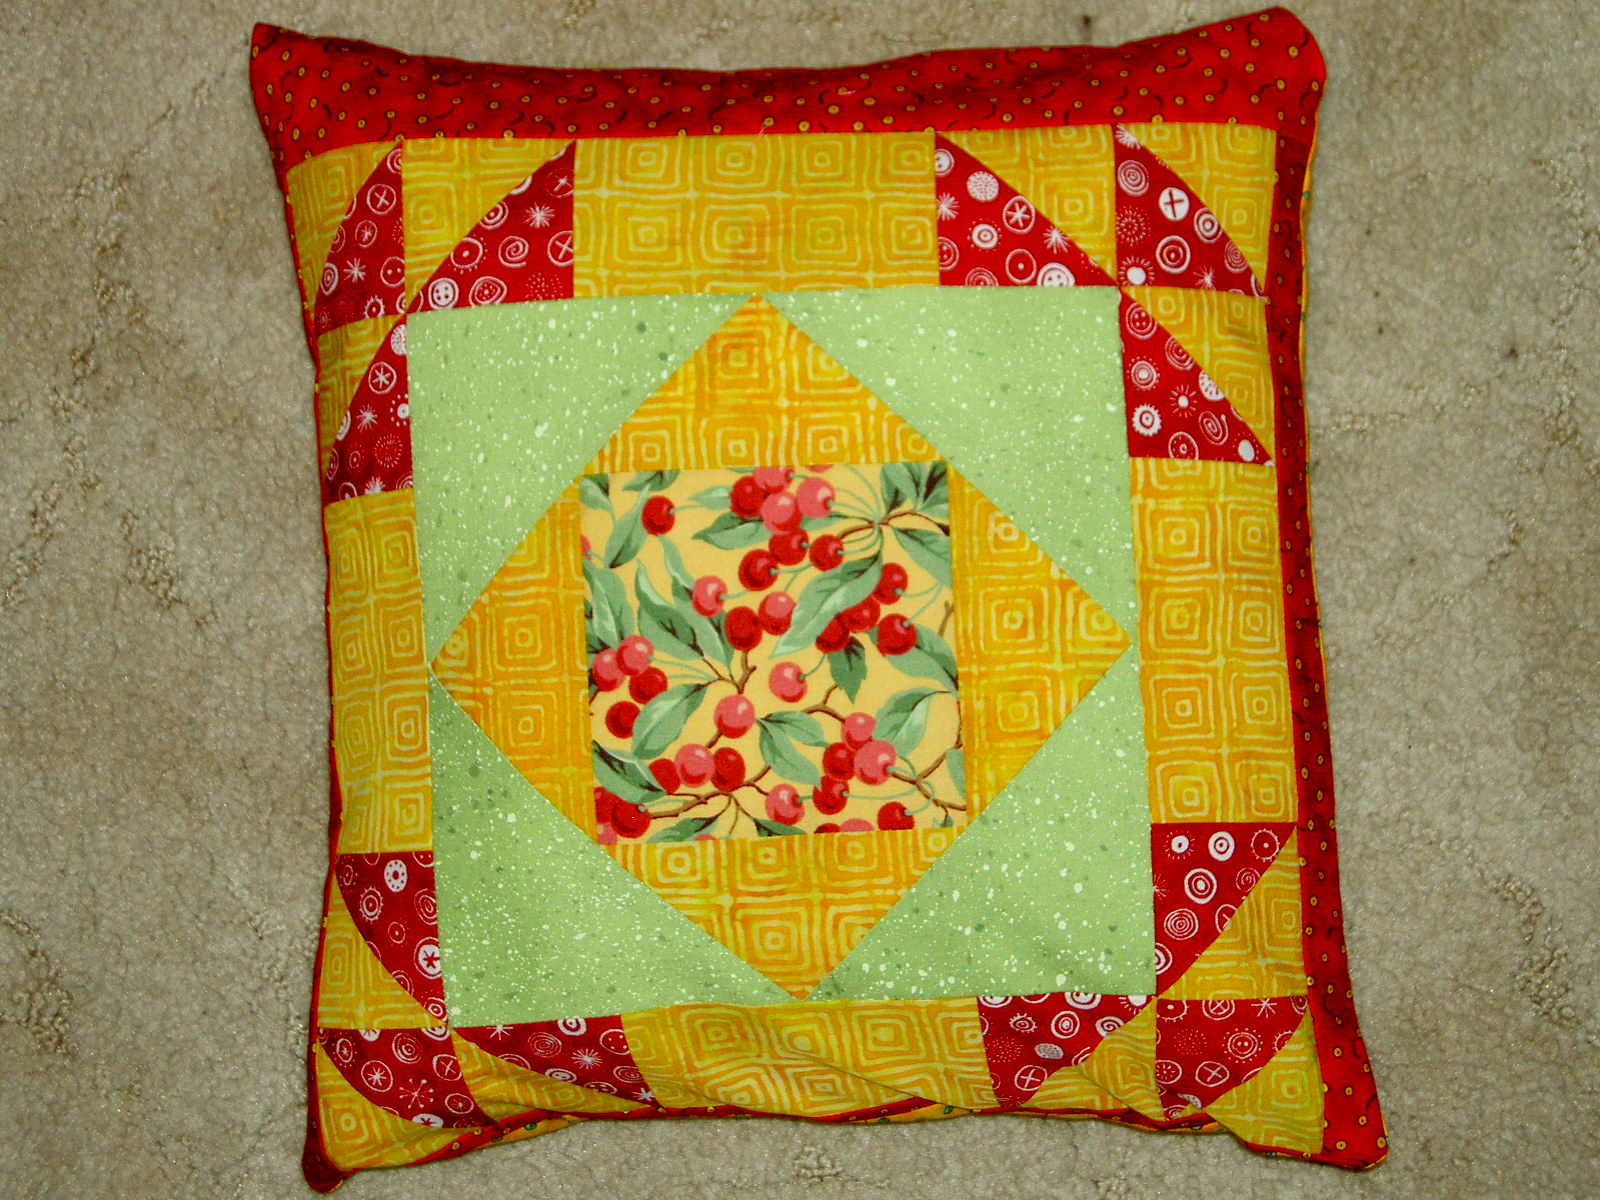
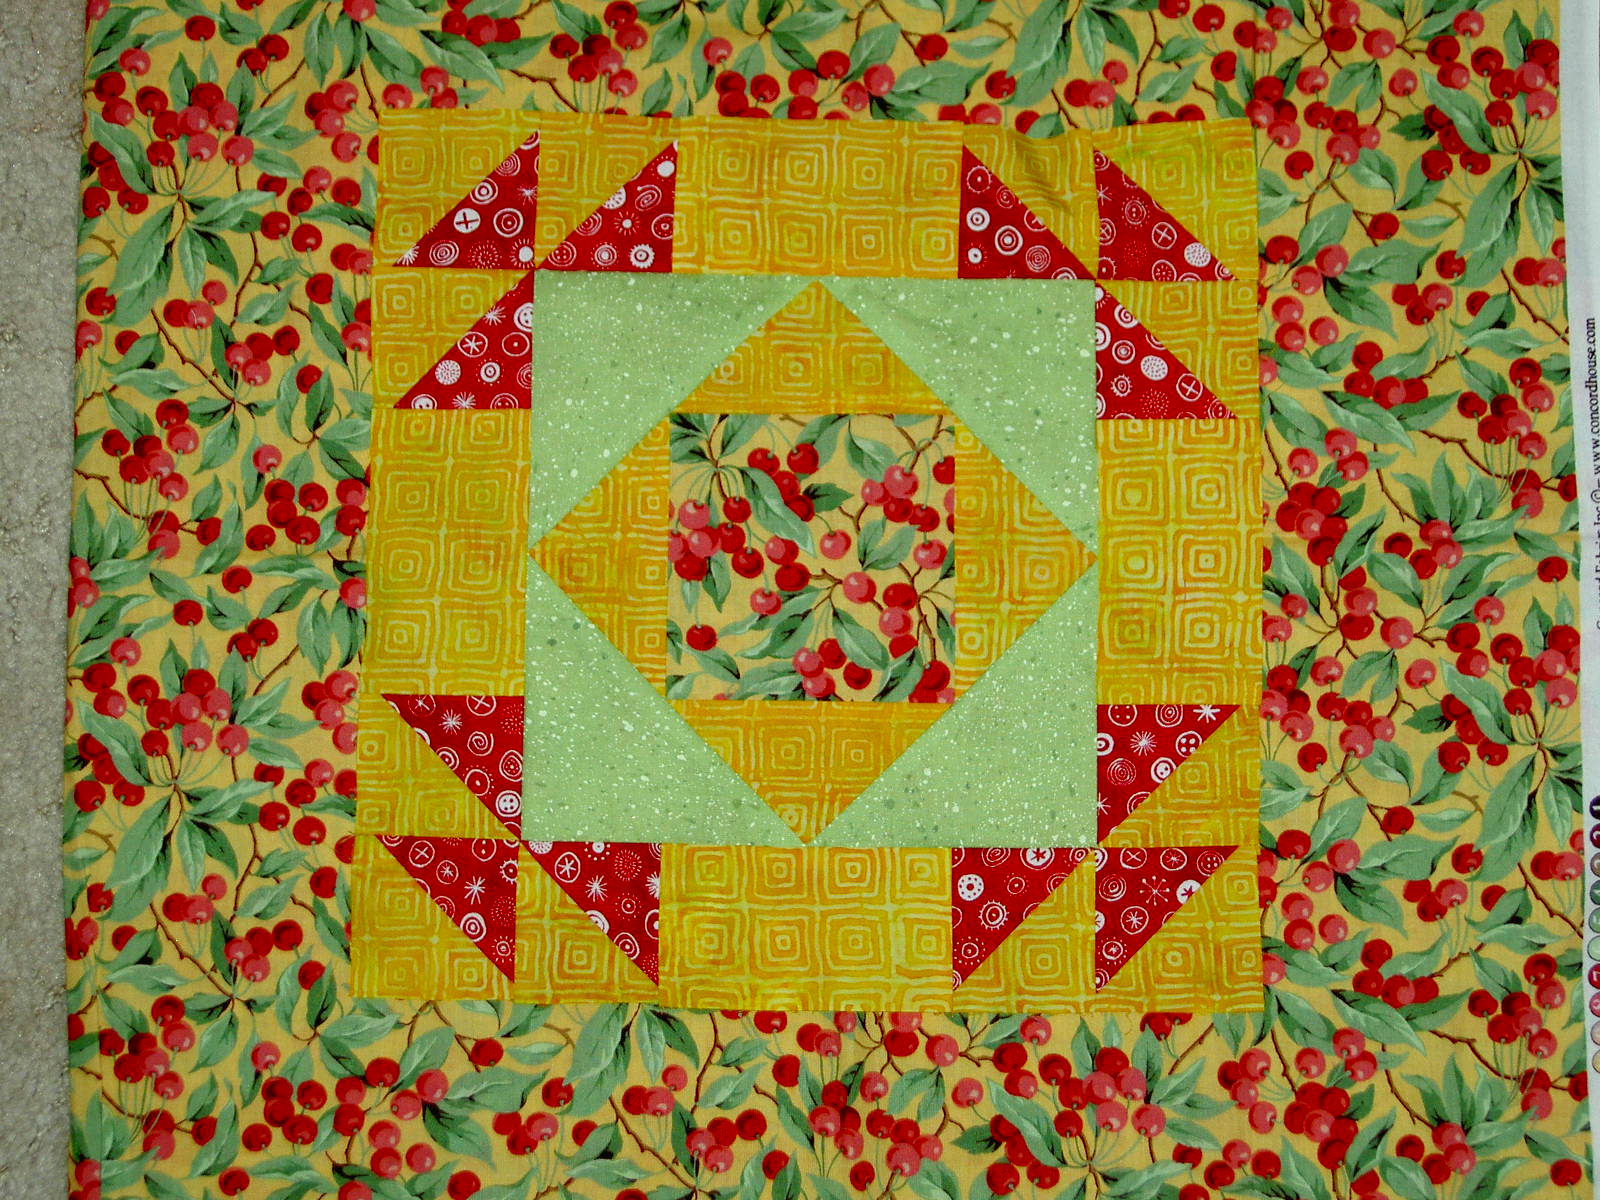
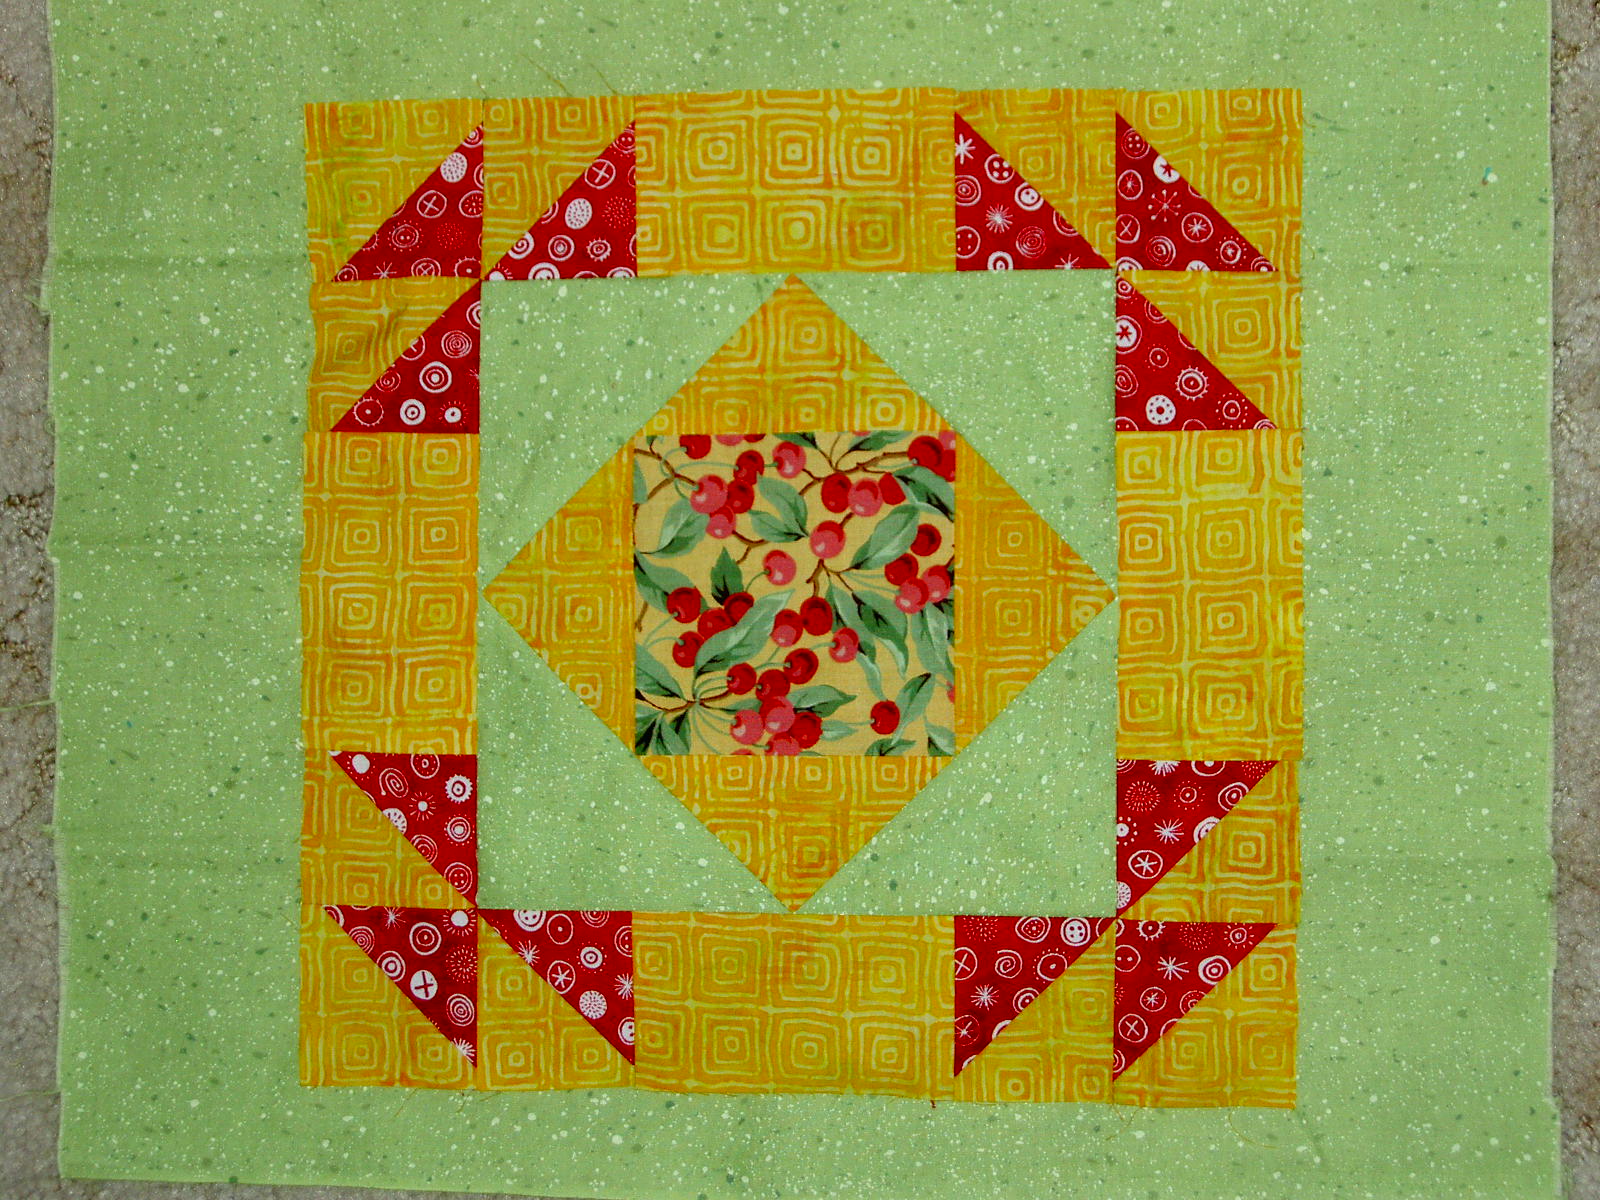
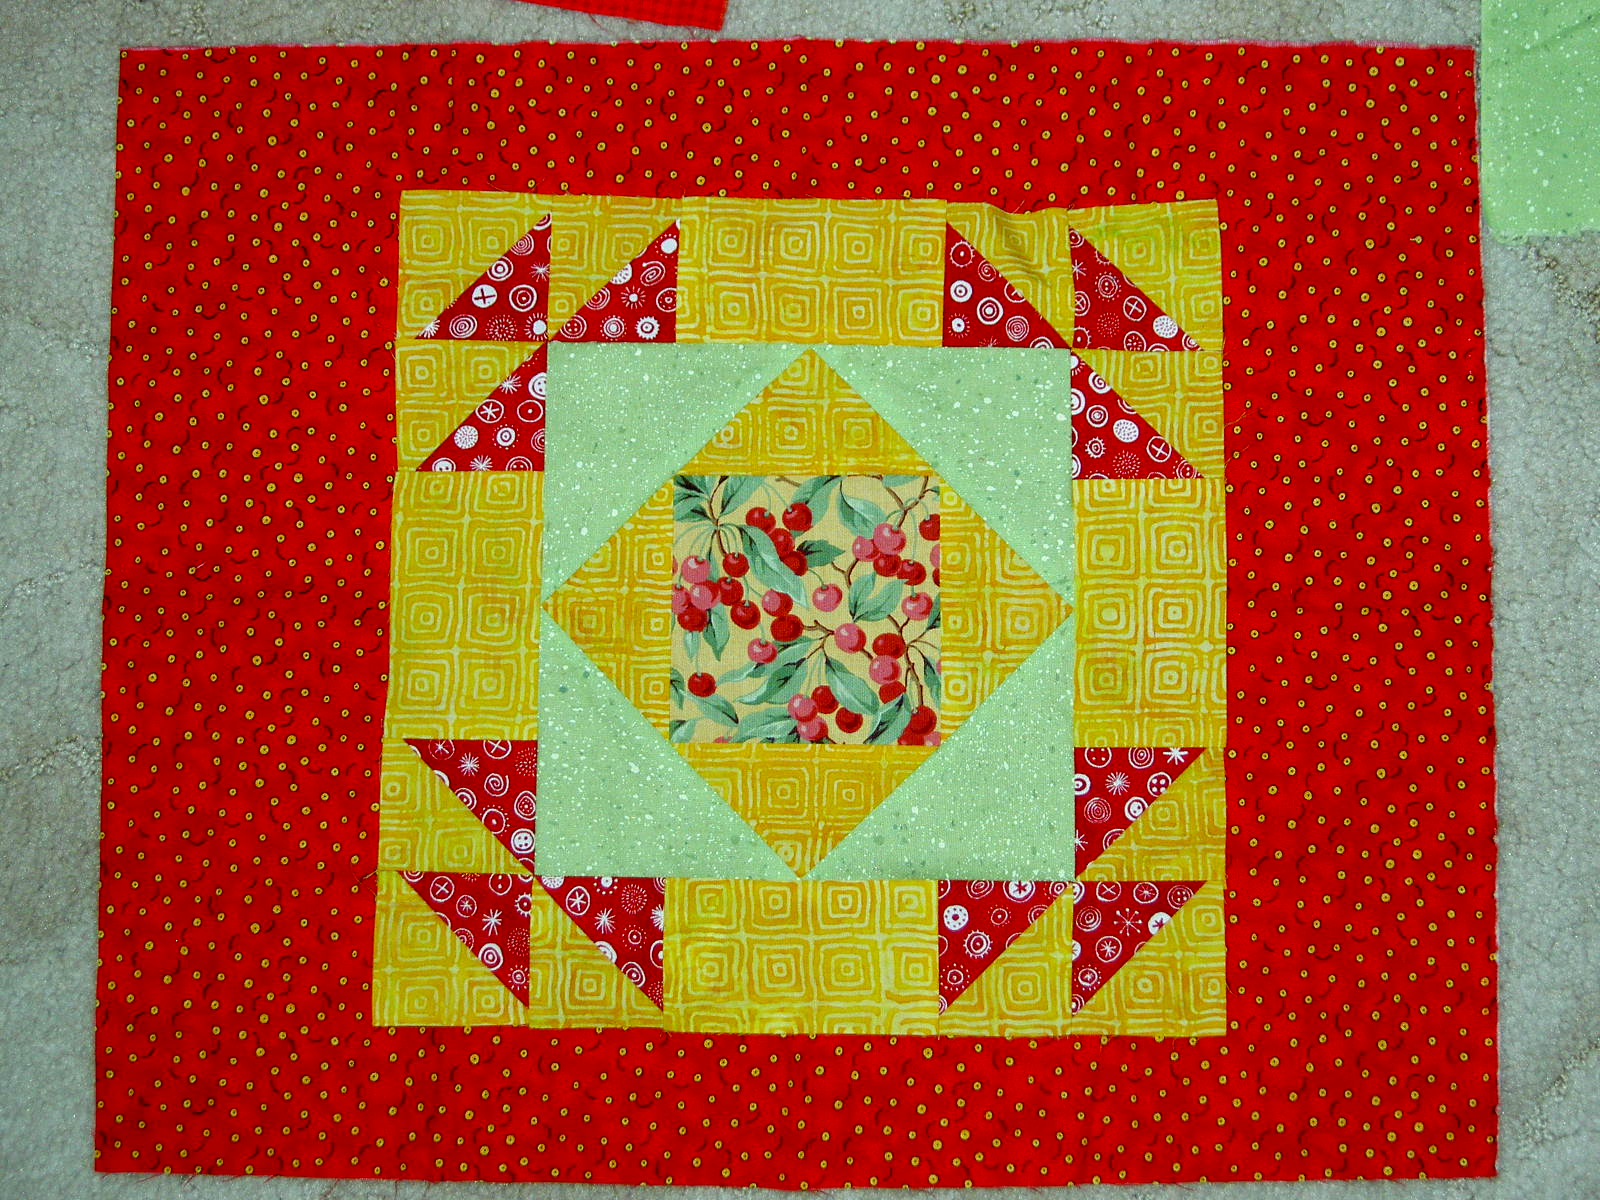
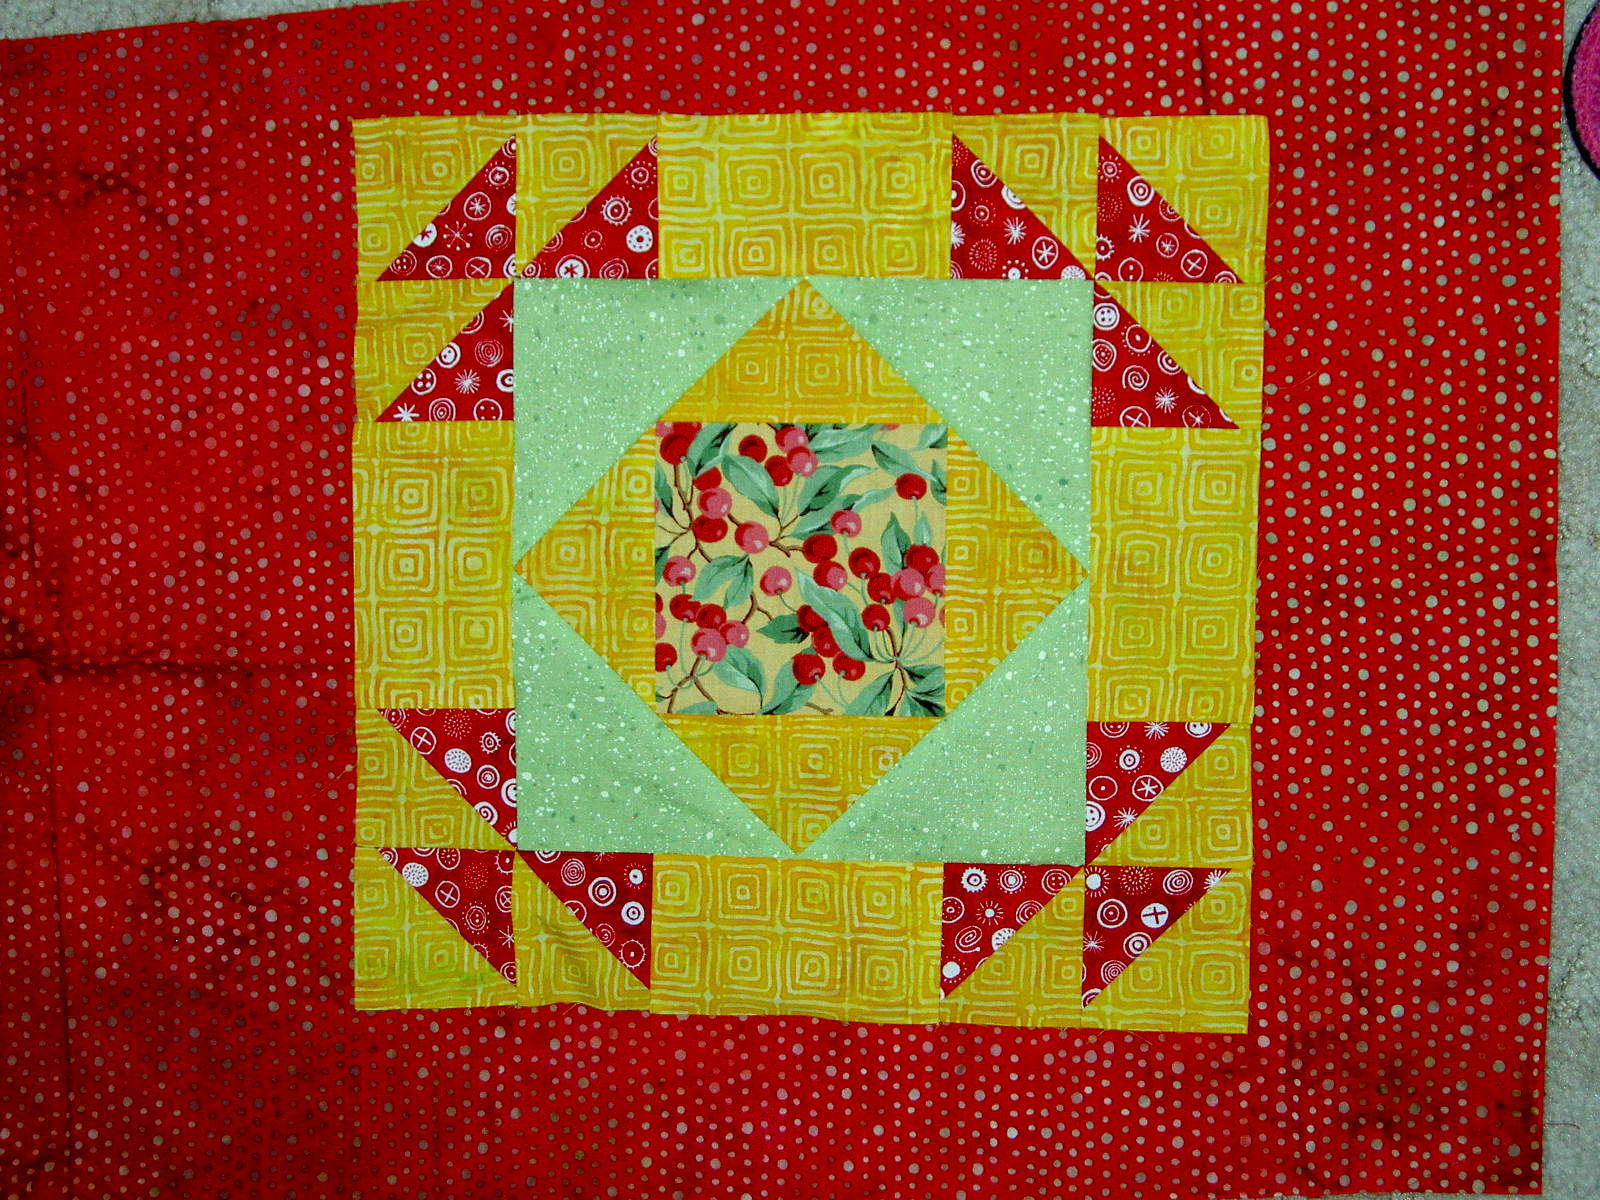
Resource Teacher Pillow – Front: the red, yellow and green color scheme has always been very appealing to me. I am pleased with the way this one came out although the pillow form doesn’t fill up the cover. C’est la vie.
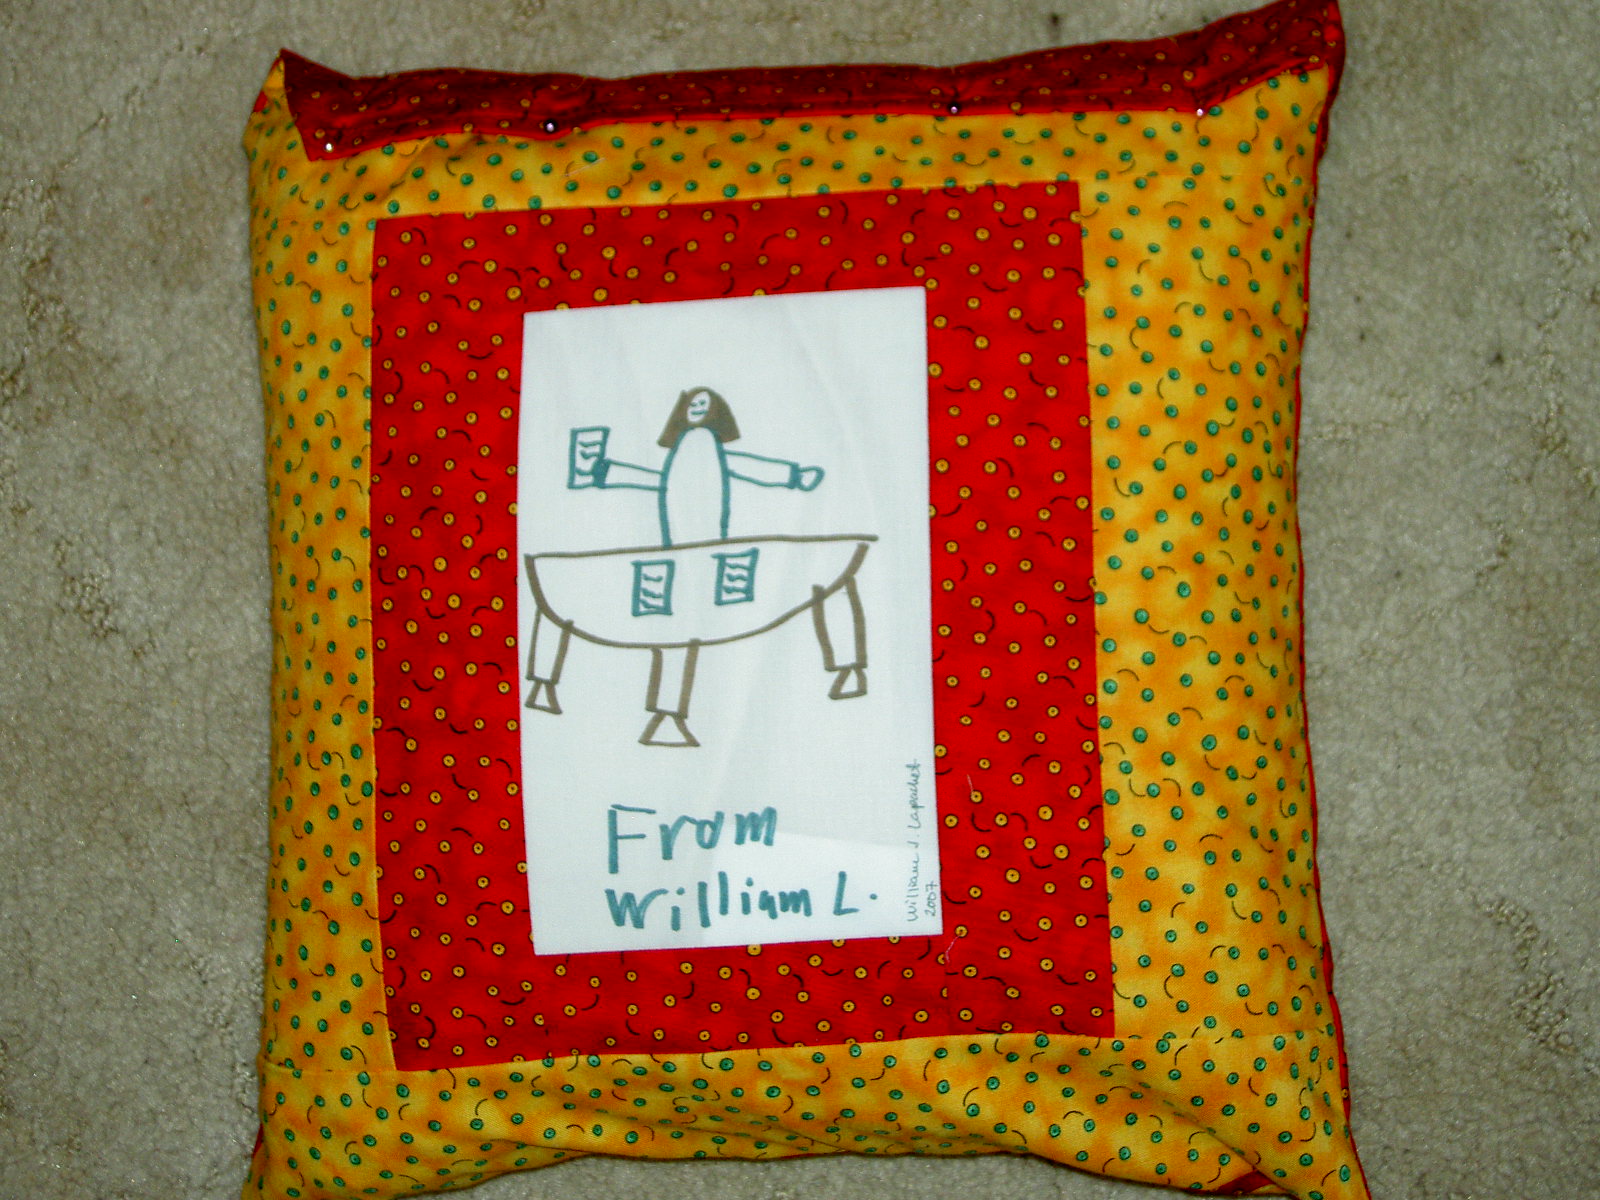
Resource Teacher Pillow – Back: I had extra space on the drawing, so I added a photo. All the drawings and labels were scanned and printed on an inkjet printer.
The above photos show the different borders I tried for t he Aide pillow. It kind of gives you an idea of my process.
Not trying to make the envelope style pillow cover has been a big help. I have to say that I am still not sure what the right way to make pillows are and, as a result, I am wasting a lot of fabric. Part of hte issue is piecing the back using the drawings. For some reason that step adds enough of a wrinkle to make the project complicated. What I really need is a book like Around the Block that says how to make a pillow cover if you have a certain sized pillow form. Perhaps C&T will add such a book to their “Fast, Fun & Easy” series? That is one “Fast, Fun & Easy” tha I would buy.
Still, it makes me feel good to spread some quiltmaking and sewing out into the world.