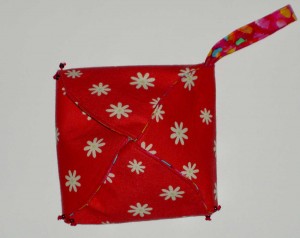
Yes, the Knitting Box, which seemed like such a failure, is finished. It took me much longer than I thought it would. Even though I should be done with this project, I am tempted to make another just because I would like to perfect the process as well as make a few modifications.
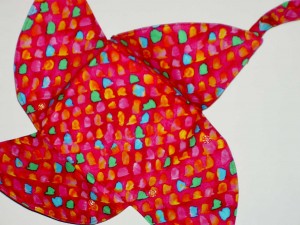
SIL likes it and I hope she will find it useful. I was nearly finished when she dropped off her child and requested a wrist band instead of the belt loop she originally requested.
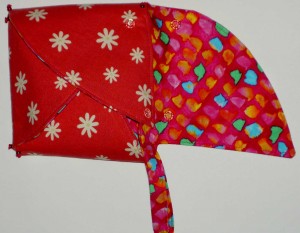
No dice. I did not want to rip out the seam and insert a longer loop. I didn’t have it in me. Fortunately, SIL is very thin and the belt loop was generous enough to fit over her hand. It is tight enough not to slip off as she is in transit.
The above photo shows that I added some snaps. I had some large black snaps on hand, which SIL said would be fine to use. I decided I wanted something to match the piece. I looked for pink snaps in several local shops with no success. I am sure I have seen colored snaps before, but I couldn’t find any. I must have seen them online. I finally bought clear snaps and they work well to keep the box closed. I was able to finish it while she was out.
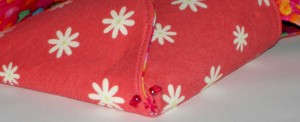
Part of what I wanted to do was secure the corners into a small box shape. I did that with beads and Laura Wasilowski hand dyed Perl Cotton. I hope it holds up. If not, I can fix it.
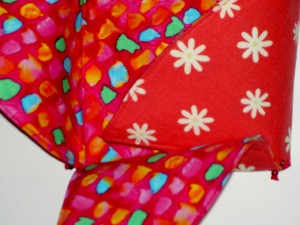
Above you can see the snaps and unfolding action as well as a bit of the corner detail.
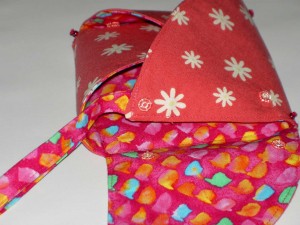
I put two snaps on the edge covering the section where the yarn will come out. I thought that SIL could only snap one in order to allow the yarn to flow out more smoothly.
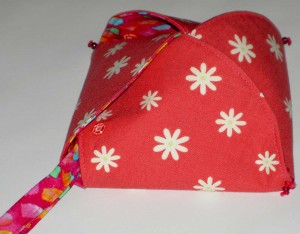
You can see how the yarn would come out with one snap open.
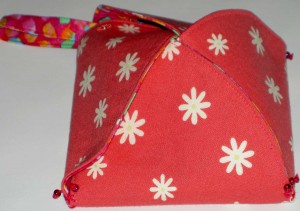
I will be really interested in how this project actually works in practice and if SIL uses it. I like the way the box looks in this picture and wonder if it will stay like that while she is on the go and knitting.
One of the things I really ended up liking about this project is how it became a group effort. I appreciate my SIL and my niece helping me figure out the solution to my challenges and to all of my readers who gave me resources. I also appreciate the opportunity to do something a little different and to Ruthann Logsdon Zarroff of Mirkwood Designs for posting the original Truffle Box pattern.
Thanks!

