My new machine does not have a name, but it might need one. I haven’t ever felt the need to name a machine, so this is an odd feeling for me.
As I worked on the two bags I talked about recently at home, the Zip It Up and the Sheffield, I was determined that my machine should work hard. Part of the reason was to test it out, to see what it could do. As I started to write this, my first machine class was coming up. Throughout my testing on the Sheffield I feel like I was able to make good choices and not do anything fatal to the machine.
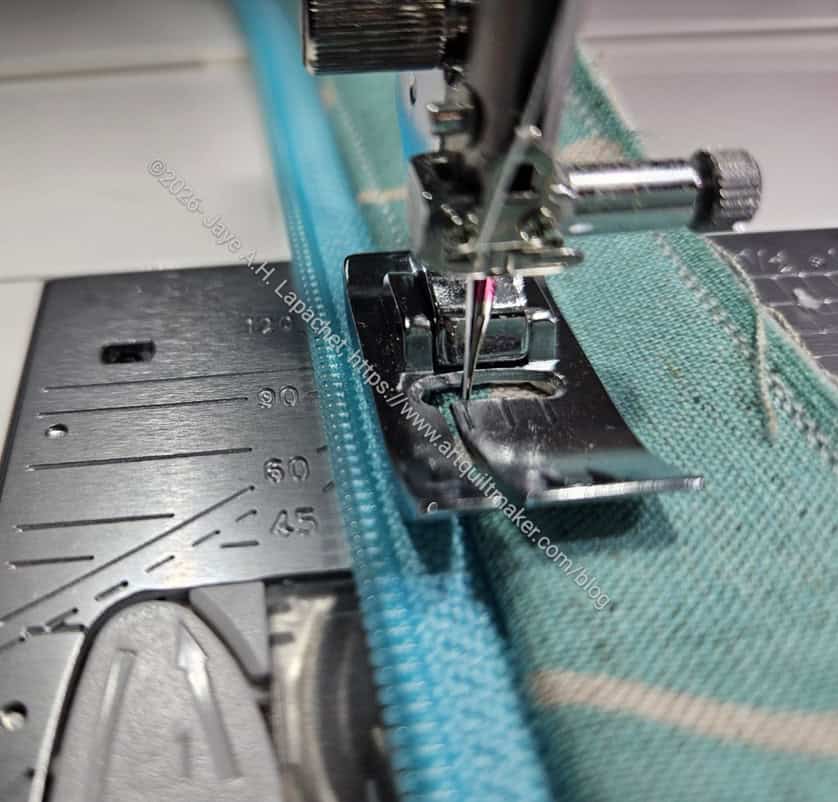
I am thrilled with the Bi-level foot. It helped me do an amazing job on top stitching around the zipper. The top stitching on my bag looks professional.
Top stitching is something that needs to be done on most bags. It is also something I have struggled with. I am so pleased that this foot helps improve the look of my top stitching.
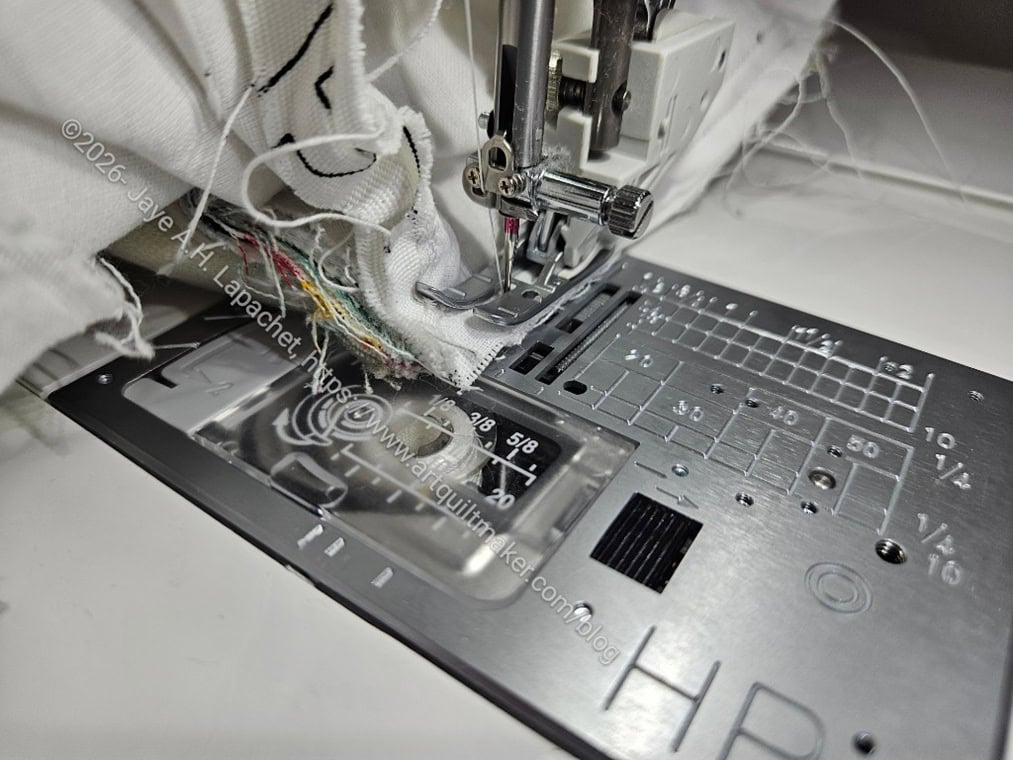
I have used this foot quite a bit, but learned at the class that I have to turn the dual feed aspect on. Even without that aspect, the foot was fabulous. It is even better with the dual feed activated. I used this HP2 foot to anchor the lining of the Sheffield to the exterior. I had to turn the bag back inside out as I forgot to sew the anchor stitches before I turned it right side out, but that was no problem. The corners were pretty thick so I avoided those, but I was able to avoid them and sew a long way down the bottom seams. That HP2 foot is a total champ in this task. The width of the foot is a quarter inch. The dual feed aspect of the foot means that despite several layers of foam and canvas, nothing shifted. One seam each on two bottom seams and I was done.
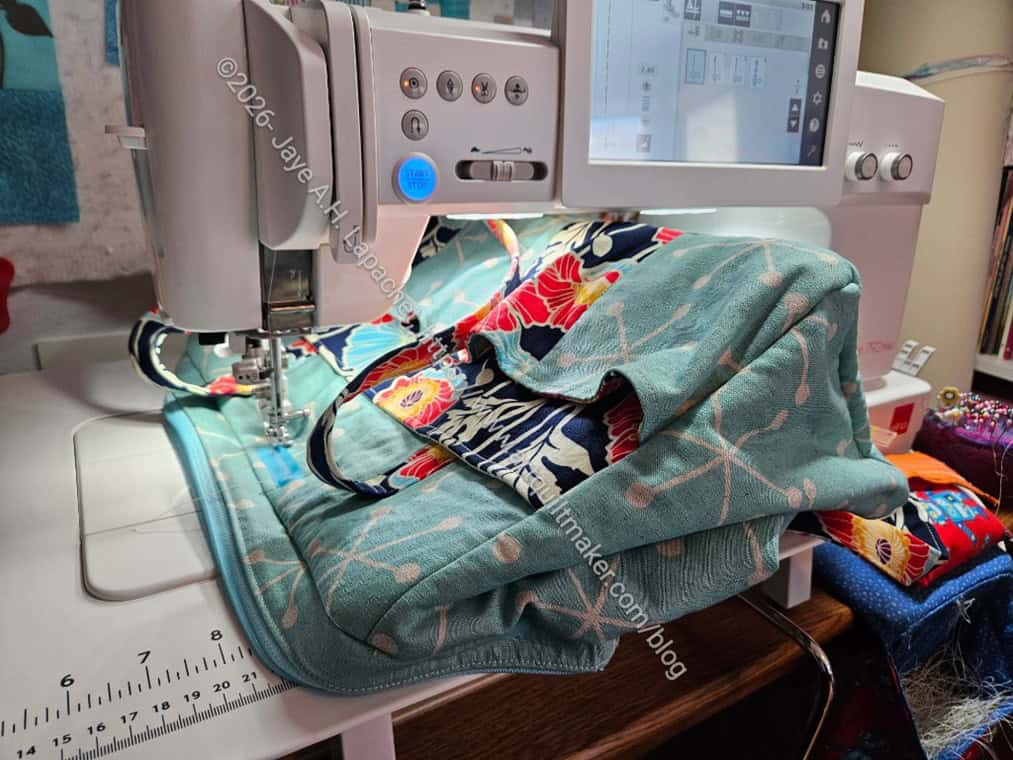
Yes, I really should have put my label on when I finished each side, but I forgot. I also think I didn’t have any labels with me at Mary’s. After I finished the entire bag I remembered to sew on a label. I found a spot where I would have to go through layers, but none that would impede the smooth operation of the interior zipper pocket. I was super careful when I performed this operation, but it worked perfectly.There was enough throat space to fit the whole bag without the bag being scrunched up and catching on something. I knew that having a throat space that was taller was good for bagmaking. It came as a surprise that this new machine had it. I didn’t measure. A++ to taller throat space.
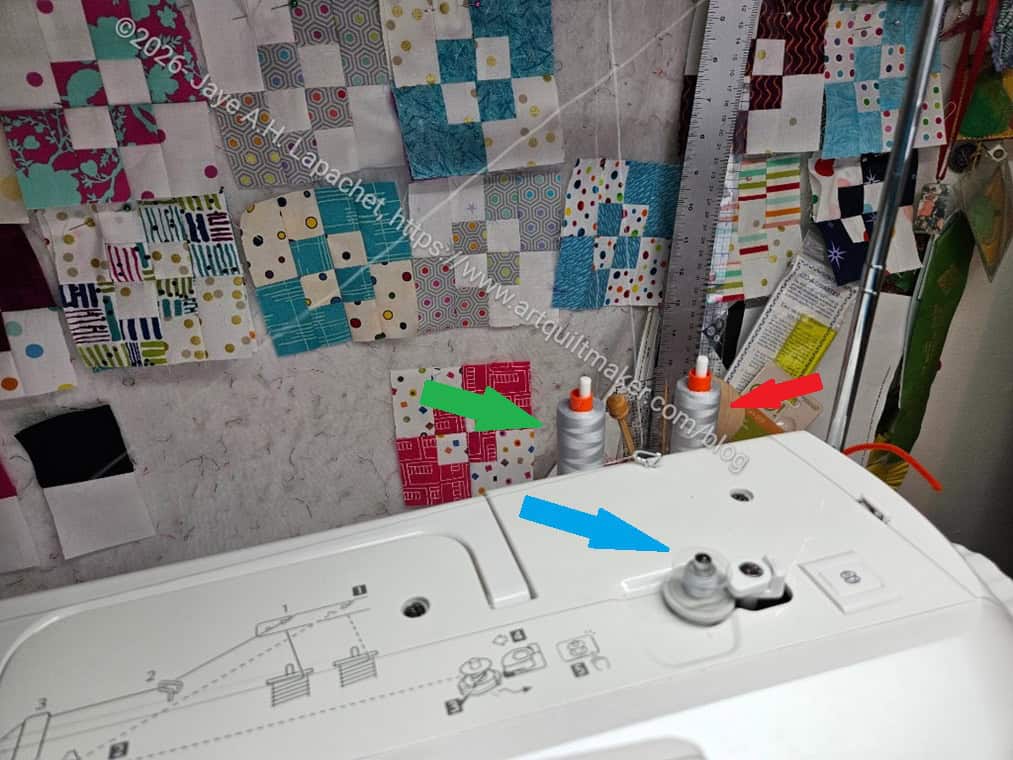
Finally, the bobbin winder has a separate motor. I found this out at the class I attended. I had wound a bobbin before the class. With my 6600, I was in the habit of winding multiple bobbins at one time with my go-to Aurifil 2600. Then I could plow through multiple bobbins before stopping my sewing and repeating the whole exercise. It made sense with my old machine, because I had to stop sewing in order to wind bobbins.
In the photo above, I am winding a bobbin. The blue arrow points to the bobbin winder. Next to it, on the right, is a button that engages the bobbin winder motor. The red arrow shows the thread I was using to wind the bottom. There have to be two spools of thread to wind the bobbin and sew at the same time. The green arrow shows the thread I was using to sew, which I was doing at the same time. In this case, I was using the same color thread to sew and wind bobbins.
I am exploring a lot of things at the moment with this machine. Different feet, different capabilities. I am really happy with how the machine handles lumps in my sewing, such as where multiple seams meet in piecing (like an 8 pointed star) or thicknesses in bagmaking.
Sounds like this new machine was a great fit for you, I’m so glad! If you need help coming up with a name, let me know, I have several women’s names that start with E in mind.
Hit me with a few! I’ll see what I think, but don’t get your hopes up. 😉
I am still testing it out and finding my groove.
Interesting read and so glad the new machine is working out well! I have two identical Pfaff machines. I did name them. They are called Thing One and Thing Two. lol
LOL!!
I am learning a lot and am really enjoying the new machine.