Various & Sundry 2016 #12

Doing Good

Valerie makes blocks every month for charity via Kat’s blog, Kat & Cat Quilts. If you are looking for an organized way to contribute to something good this might be an opportunity for you.

I found another update on the Pulse quilts in Orlando. This one has a slide show of a variety of the quilts.

Creativity

Need some easy color work? Need to relax? Nerdy Mama has 20 free coloring pages for you.

My pal, Jill (Quilt Rat) has found another IoS creativity tool. I am so sad it doesn’t work on Android devices! It is called Amaziograph. With this app, you can create amazing kaleidoscopic designs a la color pages and La Passacaglia (without the color). Jill has written a blog post and created a basic video tutorial.

Projects, Patterns & Tutorials

Wanda, over at Exhuberent Color posted these sunflower blocks. I didn’t know these were in the Farm Girl Vintage book. I have that book and have looked at it, but must have missed this block.

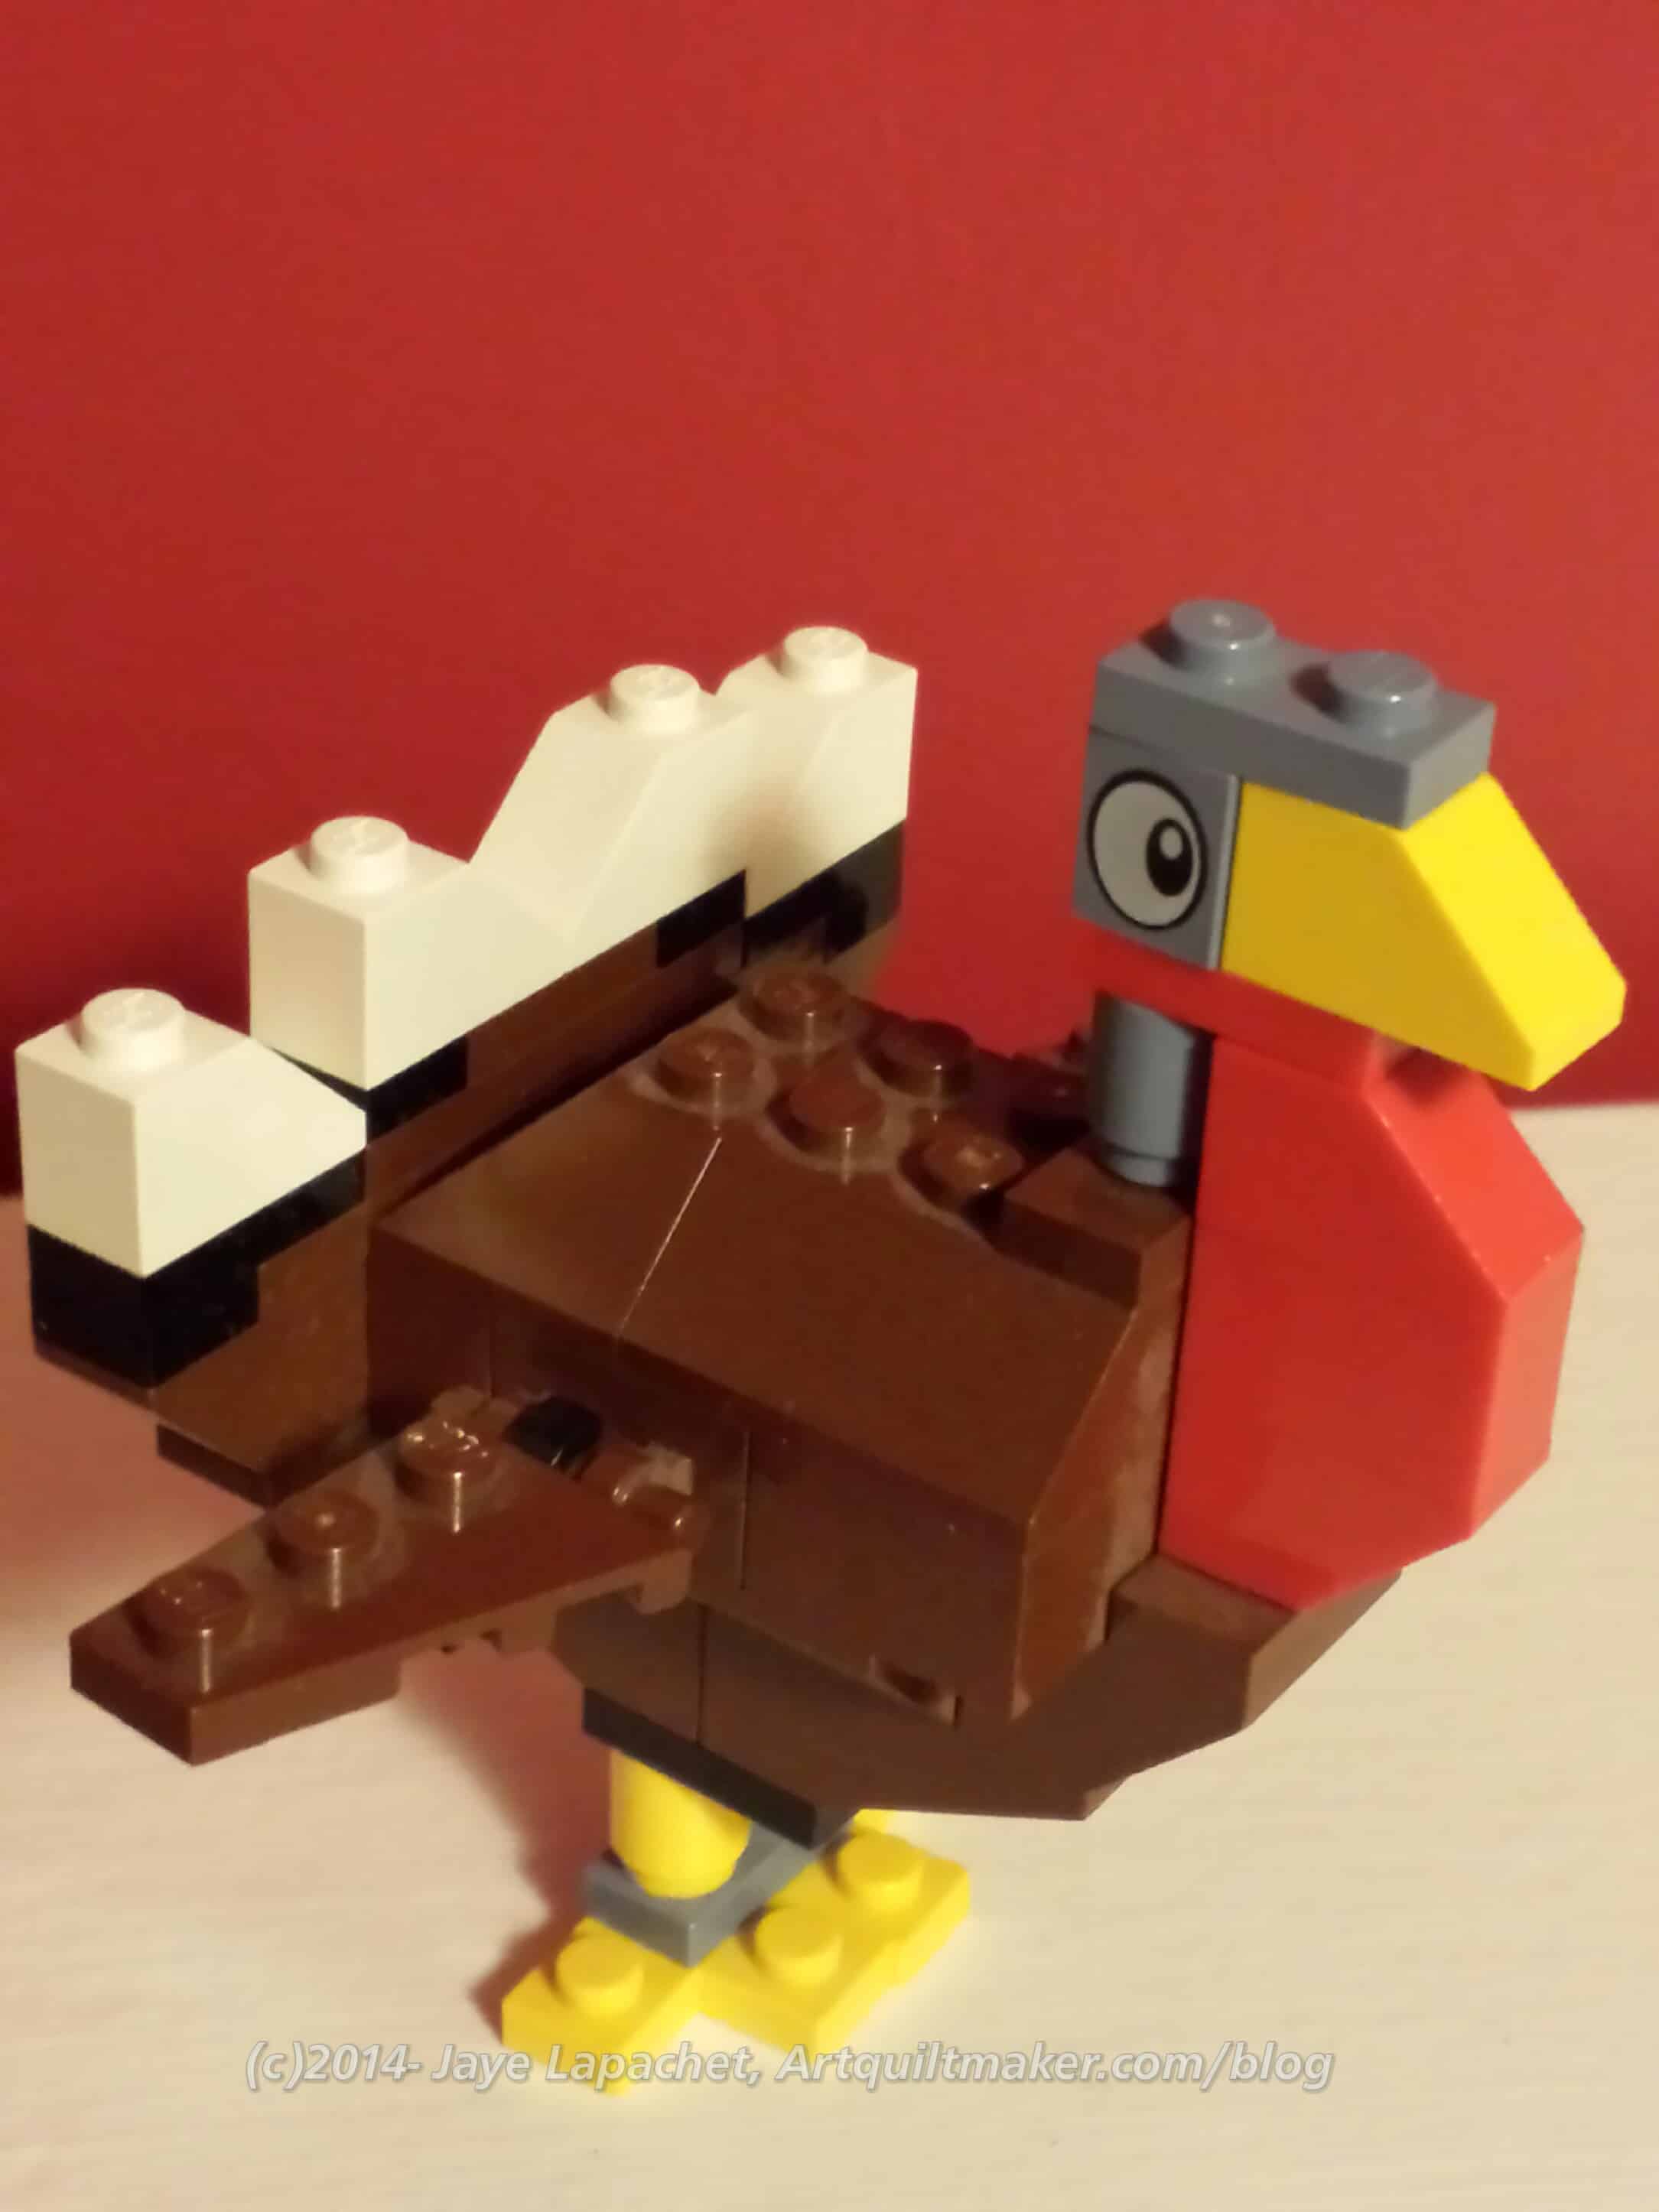
Aren’t these monsters great? I love them and want to make one.

As per usual, Bonnie Hunter has released the first clue to her 2016 mystery quilt, En Provence. Download it now (she has a printer friendly version I save to my computer) as the clues go away in about 6 months. She has some excellent cutting tips in the first clue. It is always good to check in on our sewing technique.

Media

Sara, over at Sew Sweetness, has posted a list of Cool Tools. Which do you use?

Definitely check out the sincere and lovely thank you from EQ.

Other Artists

My sister shared Christine Peloquin’s website with me. She commented that the art looked like ours would look if we were one person. I think it is true. I am not much of a face-in-quilt-form person (to each his own), but I do like the face painted over the quilt top. The imagery I saw on the day  I looked (11/11/2016) was dominated by images of women. I thought the images were profound given the current discussions on the status of women. Christine is located in Florida.

This subsection will be called the Judy Martin section. I know many modern quiltmakers have never heard of Judy Martin, but I love her work and especially her block designs. She also has a very friendly newsletter. They are not high tech, but cheerful, upbeat and entertaining. They are archived on her website. Judy, seriously, makes me want to visit Iowa again. It sounds much more interesting that I found it to be when I visited my great grandparents for summers as a kid.

In the November issue of her newsletter, she mentions that the Electric Quilt Company has a new download product that originated as her book, Knockout Blocks & Sampler Quilts (now out of print).

She also has a quilt at the Iowa Quilt Museum, which I mentioned previously. Judy writes “Nestled in an old J.C. Penney storefront on the picturesque courthouse square of historic Winterset, Iowa is the new Iowa Quilt Museum. It’s not a huge space with a large permanent collection. Rather it’s a small, nimble space given over to interesting exhibits curated especially for the museum. Through January 24, 2017 the exhibit of star quilts features “State Fair Star,” a Feathered Star variation I made for Patchwork Among Friends. The quilt shares the airy, well-lit space with 29 other star quilts. If you’re traveling to Des Moines or simply passing through on I-80 or I-35, the Iowa Quilt Museum is worth stopping for.”

Judy also mentions “a web site for a socially minded company that is making fabric from empty plastic bottles! They are trying to create opportunities for people in Haiti and Honduras while reducing the ecological impact of littered plastic bottles.” She says that she hasn’t “sampled any of their products, but” that she is “intrigued by the whole thing and certainly support[s] their goals. Take a look and see what you think.”

[end of Judy Martin subsection]


Quilt World News

Christen Daniels has resigned from the MQG board due to time constraints. The Nominating Committee put out a call to assist with the task of filling the volunteer board elected seat. They sought candidates with strong strategic planning skills and knowledge for nomination by November 12.

Not Quilt Related

From the Doing Good-NQR Department comes an article about the Native Sons and their donation to the Craniofacial Center at UCSF. Much of this money comes from $1 raffle tickets, $5 chances on gift baskets and $10 dinner tickets rather than $10,000 donations from rich people. You can make a difference by making a donation.

FOTY Squares – end of November 2016

FOTY - end of November 2016
FOTY – end of November 2016

You got a little peek at the FOTY squares yesterday when I posted about last week’s design wall.

Here are most of the squares in all their glory. I really couldn’t fit all you could see in the photo into the space I had on the design wall. Yes, you saw them all on, but in order to take a photo, you will have to wait for the rest to show up in the next installment.

There is a lot of yellow in the group. I had forgotten about those pieces. they will make an interesting addition to the FOTY 2016 quilt.

It hasn’t been that long since I posted about this project last. I am gearing up to start placing squares in order as soon as I finish the Peacock, thus I am cutting diligently. I want to get it started and done, though I am afraid the size of the squares will make a piece that is too large for my design wall again. Sigh.

Design Wall Monday

Design Wall Week of November 21, 2016

I don’t regularly post my design wall, though I do occasionally. The last time was in July. I am posting it this week, because I was enamoured with the look of my design wall last week.

As I said, I pressed and cut up many pieces of fabric over the weekend. Partway through my flurry of cutting, I looked up at the design wall to place another FOTY square and saw very little space left. As you can see above, the 4″ FOTY squares have almost taken over the space.

Design Wall Week of November 21, 2016

This time I don’t have very may different projects on the way. Part of that is because the Lobster fell off. Part of that is that The Peacock is taking up almost all of the other design wall.

  • 1,3 – FOTY squares
  • 2 – Stepping Stones
  • 4 – Bonnie Hunter Essential Triangle Tool
  • 5 – City Sampler blocks

There is actually a lot happening in my workroom, but it all seems to be in process with nothing every getting finished. Soon, I hope.


I am linking up with the Patchwork Times.

Pre-Thanksgiving Work

Pre-Thanksgiving Hunting & Gathering

I spent a lot of time Sunday through Wednesday performing Thanksgiving prep tasks. I am sure many of you did as well.

I decided 3 pies would be enough and since I planned to buy one (shocking I know), I didn’t have as much prep as in previous years. Also, many of my clients went out of town as the week progressed, so work slowed down.

In between food prep, I did some hunting and gathering. I didn’t want to pull out my cutting table (it is stored in the fabric closet when I clean up), because I knew we would need to store random furniture and stuff in my workroom on Thanksgiving. It would just get in the way. I pulled out a portable cutting mat, cutter and rulers and proceeded to cut pieces from the variety of fabric I had ironed over the past….little while. The chair where I hang my washed fabric was getting less useful as a chair.

Key to Pre-Thanksgiving Hunting & Gathering

I really got a lot done as I listened to the end of a Charles Lenox mystery and all of Paris for One by JoJo Moyes (highly recommended!).

Depending on the color, I cut different shapes. The ones shown are:

  • 2.5″ squares, because a person often needs scrappy 2.5″ squares
  • 2.5″ squares for donation quilts. I am cutting 2.5″ squares anyway, so I might as well cut two and have a variety when I make the postage stamp blocks for BAM
  • 2″ squares in blue, violet and green for my upcoming Blue Lemonade quilt.
  • 1.5″ squares for the upcoming 30 Something quilt.
  • 1.5″ squares for a friend who needs them for a scrap quilt. My fabrics are very different from hers and since there is no shortage of fabric at my house, I offered to cut and send some to her.
  • (under various squares) strips to make half hexies for the EPP piece.

What you don’t see are my 2.5″x4.5″ rectangles in blue and pink. They were acting up apparently 😉 and couldn’t be in the picture. I decided a while ago to do a colorwash, similar to the Fabric of the Year quilts, but only in blue and another in pink to see if I could do it. I am still hunting and gathering, but need to stop collecting and try to do it.

When I post my next To Do list, I will be able to say that I have made progress on the washing and cutting!

ColorPlay November 25

Postamt Boden
Postamt Boden

I owe you a chapter from The Little Spark book, but that chapter will not be this week. Thanksgiving kicked my butt and after I post this, I am going to lay on the floor of my workroom and pretend I am sewing.

Once again we are looking at color palettes. This is an endlessly fascinating topic for me.

I saw this floor in the Postamt at Neutorgasse 46 in Graz when I went to mail some postcards home. I love mosaics and tile as you well know and despite the grime and poor repair of this floor, I thought it was a beautiful design.

ColorPlay November 25 n.1

I tried to get a pleasing array of the neutrals. Again, lots of neutrals and ‘repro’ colors. Another challenge. Lots of chocolate and mocha type colors. The Kona Taupe definitely has a pink cast and the Ash looks silvery. The two of them keep this palette from being too depressing.

ColorPlay November 25 n.2

I worked hard to keep that taupe in the palette on my second attempt. This second palette is somewhat brighter, especially with the Wheat.

If you make anything from one of the palettes above, let me know.


Lozenge Quilt

I have thought about the lozenge shape for awhile. The most recent instance of writing about it that I could find was last year when I wrote about seeing the shape crop up everywhere. I thought I had put it on my dream projects or future projects list, but I don’t see it there.

Anyway, I took the Mostly Manor Layer Cake that I bought with Julie and one of the Northcott white charm packs and got to work sewing the charm squares on to the Layer cake squares.

Lozenge quilt, first look

The work is easy and this is a leaders and enders project, but it is coming out ok. I hope I notice when it is finished.

I decided to split the lozenges in half on the diagonal and sew them back together with other fabric halves. I think it will be more interesting.

I am not a huge fan of the fabric. I think I mostly liked the large roses prints. Still, it should be a fun experiment. I’ll have to figure out what to do with it as I don’t need it laying around. I have a possible idea, but we will have to see.

Mel Beach Workshop

Shockingly, I took a machine quilting workshop.

Yes, I have done so in the past, but it has been awhile.

Mel Beach Machine Quilting Sampler

After seeing Mel’s sampler of designs up close and thinking for awhile that I wanted to pull out my walking foot for use more often, I signed up for the class. I love taking BAMQG classes. The people there are really fun, so even if the class it awful (and there hasn’t been an awful one yet), I know we would laugh and have a good time.

I will never be a great quilter like Colleen or Kelly, but I can be adequate and competent. My method of machine quilt is to follow the designs of fabric, as you saw in the Thanksgiving tablerunners. I usually use my applique’ foot and go very slowly. The applique’ foot allows me to see exactly where the needle is going and I can be a bit exacting when I quilt. I used to free motion quilt, but I haven’t done it in a long time and it doesn’t really suit my style of quilts.

The workshop was held at Grace Lutheran on Saturday a week or so ago. The task was to learn to use to the walking foot or become more comfortable in its use. In the process we would create a sampler (or two) of several different quilting patterns. Most of the patterns were straight line, but Mel included some gentle curves as well.

Mel was well organized and had obviously worked hard to develop her handouts. She covered taking breaks and caring for your body, which is skipped over in many classes. We also learned to use tape to mark, tips and tricks for pivoting, decorative stitches and much more. Mel is a calm and well prepared instructor.

The workshop was organized so that the group would get together to learn information then go to the machines to practice. There was a lot of back and forth, which was great because it encouraged everyone to take breaks.

Result of problem with tape

I had a problem sewing on the correct side of the tape at the beginning. This put me behind, because I ended up with a whole bunch of ripping to do. Still I was able to finish one sampler.

I ended up marking an arrow on the tape telling me at a glance on which side to sew. Simple, and possibly unnecessary, but it helped me. I also marked some of the places with my Nonce pencil, a tool I learned to use when I first started quiltmaking. I didn’t have a Sewline with me.

The first thing we did was create squares on the sandwich we had created at home. Like the example above, we were to have a 9 patch layout in which to quilt our designs. I was moving along fine until I sewed on the wrong side of the tape and suddenly my squares were too small. After ripping, I drew the lines on and sewed over those drawn lines rather than using tape. Note that I didn’t make a big deal out of *my* error, as I have seen some people do in other classes. I calmly ripped enough so I could sew the next lesson and then ripped more while I listened to another lecture. Yes, I was frustrated, but this had nothing to do with Mel.

My Machine Quilting Sampler

Eventually, I got back on track and was able to finish all but a quarter of one square.

All of the designs are straight line designs except for the heart in the center, which, as you can see, has only a very slight curve. The straight line designs were mostly done using tape in some way to mark out the lines, though in the spiral (upper left hand corner) I used the side of the walking foot, as instructed.

One of the reasons I took the class was to try and find background designs, that fit my quilting style, to use to finish the Tarts. I am not sure I found what I needed, though I think I can use some of the designs for that purpose

Machine Quilting Sampler: Chevron

My favorite design was probably the Chevron, though I am not sure when I would use it. It isn’t as hard as it looks.

The class was worthwhile and I am glad I took it. I am not sure whether I am more inspired to quilt more in a new way or just have more knowledge. I don’t have a wild desire to machine quilt everything in sight. I suppose time will tell.

I have another sandwich made and continue to try to decide whether I want to start my own sampler, trying out the designs I wasn’t able to try in class. The problem is that if I am quilting, I am not piecing. Also, I can’t switch back and forth as I have to set the machine up for one or the other. For the moment, I will continue to piece.

Walking Foot Students with Projects
Walking Foot Students with Projects*

You can read more about Mel’s thoughts on her blog post.


*Thanks to Mel for the photo

QAYG

Mom wanted to go on a mini-shop hop. She mentioned it a couple of times as soon as she heard about the Jingle Bells (??) shop hop. So, we planned it. Since the shops were kind of limited, I suggested that we visit Friend Julie and add Back Porch Fabrics and Hart’s to our shop hop. We spent the night with Julie and went to Back Porch in the morning.

I have spoken/written about that shop many times. It isn’t a large shop, but I love the aesthetic, the light, the colors. Generally I want to buy everything. Some would argue, in this instance, I did. 😉

That is a topic for another day. On this particular day, Gail Abeloe, the owner was in the shop and she spent a lot of time being friendly and showing us different things. I know she was in top notch sales mode, but I don’t care. It was great.

Quilt As You Go Made Modern - C&T Publishing
Quilt As You Go Made Modern – C&T Publishing

One of the things she showed was a new (ish??) book called Quilt As-You-Go Made Modern: Fresh Techniques for Busy Quilters. This really caught my attention as I saw, from her brief demo, how I could churn out more fully completed donation quilts. Gail included an additional handout/tips sheet with the books she sold at her store.

Almost as soon as I got home, I took some of the red and white donation blocks I had been stockpiling along with some leftover batting from recent longarm projects and tried it out.

First joined/quilted QAYG blocks

While I can’t say, I am 100% successful, I only need some practice and refining of the process. I have several blocks quilted and I am in the process of joining them together.

One of the keys is to join the blocks in such a way that you don’t have to applique a join on a block, which I think was how the original technique was explained.

One thing I need to do next time is to make the batting pieces larger and trim them after quilting and before joining the pieces.

It is possible to use this technique along with regular piecing, so I have been making progress on these blocks as leaders and enders while I piece The Peacock. It isn’t a quick process and sometimes I feel frustrated, but I remember I am also quilting the quilt at the same time.

I’d also like to try foundation piecing straight on to the batting – kind of string piecing, but with large-ish strips.

I never heard of this book and will do a review later, but I do hope to have a quilt top done and “quilted” soon.

Blue and White Donation Blocks

Donation blocks Nov 2016

I have been really churning out the donation blocks in the last week or so. I guess I feel I need to spread some kindness into the world.

I received more of the Northcott Colorworks 5×5 squares so I was back in business making donation blocks. I had almost started sewing 1.5 in x 1.5 inch squares together for the Thirty Something quilt.

Simultaneously, I washed several yards of white fabric so I could cut 2.5 inch squares for the donation blocks using the Accuquilt. The charm packs came first. I also have some ideas for the white and use it for linings to dresses, so I’d like to keep the yardage intact, if possible.

Donation block November 2016

I have a whole group of red and white donation squares that I am putting together into a top, so these blue and white ones are just stacking up.

I am trying to make them cheerful, though I do have a container full of squares earmarked for donation quilts. I cut one 2.5 inch square, at least, from each fabric I buy or wash or use when I do my normal cutting.

Donation block November 2016

For the moment, these are blocks, however, I am testing out a new quilting method and so they may turn into quilts without sending me into paroxysms of pain. Stay tuned.

More City Sampler Blocks

I wasn’t very happy with a couple of the blocks from the last group of blocks, but I am continuing to persevere and am much happier with the latest batch.

City Sampler n.49-52

It is working for me to use these blocks as leaders and enders while I piece The Peacock. They require a lot more thought than simple piecing of two squares together leaders and enders, so it is harder to think of them as rote sewing. Still, I am getting these blocks done. I made it to Block n.53 by last Sunday and that block was half done by the time the weekend ended. This means I am more than halfway finished with the set of blocks. All of the 100 blocks in 100 days piecers are nearing the end, which will mean my inspiration goes away. Still, I am taking advantage of it while I can.

City Sampler n.45-46

I am making the blocks the way Tula suggestions, which is a problem for me regarding triangles. My machine is eating corners of the triangles. Fortunately, after n.55, I have some blocks with, what Tula calls, stripes. After a quick glance through the rest of the book, it appears that most of the rest of the blocks consist of squares and rectangles. Hallelujah!

City Sampler n.47-48

The triangles do look nice on some of the blocks; it is just the making of them that is driving me crazy. I never thought of buying a single needle plate (think of all the needles I will break!), but Tula’s method of making the triangles might drive me to it.

As soon as I finish the Peacock top, I will put these blocks up on the design wall and take a look at how they look together.

ColorPlay November 18

Glockenspiel on Glockenspielplatz

I am working, today, with another photo from my trip to Austria.

I used to live at Glockenspielplatz 6/3/13 and this is the Glockenspiel (chimes, carillon) across from the main house door. I don’t remember that giant tower and will have to look up some photos from my last trip to Graz to see if I simply don’t remember.

Again, I am playing with neutrals, apparently. The colors of the buildings are remarkably consistent in Graz. The yellowing stone of the buildings, the red tile (slate???) roofs and the green copper of some towers or other architectural details. No fuchsia or turquoise here.

ColorPlay November 18 n.2

The Palette Builder tool created a much more neutral heavy palette, which makes me wonder how the circles are placed on the image by the programming. The circles seem to gravitate to the darker sections of the photo. You can see that none of the gold or sand colors have a circle on them.

Still the tool selected a bit of blue, which adds to the palette, though I was sorely tempted to move the blue circle to a darker section of the sky.

ColorPlay November 18

I thought my first attempt would also be somewhat depressing (I am gaining more of an appreciation for neutrals, however), but the yellow and the blues add some cheeriness.

I wanted to get a good color for the green copper, but wasn’t really successful. This made me think about whether I was expecting a matching color from my mind or if I was truly seeing that green color. Yes, I do know there are a variety of greens in that architectural detail.

ColorPlay November 18 n.3

Since I seemed to be stuck on greens, I decided to try and create an almost completely green palette using that copper covered tower.

I am not sure if Limestone, Shale and OD Green are actually greens. If I assume they are, I have to say they lean heavily towards the grey end of the green spectrum. Yes, I did move that blue circle to a spot that would register Stratosphere.

Let me know if you make something from either of these color palettes.

Final Napkins

Thanksgiving is next Thursday in the US.

Is the pie crust made?

No.

Pie filling?

No.

Rooms tidied of their pieces and piles?

Sort of.

Napkins - final
Napkins – final
Napkins - final
Napkins – final


However! The napkins for Thanksgiving are done! As I mentioned last time, one got eaten so I went and bought another pack. The dusky purple was an inspired choice. All of the motifs turned out really well on that background.

Even the Pennsylvania Dutch style turkeys is appealing.

More Garment Sewing

Layout pattern
Layout pattern

Well, I cannot seem to stay away from the garments. I am still not a confident garment maker and I couldn’t do it easily without my SIL who is a master (mistress??) of garment sewing.

We are using the same Hawaiian style shirt pattern that we did when I visited her in Maryland a few years ago.

I am using some great California fabric that I found at the Granary. It is called California Here we Come by Studio 8 for Quilting Treasures.

California Here We Come Fabric

I bought 3 yards of the tan for the shirt. I knew I would need some extra and I didn’t want to run out in case I made mistakes. I thought the tan colorway would look good with the recipient’s coloring. I also bought a half yard of the black on white, which would be my colorway preference.

This is a really good California print as it has a lot of the sights of our state and goes beyond the most prominent. Whoever drew the print was thoughtful about the motifs.

She is supervising me heavily and I need it, because I can’t get the layout of the pattern pieces straight in my head. I only had to recut 3 pieces this time, which is an improvement.

Now I have cut all the pieces and applied interfacing. I have also hemmed the shirt fronts. Onward.