Retreat Day 1

Cramming my stuff into the little car

BAM’s retreat started on Friday. I did not go to the gym Friday morning, though I did go for a walk. I could have gone to the gym and that was my plan, but I decided I wanted to relax a little bit and not rush around.

The night before DH decided he needed our larger car on Saturday to ferry people to the football game, which left me with our small car. I pared down projects a little bit, though not much. We packed some of my gear on Thursday night so I would mostly be ready to go. I had space, but used most of the available area to cram sewing supplies in.

BAM Sew Happy Retreat

Rhonda was kind enough to save me a seat. I sat between Sonja and Liz while I was across from Gerre and Rhonda. Our side of the room was relatively quiet, compared to the Mary-Amy side of the room, which was hilarity personified. We did talk about the Supreme Court nominations quite a bit. What a fiasco.

BAM pillow swap pillow

One of the first things I noticed was that Maria brought the swap pillow I made for her. She is using it to make the hotel chairs more comfy. Gerre also had a pincushion I made and the EPP kit I made. She was showing them off, which was sweet. I am really glad to see people like my work and use what I make.

The tables filled up quickly as people trickled in throughout the day.

People also started working on charity right away. I made a block as I pieced my MetroScape blocks.  I used my own fabrics, but it doesn’t really matter. I’ll make more tomorrow. Claire finished a Spiderweb quilt that Liz had made.

Peggy's Improv Flying Geese
Peggy’s Improv Flying Geese

Peggy made a really cool quilt top from the additional blocks made when we used the Chevron design. It is kind of improv Flying Geese-y.

Thanksgiving tablemat quilting

After finishing the purple dot MetroScape block, I turned to the Thanksgiving Tablemat. I started quilting the center. I didn’t have the right green for the background, so I stuck to the lines in the center.

As I put on the binding, I saw the back and realized that the tension was terrible. Not anywhere near good enough to salvage, so I ripped it all out, finished putting on the binding (still need to join the ends) and called it good. The piece doesn’t have a ton of quilting, but it has enough for its purpose.

The Retreat Committee is really well organized. Everything is going very smoothly. We have a HUGE array of prizes that will be distributed throughout the weekend. We got a bunch of raffle tickets just for arriving. I put most of my tickets in the cup for a Daylight Slimline lamp. I don’t think I really need it as my lighting situation at home is good, but it would improve the situation so much. It is making me think of reorganizing and revamping my workroom. That is such a HUGE project that thinking about it when I am not anywhere near home is the only way I can deal with it.

On to Day 2!

MetroScape Block n.2

MetroScape Block n.2

I should have started a new project sooner then I wouldn’t have felt so bad. I started on the next block and I really like it.

I’m still sticking to dots in the outer section of the block. I haven’t decided if I will try the stripes. The thought of matching stripes makes me a bit crazy.

MetroScape block 2 in process

I worked on this block at the retreat, too, and made good progress. Having a nice piecing project to work on is awesome.

MetroScape Block n.2

I did finish the block yesterday and am pleased with the way it came out.

ColorPlay: Windspinner

ColorPlay: Windspinner original

I took this photo in Tahoe. I really like those Windspinners.I can’t buy one, because DH gets sick.

There are a lot of colors, if a person is careful with the little Palette Builder circles. I had fun looking for them.

ColorPlay-Windspinners-default

Despite my efforts, the default palette is still a bunch of neutrals.  It is really dark, but somehow strangely appealing. The Kona Earth is a nice brown.

ACK! I can’t believe I said that about brown.

ColorPlay: Windspinner-n.1

I went for totally bright and cheerful in the first palette. The green in this palette is really a good addition. I like the Grasshopper with the Papaya even though I am not much of a green person.

ColorPlay: Windspinner-n.2

I went for a cool colors palette. Isn’t it fun? I kept the Grasshopper. It is a nice dark with the other colors.

ColorPlay: Windspinner-n.3

Palette number 3 is the monochromatic palette that weighs heavily towards turquoise. 😉 I did add in the darks to make it a little different. The Kona Carribean and Breakers are two great darks.

ColorPlay: Windspinner-n.4

I had to get out of my favorite cool colors, so I went with warms. This is a nice combinations of pinks and golds, I think.

ColorPlay: Windspinner-n.5

I couldn’t get away from the cools, even though I tried. I added some lavender and those greens – more mossy and sagey – add something, especially with the Breakers.

ColorPlay: Windspinner-n.6

I dragged myself away from the cools again and went back to warms, though I couldn’t stay completely away and that Jade Green combined with the Kona Cotton Red and the Pomegranate is awesome.

ColorPlay: Windspinner-n.7

I did a backwards version of n.6 in that I used mostly cools with a warm.

What will you make?


MetroScape Block 1

MetroScape Block 1
MetroScape Block 1

I finished the block and it was very satisfying. I really needed a piecing project.

I also like how cheerful this block is. Those giant dots are great.

I used some Philip Jacobs fabric in the centers of the corners because why not?

One excellent thing about this pattern is that the directions say to trim certain parts. This means that the sections go together really well!

I already started working on the next block!

MetroScape Piecing

MetroScape start
MetroScape start

I wondered about whether I would enjoy making this block after finding the ruler and the pattern the other day.

It has a lot of curves, which can be problematic in general. I also had to use a special ruler. Sometime special rulers create great effects and sometimes they are a disaster.

I started out easy with 4 blocks that create the center. All of the center blocks will be dots and stripes. Sewing four squares together was easy.

MetroScape curves
MetroScape curves

I dove in and started cutting curves. I had some issues but it was mostly operator error. Cutting the first block took me a long time as I attempted to navigate the pattern and fabric choices.

I am planning on using dots on the outer part of the block, but I don’t know if I will have enough dots to differentiate the blocks enough. I am scared of trying to line up the stripes, but I might try one block with stripes to see how it looks.

I did realize that the pattern is called MetroSCOPE not MetroScape. Well, I am going with MetroScape regardless. I don’t have a better name and it kind of reminds me of landscape.

New Donation Blocks

I made a couple of donation blocks over the weekend. Just a couple. I can’t seem to get away from the turquoise, though green is definitely forcing its way into the mix.

I found a whole bunch of Bonnie and Camille 2.5 inch squares leftover from the Stepping Stones n.2 quilt. That means more turquoise, though some red and pink as well.

MetroScape

I felt like I needed a piecing project. I have finished (or prepared for quilting) quite a few projects this year. I decided I could start something new. The project I started was on my Dream/Future projects list.

I looked at a couple of the projects on my various lists, but the Quick Curve Ruler project floated to the top. I looked at the Goodnight Irene project. This is a project from Missouri Star, though it has been around in other places as well. I have a lot of 2.5 inch squares already cut, so I could have started pretty quickly. There was something about it that didn’t grab me.

I also looked at the Thirty Something project. I have been cutting 1.5 inch squares for the center blocks and have enough to make a start. The problem was that there is a lot of other cutting required. I don’t mind doing some cutting, but I didn’t want to have to spend a whole weekend cutting before I could actually sew. I need to add some different pieces to my cutting list so I can make some progress on this project. I have to say that the 1930s fabrics** used in the project in the magazine are not appealing to me.  The fabrics might have been a bit off putting. I don’t know.

I looked in my book and saw the Quick Curve Ruler project. I didn’t have a specific pattern in mind, but wanted to try the ruler. The YM bought it for me a few years ago and it was time to get around to trying it out.

MetroScape pattern by Sew Kind of Wonderful

Even though I don’t use patterns much, I have a few for this ruler and thought it would be a good idea to follow one. I chose MetroScape after looking at the two I could find easily.

Stay tuned for some progress.


**Nota bene: I don’t dislike 1930s fabrics; they just aren’t a favorite and this 30 Something project is overwhelmingly 1930s fabrics. The overall look was too….something.

Indulgent and Pragmatic

Accuquilt Go!
Accuquilt Go!

The other day I wrote about using the Accuquilt to cut up some scraps. SherriD asked me some questions about the Accuquilt and it made me realize I had never really articulated how I use my Accuquilt. Perhaps I have and I just can’t find it in the blog?

I bought the Accuquilt on sale in order to cut about 10,000 strips for the Renewed Jelly Roll Race quilt. I felt like it was an indulgent purchase, but also somewhat pragmatic. It worked really well for that type of cutting (as long as I was able to straighten the fabric accurately). I don’t have a large cutting table so cutting long strips can be a nightmare of folding. The Accuquilt works really well for this purpose.

I determined, early on in my Accuquilt ownership, that I was not going buy every die. I also did not plan to buy the applique’ dies. I don’t do much applique’ and I saw no reason to clutter up my shrinking fabric closet with dies I would never use. Having a complete collection is not important to me.

I also decided I would buy basic dies – squares and strips. I want dies that give me as many options as possible, so I buy sizes of squares, mostly, that I can use in various quilts. 2.5 inch squares is the die I use the most for ‘on spec’ cutting. I also use the 2 inch die as I am still collecting blue, green and purple squares for the Blueberry Lemonade quilt I plan to make at some point.

Accuquilt-HRT die
Accuquilt-HRT die

I have branched out a little. I have an HRT die. Never used, but I have it. It is a great example of why I try to be careful about the dies I buy. I bought it thinking I could pair it with 2.5 inch square a la the Spiky Stars quilt. It isn’t the right size. That is an obvious drawback for dies. With rulers, you can cut whatever size you need. The dies are usually limited to one size. I have seen dies with multiple shapes or sizes, but that isn’t always the case.

I often use SIL’s Peaky & Spike die, so much so that I have thought of buying my own. Up until now using hers is fine. She and I coordinate die buying now that we live near each other. That expands both of our collections.

Triangles are a pain to cut, so I either use the Triangle Technique or some other quick cutting method. Triangles are great to cut with the Accuquilt, but I haven’t invested in the dies. I have a few, I think, but I find they often aren’t the right size for my project.

I probably would have bought the electric version if it had been available when I was shopping. If you are thinking of a die cutter, see if a local shop has one they rent. Some shops do and that can be a good way to try them out.

The bottomline is that there is no one way for me to cut. I use rulers, dies, templates and whatever else works for my project. Do what works for you.


ColorPlay: Umbrellas

ColorPlay-umbrellas-Original

I’m always looking for photos with the most color possibilities. This week is no exception. I took this photo in Portland. The umbrellas were hanging down from the ceiling, covering the ceiling.

It doesn’t have as many colors as I would like, but until I start playing with the Palette Builder, I always think the photo I chose has more colors than it really does.

ColorPlay-Umbrellas-default

The Kona Earth looks like a cocoa color to me. Surprisingly the tool put some color into the default palette. I suppose it would have been really weird if it ignored the pink umbrella completely. It didn’t do much with the green umbrella.

ColorPlay-Umbrellas-n1

I took charge of the pink to see how much pink I could get out of the one photo. I was surprised that I got quite a lot. You can see all the dots are only on the pink umbrella.

ColorPlay-Umbrellas-n2

I went a little broader in my second palette. I like that Cotton Sage blue. Sage is green to me, but whatever that color is, it lends a brightness to an otherwise neutral palette.

ColorPlay-Umbrellas-n3

This 3rd palette is virtually the same as the one above except for a few tweaks. I wanted to just move the circles a little bit and see what came up. The green created Evergreen, which really looks black. I suppose I agree with the Desert Green name. Colors in the desert can be very pale, bleaches looking. The neutral palette is softer, I think.

ColorPlay-Umbrellas-n4

The fourth palette reminds me of dessert. The neutrals have a richness to them, especially the Kona Cinnamon.

In general, this photo is primarily generating neutral palettes with me teasing out the least bit of color to make them my own.


Column Donation Top Finished

The other day I talked about the column donation top. I was able to finish it fairly simply.

Column donation top - Finished
Column donation top – Finished

The large piece of batik has been burning a hole in my pocket – or whatever the quilt equivalent of that is. I decided to use it for this piece and some of the leftovers on the back. It isn’t an exact match to the turquoise fabrics in the blocks, but I think it works well.

I worried about the Dove block touching the large expanse of blue, but I think it works. I am pleased with the top and am glad to clear up a few leftovers into something that will be useful.

Cutting Scraps

I am in a little bit of a quiltmaking funk at the moment. Not sure why except work is taking a lot of brainpower. One of the results of these feelings is that I tidy. You saw the column quilt I posted the other day. That was the result of leftover pieces and blocks.

Accuquilt work on scraps

At Craft Night on Monday, I brought down a drawer full of scraps and cut them up with my Accuquilt. I made it through the whole, mostly white, drawer and came up with, perhaps, 80-100 2.5 inch squares. I’ll have a good supply for donation block backgrounds.

Column Donation Top in Process

Column donation top
Column donation top

Last week I found some extra half square triangles leftover from the Stepping Stones n.2 quilt. Not being able to focus led me to sewing them together randomly. I put a couple of blocks up on the wall and they happened to fall near the Dove block I didn’t use in the Aqua-Red Sampler. Suddenly I had an idea for a donation quilt top.

Column donation top in process

Yesterday I worked on it some more. It is nearing completion and I will have a top by the next meeting. I thought I would place the column in the middle, but I don’t have enough of the Pure Elements Snow to do it, so I’ll have to think of something else. I ended up sewing the two pieces of Snow together and sewing them to one side of the column.

This is a very ‘go with the flow’ type piece and not planned at all.

Various & Sundry 2018 #9

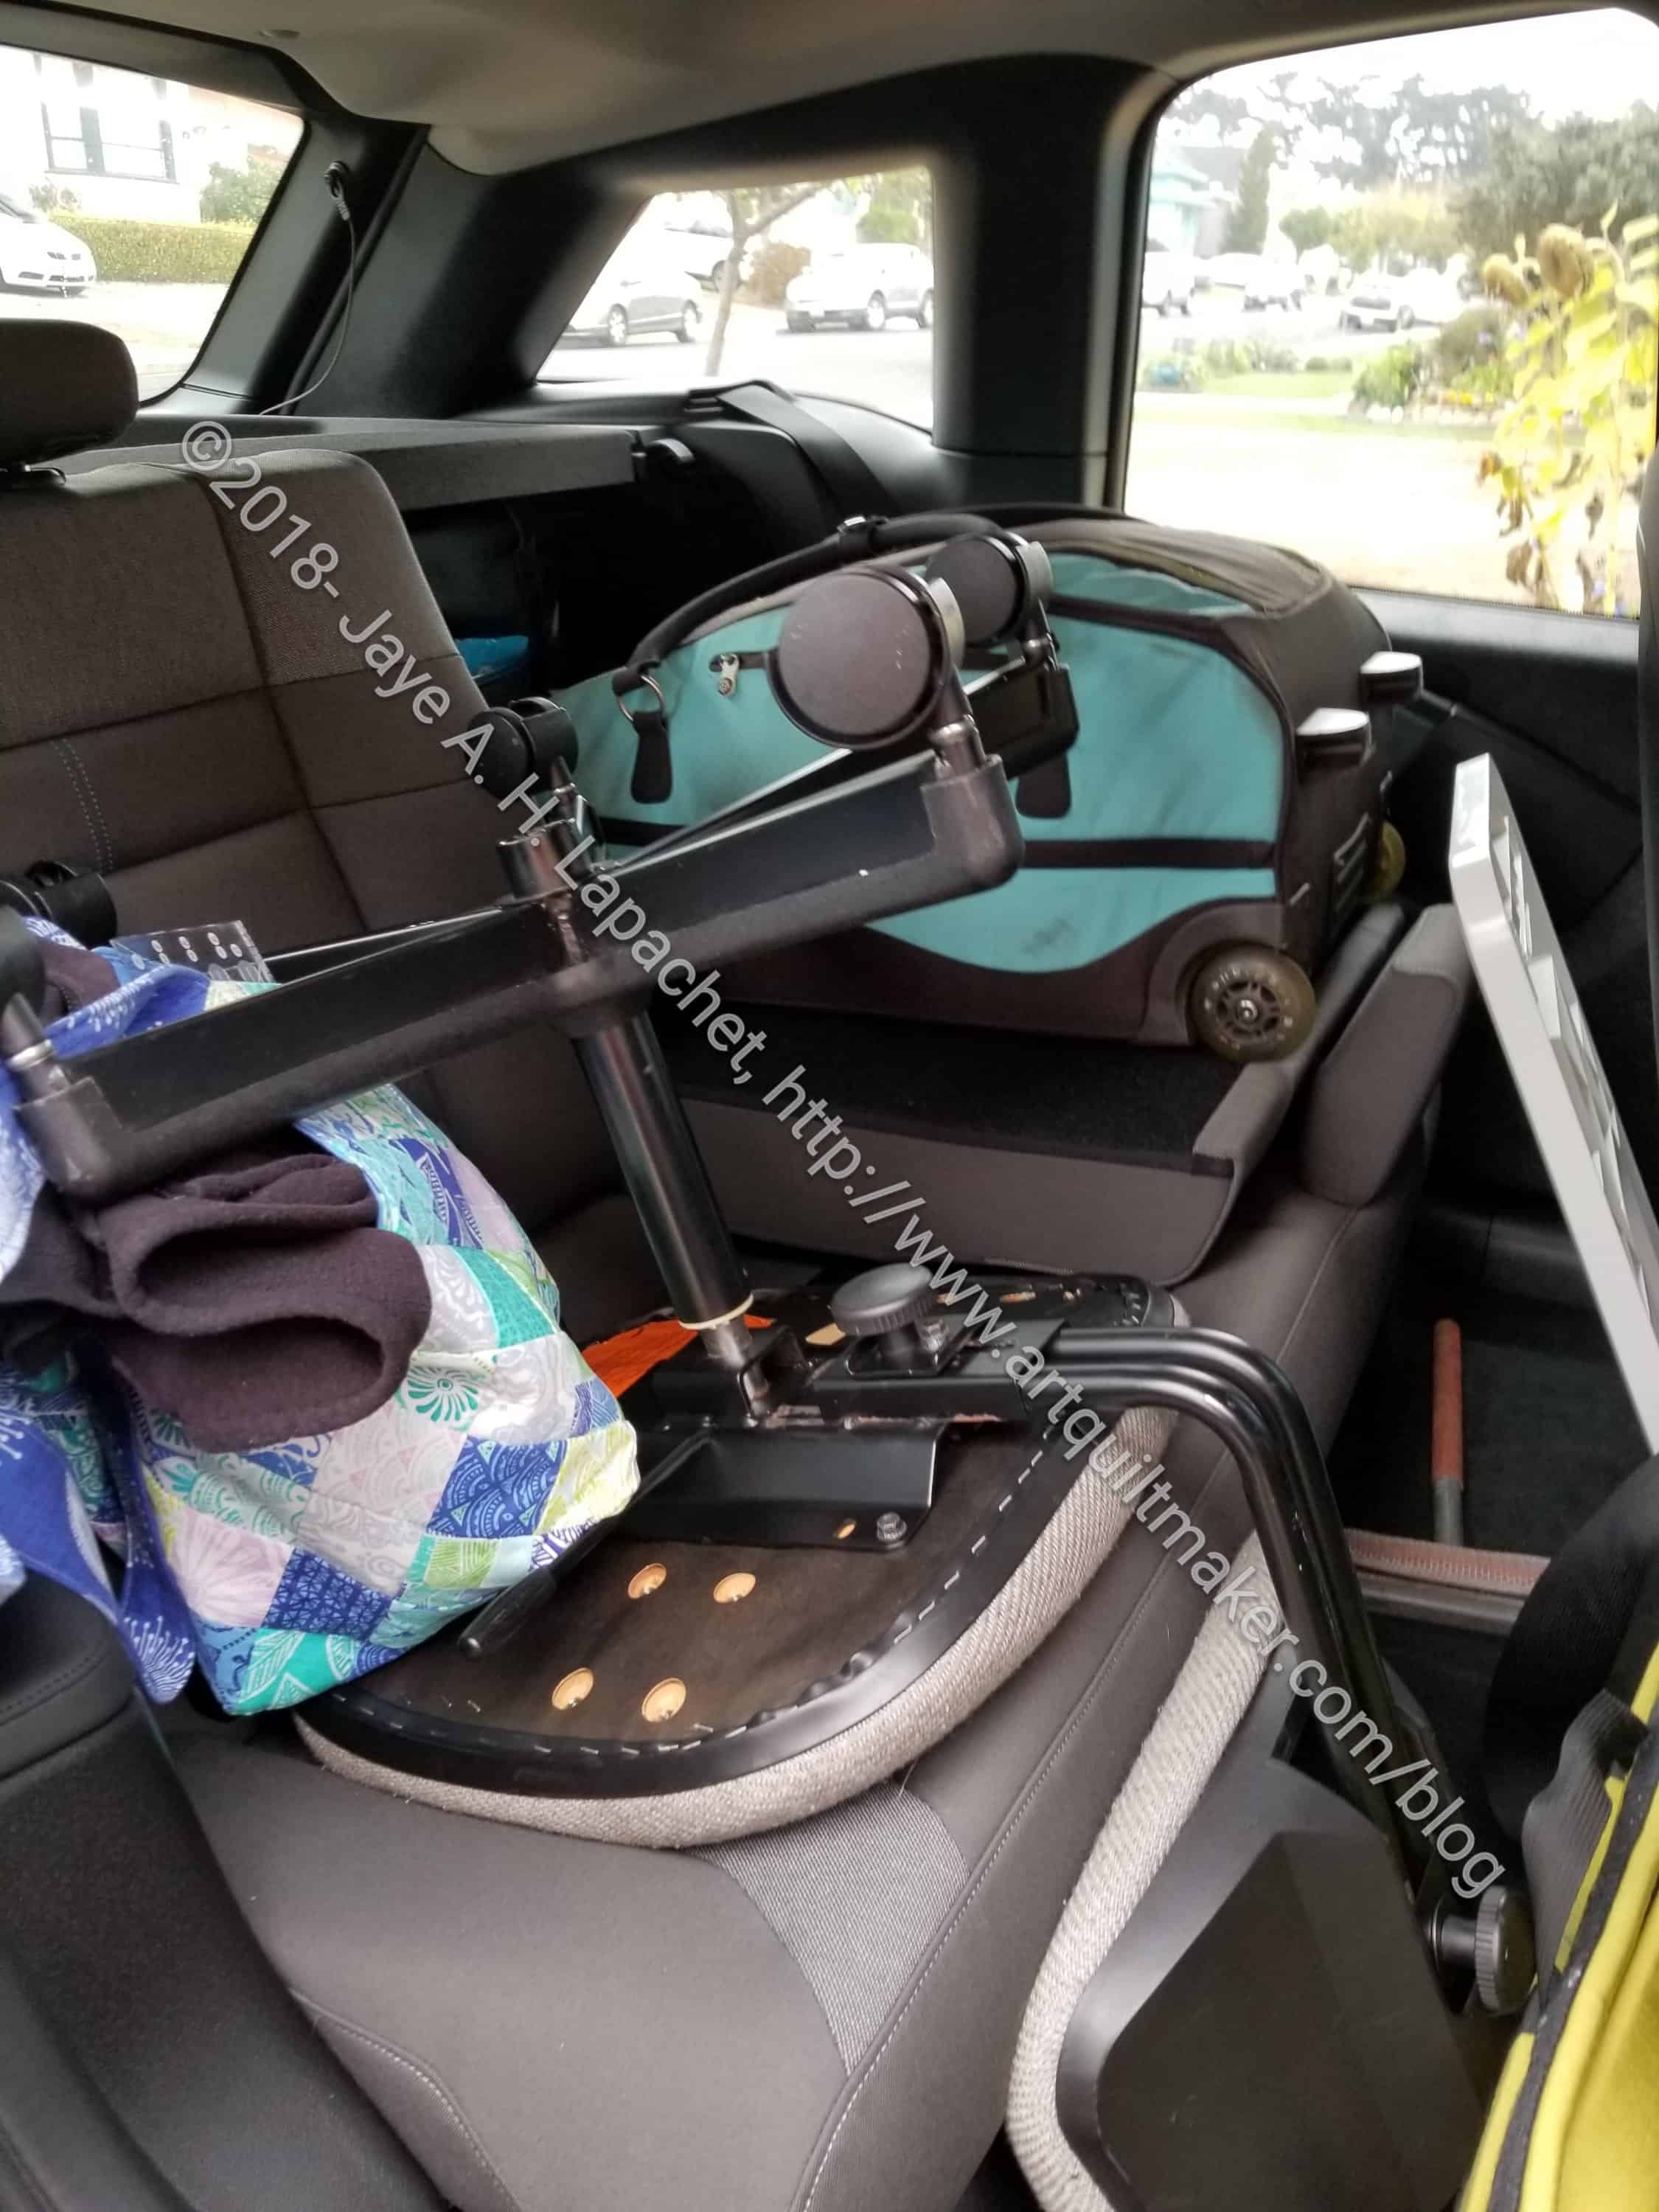
I got my spreadsheet working again and have used 50.99 yards of fabric net. Will I get to 100? I don’t know.

Projects & Patterns

Gotham Quilts has an organizer of the month project club. It has already started, but you can still join.

RainbowHare has some great patterns in his/her Etsy shop, I like the sewing machine cover caravan.

I don’t know what possessed me, but I bought this Westchester Dolman top pattern and video pack.

There is a Disaster Quilting Project. It’s not what you think. “The purpose of this site is to showcase the amazing artists who have transcended extraordinary circumstances through quilting.”

Splendid Sampler Sew-a-long is going on. Use the FB page to follow along.

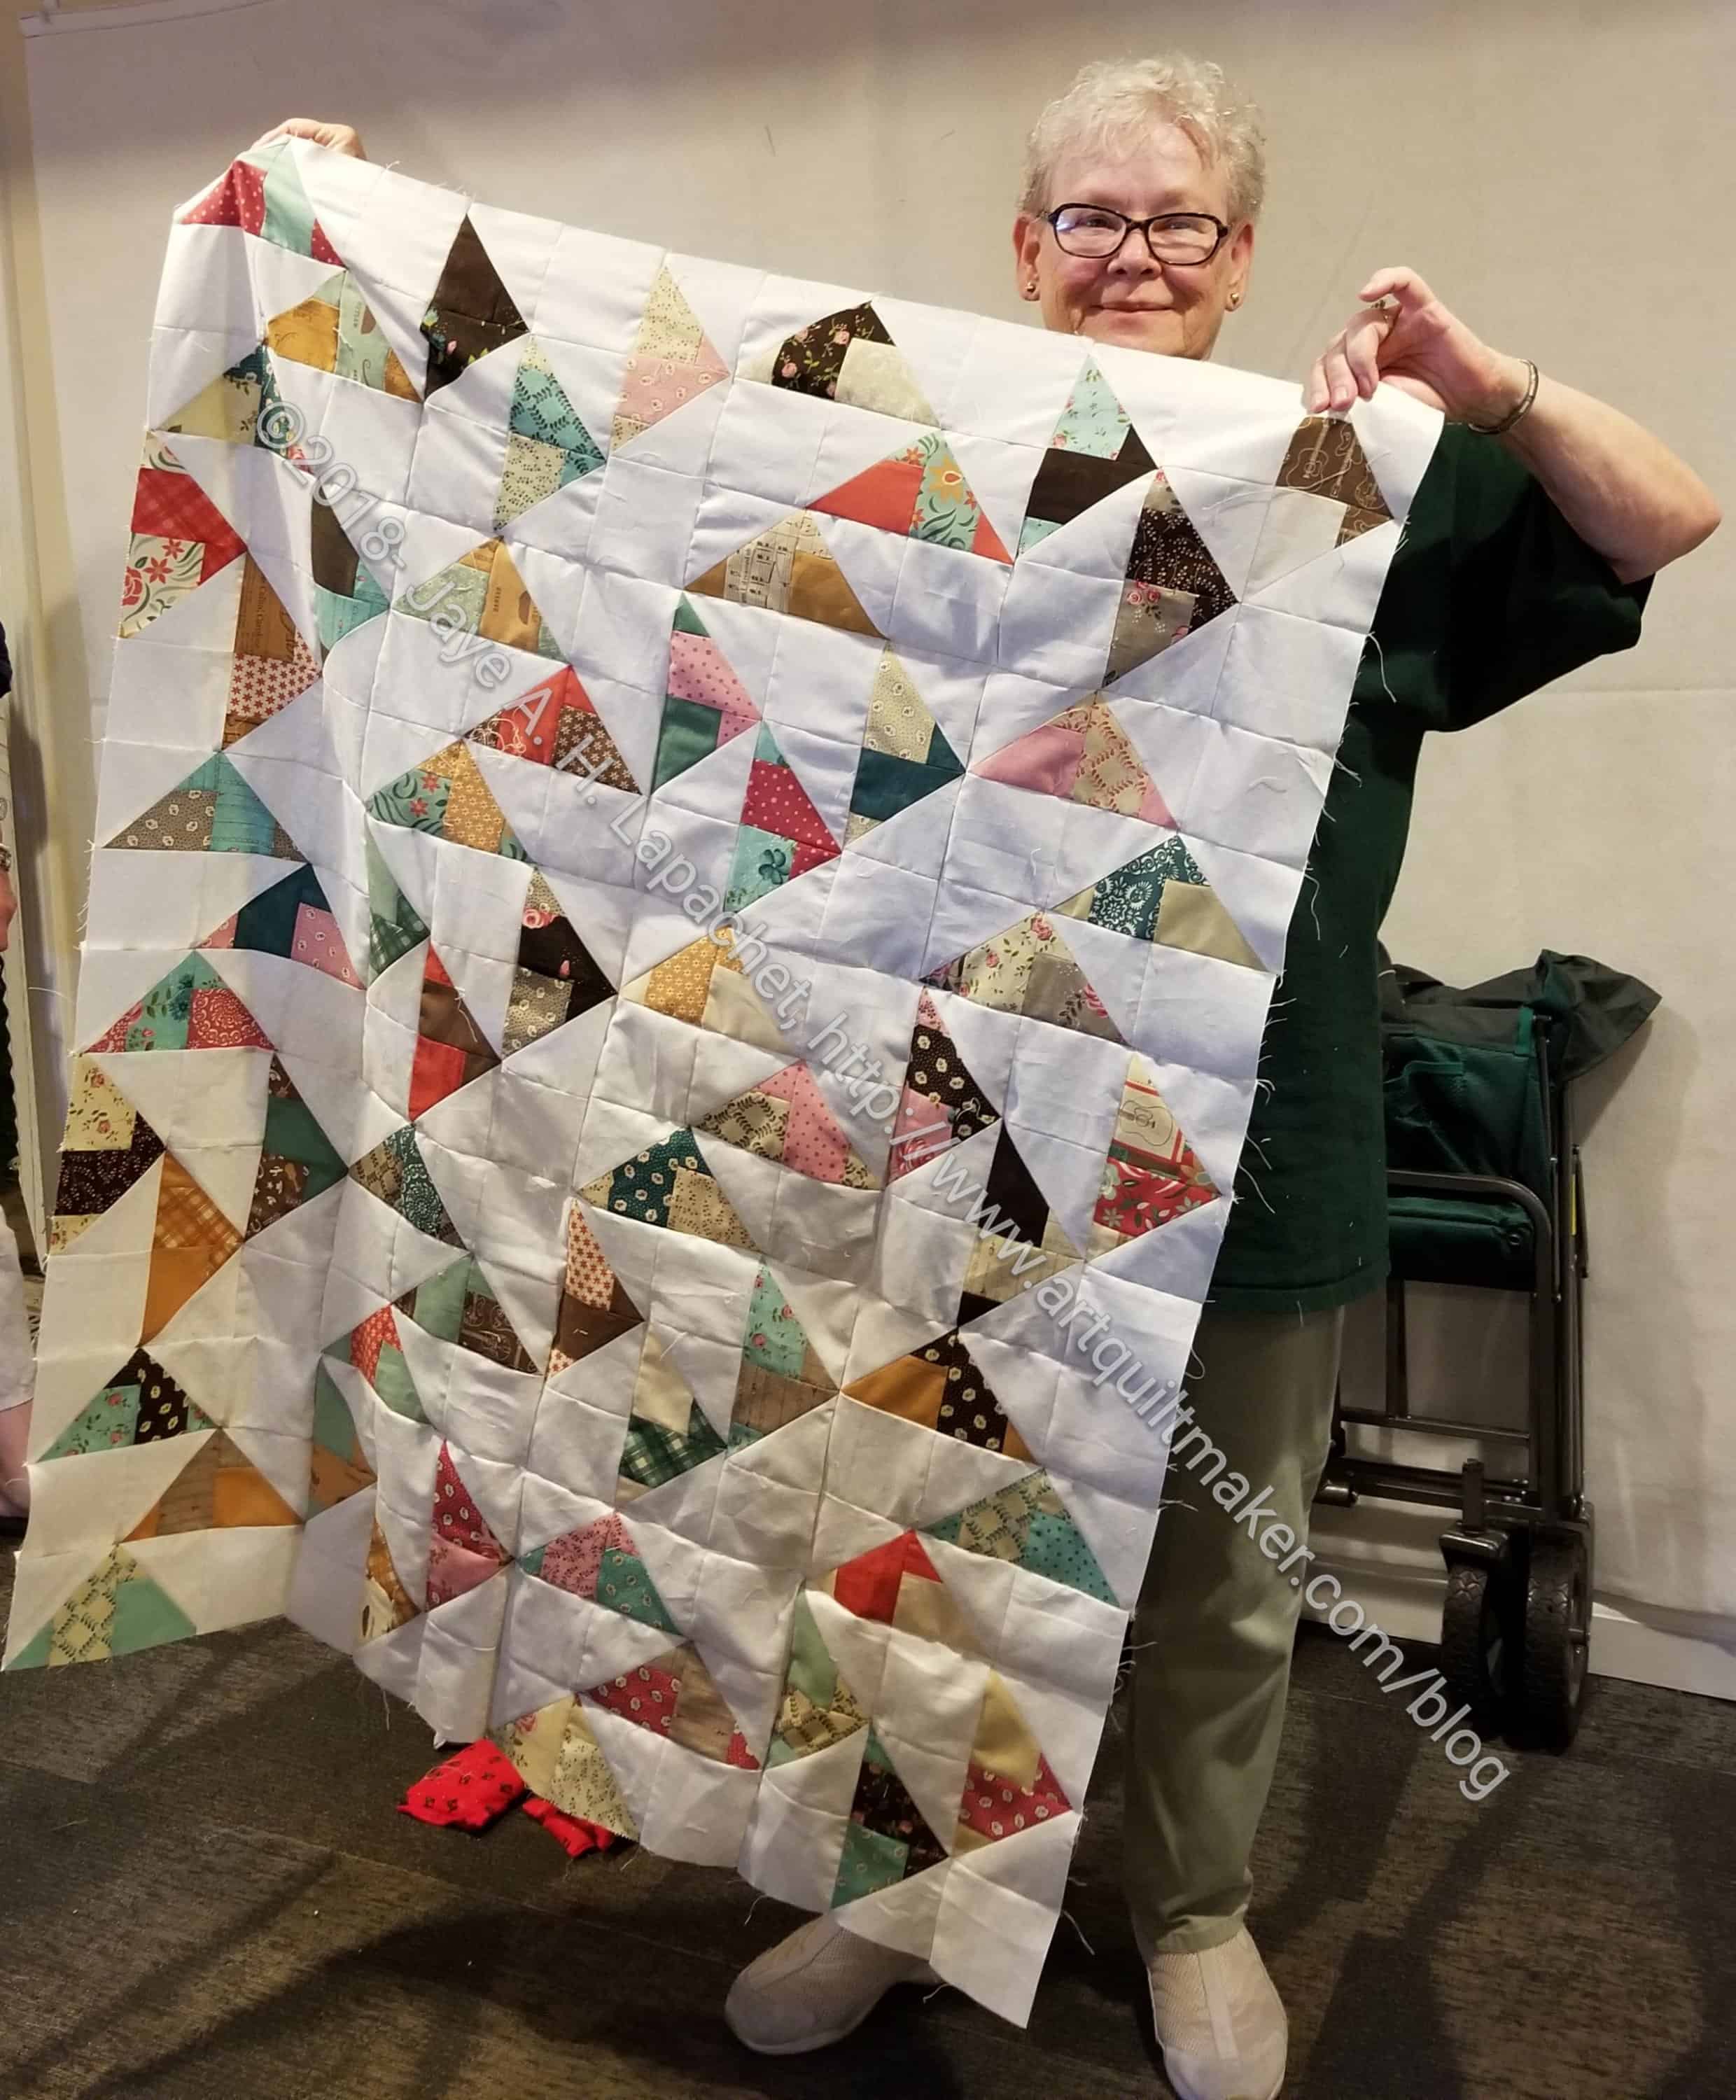
If you want to make a pet bed after seeing my post the other day, I have two tutorials. One is regular and one is simplified. These were written by Amanda.

I do like this Basket Tote pattern from Sew Can She. It has a great shape.

Quilt Class & Other Tutorials

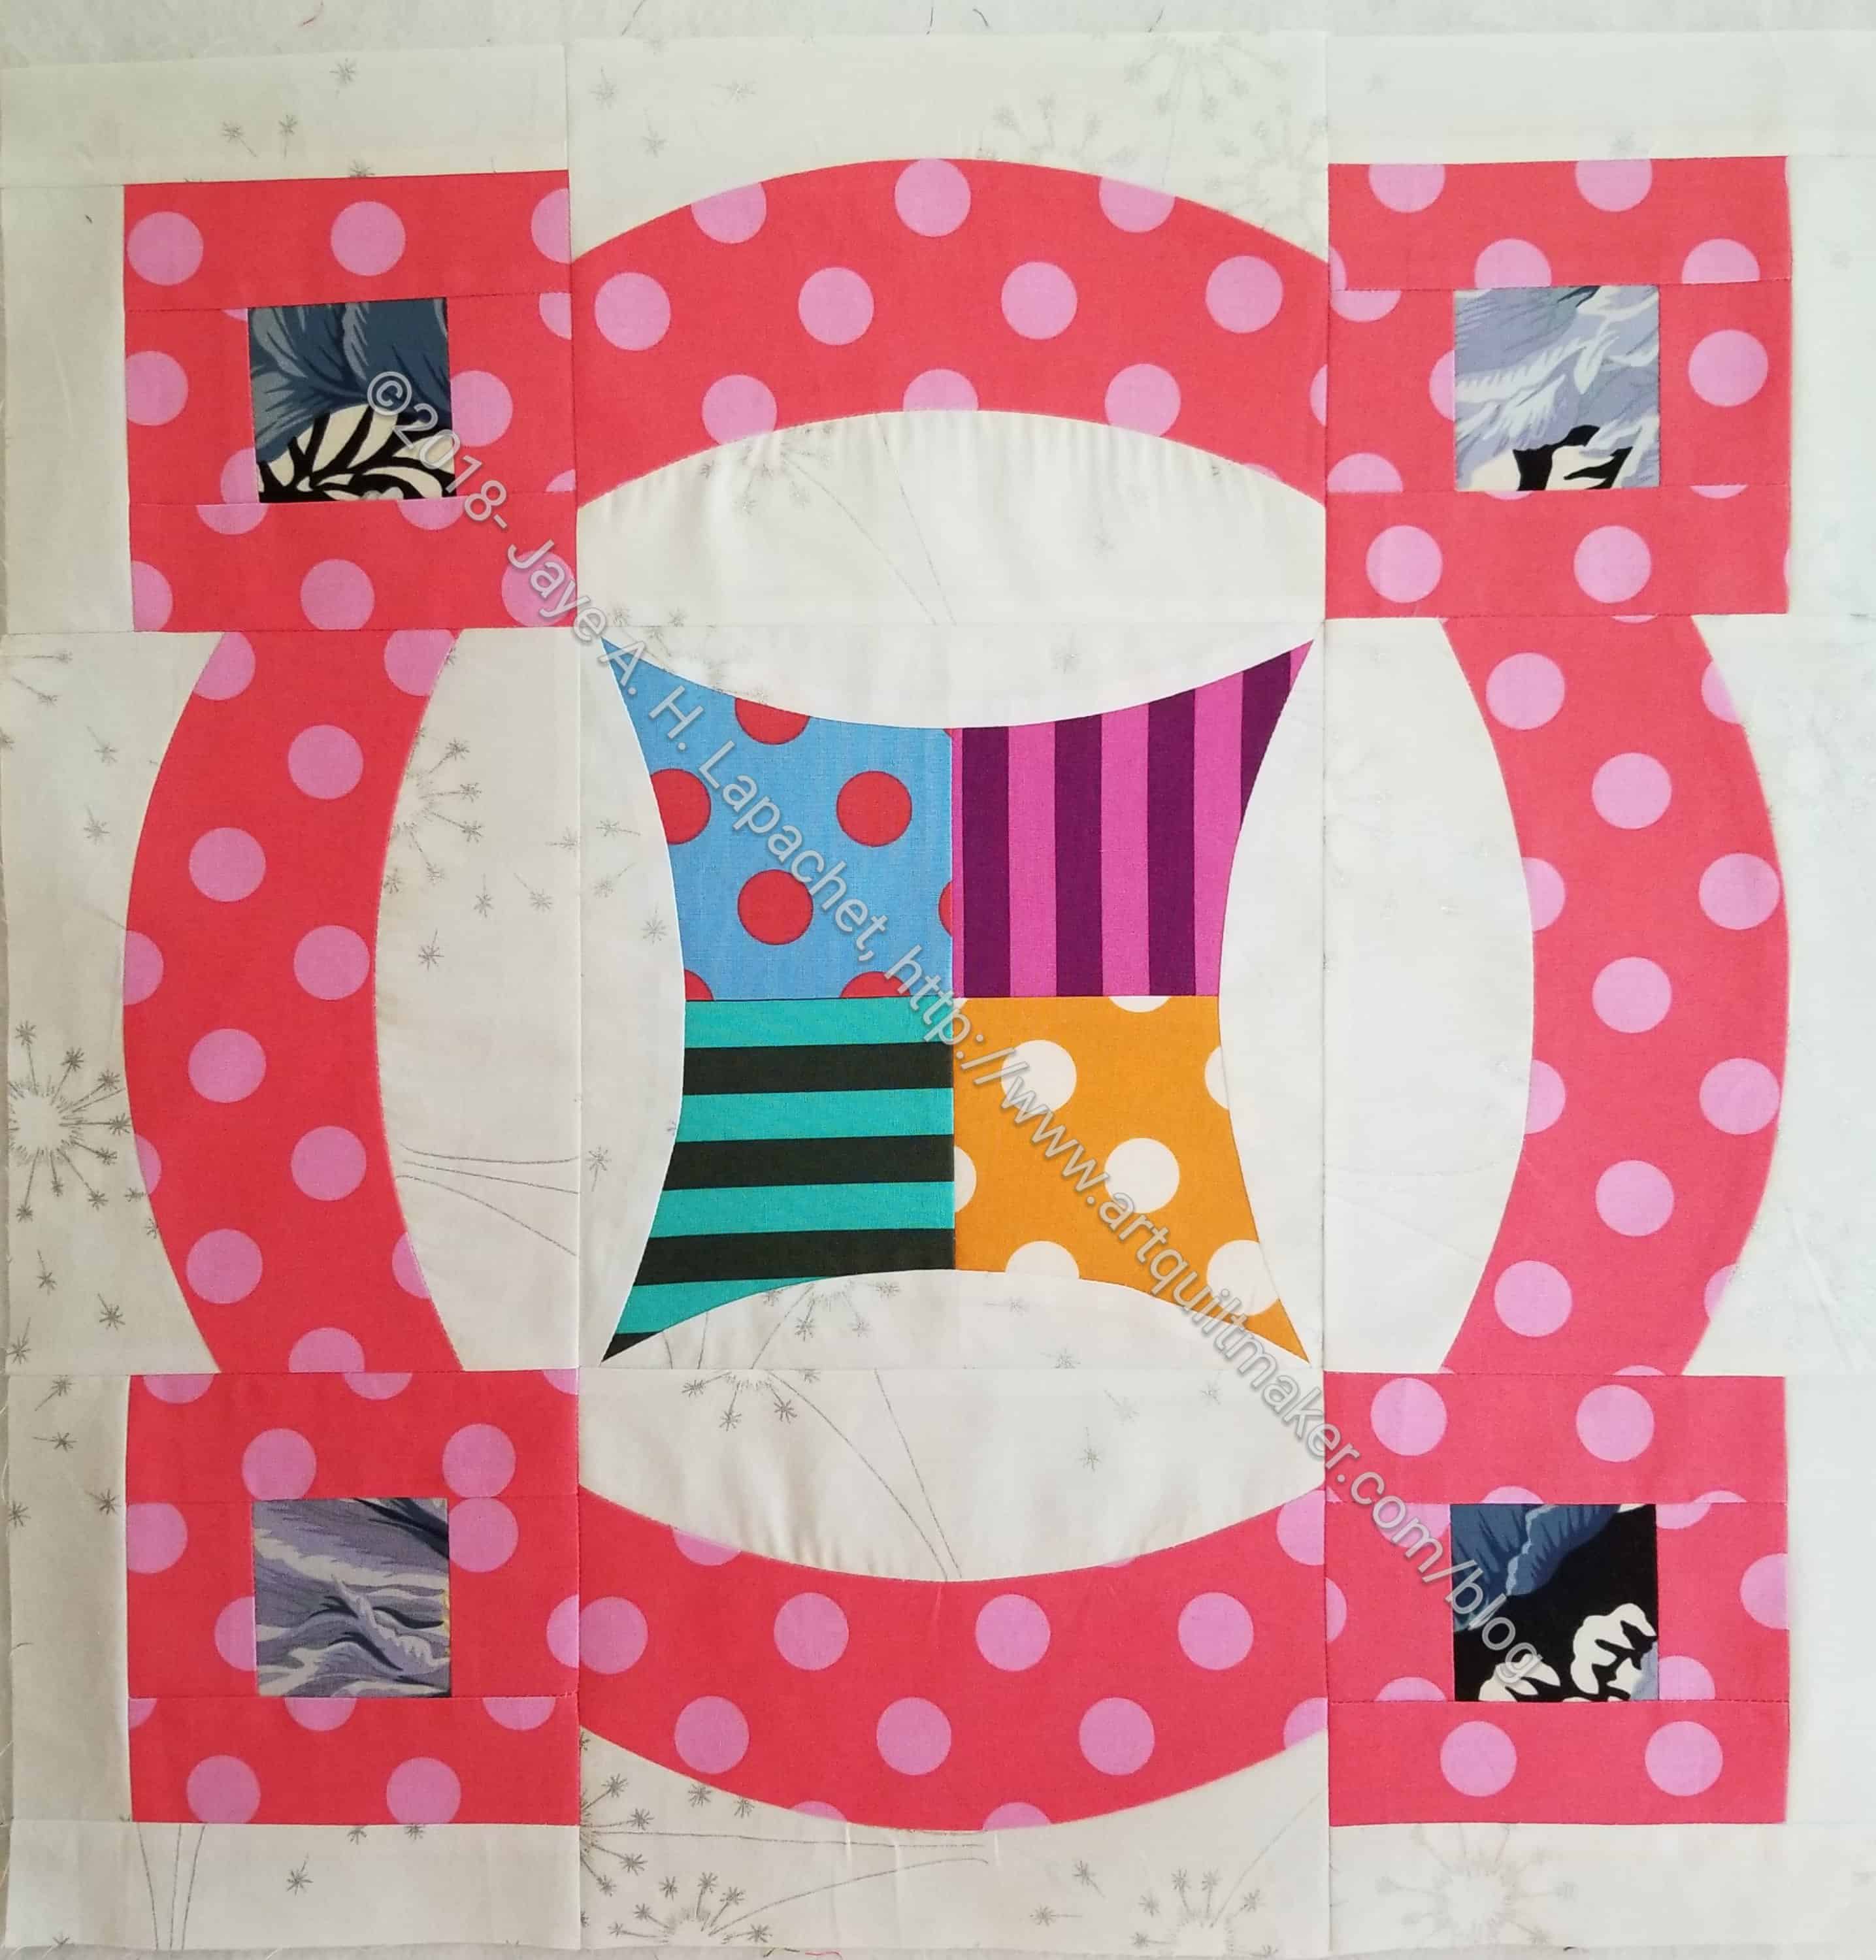
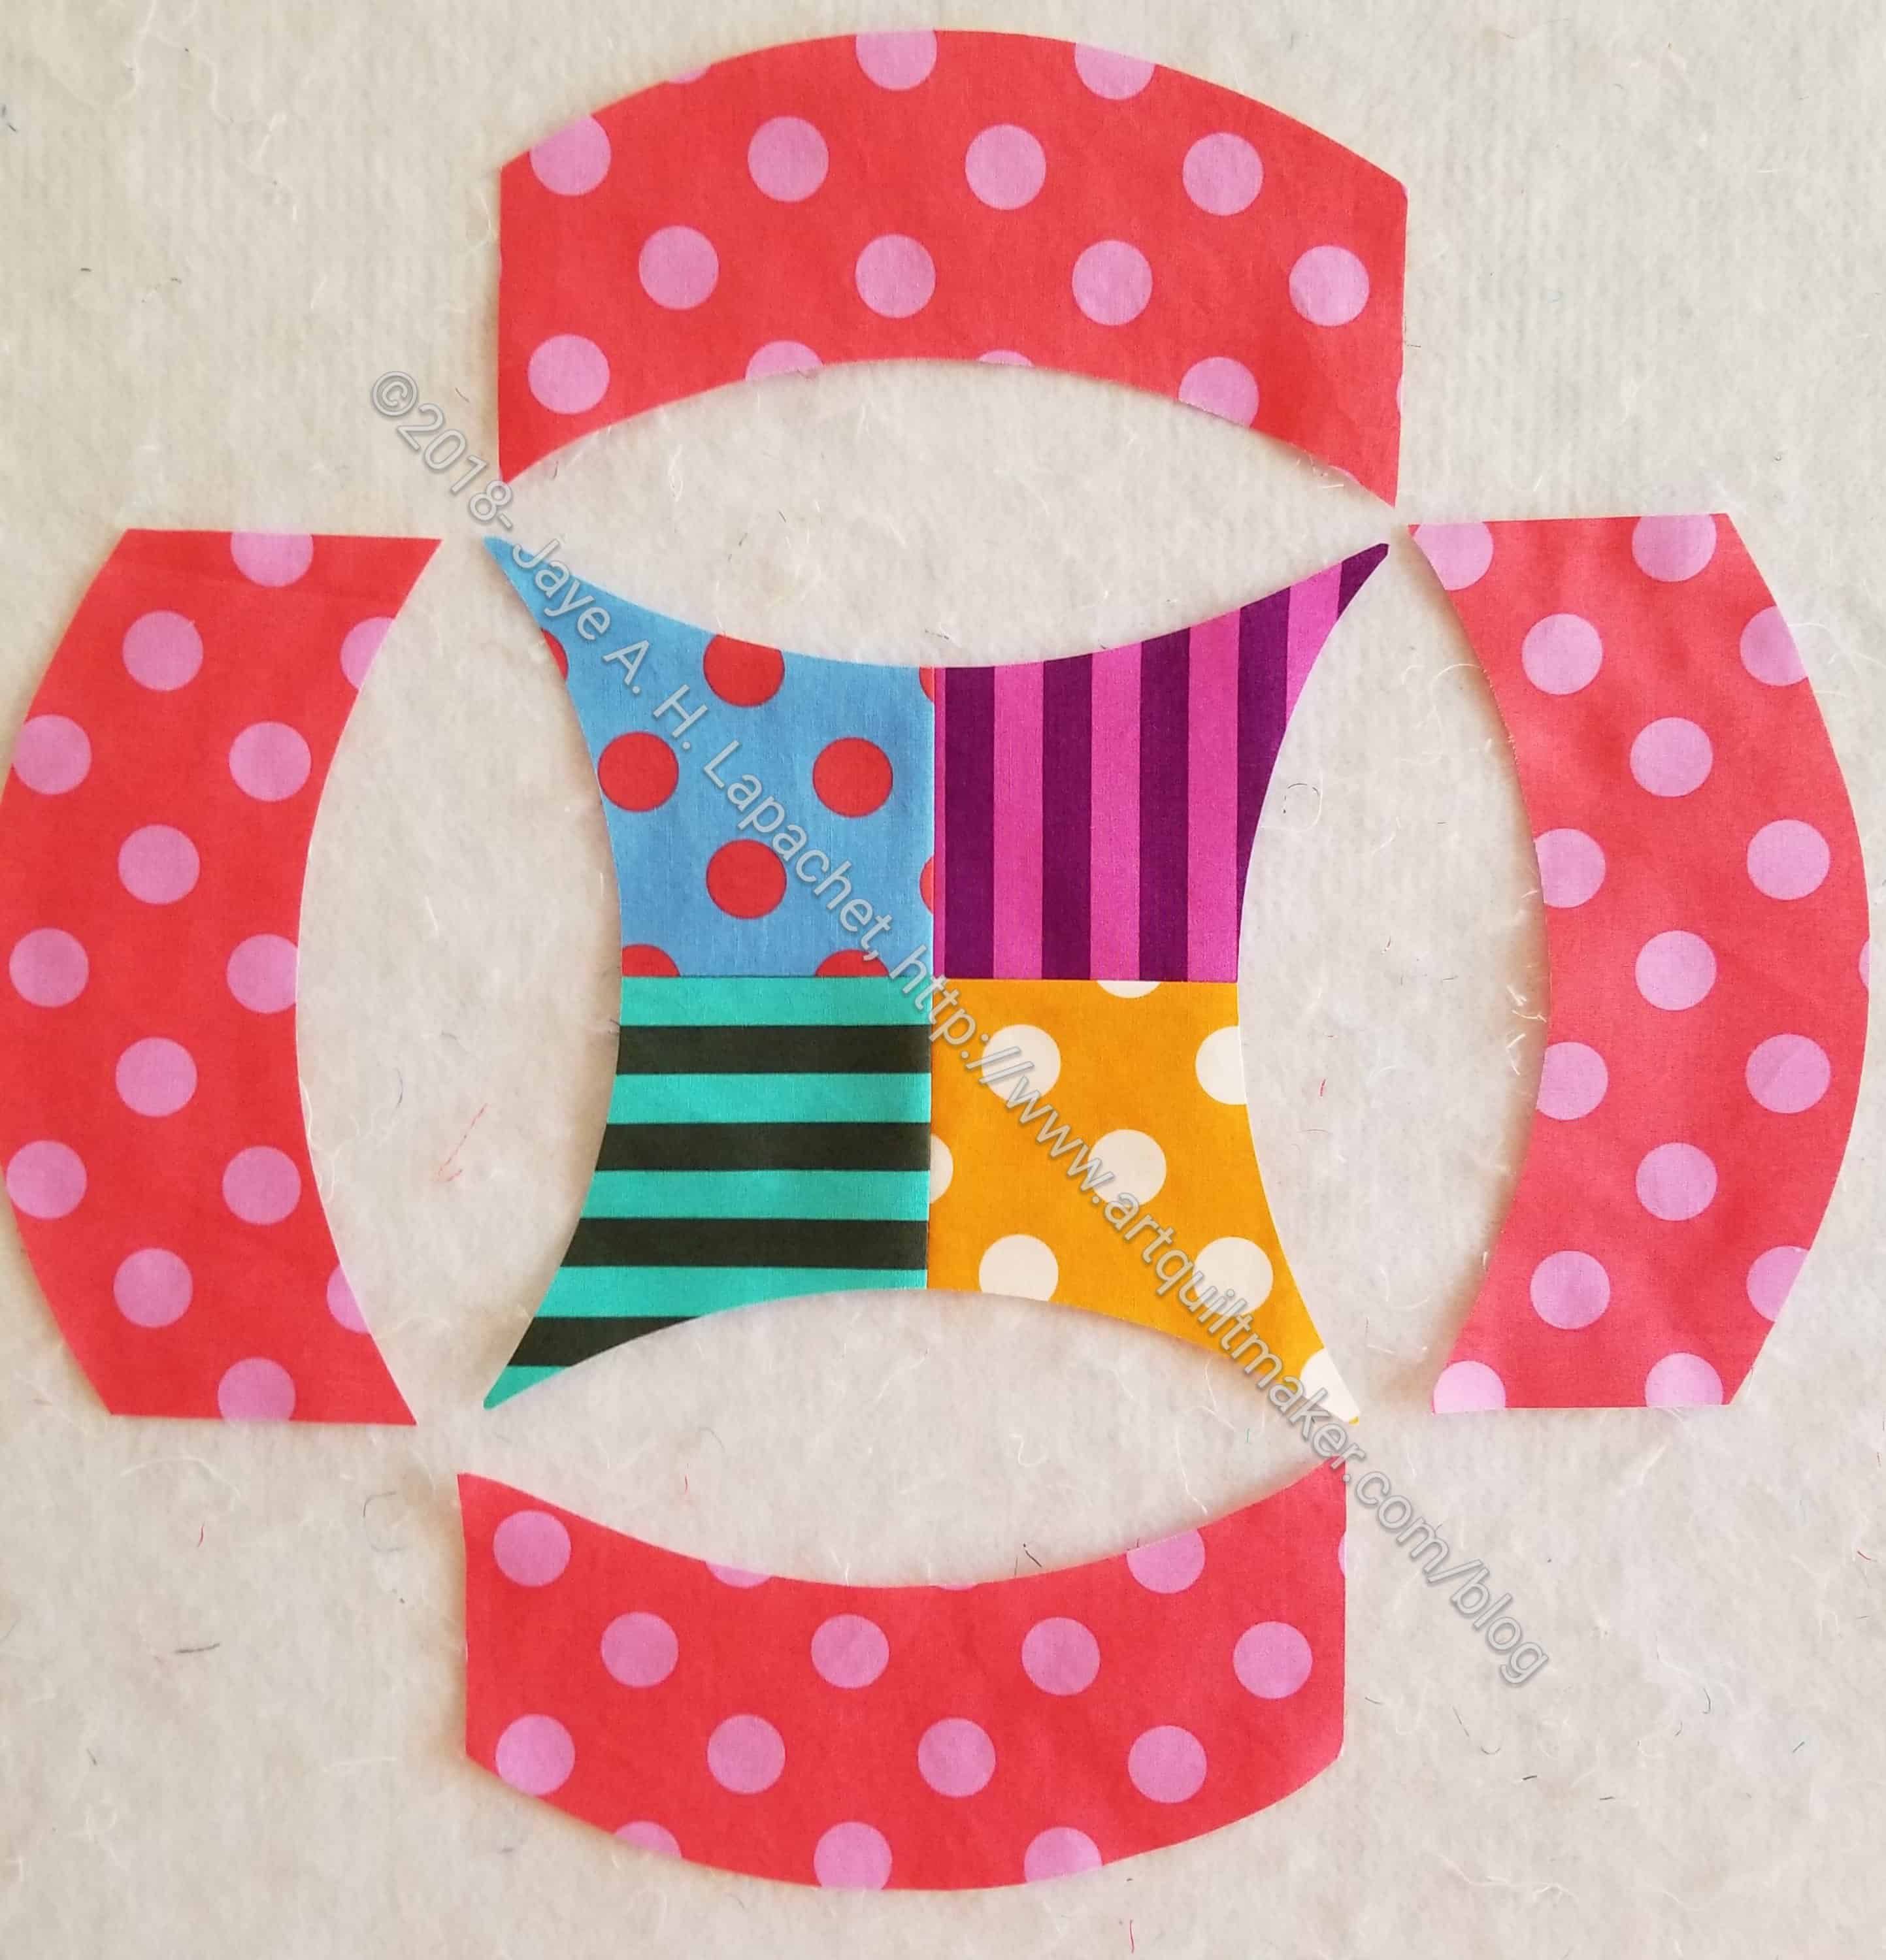
I was horrified to realize that I had posted the wrong size patterns on the Quilt Class lesson for curves called The Dove. I am really sorry! I realized this error when I was putting the Aqua-Red Sampler together. It is fixed and the directions themselves are correct and haven’t changed.

All People Quilt has a closure technique they call the Magic Invisible Closure. Others call it the ladder stitch. If you need to hand sew something closed, this is a technique for you.

Inspiration

The International Quilt Study Center has a quilt of the month feature. This month’s quilt is the Soldier’s Quilt, a piece made from military fabrics.

The MQG has a new website.

My friend sent me a link to a blog post about the 1718 quilt. This is the complex kind of sampler that I like. Even though I have no space for new quilt books, I bought a copy of the book anyway. You can too!

Apparently, the Smithsonian has a national quilt collection and has made a video about it. The video starts talking about the first quilts in the collection.

After watching the Smithsonian video, a video on the history of the Dear Jane quilt came up, so I watched that as well. I have read the book, but why not get a refresher? It was a lecture at a quilt show by someone who made (and finished!) a reproduction of the Dear Jane quilt.

I found a link to a book of Japanese wave and ripple patterns. It has been sitting in my inbox for weeks, but I decided to share it here since many of you look for free motion quilting (would work for hand quilting, too!) patterns and these would be great. Be sure and page through the book on the top of the page. It is awesome!

Other Artists

Sarah Goer has some doodles for free motion quilting on her blog post. I like those little pieces of paper.

Charlotte talks about block printing on fabric in a recent blog post.

Exhibits & Contests

Entries for QuiltCon are now open and will close on November 30 (the YM’s birthday, BTW). The QuiltCon Charity Quilt Challenge is now taking applications. This year’s theme is small piecing.

  • QuiltCon registration is now open — there are still plenty of great workshops and lectures, including Sherri Lynn Wood’s featured lecture. Check out the catalog and schedule here. Changes for QuiltCon 2019 include the Awards Ceremony moving to Wednesday evening, and the addition of Sewing Lounges!

Scott Fortunoff, the new owner of Free Spirit Fabrics ( and other great brands) has a contest posted on his blog: visiting quilt shops!

Books, Fabrics, Supplies & Notions

I get an email from Paintbrush Studios about various things. Today I got one about a new fabric line called Launch Party. I don’t have small boys at home, but this fabrics makes me want my 10YO back (for a few minutes, at least). The robots, aliens and rocket ships are fabulous. One of the robots looks like Rosie from the Jetsons. Also the dots companion print are wonderful.

I found an article on Philip Jacobs. Sigh! I love that man’s designs so much.

Janome is releasing sewing cards every few days. These have useful sewing information printed on them. The first one has yardage info. the second one is all about needles.

You know I love Judy Martin. I do. You should, too. She has recently embraced online publishing, so her books take up less space on your shelf and may come faster. She says she can also publish on more esoteric quilt subjects without worrying about recouping her printing costs. While I like printed quilt books, I am a fan of esoteric quilt topics as well. Judy writes in a recent newsletter (though not the latest, I don’t think):

BORDER INSPIRATIONS
I’m a strong proponent of pieced borders. It wasn’t always thus, but since 1994 when I wrote Pieced Borders with Marsha McCloskey, I realized almost every quilt is made better with a pieced border. Since that time a quarter century ago, I’ve designed a pieced border for most of my patterns.

For a while I’ve had a hankering to gather a bunch of my designs and talk about what the borders bring to the quilts and what I considered as I planned them. So with the prospect of e-books removing some of the publishing shackles, I sat down to write Border Inspirations.

Border Inspirations isn’t a pattern book. You won’t find a single pattern in it. It is, however, an idea book and, as the title suggests, an inspiration book. And the ideas and inspiration aren’t limited to borders, though obviously that’s the focus. You can look at the quilts in this book and find color schemes and fabric choices you like, or quilt types or specific quilts that call to you. I don’t know about you, but seeing a lot of beautiful quilts all at once almost always gets my patchwork engine revving. I see beautiful quilts, and I want to make a beautiful quilt, too.

You don’t have to be the sort of person who can simply add a border to an existing pattern all on your own. Not everyone can do that. With Border Inspirations you can decide what border qualities impress you and then seek patterns that possess those qualities.

Border Inspirations won’t take any room on your shelf. It is 96 pages and sells for just $7.95. It has 82 large photos of quilts with pieced borders, with the pattern source listed in the caption. Download your copy today and get jazzed up about quilts with pieced borders!”

I don’t get many emailed newsletters since they just pile up in my inbox until I delete them unread. I think Judy’s newsletter is worth reading. Here are the instructions for receiving your own subscription:

HOW TO SUBSCRIBE TO JUDY MARTIN’S NEWSLETTER
If you’re reading a forwarded email and would like to sign up for your own free copy, use the link and enter your email address under “Subscribe.”

BAMaQG Color Round Robin Returns

BAMaQG Color Round Robin

Along with the Octagon 9 Patch, the BAMaQG Color Round Robin came back from my quilter. I really like the quilting. There are different motifs in most of the non-background areas. I have to sew down the binding and then send it off to its new owner.

I don’t dislike this quilt, however it is not a favorite. I do really like the quilting that Colleen did.

The bits in each of the areas with printed fabric look great.