Amethyst Bag – More Progress

I have made good progress on this bag and am in the last stages of putting it together. I am amazed since I really didn’t think I would have time to work on it when I last talked about it.

Amethyst Bag - happy accident
Amethyst Bag – happy accident

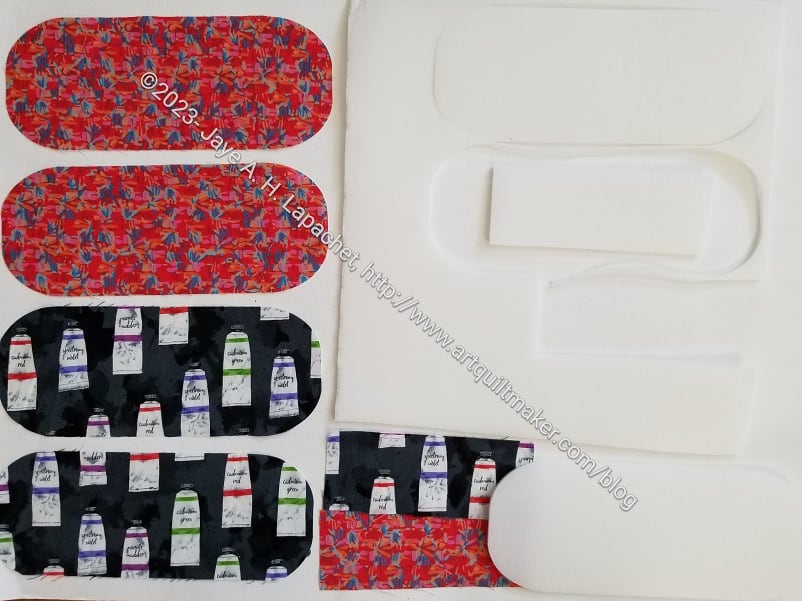
First, this ‘fussy cutting’ came out pretty well. I didn’t really fussy cut it, I just took the opportunity to put it together in a way that looked like I had fussy cut. It’s a happy accident.

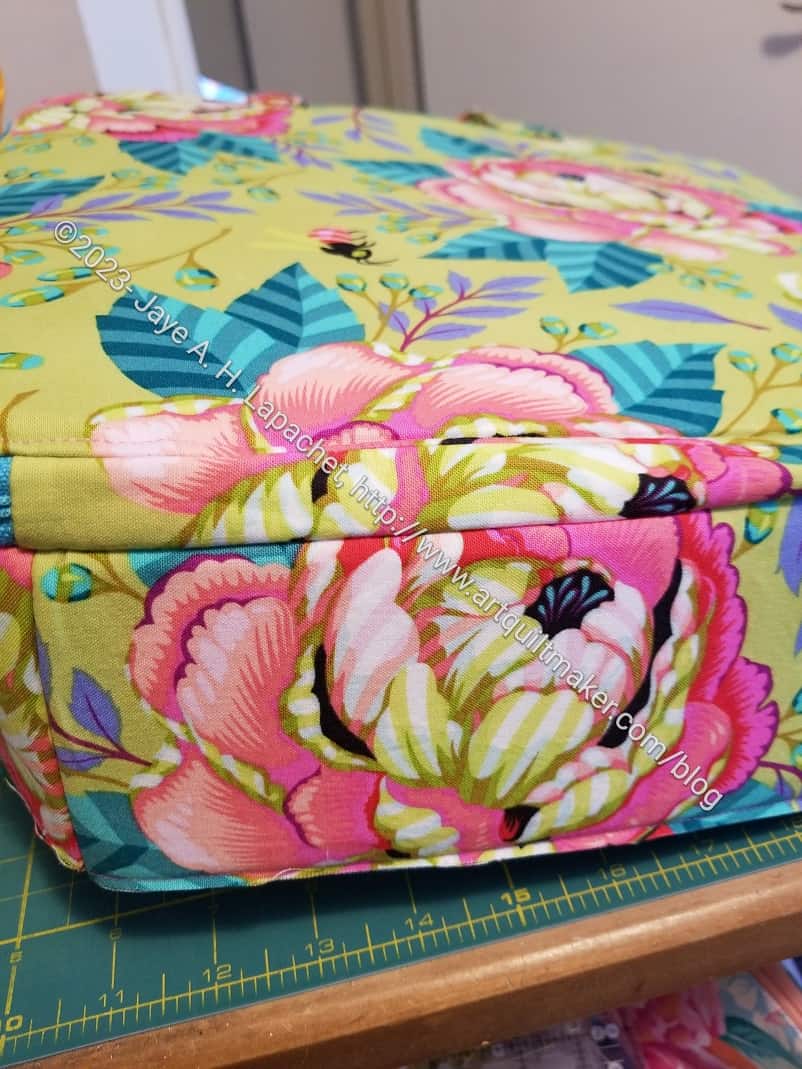
You can also see how this bag is starting to shape up. I have the front cover and inside pocket assembled and the gusset installed.

So far, the bag goes together in a fairly straightforward manner. The prep of all the various parts is making the assembly go relatively quickly.

I know this should come as no surprise, but I am always surprised. Perhaps I have come to terms with making handles and sewing bits and bobs together before the actual bag assembly? Who knows.

Amethyst in progress -inside out

In this photo, you can really see the dimension of the bag. The picture shows the exterior top and the exterior gusset. The top is pushed down and not the way it will end up when finished. It was like that for top stitching.

The elastic I bought that came the other day looks really good with the Tula fabric.

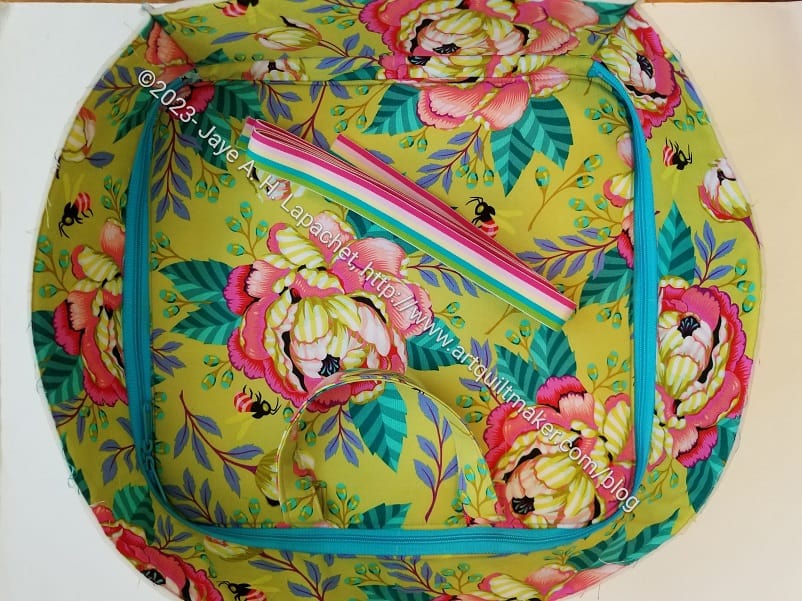
I used a blue zipper instead of green, because I only had one 40″ zipper and that was it. I think it looks pretty good, though a green would have been better.

Amethyst - inside front cover + gusset
Amethyst – inside front cover + gusset

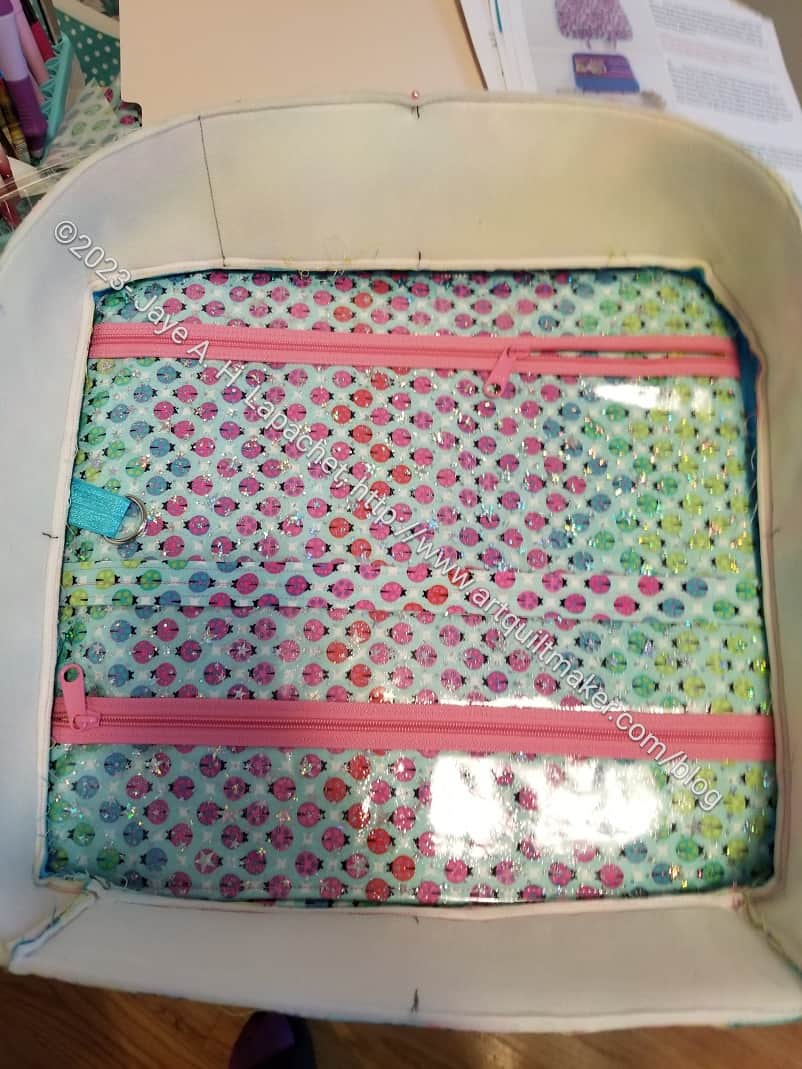
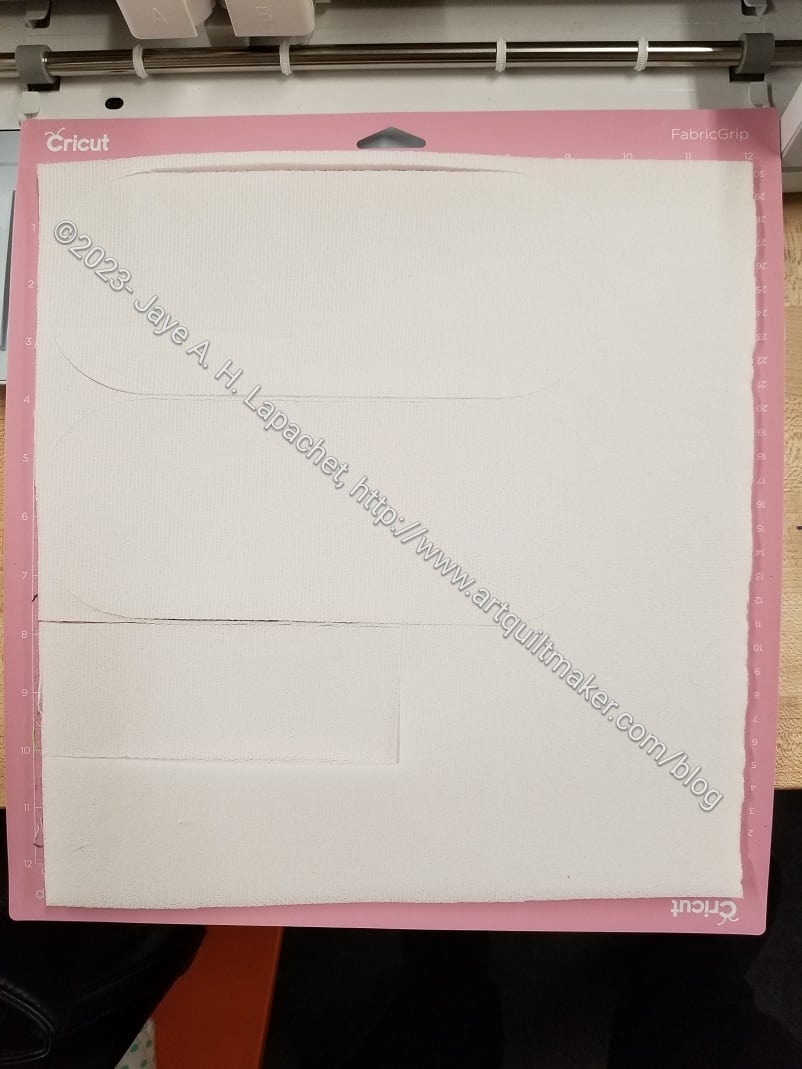
The other side of the piece in the photo (right, above) looks better than I expected. It is the inside front cover. I thought it would be a bit wonky, but it isn’t. Hooray!

The vinyl isn’t difficult to work with, but it does add layers. Thickness can be difficult to work with.

I put in a new needle and held my breath. Everything was fine.

I am waiting on a parachute buckle to finish. I didn’t want to use a black one, so I got one off Etsy and I think it is coming from Siberia or somewhere. That wasn’t my intention, but sometimes I miss the location from where things ship. 🙁

Playing with a Cricut

We had a guild meeting yesterday. Before the last guild meeting, SIL #2 and I visited the Makerspace that has recently been installed in the Library. Today, I left for the meeting early to try out the Cricut they have there.

Small Hackney cut out by Cricut

Short story? It worked GREAT! I cut out two bags in 1.75 hours including the learning curve.

I had to prepare in advance by finding fabric and downloading my SVG files to a flash drive. Sidebar: this is one reason I like the patterns from Sew Sweetness. They come with SVG files.

I didn’t have any instructions for preparing the fabric so I went on to the Sew Sweetness site and found a video by Michelle Graham, one of the moderators, on using the Cricut Design Space. It didn’t help me prepare the fabric, but it gave me enough knowledge to work with the software once I got to the library.

I looked at a few different sites trying to find information about fabric preparation and decided I should put SF101** on the back. Later it turned out that for the Cricut Maker** you can just cut out cotton fabric. Cutting the fabric with the SF101 means I don’t have to adhere it later.

Cricut machine with my fabric

Once I got to the Makerspace, I was pretty much ready to go. The photo above shows the small Hackney pouch I cut out. I also cut out a large one. The Cricut only cuts what is on the mat. The mat they have at the library is 12 x 12**, so I couldn’t cut the gussets. Cricut also makes a 12 x 24 mat**, which I think would be useful. Just cutting what I did will save me time.

I had to load the files into the software, which shows where on the mat the pieces will cut. This information helps to position the fabric, especially if your fabric isn’t 12 x 12.

Cricut cut foam
Cricut cut foam

I was really thrilled that the machine cut foam!

All in all, I think this was a good experience. The Makerspace isn’t open very often when I can visit, but I can visit on guild meeting days. I have several bags cut out, so I had better get busy.

The Hackney pieces shown at the top are for the small Hackney. I haven’t made one of those before, so cross your fingers for me!


**Obviously, you should shop at local quilt shops and small businesses. However, if you are too busy or can’t find what you need there, I use Amazon affiliate links and may be paid for your purchase of an item when you click on an item’s link in my post. There is no additional cost to you for clicking or purchasing items I recommend. I appreciate your clicks and purchases as it helps support this blog.