We had a guild meeting yesterday. Before the last guild meeting, SIL #2 and I visited the Makerspace that has recently been installed in the Library. Today, I left for the meeting early to try out the Cricut they have there.
Short story? It worked GREAT! I cut out two bags in 1.75 hours including the learning curve.
I had to prepare in advance by finding fabric and downloading my SVG files to a flash drive. Sidebar: this is one reason I like the patterns from Sew Sweetness. They come with SVG files.
I didn’t have any instructions for preparing the fabric so I went on to the Sew Sweetness site and found a video by Michelle Graham, one of the moderators, on using the Cricut Design Space. It didn’t help me prepare the fabric, but it gave me enough knowledge to work with the software once I got to the library.
I looked at a few different sites trying to find information about fabric preparation and decided I should put SF101** on the back. Later it turned out that for the Cricut Maker** you can just cut out cotton fabric. Cutting the fabric with the SF101 means I don’t have to adhere it later.

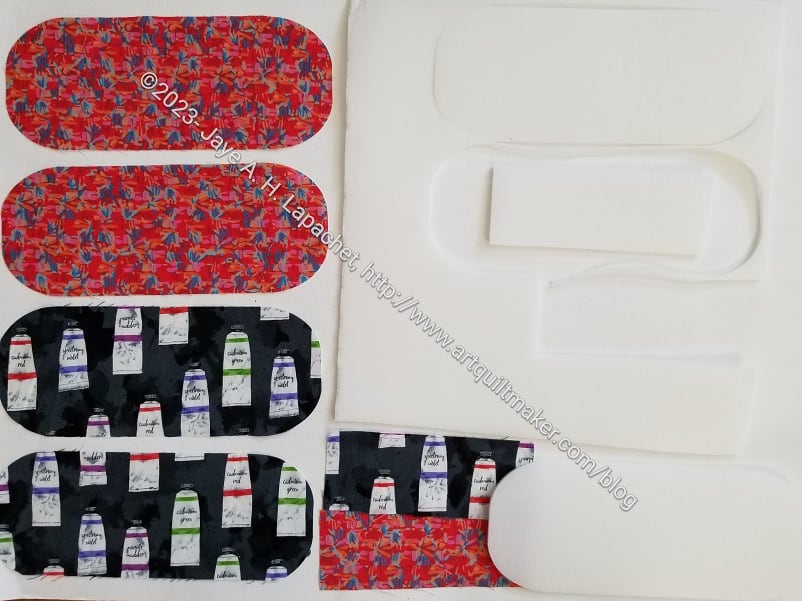
Once I got to the Makerspace, I was pretty much ready to go. The photo above shows the small Hackney pouch I cut out. I also cut out a large one. The Cricut only cuts what is on the mat. The mat they have at the library is 12 x 12**, so I couldn’t cut the gussets. Cricut also makes a 12 x 24 mat**, which I think would be useful. Just cutting what I did will save me time.
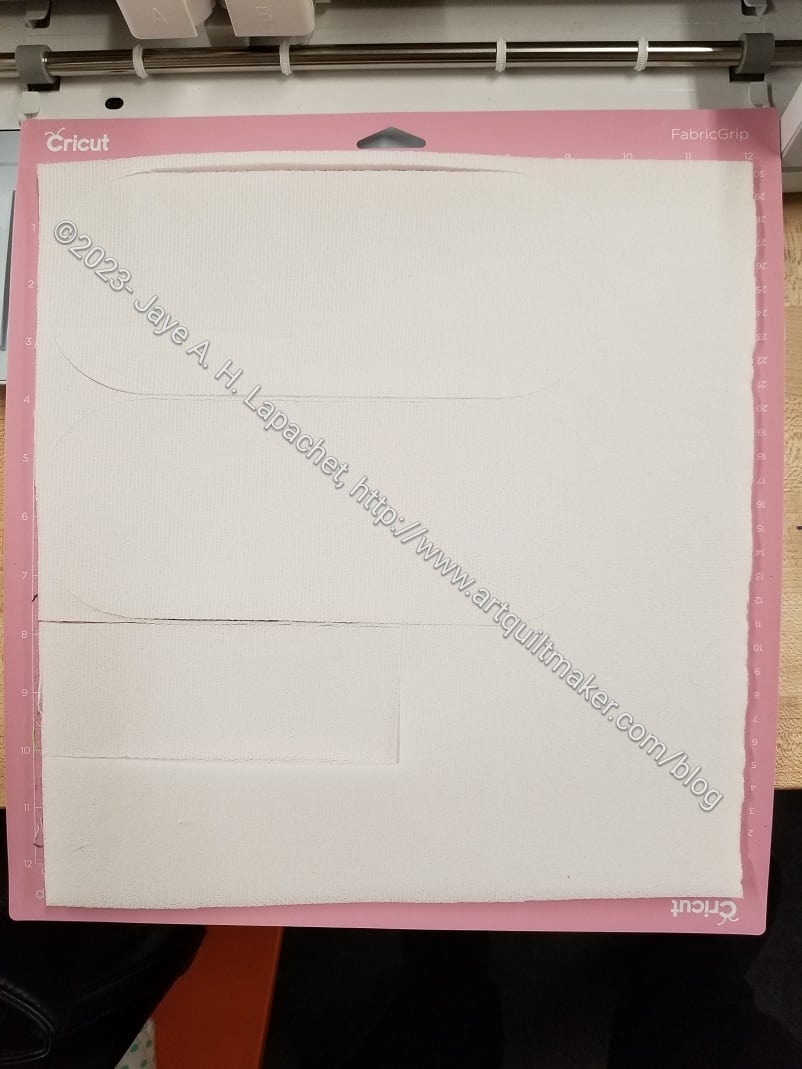
I had to load the files into the software, which shows where on the mat the pieces will cut. This information helps to position the fabric, especially if your fabric isn’t 12 x 12.
I was really thrilled that the machine cut foam!
All in all, I think this was a good experience. The Makerspace isn’t open very often when I can visit, but I can visit on guild meeting days. I have several bags cut out, so I had better get busy.
The Hackney pieces shown at the top are for the small Hackney. I haven’t made one of those before, so cross your fingers for me!
**Obviously, you should shop at local quilt shops and small businesses. However, if you are too busy or can’t find what you need there, I use Amazon affiliate links and may be paid for your purchase of an item when you click on an item’s link in my post. There is no additional cost to you for clicking or purchasing items I recommend. I appreciate your clicks and purchases as it helps support this blog.
Oh awesome! I’ve had a ScanNCut for a few years and embarrassingly enough haven’t even tried cutting fabric with it yet (I mostly use it for making stencils) and really should. It’s not quite as versatile as a Cricut Maker for fabric, I suspect, since it doesn’t have a rotary cutter, just a regular blade, but people definitely use it for fabric. I haven’t done a lot of sewing in the past few years partly because of a wrist injury that made doing a lot of repetitive cutting problematic — it’s much better now, but using the machine could definitely make things a lot easier.
Hi Daisy!
Thank you so much for reading! I think the ScanNCut could be helpful for cutting. The Cricut definitely made cutting easier. My sister gave me her Design &Cut, so my next project is to try and do the same things as above with the Design & Cut. These machines are not like an Accuquilt. If you need to cut a lot of squares I would go with a die cutting machine. The Cricut and the Design & Cut (assuming I can get it to work) will definitely help with bag cutting.