I was really pleased to see a bunch of quilts that Peggy made for donations at the meeting the other day. She called them her “Jaye collection”, which I thought was very kind. I was confused until she talked about how she made them out of bits and pieces I sent to her. I sent her a couple of stacks of HSTs during the pandemic as well as many 16 patch blocks and she turned all of them into great quilts.
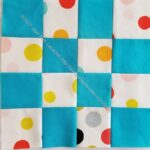
Turquoise dot donation block
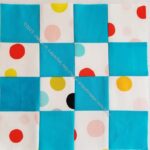
Turquoise dot donation block #2
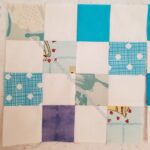
Turquoise donation block
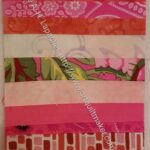
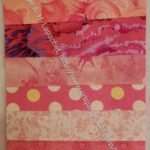
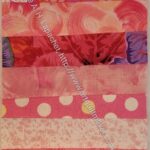
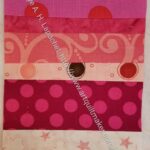
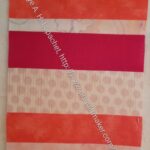
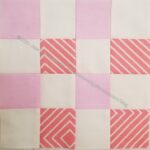
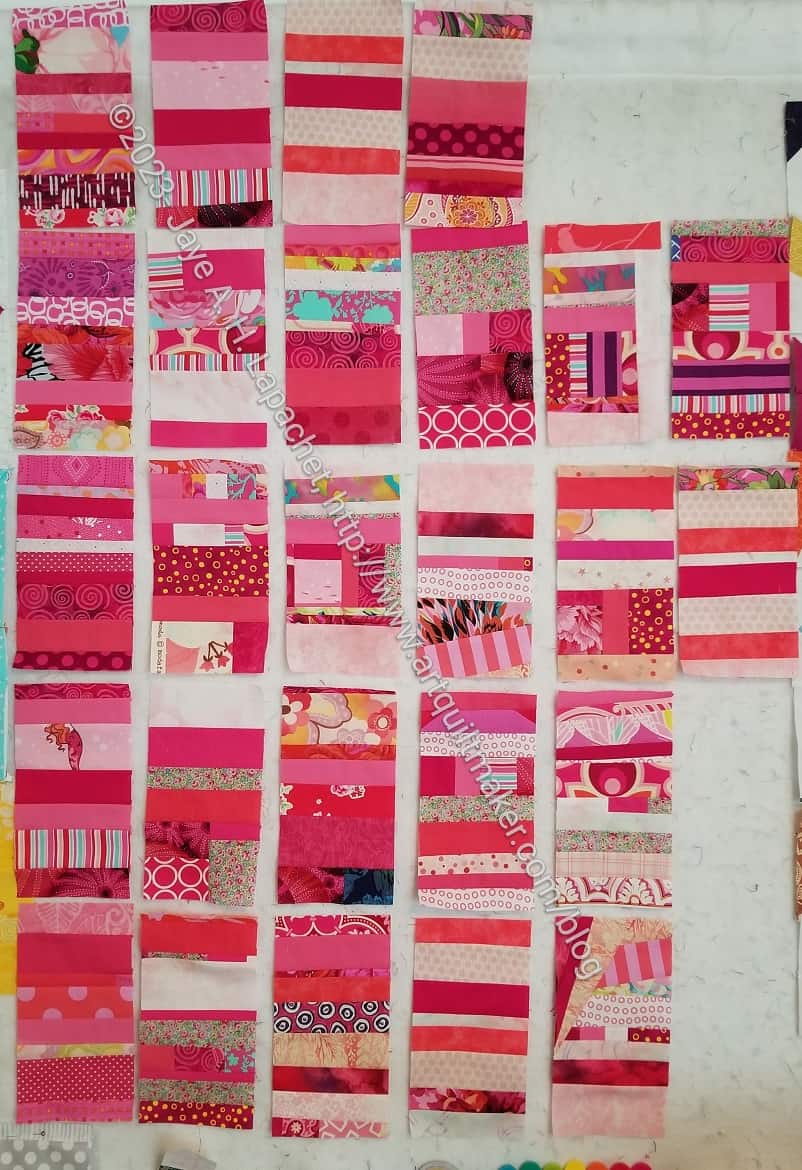
Pink color strip #17
Pink color strip #18
Pink color strip #19
Pink color strip #20
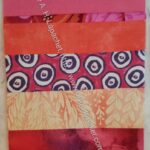
Pink color strip #21
Pink color strip #22
Pink color strip #23
Pink color strip #24
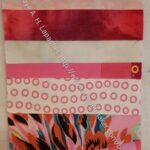
Pink color strip #25
Pink color strip #26
Pink color strip #27
Pink color strip #28
Pink color strip #29
Pink color strip #30
Pink color strip #31
Pink color strip #32
Pink color strip #33
Pink color strip #34
Pink color strip #35
Pink color strip #36
Pink color strip #37
Pink color strip #38
Pink color strip #39
Pink color strip #40
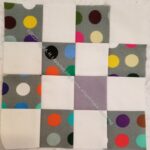
Yellow dot grey donation quilt
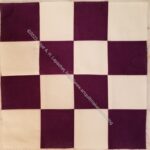
Purple donation block
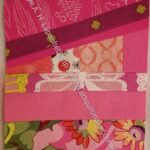
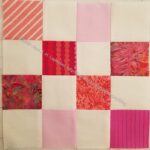
Pink donation block 2023 #2
Pink donation block 2023 #1
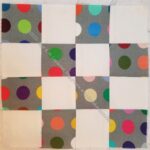
Grey dot donation block #2
I made a bunch of donation blocks this month. Some are 16 patches and some are the pink strip blocks. As a result I am feeling better about my contributions to the guild.
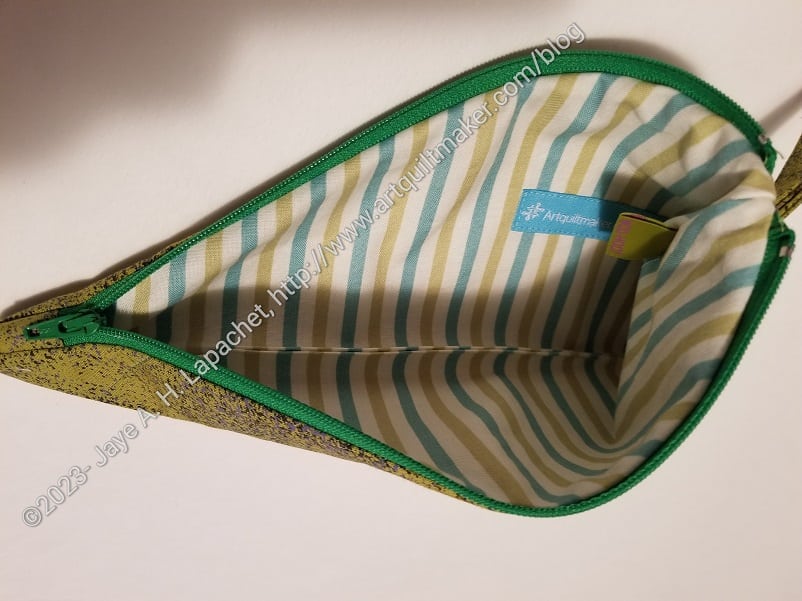
Yes, I am making another Hackney pouch. I like the shape of this pouch/bag. It is fun and a bit unusual. The process of assembly is also providing me with a challenge even after making several of them.
Yes, it is another gift. I might make one for myself. We’ll see.
This time I am working on perfecting a version that is most useful and that I like. As I might have mentioned, I don’t like the mesh pocket, because I don’t like the way it comes out. Mostly, I don’t like the zipper tabs and how thick they are. They are hard to sew and thus the seams look wobbly.
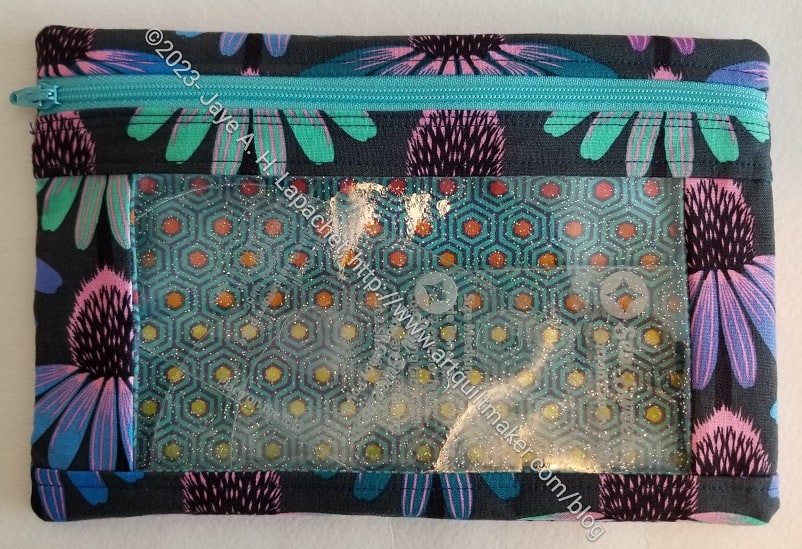
I tried a vinyl pocket, which was ok. I haven’t heard how useful it is, but will ask next time I see the recipient.
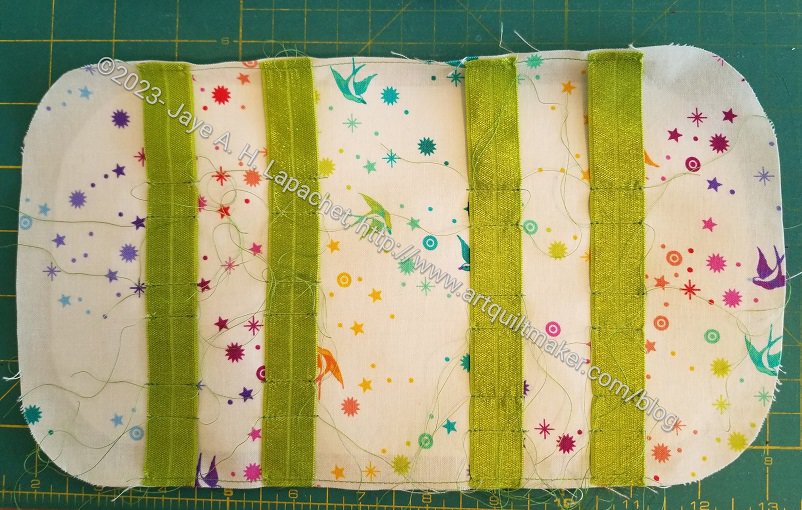
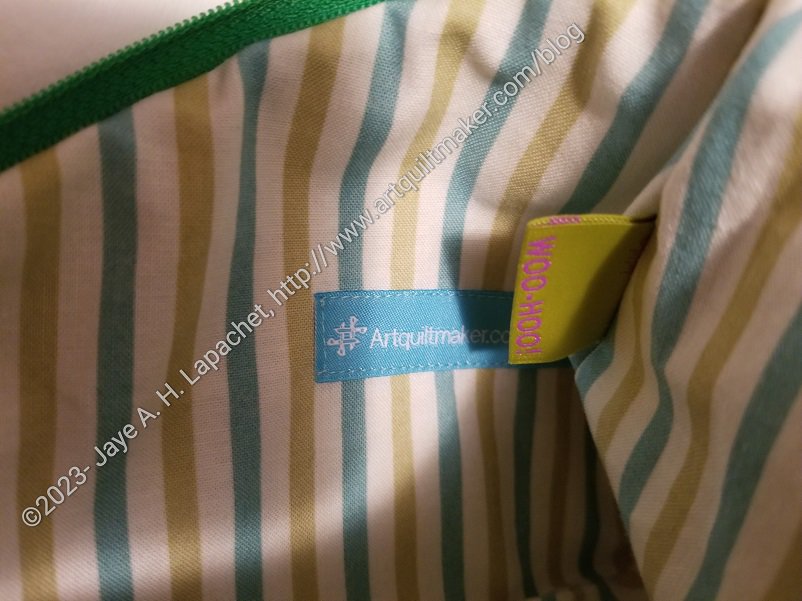
Hackney lining tool holder
This time I used doublefold elastic to make a tool holder.
I cut the doublefold elastic the same width as the lining, then basted it to the top lining piece.
I marked the places where I wanted the recipient to be able to slide tools in. I used a half inch size for each pencil or pen or whatever. I put an inch between each set of marks. These had to be mirrored on the second strip of elastic. I also made the marks on the second set of elastic off from the first set so the tools (or pens or whatever) wouldn’t interfere with each other.
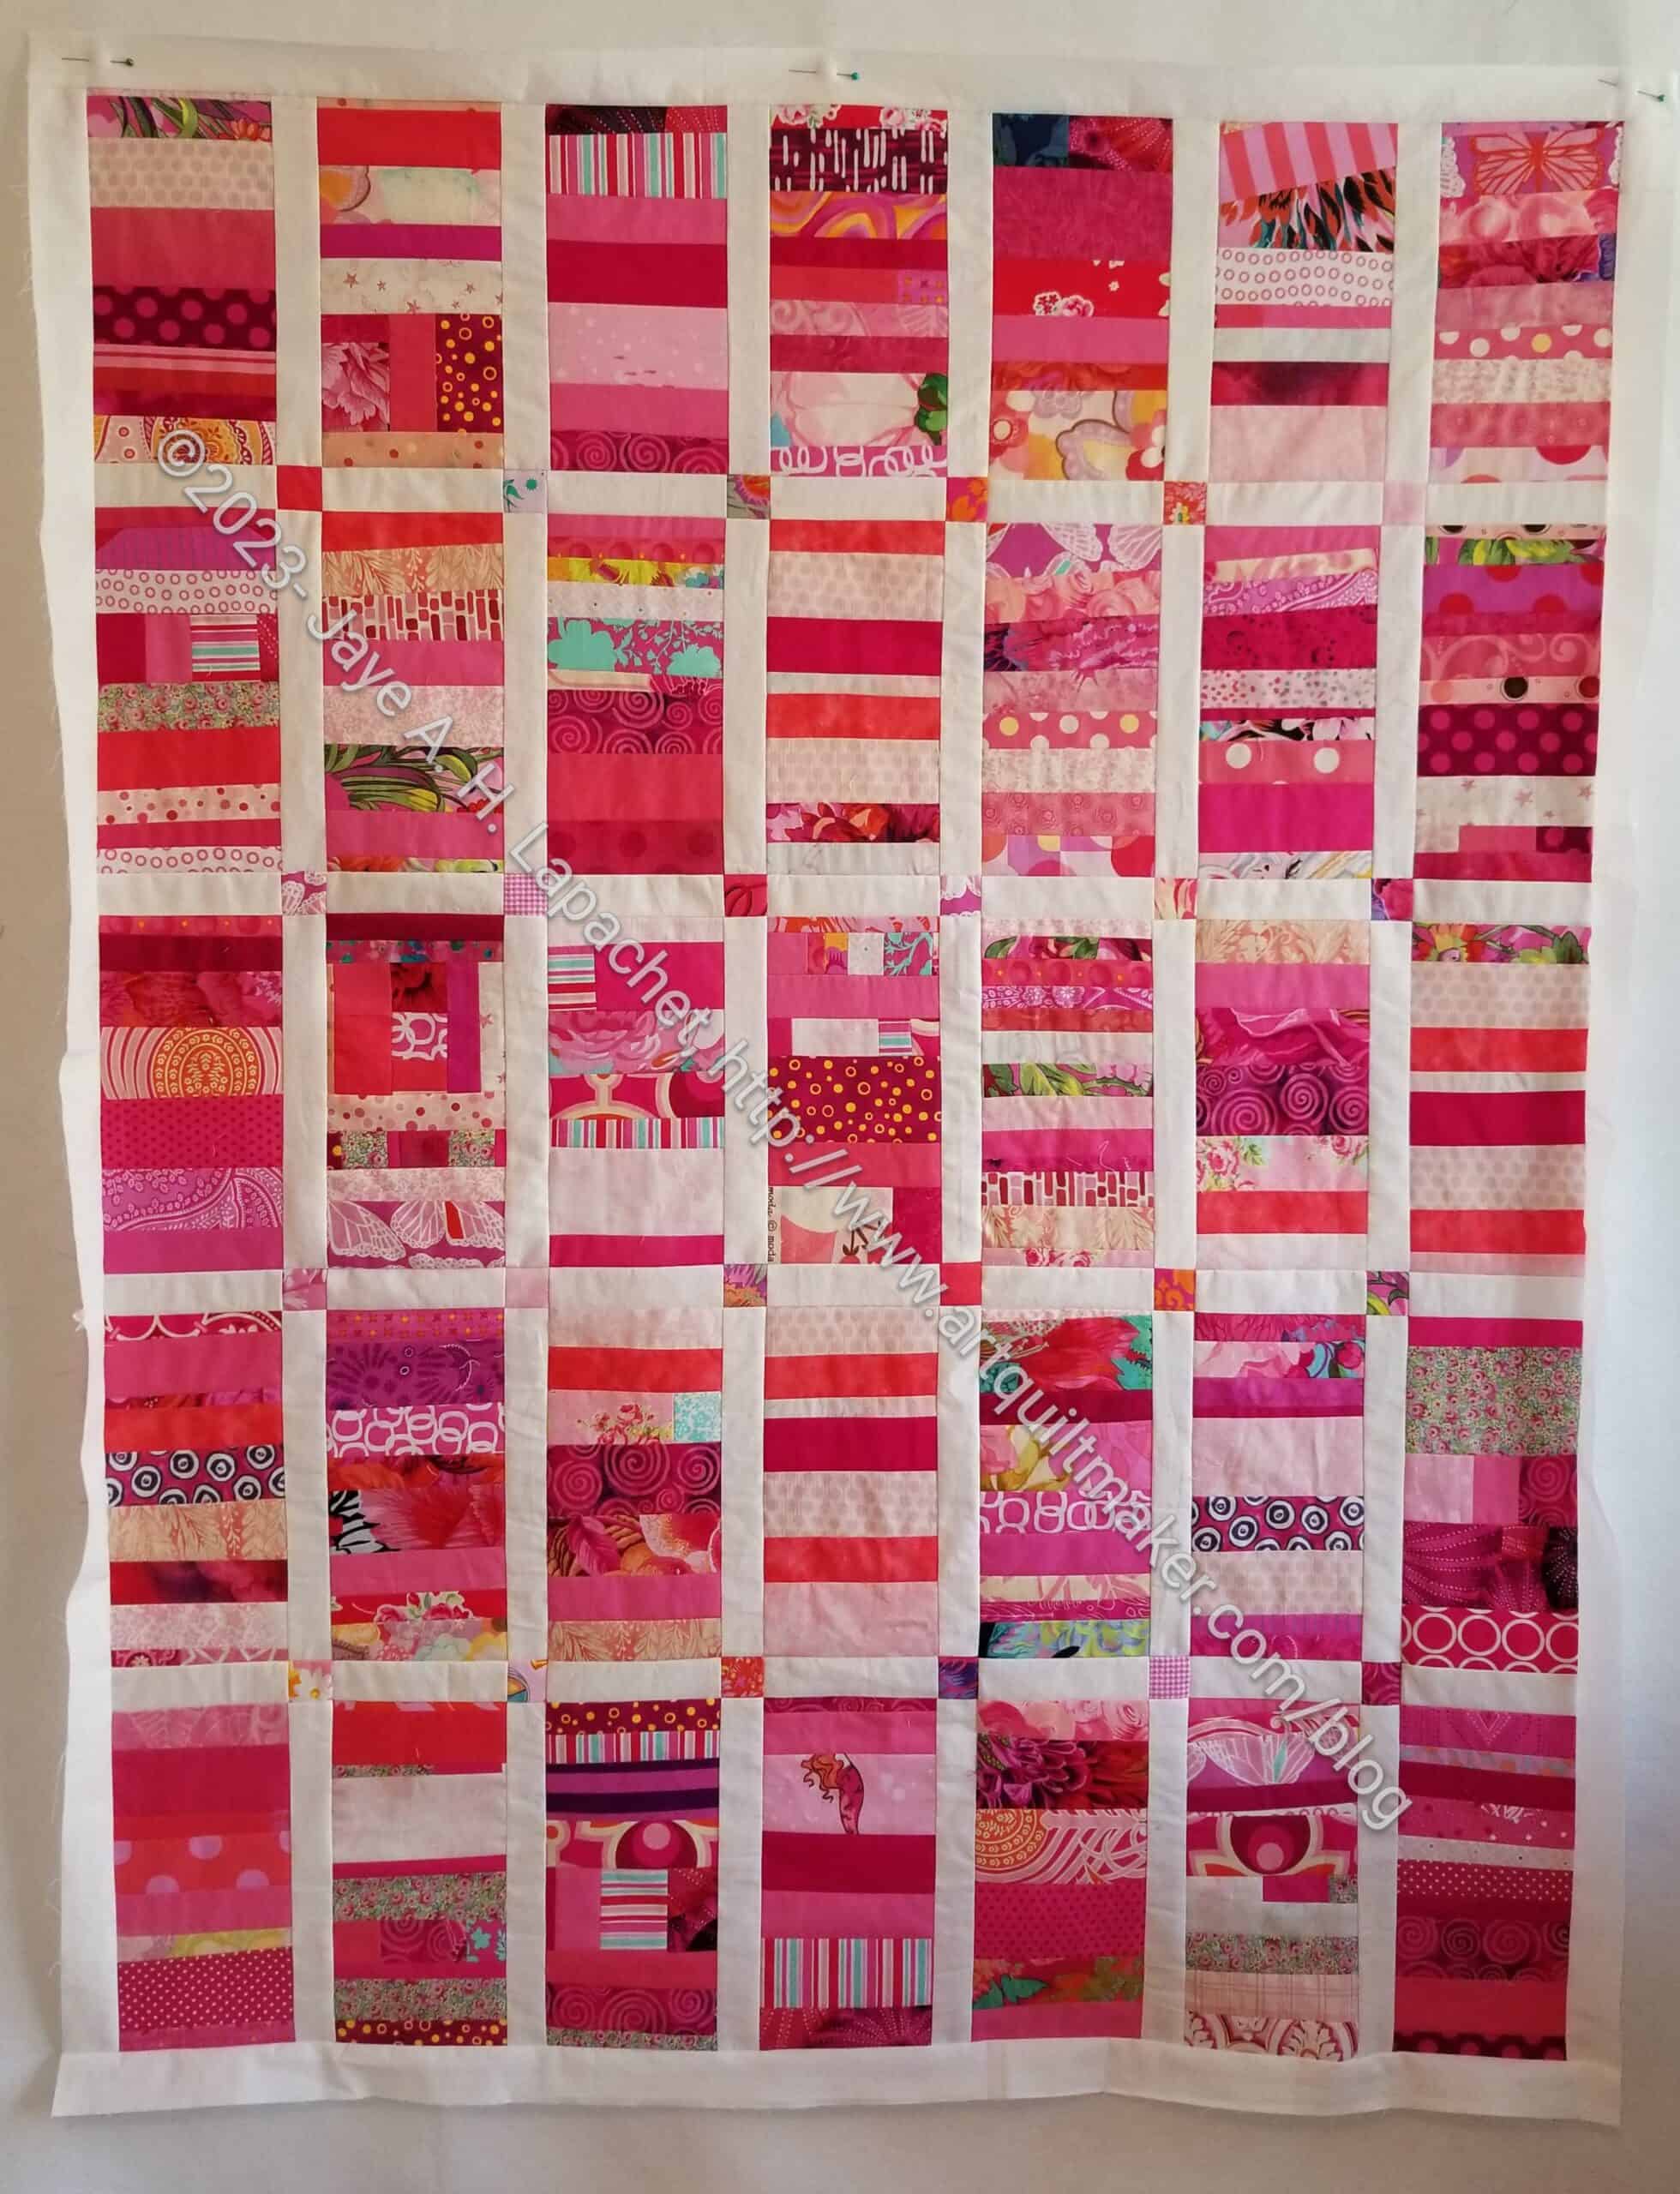
I moved all the blocks to my larger design wall after Who Am I? went into the ‘to be quilted’ bag. While I was little lazy about walking across the room to use the donation blocks for leaders and enders, I finally put the quilt top together and put the borders on.
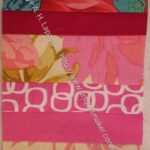
I got inspiration from the Red Strip donation top I made a few years ago. I really liked the cornerstones and the way the white sashing separated the blocks so viewers could see each one distinctly.
This one is larger than the Red version. I did end up adding a column to the quilt, but I still think it is a weird shape. I didn’t do any of the ratio math I suggest my students do to make their quilts the right shape. I plan to put more borders on, so maybe I will make the vertical borders a little wider than the top and bottom borders.
So far so good and I am on track to bring it to Sew Day or the next meeting.
I quickly cut more pieces for another I Spy and finished it over the weekend. I think I have a sewing routine for this pattern down pat now.
One of the reasons I made this one is that I liked a piece of fabric I pulled for the Pink Strip donation quilt back. I decided to use it for the lining, which shows up nicely through the window. It is a good way to be able to see a fabric I enjoy.
I Spy with Pink Batik
This one will replace the one I gave as a gift. It will hold the Friesan Pouch acrylic templates. I’ll save the Grey Cross I Spy for something else. I kind of like having all of my acrylic templates in pouches that match.
I was pleased to see that I lined up the top strips around the zipper very well.
I Spy with Pink Batik back
I just love making these pouches, as I have said a million times.
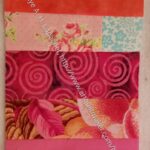
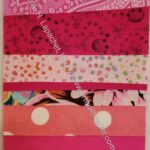
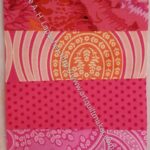
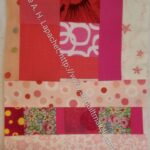
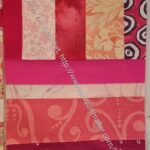
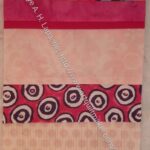
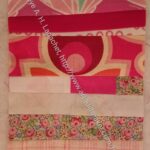
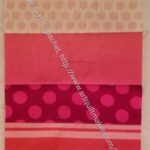
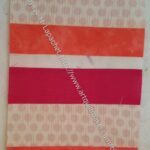
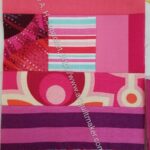
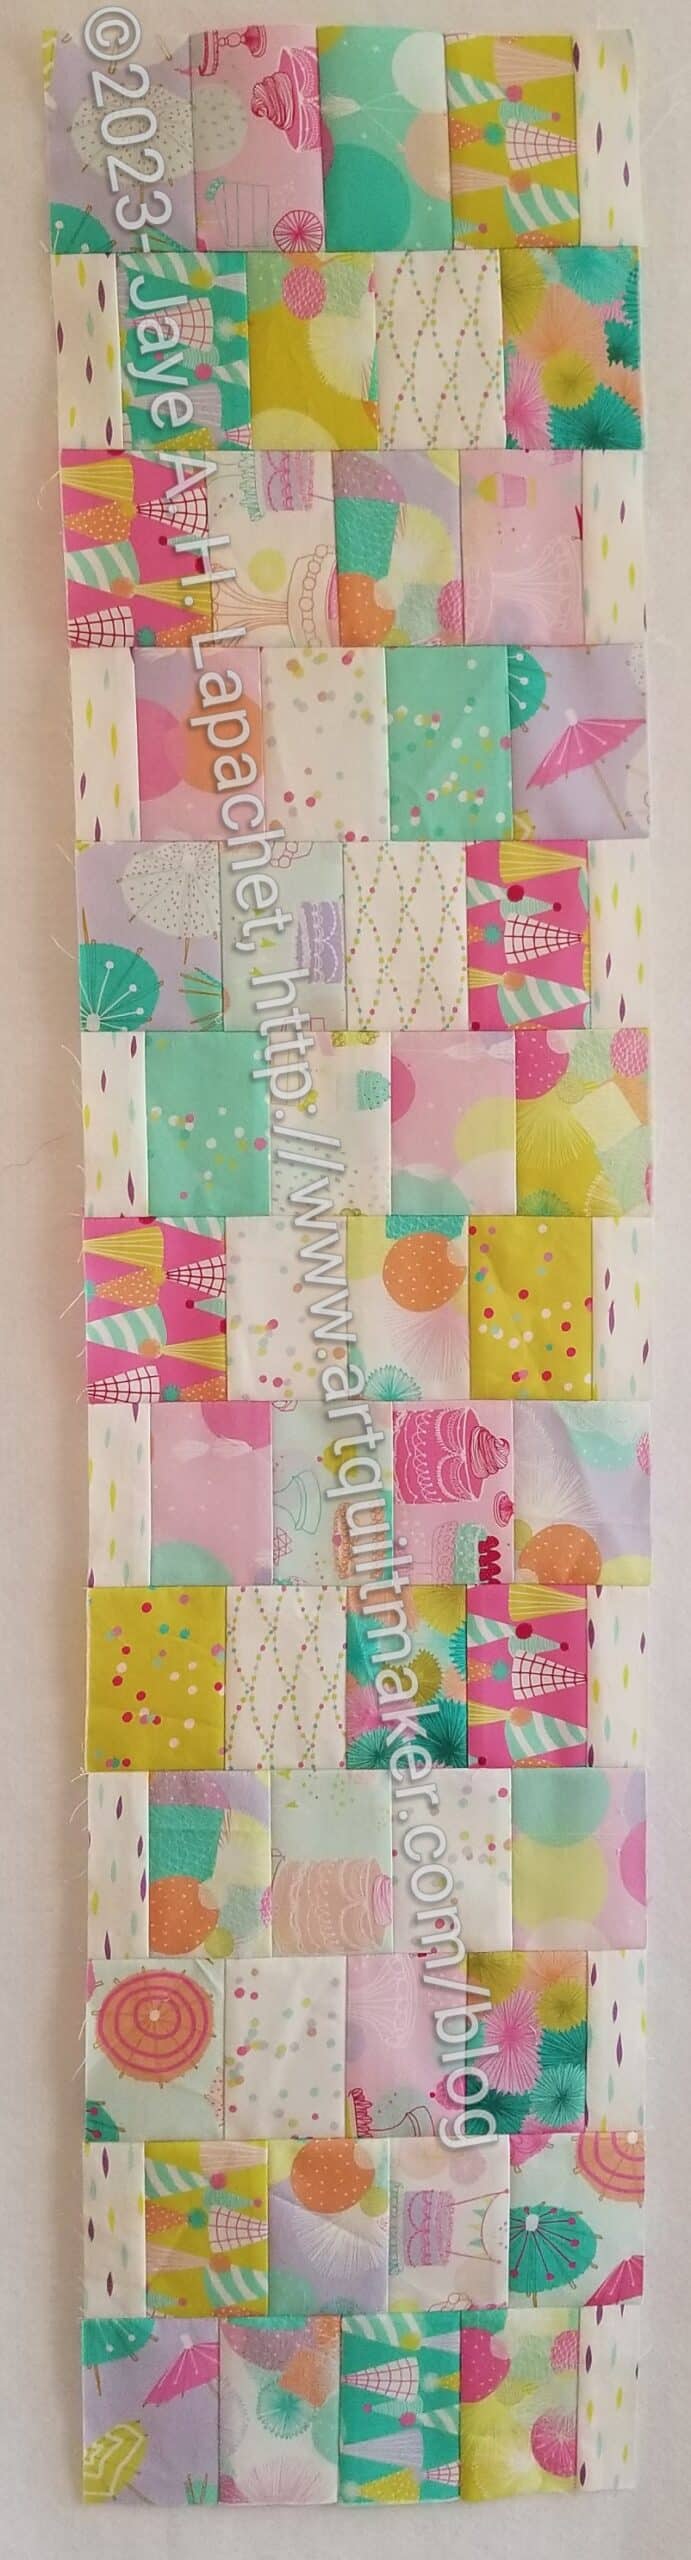
I am making good progress on the Pink Strip Donation top. It is VERY pink. I am enjoying working on it. It doesn’t feel like a must do project. I do want to get it done, however the pink is so cheerful that it is a joy to work on. This one will definitely not be gender neutral.
I did a big clean out and organization of the scraps in my pink bin, which was required to finish enough blocks to make a reasonable sized quilt. It looks a little skinny, so I am debating adding another row.
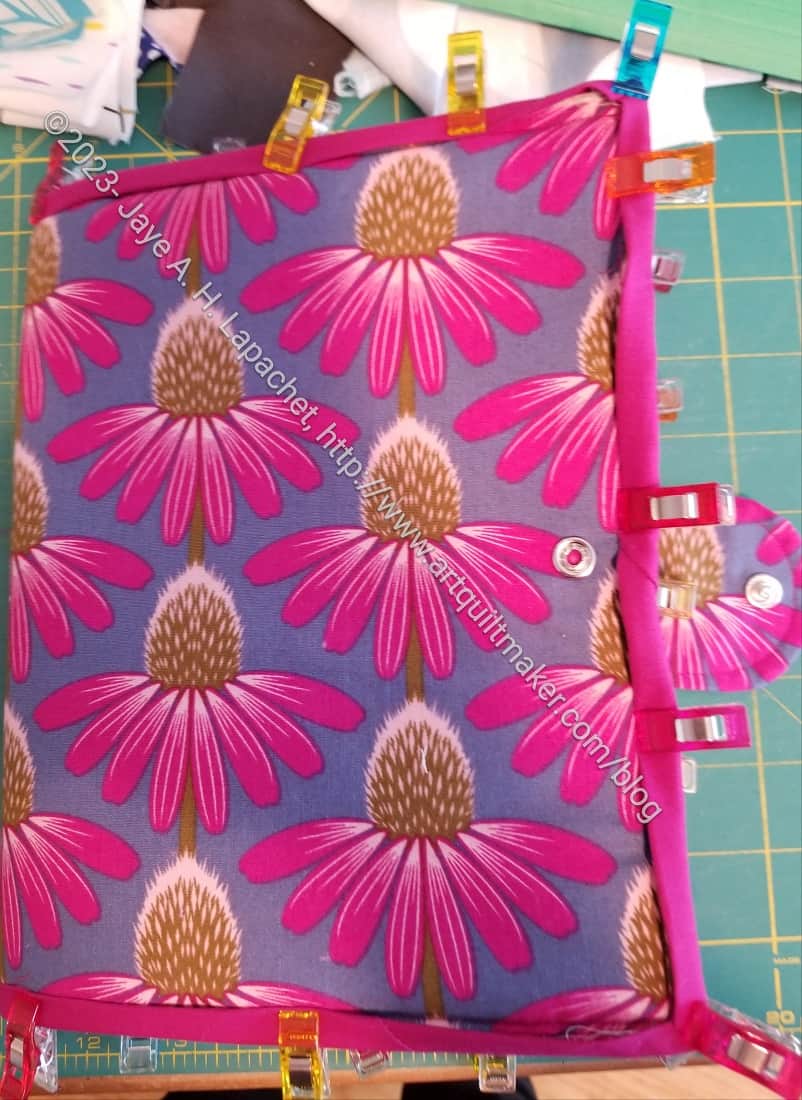
I finished the second 2-in-1 Case pretty quickly and this one looks good enough to give as a door prize. The first one was a good learning experience.
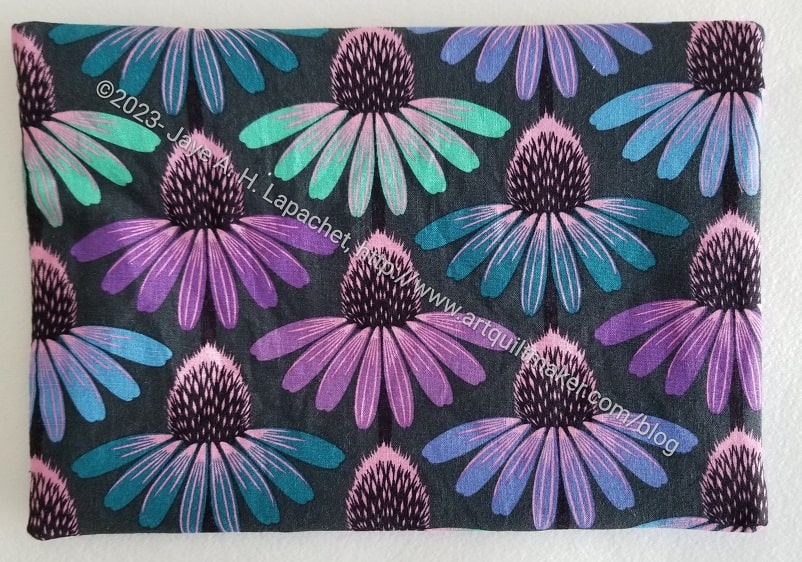
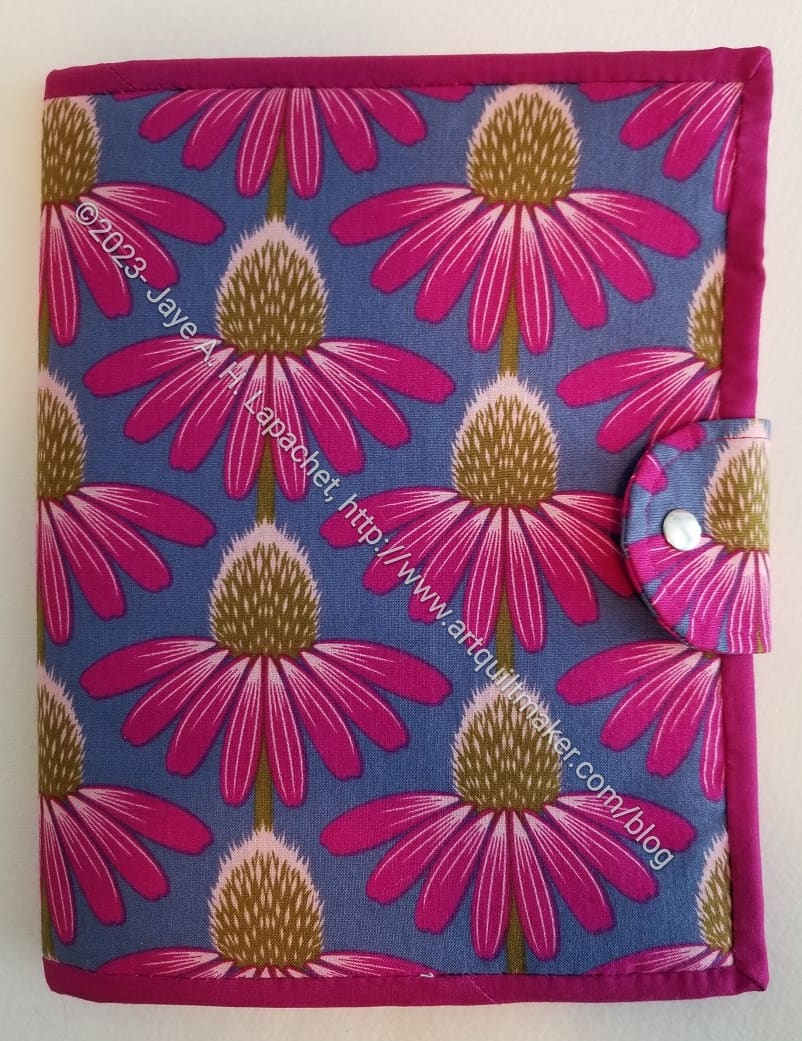
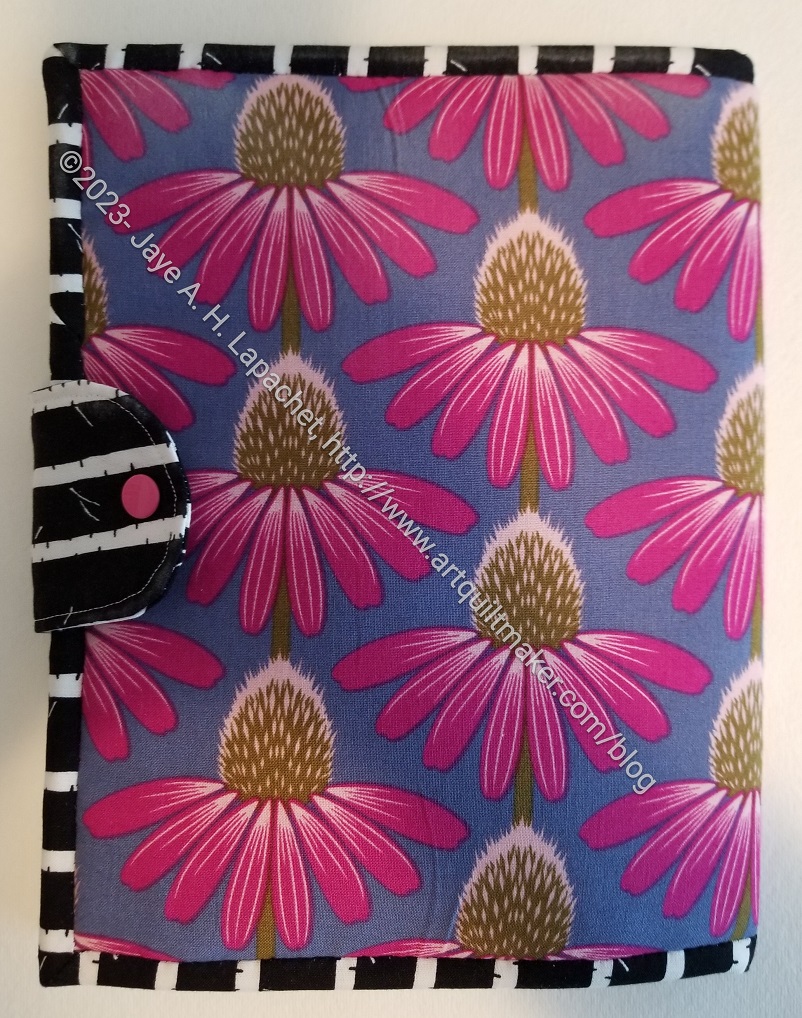
Yes, I am using a lot of that coneflower fabric lately. I like it despite the brown in the print. I am not sure what is so appealing about it to me.
This time, you can see that I was much more careful and attentive to the closure. I thought about using one with a pointy tip, but decided against it in the end. There is a pattern for a project with the pointy tip closure in the book**, but I thought I would try it a different time. I was on a bit of a deadline and didn’t want to mix up the process until I had gotten it right.
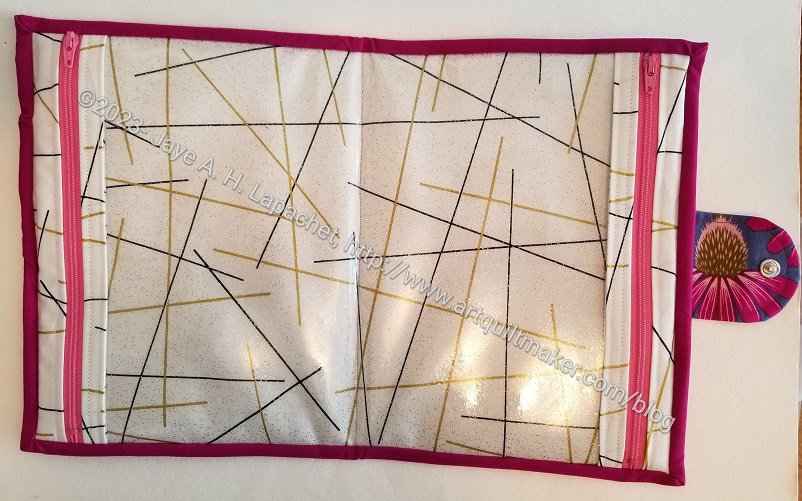
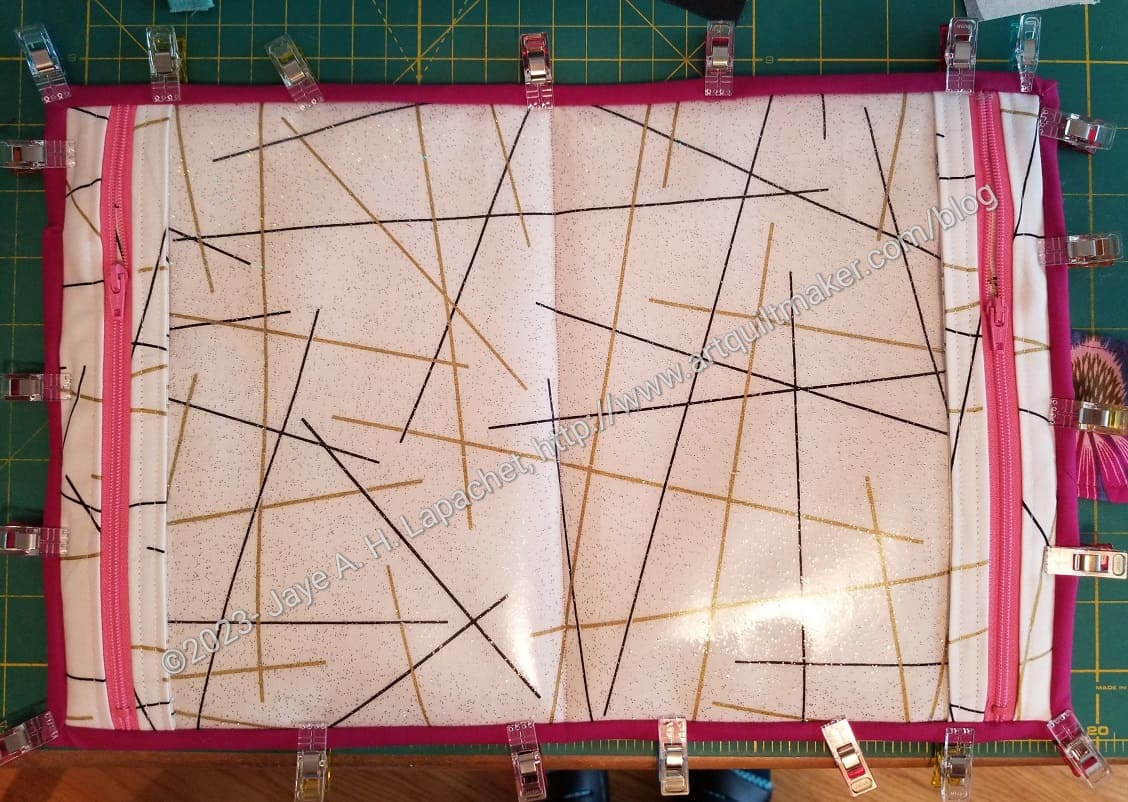
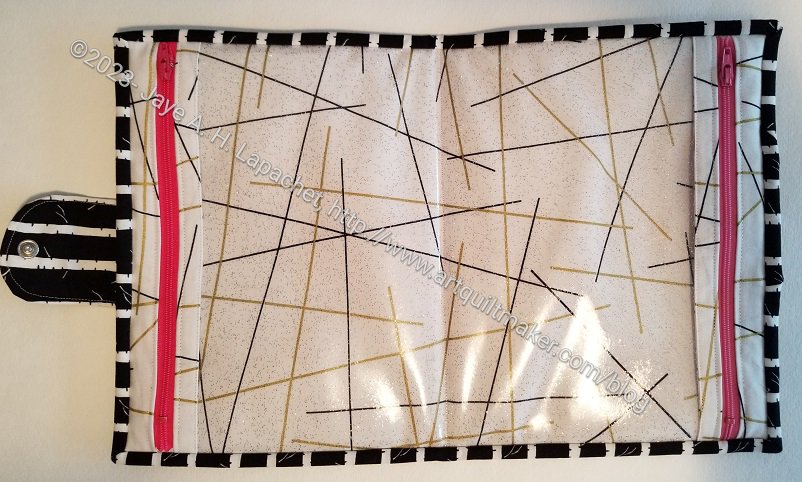
2-in-1 Case #2 interior
I used the same interior fabric, as mentioned. I thought it looked nice and it was on my cutting table, so why not?
I used longer zippers this time, as I said I would. I know I said I might use even longer zipper next time. I don’t think the project needs the zipper stop. also, I like to being able to get the zipper head as close as possible to the binding. I think it looks better.
As before, I used some foam to give it a little more heft. I wonder if that makes the pouch less useful? I wonder if the recipient can put in fewer items, because the pouch has more structure?
2-in-1 Case #2 exterior
I am pleased with the binding. I think less contrast looks better.
So, another project finished and this one has been sent off to Carrie for the door prize assembly for the guild.
The top is pretty subtly shaded, e.g. very little contrast. I guess that is ok. The nook where the buffet is located is a little dark, so I hope what light there is will reflect off of the light colors.
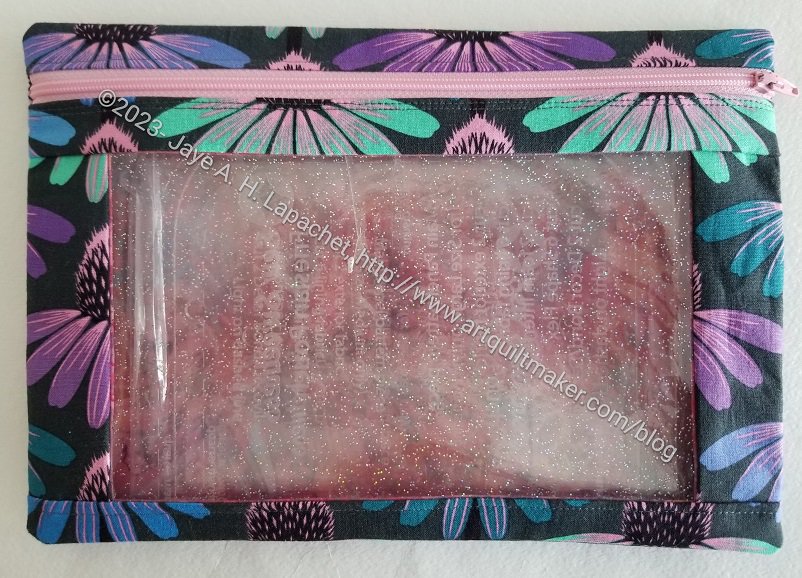
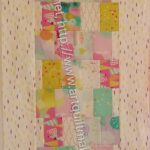
Yes, I made another I Spy pouch. I don’t like this one as much. It doesn’t feel as substantial as the last one and I am not sure why. It has to be the fabric. It is an Art Gallery fabric, which I really like, but I don’t think it is right for this project. Since I am storing acrylic templates in them, then need a little heft.
This doesn’t mean it is terrible or anything and I do like highlighting the lining fabric through the window. It is like a fun prize. I’ll probably use this as a gift.
This is the small size. I also use the glitter vinyl. I like that glitter vinyl. Not only is it easier to cut, but it is fun. It does make the peony look a little blurry in the photo. It doesn’t look like that in person.
SueS asked me to make scissor cozies, as mentioned. I forgot to post about Maria’s. I made one for her before. I didn’t have the same fabric, so I picked out some coordinating fabric, so the two would go together.
Maria’s Scissor Cozy #2 – interior
I am really pleased with the interior of this one. It came together very well and the stripes look nice.
I closed the bottom with a machine stitch. The handstitching looks better, but I didn’t want to spend the time
I started another 2-in-1 Case almost immediately after finishing the first one. As mentioned, this is an easy bag and I wanted to get it right. This one looks a lot better and is more functional.
I was pleased with the fuchsia binding. I thought it was a less distracting choice than the black and white, though I do like a good black and white stripe.
I made certain to the get the closure in the right place. I used a slight different process to sew it on. I put the female half of the snap in then, before sewing the tab to the back, I snapped it together. This helped me align the tab with the female part of the snap on the front. Then I pinned the tab to the back and sewed it down. Somehow the measurements in the pattern didn’t work for me.
2-in-1 Case #2- open – in process
I used the same fabric for the inside as I did in #1. It’s a nice bright white. I am pretty sure I bought it with Amanda when we were out shopping in Portland one time.
I used longer zippers as well- 9 inch instead of 8inch, as the pattern suggests. I had to be careful not to hit the metal parts, but the zipper was fully enclosed in the tabs and the binding, which looks better. I will probably use a longer zipper next time and cut off the excess. It seems like a waste, but then I won’t have to worry about that metal zipper end. Hitting with a needle is no picnic.
Almost done then I send it off to be wrapped for the guild door prize.
Remember I said that these pouches were like making candy? I gave one of my I Spy pouches to someone on my team, so I just made another one for my Cotton Candy pouch acrylic templates.
This one follows the theme of the others. I used the Anna Maria Coneflower fabric again along with some of the hexagon Tula Pink fabric for the inside.
It was fun just to sit down and start and finish something relatively easy. I feel ridiculously pleased with this pouch. Actually, every time I make one I feel ridiculously pleased.
I have wanted to make another tablerunner for our buffet for awhile. I found the charm pack I used for this project at Sunshine Quilts in Medford. It was an impulse buy, but I was determined not to let the pack sit around.
I cut the pieces for this project at Sew Day and started sewing them together last week.
OMG! I can’t tell you how much I loved just sewing pieces together – no applique’, no fighting, no drama.
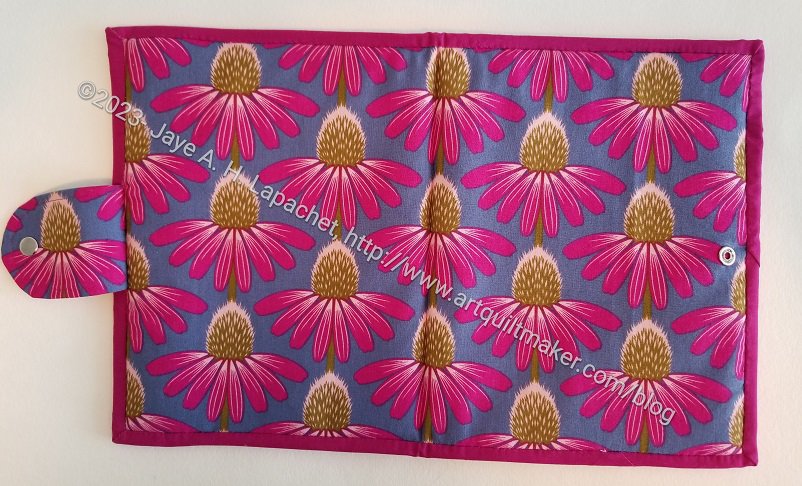
This project started off so well and wasn’t difficult. There was one crucial line missing from the directions that threw me off.
That line was “Remember, this needs to open like a book”.
It is perfectly usable. It would work very well for someone who was left handed. As you can see the opening is on the left. If the directions had said “Remember, this needs to open like a book”, I think I would have been able to better picture the directions in my mind. Instead there were a lot of words describing flipping the exterior in different ways, which was confusing.
2-in-1 Case #1 interior
Also, I used a snap instead of the magnetic clasp called for, which I know had an effect.
I also added a piece of foam in addition to the fusible batting. I like the heft. I might try two layers of fusible batting next time. Yes, there will be a next time. I think this is a useful pouch/booklet, but also not difficult, so it is a good item for a door prize.
Despite the problems, I found this a fairly easy project. It also gave me practice in using my Snap Setter. I always wonder what my DH thinks I am doing when he hears me pounding away. I am always amazed that the tool doesn’t break.
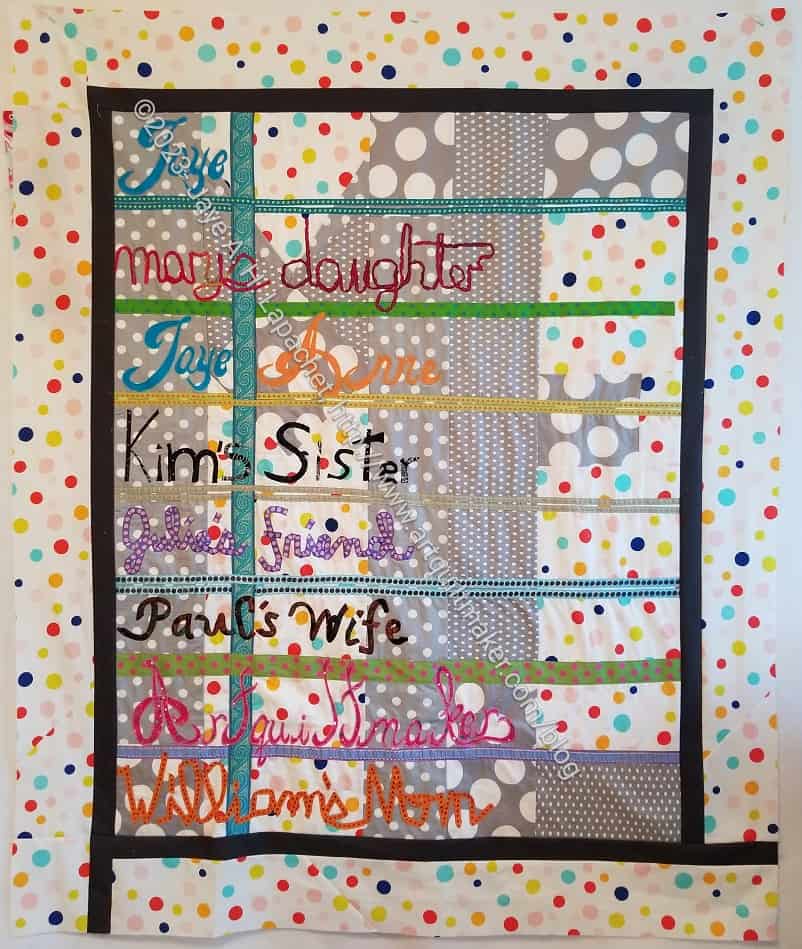
As mentioned the other day, I did a marathon and was able to finish the top and back and binding of Who Am I?
I am not sure the bottom adds heaviness, but it does break up the ‘sweetness’ of the dots. I wanted a little sweetness and I also wanted some consistency. I want the focus to be on the words and not much on the background. That’s why I didn’t introduce another fabric to the mix.
In the photo above, you can see the whole design, even the ME that is part of the background.
One thing I have to think about is quilting the borders. I used some batting to stabilize the center of the quilt for applique’. It wasn’t a great choice, but Julie had some and was willing to share at the time. I need to talk to Colleen and see what she wants me to do. I could use batting tape to connect pieces of batting to the center. I could also have Colleen use a super thin batting, which would mean the center was double-batted. We’ll see what happens.
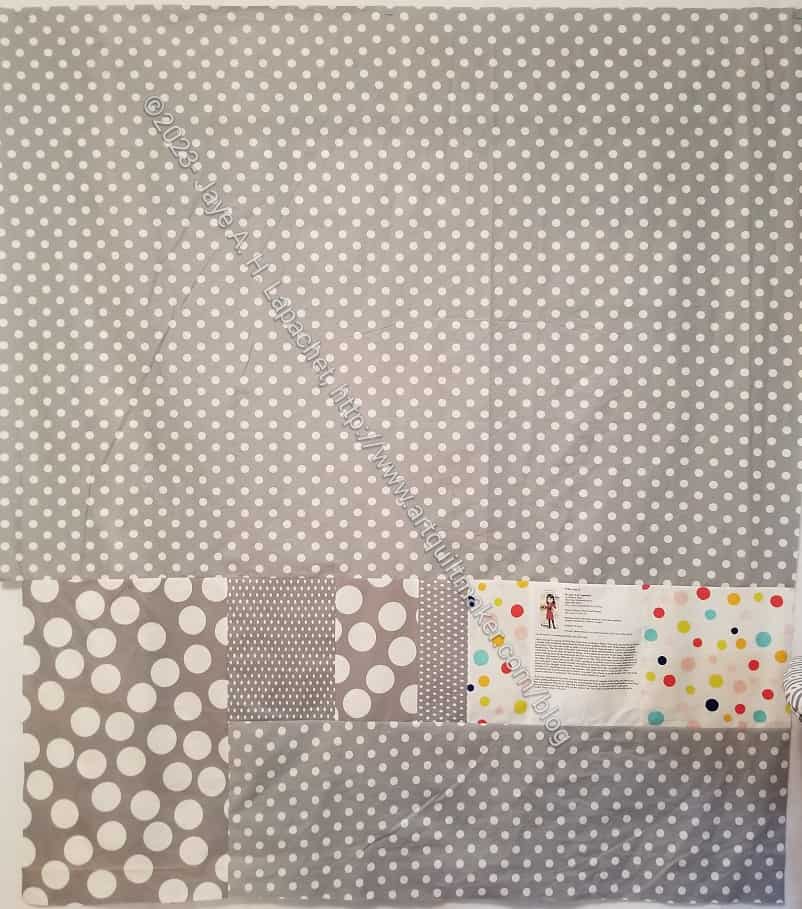
Who Am I? back
The back is simple and went together relatively easily, which was a relief.
My reward for finishing this is a straight piecing project, but I think I will work on some bags first.
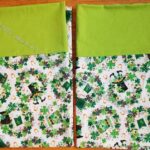
When I finally received the Valentine’s Day and St. Patrick’s Day pillowcase fabric, I decided to just make all the pillowcases and have them ready to go.
These were in the mail around March 1, so the boys would have a lot of time to enjoy them — or hide them in the back of their wardrobe!