The Sheffield is a joy to work on! I can’t tell you how much easier it is to work on a bag when I don’t have to fight with my machine. I didn’t even realize, really, that I was fighting with my machine.
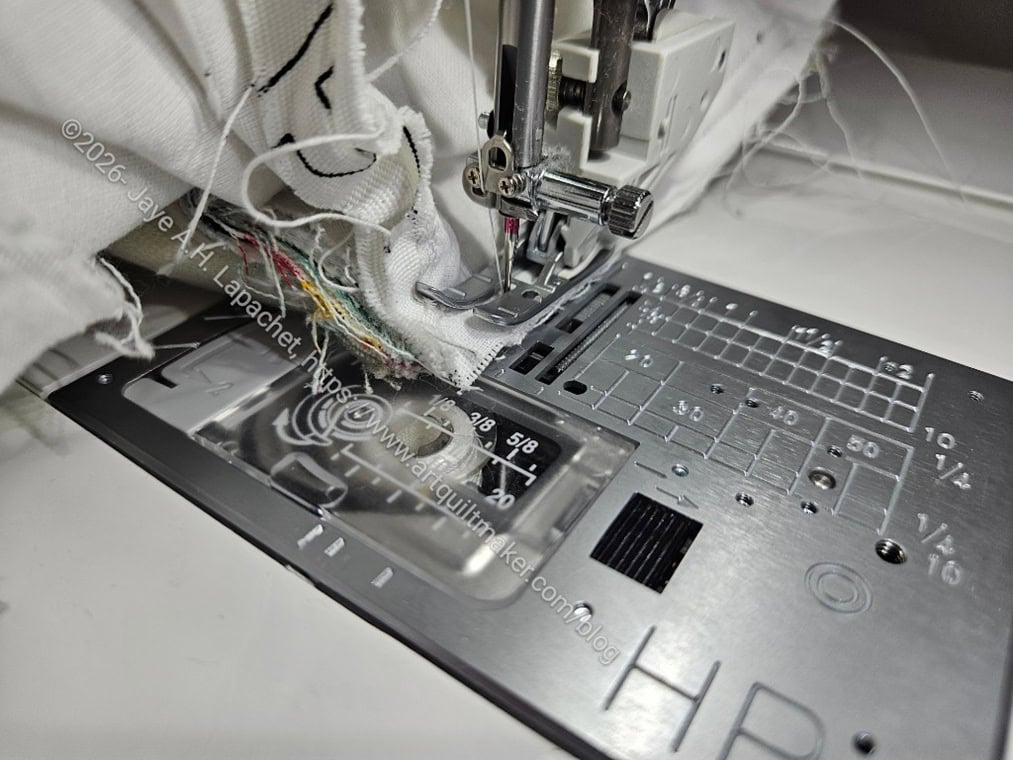
To make this bag, I changed feet and needle plates pretty frequently, but it really helps use different feet.
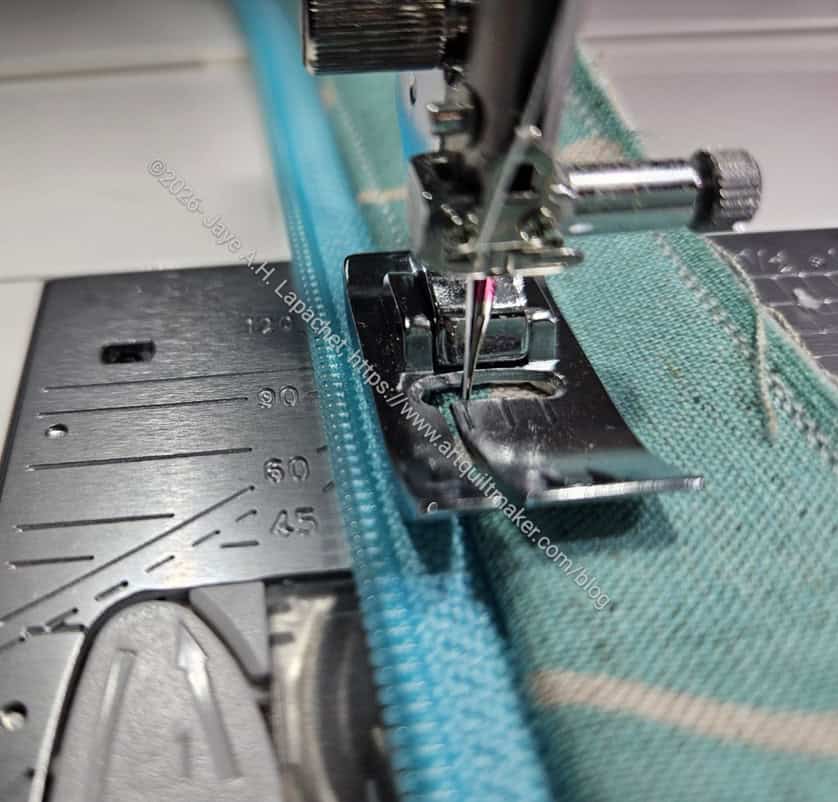
I used the Bi-level foot to stitch the top stitching on the frame case and that was a breeze. I never used the Bi-level foot before, but now it is one that seems to be coming out of the box often. I am not sure why I didn’t use one before. Maybe I didn’t have one?
Anyway, I was amazed and pleased with how straight the stitching was using this foot. There are a lot of layers the machine is punching through in the photo above and I got good stitch quality, no broken needles or stuttering. Of course, I wasn’t being the demon speed sewist either. I sewed pretty slowly on this section.
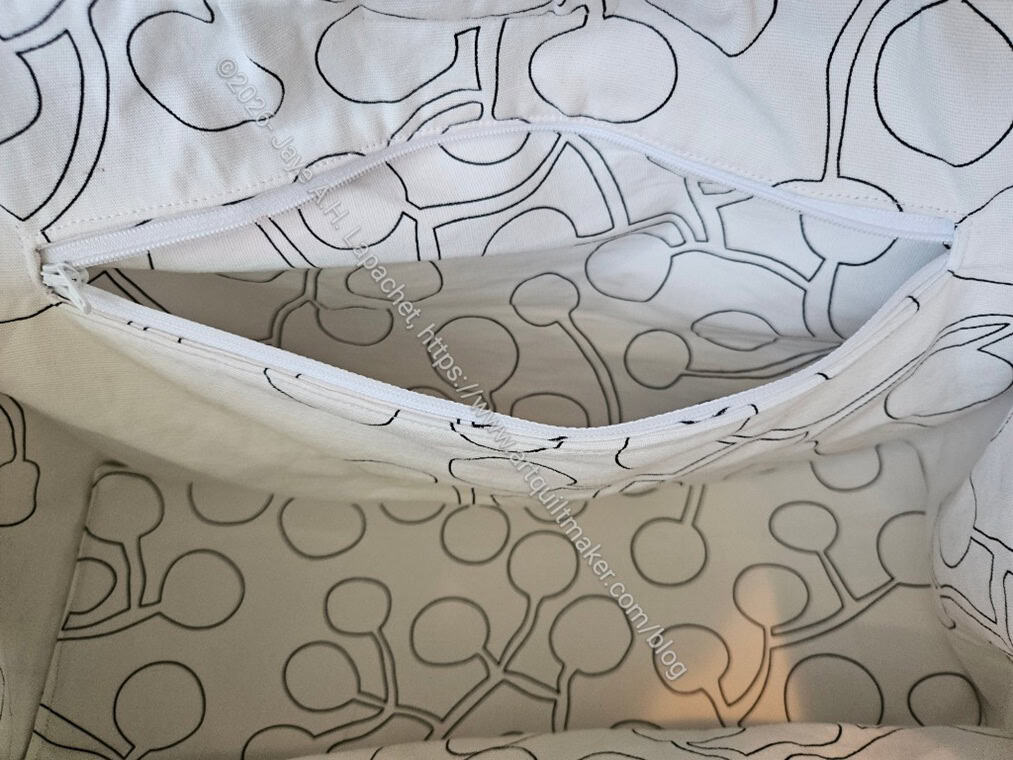
I decided to add an internal zipper pocket, which is not part of the pattern.I didn’t have any trouble making it. I learned a bit from the second interior zipper pocket on the Pandora Charisma and that experience helped.
I also wanted to turn the bag through that zipper pocket, which is a technique that Tim taught me. I had to think about it for awhile, because I wasn’t sure if any bag could be turned that way. I didn’t come to any conclusion, so I just went for it. It worked out fine. I like this method, because it means that nobody can see where the bag was turned unless someone digs into the pocket.
I am not sure why I wanted a zipper pocket, but I did. I also added a leash, which I do for all of my bags.
Finally, my next step is anchoring the lining to the exterior. I have started but need to finish.
Almost there!