Finishing the Sheffield took longer than I expected. I thought I was done, then I had to make the false bottom, and add a label and…
No problem. I really enjoyed finishing it. REALLY! I realized that I have been anxious to get through the final assembly of recent bags, because that was the time when I fought with my machine. I didn’t even realize I was fighting with my machine until I used the new machine to put this bag together.
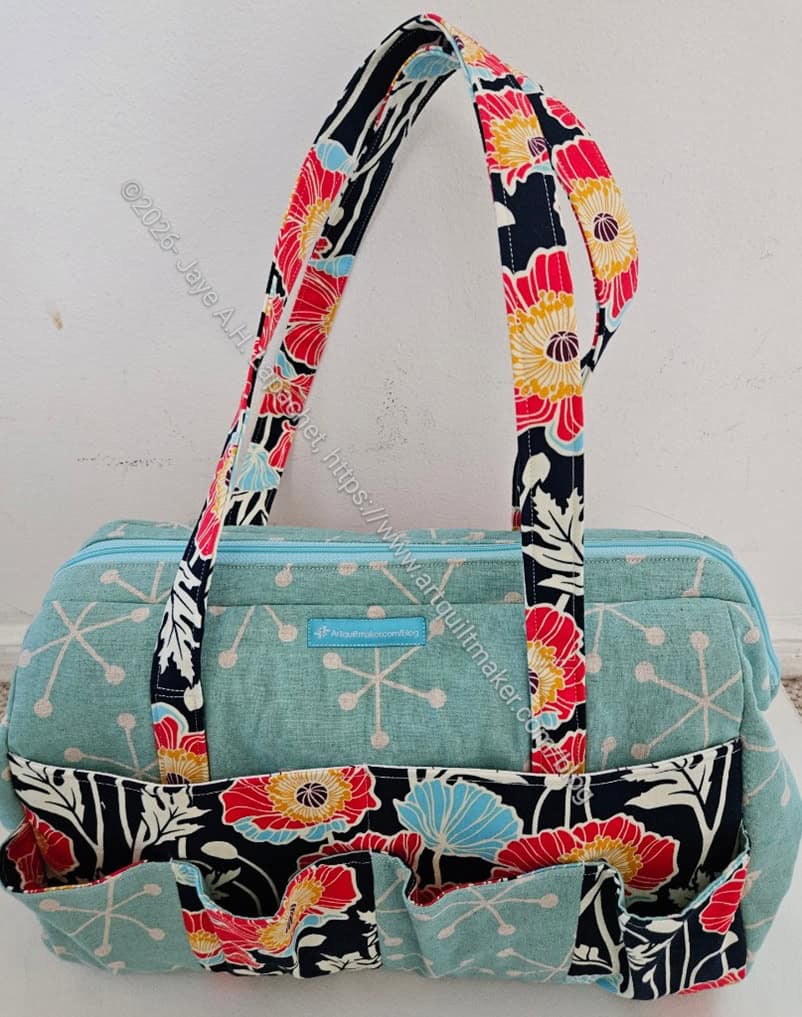
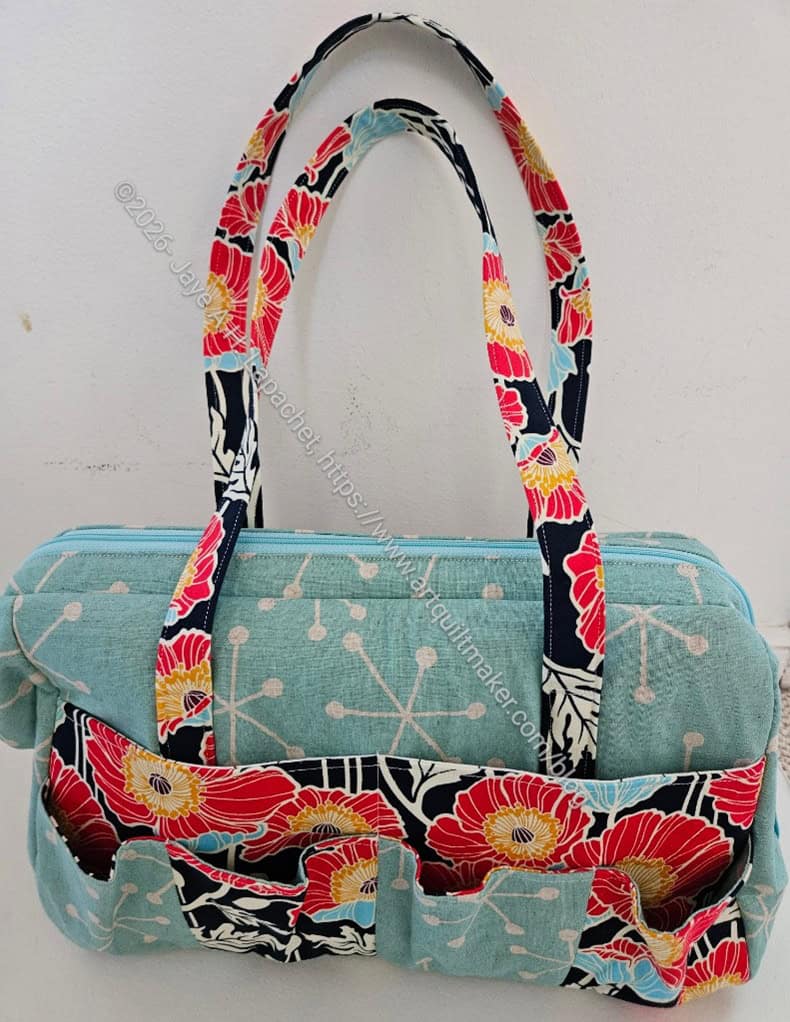
The Sheffield has been on my list to make for a long time. Since I made Gerre hers, I wanted to make one for myself. The open wide design of this bag is very appealing.
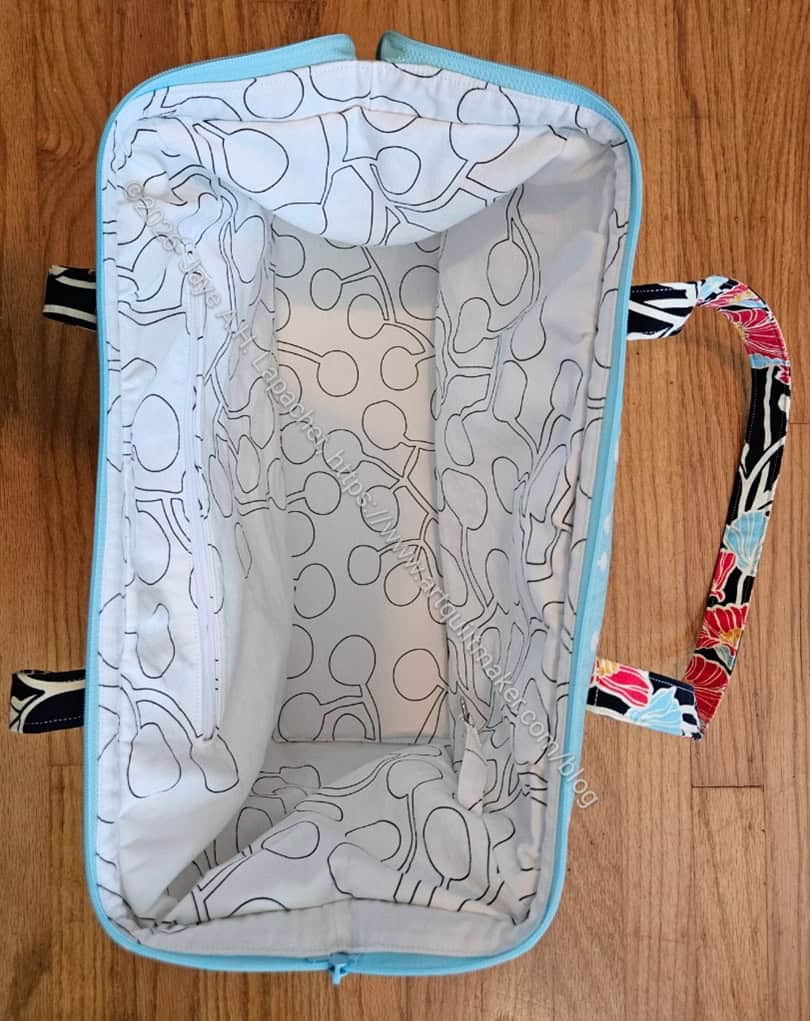
The interior is made from an IKEA lightweight canvas I picked up from the free table. My lining is a little saggy baggy, despite the larger seam allowance. The lining will not fly out since I used my hard won knowledge (thanks, Lynette) of anchoring the lining to the exterior. One issue I had is that the pattern pieces for this bag are not square. They are trapezoids. I think something might have happened, because the pieces are trapezoids, when I was sewing the lining together that made them larger than I would have liked. I don’t know.
I finished most of the exterior pieces while visiting MaryM.
I did the final assembly at home after adding a leash and an interior zipper pocket. I wanted to add a slip pocket,but forgot in my excitement.
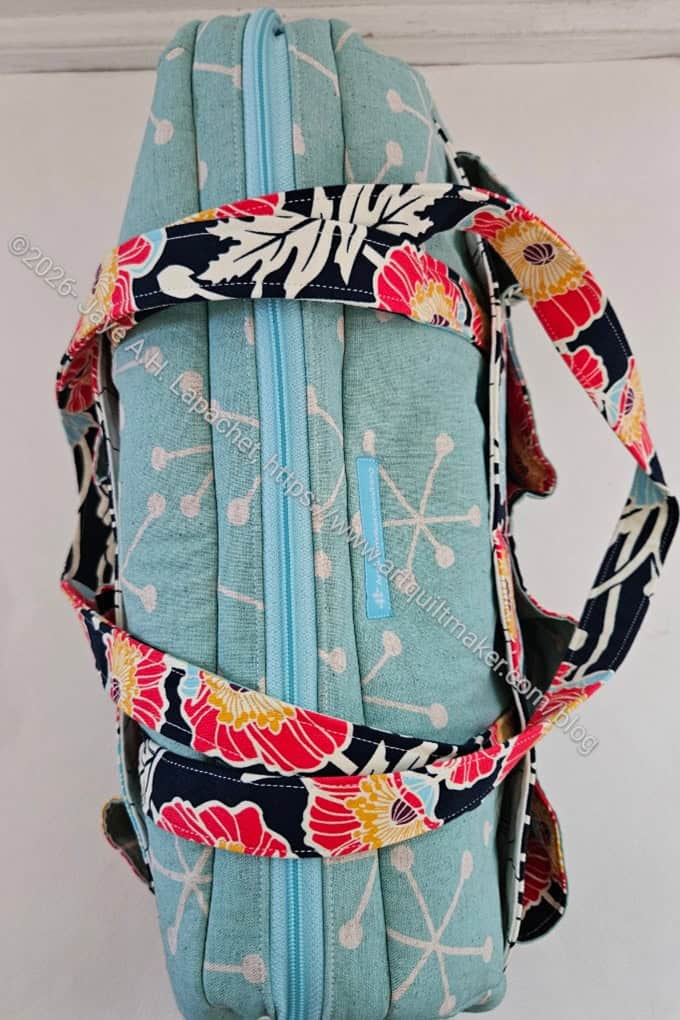
The handles on this bag are larger than the those indicated in the pattern. Sara has makers position the handles a half inch up from the bottom. This is so the handles clear the seam allowance. Beyond reducing bulk, I am not sure why. I would like to say I will try putting the handles in the bottom seam on my next one, but I am not sure I will make another one.
I think I could have put the poppy fabric on the frame casing. I think it would have added a finish or border to the top of the bag.
Cutting for the frame pocket was confusing. I have to look at the directions again to see where the cutting went wrong. I wanted to have the exterior match the exterior and same for the interior. I ended up with extra lining pieces.
For now I am just excited about the bag. I don’t know for sure how I iwll use it. I am thinking about putting all of my metal tools in in: KAMsnaps, Snap Setter, awl, hammer, etc. If there is space, I could add in webbing as well.