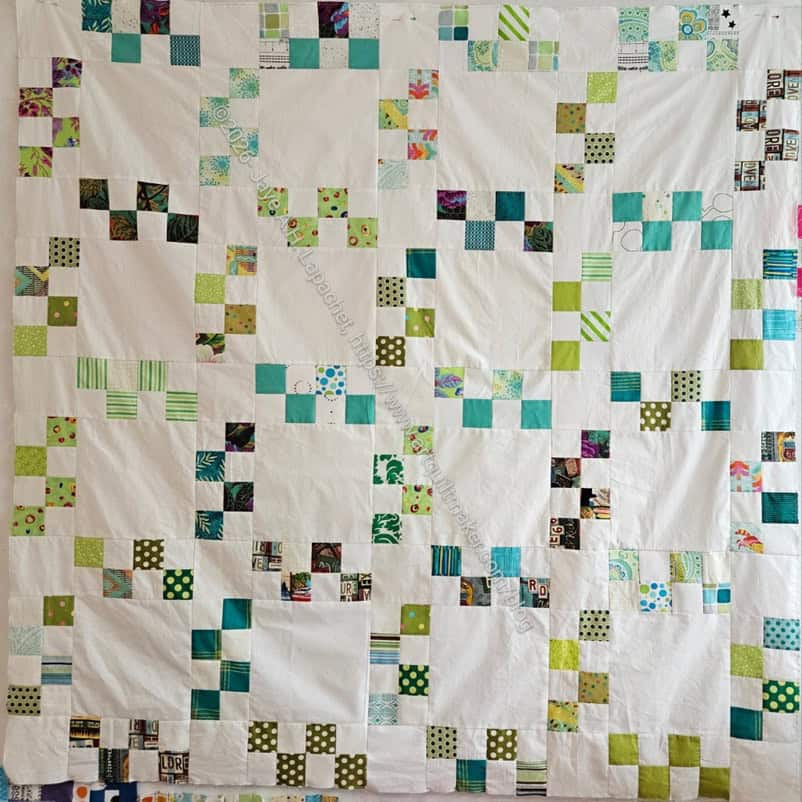
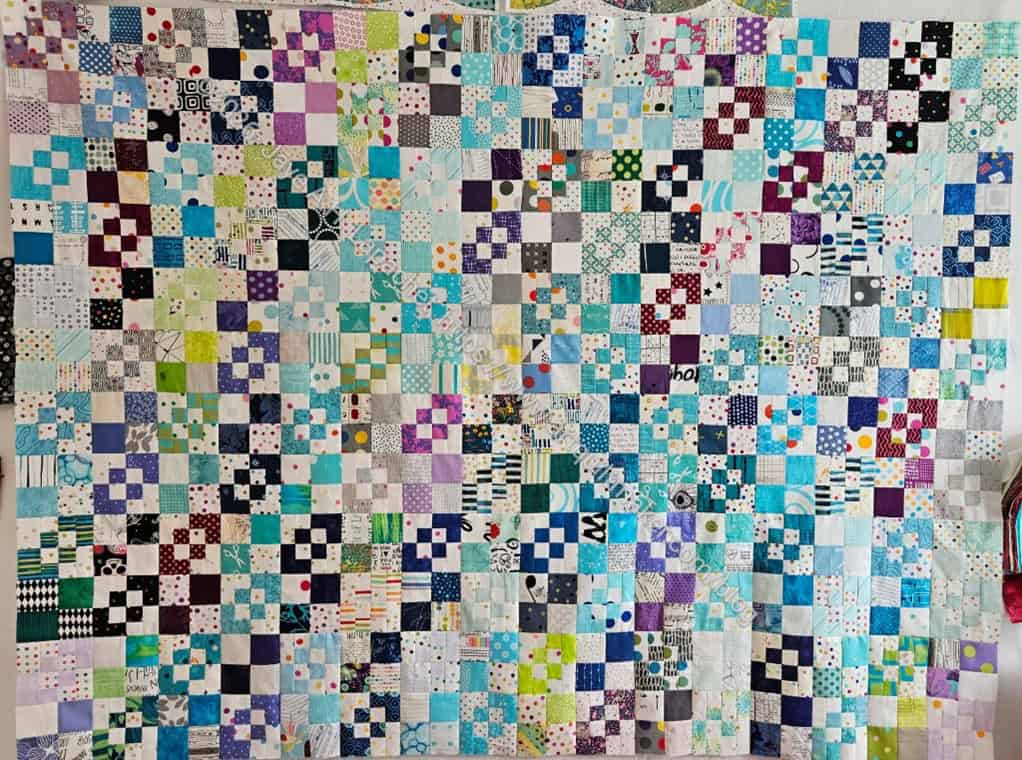
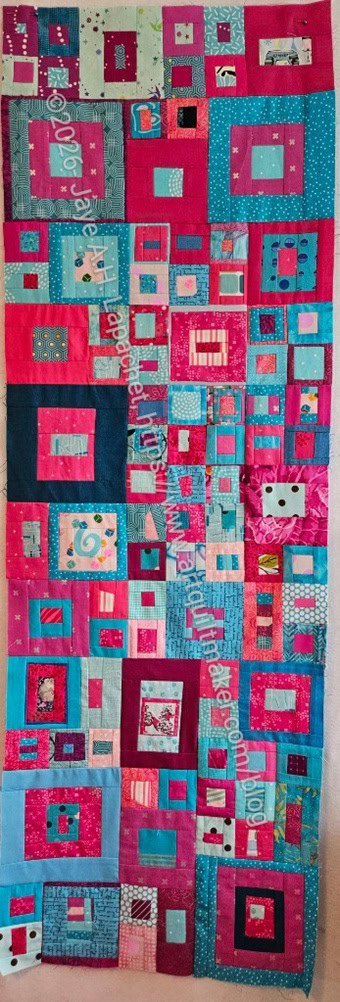
I powered through the chunking of the Sidewalk #6: Green and was able to finish. I wanted to get one of the Wheelchair quilts up on the wall, so I needed to finish the Sidewalk quilt.
I really need to make the Half 16 Patches more colorful. The alternating white squares in the blocks means the quilt is primarily white which maybe isn’t so great for a donation quilt. I thought about using a color for the 8.5 and 4.5 inch squares, but am pretty sure I don’t have enough of any one color and am not sure scrappy would work with this design. I’ll have to think about it some more.
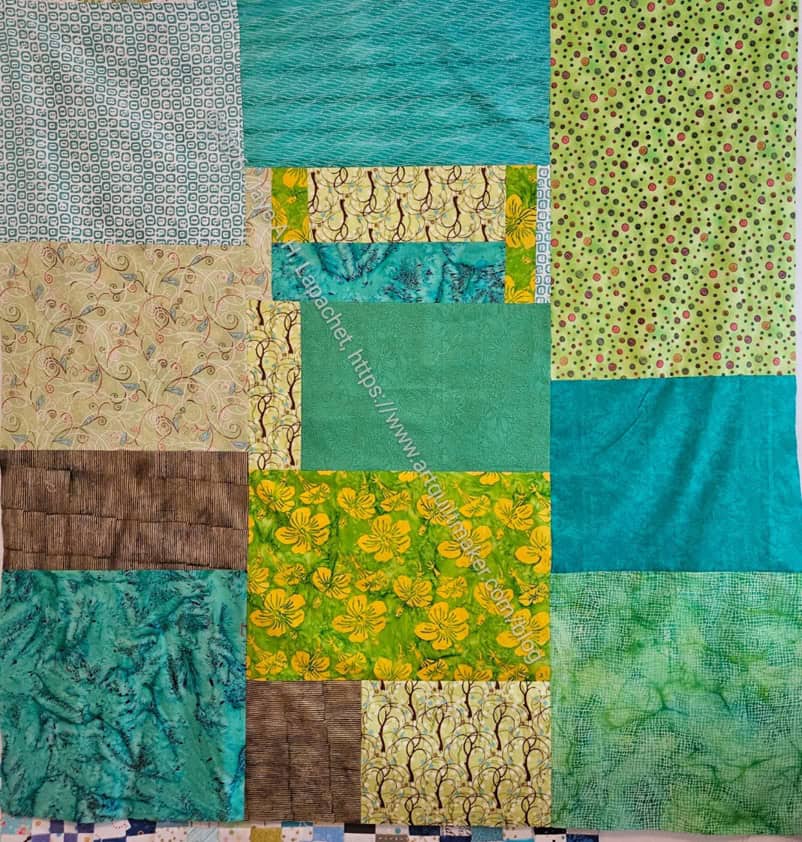
Sidewalk #6: Green- back
The back took longer than I expected as I used a lot of smaller pieces. Still, it uses up a lot of greens that I probably won’t use. Also, I get to add to my ‘Fabric Used” spreadsheet and up the number of donation quilts the guild gives away.
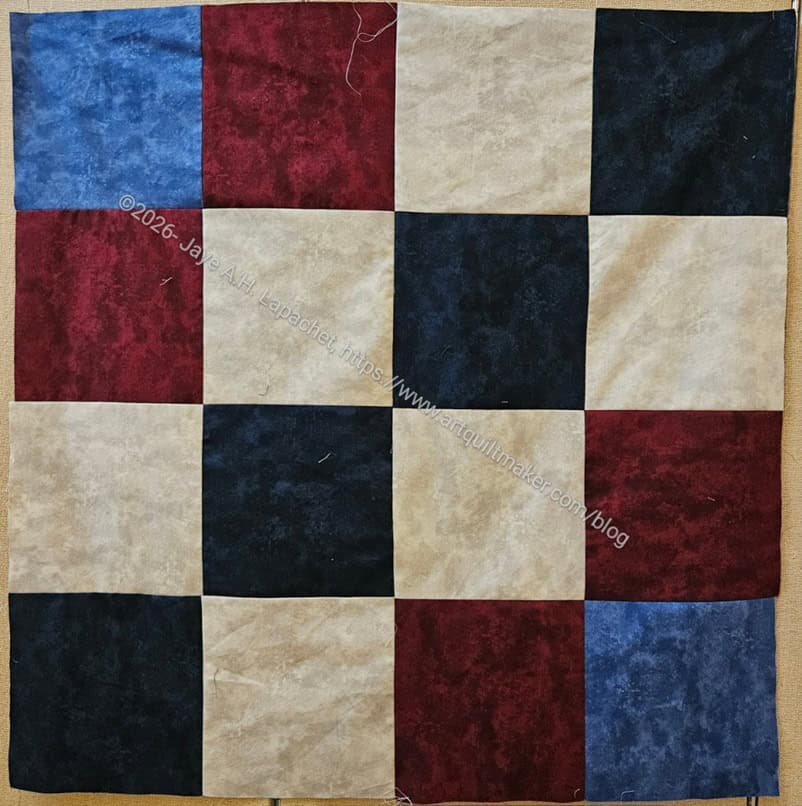
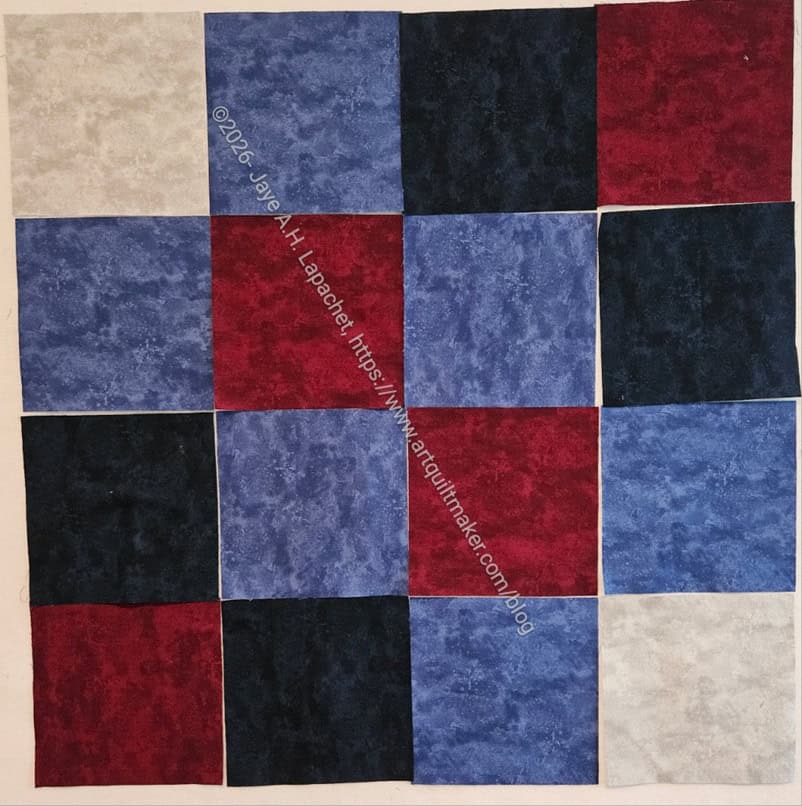
BAM is collecting wheelchair quilts for the veteran’s hospital in Palo Alto. We had planned a sew Day, but our Sew Day had to be cancelled, so I made one top at Super Sew Day and am working on another one.
We are all working to the same pattern from Sunshine Linus.
Both quilts use some Moda fabrics I won as part of the UFO challenge. As per the pattern, I cut the fabric up into 9.5 inch squares and sewed them together.
2026 Wheelchair quilt top #2 in process
I had enough squares for at least one other, which I am working on now.
I didn’t include a back for the first one, but will sew a back for the second one. I have to sew this together first.
Someone else will quilt it. I didn’t cut off the corners as I thought the longarming would be easier if that step was done after quilting.
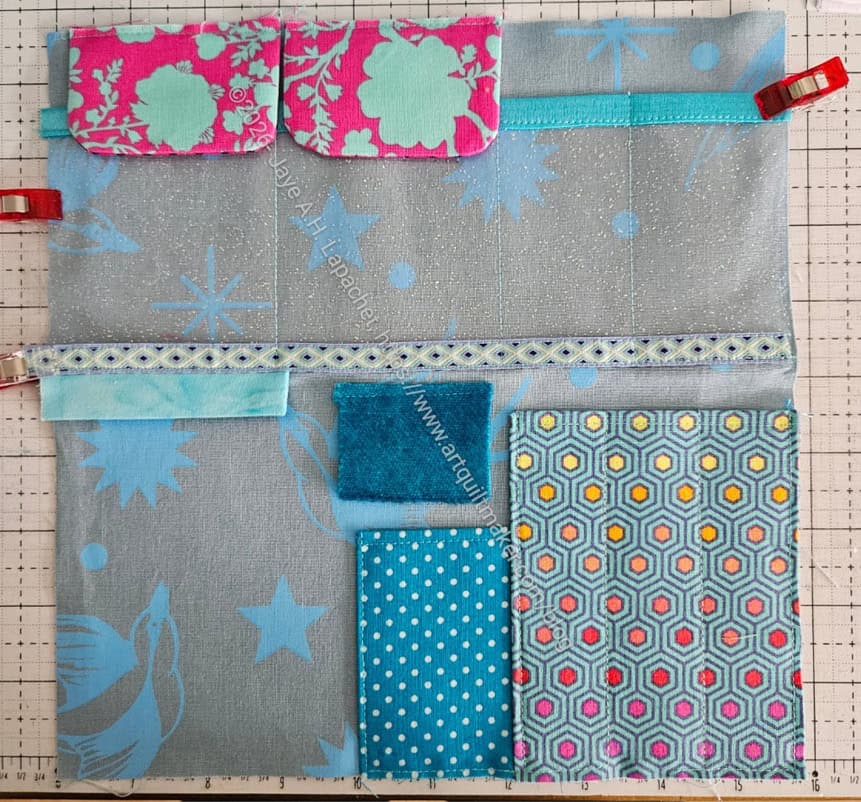
I am making good progress on the EPPic bag. I am not working on exclusively, so it is taking longer. I slotted the Sidewalk #6:Green quilt in so I can hand it in on Saturday.
I am finding that taking a pause between steps is working out well for me. I am finding solutions that make the bag better for me.
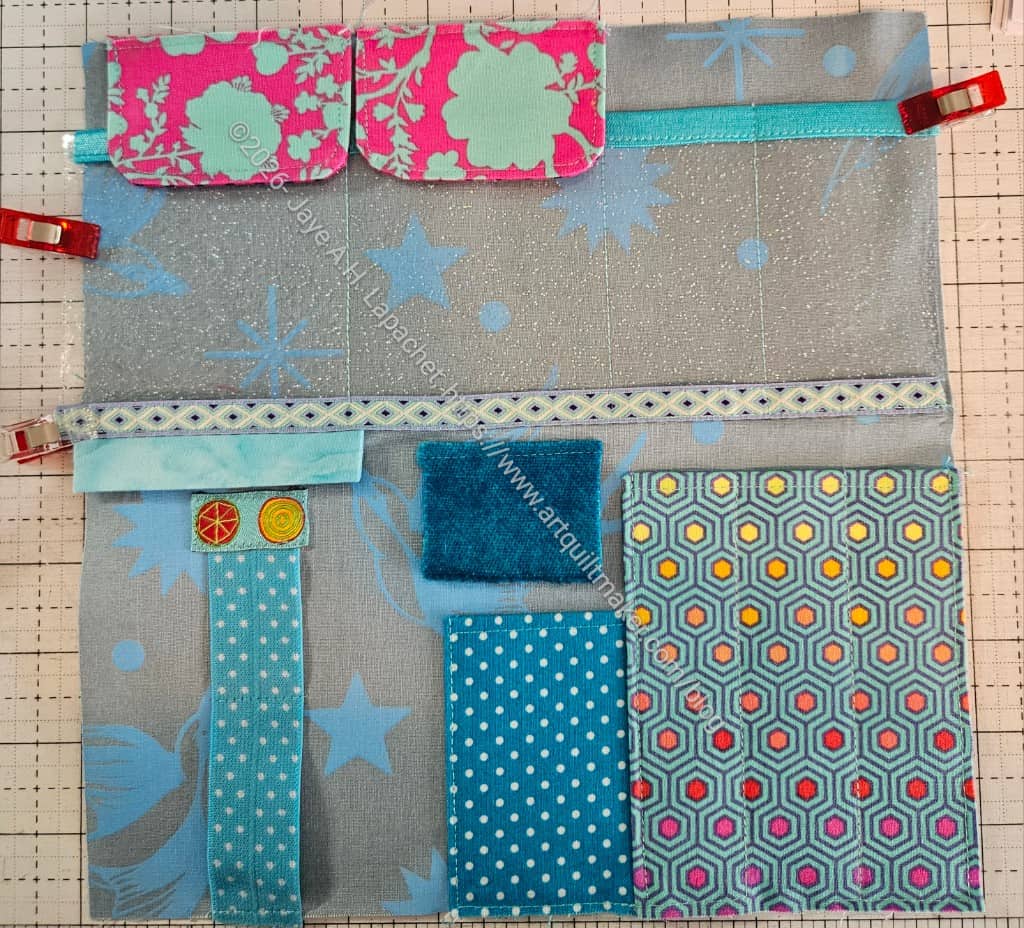
As mentioned, the directions are not as comprehensive as other pattern designers’ patterns. This has made me bolder. I don’t feel like I need to do the step her way. I feel liberated to do steps in a way that makes the bag work better for me. This is very novel. I still feel like I am doing the steps ‘wrong’. However, as I look at the photo above, nothing looks wrong about it.
That pause, rather than blindly trying to follow the directions, is giving me some freedom. I am not saying “when I make this again.” I am asking “will the designer’s solution work for me this time?”
EPPic Base in process
That led me to doing the thread holder a little differently. The pattern calls for elastic. I decided to use foldover elastic.
I didn’t think I would need 5 spools, so my foldover elastic solution holds two. One thing I am never sure about when using foldover elastic is how long of a piece to add and how tight to stretch it. We’ll see if this works.
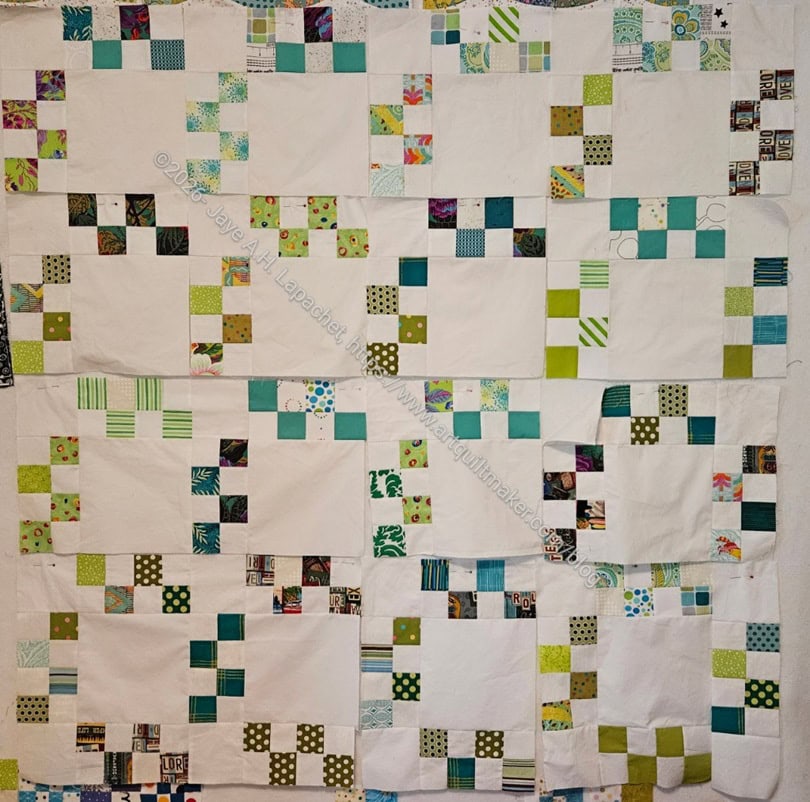
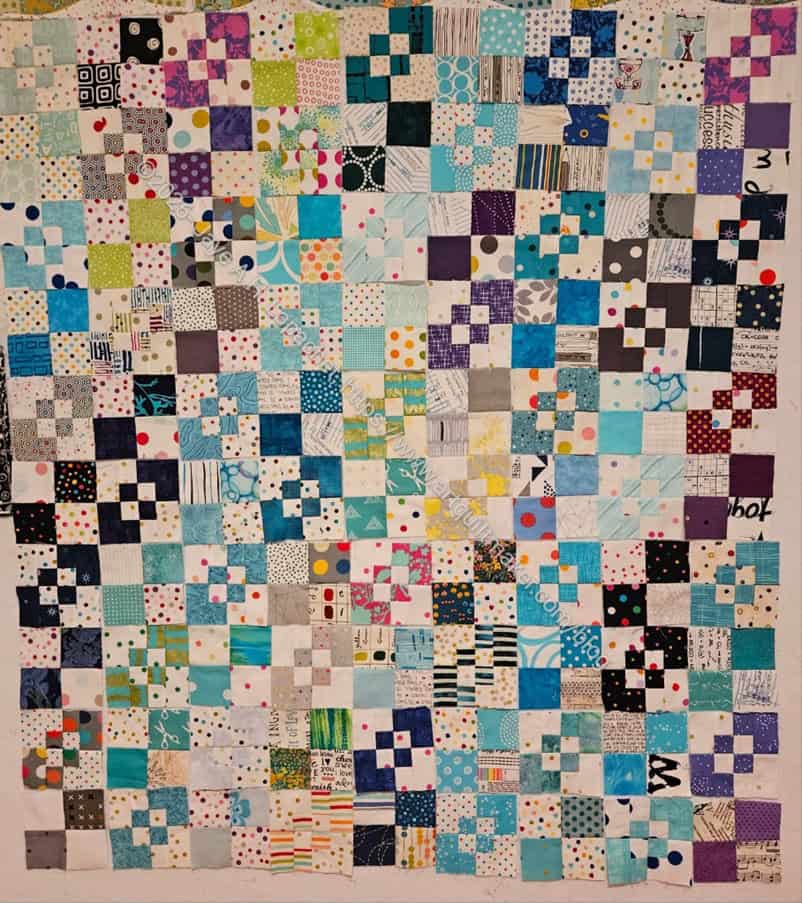
I have been collecting various blocks using 2.5 inch squares for forthcoming donation quilts. I finally had enough of the green half 16 patch blocks to make another Sidewalk quilt.
I started putting the blocks together in chunks on my small design wall, but couldn’t look at the whole thing until Cool Four Patch Fun was off the large design wall. I did a fair job spreading dark and light greens across the quilt. I don’t think this will take me very long to put together. I might have it done for the next meeting.
There is a lot of white in this quilt design. I think I need to try one where the large center blocks are a different color. White isn’t great for a donation quilt and I am sure I can find enough of whatever color to make a good looking quilt.
I came home from Sew Day the other day and made another Mini One Handle Tote. It has been awhile since I have made one, but it has been on my mind to make another, so I did. It really didn’t take me very long even though I had to search through everything to find the project folder. I still haven’t found it, but I had the tutorial, which made it easy. The worst part was that I had to make another handle template and I don’t like it as well. I think I need to adjust it a little, but it worked out fine in general.
Mini One Handle Tote #4
I haven’t tried a pocket yet, but I think I will on the next one. Fingers crossed I can figure that out.
I do want to make more. It would be great to find my original template. I am wondering if I didn’t make a project folder for this tote?
Gosh! I started this project in 2023! I am really not sure why I didn’t just make it.
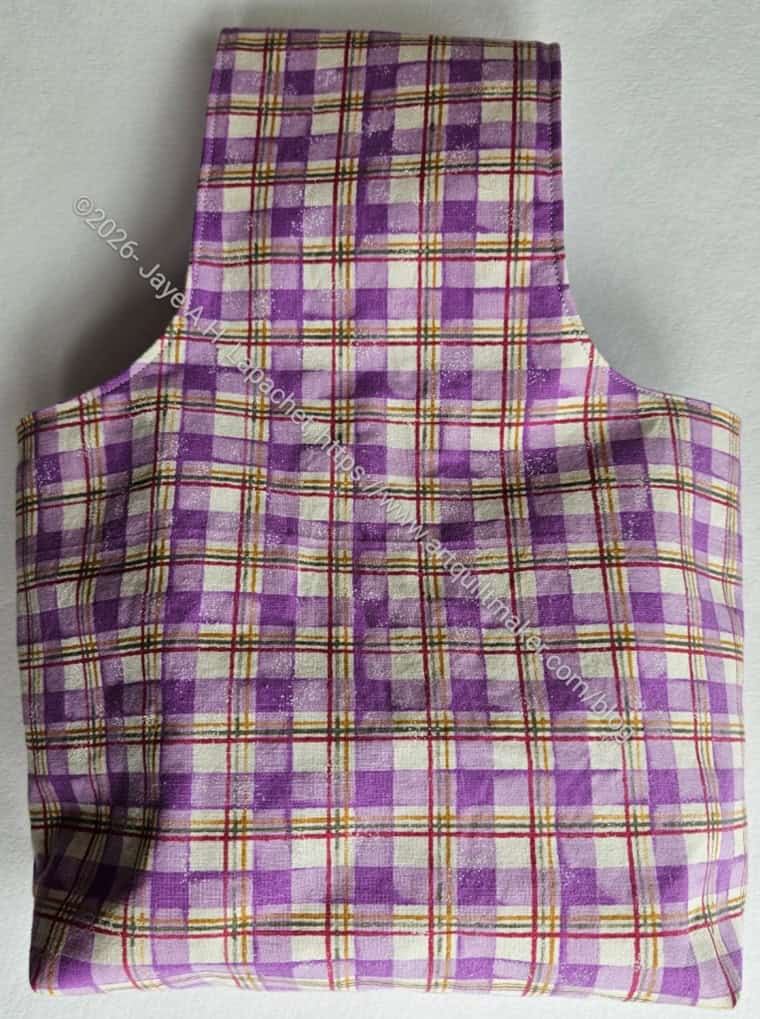
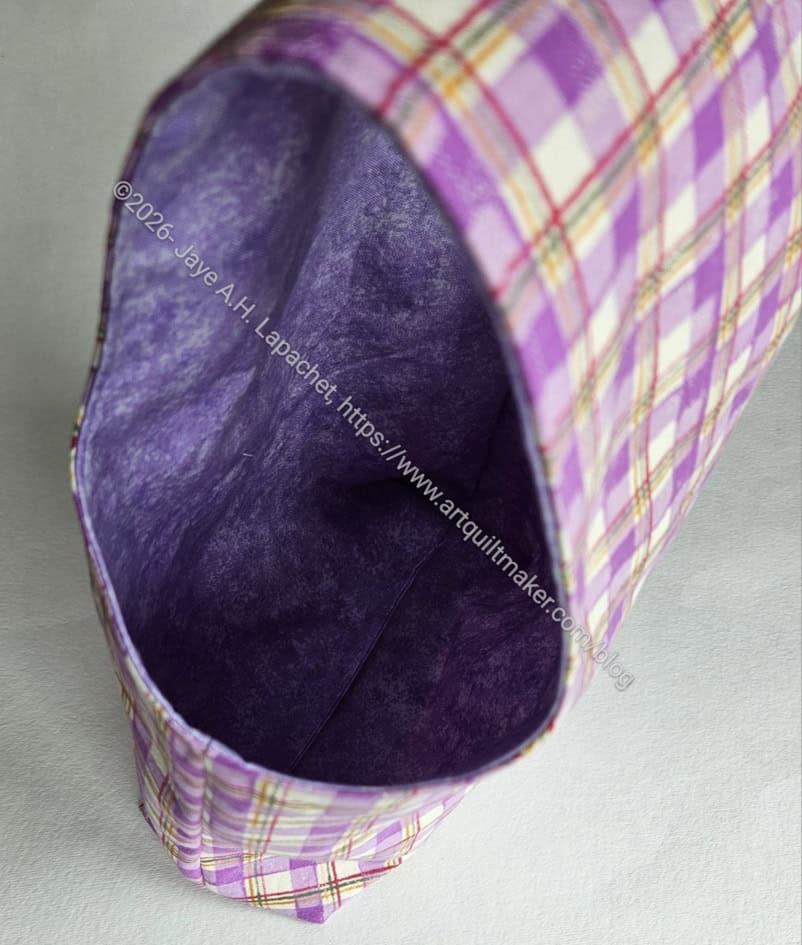
This bag is easier than I expected. The pattern is by a new-to-me designer, as in I haven’t made any of her patterns before. The style of the directions are less hand holding and more “do this any way you want.” This style brings me up short a bit. I know how to do all of the steps, but I am unsure that I am doing it ‘right’. I can see that I encountered that sort of feeling when I worked on cutting out the pieces last year. I’ll have to think about that.
I started out with the exterior, as it said in the directions, and I finished that section pretty quickly. It makes a difference when everything is already cut out and interfaced.
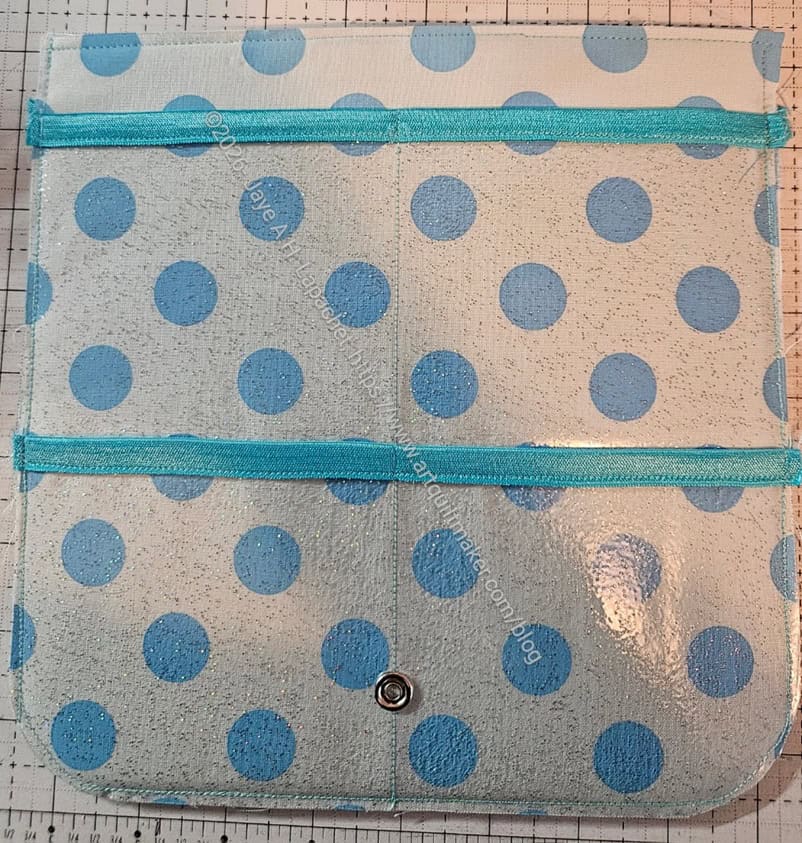
EPPic interior vinyl pocket
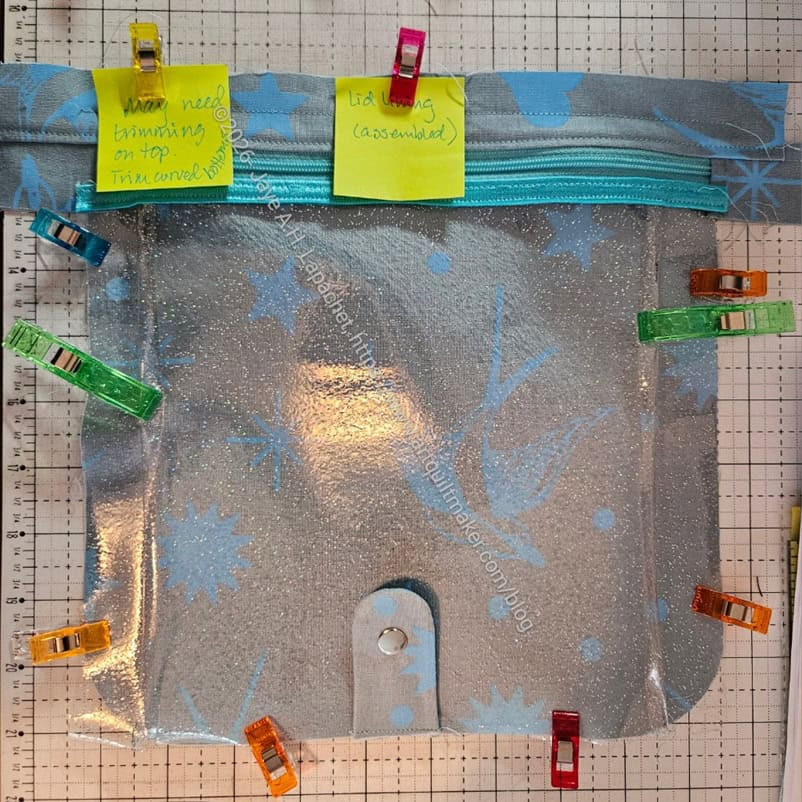
The next part was an inner vinyl pocket. Here I found that the naming of the pieces, or my understanding of the naming was a little off. I had to be really careful about making sure I had the right pieces.
I didn’t understand the pleating instructions, so I didn’t sew the pleats down initially. I clipped them and then sewed the top pleats when I sewed the foldover elastic as binding. I kept the bottom ones clipped until I had that AHA moment on how to sew them (horizontal to the edge not parallel to the pleat as I originally thought). I am glad I paused and let the directions simmer a bit.
I have never made a vinyl pocket with pleats before. It makes sense, but I wonder how the pocket will hold up?
EPPic Flap in process
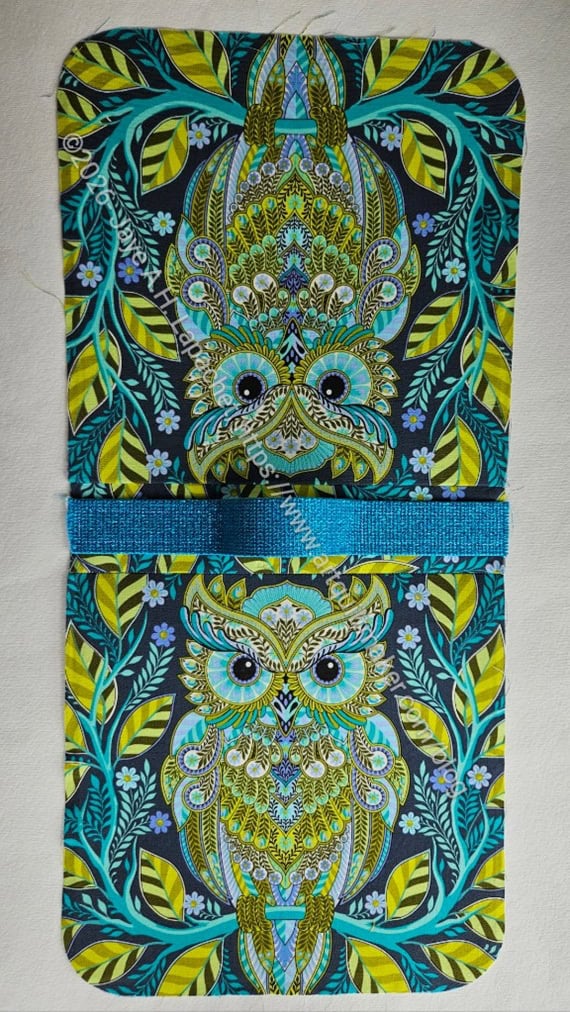
I didn’t really run into any problems until I got to the flap, which is part of the interior. I am not sure I have made a bag with a flap like this before. I didn’t really understand the directions.
I was able to find a page of video tutorials on the Chasing Tigers website. I do appreciate the effort that goes into these videos. It was really helpful to watch the video as one step was missing from the printed instructions – sewing up the sides.
I added a snap, as you can see. I didn’t have the magnetic snap with the prongs, so I used the SnapSetter and enjoyed hitting the tool with the hammer. LOL!
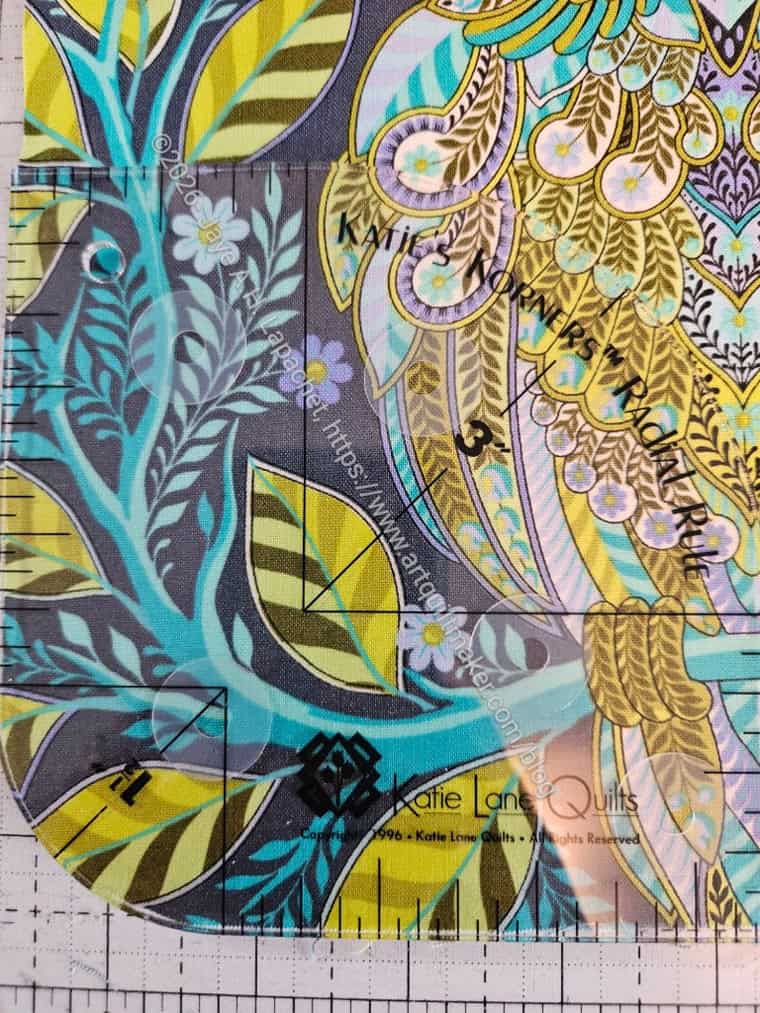
Cutting with the Katie’s Korners Radial Rule
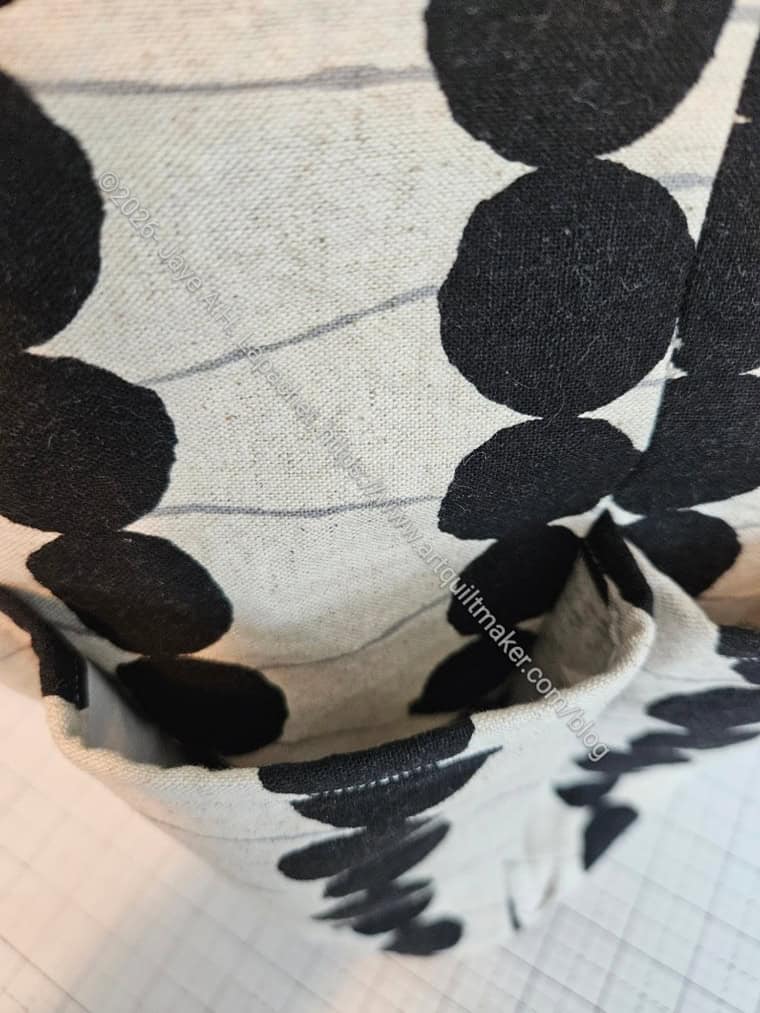
The corners of the bag edges are rounded and the pattern comes with a template for doing that. I didn’t want to use the tissue paper pattern/template I made. I went rummaging for a couple of corner rulers I have. I found that the Katie’s Korners Radial Rule (wasn’t able to find a link, so if you see one, buy it; very useful) was the perfect size for this project. Again, I was glad to find the exact size that I needed. I think an approximate size would have worked, but since I haven’t made this project before, I wasn’t sure what effect a different sized corner would have.
One thing I still need to figure out is the what the difference is between the patterns in the bundle. I am sure I knew at one point, but I have yet to figure it out. This is probably where the names of patterns comes in handy.
I am not sure what is next in the pattern, but I am making good progress and am pleased that this UFO will be finished soon.
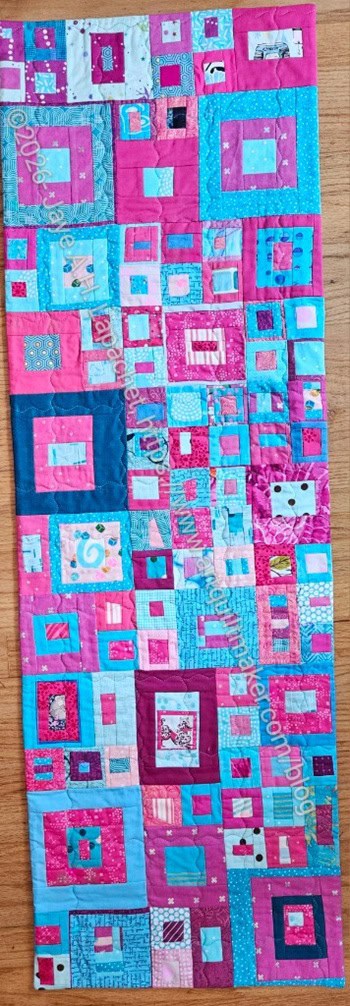
The 1-2-3 Mosaic table runner is finished. This is a project I worked on myself from start to finish. No longarming this time.
Amazing, right?
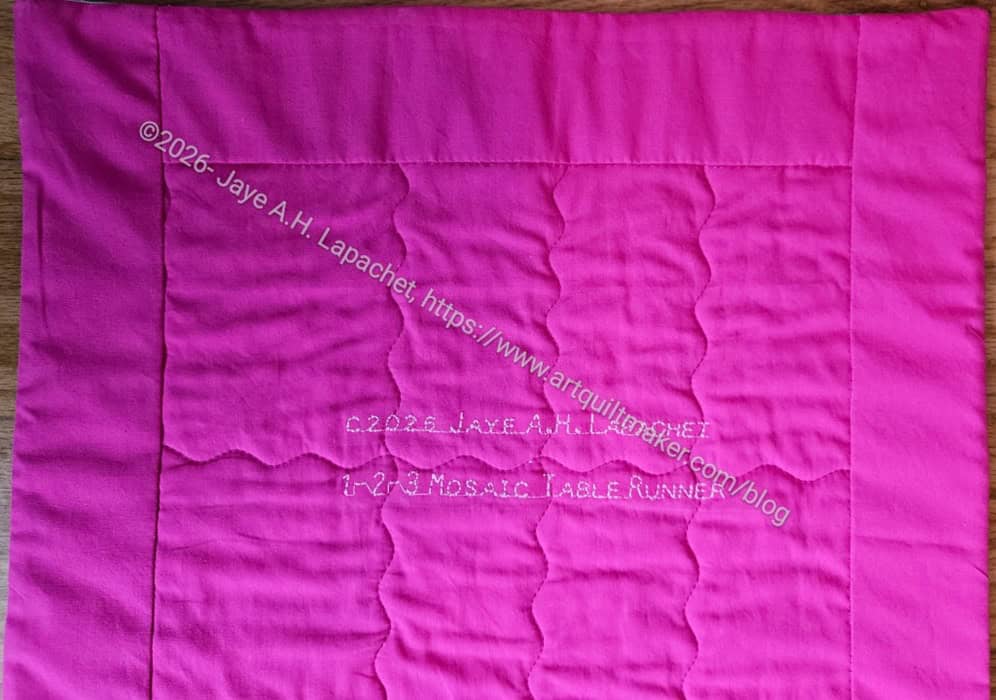
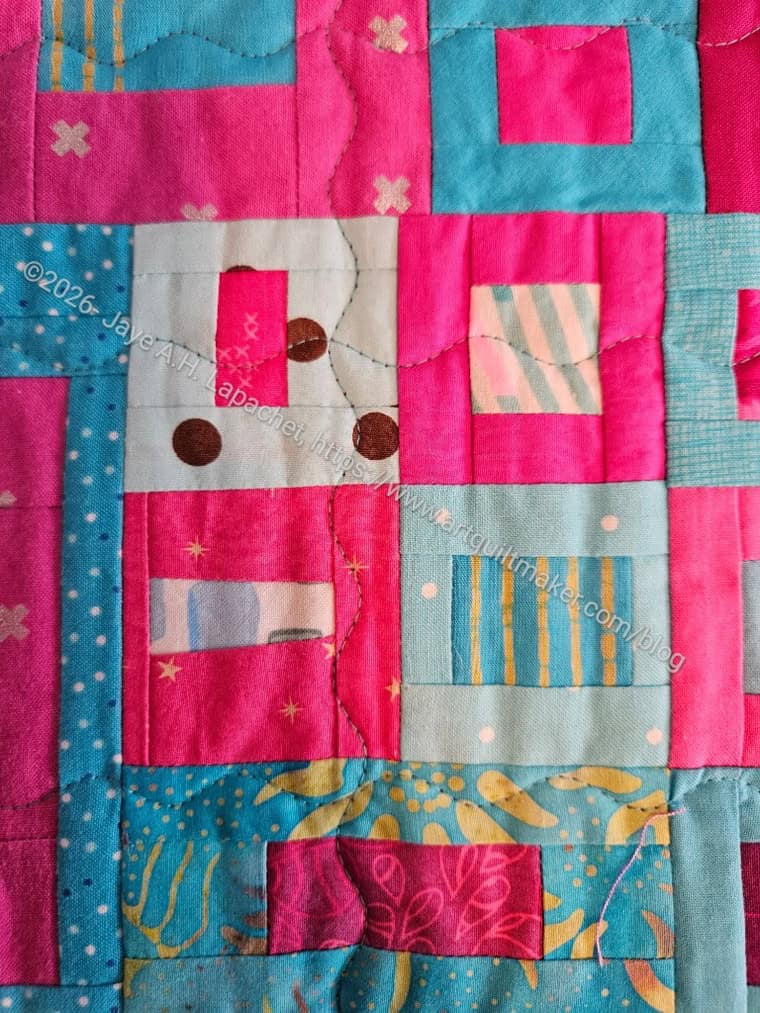
I quilted the small piece using a wave stitch, as shown, on my new machine. I have wanted that stitch for a long time and really like it. I need to ask some questions of the dealer, but it worked fine the first time out.
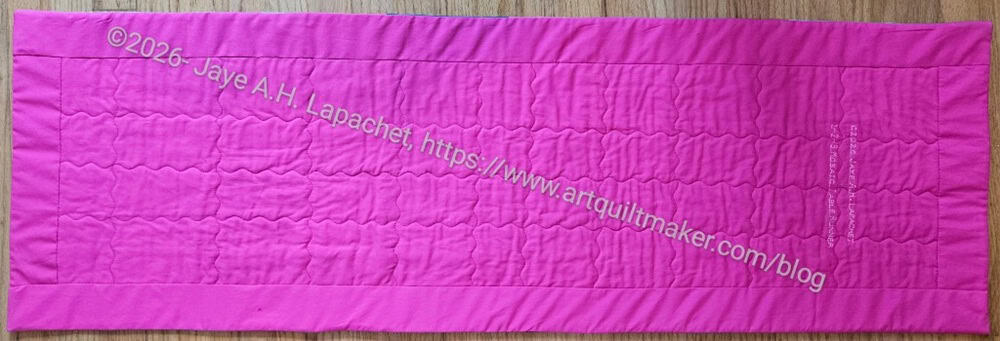
1-2-3 Mosaic back completed
The back shows the quilting really well. It is simple, but I am pleased.
1-2-3 Mosaic back completed – label
I also used the stitch lettering to make a simple label.
All in all, finishing it myself made it a very quick project. It is sitting on my buffet now.
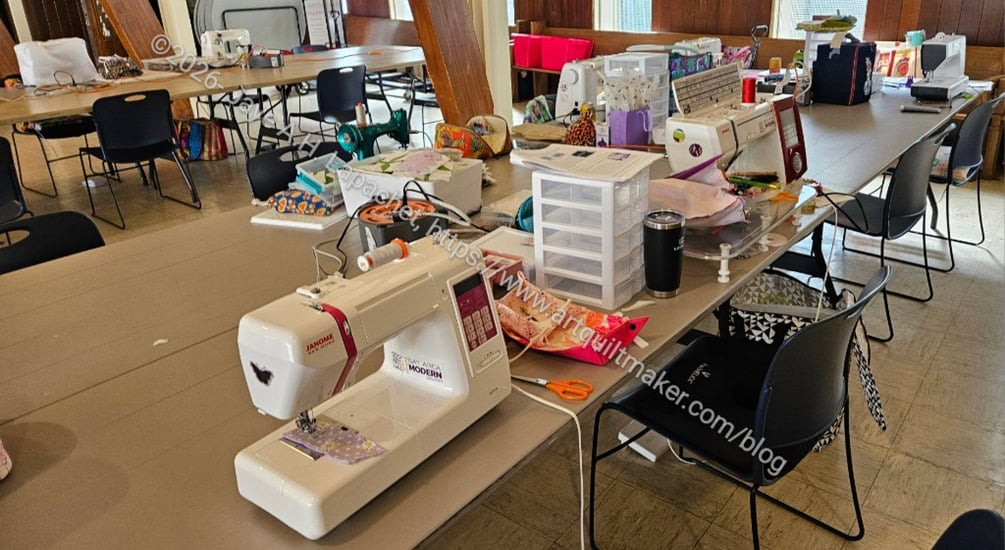
We had a fun Super Sew Day over the July Fourth holiday. We held it on Friday and Saturday so it was double the fun.
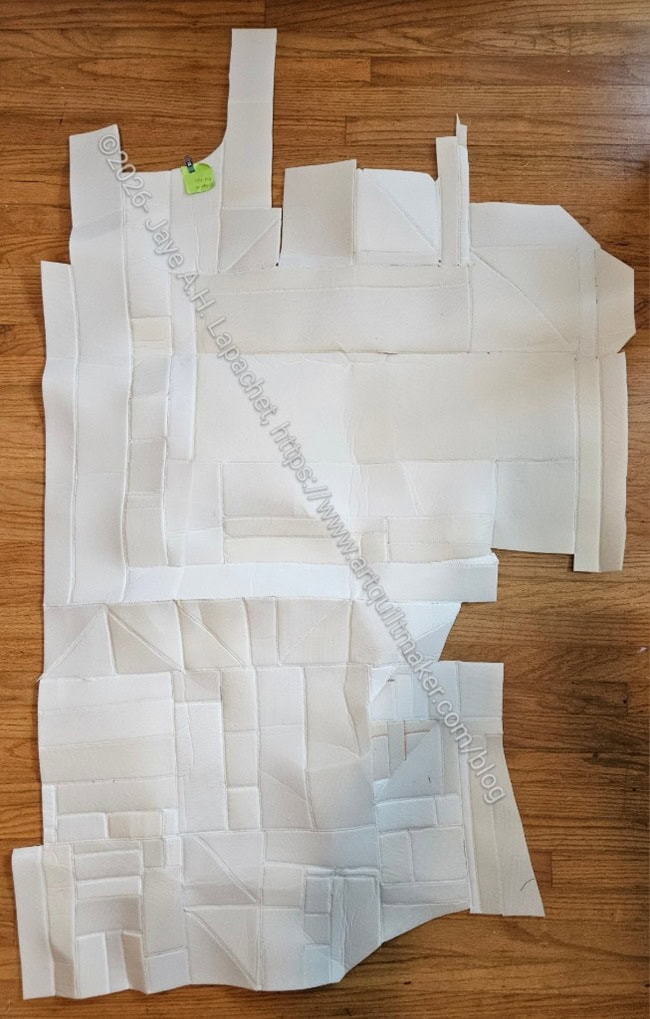
I went with a bag of small pieces of Soft and Stable that had been annoying me. My goal was to make them into larger usable pieces, Frankenfoam. I used Frankenfoam in the Palomino Pouch project and didn’t get any reports of problems. I cover the outside with some SF101/ProFuse to smooth out the bumps a little. I think for small projects, or those with a lot of seams, Frankenfoam works well.
Frankenfoam 1/2
I started out sewing like sized pieces together. By the end of Friday, I was less careful about ‘wasting’ foam. I ended up with two pieces about 4 feet tall and 2 feet wide. I estimate I got the approximate size of one package of ByAnnie Soft & Stable. It was a good project to do when people were asking me a million questions. It was easy to stop and start without losing my place or having to figure out the directions again.
I really could have done more, but I decided I didn’t need an absolutely square piece to use it.
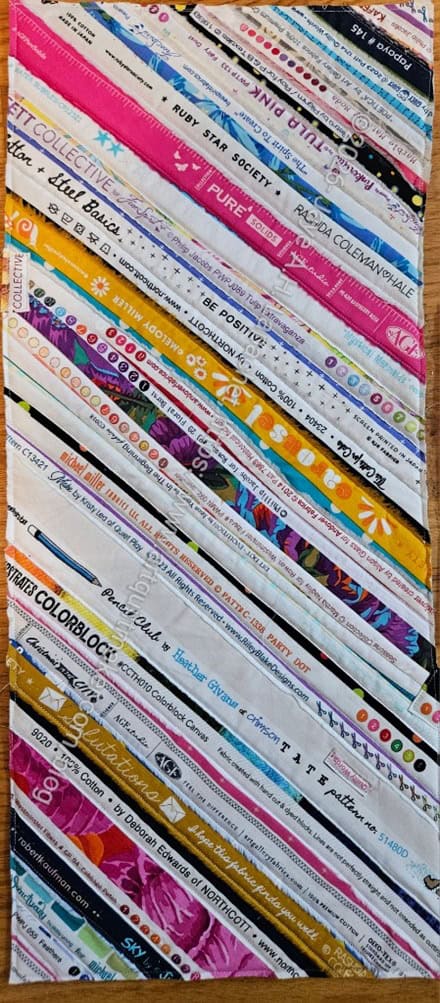
Mindalin Tool Roll exterior
As a result, on Saturday, I cut up one of those pieces and make the exterior of the Mindalin tool roll. This pattern can be found in Make Modern issue 70. The pattern calls for foundation pieced blocks to make the outside, but I decided to use selvedges to make the exterior. It looks really cool, IMO.
The last thing I made with selvedges was the Sleeping Bag pouch. I want to make another one, but haven’t gotten to it yet. I seem to have a never ending supply of selvedges, so I wasn’t worried about using up the ones I had collected.
Christine’s EBTMT
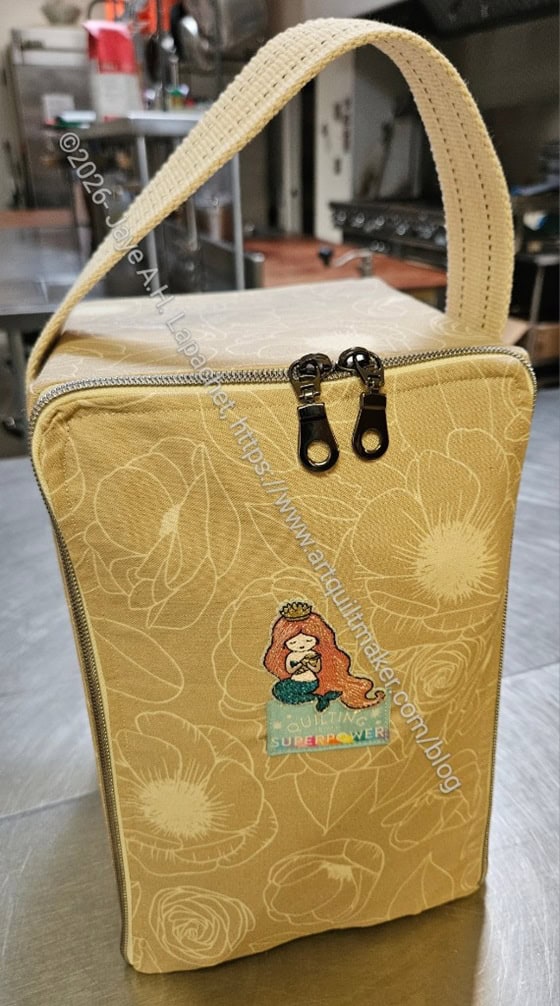
A lot of people were making the Everything But the Machine Tote. The guild may have a sew-a-long for this bag as it is very useful. It has drawers inside to hold your travel sewing supplies.
The front provides a great way to showcase a special patch, embroidery or fussy cutting.
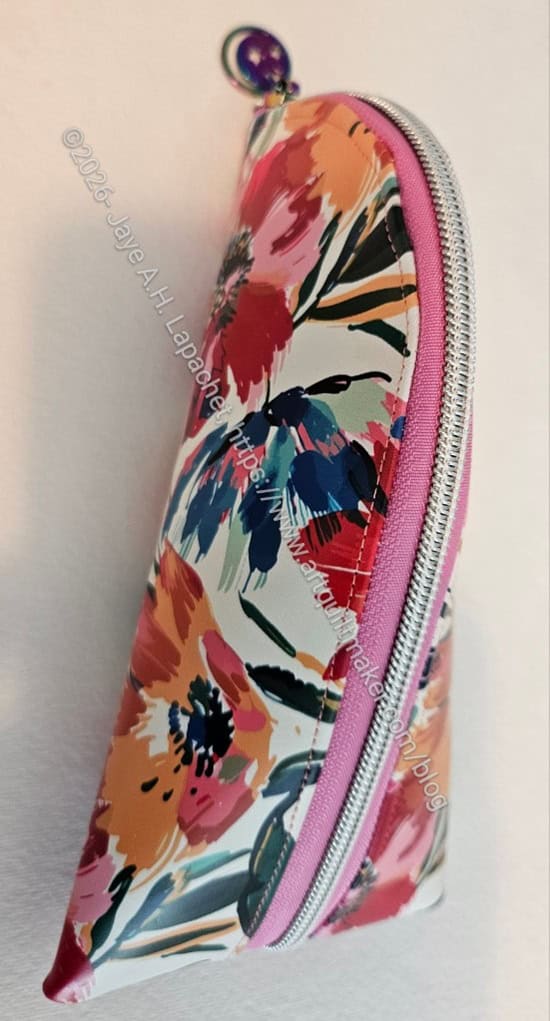
I originally bought the Hippie Specs case pattern because I wanted to try making a clear vinyl eyeglass case. I know it wouldn’t be super secure in terms of protecting the glasses. Still, I had the image in my mind and wanted to try it.
I came across the roll of flowery vinyl when I was putting away a new roll of lavender vinyl that I bought to make a Pandora Allure. I talked to my niece about it and she said she loves that flowery vinyl, so I decided to make her a glasses case that matches her pencil pouch.
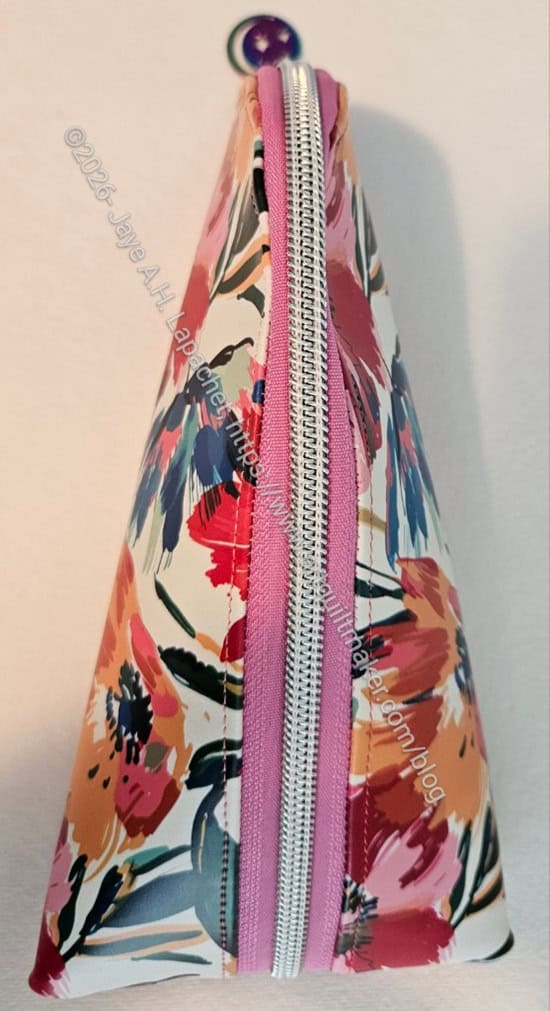
Hippie Specs in flowery vinyl-top
As you can see, the pouch didn’t quite come out as intended. 😉 It is different, more three dimensional than the others. I sewed the seam bottom wrong. Still, maybe it can be used as a glasses case or some other kind of pouch?
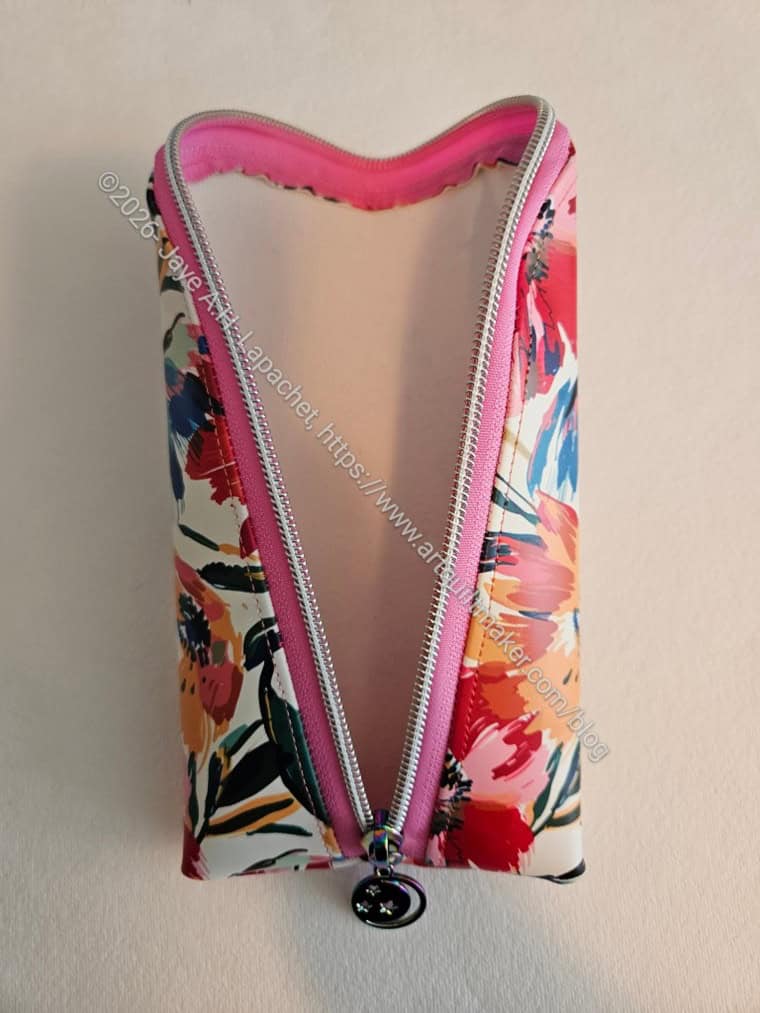
One of the things I wanted to test was how the inside would look if I didn’t include a lining. I am a little bit of crazy person about not having the zipper tape show. I swallowed that need and went for it.
Hippie Specs in flowery vinyl-open
I’d prefer to have the zipper tape covered, but the inside doesn’t look too bad. I sewed really carefully when doing the top stitching. The top stitching looks pretty good. I also bound the inside bottom using foldover elastic.
I am going to try making another one sewn as the pattern shows. I have plenty of the flowery vinyl and no plans to use it for anything else.
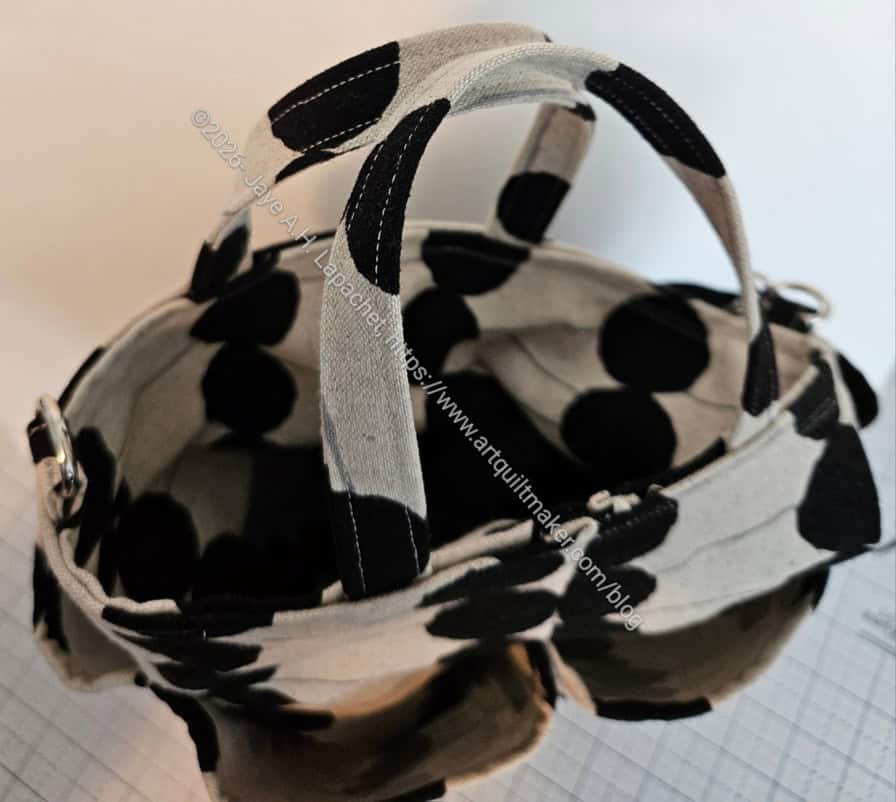
After posting about the free patterns, I started looking at the Kokka website multiple times. The site has really good bag shapes, both free and for sale. For some reason, the Round Bottom Bucket Bag got stuck in my mind. I think it is unique in that I haven’t made such a bag before. I make the Desktop Cube, which is kind of round. I can’t think of any other bags I have made that are round. I am sure the fabric also had something to do with it.
I printed the pattern and took it with me to Mary’s, but didn’t work on it. Then I took it to Sew Day and translated the metric into US customary measurements. Something seemed wrong or off to me, so I put it aside. After that I decided to make it using the metric measurements. That meant that I needed a metric rotary cutting ruler**. Do you know how hard it is to buy a metric ruler? The various sites kept insisting that US customary measurements were more usual in my location. DUH!
Round Bottom Bucket Bag- top
Finally, at a Sew Day with Tim and Cyndi, I cut it out. The pattern is a Japanese pattern and those patterns are much more basic than American patterns. A lot of knowledge is implied. I consulted with Tim and he said that when making the Japanese pattern he sewed he, basically, made up most of the steps. With that, I went for broke.
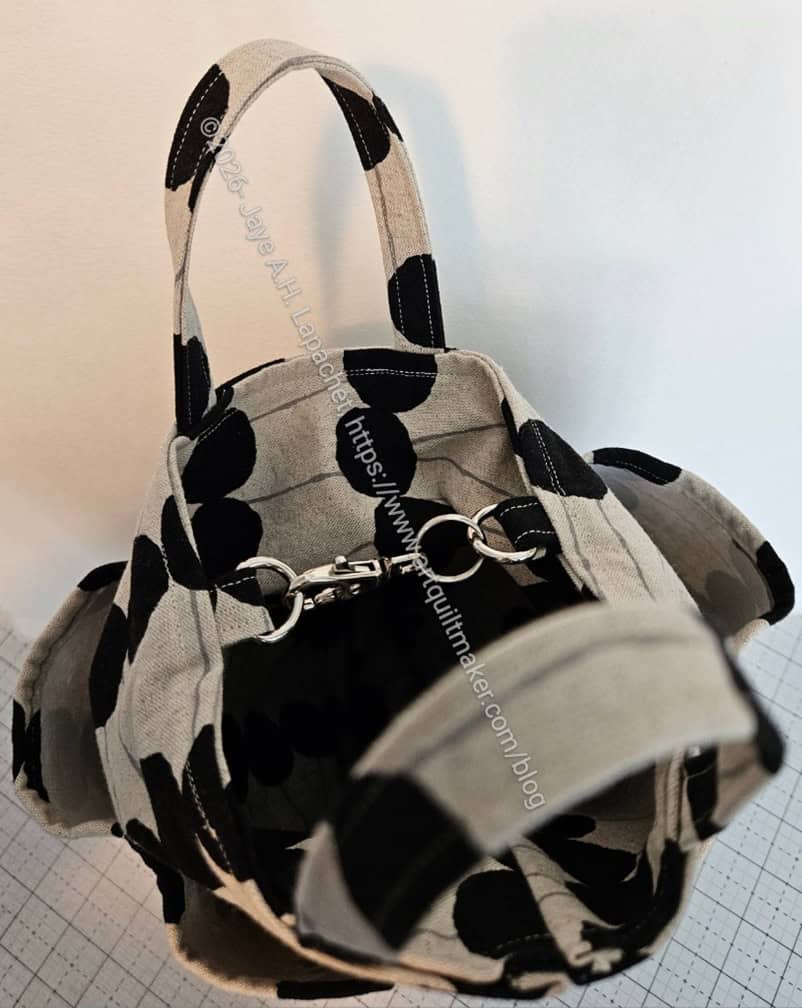
Round Bottom Bucket Bag- top, hardware
Part of going for broke meant diving down a rabbit hole of round bags to understand how they are put together. One problem I had was that most bucket bags have some sort of drawstring top. One of the things I like about the design of the Kokka bag is that it does NOT have a drawstring top.
Round Bottom Bucket Bag
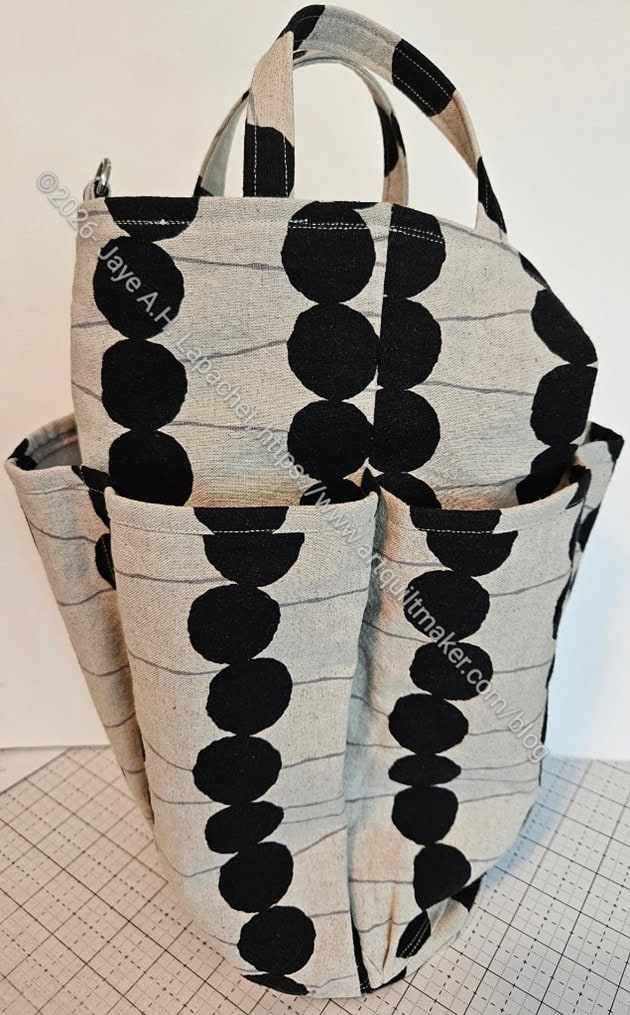
The bag did not come out as expected. Mine looks more like a bottle bag than a bucket bag. I guess it could be used for a picnic for a bottle (wine or water or juice) and silverware in the pockets.
The short answer is that it is still usable and I plan to try again. I emailed with the support team at Kokka and they said to convert the measurements to inches. I am a bit confused as to how that would help, but I’ll think about it.
Round Bottom Bucket Bag- pockets
My current plan is 2 Pi r. That means Quilt Math. Finally, I am understanding all of those stupid 8th grade math concepts that I never understood. Let’s teach kids math by teaching them to make bags!
My plan is to create my own dimensions with what I think will make the bag come out like the Kokka was supposed to look, at least in my mind. I know how to do all the steps and can use the directions provided as a guide. I haven’t done it yet, but this the current plan.
I am giving myself permission to play a little. I don’t see the above bag as a complete fail, but it isn’t really a success either. I want to try again and see if I can make it better.
Resources/Some sites I looked at in my deep dive:
Jellyfish Report has a lot of sizes for round bags so you don’t have to do math.
Circle bag tutorial – this breezy looking tutorial shows you how to make a bag (handbag) in the shape of a circle.
Drafting a rounded rectangular base comment/tip – scroll down to find this tip. It’s not just all math; pictures are included to give you a good idea of what you are doing.
Drafting Manual: How to Draft Circular Bags. If you want to skip all the nonsense, this for-purchase manual ($10) tells you everything you need to know about drafting round bags. According to the site “When you purchase this interactive pdf, you will receive all of the tutorials and information needed to draft two styles of bag to your custom size and preferences.”
The Hexi Tote Project has the right exterior height compared to the height of the pockets.
How to sew a rounded bottom post – provides tips and tricks for sewing a circle.
The lined round basket project was the right ‘fatness’ for the bag I am envisioning. I thought I could use the same ratios.
Round Bag Calculator post – the site provides a list of sizes of circles and how big you would need to make the associated rectangle.
2 Pi R
9″ circle base, 10.5″ x desired height rectangle, Project example
**Obviously, you should shop at local quilt shops and small businesses. However, if you are too busy or can’t find what you need there, I use Amazon affiliate links and may be paid for your purchase of an item when you click on an item’s link in my post. There is no additional cost to you for clicking or purchasing items I recommend. I appreciate your clicks and purchases as it helps support this website.
OMG! I quilted the 1-2-3 Mosaic table runner myself! I quilted the small piece using a wave stitch, as shown, on my new machine. I have wanted that stitch for a long time. I am glad it is part of the stitch library on this machine. I really like it.
It took me about an hour to quilt the whole thing. I basted it, the biggest bugaboo for quilting, using MistyFuse. As a result, the table runner is not drapey, but it also isn’t stiff. It is stiffer than I expected, but as a table runner, it works fine.
I am not celebrating the Fourth of July this year.
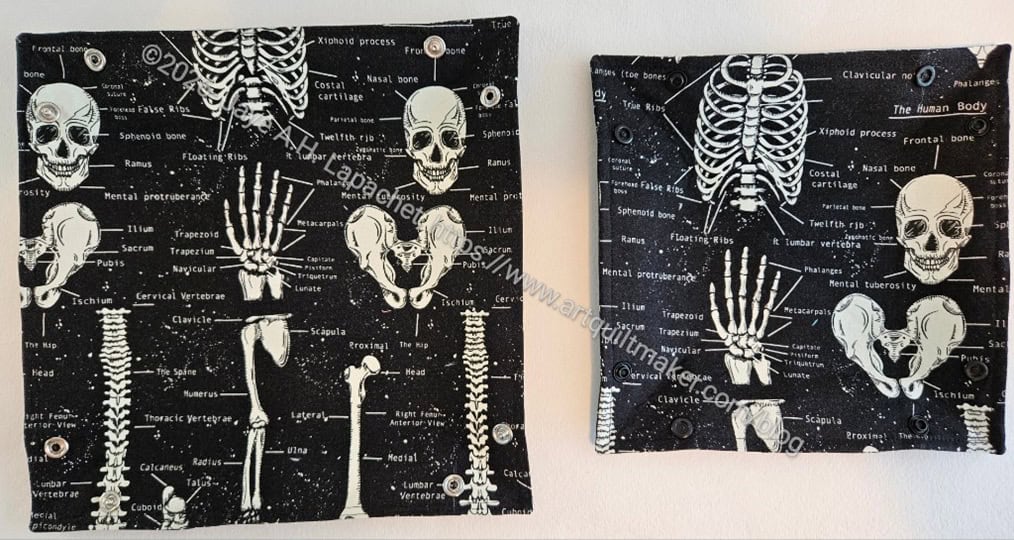
Megan’s Bone Snap Trays
I did make my friend Megan some Snap Trays. More bones.
As you can see I made two different sizes. this time I was testing out the KamSnaps vs Snap Setter.
The smaller tray has KamSnaps installed to make it into a tray whereas I used the Snap Setter to install snaps in the larger tray. I think that the Snap Setter company is going out of business and I wonder if I will be able to buy replacement snaps. I searched on Amazon, but wasn’t sure what I was looking at.
She is going to test to see how sturdy the different closures are.
I finally got some of the Cool Four Patch Fun blocks up on the design wall. I found I needed to finish the 1-2-3 Mosaic table runner before I could put the rest up, so I started working on that.
At the moment all of the block pairs are done and I am just waiting for design wall space to do a little rearranging and then sew the top together.
Sheesh! I haven’t posted about this since April. Well, it is a little bigger! In fact, I finished the top last weekend.
I probably should make it a little longer, but I don’t want to. I am done with this process for the moment. I might quilt it with straight lines myself – a gentle curved line that is one of the decorative stitches on my new machine.