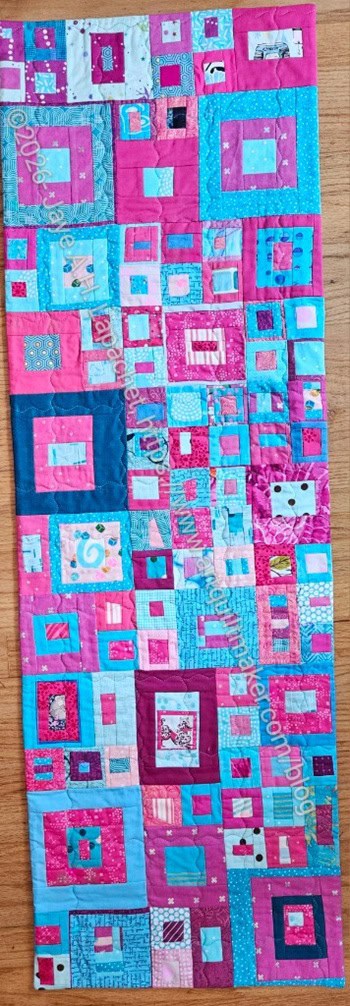
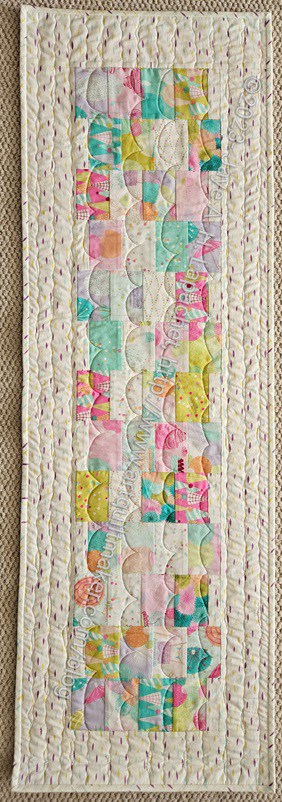
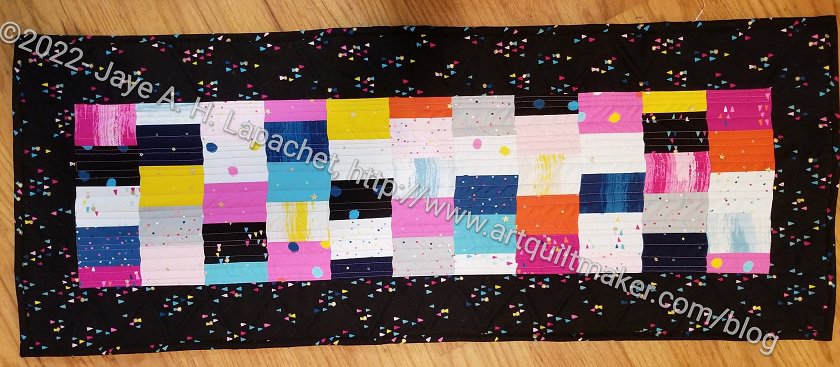
The 1-2-3 Mosaic table runner is finished. This is a project I worked on myself from start to finish. No longarming this time.
Amazing, right?
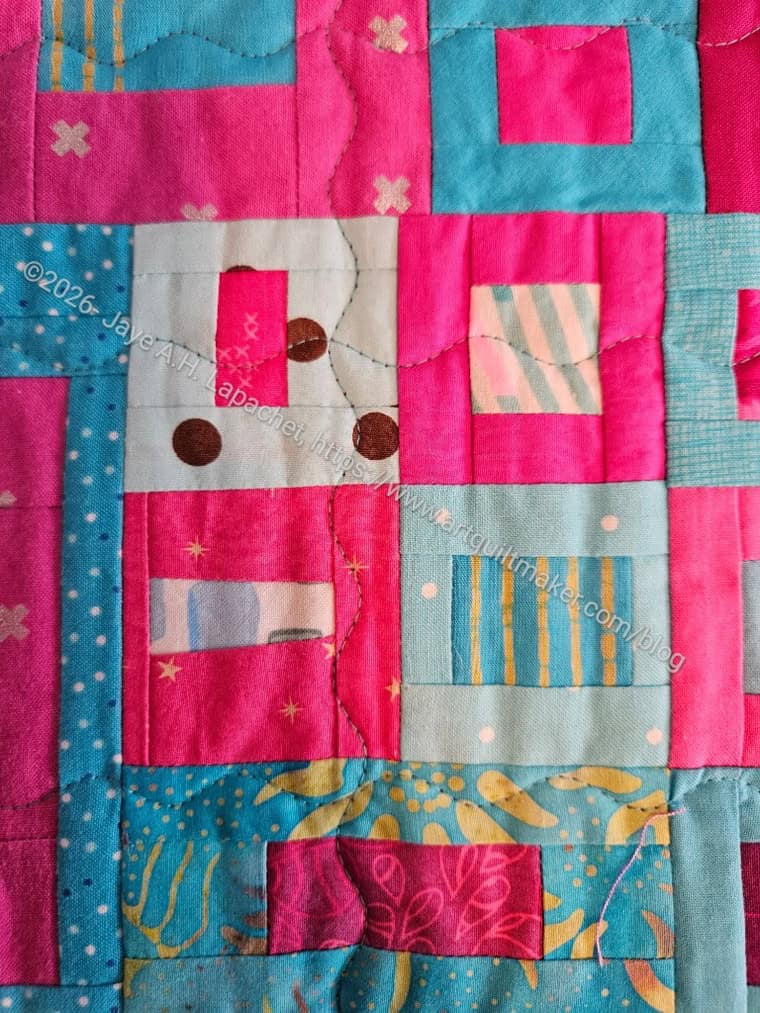
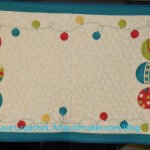
I quilted the small piece using a wave stitch, as shown, on my new machine. I have wanted that stitch for a long time and really like it. I need to ask some questions of the dealer, but it worked fine the first time out.
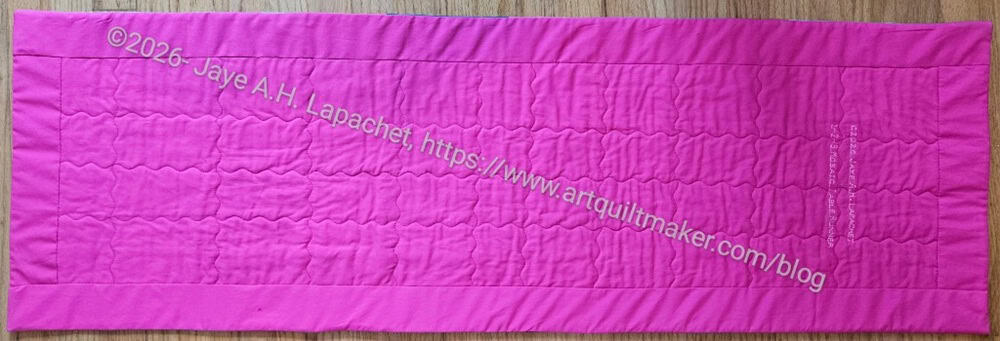
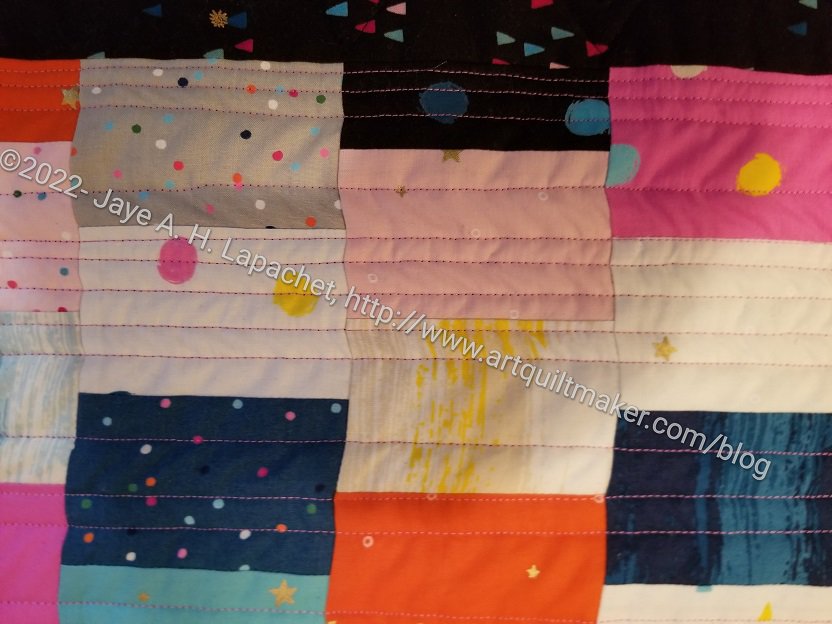
1-2-3 Mosaic back completed
The back shows the quilting really well. It is simple, but I am pleased.
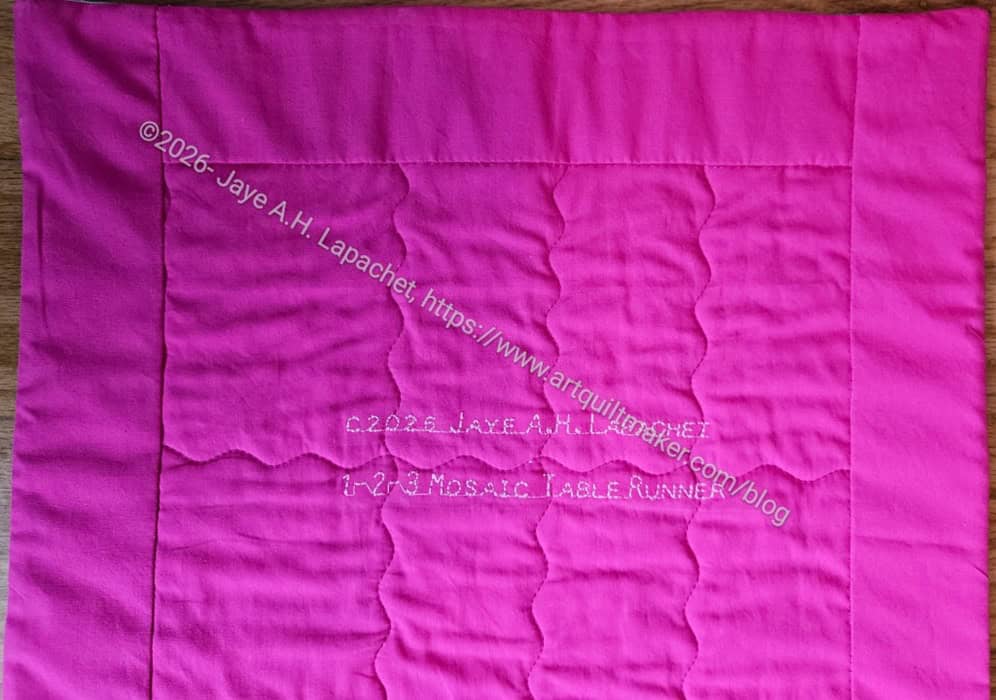
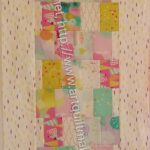
1-2-3 Mosaic back completed – label
I also used the stitch lettering to make a simple label.
All in all, finishing it myself made it a very quick project. It is sitting on my buffet now.
OMG! I quilted the 1-2-3 Mosaic table runner myself! I quilted the small piece using a wave stitch, as shown, on my new machine. I have wanted that stitch for a long time. I am glad it is part of the stitch library on this machine. I really like it.
It took me about an hour to quilt the whole thing. I basted it, the biggest bugaboo for quilting, using MistyFuse. As a result, the table runner is not drapey, but it also isn’t stiff. It is stiffer than I expected, but as a table runner, it works fine.
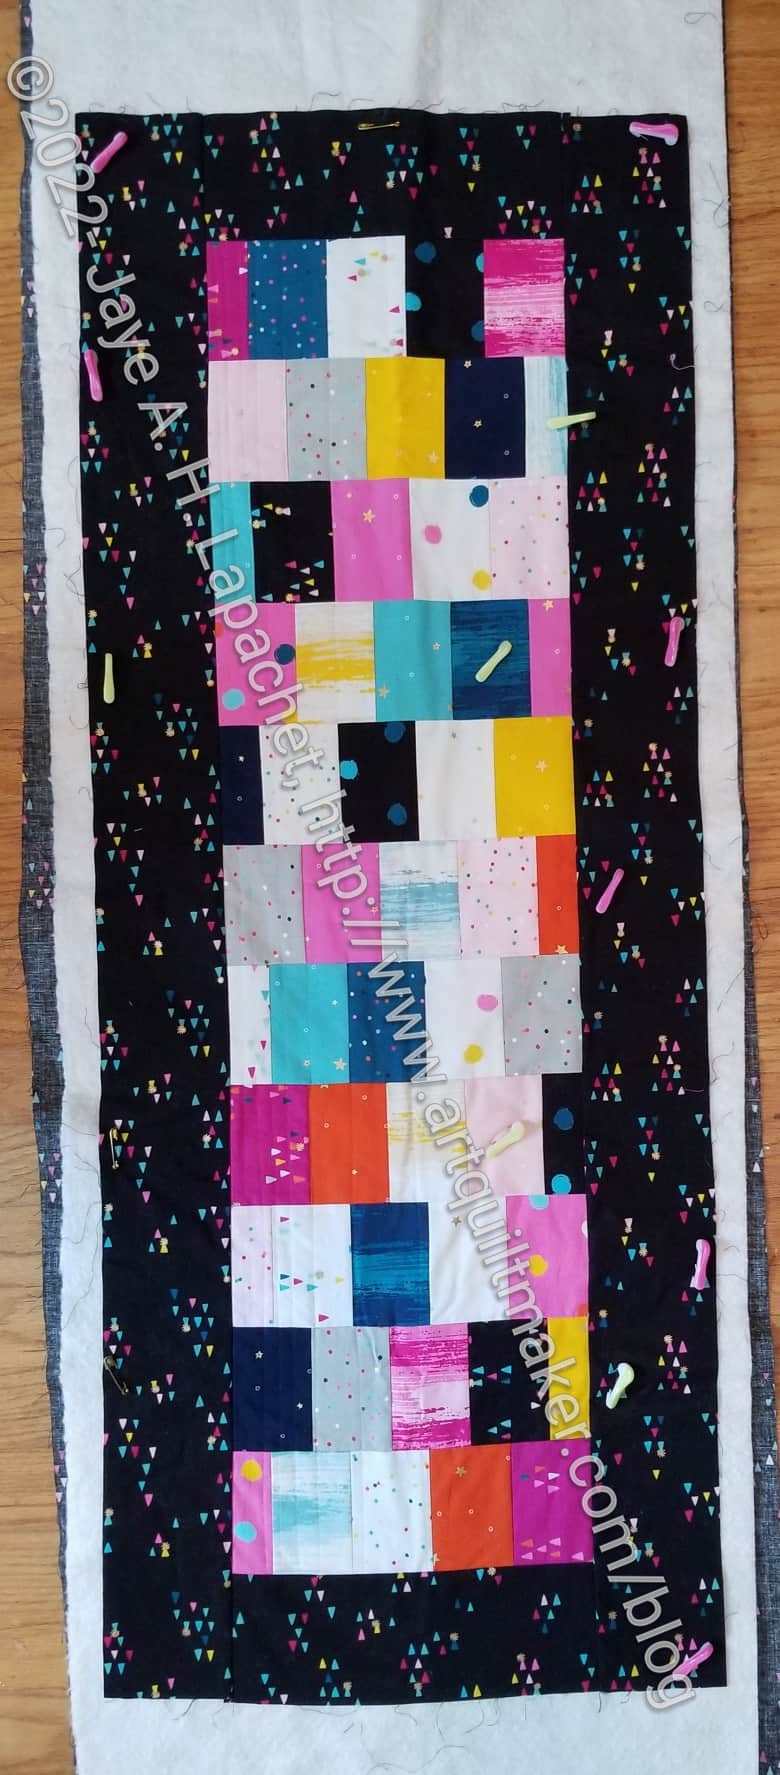
Sheesh! I haven’t posted about this since April. Well, it is a little bigger! In fact, I finished the top last weekend.
I probably should make it a little longer, but I don’t want to. I am done with this process for the moment. I might quilt it with straight lines myself – a gentle curved line that is one of the decorative stitches on my new machine.
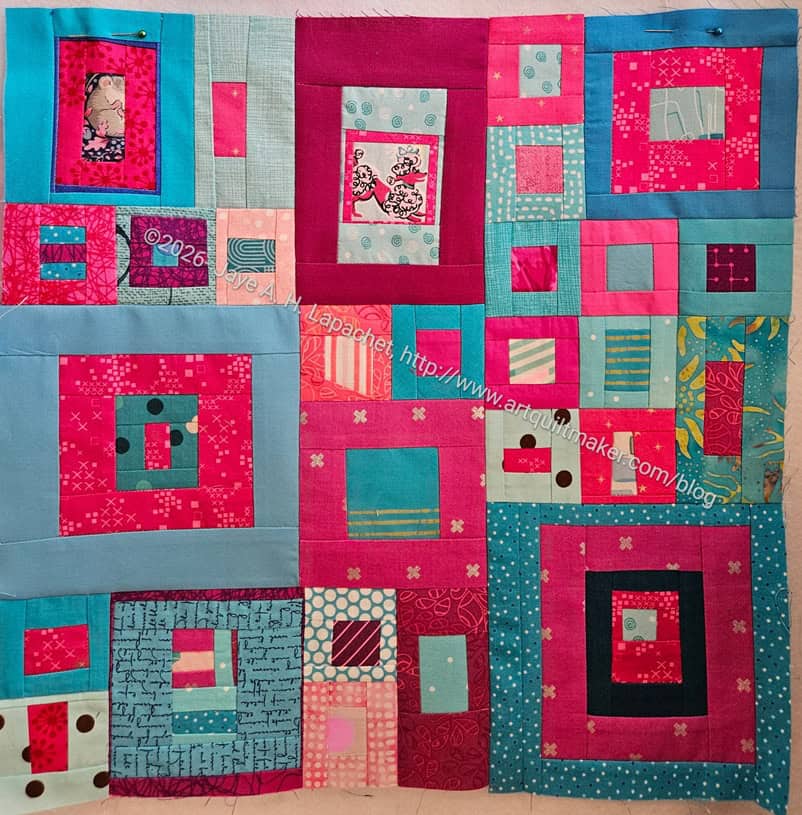
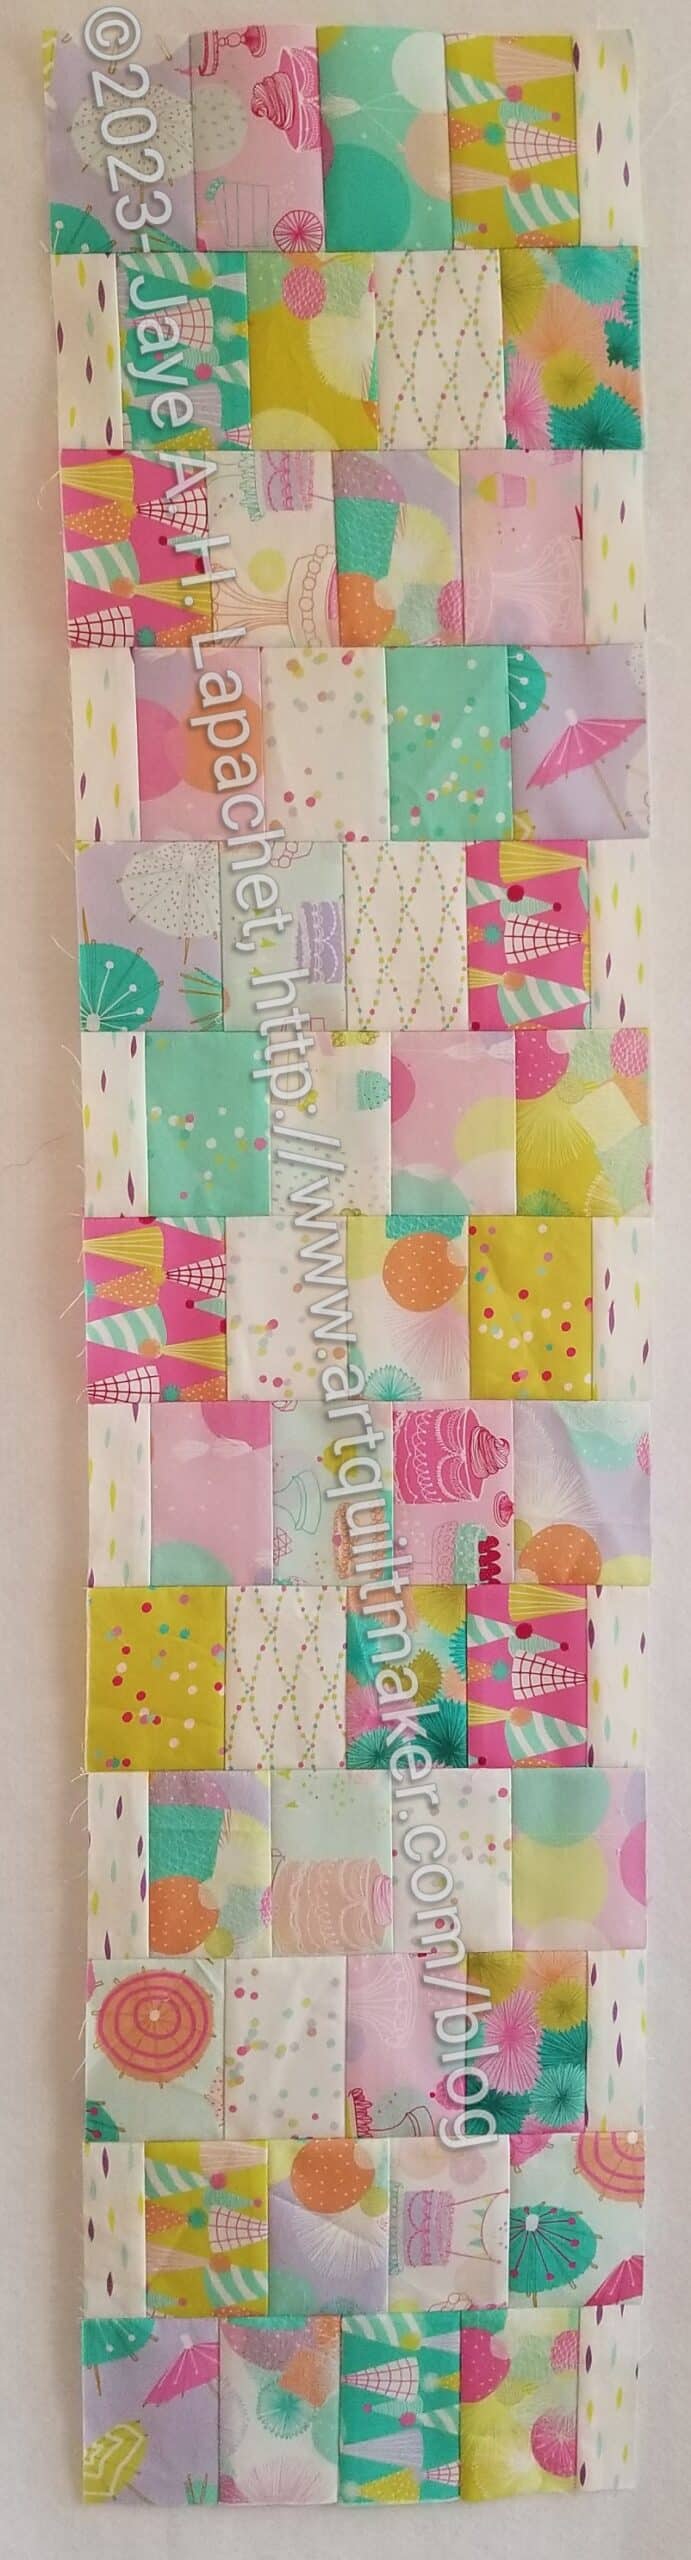
I sewed a chunk of the 1-2-3 Mosaic table runner together. I think it looks great.
I wasn’t 100% convinced that the project was going to work out when I saw it on the design wall. After sewing this bit together, I am much more optimistic.
I think it looks a lot better sewn together.
I sewed it in between sewing all the other things on which I am working, but it still went together pretty fast. I’ll know soon if I need more blocks.
I am glad I didn’t make it wider as it will be the right width for the buffet when I put a facing on it.
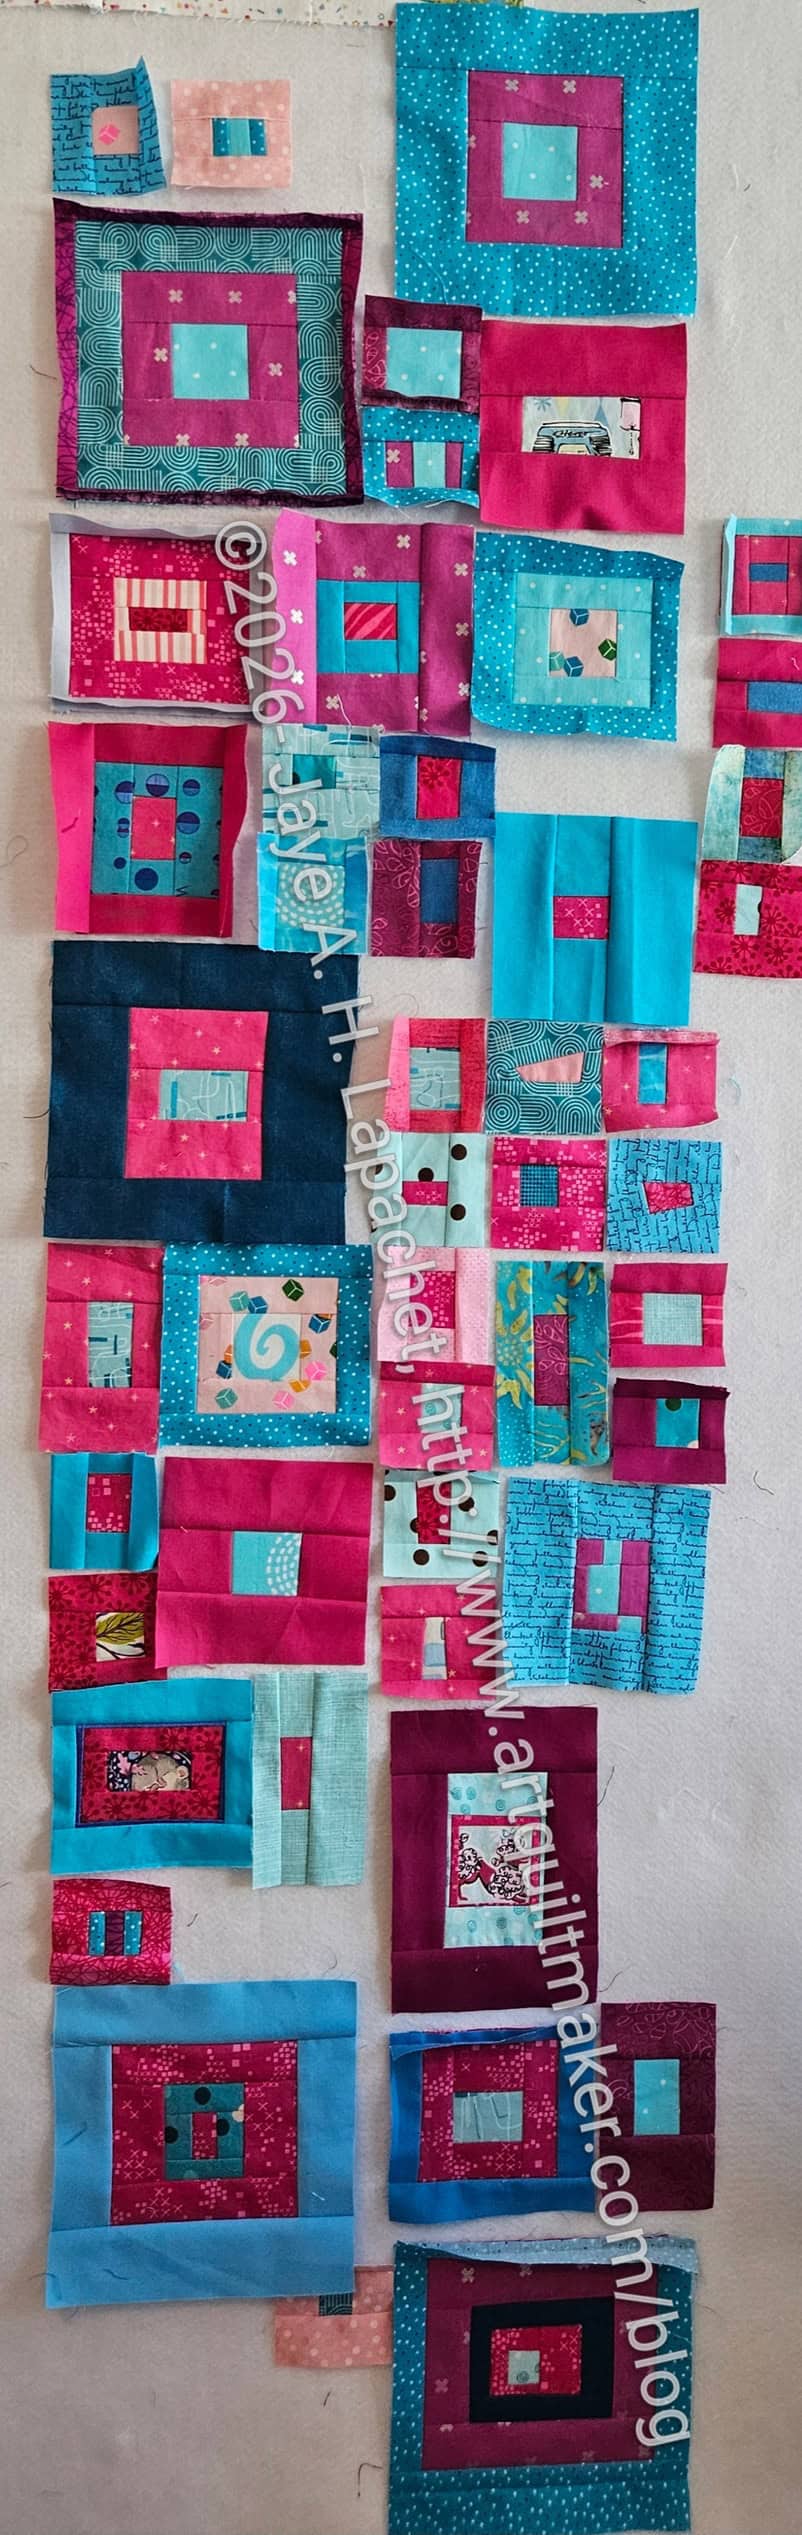
I spent the other day prepping about 20 blocks for the 1-2-3 Mosaic table runner. I want to get this off the design wall and it won’t happen magically.
I felt like I needed some additional blue blocks so I concentrated on those. Not all of the 20 came out the correct size so some went back on the board waiting for another round of fabric. I made enough of them to feel like I am nearing the finish line.
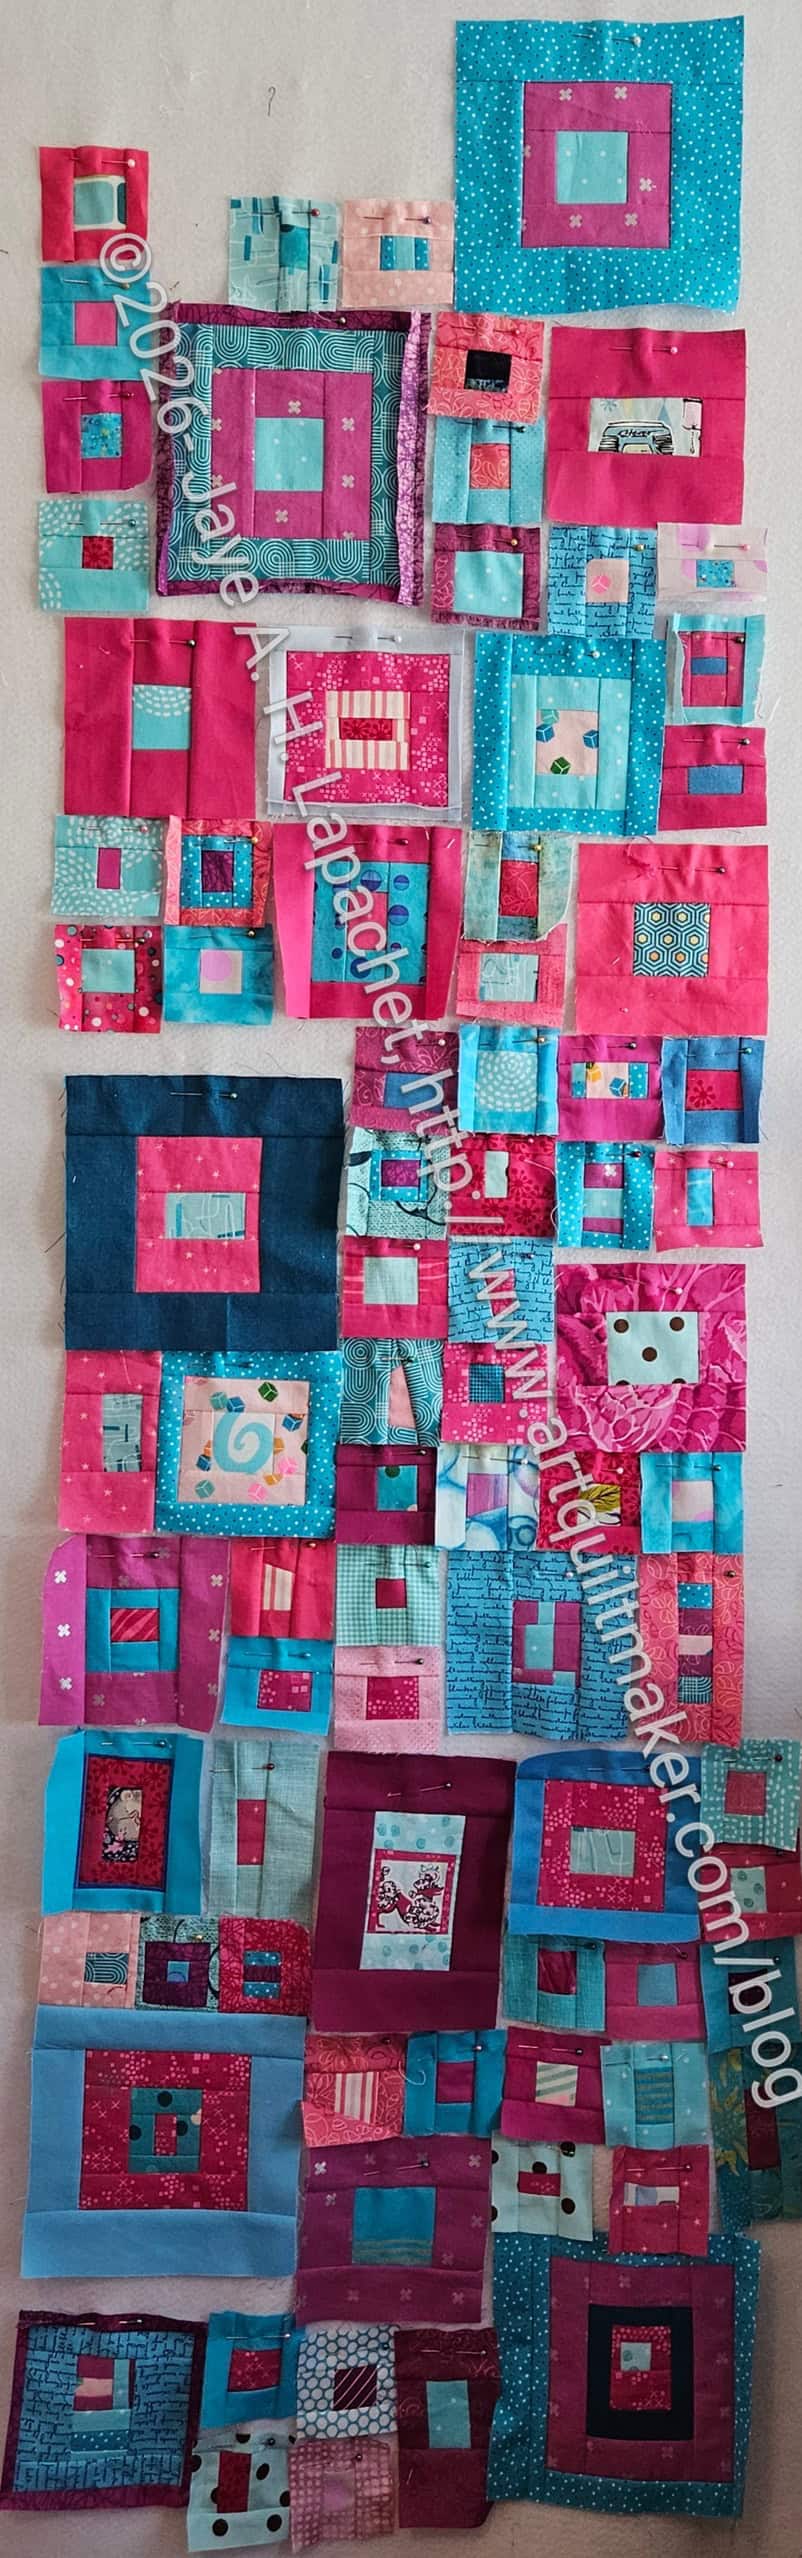
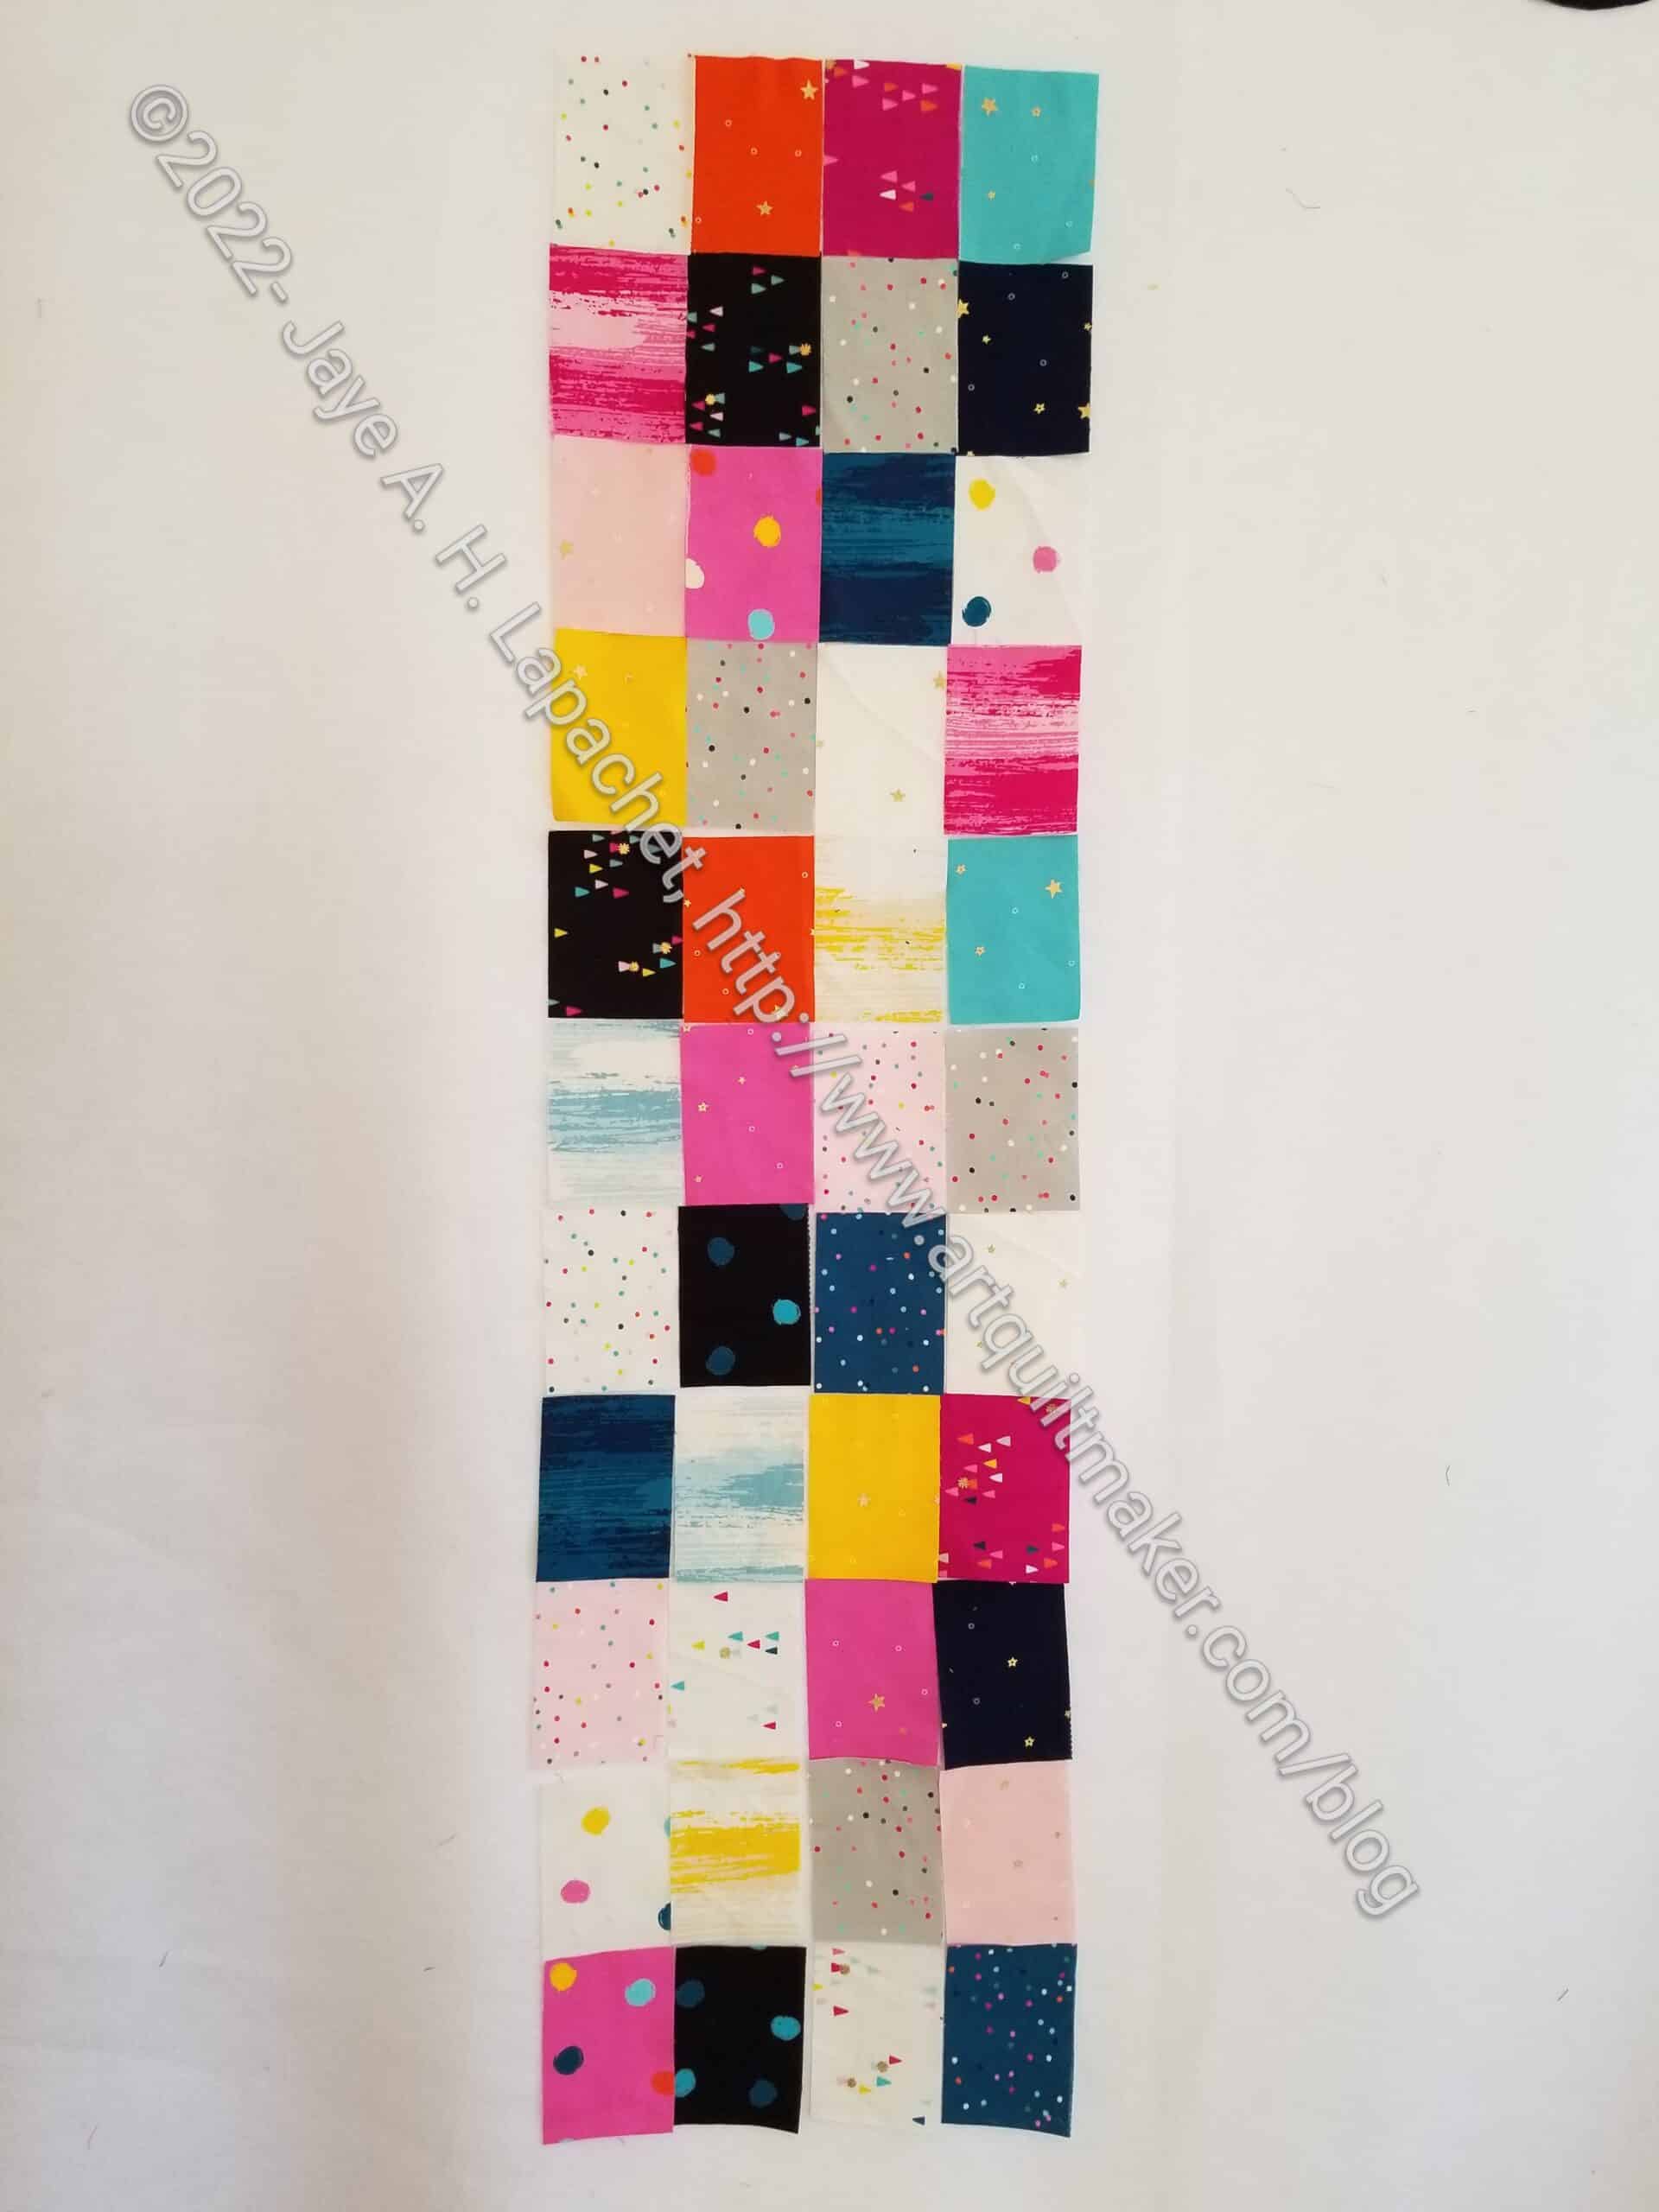
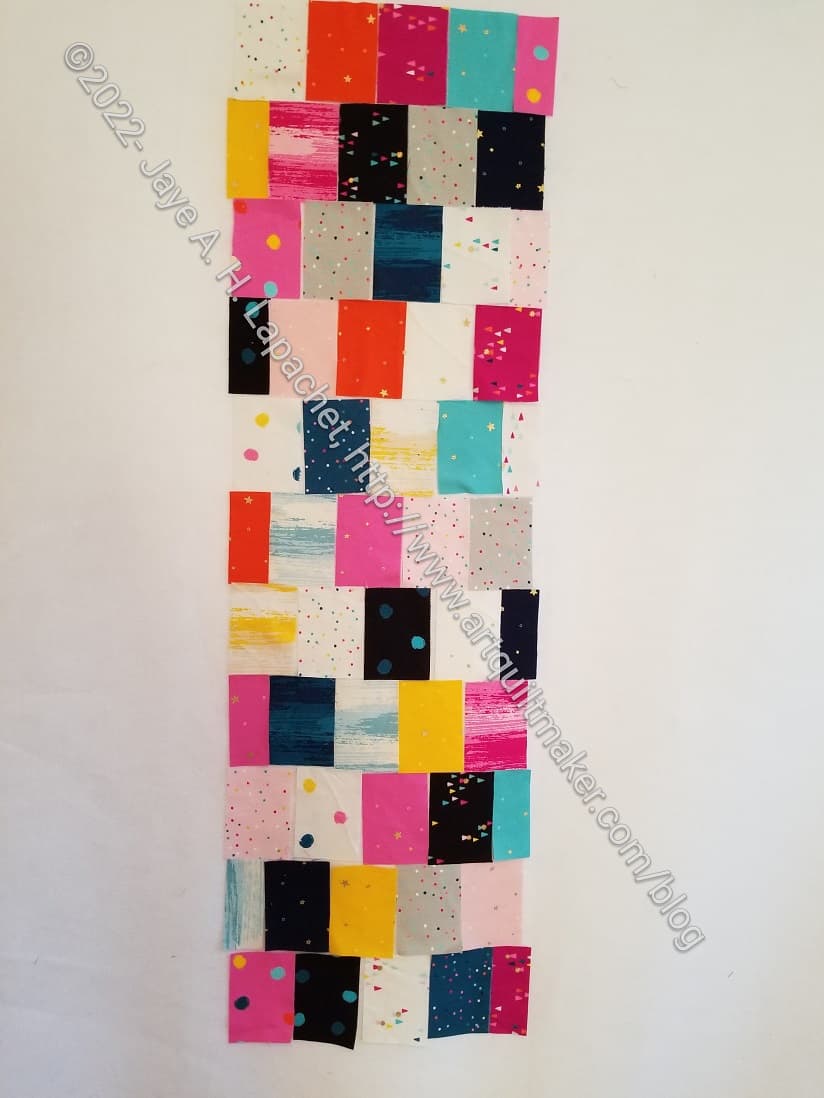
I spent some time rearranging the layout. I am happier with how it looks and will soon start putting some chunks together. The bottom looks darker than it is because the ironing board is shadowing the bottom corner of the design wall.
I have made the photo really large so you can see it more clearly.
I know there will still be some rearranging as I begin to sew, but I think I am pretty much ready to sew some chunks together. It will at least tell me what other blocks I need to make.
1-2-3 Mosaic blocks organized
As an aside, I finally made the travel board and am using it for this project. I cut up pieces, laid them out in order and then was able to sew them in an assembly line fashion. I haven’t figured out where to store this board, but while it is in use, it is very handy.
I have been working a bit at a time on more Mosaic blocks.
I think I need to sew some of them together, so I can figure out how many more I need and where.
I have added some more fabrics to vary the contrast and make each block stand out. A two color (ish) color palette can be tricky.
I have been working on making a ton of smaller (2.5 inch) blocks. Lorraine said we would need a lot of them. The size of the blocks I made after I got home from the workshop kept creeping up. I suddenly realized that I wouldn’t be able to put the thing together without more small blocks, so that is my current focus.
Friend Julie wrote a really good post about the workshop. She got some great photos that I neglected to take.
Table runners are a great project to make when you want to try out a technique or use up the bits and pieces from a class. I decided I didn’t want to make a whole quilt when I took the Jen Carlton Bailly class and made a table runner we love.
I am making a table runner from the 1-2-3 Mosaic class I took the other day and decided to do an inventory. What a bonanza!
Cha Cha Cha table runner #2 in process
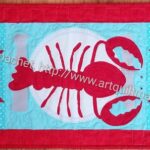
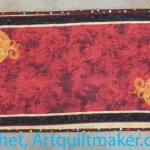
Lobster tablerunner
Cha Cha Cha table runner
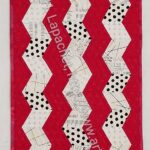
Red Text Table Runner
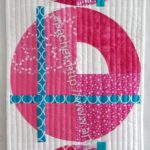
Finished: Circle tablerunner
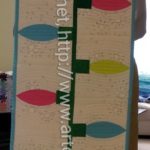
Mod Lights Table Runner
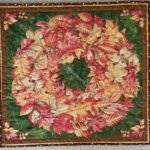
Finished: Thanksgiving tablemat
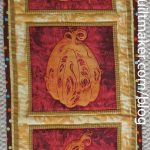
Pumpkin/gourd tablerunner
Thanksgiving Tablerunner
Thanksgiving Tablerunner detail
I have made a couple of table runners and given them away.
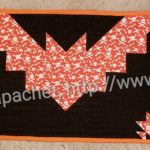
Bat Tablerunner: finished
Christmas Tablerunner
The bat table runner was for Amy. I just made it. She gave me all of the supplies. I think it was a kit or something.
The Christmas table runner was a gift for SIL#4. I saw that she used it during the Christmas season, which made me really happy.
I think I could make a table runner for each holiday. It is an opportunity, but I am not signing up for it at the moment.
I got a sample of the Brimfield Block at QuiltCon a million years ago. I might have bought the templates for one block. I can’t remember. It is from a company called Brimfield Awakening. I am a little put off by the name. Somehow it reminds me of brimstone.
Anyway, I finally dragged out this block to have some handwork to take on vacation. I have no knitting going, the needlepoint project is too large and La Pass is also too large. I came across this block and decided to work on it.
The table runner will be for our buffet and will comprise 3 blocks.
I spent the Sunday before we left cutting out small pieces of fabric, organizing templates and making sure I had everything. I was sure I would be glad when I could just pull a piece out and start sewing, but it felt like a waste of a day. I didn’t get to sew much at all.
One struggle was that the illustration on the pattern cover was very distracting. I looked up some samples on IG and found a sort of layout I liked, then I rummaged through my fabrics to find my favorites.
I am zooming right along on finishing my quilted projects.
I finished this one in time to use it on the first really sunny day of the year. I also decided that it was very Easter-ish (Springy) and would be good for the next few weeks.
The top is pretty subtly shaded, e.g. very little contrast. I guess that is ok. The nook where the buffet is located is a little dark, so I hope what light there is will reflect off of the light colors.
I have wanted to make another tablerunner for our buffet for awhile. I found the charm pack I used for this project at Sunshine Quilts in Medford. It was an impulse buy, but I was determined not to let the pack sit around.
I cut the pieces for this project at Sew Day and started sewing them together last week.
OMG! I can’t tell you how much I loved just sewing pieces together – no applique’, no fighting, no drama.
I know I finished pretty fast considering the quilts were returned to me not that long ago, but, yes, I finished the Lobster. It is now on my dining room buffet protecting the surface. It also brightens up the space.
I want to use it for the July timeframe, but I still have so few non-holiday tablerunners that I will use it for awhile and then switch it out for another. I guess I need to work on tablerunners for all the holidays like I made napkins for many holidays.
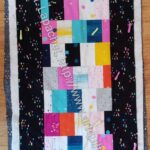
I finished the Cha3 table runner pretty quickly. It is already on my buffet, replacing the Red Text table runner I made during the Journey to Nebula. I was getting sick of looking at it.
I realized that I really didn’t follow the directions very well. I explained a little about why in a previous post, but I also could have made the edges of the center a little more wonky. I have more of the squares from the charm pack and maybe I have enough to do that. We’ll see.
Cha Cha Cha Table Runner Finished-detail
I even quilted it myself. The quilting isn’t as good as Tim’s or Colleen’s, but I am happy with it.
I had to unbaste it, because my first attempt was terrible. The second time was better. Lesson: use masking tape not painter’s tape.
I made good progress over the weekend on the Cha Cha Cha table runner. That name is a pain to type so when you see Cha3 you will know what I mean!
It looks a little static. I probably should have used the black for those small 1.5″ strips instead of using more of the colors. I still like it and think it will be a cheerful addition to my table runner collection.
I ended up buying the pattern for the Cha Cha Cha table runner. Aside from wanting to support independent designers, I didn’t want to spend time trying to figure out how to make the table runner with the required supplies.
After reading the directions, I decided to make it a different way. Mostly I am not cutting the border up into a 100 pieces. I will put it on in long pieces so as not to break up the motifs of the fabric design.
Cha Cha Cha Table Runner skewed
What that means is that instead of cutting 100 border pieces I cut only the pieces I need to fill in the gaps when I skew the lines of pieces, then I will cut longer pieces for the border. I haven’t cut the borders yet.
I did all of the cutting after work and before dinner. I wanted to be ready to sew today. I will cut the border pieces when I am ready for them. I am also still fiddling with the layout of the fabrics.
The fabrics are Birthday by Sarah Watts of Ruby Star Society. There are some dots I am tempted to buy more of for future projects. I’ll try to use up my other favorite dots first.