This is another pattern from Minikins Season 3. For some reason, it struck my fancy and I decided to make it.
One of the things I already like about the pattern is that you sew the zipper to the side panel as one of the first steps. That means that when I sew the zipper to the main panels, I will sew the side pieces as well.
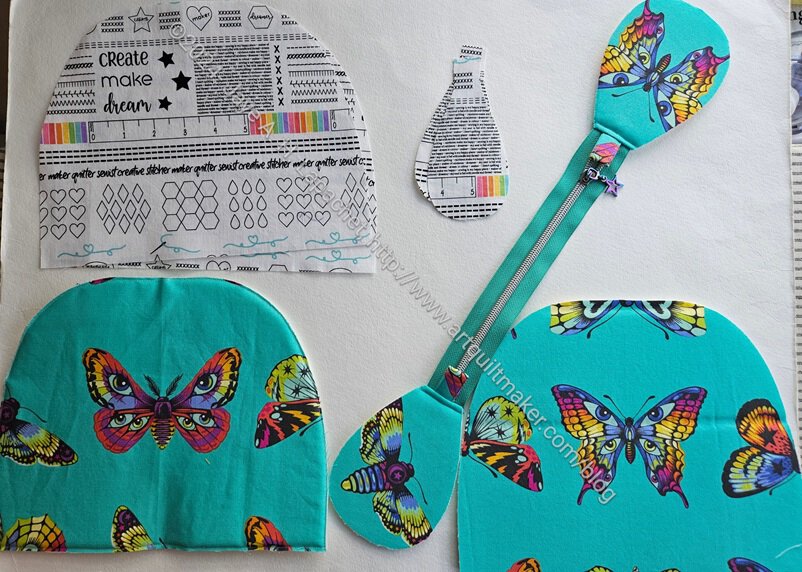
I did some fussy cutting of the Tula butterfly fabric, as you can see.
I had some trouble cutting this out with a rotary cutter, because the side panels have an interior 90 degree angle, which doesn’t work withe a rotary cutter. I ended up drawing lines around the template and cutting it out with scissors. I used WonderClips** to keep the fold in place while I cut the pieces out.
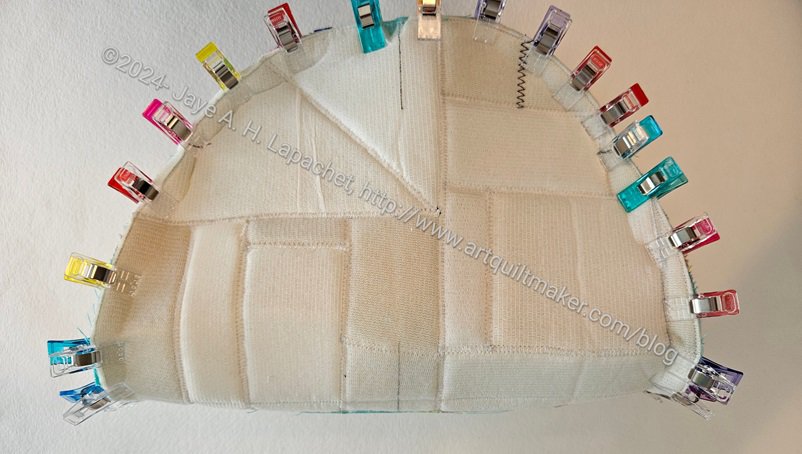
This picture (right) shows getting ready to sew the zipper and the side panels to the main panels. I used some Frankenfoam and hope that works out. I used some quite small pieces. Apparently, I can’t throw anything out! Pouches are a good use for Frankenfoam, however.
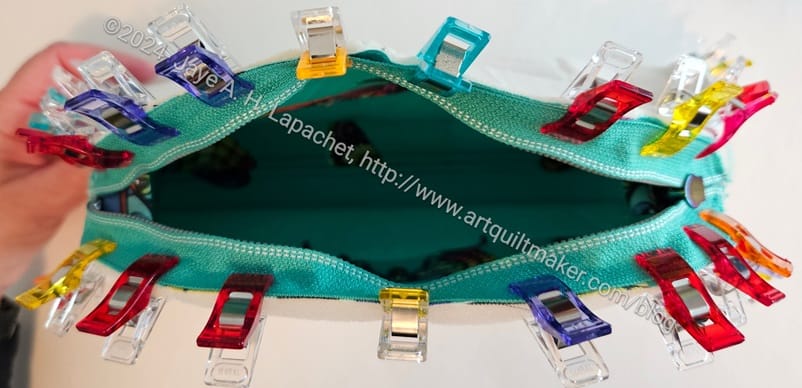
This is the same picture as above, but from the top. Stay tuned for the finishing.
**N. B. : Obviously, you should shop at local quilt shops and small businesses. However, if you are too busy or can’t find what you need there, I use Amazon affiliate links and may be paid for your purchase of an item when you click on an item’s link in my post. There is no additional cost to you for clicking or purchasing items I recommend. I appreciate your clicks and purchases as it helps support this blog.