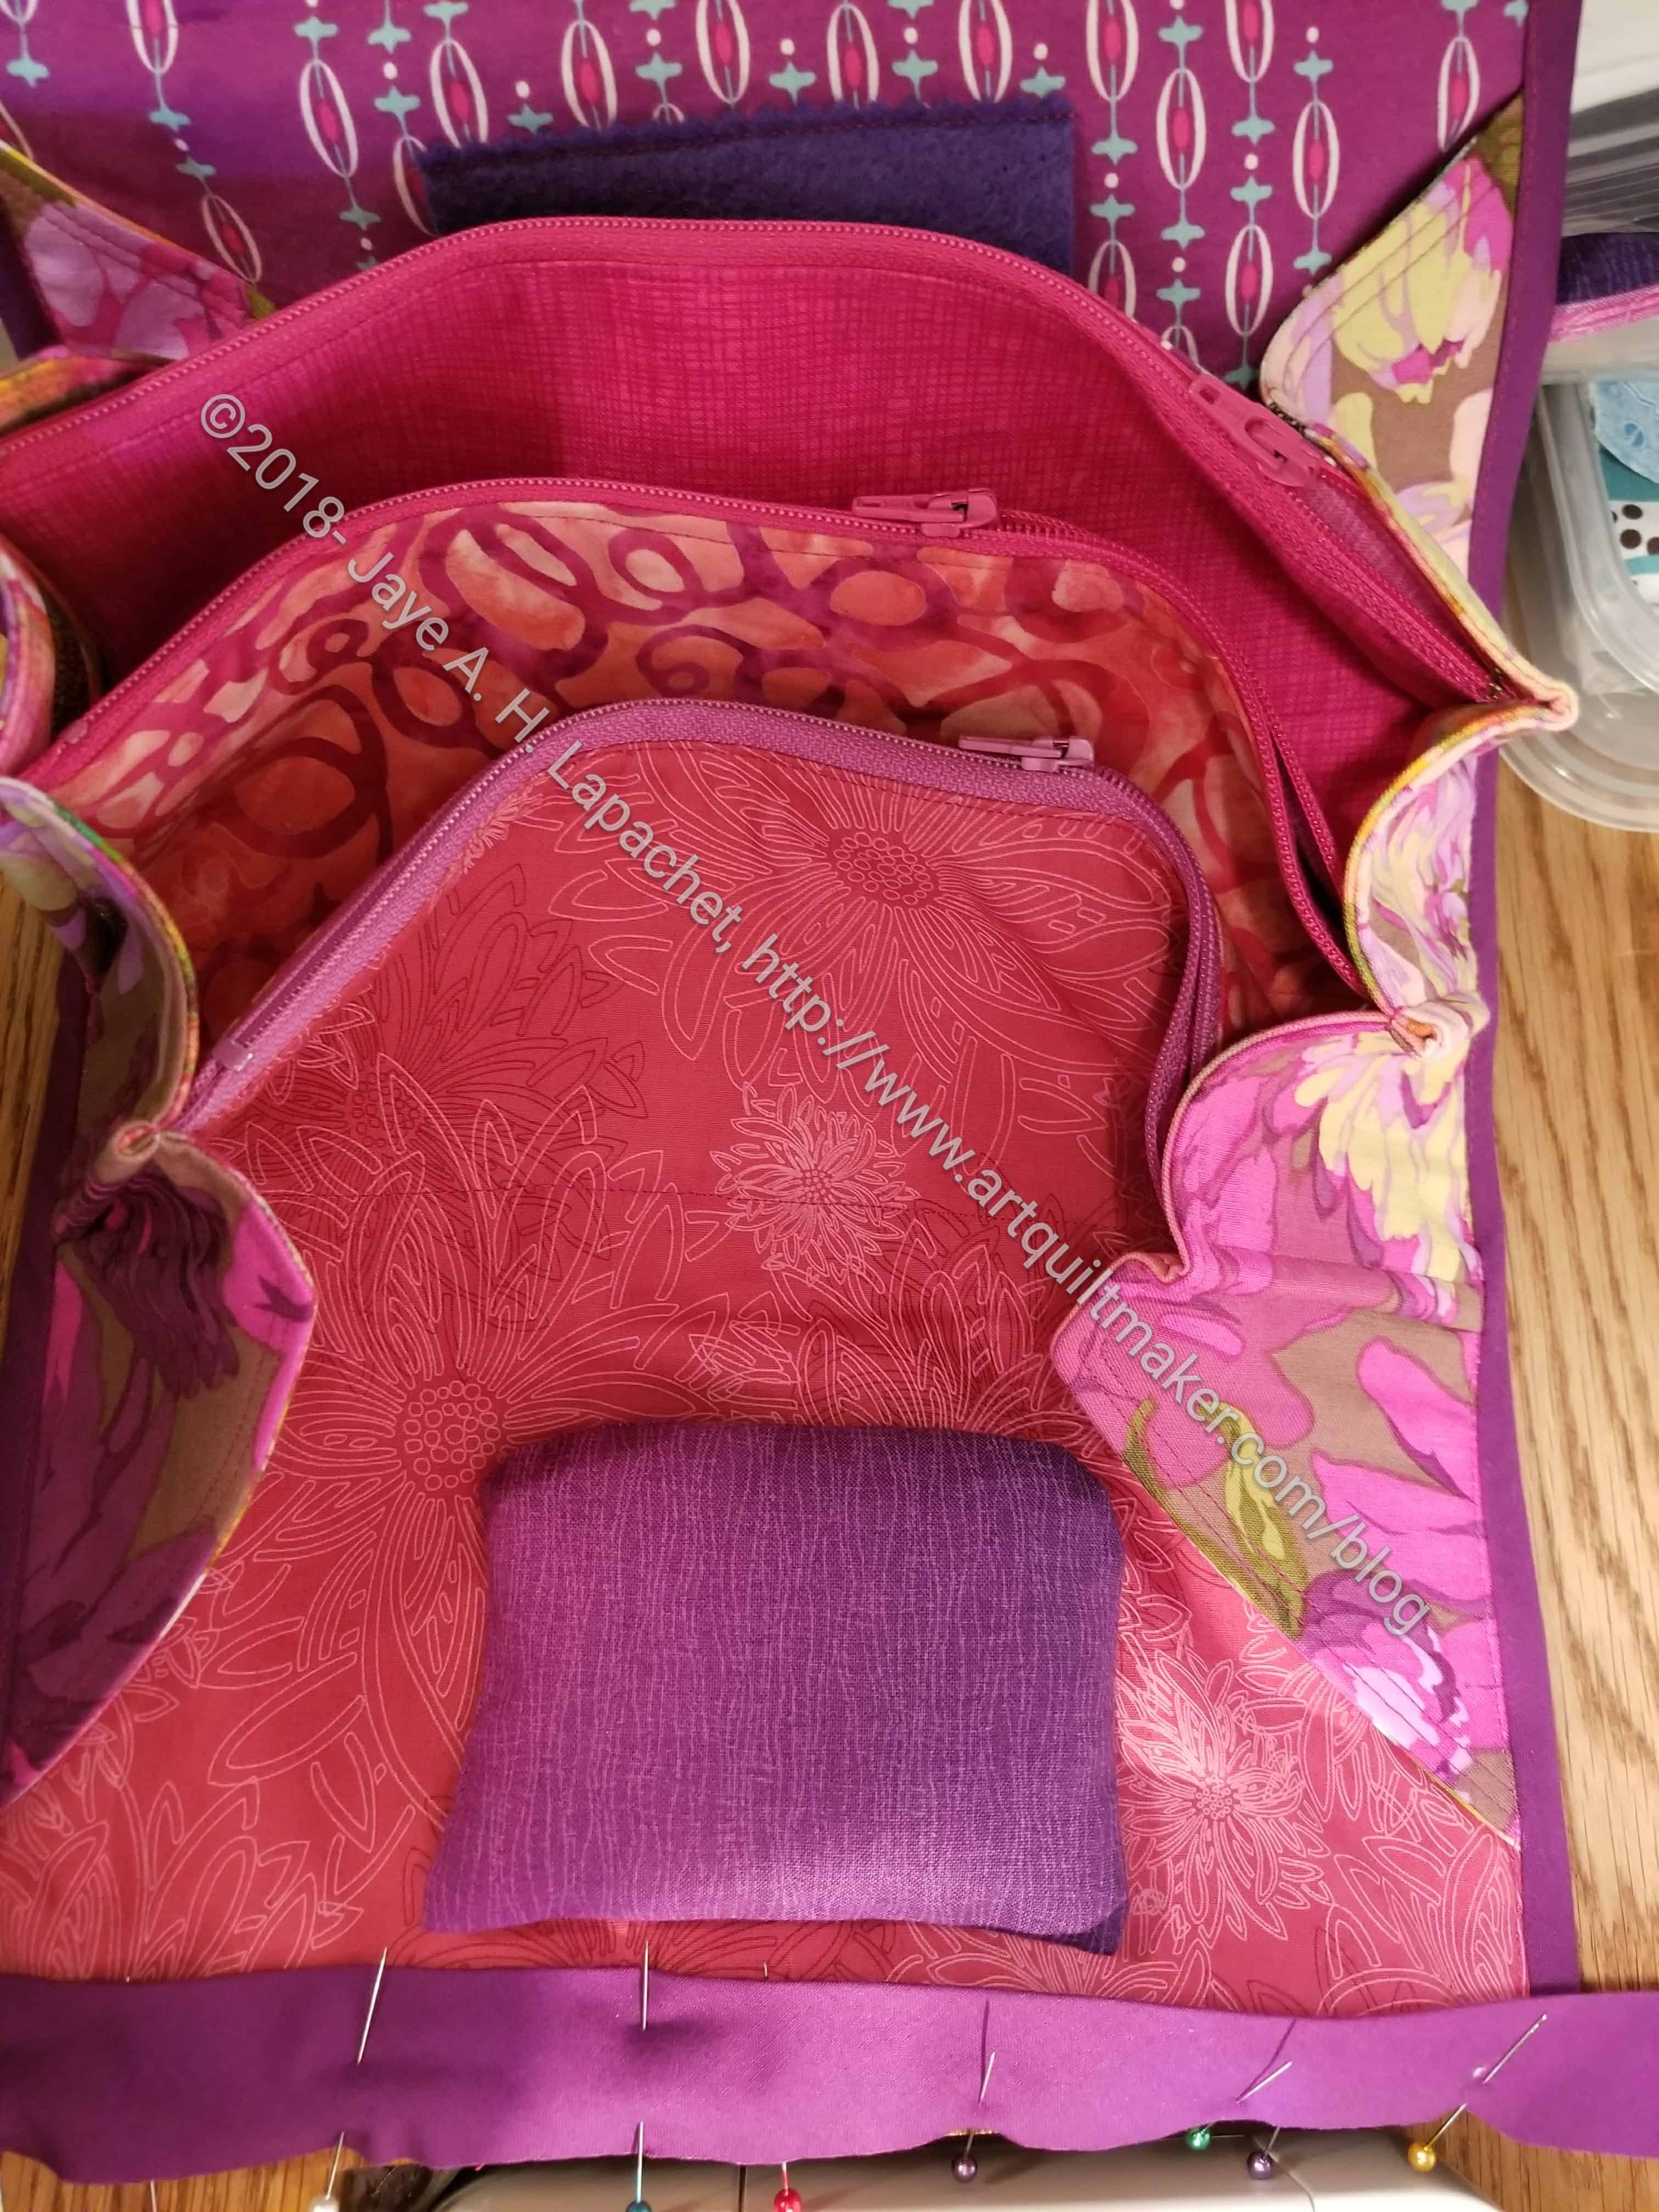
Finally! I finished my Sew Together Bag a few days. I can’t wait to fill it with my embroidery items, but I will wait until I show it at the guild meeting. I am really pleased with how it came out despite the problems I had with the stitching.
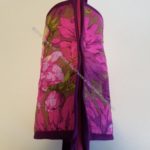
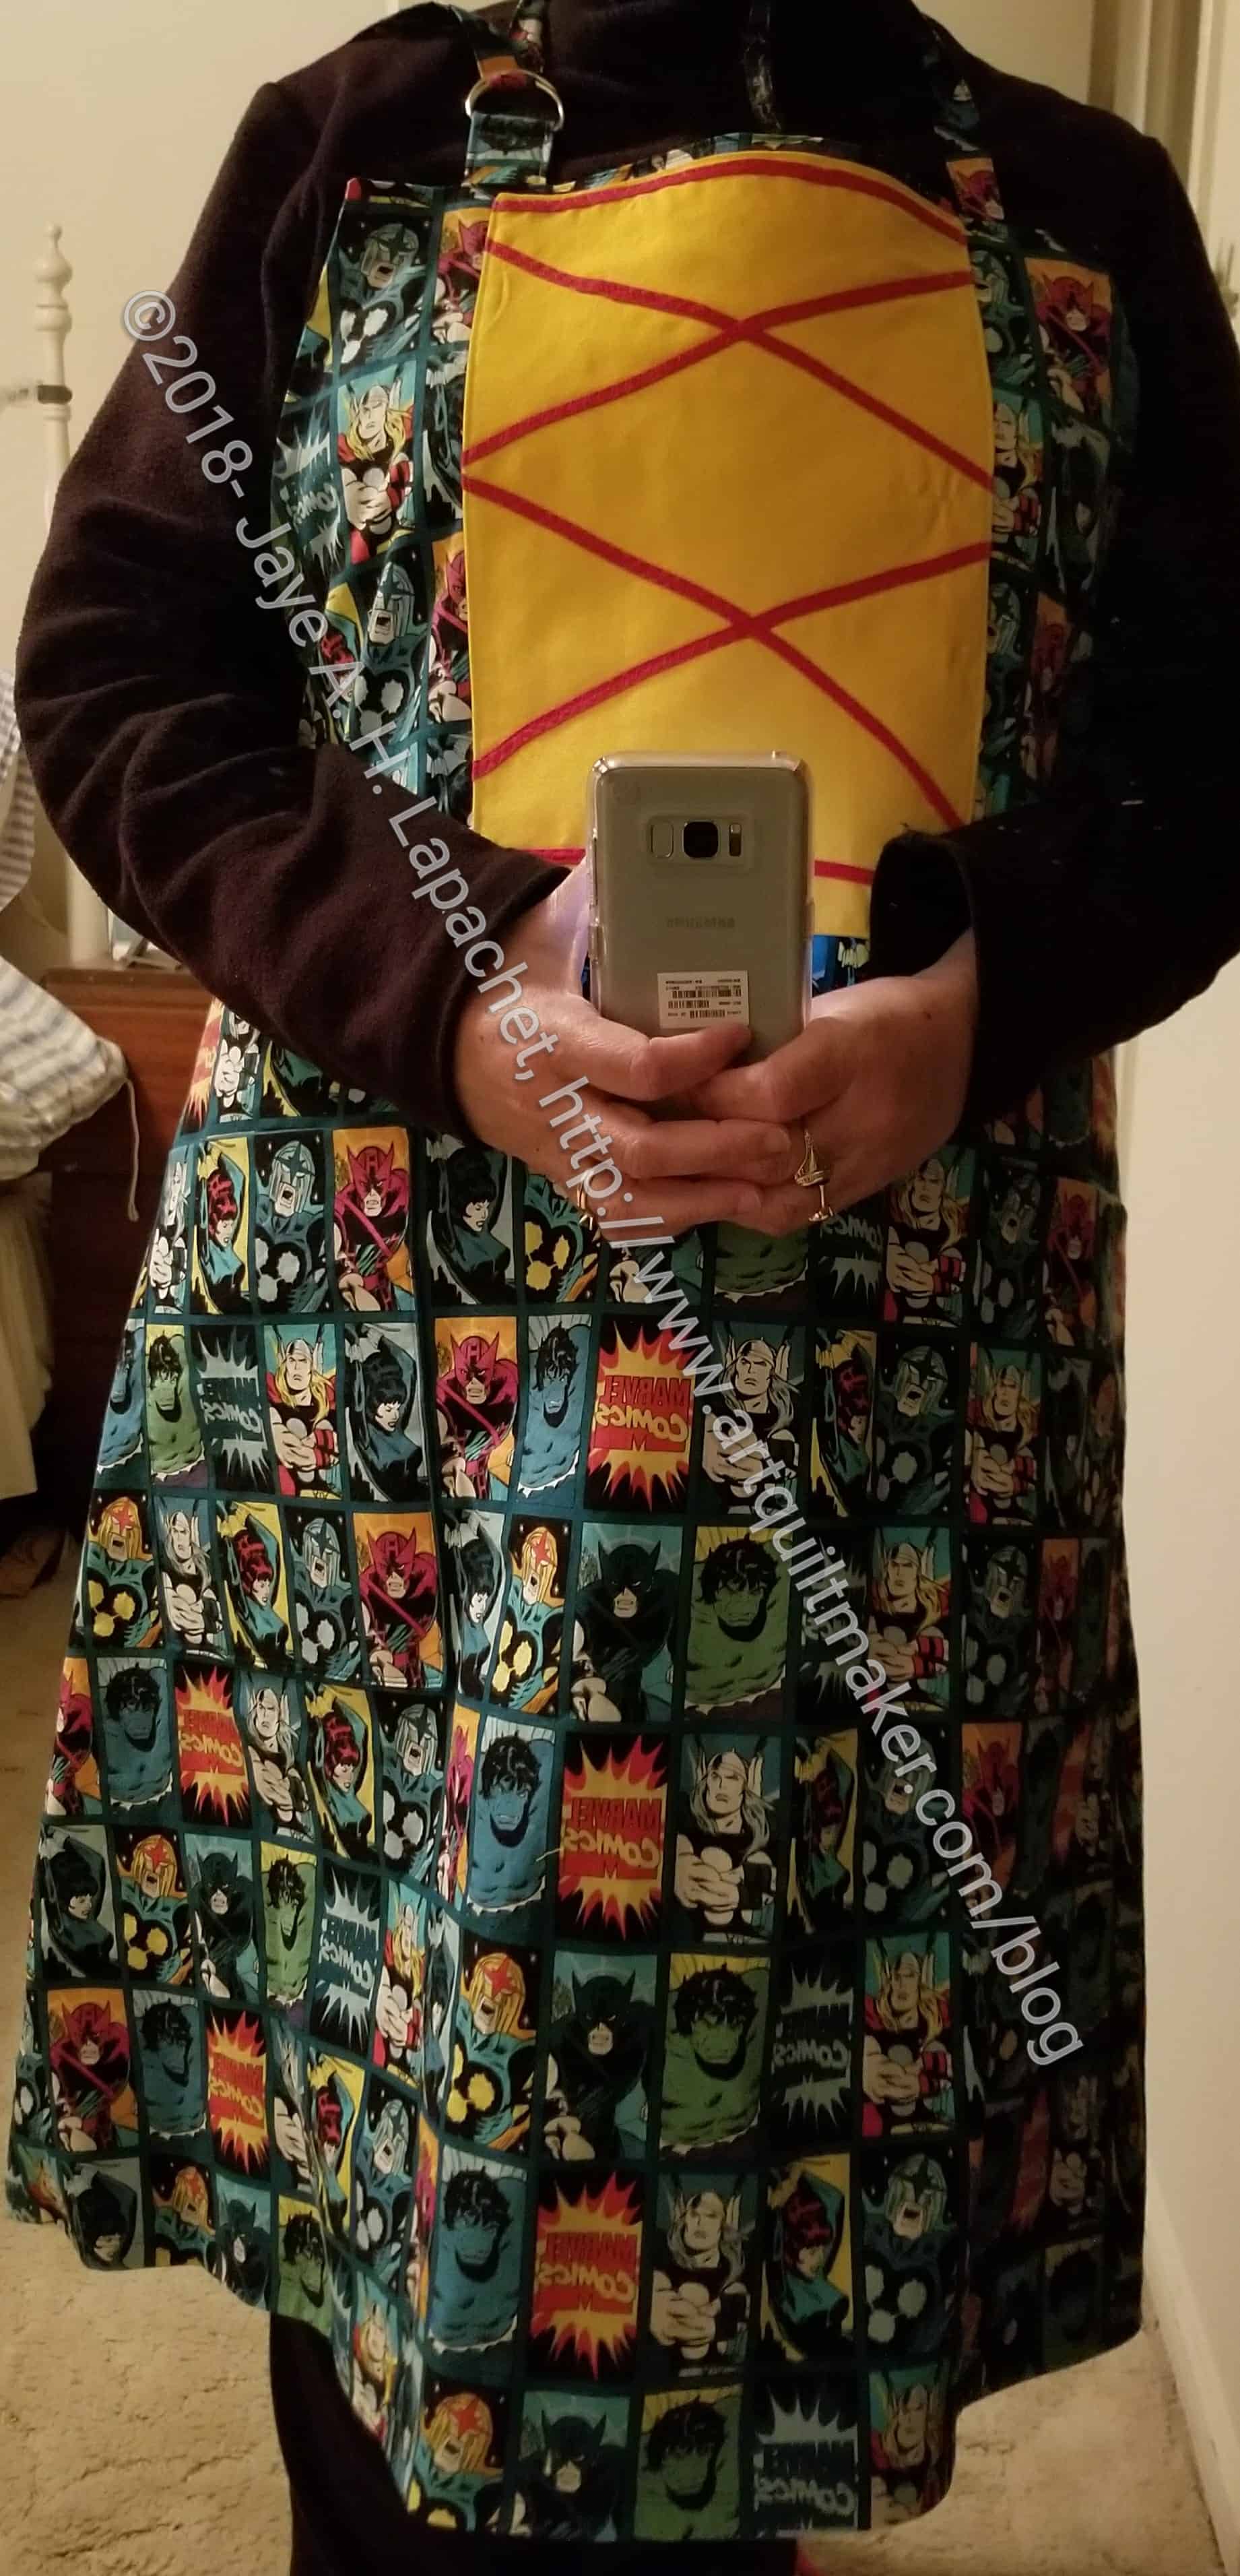
The Superheroine apron is done. This, however is a project that has to be shown at guild, then shown at the fair before it can go to its intended recipient.
As mentioned previously, I had all the pieces cut out. I had started to do little bits and bobs, but Friday, I worked on it in earnest and, shockingly, I got it done.
I was sort of surprised to see how much of me was covered when I tried on the apron. My niece is a bigger girl than me, so I think it will fit just fine.
Superheroine apron – laceup front
The yellow is an addition that I made that is supposed to look like a lace up front. I am not sure it does, but at least I tried.
I had to recut several pieces, because they weren’t right after I decided to add a D ring at the top. I also made the apron lined by cutting out two body pieces and sewing the RST.
I talked to Mary and then looked up how to make D Rings work on the web. I wanted the neck to be adjustable, so the apron is comfortable.
YAY! Another must-do off the list! Now I am tempted to make the Decades of Style Flapper Apron I bought when I was out with Amanda last time. I want to make them for gifts and now would be a good time. I’d also use A LOT of fabric. We’ll see.
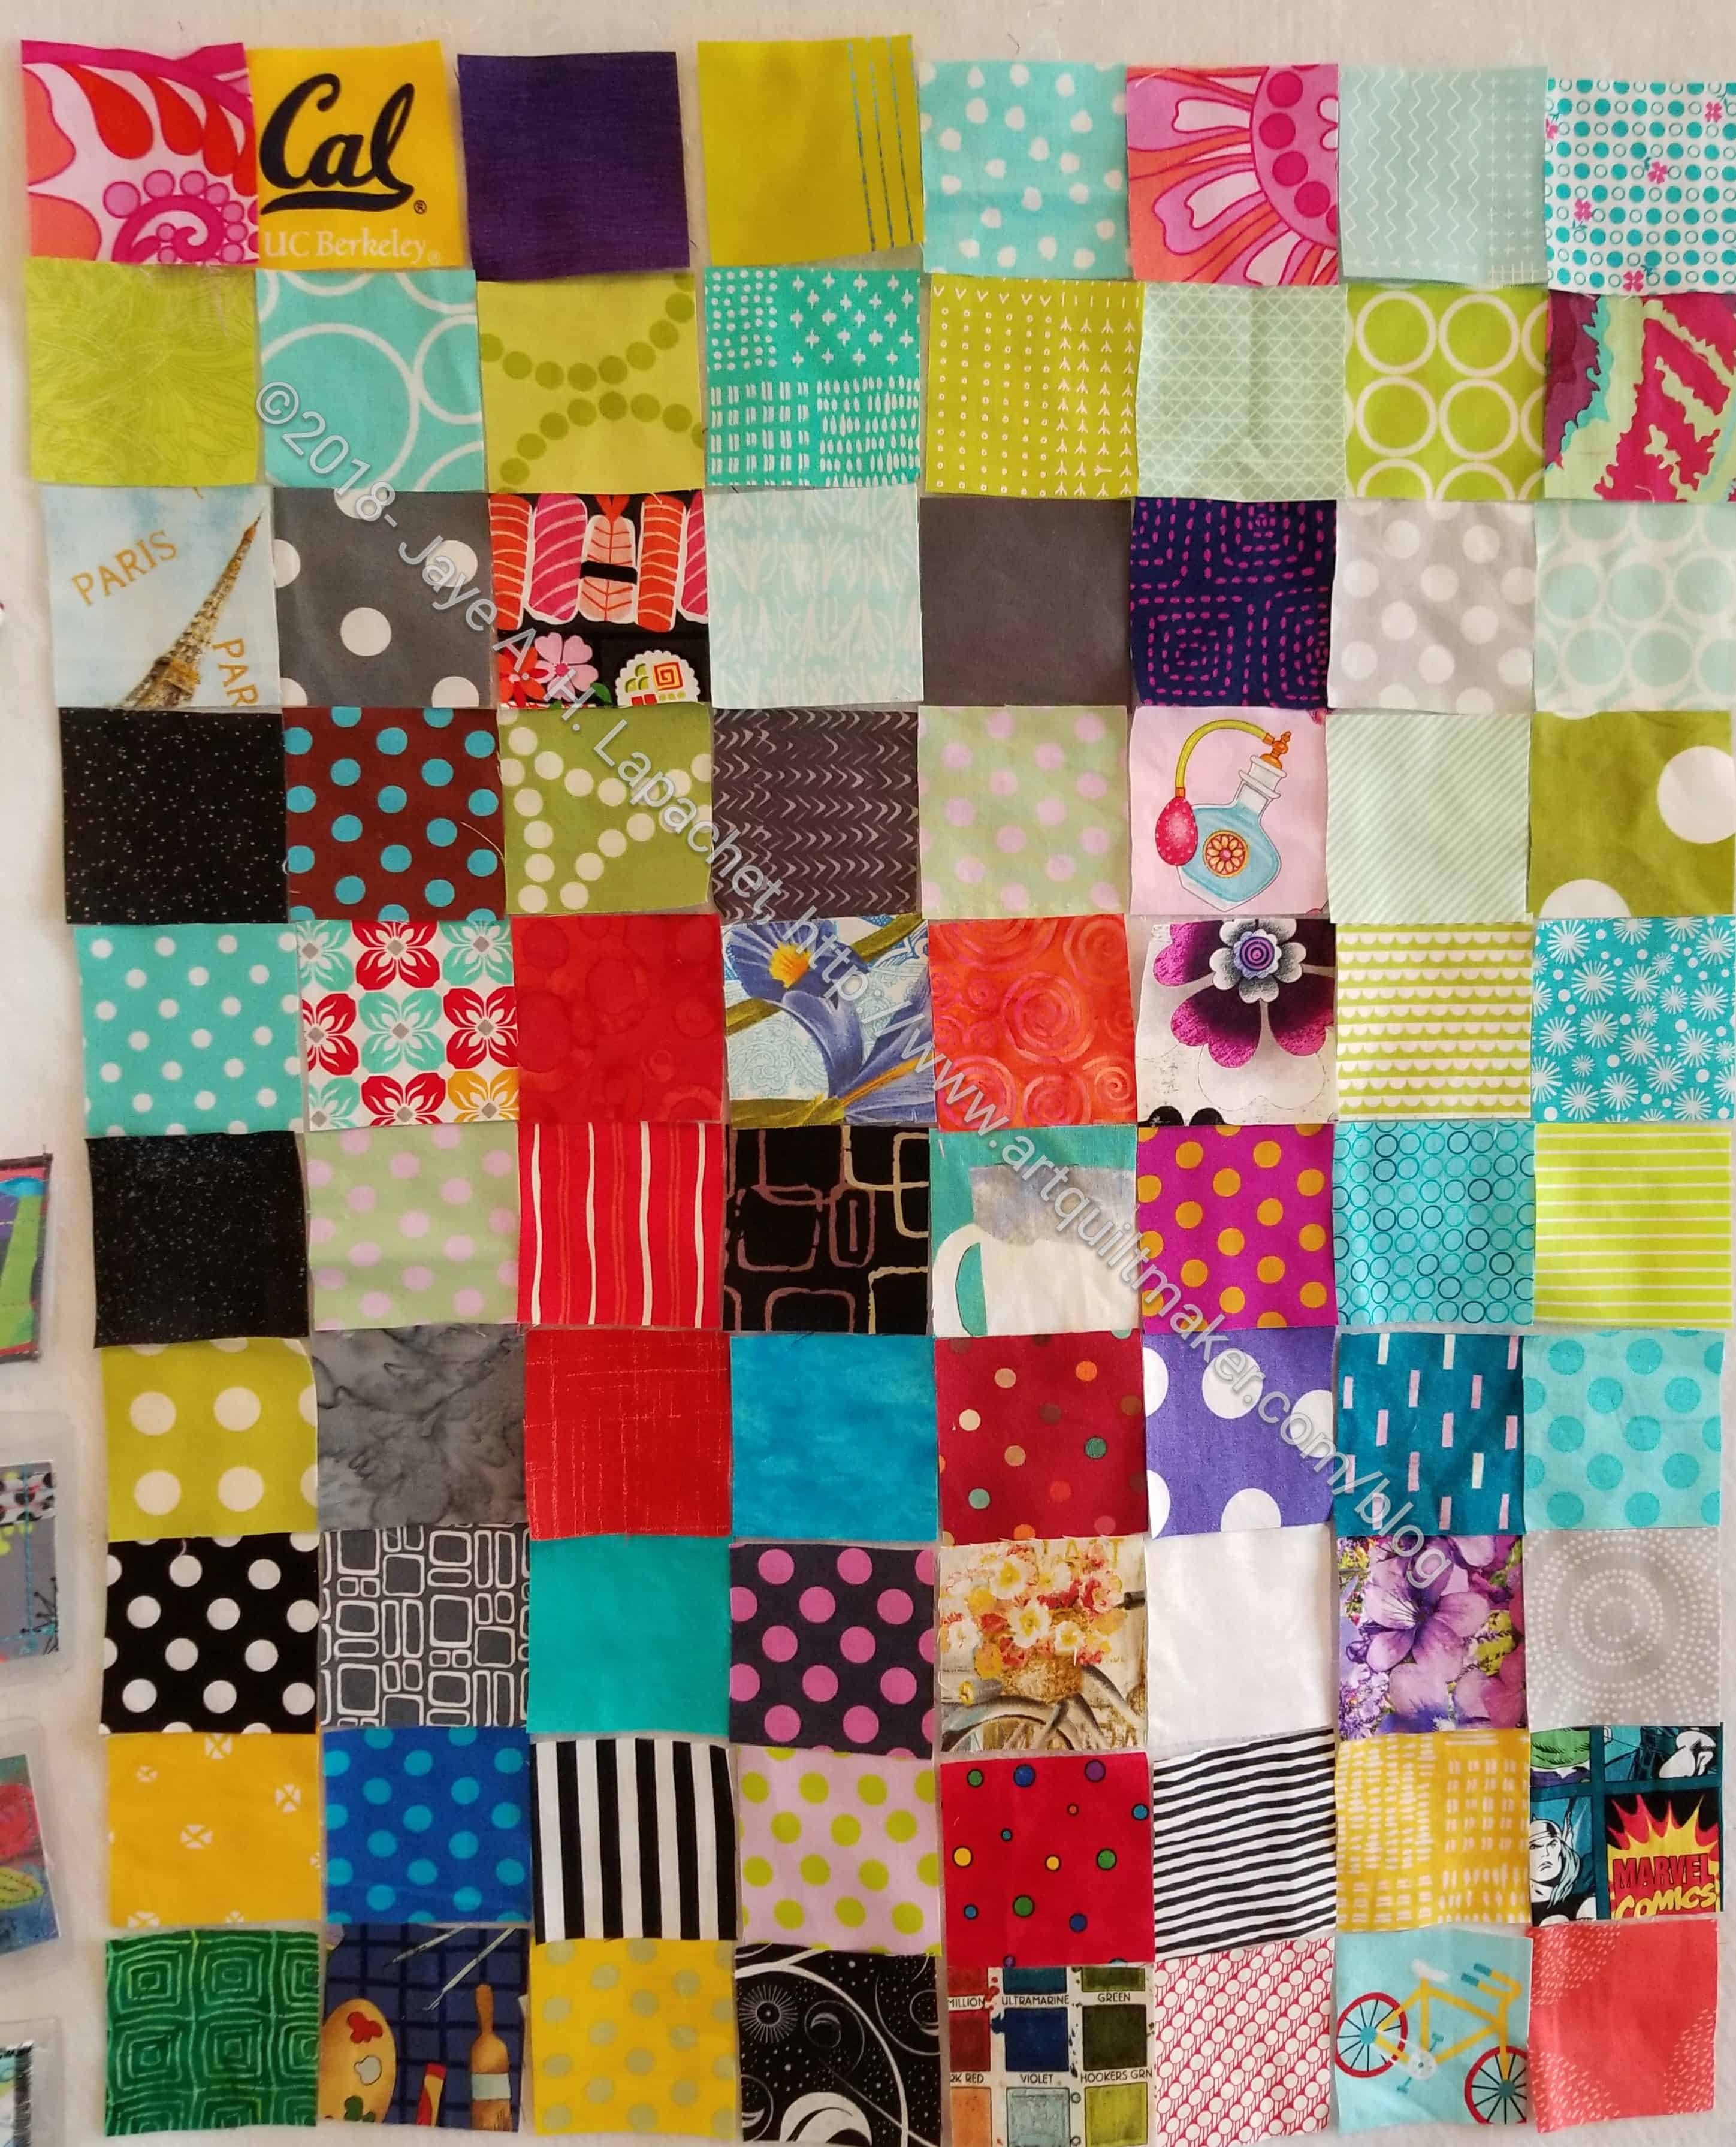
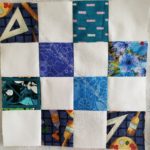
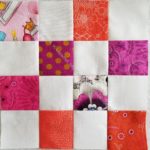
As I may have mentioned in one of my QuiltCon posts, I got some charm squares that are to be used for donation blocks for Quilts for Cure. Quilts for Cure is led by HollyAnne Knight and it was a pleasure to meet her. I am always pleased to make donation blocks and this seemed like a good opportunity.
Michael Miller donation blocks
I started worrying about it this past week. I woke up in the middle of the night worrying about these blocks, which is not a good thing. Part of it was the charm squares. We had to make blocks from charm squares. I didn’t know what blocks to make! That is a weird feeling as I always have an idea.. I talked to Friend Julie, who was zooming along with her blocks, then I searched for “blocks with charm squares.” I found a tutorial for a block I could make and was willing to make.
Now I am zooming through these. I have made four, have two in progress and have another stack of charm squares to use.
I am looking forward to crossing another thing off my list!
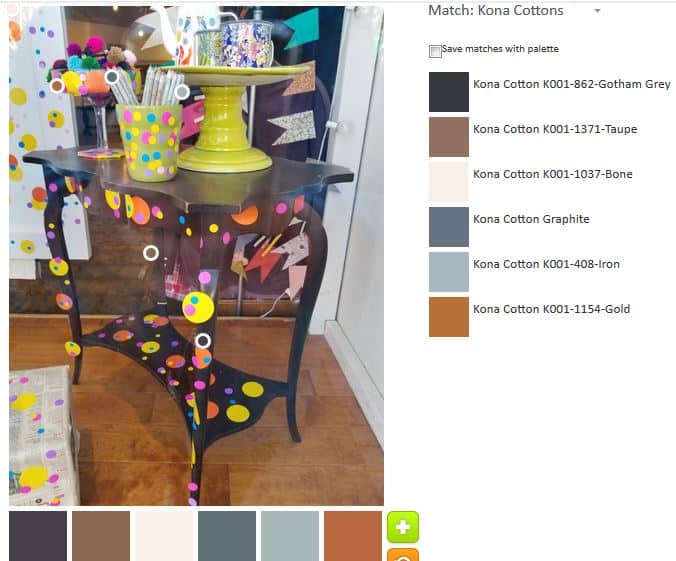
After a brief hiatus, ColorPlay is back. I was inspired by a window display I saw.
At first, I thought the dots were part of the items for sale, but then I realized that they were temporary dots and added a lot of fun color to an, otherwise, uninspiring display. The table has a nice shape and the black isn’t terrible, but the pops of color really made me look again at the display.
ColorPlay: Window Dressing – default
The default palette was pretty uninspiring. Again, the tool pulled out all of the neutrals and produced a shockingly depressing palette from an image that comes across as, at least, relatively, cheerful. I can only guess that the tool analyzes the relative sizes of the shapes in the image and pulls color from those. In that case, the Gotham Grey and the Gold would be understandable.
ColorPlay: Window Dressing – n.1
Enough of that nonsense, however! I saw lime and pink and other colors and I delved in to see if I could make a palette that I would like.
The first palette I created is much better – much more cheerful, I should say. I deliberately stayed away from the black, brown and other neutrals. I especially love the Bright Pink, the Pickle and the Citrus. The combination work well together. I think the Kona Haze gives the other bright colors space to shine.
ColorPlay: Window Dressing n.2
The second palette is my favorite, however. I added in more cool colors and it looks like a palette that I would use.
The turquoise, of course, is a favorite, but the two purples, Kona Lupine and Kona Violet, really add to the turquoise. This does not come across as sweet and kidlike as palette n.1.
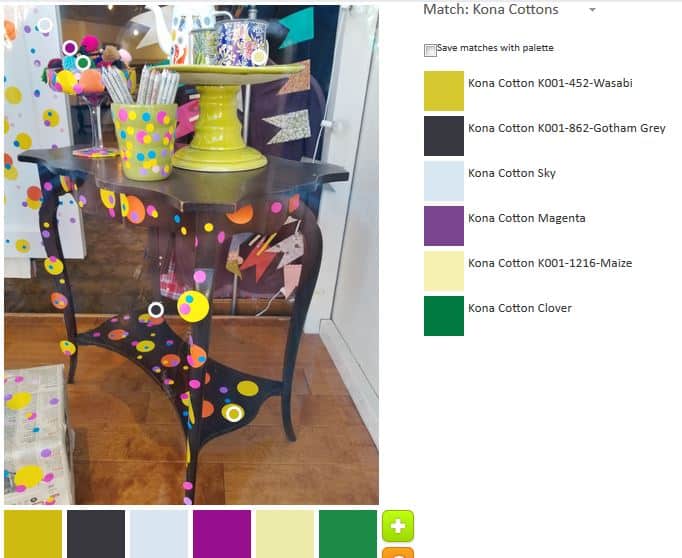
ColorPlay: Window Dressing n.3
The final palette was an attempt to blend my color preferences with the default palette. I am not as enamoured with it as I am with Palette n.2, though I do see the benefits of the group of colors. That Kona Magenta (which looks more like dark violet to me) is a star. I am on the fence about the Clover (green). I purposefully chose the Wasabi, because there is so much of it in the tableau. I am just not sure this palette works together as well as the others.
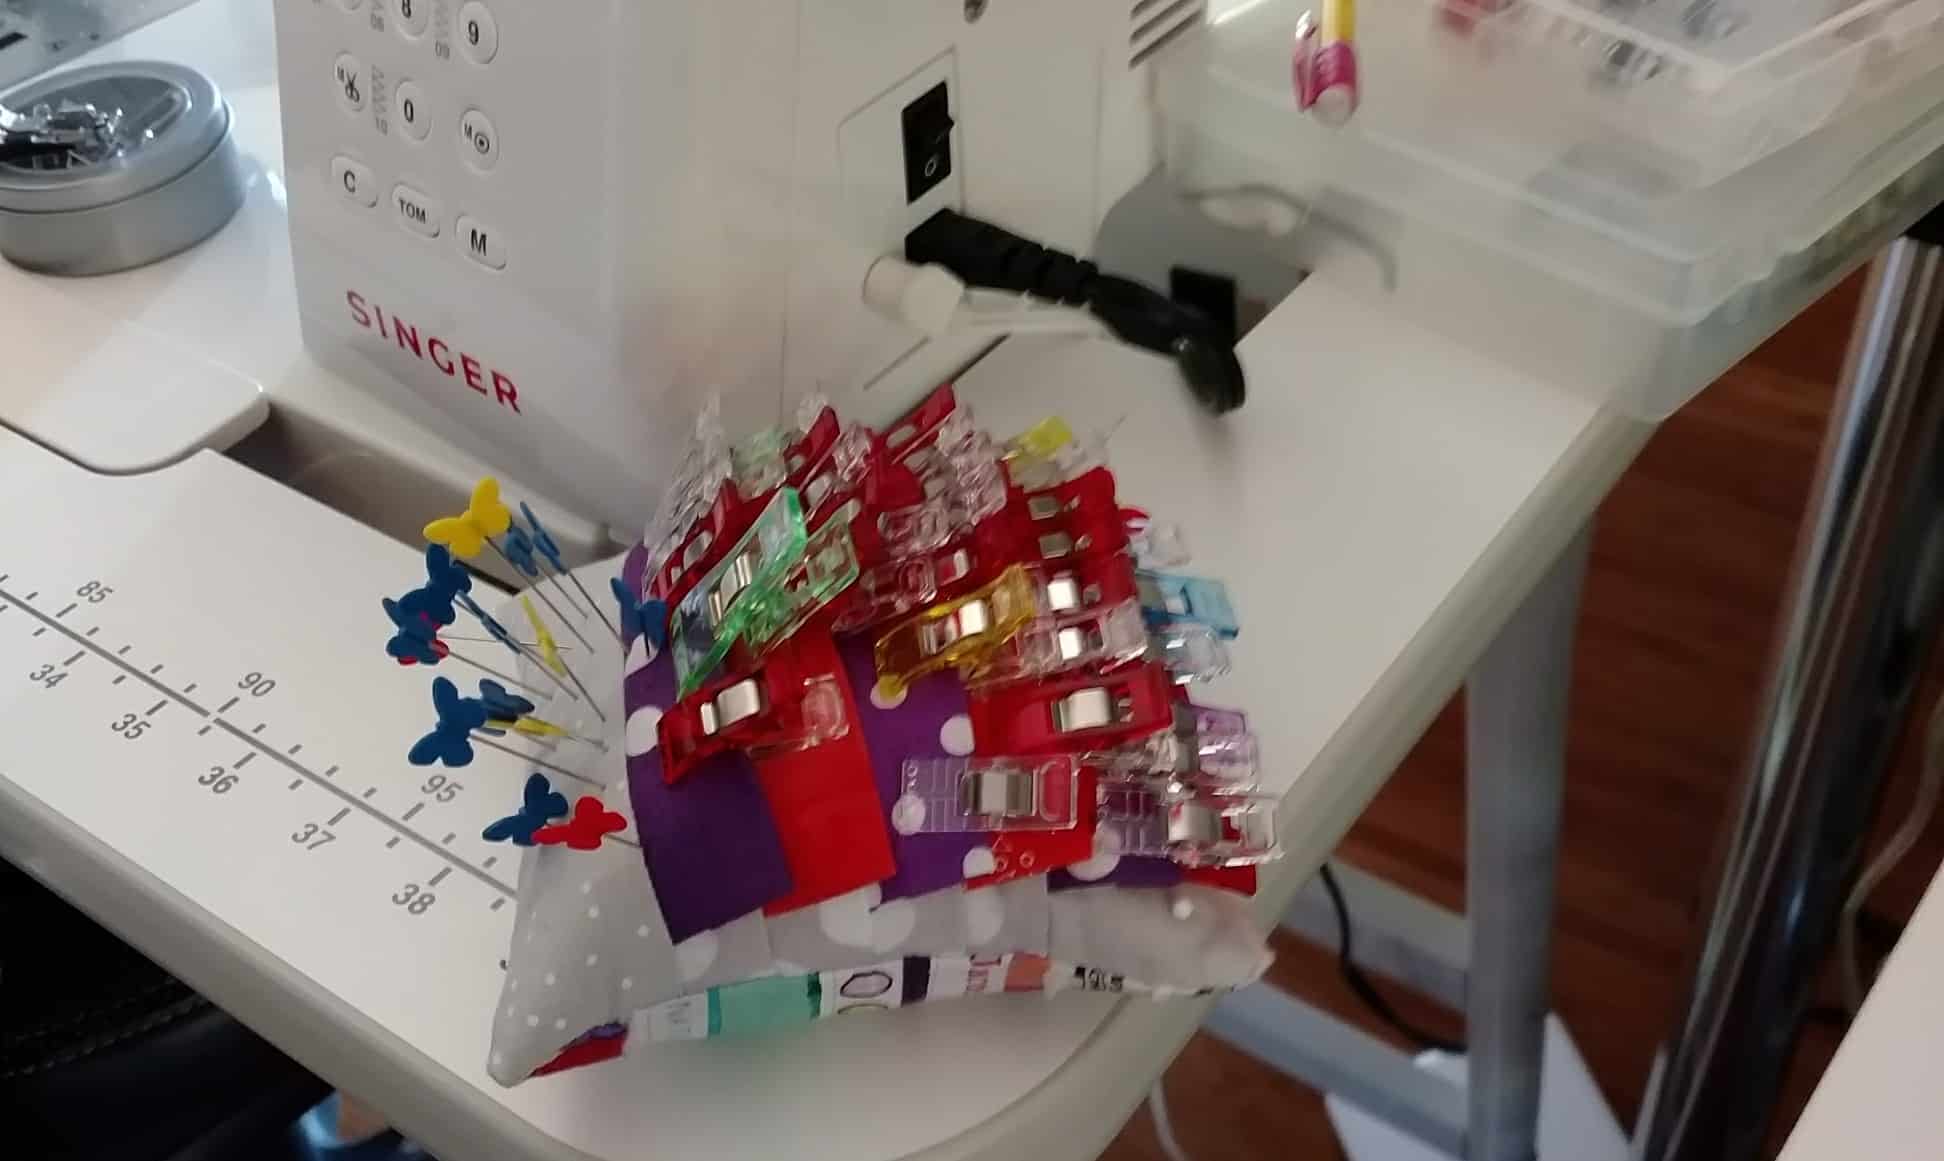
This bag and the gift Sew Together Bags have been on my list for a long time. As usual, the cutting took forever. As I mentioned, last week, after the March Sew Day I decided to get busy and get these done.
PJ Sew Together Bag in process
I remembered, after laboring for what seemed like hours, why it has been awhile since I made any more of these. The layers you have to sew through is daunting. These are very useful bags, but a pain to make.
Last time I made some I had the following advice:
Think the strips for the long zipper would lay better if they were on the bias.
The bag needs some feature to which Wonder Clips can be clipped.
I tried a few different things and cannot get the top stitching to look good where there are many, many layers.
WonderClips are a godsend for making this project. I used about 12. They are not listed on the supply list, but I think they are essential for this bag.
Make the pincushion (mine is a little too large on this one) and the exterior at the beginning of the bag making process. It is such a hassle to stop and do the fiddly bits when you are so close to finishing.
Use a two sided zipper pull
I tried out my bias advice. The binding strips still do not lay completely flat once the bag is sewn together. It could be the difficulty of stitching through so many layers.
I would also add: make sure you don’t get an invisible zipper. I had to rip out the stitching on the main zipper several times before I got it to a point where I could stand to look at it.
I am almost finished with this bag. I am working on two others and am not sure I will ever make this bag again. I’ll probably forget the drama and make more at some point when my rose colored glasses are back on.
I finally had enough cut pieces to write a post on the Fabric of the Year 2018 piece. This year I chose a 2.5″ square so I could have a realistic chance of doing the Ellsworth Kelly style layout. The size of the pieces from Fabric of the Year 2017 makes this layout realistically impossible. First of all, I don’t have a design wall large enough to accommodate such a large piece. Second, I would have to cut all the pieces down to a square and I want to work with the subway tile shape. Third, I don’t want to wrestle such a large quilt. FOTY 2017 will probably be a monster anyway and I don’t want to add to it. It seemed better to start afresh with an idea in mind.
The 2.5″ shape also means I can get pieces out of small leftovers where needed. I am excited, though FOTY 2017 being undone still drags a bit. I am making progress on my list, so I can’t complain too much.
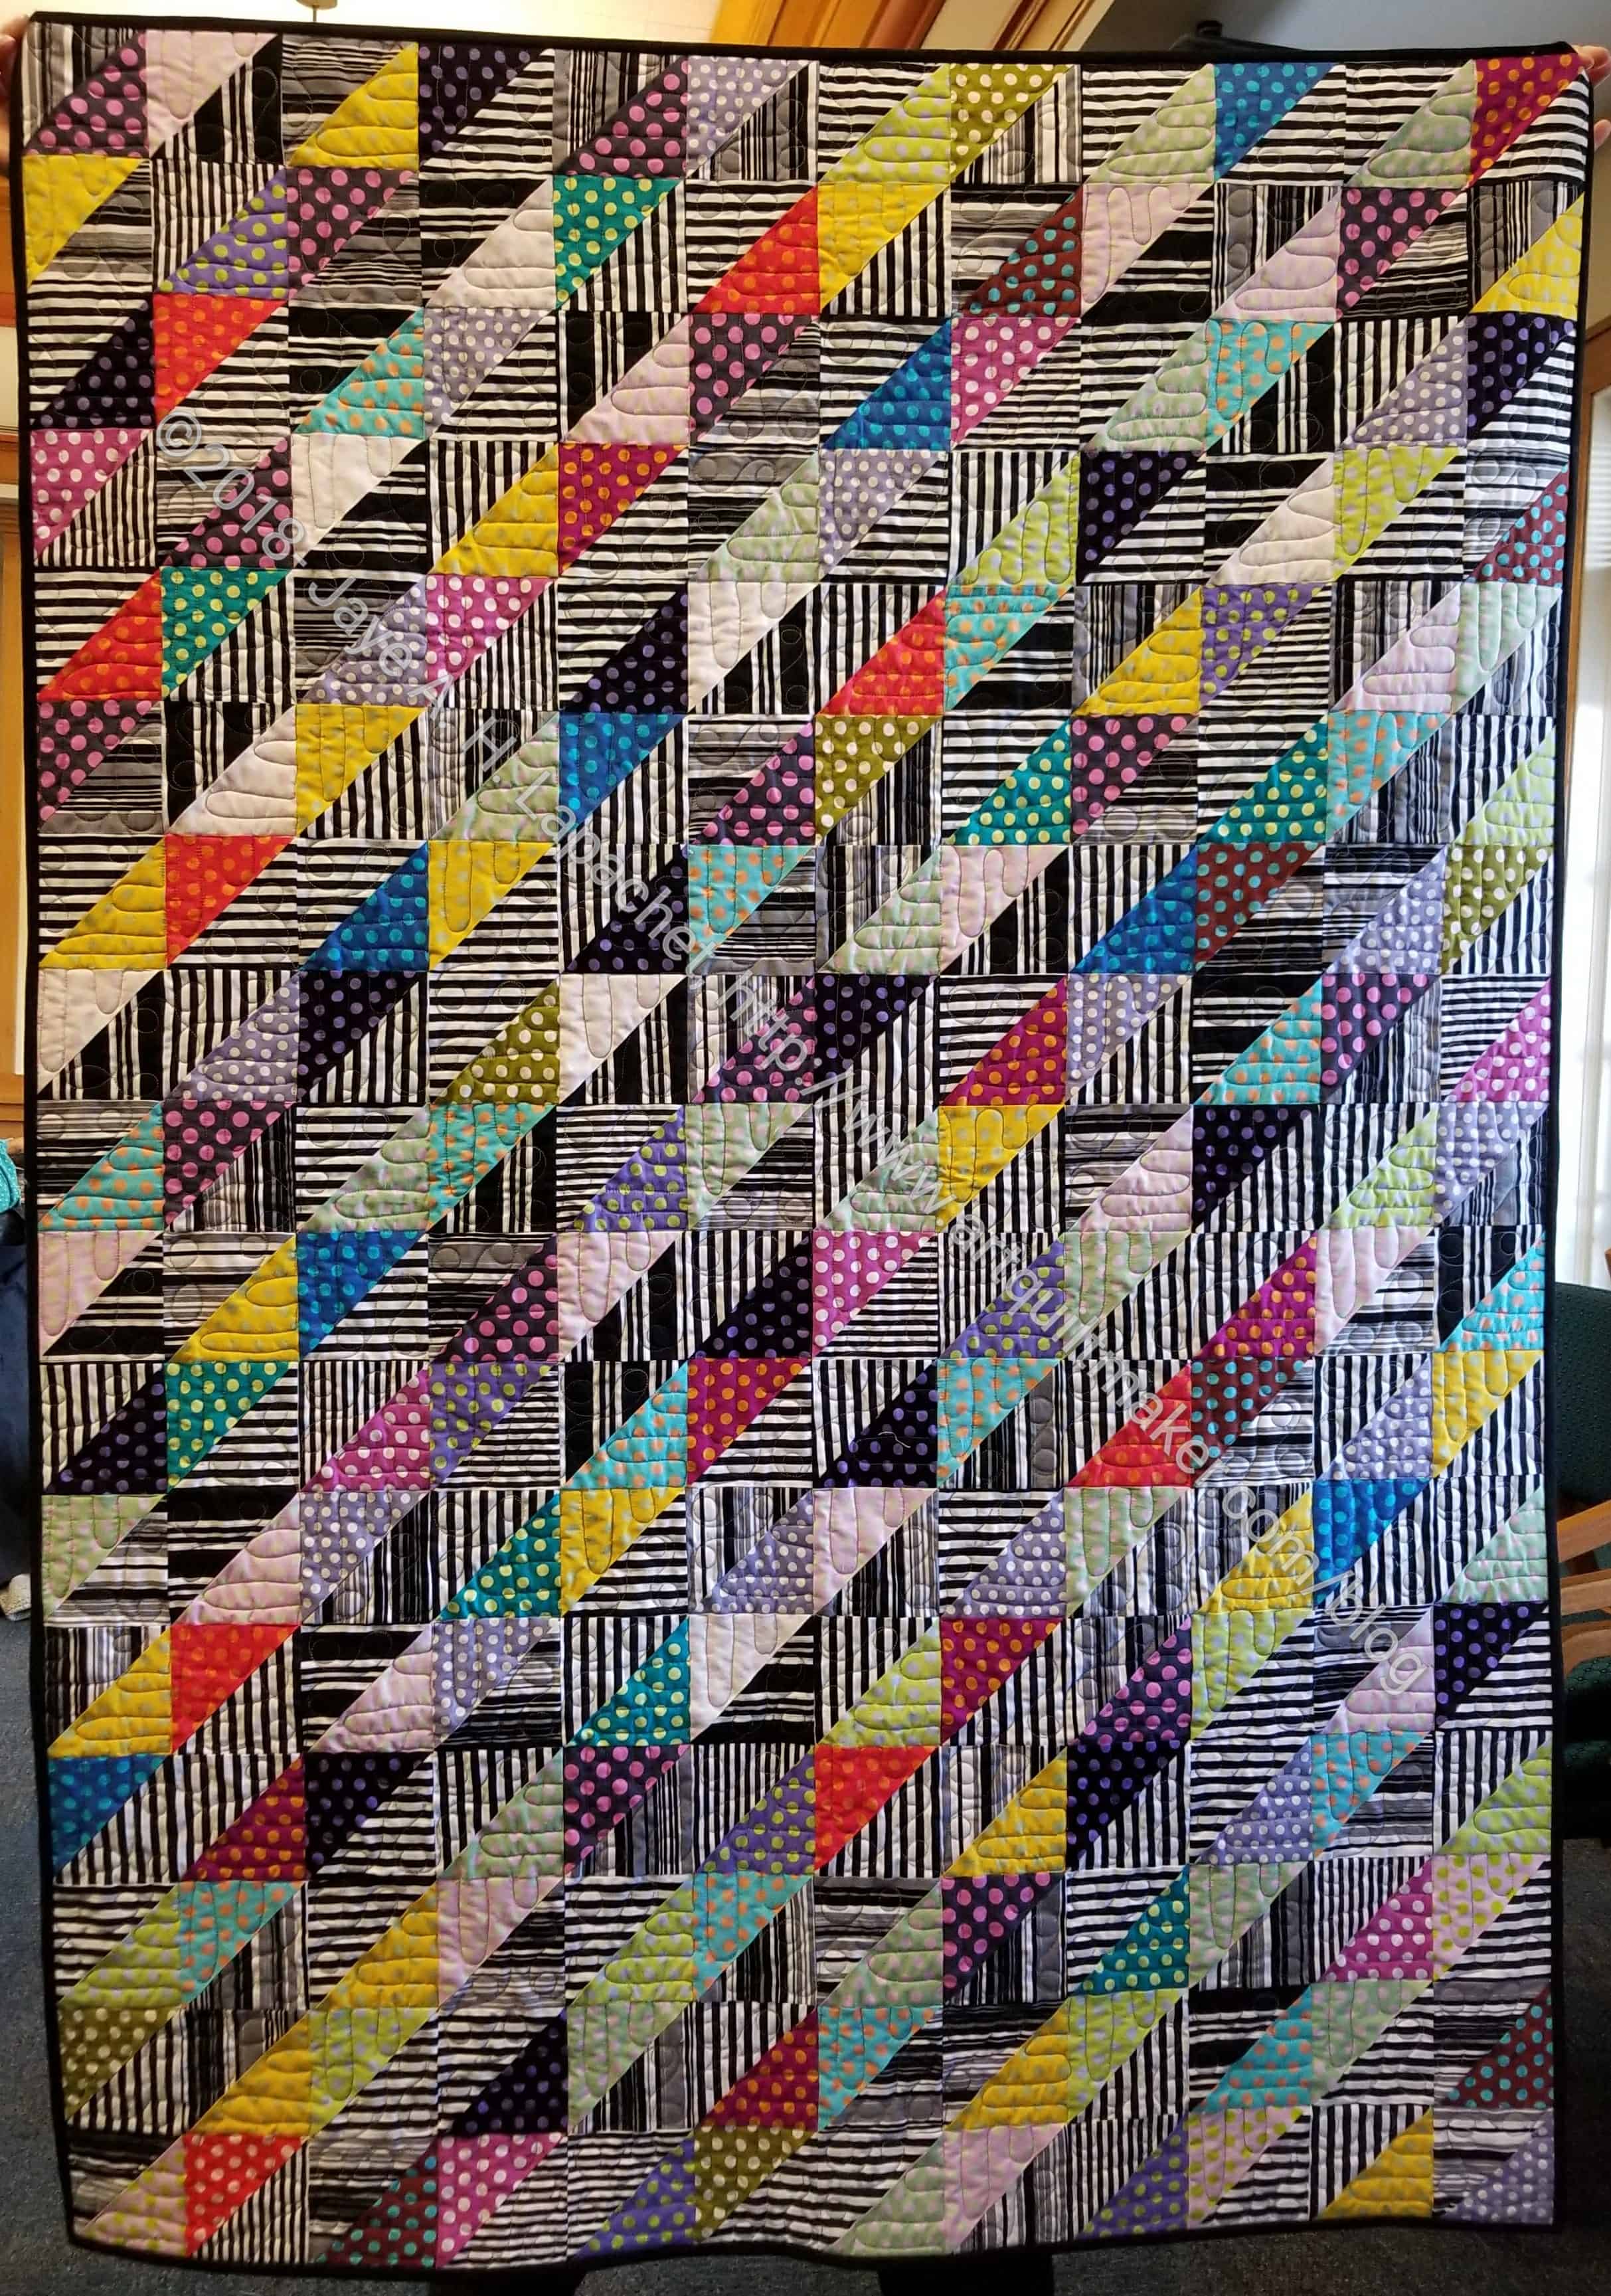
I finished the binding on Ta Dots & Stripes last week. I got three quilts back around March 2d and I am steadily working on getting them actually completed. Well, at least completing the binding. I decided to enter this one and the Planned Improv quilt into the fair, which means I have to make sleeves.
This also means the quilts will be hanging around through June rather than being sent off sharpish.
Administravia
Remember: if you want to receive notices that I have published a new post, sign up for email notifications. Scroll down a little way on the sidebar, put in your email and follow the directions. You will get a confirmation and can cancel at any time.
Quilt World News
Have you ever heard of The Quilting Company? No? Me neither. Well, it is a new organization made up of Fons & Porter, Quilting Quickly, Easy Quilts, Quilty (I thought that mag was dead! Glad to see it is still around), McCall’s Quilting, McCall’s Quick Quilts, Quiltmaker, Quilting Arts (WHAT???) and Modern Patchwork. I checked out their site. No sign of even the archives of Quilter’s Newsletter. 🙁 Their site is about sales. They have kits and patterns and fabric right up front with no warm and fuzzy letter from the editor. When I went to the Discover & Learn link, I found that they have online classes. There are a variety of different certifications, such as Sulky Teacher Certification ($199), APQS Longarm Certification ($499) as well as regular classes. Some of the regular classes are needle-turn applique’ with Jan Patek ($49.99), a variety of Log Cabin quilt classes ($24.99), Anatomy of a Bag ($40), Essential Math for Quilters ($25), and a whole lot of other classes for a variety of prices. It seems they have free classes, but I didn’t see any to click on.
There are galleries of quilts from each publication of quilts and projects. The quilts open in a new window where there aren’t any other photos of the quilts from the main page (only a lifestyle shot for the ones I looked at), then all the links to buy the various products needed to make the quilt. I would have at least put up additional photos. There is a section of free quilt patterns and a newsletter you can join.
I truly don’t believe that everything in the quilt world should be free. I believe that people should be paid for their designs, patterns and work. This site is all about sales. There is nothing cheerful or friendly to make me want to look around and, perhaps, get interested in a pattern or project. I know the site is new and is probably being built out, but they need to pay some writers to add content, get some photographers to add photos to the project pages and, generally, beef up their offerings. Beyond that I am not sure what to think except one of some magazine (blog, website, IG feed) needs to write a column called Quilt World News so I don’t find out about this stuff in an ad. Perhaps one does and I am missing it?
Another organization I came across was the National Quilter’s Circle. Where have I been? They claim it is free, but you can’t see anything without entering your email. Once you enter your email “you have been invited to become a premium member.” Hhmm. Cost is $5 (cheap) and they also have online classes, but still. I can’t see anything, so how do I know if the information will help me? Once you put in your email, you can see a sample video (I haven’t watched any yet). They say they have videos, projects with new videos every week. I’m not joining even at $5, but it could be interesting and cheaper than $25 or $49 of The Quilting Company. After a week or so of receiving the National Quilter’s Circle emails, I might sign off. I get at least one email every day and 1-2 times per week they are offering me a deal to join.
Projects, Patterns, Classes & Tutorials
If you need to dip your toe into bag making, then the Crafty Wench’s Pool tote looks easy and has some things going for it. Despite the fact that I haven’t made the project, I read through the directions and like:
the shoulder strap and handles features
she makes the strap early on in the project and you know I like having the little parts of the project done first
her cat looks like my old cat Spooky
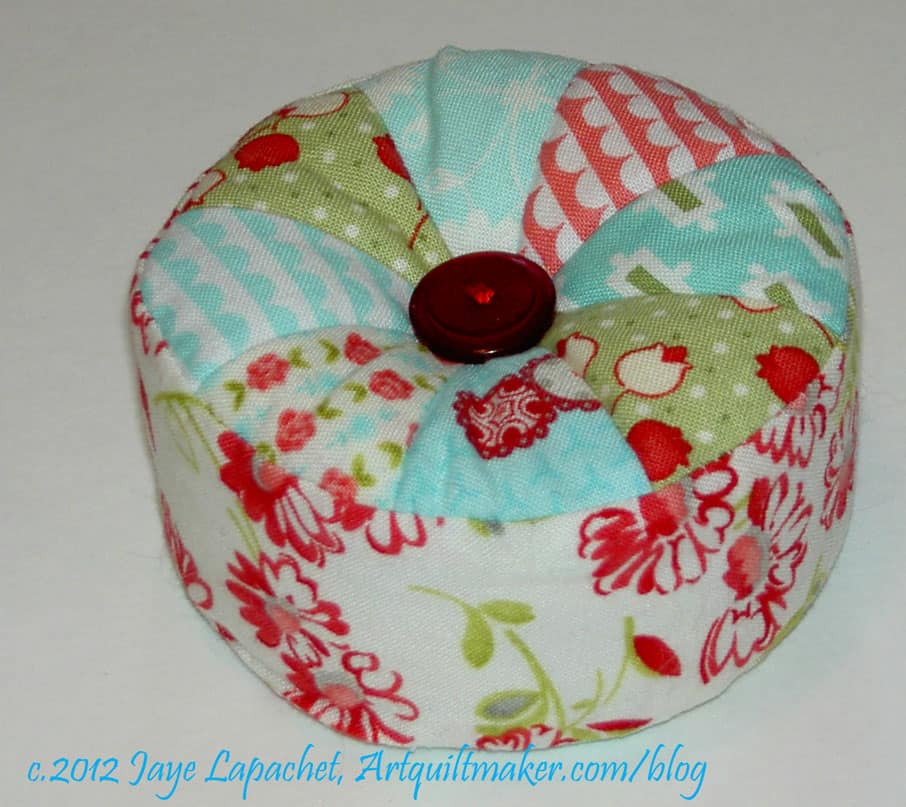
Vintage Modern Pincushion
I updated some of the pincushion posts to make the pattern information clearer. One pincushion I like to make looks like a little cake. I love this pincushion and may have to make some more of them! It is a pattern from Fig Tree & Co called Petite Gateau. I bought the print pattern at PIQF, but she has a downloadable version, if you want it NOW.
Tim’s pincushion in the wild
The other pincushion I make is the WonderClip pincushion. I found the pattern in Love Patchwork and Quilting, issue 39. It is available digitally in the Apple and Google Play stores. I don’t know if the print issue is still available.
Tucker University is a program from Deb Tucker of Studio 180 designs, the Rapid Fire LeMoyne Star ruler, Wing Clipper ruler and many other products. This program allows shops to get a kit for demos and classes. You, as a LQS customer, can look at the available classes (you know you want to make a Hunter’s Star quilt with the Rapid Fire Hunter’s Star ruler!) request these classes from your LQS. Shops can subscribe to the classes and get a bonus if they subscribe for a year. The program looks interesting.
Normally, when I make a pillow cover, I just make the back out of two smaller pieces of fabric and make sure they overlap. At some point I got a catalog from Spoonflower and saw that they had a tutorial for putting in a back zipper closure. In an upcoming swap for my guild we are making pillows. I decided that I would try this method. I’ll let you know how it goes.
I visited the Quilts Illustrated site to see if they had zippers (they do). I bought a zipper from Elkhorn Quilt Company at QuiltCon to complete the Quilts Illustrated Tool Tote pattern I bought, but now that I have decided on fabric colors for the bag, the zipper is not the right color. As I was looking through the site, I was reminded of the cutting pages. The pattern I bought comes with little tags you can attach to your cut pieces to keep them in order. QI has PDF versions if you need more.
Need to make some aprons and want to make them from free patterns? AllPeopleQuilt has a post with 5 free patterns.
I updated my Half Rectangle Triangles tutorial page with a technique by Latifah Safir. I saw an episode of Fresh Quilting where she talked about a quilt she made with the HRT shape. She has a nice handout, though she doesn’t talk about different sizes of rectangles or the ending size of the patch made with this tutorial. I also added Jacquelynne Steves tutorial, which does have some math included to help with determining finished sizes. I haven’t found a complete chart yet that allows the maker to look up finished sizes and find cut sizes.
As you know from my mentions of the Organizer Club I joined, the Crafty Gemini is my new best friend. 😉 She put out a new video on taking body measurements and how those measurements relate to sizes on patterns.
I updated the Quilt Class: Curves tutorial with a new resource. I watched Fresh Quilting and came across the Curves Survival Guide by Jen Carlton Bailly. I’d like to try this, but I might just stick to pins. Since I pre-wash (the living daylights out of) all my fabrics, I don’t wash them after I finish them. I am not sure I want glue in my seam allowances. Still, it is an interesting technique.
The MQG has articles, patterns & Videos available to MQG members. Check it all out on the Resources page!
Articles – New articles from the modern quilting community are published each month! » Learn more
Patterns – Quilt of the Month patterns and additional bonus patterns are available year-round » Learn more
Blocks – Each month, the MQG publishes a block pattern with loads of variations on how to use it in a quilt. Block and quilt patterns are available here. » Learn more
Fresh Quilting – All episodes of Fresh Quilting seasons 1 and 2 are streaming online for MQG members! See them all here. » Learn more
Tools, Notions, Supplies & Fabric
If you want to know how thread is weighted, Aurifil posted recently on their Auribuzz blog about that very topic. It isn’t a very long post, but very interesting and has a challenge for librarians at the end! Their blog is very graphically oriented and that makes it a little difficult to navigate.
I was introduced to SewTites at QuiltCon. I got a couple of samples and find them to be strong. These are magnets described as “A way to “pin” when you can’t! Magnetic “pins” for sewing super thick materials, like leather or cork, or pieces that aren’t near an edge, like pockets on bags. Simply align the pieces you need to sew together, snap on the SewTites, and SewTite-ly!” I really like this idea for keeping layers together before sewing. I’d love to see these work for basting, but can’t see how to keep the quilt taut while sliding the magnets under the quilt. If you make bags, you might want to try them out.
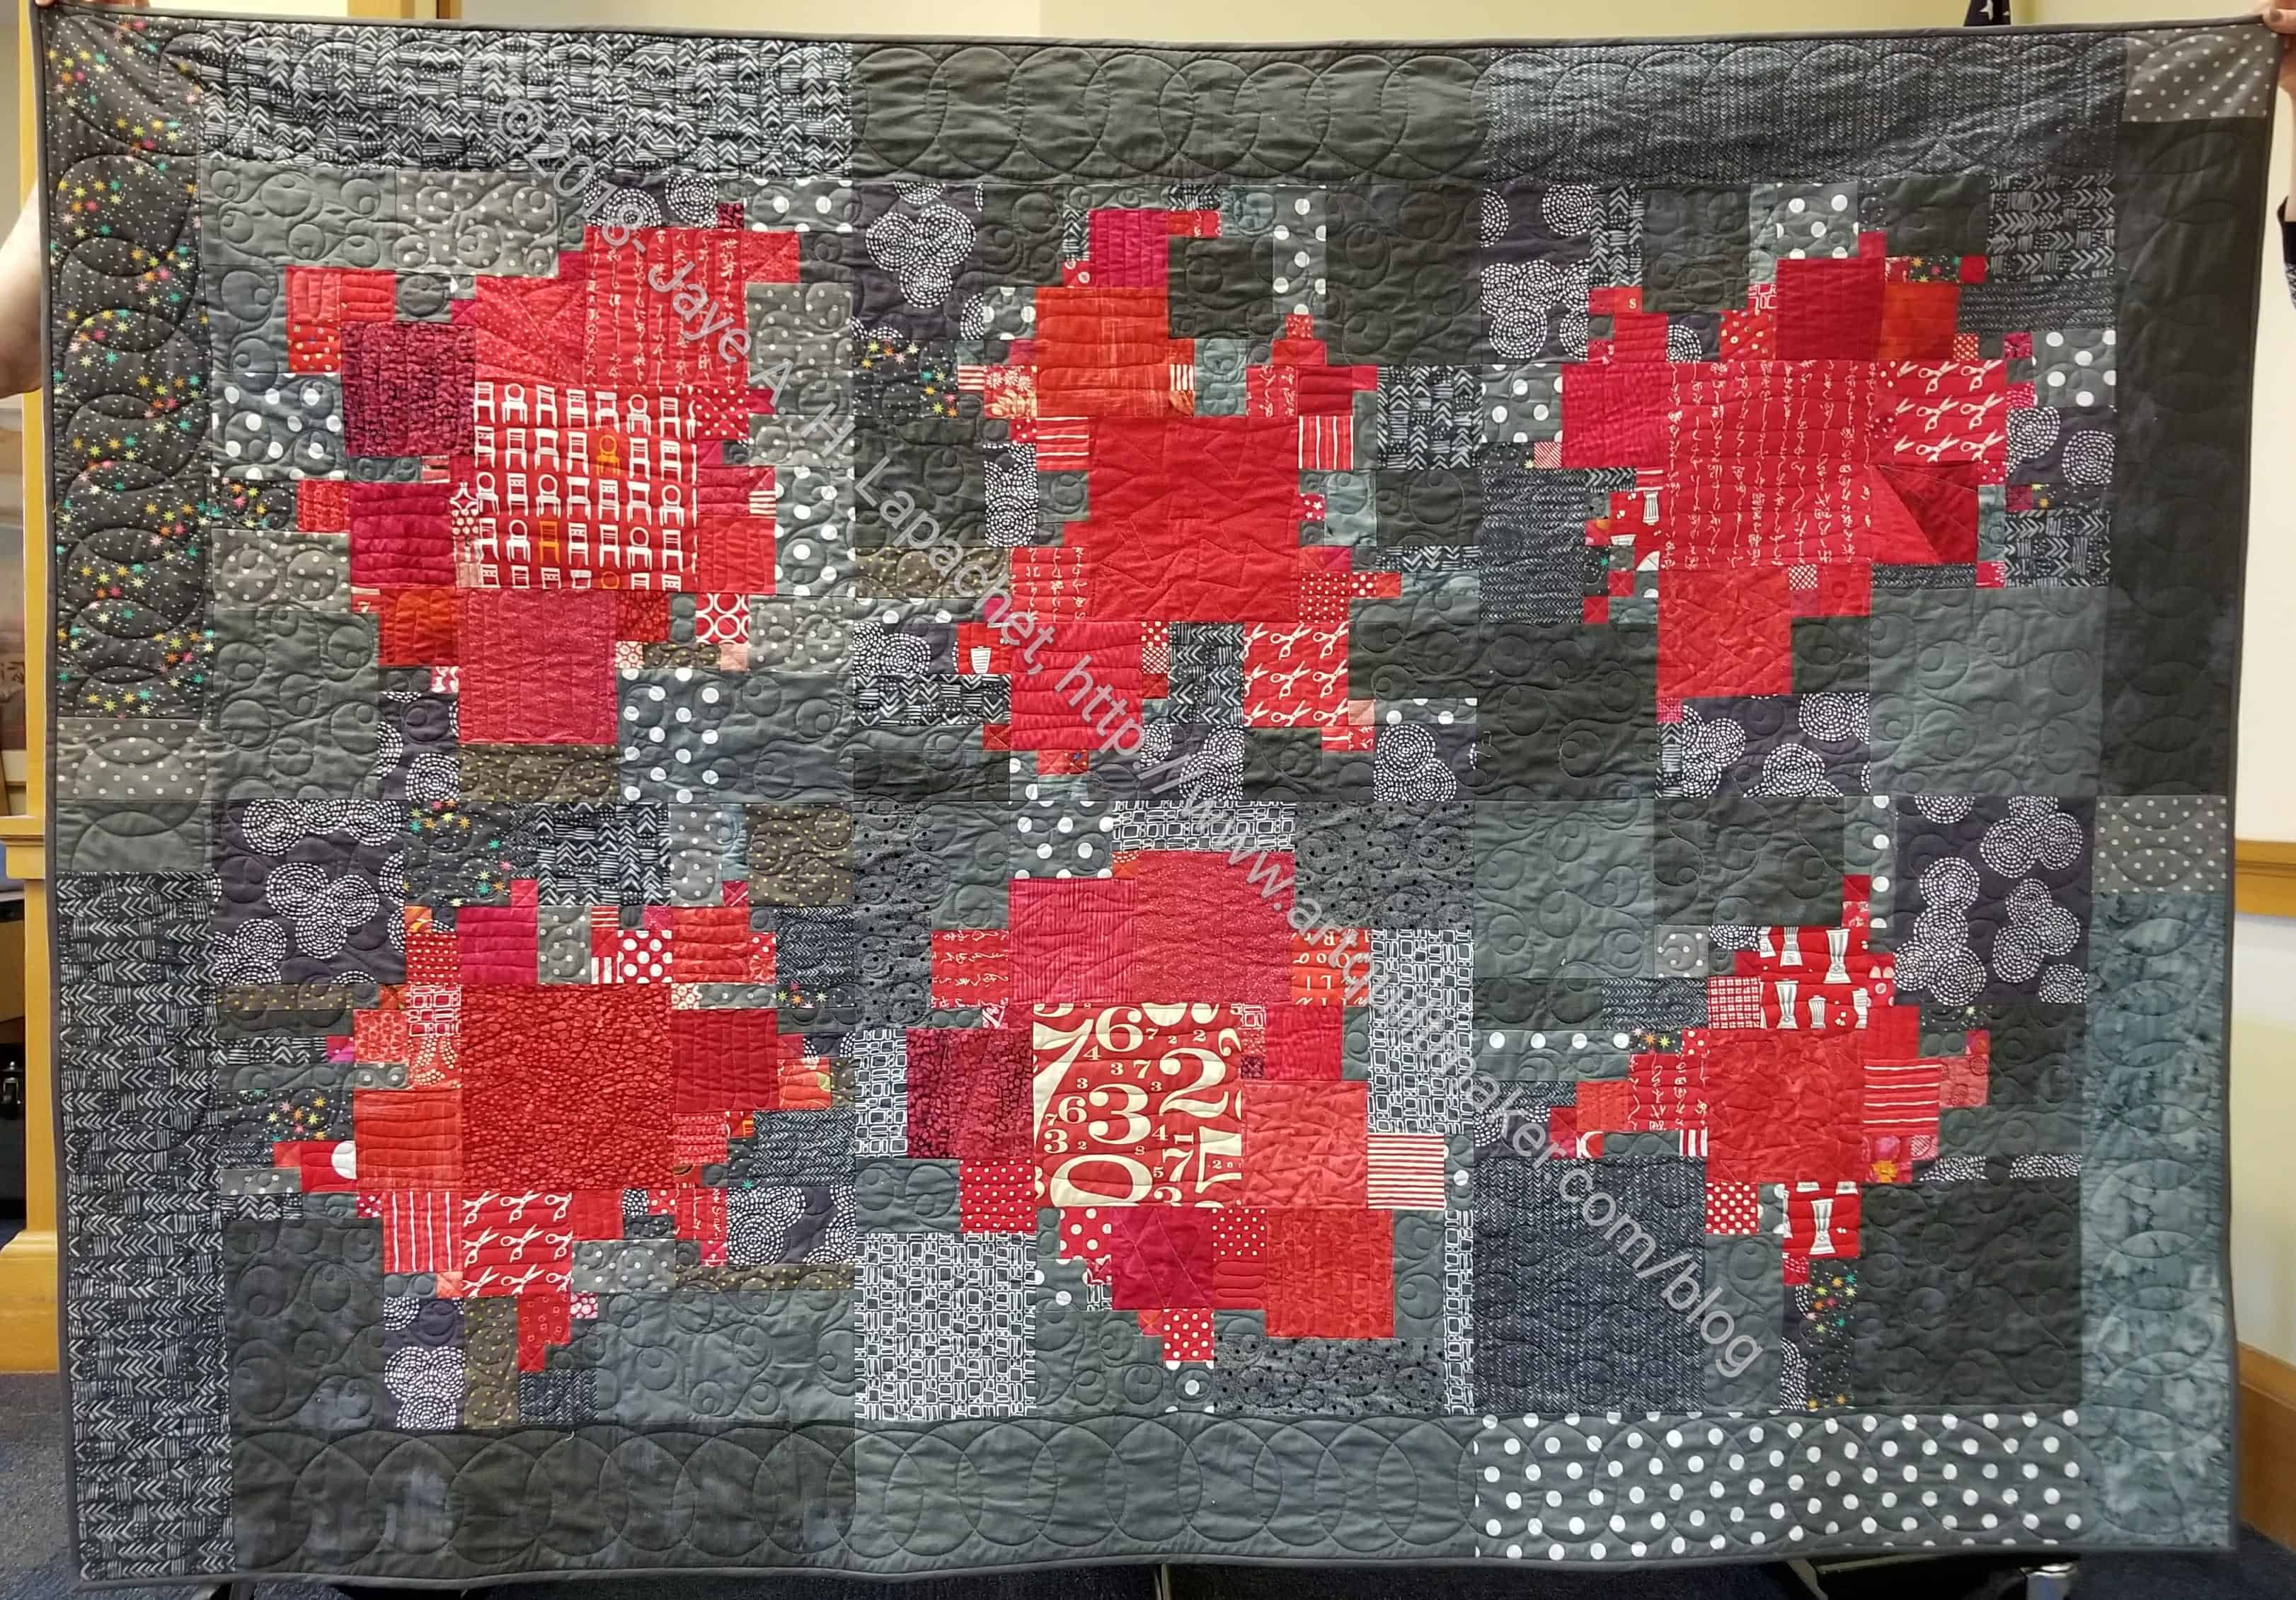
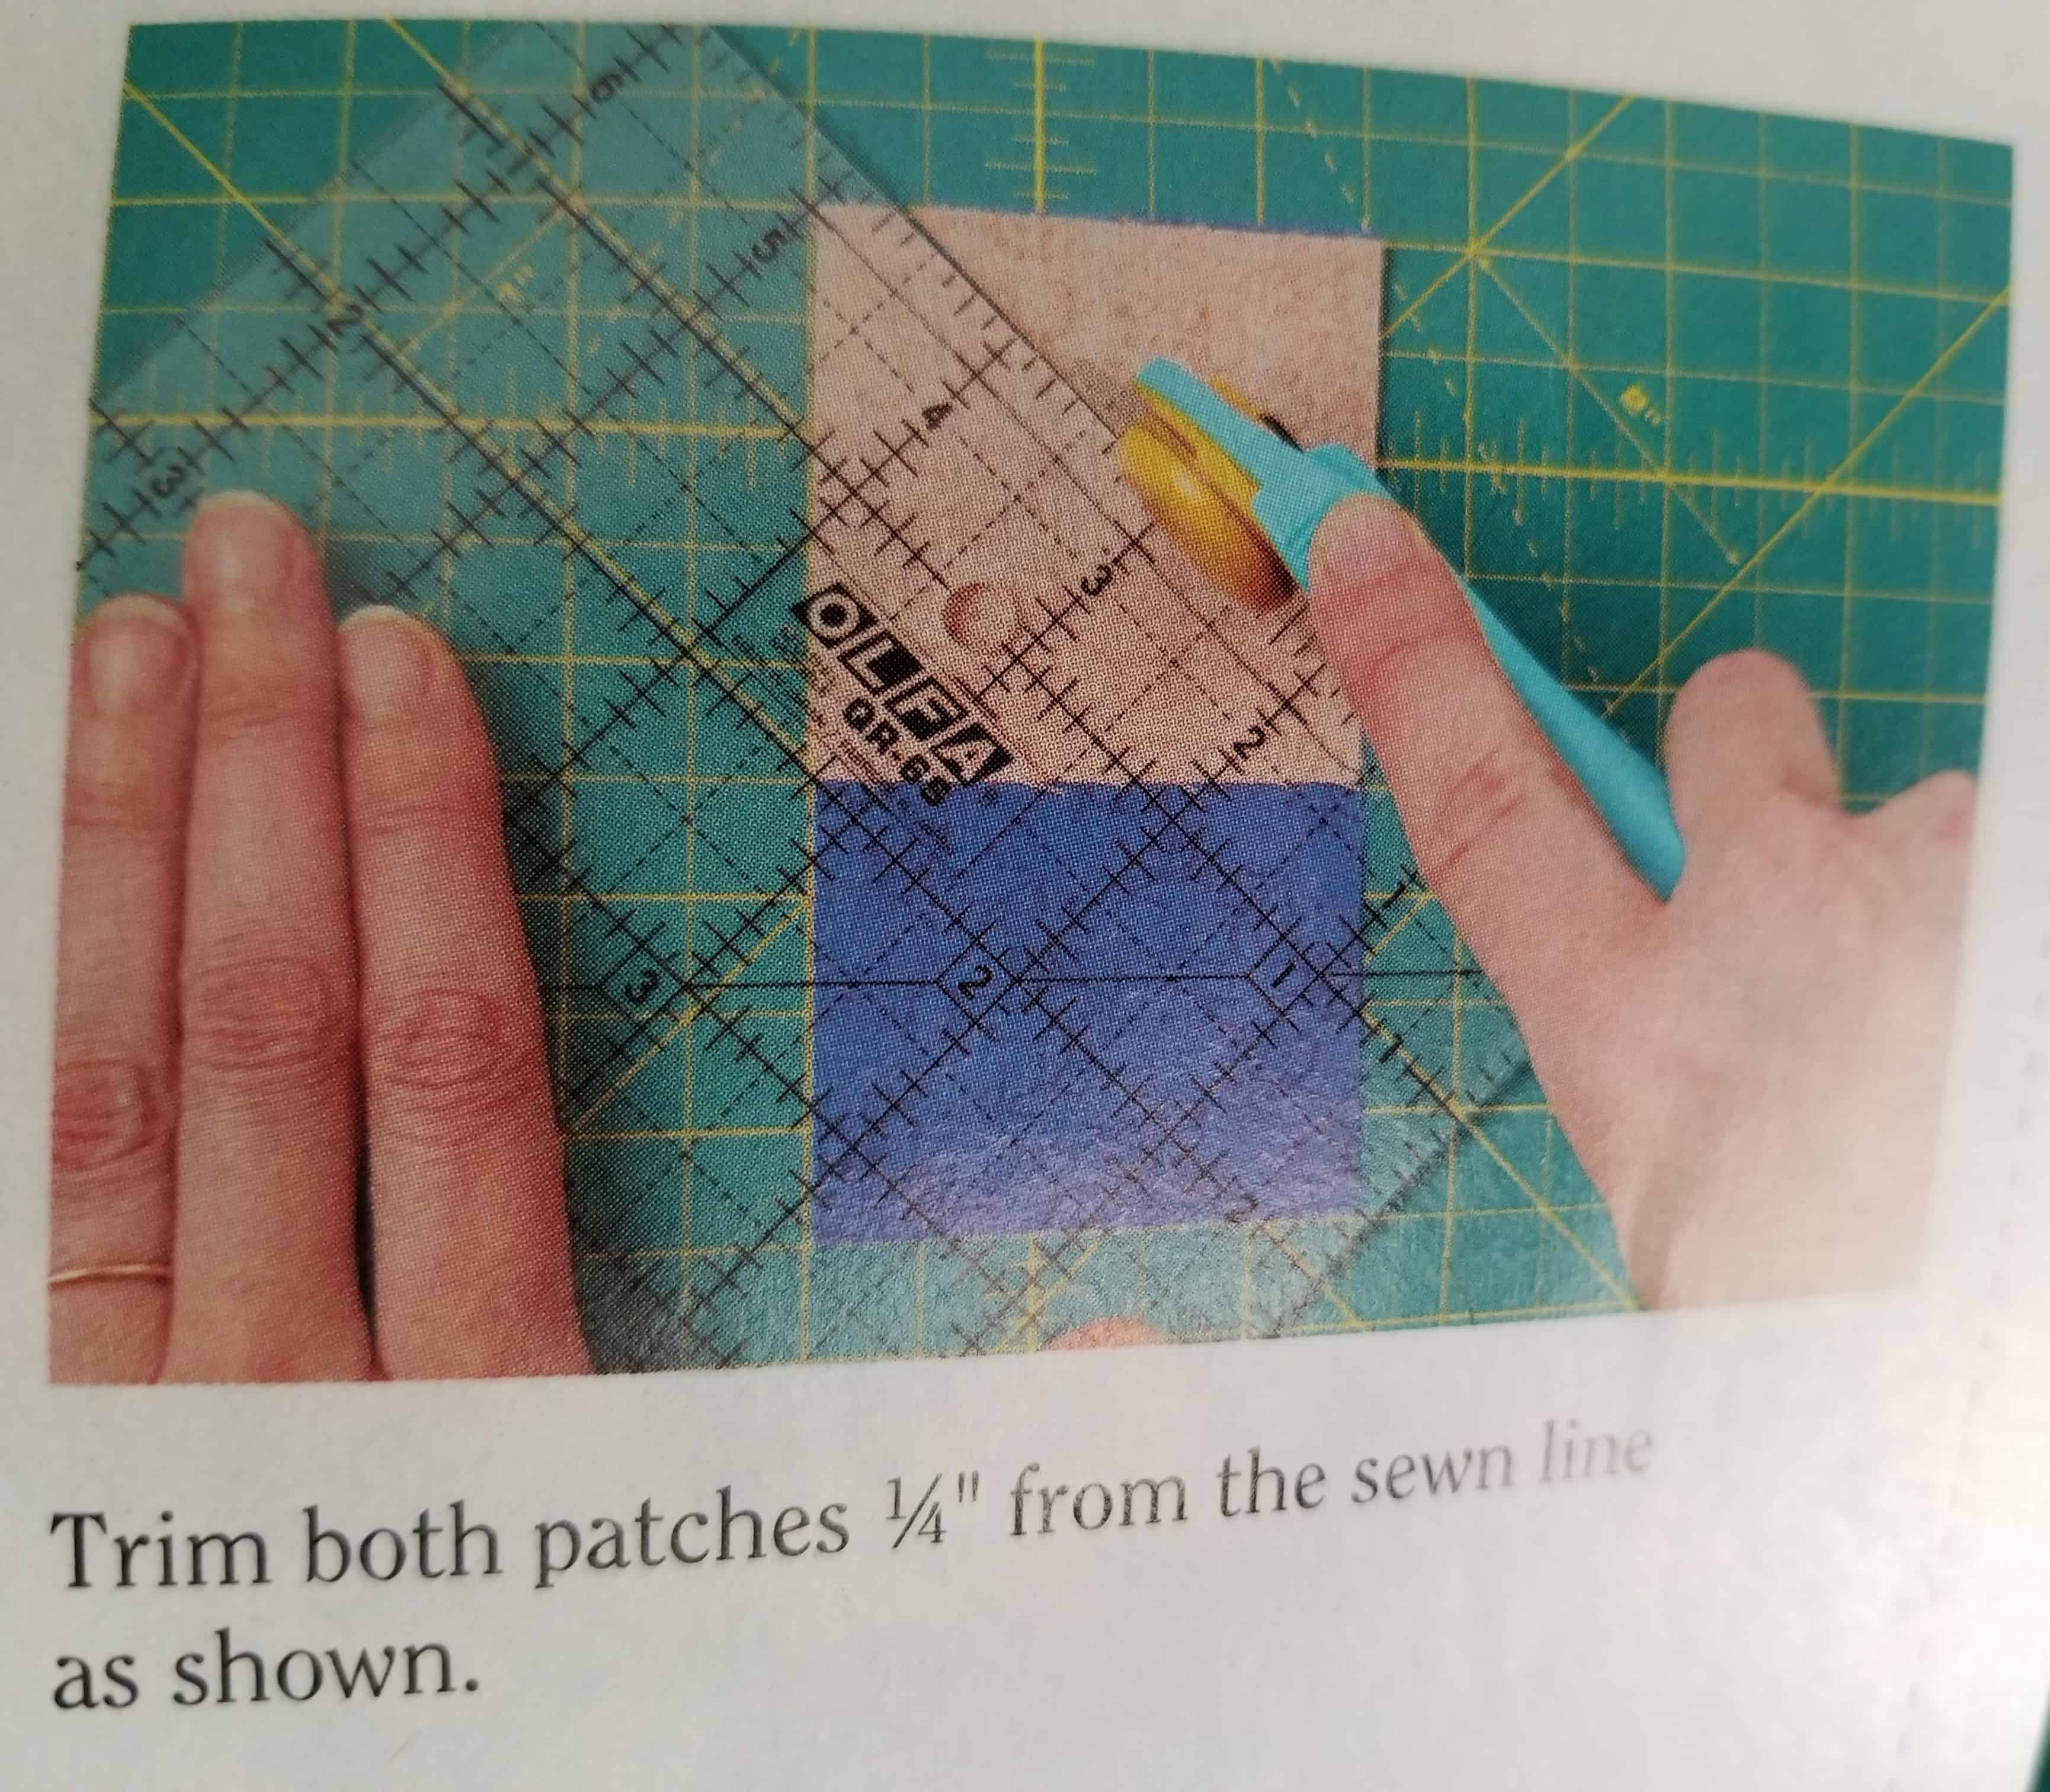
I finished the Planned Improv quilt a few days ago. Yesterday, Alison and Sonja were kind enough to hold it up for me after the guild meeting, so I could take a photo.
I really like the way this quilt came out. I don’t think the photo does it justice. I want to use this technique again and need to make time.
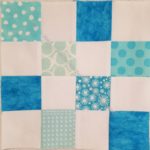
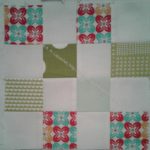
I am finally going to bring my giant pile of donation blocks to the meeting this week. Here is the latest group for your viewing pleasure.
New Blue Donation Block
Icky Green and Red Donation Block
Blue Artists Donation Block
Pink & Magenta Donation Block
I am so pleased with these blocks. While I think I made more, these are the only ones I can verify. A small, but mighty number! The pile grows exponentially and that is very exciting.
I decided it was time to make another Sew Together Bag for my embroidery/Big Stitch stuff. I actually decided a long time ago and just finished cutting everything out on the last Sew Day at the beginning of the month.
Sew Together Bag Panels
My first Sew Together Bag is getting stuffed and I use it a lot. I might actually have to make another one for EPP as well, but that might be going too far. The point is to have everything handy in the bag so I can grab and go. this means, I need multiple pair of scissors, etc, and I am not sure I want to buy more. We’ll see.
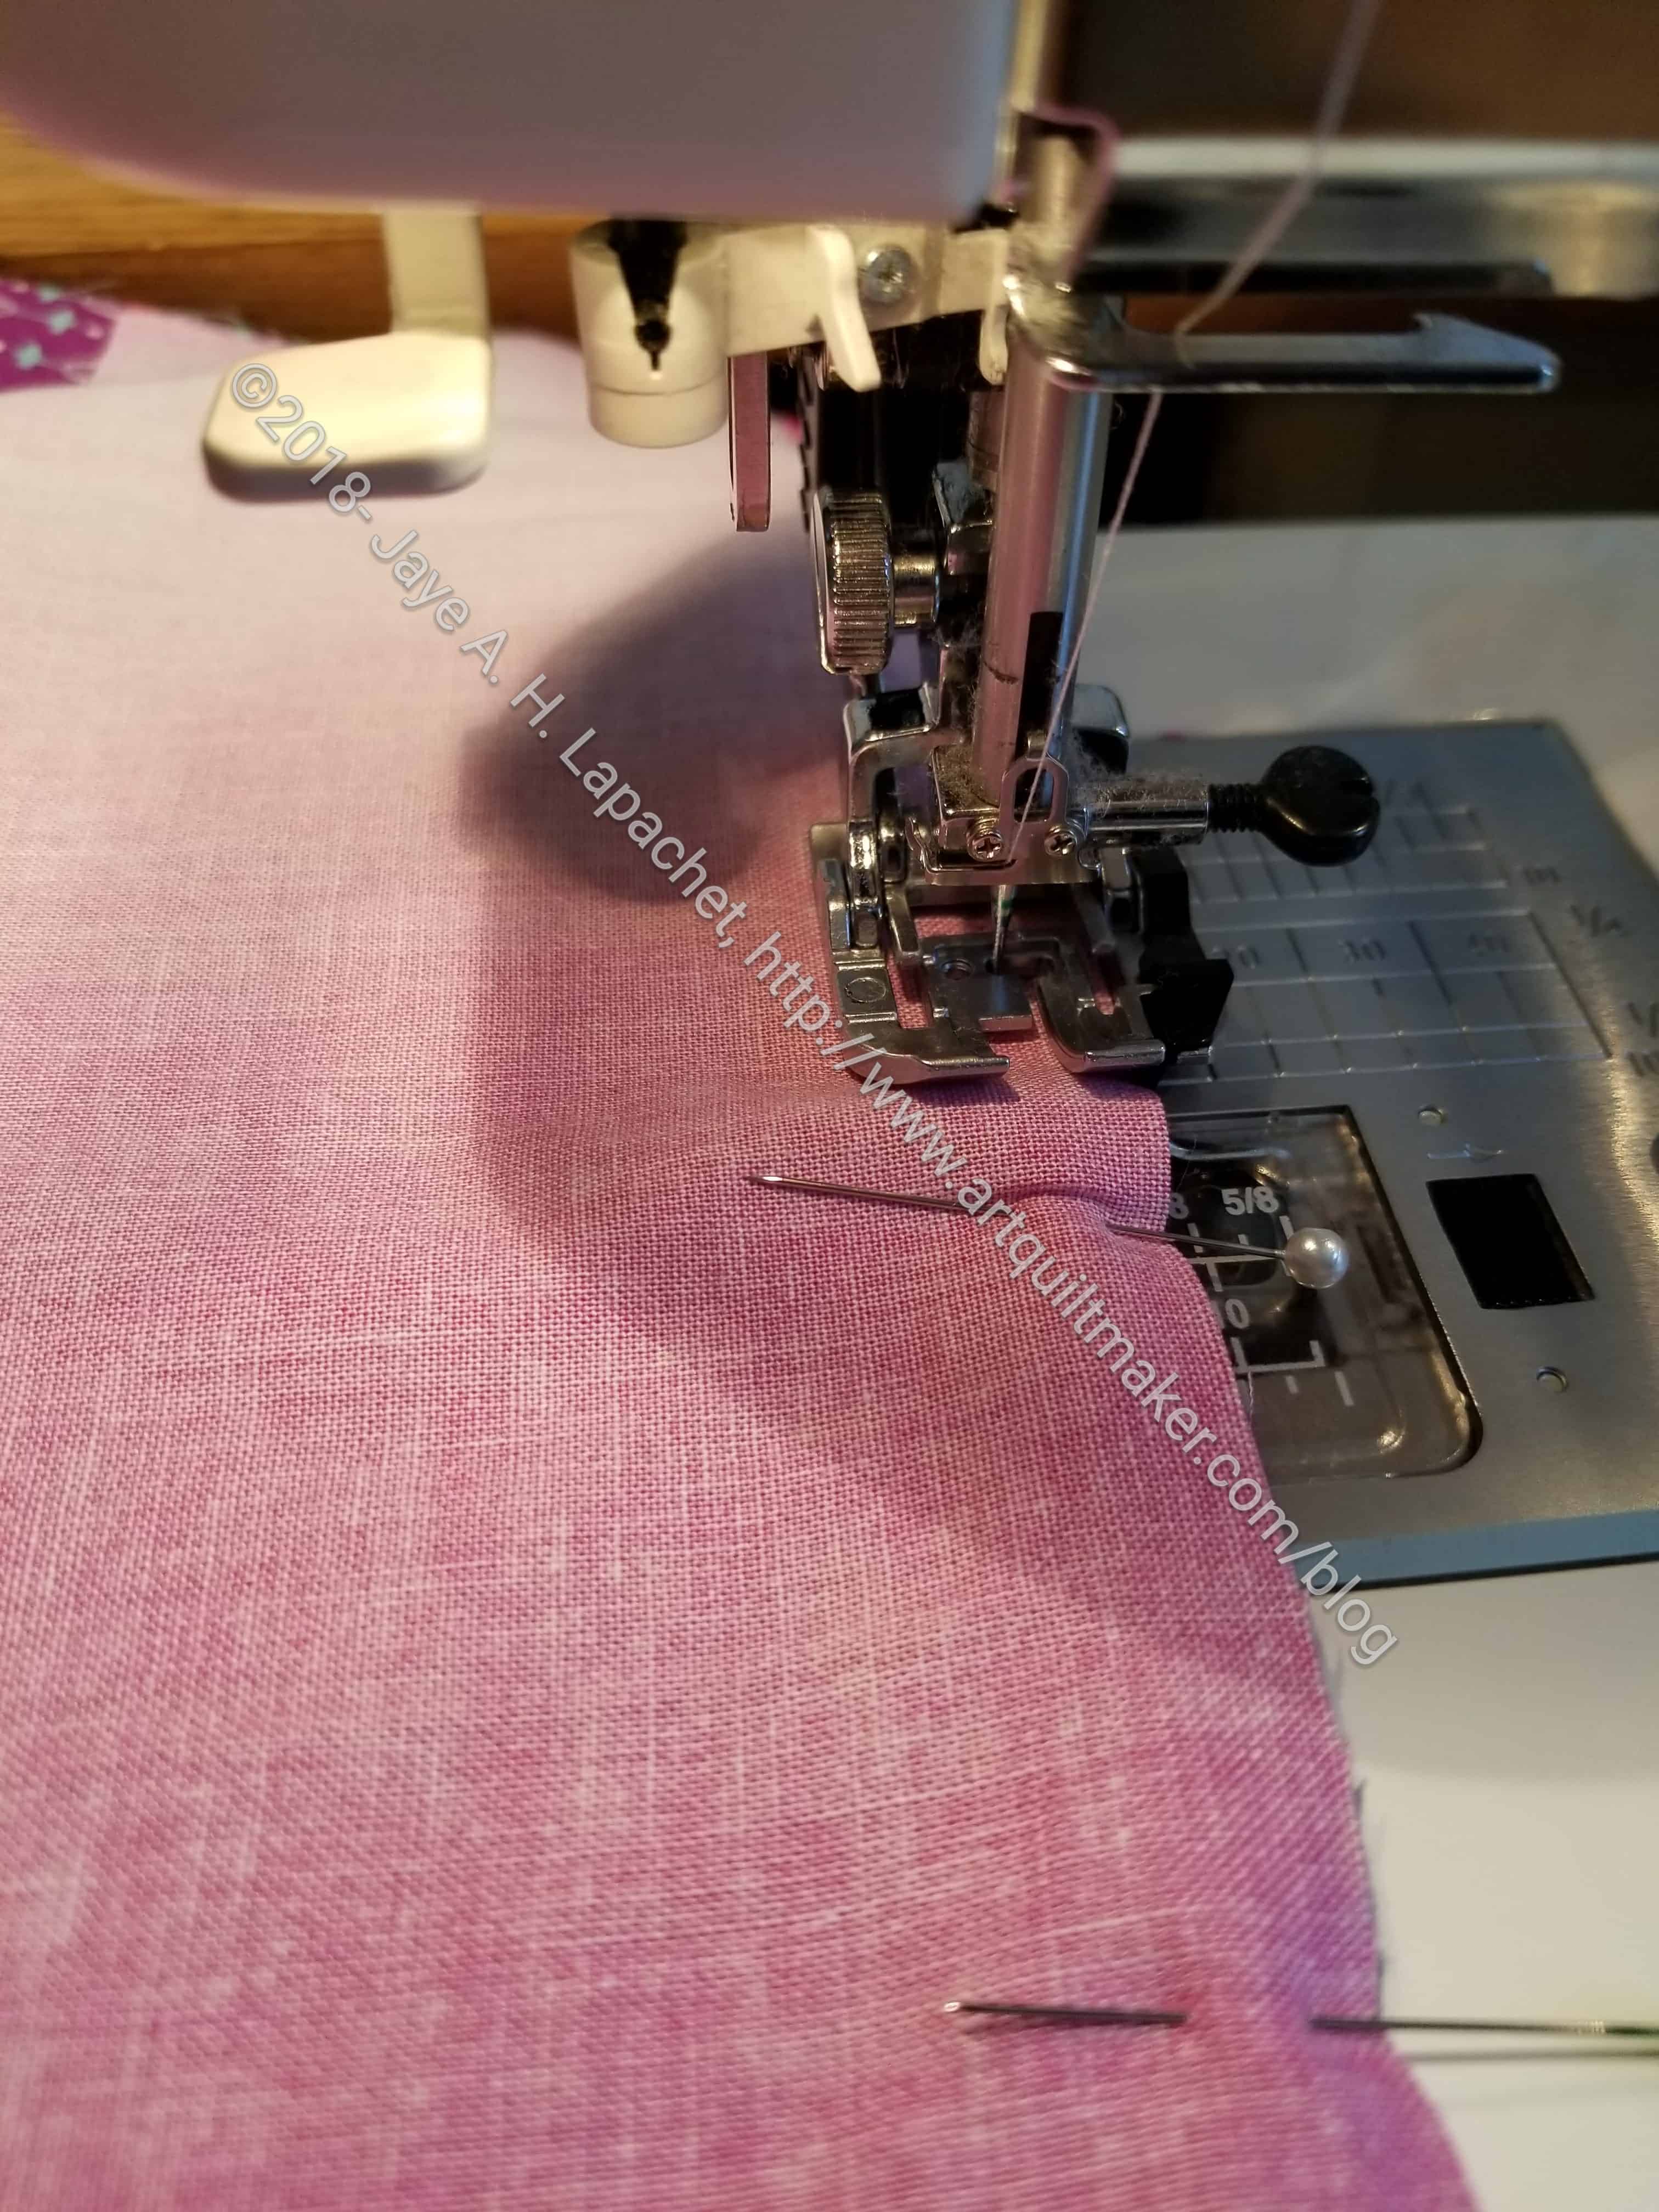
Sew Together Bag/Walking Foot
I am using the Quilt Barn tutorials again and the process is going pretty smoothly. That is not to say there hasn’t been some ripping and bumps, but all-in-all, the process is going well. They suggest a walking foot and since I bought all those new walking feet, I decided to take their advice this time. It is nice! The zippers are causing me very little hassle.
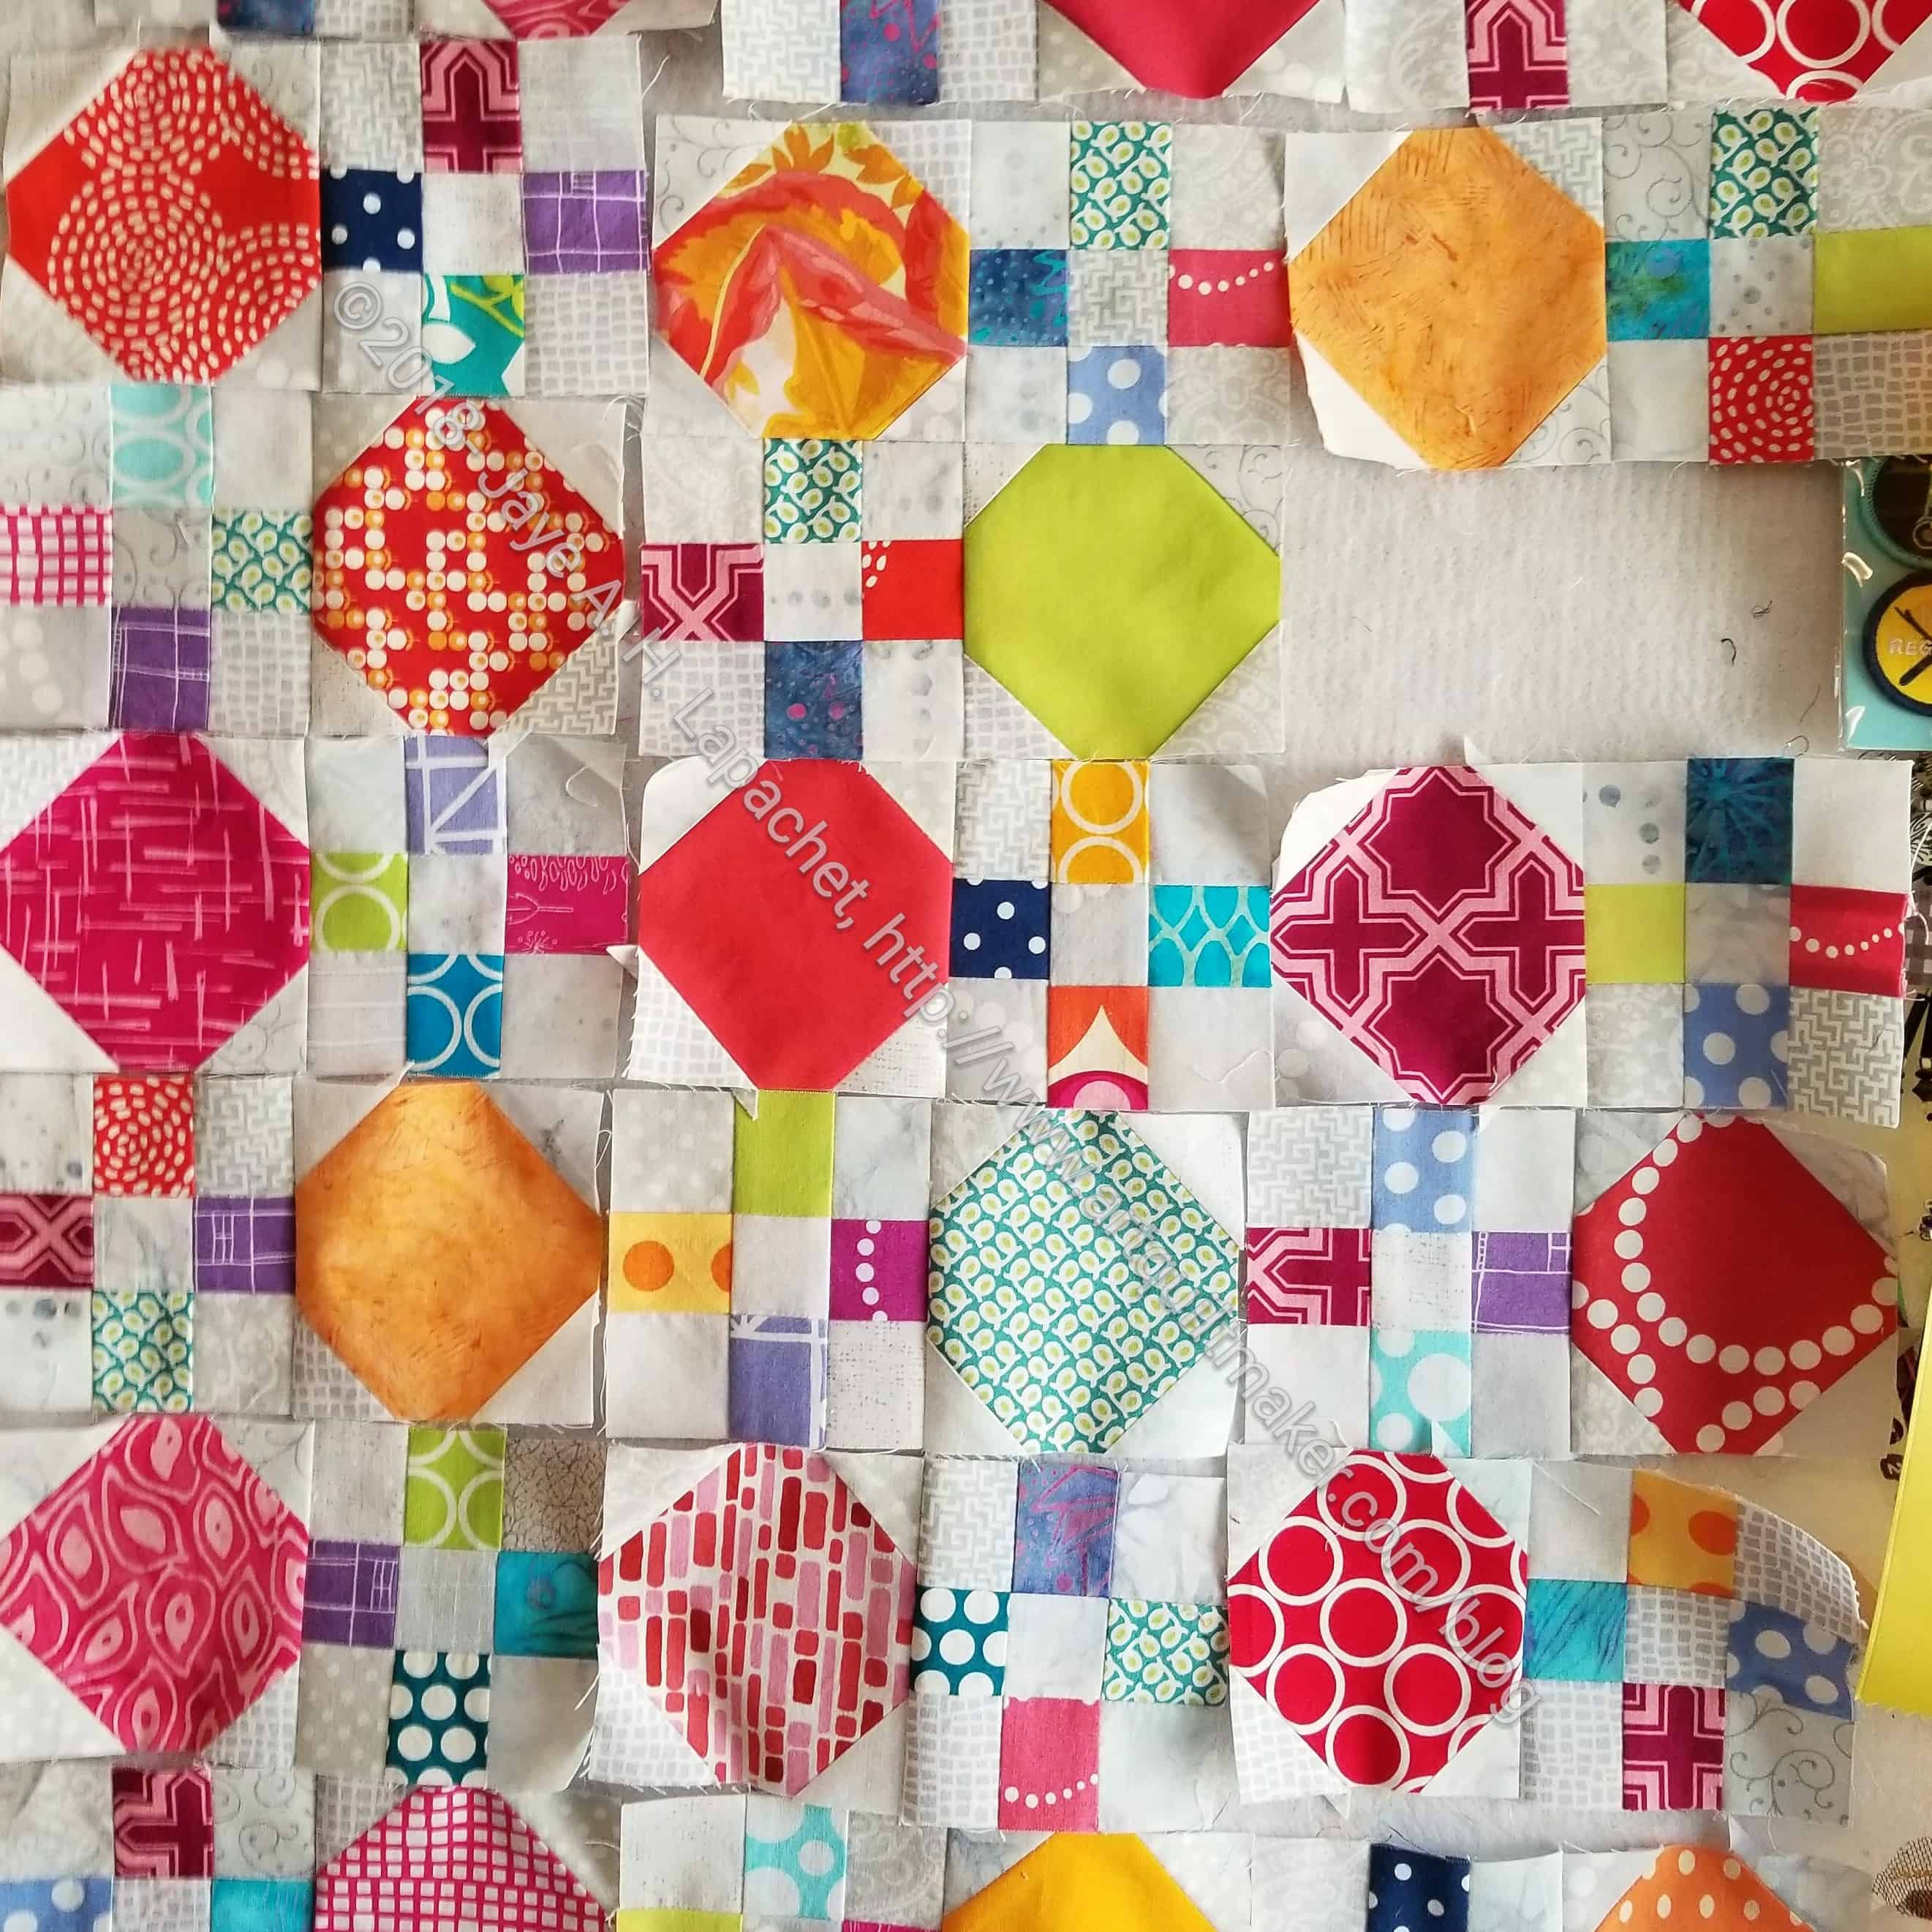
I am working on this project very slightly. Each time I need a leader and ender, but am not working on a donation block, I put one of these through the machine. I have a fair number now.
I am only joining one octagon block to one 9 patch block at the moment. Once I do that, I’ll see where to go next. Design wall, probably, which is full at the moment.
Recently I bought the January-February 2018 issue of Quiltmaker magazine. I remember when this magazine started and it was very different to the behemoth that was Quilter’s Newsletter Magazine.
I didn’t have a chance to read it until this week when I had to stay home and be quiet for a few days.
I noticed several things about it. First, it still has a few quilts from readers who made patterns found in the magazine. I haven’t read many magazines lately, but I don’t remember seeing that feature in some of the newer magazines.
Next,There is one page about new notions, gifts, books and “gotta-haves” (pg.8).
Third, this is still a pattern magazine. There are 12 patterns in this issue, which, if I worked diligently, would take me over a year to make. The patterns have a lifestyle shot and an easy-to-find straight on shot. Included on one pattern page is a small sidebar that tells the difficulty, the finished size of the quilt and the size of each box. FABULOUS! Patterns also include a coloring page. Not only can you relax with some coloring, but you can also try out your own color ideas without needing to buy EQ8. Some of the patterns have colored in drawings of the quilts as well. This issue had a pull out section with some templates and designs for quilting as well.
Fourth, one of the patterns, Sodalite Cabins, includes an artists profile after the pattern. I think this is a nice touch. I always like to know more about people, how and why they quilt.
Instruction n.4
Next, I like their directions for basic quilting instructions. The instructions are for the Stitch and Flip method of adding triangles to a square or rectangle type unit. The description says “Stitch & Flip is the perfect technique for making Flying Geese, Square in a Square’s [sic] and parallelograms without having to sew on the bias” (pg.33). The new Folded Corners Ruler does the same type of thing, but with these Quiltmaker instructions you don’t necessarily need the ruler. There are 6 illustrated and easy to follow instructions to show the reader how to get the job done. You have to buy the magazine to get the full instructions, however what caught my eye was the way the editors showed the particular placement of the ruler. Nice!
Fifth, Articles! Yes, the magazine has a few articles, some non-pattern content. A couple of the articles were on using some type of machine for quilting and the last one was a column called Addicted to Scraps. Addicted to Scraps is written by Bonnie Hunter. She is the designer of the various mystery quilts that start around the holidays like my En Provence quilt. In this column she talks about using her Essential Triangle Tool and about making some scrappy blocks that include 4 patches. These are not instructions for a quilt, but you can see a layout diagram for a quilt if you follow the link included on the page. I like this idea as it forces readers to be a little more creative.
While I don’t plan to become a subscriber, I am pleased with what I saw in this magazine this week.
The top is finished and I am on to putting together the back. I don’t think I will make my deadline of having this ready for Big Stitching, but I have made great progress and see the light at the end of the tunnel.
There is much more space and lightness in the piece and the solid areas will provide some good spaces for stitching.
ColorPlay and the Creative Spark will return soon!
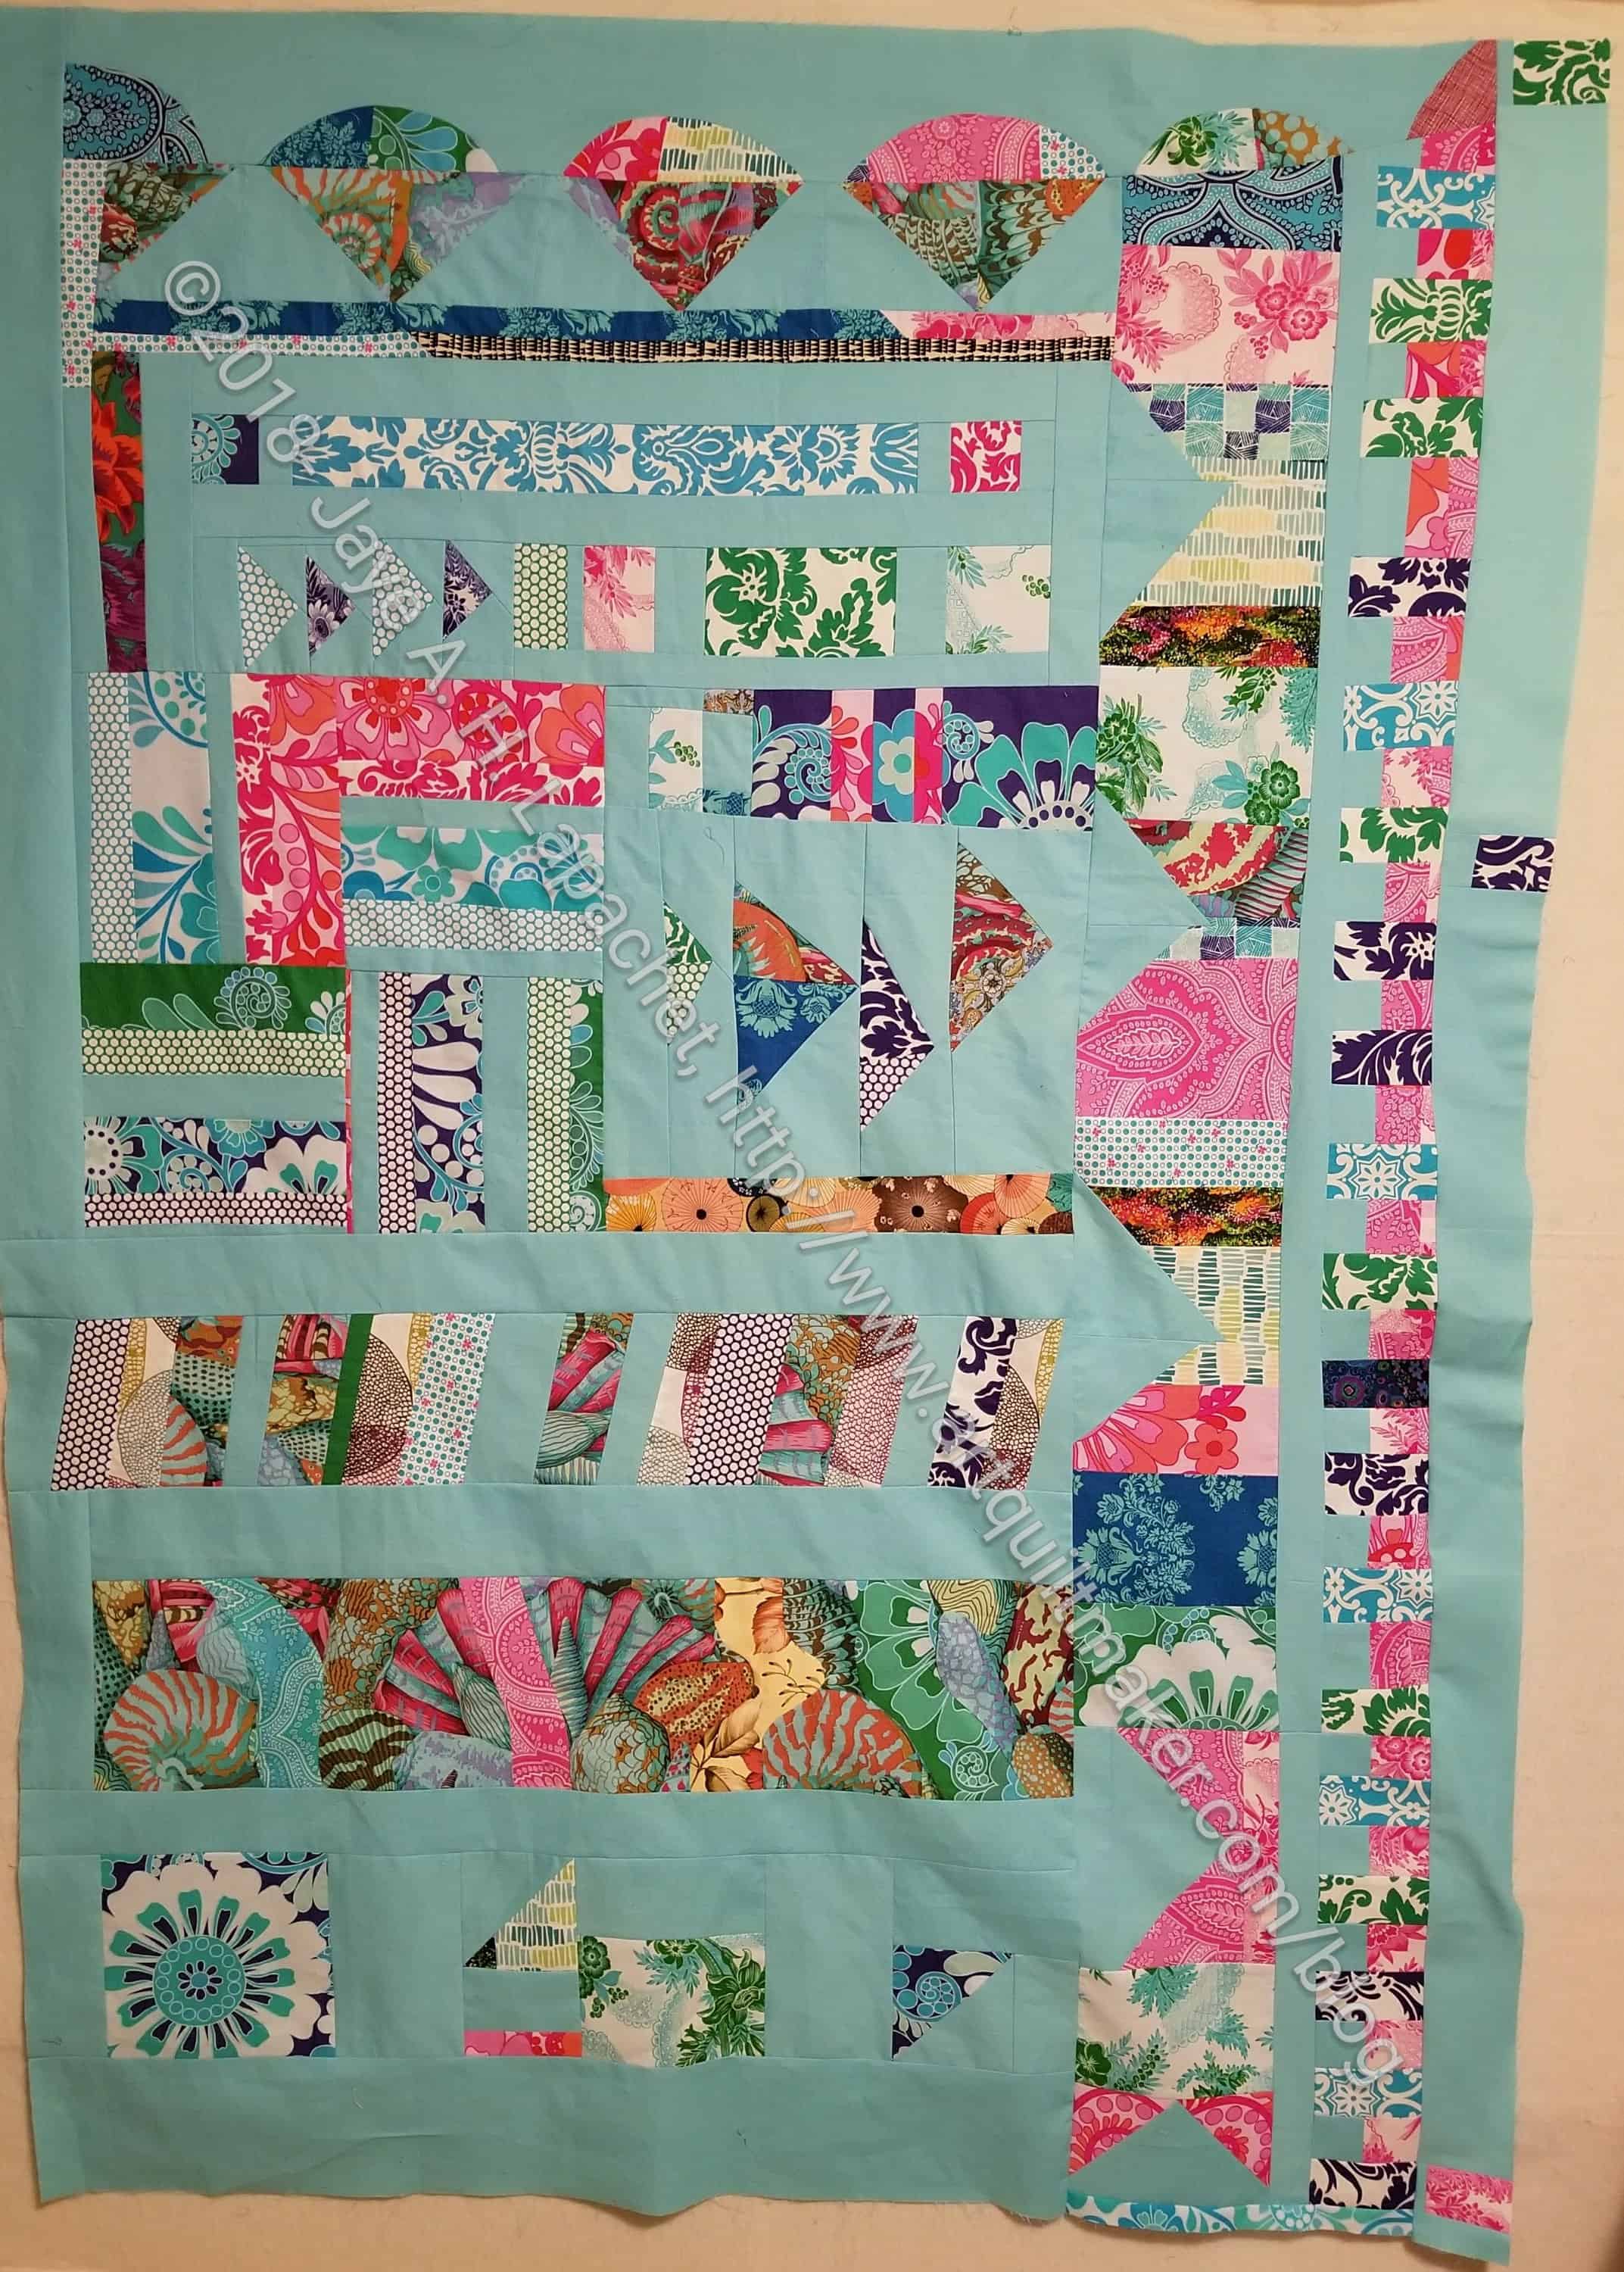
Finished set of Hansel & Gretel
Yay! This set is finished! A little more than a year after I got it, it is finished, signed, sealed and sent off.
The quilt in this set was probably the easiest part. I did a pillowcase binding and then sunk the threads. It is a pretty basic quilt, but the small amount of quilting I did on it looks nice, I think.
Finished quilt of Hansel & Gretel
I don’t think I will make this brand of panel dolls again. The good thing is that everything is all on one panel. The bad is that the seam allowances are really small and the seams tend to blow out after play. My little niece plays with these dolls, a purpose for which they are intended, and I don’t want her to be disappointed. I have another pattern – not a panel – with lots of zippers and buttons so she can learn to dress herself (we had a doll when I was a kid with the same concept called Dressy Bessy). I hope to get started on that doll soon-ish.