As I said in January, I am working on getting my quilt house in order. This means finishing projects and tidying. I spent a lot of time last week doing a minor reorganization of my fabric closet. I bought a couple of project bins that will corral some of the stacks of fabric I am fighting with. I also made progress on some projects, which is the whole point of this exercise.
Finished 2018 Quilt Projects
- Mostly Manor Lozenge Quilt -finished 1/1/2018
Finished 2017 Non-Quilt Projects
- YM’s hat – finished and sent
- Cowl – finished and presented
Doing Good
- 5 blocks: 2018 Donation blocks
- 5 blocks: New Year Donation Blocks
- Terrain quilt – SIL and I made the top and back and Tim quilted it.
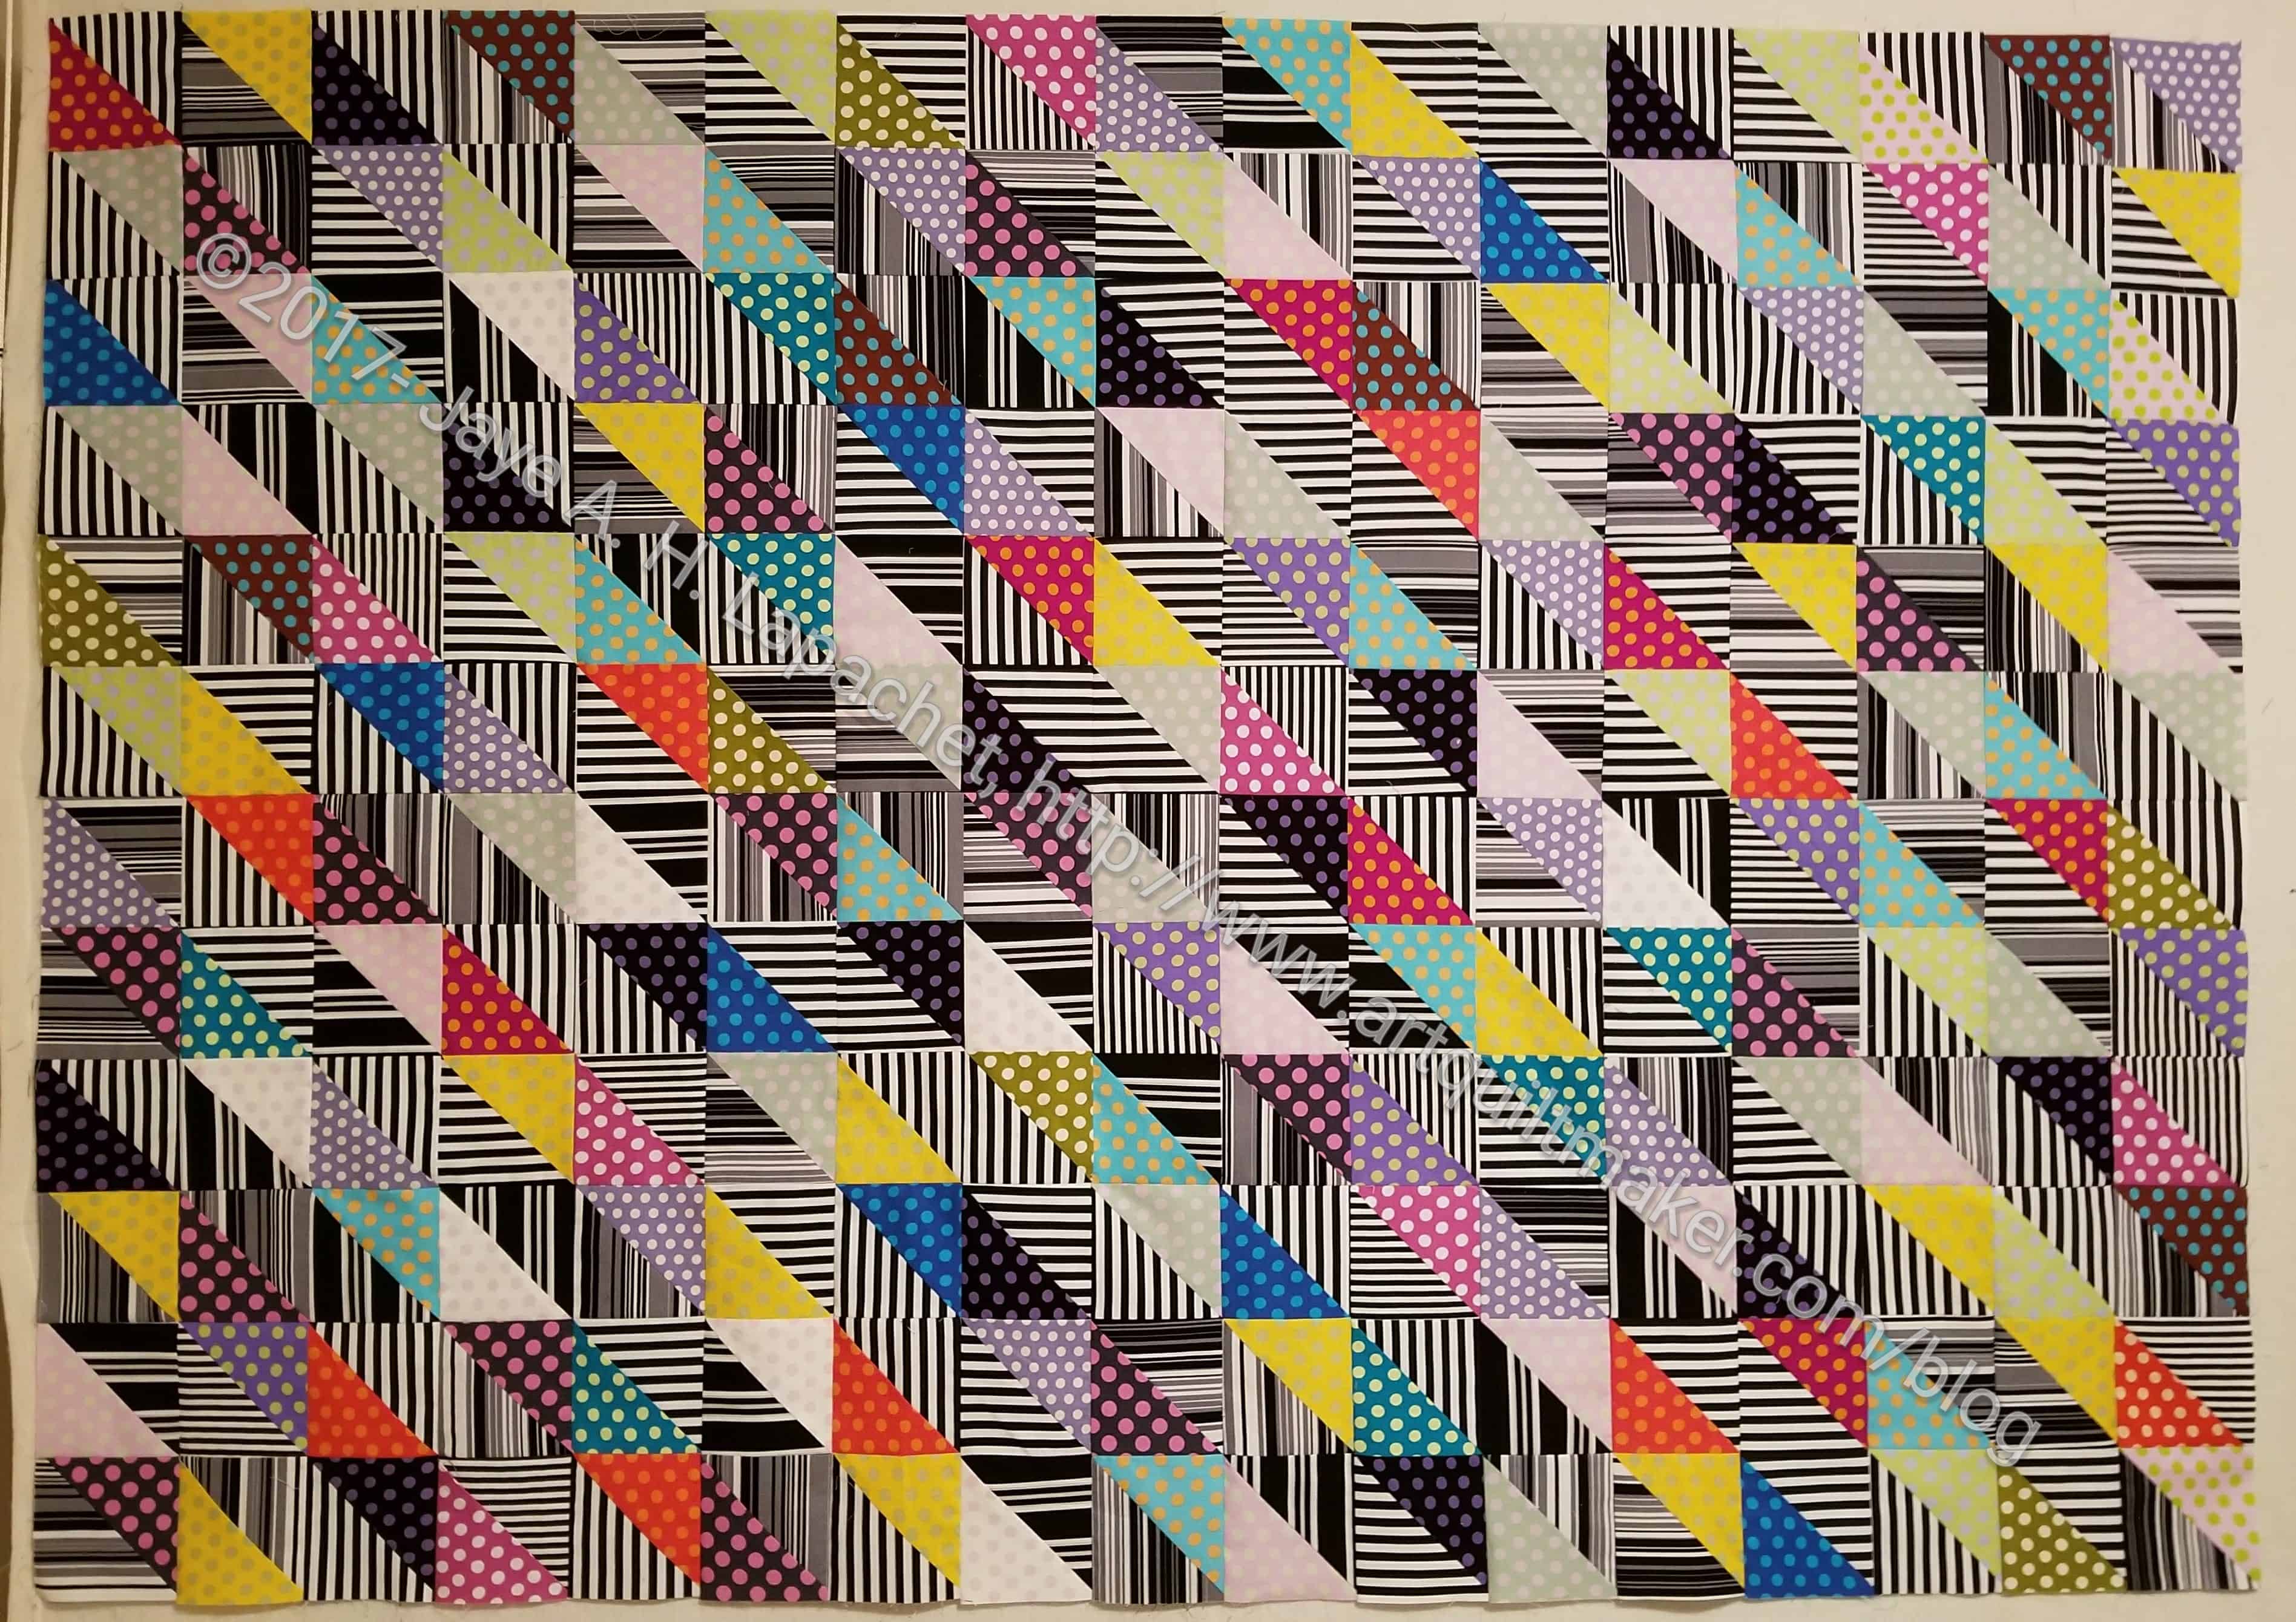
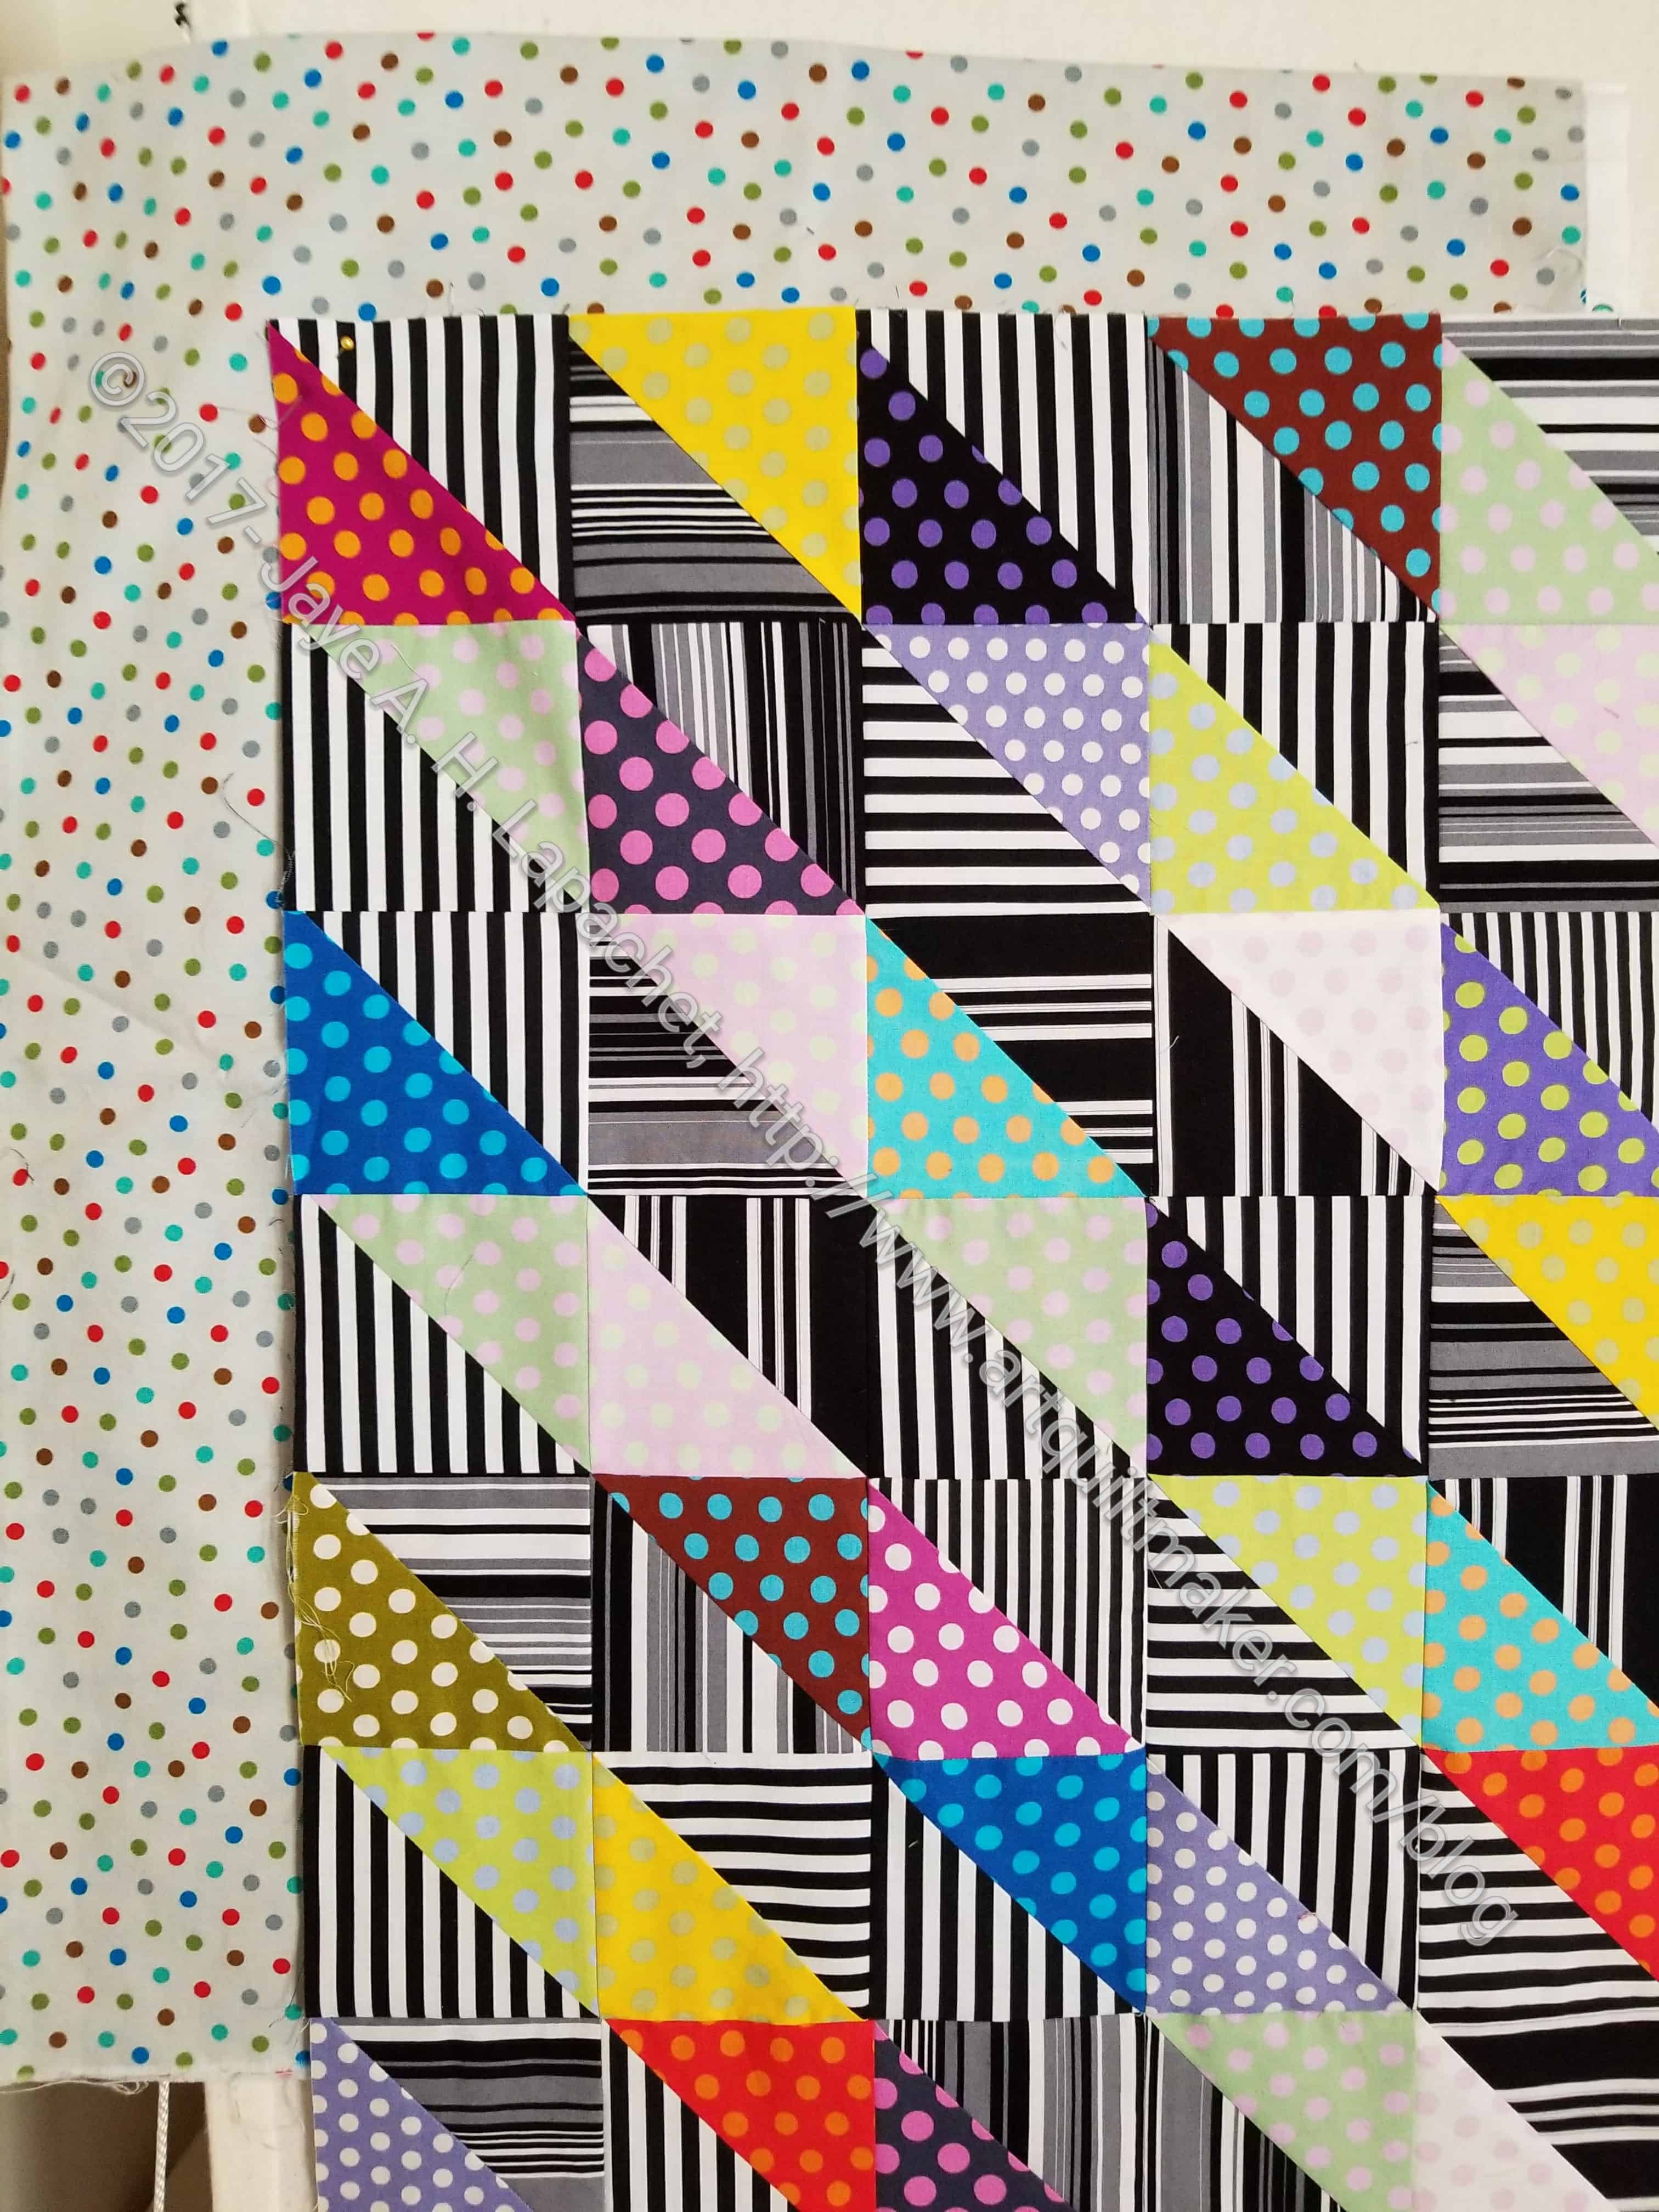
- Mostly Manor HST top and back – ready for quilting by Tim
In Process
The ‘In Process’ is used to denote projects on which I am actively working or pretending to stitch. I try not to put away projects, because that will ensure I never work on them.
- City Sampler – blocks all made. Need to sash the blocks and put the top together. Due to some issues I had with my seam allowance, some of the blocks are smaller than others, so I will have to adjust them in some way – either ripping and resewing, adding a piece or two to the block or with sashing. This is sort of a sticking point and while I consider this quilt ‘in process’ I hadn’t worked on it in awhile until I took the blocks to the BAM Sew Day and started measuring. Once I know what I am facing for each block, I can move forward.
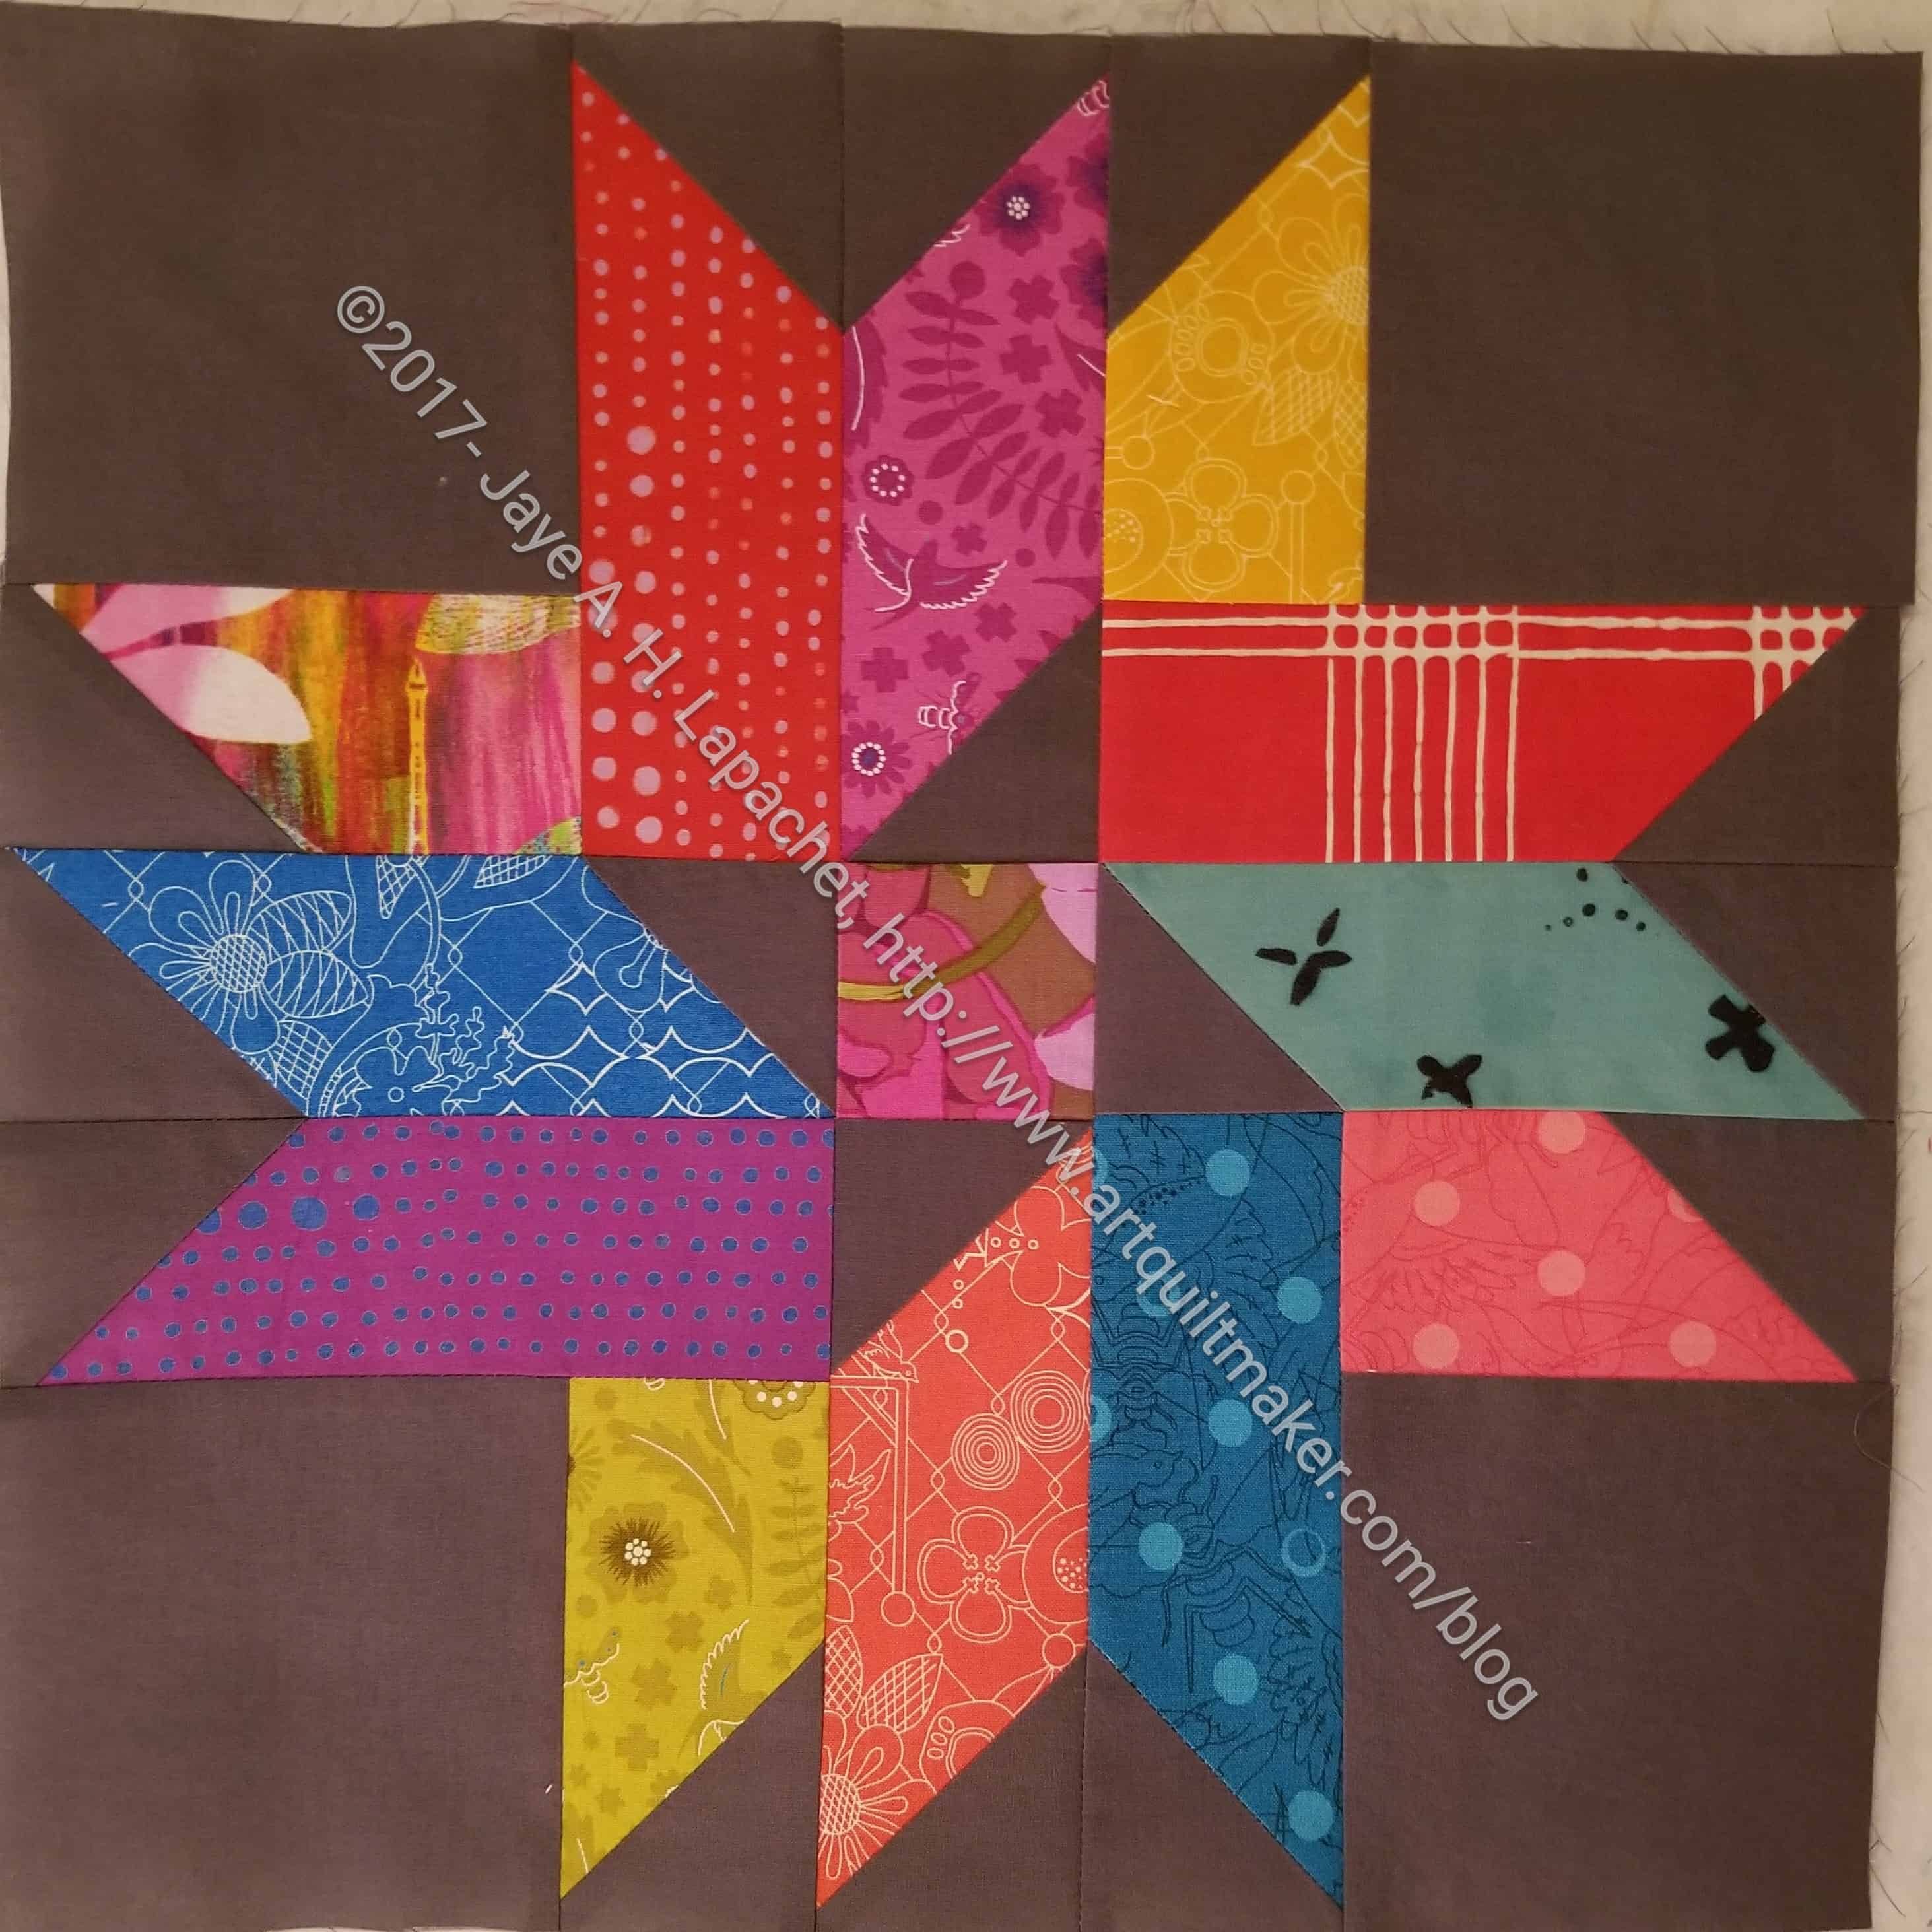
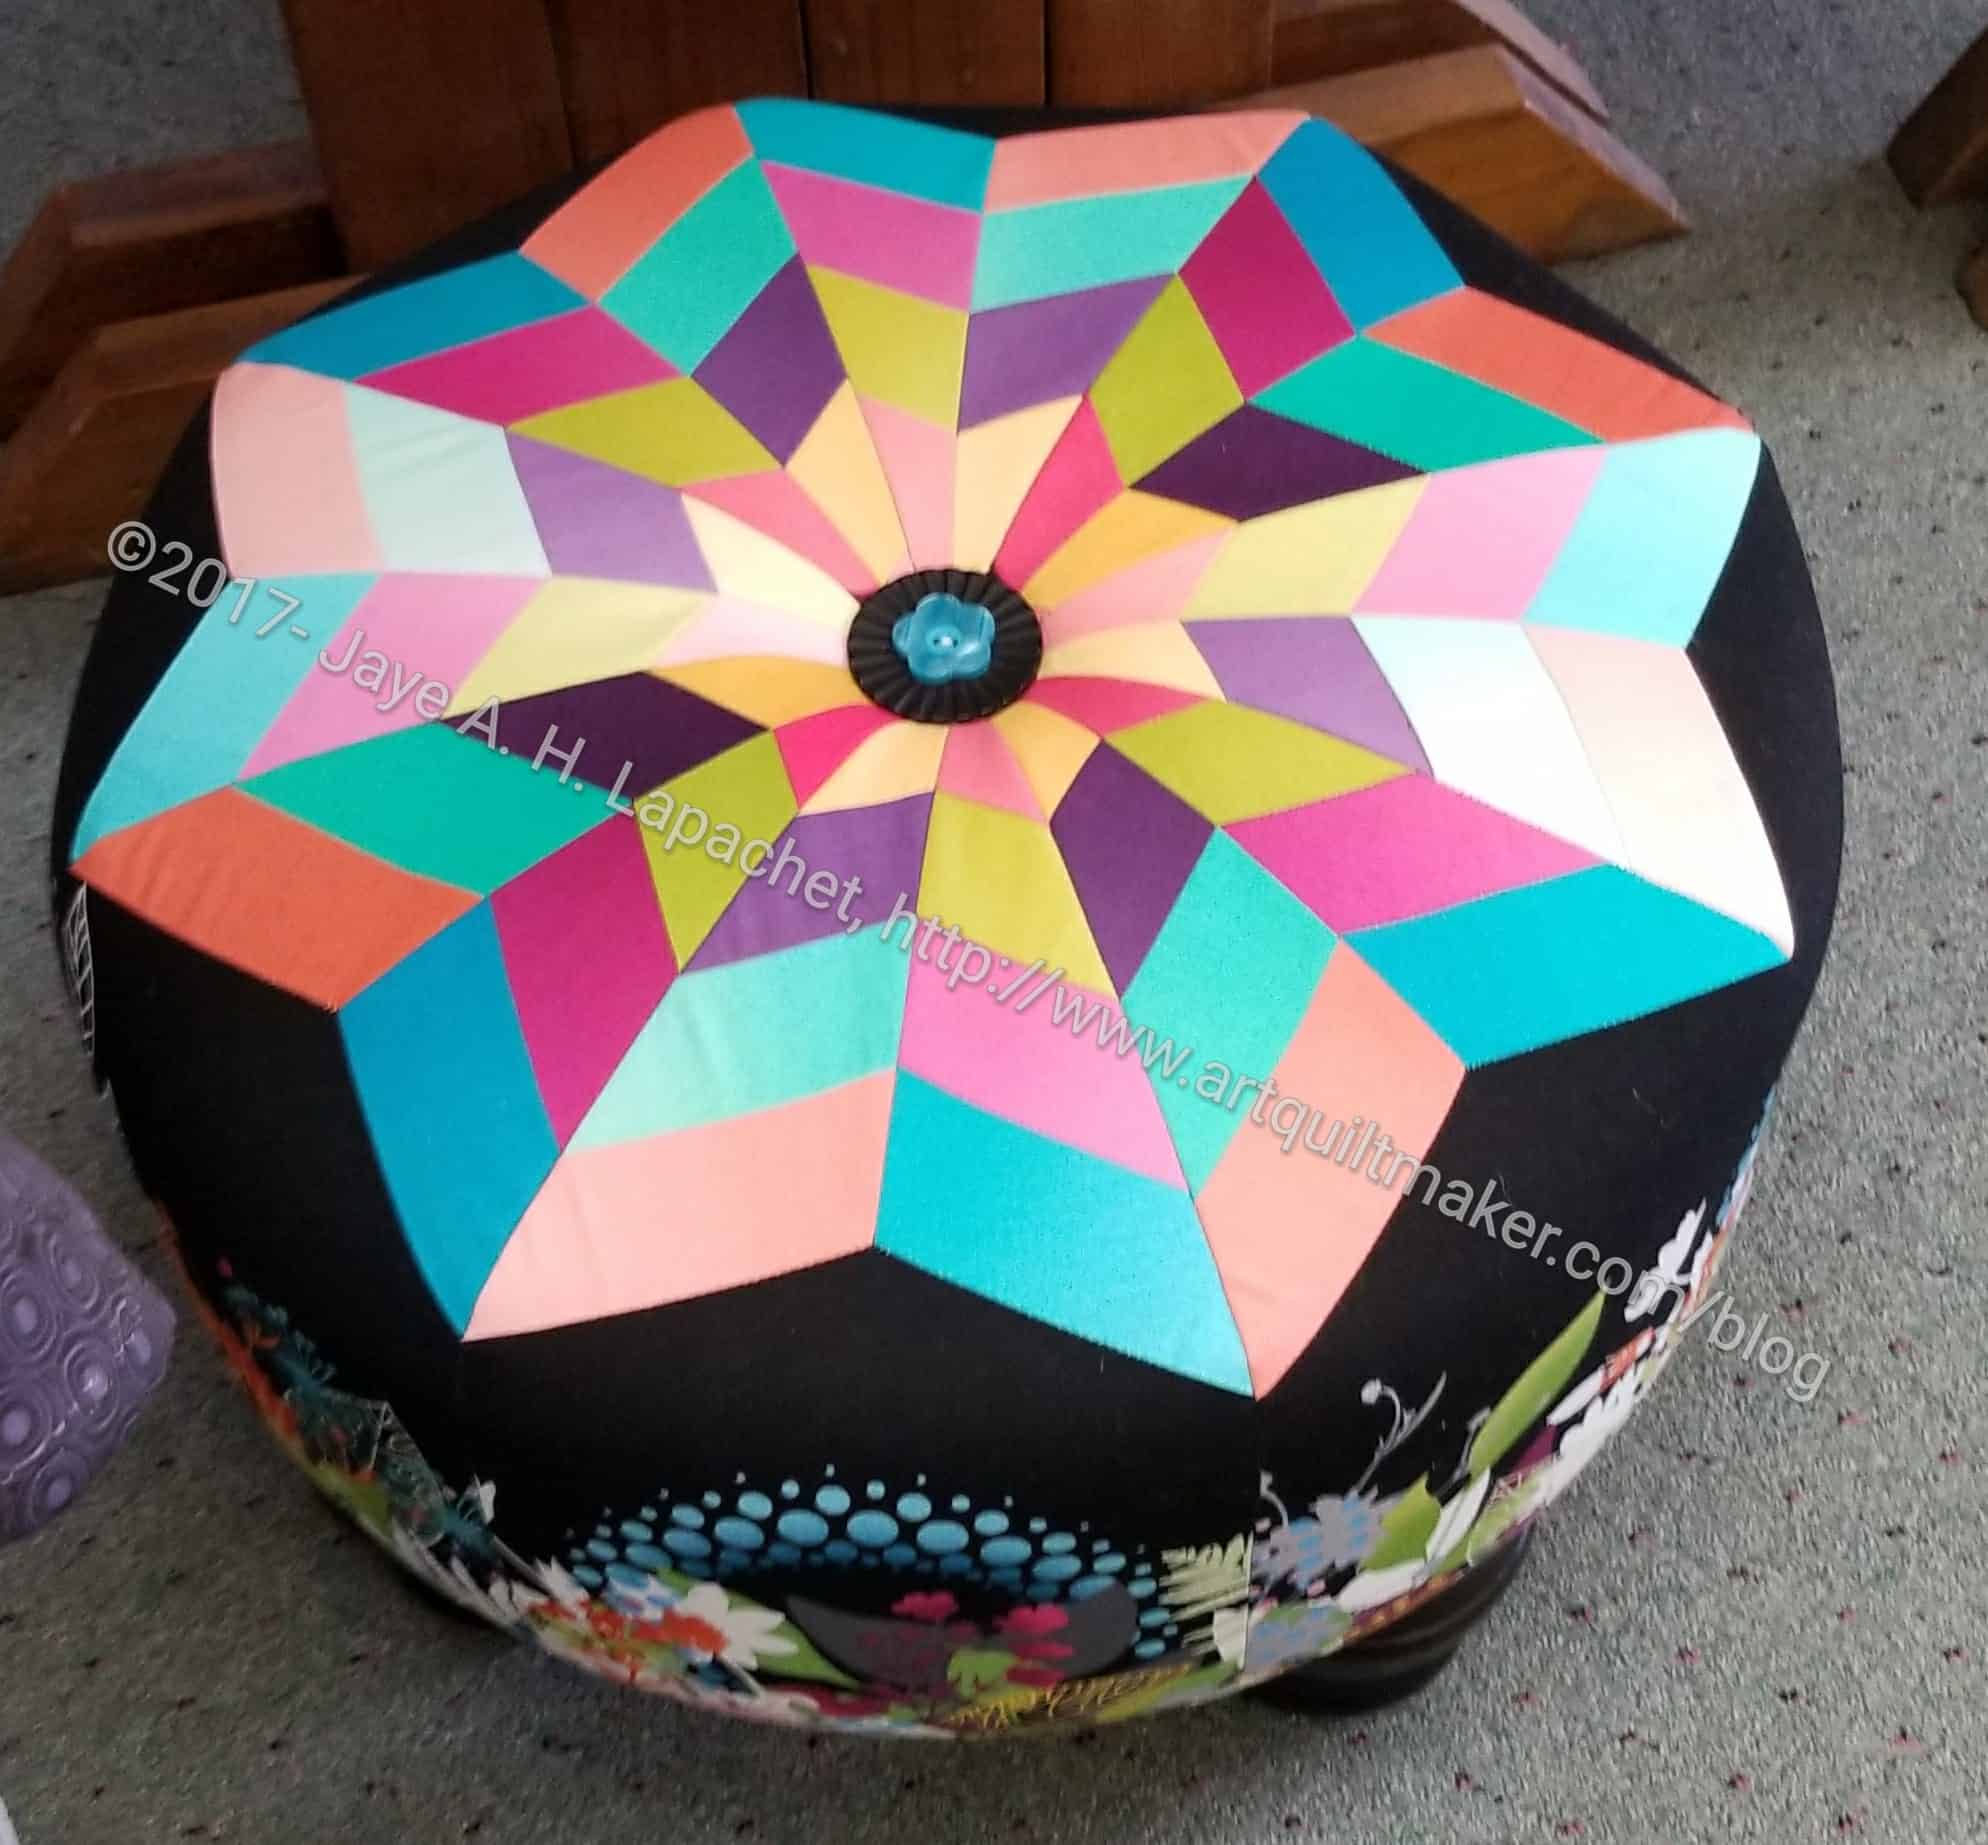
- English Paper Piecing Project– half hexies – I have mostly been knitting while I watch TV, but I did make some half hexies in anticipation of making another star.
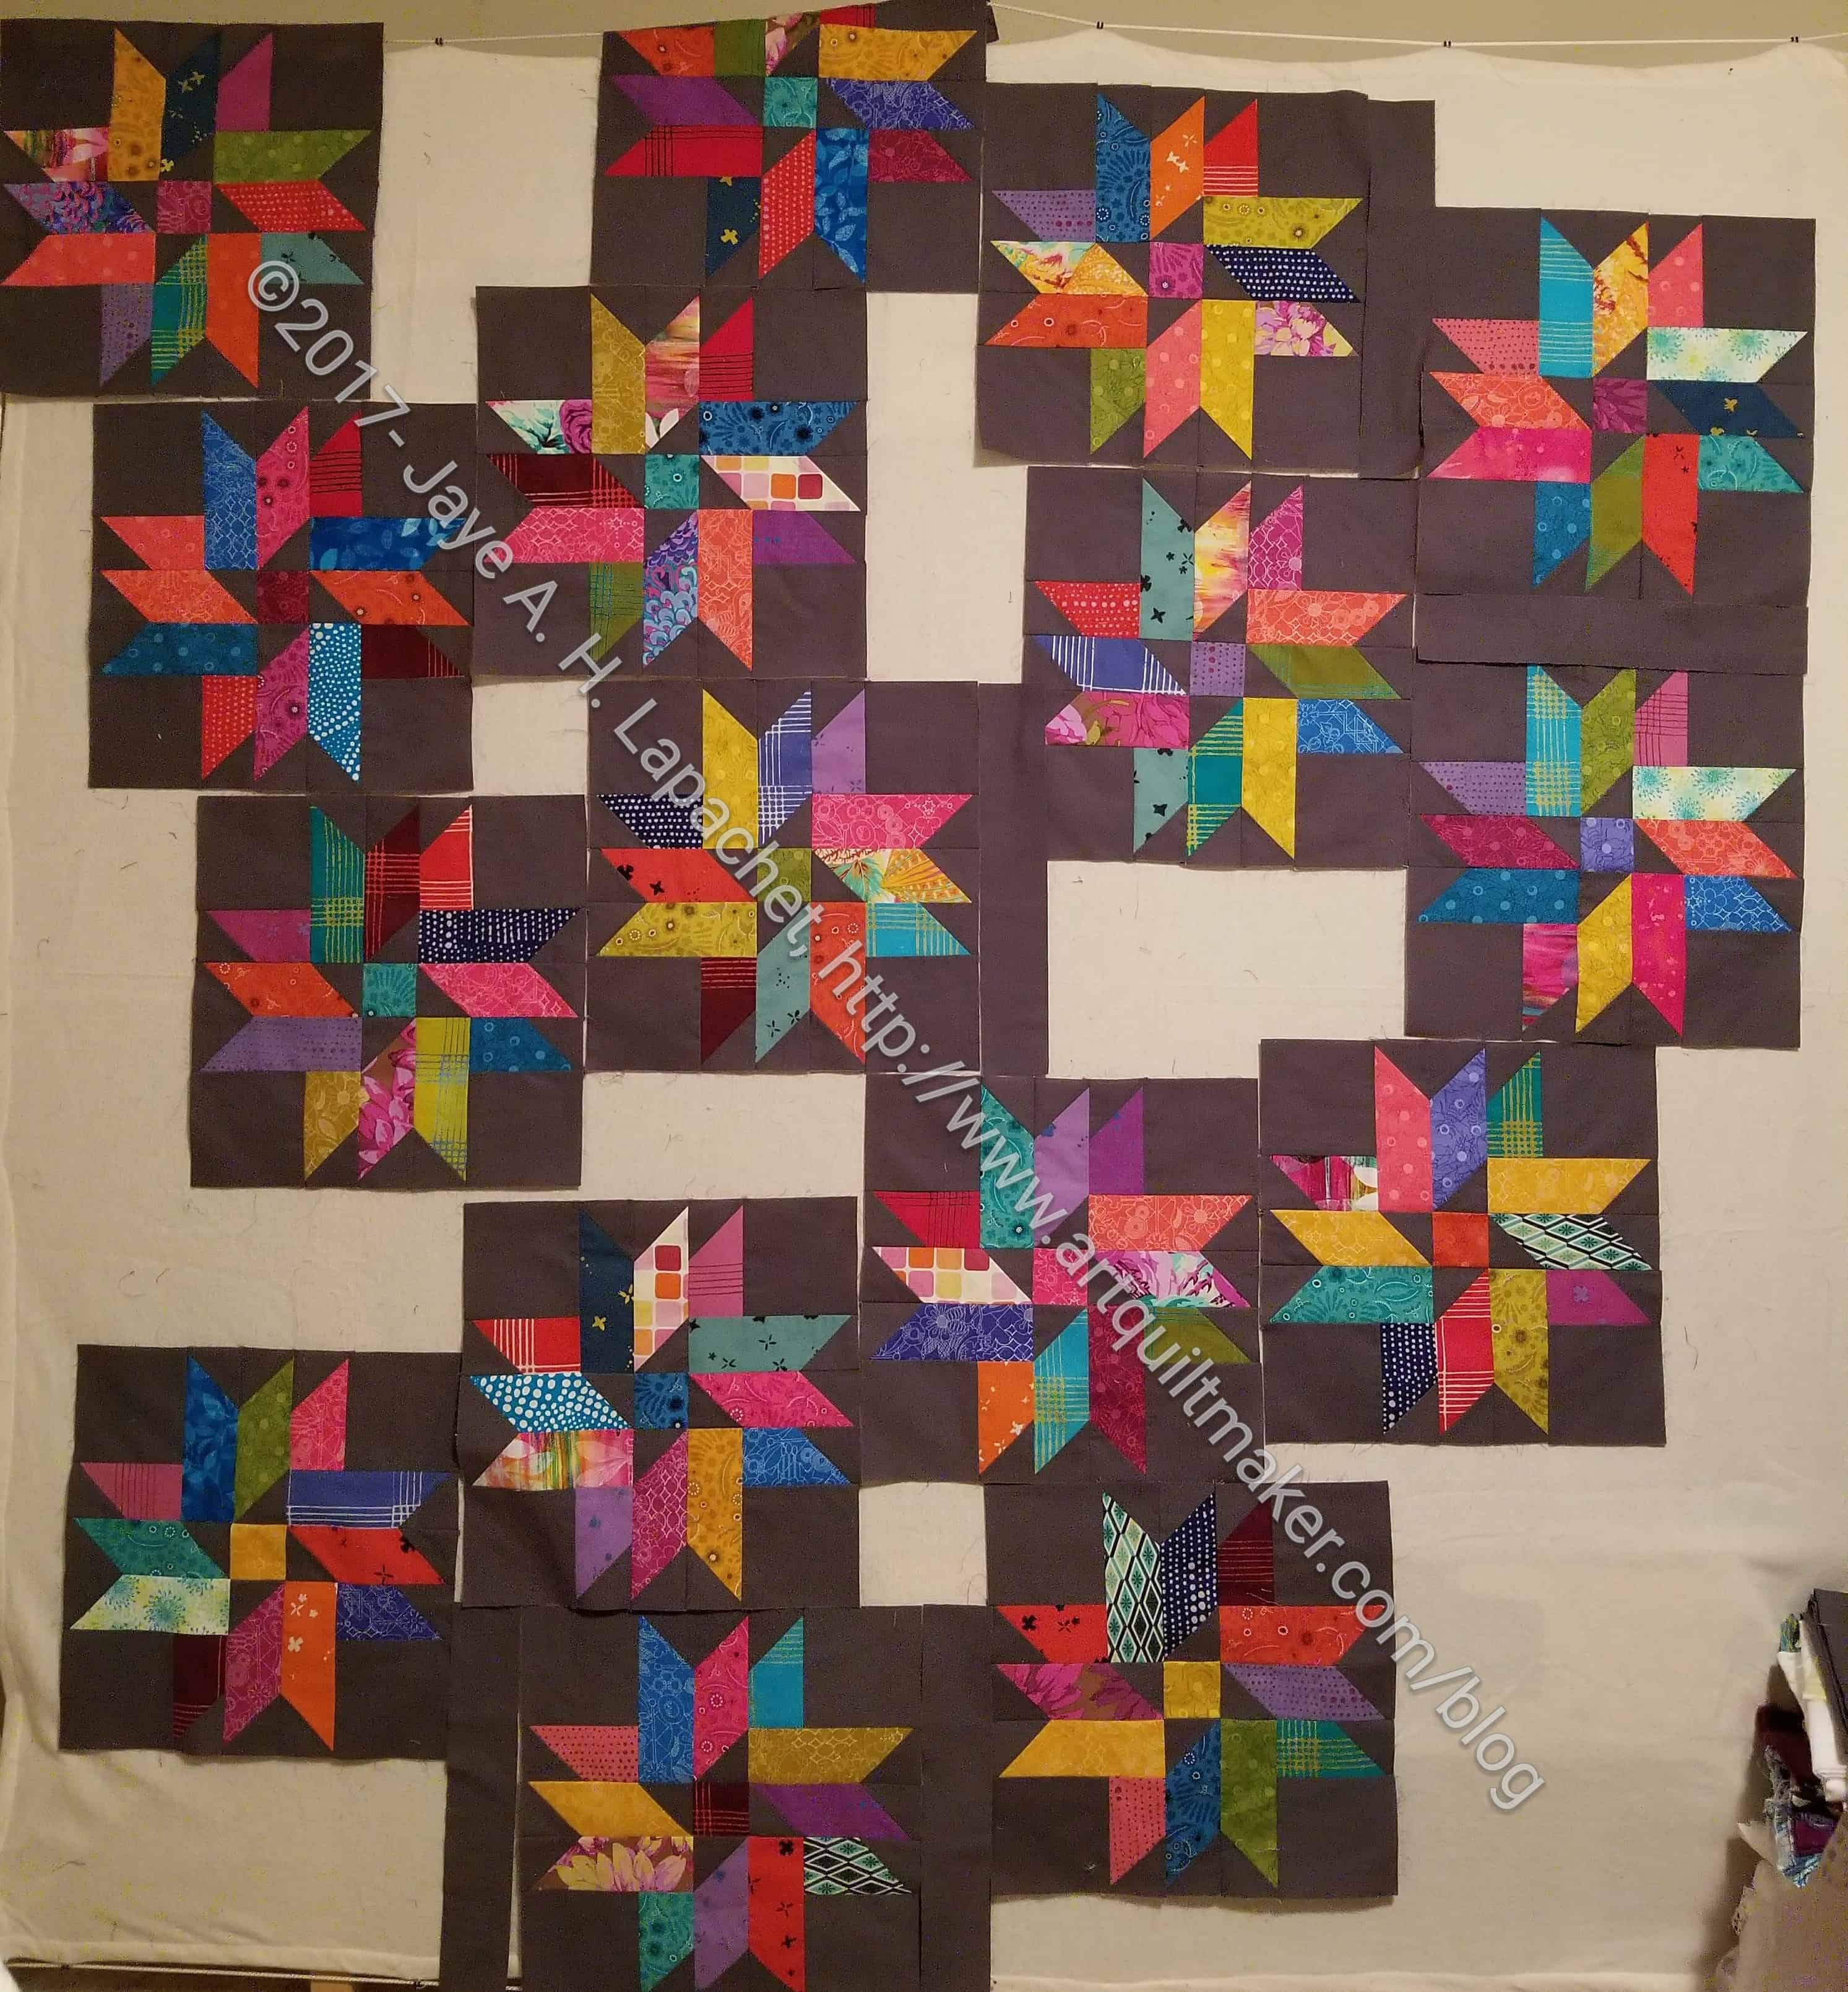
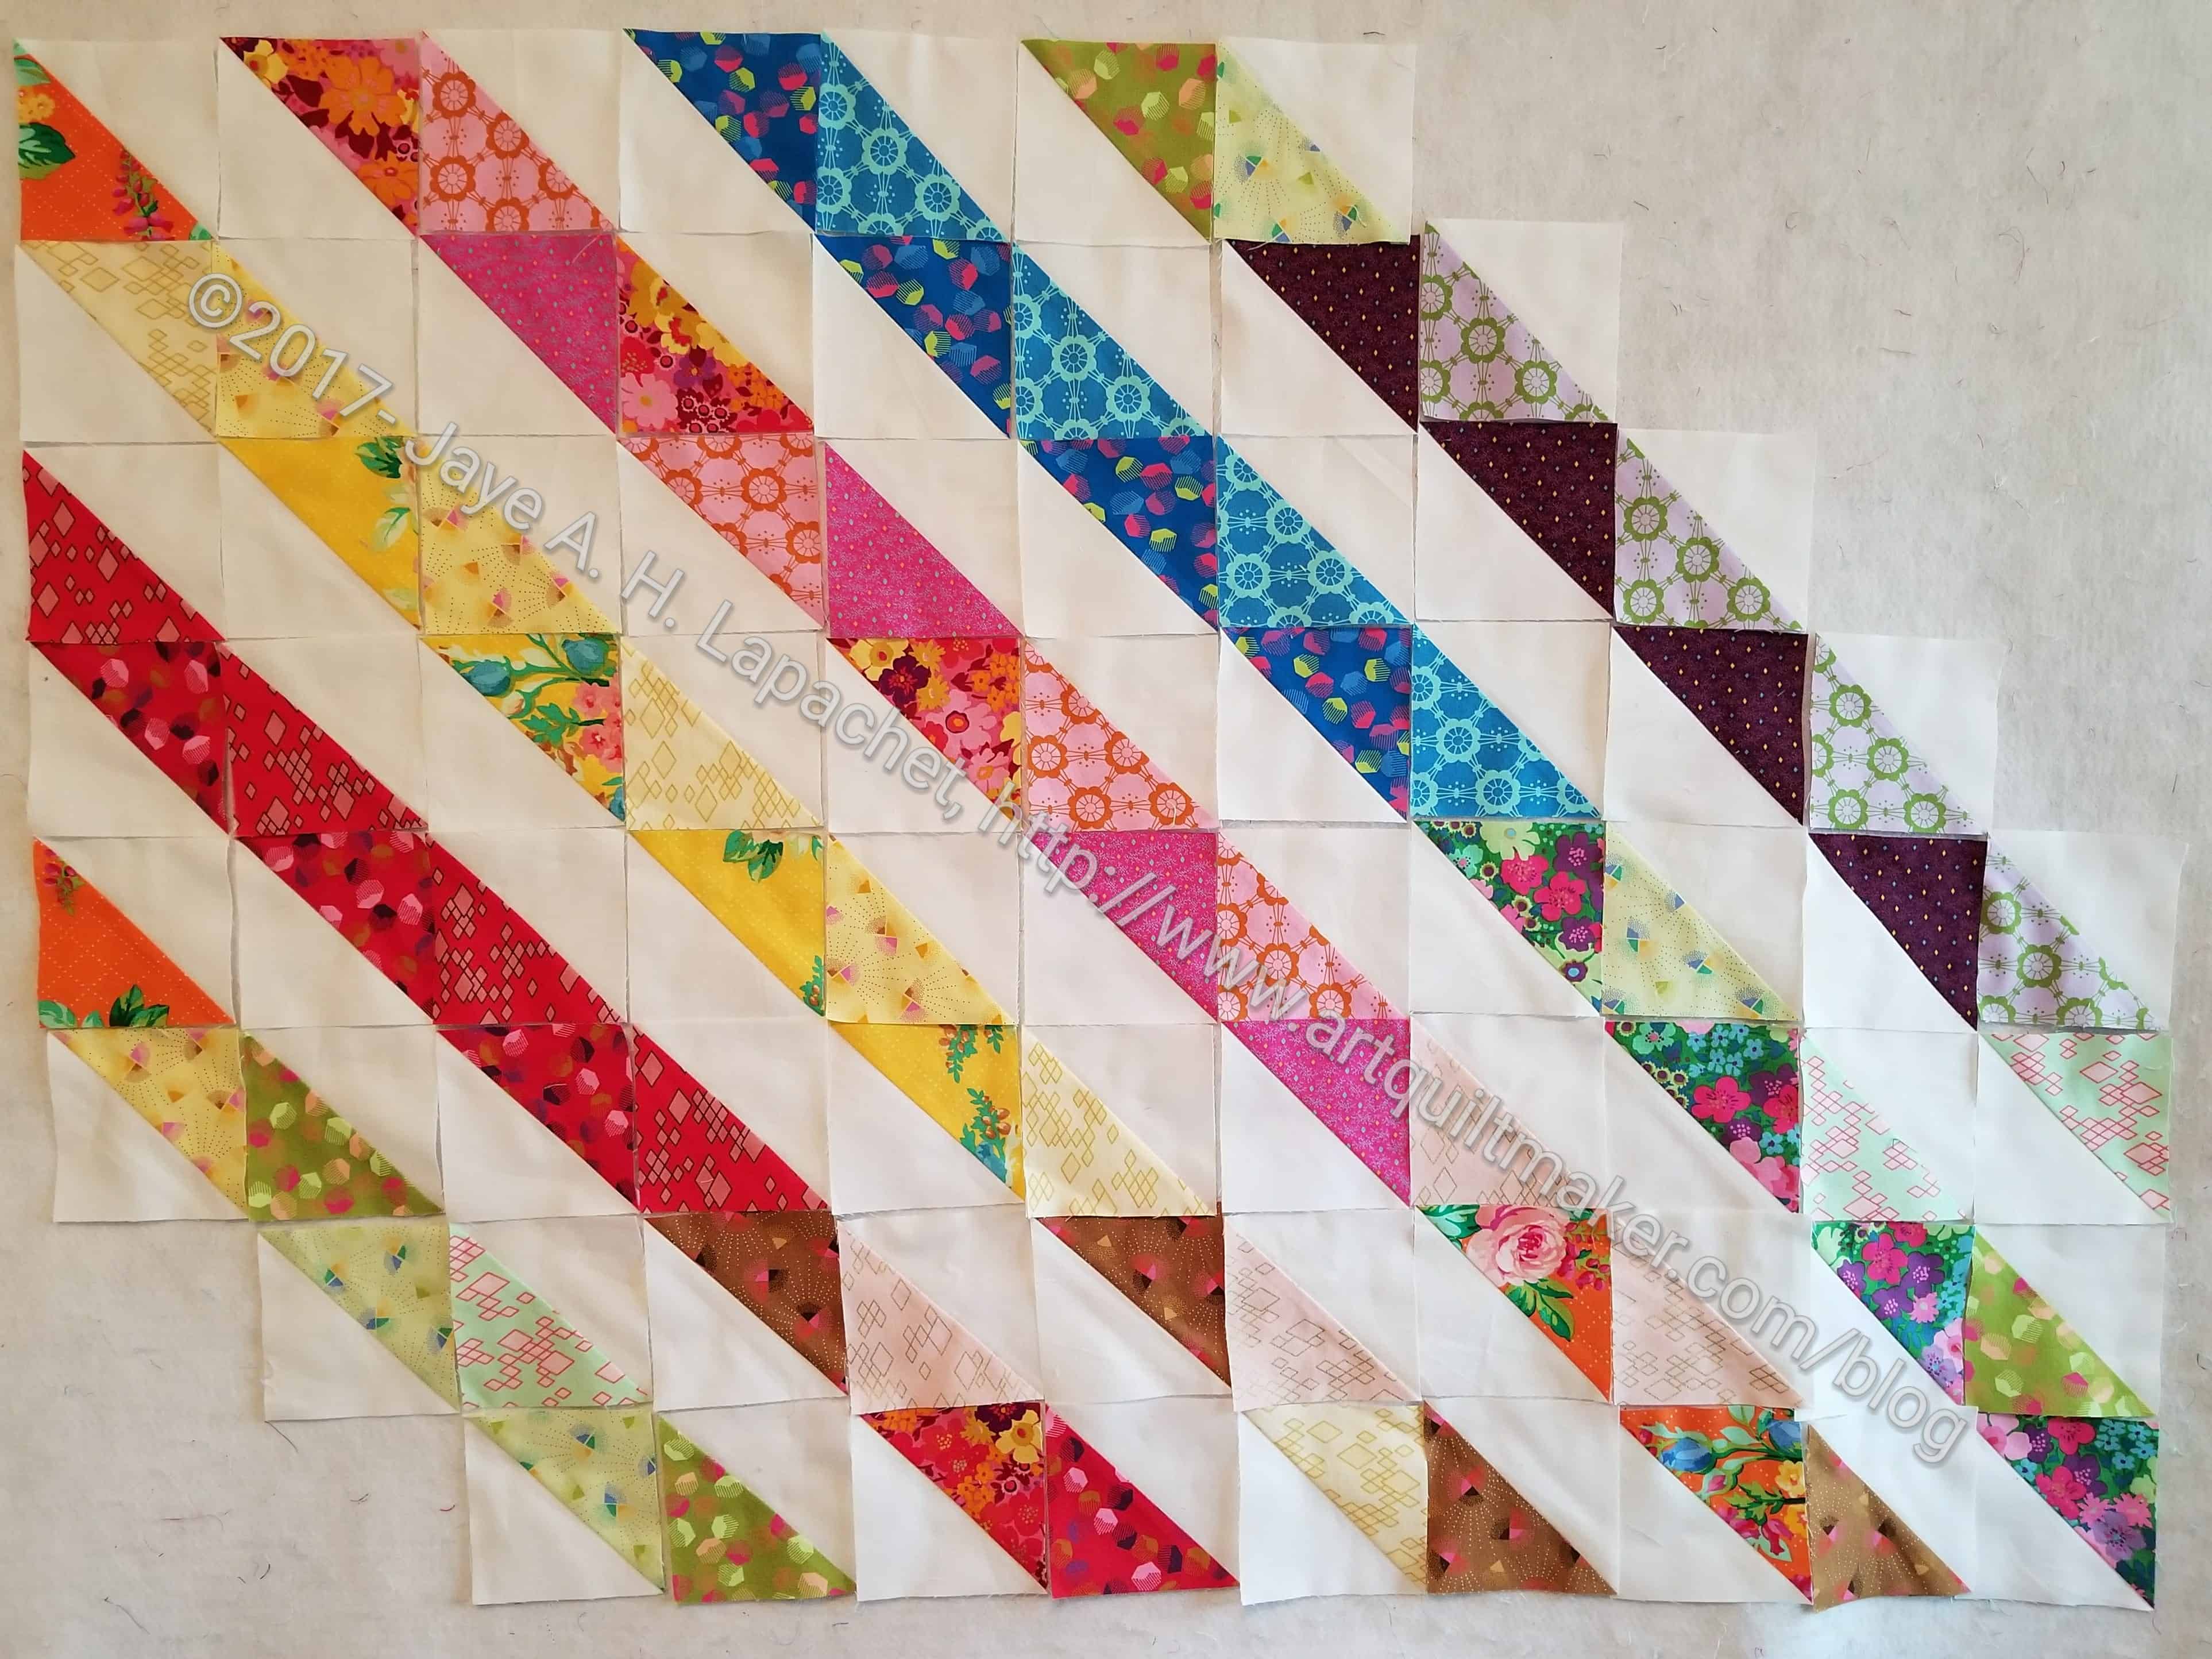
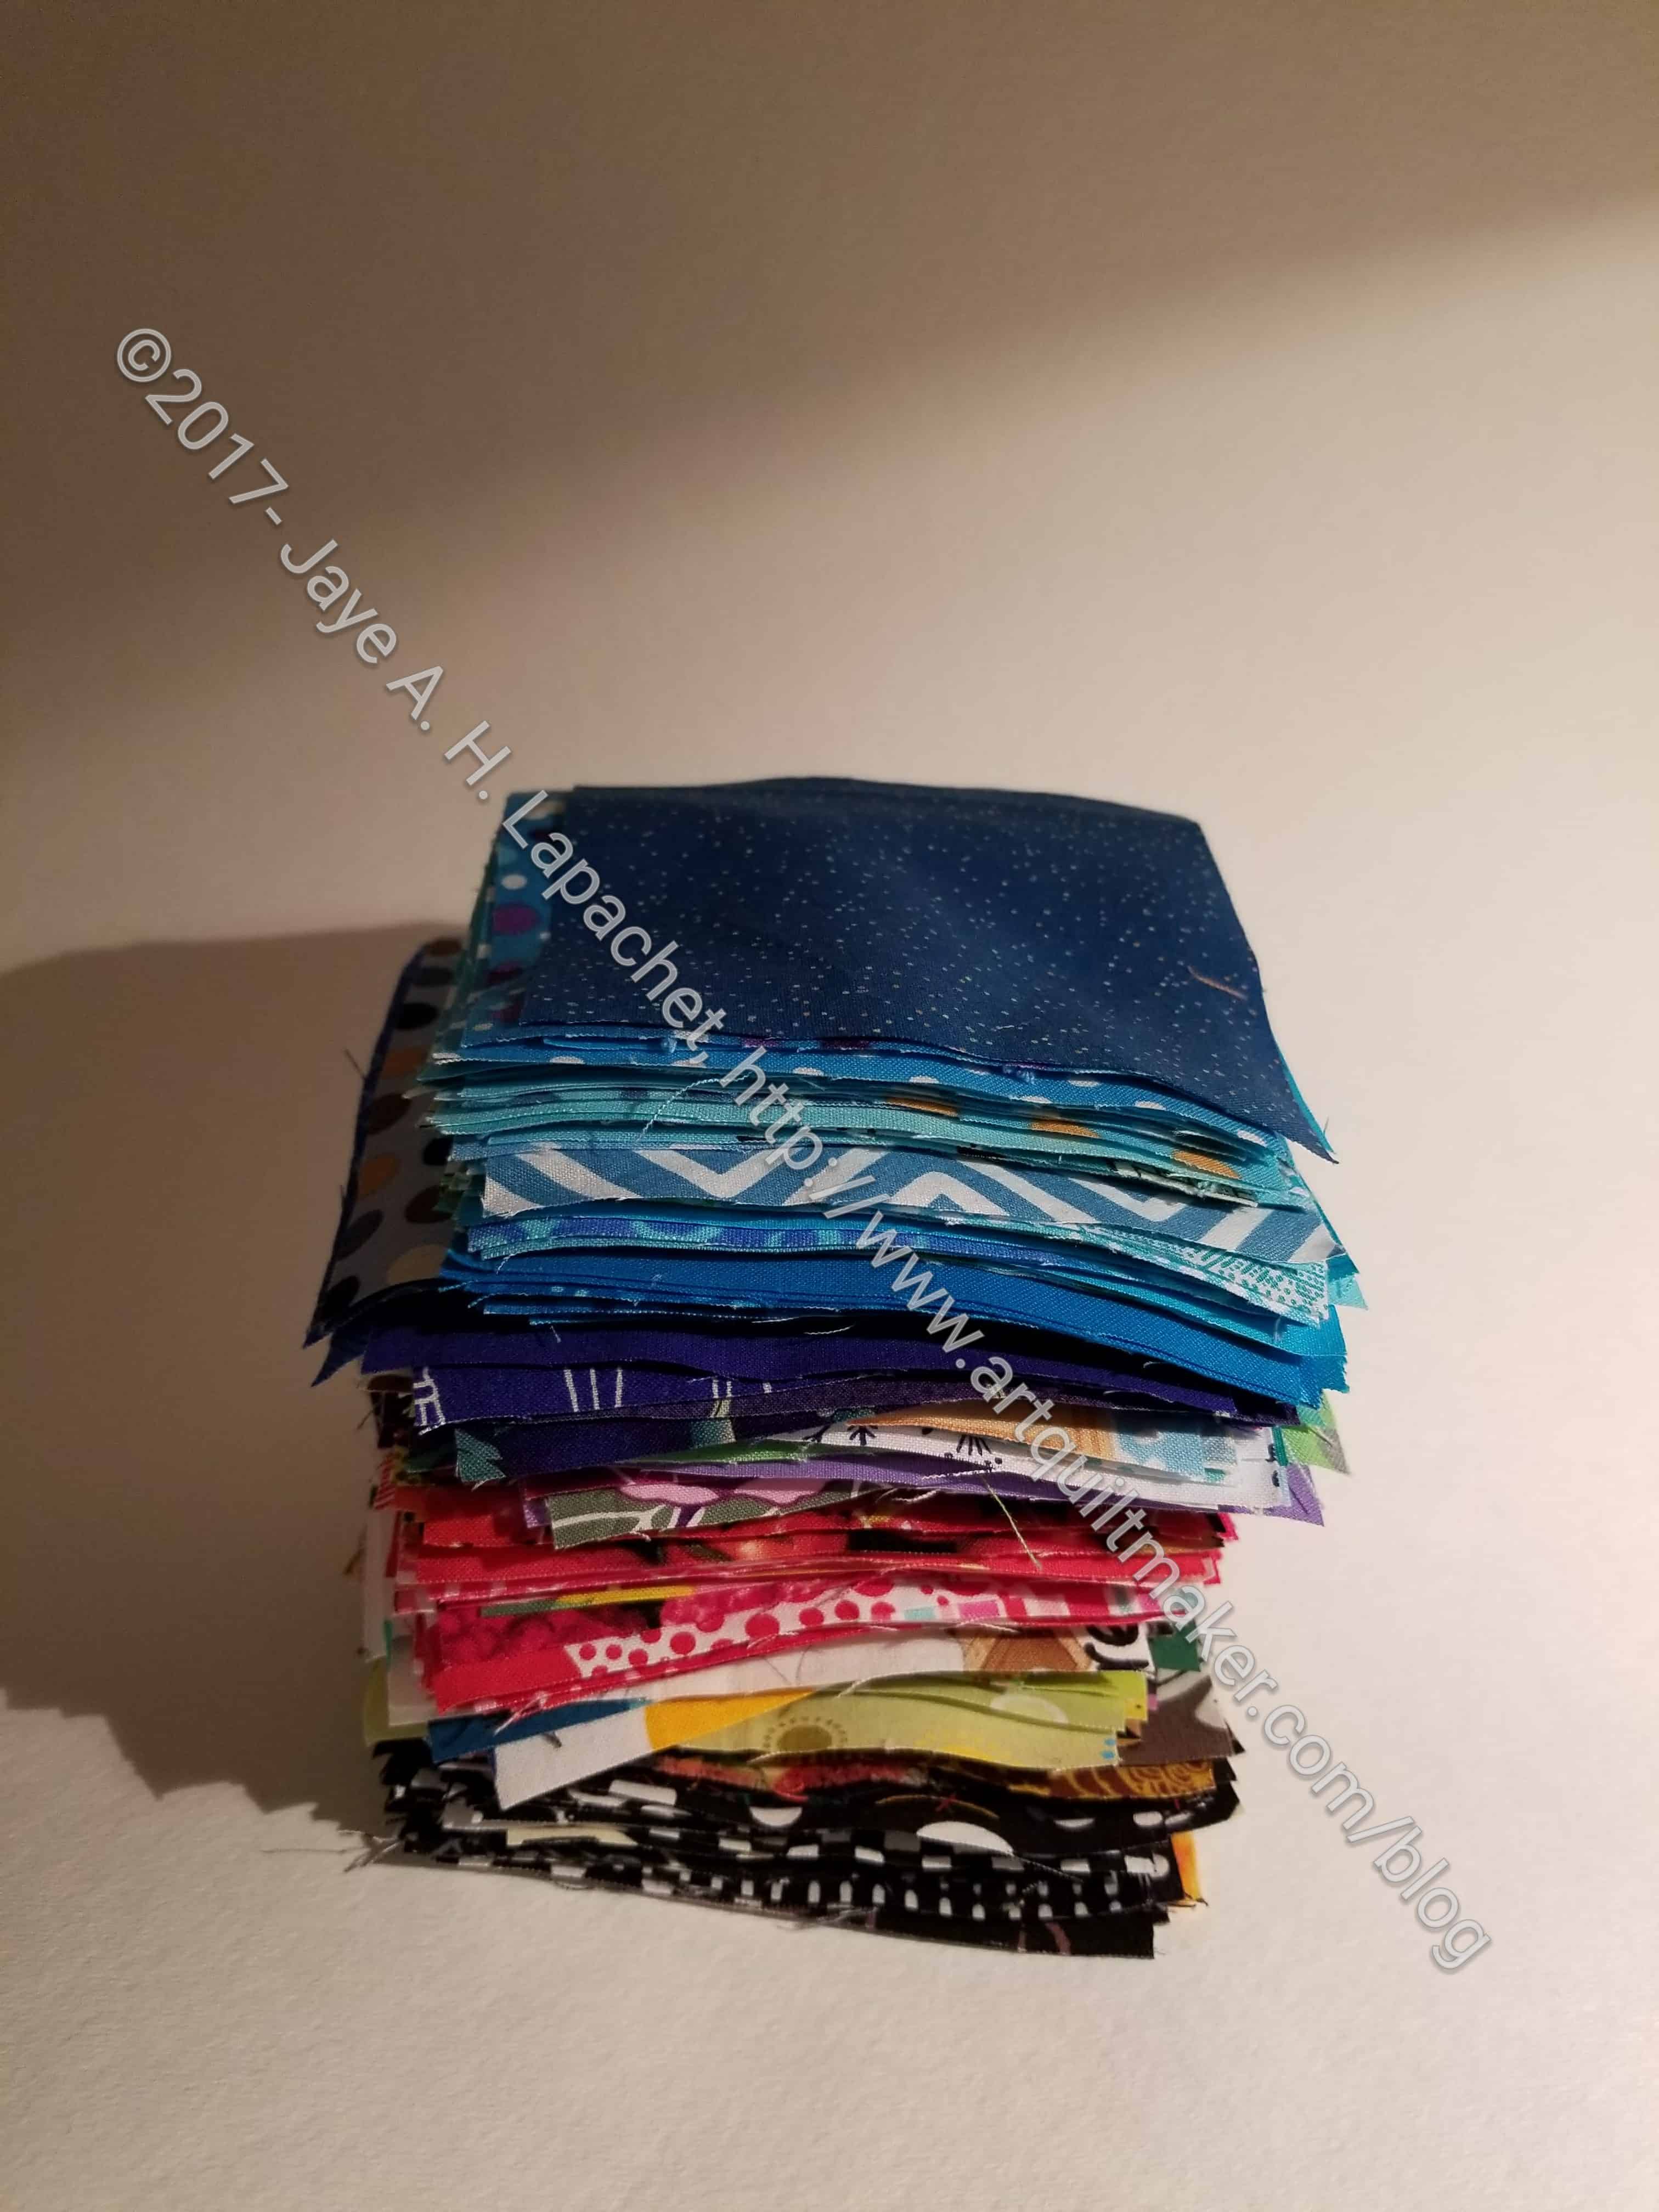
- FOTY 2016 – Squares are up on the design wall and being arranged.
- FOTY 2017 – pieces cut. Need to layout and start piecing.
Still WIPs
I still have WIPs. Who doesn’t, after all? A project in the ‘UFO’ category means I am stalled. A nicer way of saying UFO is a WIP. The list is a lot shorter and the projects are newer, for the most part.
- Aqua-Red Sampler – I need to lay the blocks out and put the piece together.
- BAMaQG Color Round Robin – no progress.
- BAMaQG IRR – I will either quilt it and donate it to charity or use it for the Big Stitch class I am taking at QuiltCon.
- Handbag Sampler – this is a project about which I had forgotten. I haven’t even found a picture of all the blocks. The blocks were teaching samples when I taught a sampler class the time before I started writing the quilt class sampler tutorials. I actually don’t know exactly where the blocks are, but I have an idea and will crawl up in the far reaches of my fabric closet soon and find them.
- Lobster – I still have more stitching to do and then I need to quilt it.
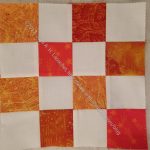
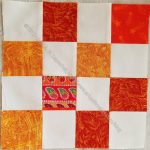
- Octagon 9 Patch: In the past week or so, I have started to sew pairs together as leaders and enders. I am not convinced this is a great idea, but I want to make progress, so I will make it work.
- Pointillist Palette #4: Fourth is a series of 6 quilts; needs tiny square patches sewn together. No progress.
- Pies and Points from Victoria Findlay Wolfe class. No further progress. I need to focus on this and it is not up high enough on the list yet.
- Self Portrait: started in 2006 at a class at Quilting Adventures in Richmond, Virginia. I am stalled on this again. Again, I didn’t capitalize on the excitement I got from my career counselor and now the feeling is lost.
- Serendipity Lady Quilt: no progress.
- Stepping Stones #2 – I checked the design and have the border block designs complete. I will have to inventory what units I have that will be needed to make up the border blocks before I am ready to sew.
- Under the Sea: class project; like the design and am happier with the colors. I had an idea for it, which didn’t end up working out. I would like to finish it soon.
- Black and Red quilt – This came about because of two other projects. I made a whole bunch of bias tape as part of my failed attempt at doing the Mighty Lucky Club a few years ago. Another part of the inspiration came from my class with Tina of Little Blue Cottage fame. This was going to be for a nephew, but I think it will be for one of my SILs and BILs. I have rectangles cut and some bias tape ready. My next step is to sew the bias tape to the rectangles like pickup sticks. I don’t have any photos of this, so you’ll have to trust me.
- Half Rectangle donation quilt – I want to work with half rectangles and the 16 patches we make for the guild. I have the blocks made and the cool ruler I thought would work for this project. Now I need to gather the fabric and just do it.
Small Projects in Process
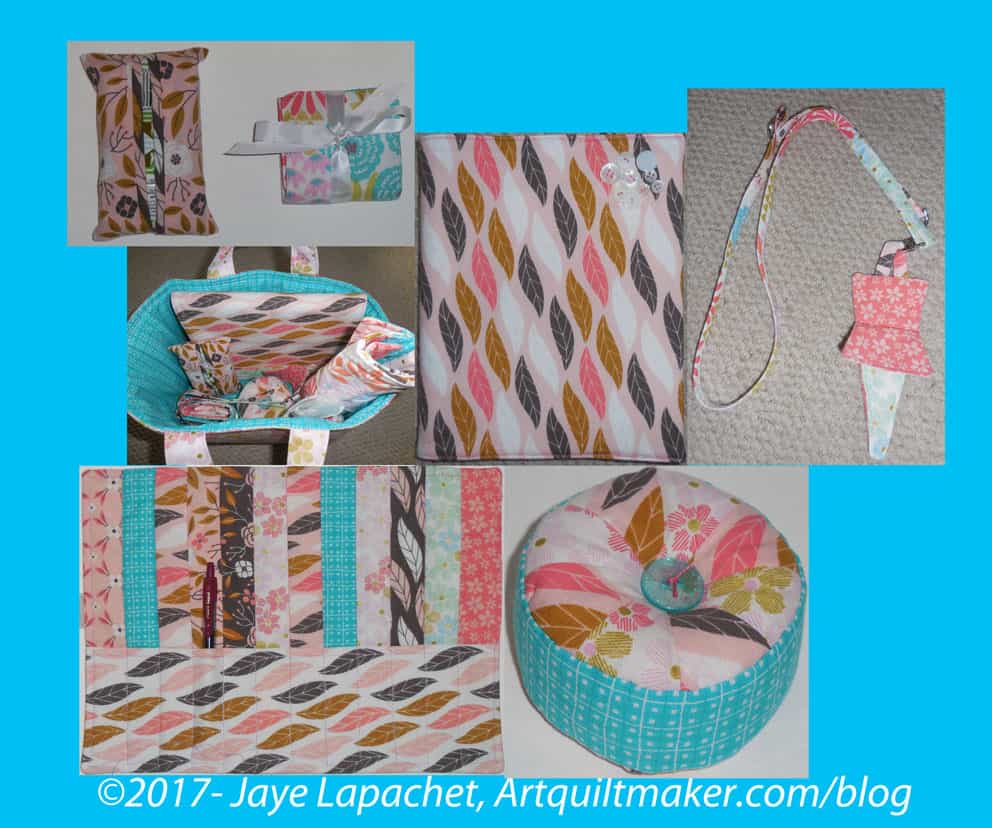
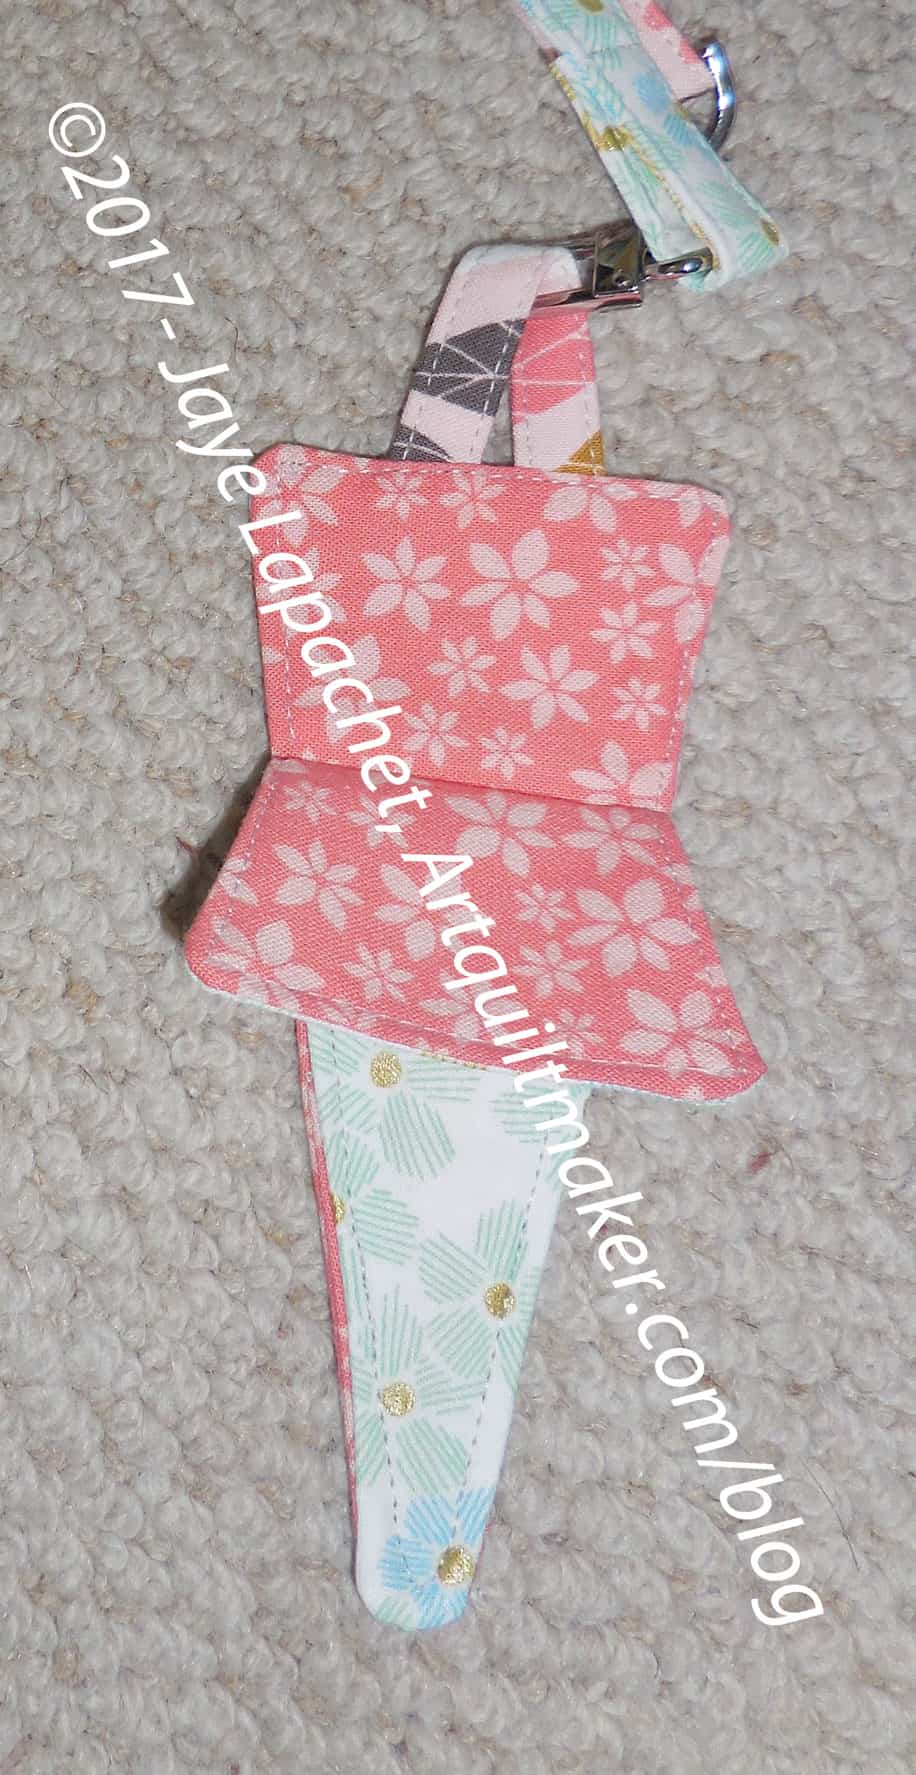
- Hansel and Gretel dolls and accessories for my little niece. The quilt is done and all the other pieces are ready to be stuffed.
- EPP Travel pouch gift – Main pieces are all cut and I am sewing various bits together.
- 2 gift Sew Together Bags- most of the fabric is cut and the zippers are purchased
- Another Sew Together Bag for me – most of the fabric is cut and the zippers are purchased
- 1 gift Sew Together Bag – nothing cut
- Mel Beach quilted piece – I want to make it into a pillow cover
Ready for Quilting
- Triple Star: I used Sarah Goer‘s Planned Improv method to sew the blocks together. The back and binding are done and it is ready to go to Colleen.
In Quilting Process
- En Provence – at Colleen’s. She hasn’t quilted it yet, because we can find the right color thread for the blue.
- Ta Dots & Stripes Quilt (was called last time Dots & Stripes HST Quilt (or Something) ) – Finished piecing and is at the quilter
- Planned Improv – this wasn’t on the list last month for some reason, but is now with Colleen ready for quilting.
- Thanksgiving tablemat – I have the correct feet and just need to get busy.
- Theoretically, the Tarts Come to Tea is in the quilting process, though I haven’t worked on it in a while. See above.
Binding
Nothing at the moment
Hunting and Gathering
- 30 Something: I am still cutting 1.5 inch squares. I am pretty sure I have the 800 I need, but I am not ready to sew them together yet, so whenever I have a chance I cut more I cut more. It will give me choice when the time comes. I’ll have to think up a new name, too. My next step will be to figure out if I need to cut other sizes of squares and switch from cutting 1.5″ squares to cutting the new size.
- Blue Gradation Quilt: cutting 2.5 inch x 4.5 inch blue rectangles. It has to end sometime. I wasn’t sure I was ready to put this together, but I think I am. I might do a couple of gradation quilts in a row just to get the practice.
- Blue Lemonade: cutting blue, green, purple 2 inch squares. I used a lot of these squares for En Provence, so I am slowly cutting more.
- Pink Gradation Quilt: cutting 2.5 inch x 4.5 inch pink rectangles
- Spin Wheel: really not started, but supplies gathered. I might have to cut some more background fabrics. I probably have enough fabrics and just need to decide to start.
- Windmill quilt: Still hunting and gathering. I am supposed to be cutting a variety of greys for the background, which required the purchase of a new template. I should be able to get going again
Other
- Stepping Stones #3 using the Macaron pre-cuts from Hoffman. I have all the fabric in pre-cuts and am just waiting for space (and desire) in my schedule.
I’ve used just under 19 yards of fabric so far this year. Not shabby.
What’s on your list?